 ( 290 ) 21-May-2011
In this picture I have set up my binding router machine. This tool allows me five degrees of freedom while holding the router parallel to the side of the guitar.
 ( 290 ) 21-May-2011
In this picture I have set up my binding router machine. This tool allows me five degrees of freedom while holding the router parallel to the side of the guitar.
 ( 291 ) 21-May-2011
The router guides are adjusted to cut a channel for each piece of binding.
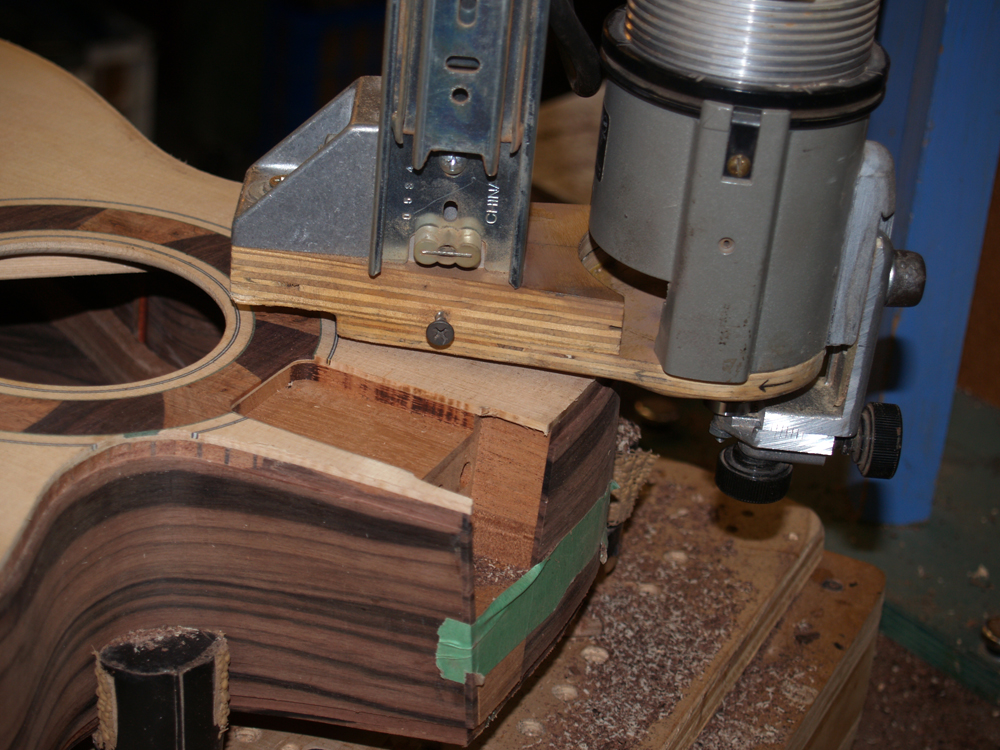 ( 292 ) 21-May-2011
To create the full channel I make several passes of the router.
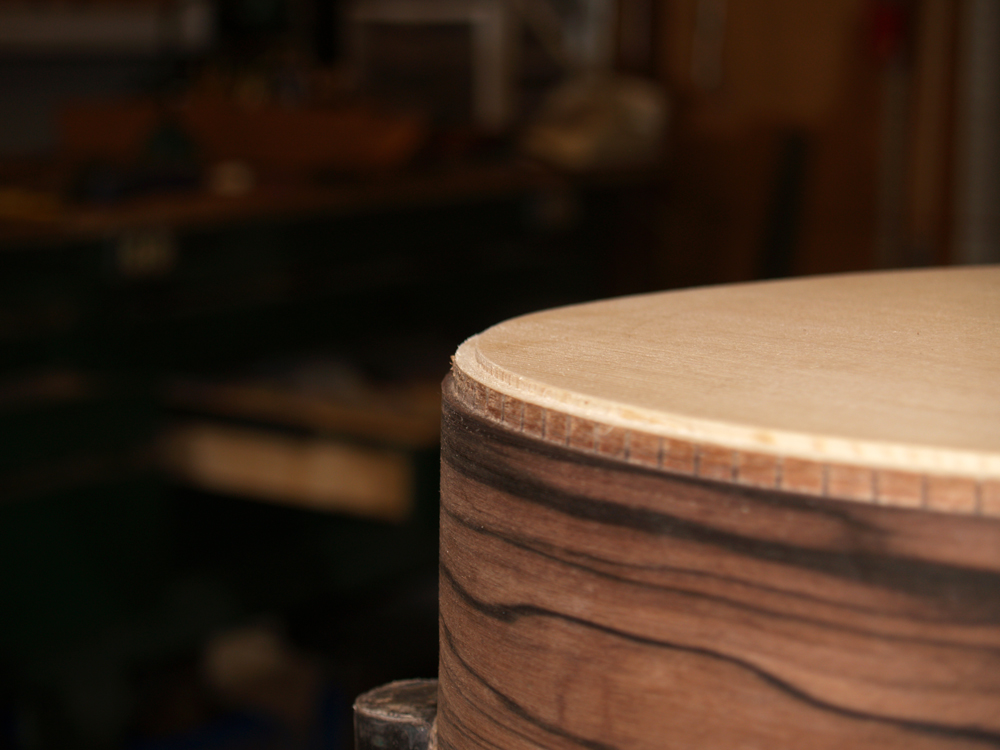 ( 293 ) 21-May-2011
Here you can see the channels for the binding and purfling on the top of the guitar.
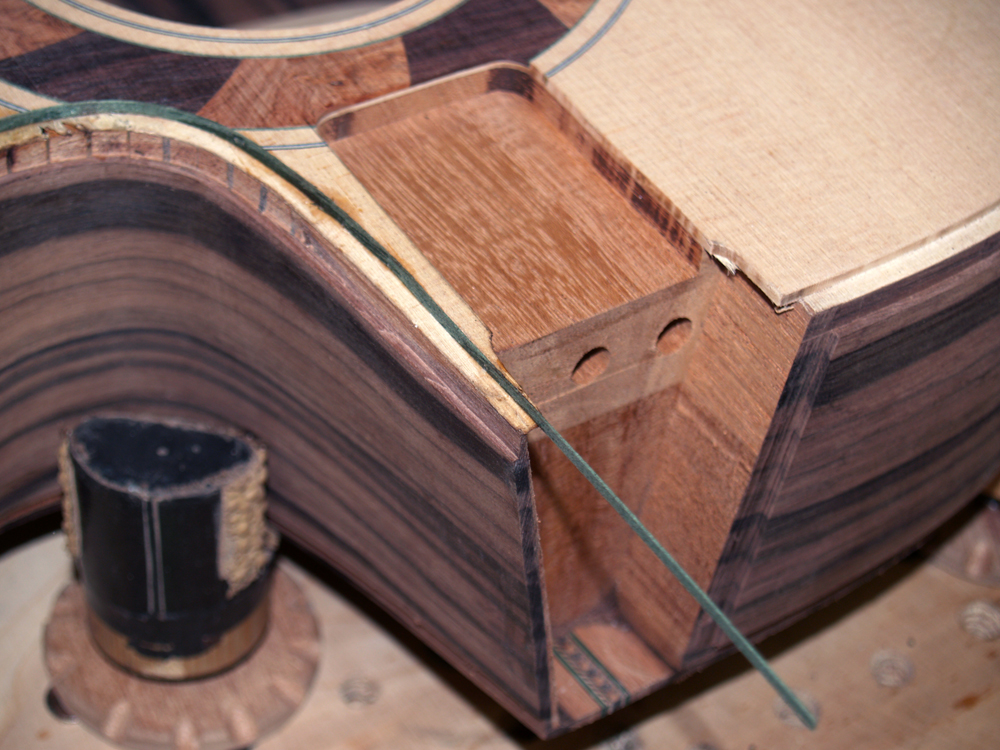 ( 294 ) 21-May-2011
I start by installing a thin green pin stripe.
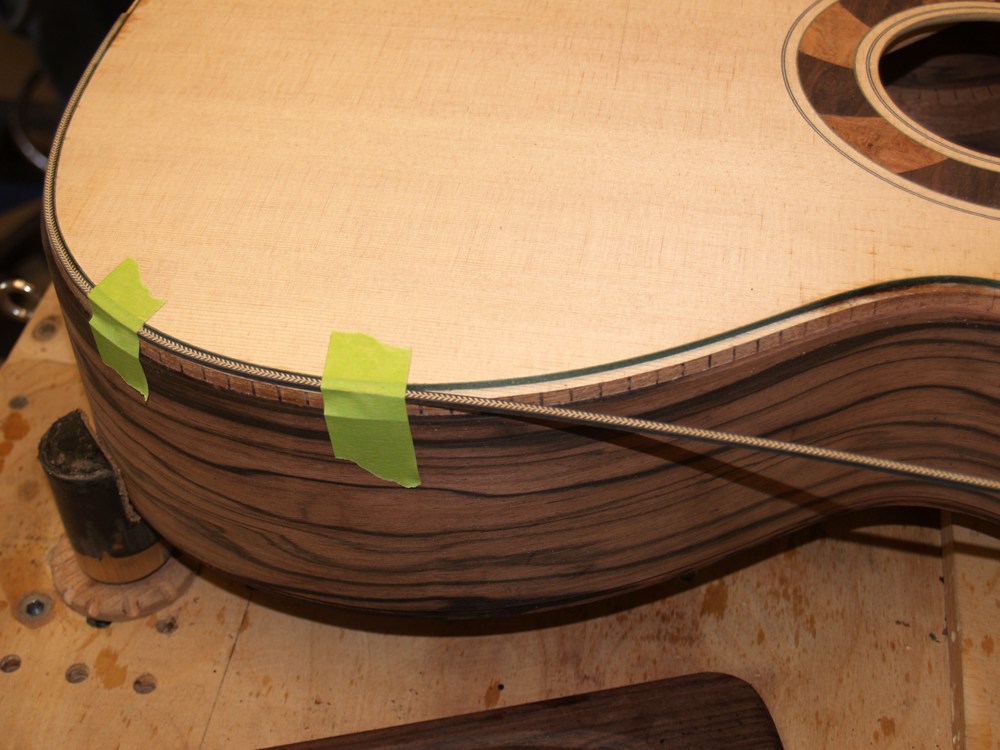 ( 295 ) 21-May-2011
And then next I install the herringbone next to the green pinstripe.
 ( 296 ) 21-May-2011
I install a b/w/b pinstripe on the bottom shelf.
 ( 297 ) 21-May-2011
This is what the assembly looks like before I install the Snakewood binding.
 ( 298 ) 21-May-2011
I install each piece of binding or purfling separately to insure that each piece makes a perfect fit. Here are a few of the tools I use.
 ( 299 ) 21-May-2011
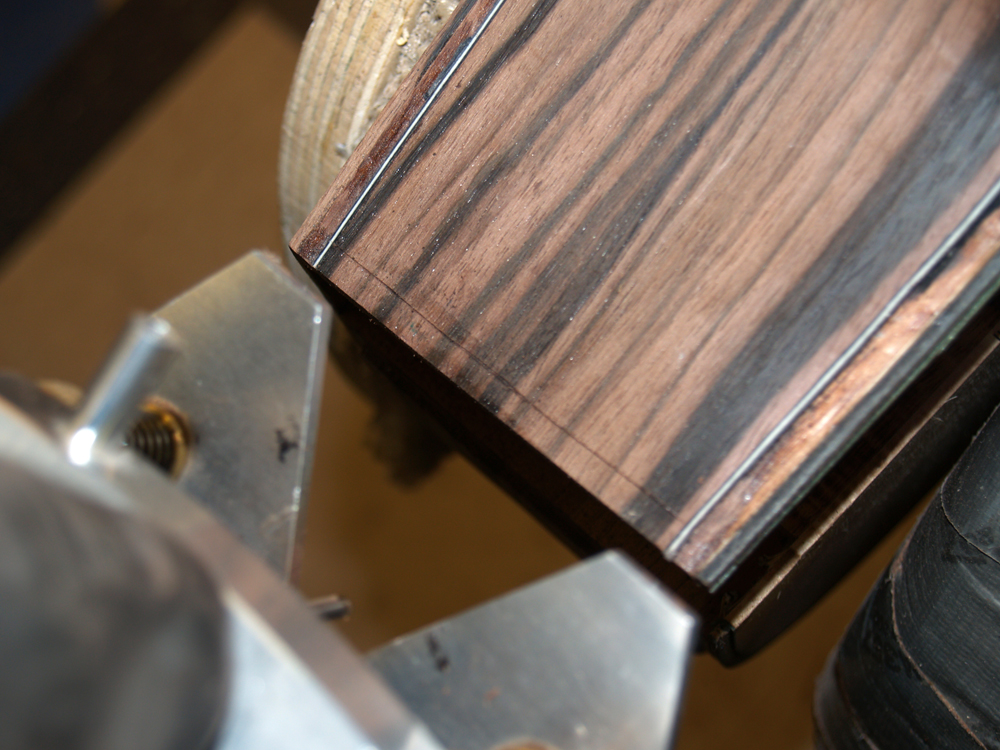
In this picture I am using a small router to cut a channel for the vertical binding that frames the heel of the neck.
 ( 300 ) 21-May-2011
The cut channel.
 ( 301 ) 21-May-2011
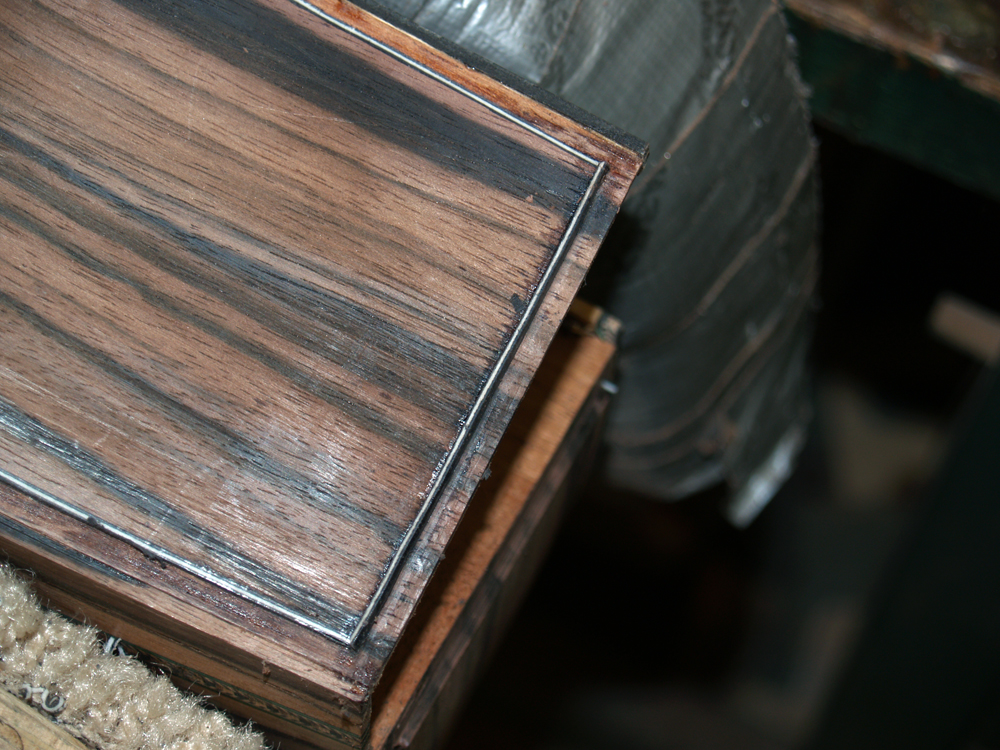
And the installed vertical b/w/b pin striping on the cutaway side of the guitar.
 ( 302 ) 21-May-2011
And the installed vertical b/w/b pin striping on the non-cutaway side of the guitar.
 ( 303 ) 21-May-2011
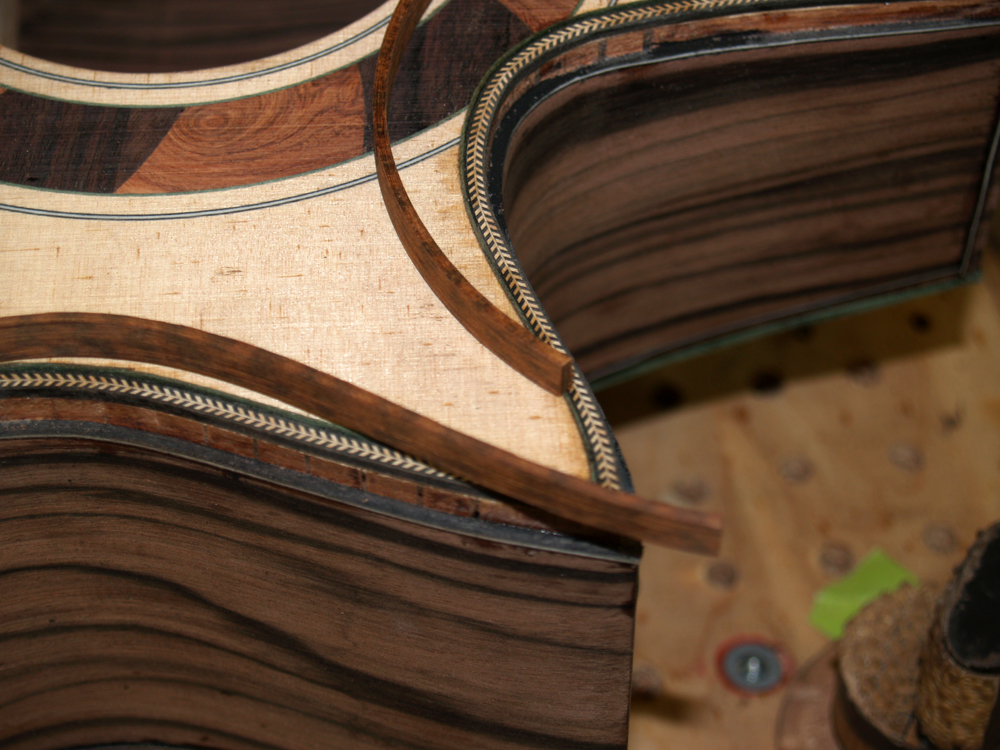
Now I am getting ready to install the Snakewood binding. The first thing I do is cut the shaped binding at the peak of the cutaway .
 ( 304 ) 21-May-2011
I use the bending machine to reshape the cutaway portion of the binding.
 ( 305 ) 21-May-2011
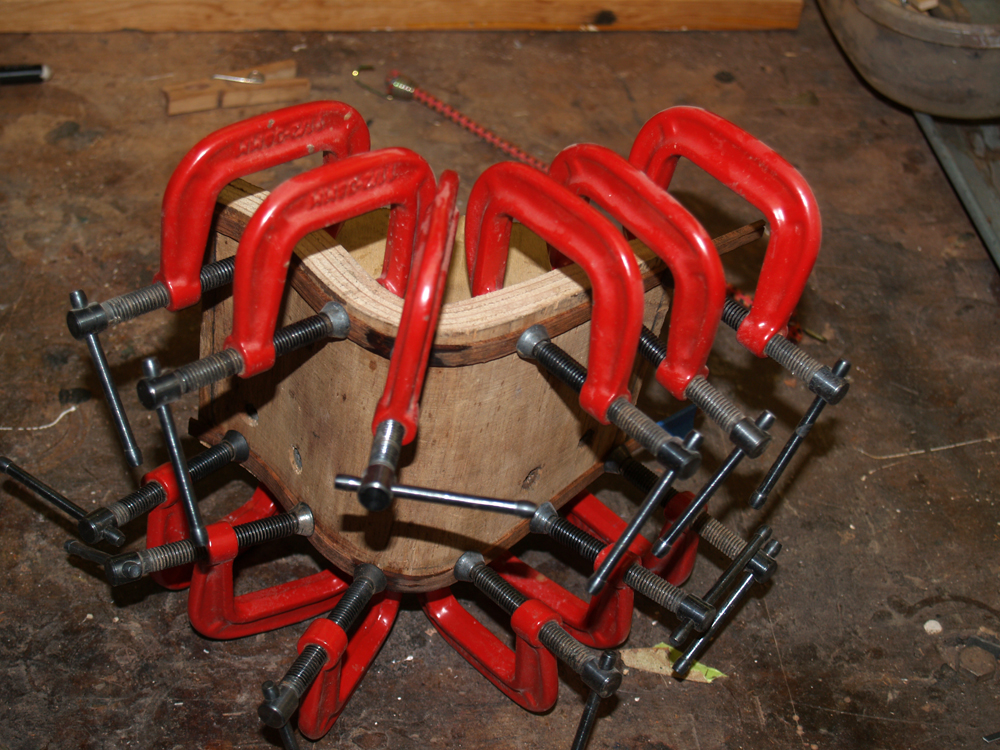
And finally I use the form to complete the shape of the cutaway binding. I will bake this assembly until the binding holds it shape.
 ( 306 ) 21-May-2011
Now I start to install the binding. I start at the peak of the cutaway because this is a critical intersection and I want the joint to be perfect.
 ( 307 ) 21-May-2011
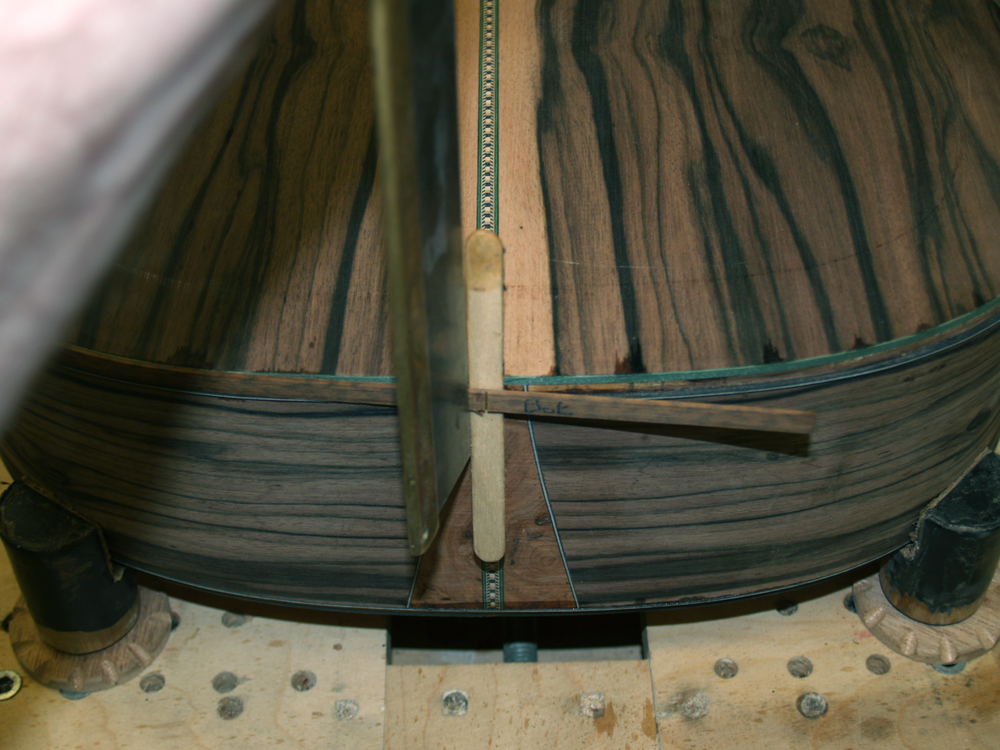
When I get to the tail of the guitar I cut the excess binding off so it ends at the center line.
 ( 308 ) 21-May-2011
Here I am installing binding on the non-cutaway side.
 ( 309 ) 21-May-2011
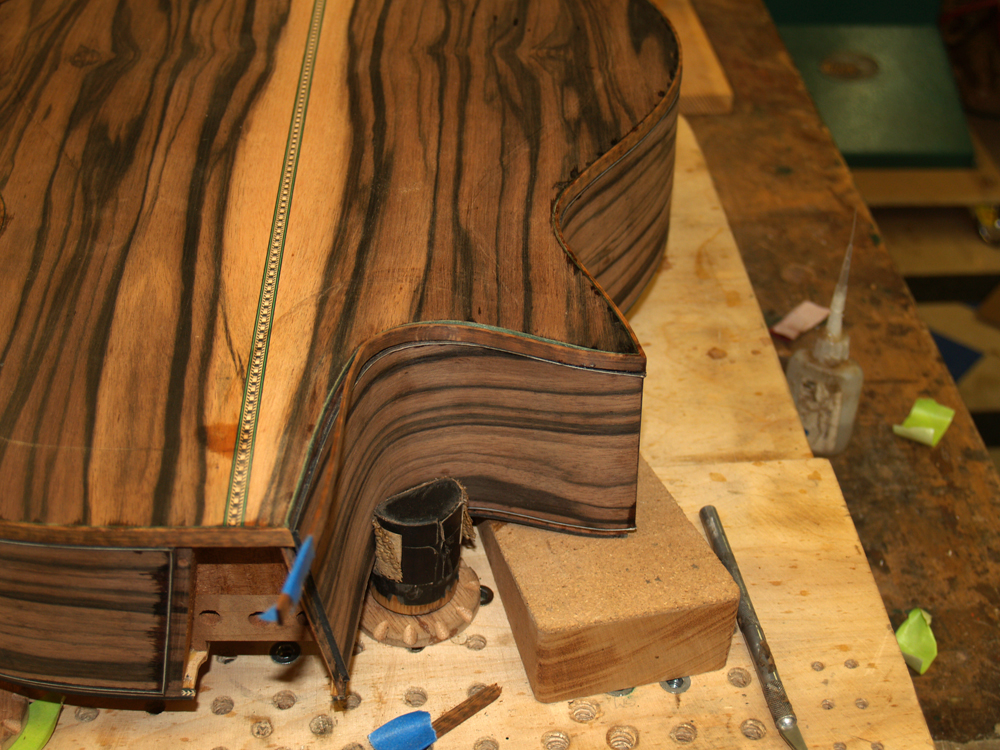
I cut the piece so that it makes a good tight joint at the tail.
 ( 310 ) 21-May-2011
This is the most difficult section of binding to install. Once again I start at the peak and work my way to the front.
 ( 311 ) 21-May-2011
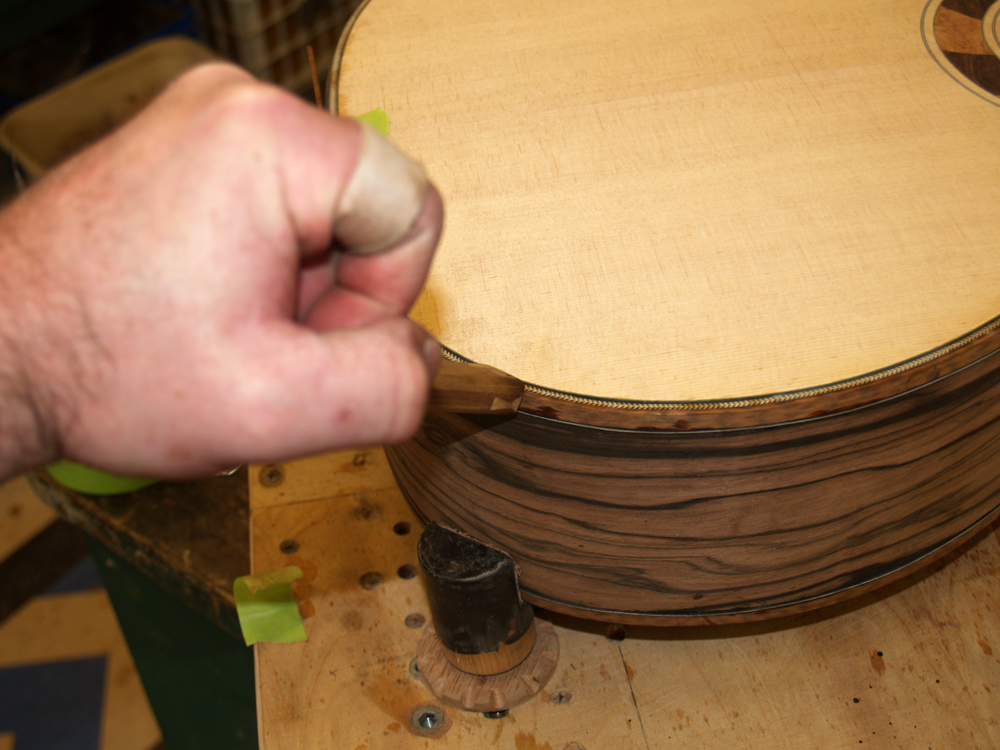
A little bit of tape helps hold it in place as I install the binding.
 ( 312 ) 21-May-2011
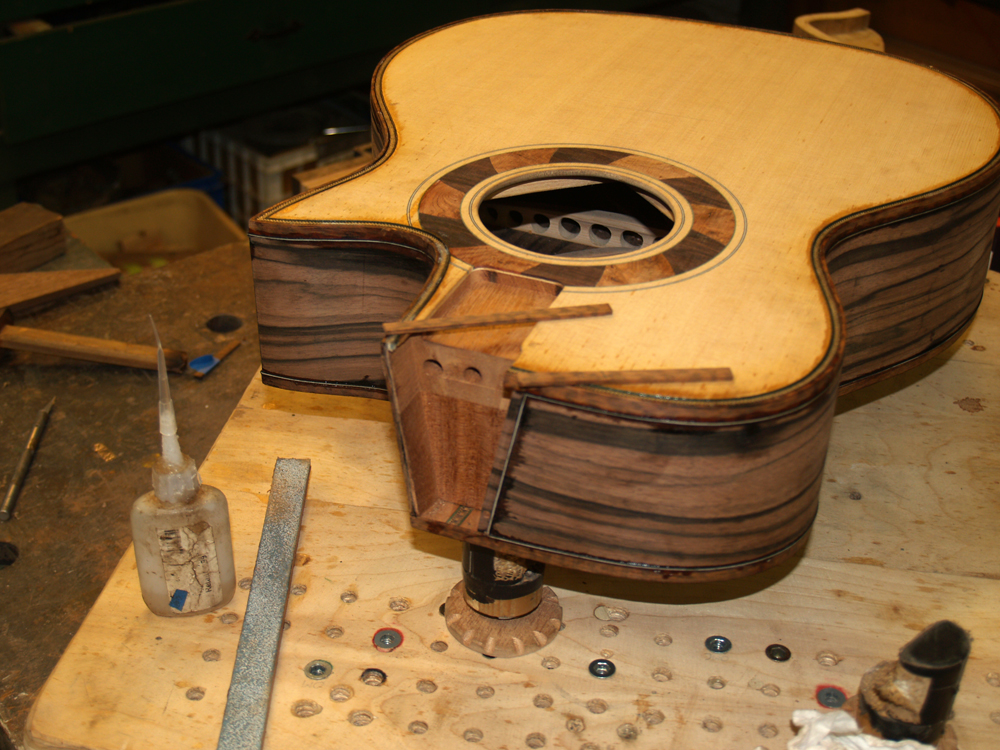
I use a push stick to force the binding into place. I pay special attention to insure that there are no gaps between each piece of binding and purfling.
 ( 313 ) 21-May-2011
The two pieces of binding that will frame the heel of the neck will be installed after the neck is finished. I wait to do this so I can make sure the gap between the neck and the body is even and minimal.
 ( 314 ) 21-May-2011
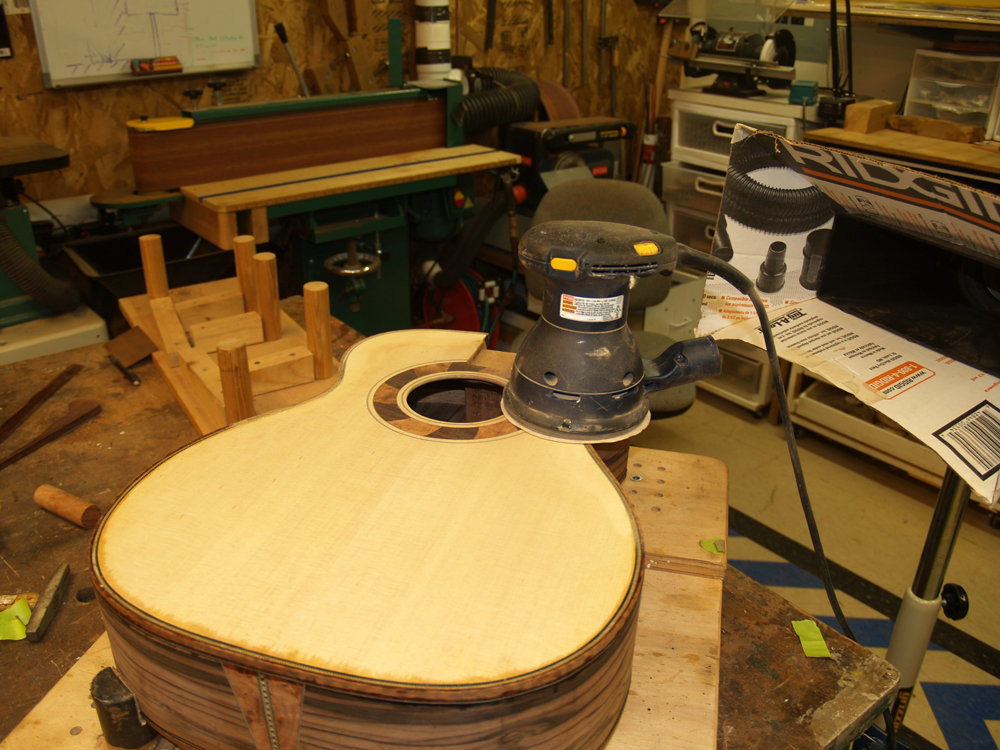
Now that the binding is installed I use an orbital sander to sand all of the pieces flush. During this process the edge of the top is reduced resulting a looser top.
 ( 315 ) 21-May-2011
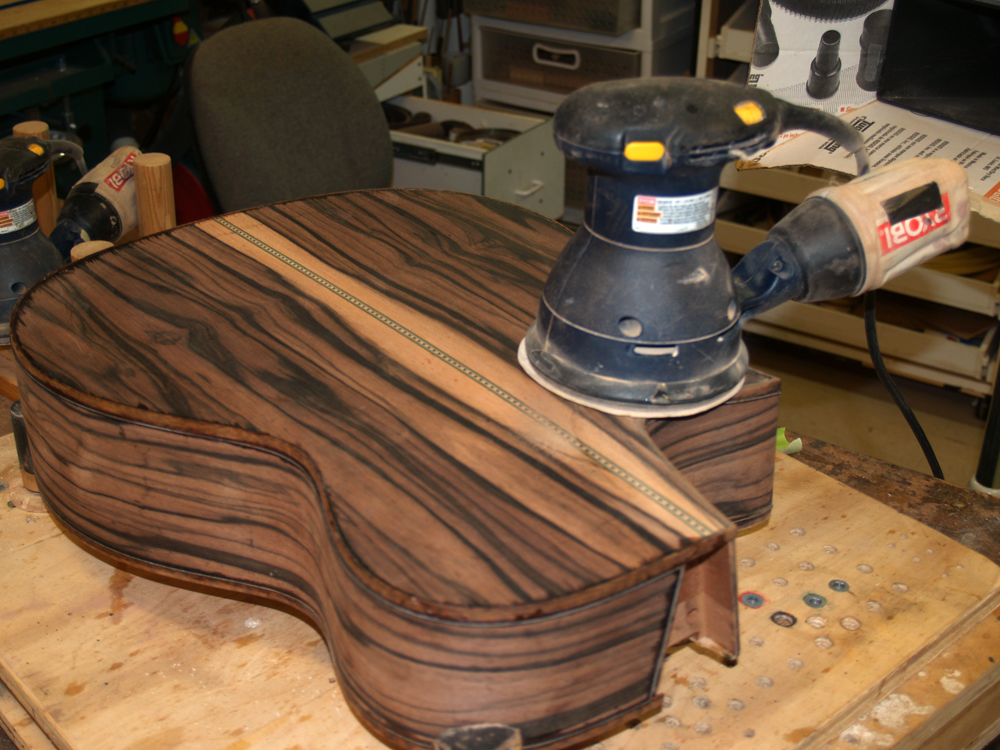
The back gets the same treatment as the top.
 ( 316 ) 21-May-2011
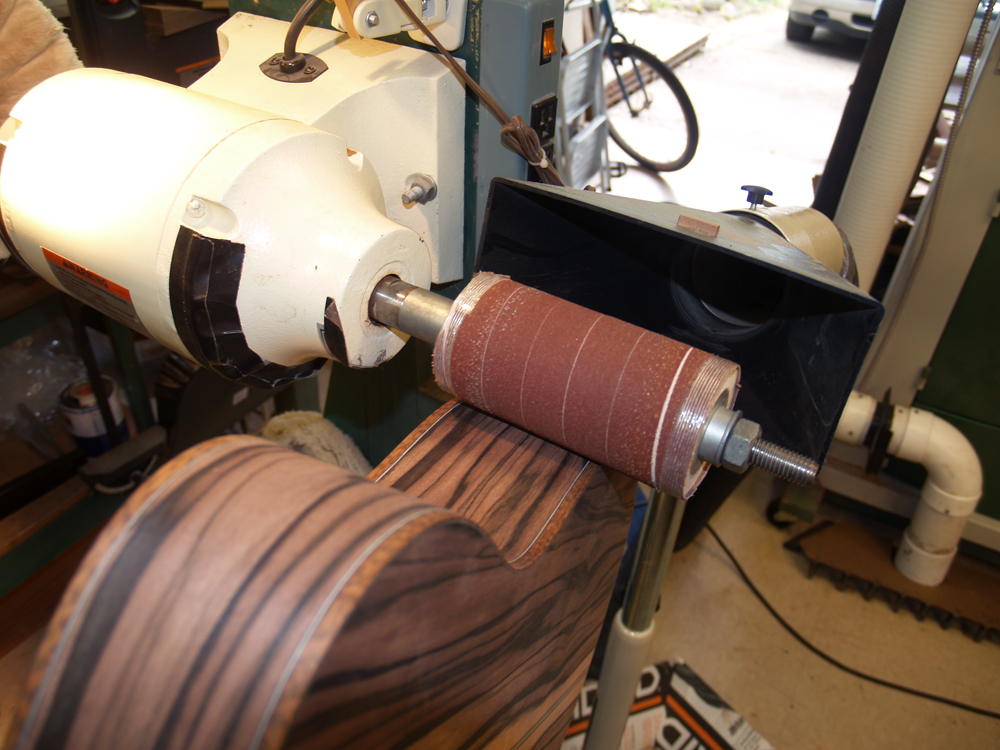
I use this drum sander to sand the sides flush.
 ( 317 ) 21-May-2011
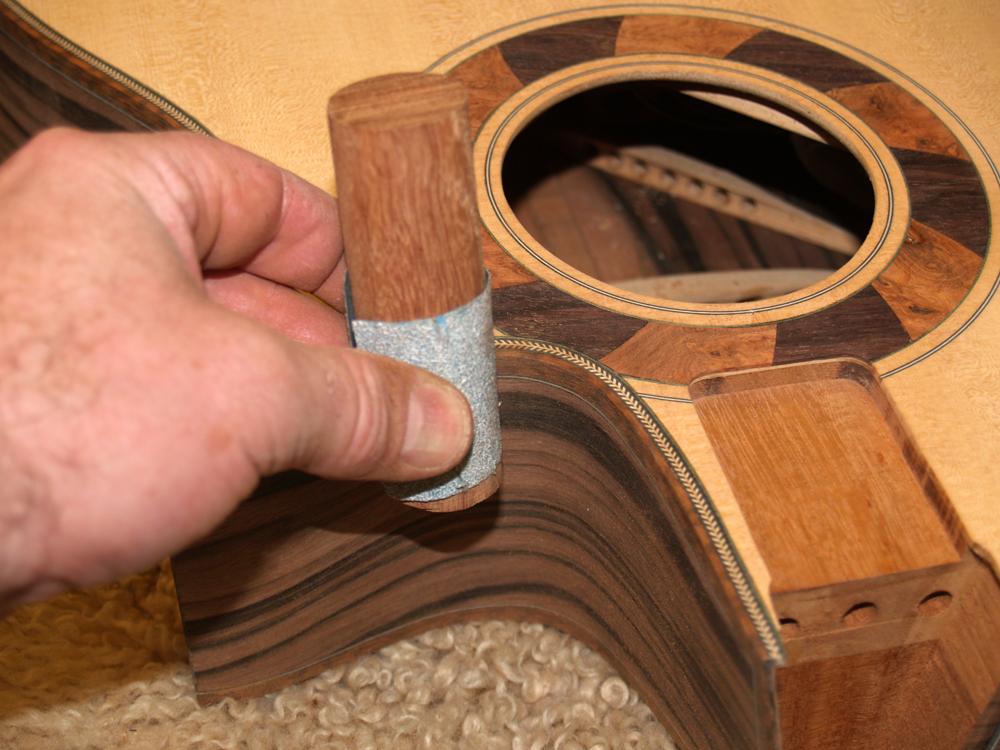
And the crook of the cutaway gets special attention with some hand sanding.
 ( 318 ) 21-May-2011
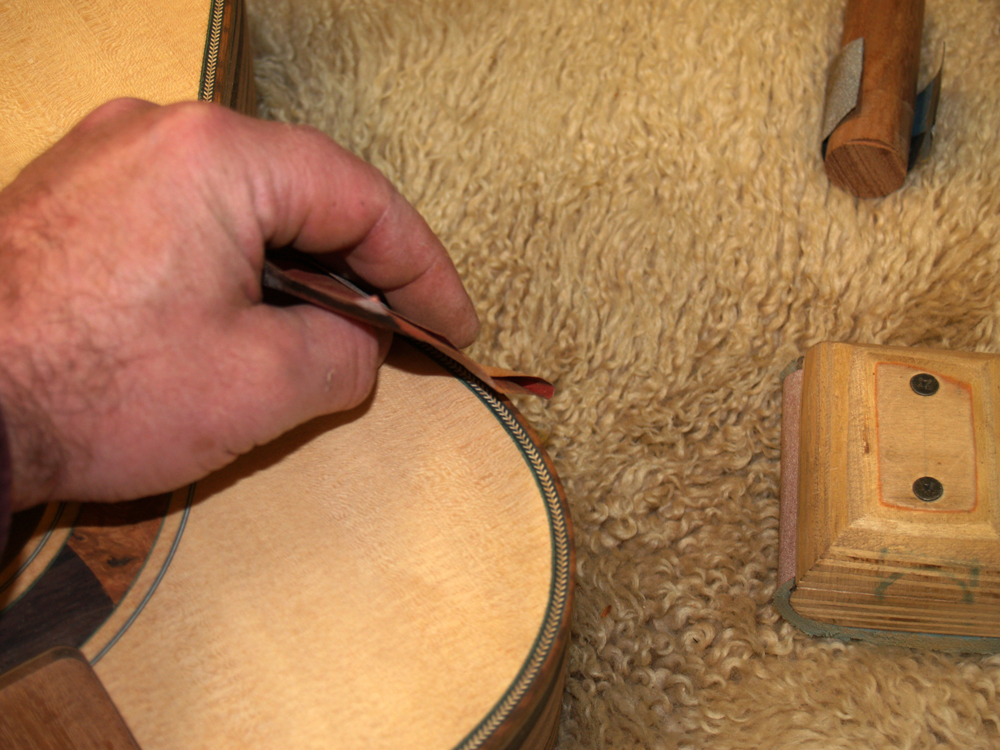
And finally binding gets rolled over to remove its sharp edge.
 ( 319 ) 21-May-2011
A picture of the final result.
 ( 320 ) 21-May-2011
A picture of the final result.
 ( 321 ) 21-May-2011
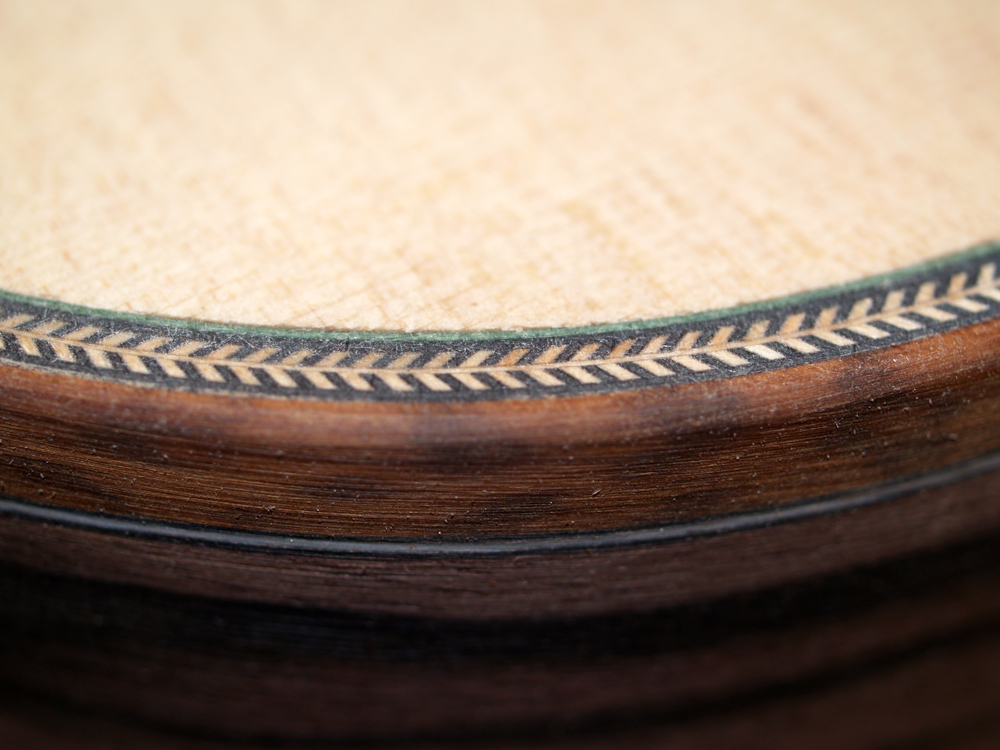
A picture of the final result.
 ( 322 ) 21-May-2011
A picture of the final result.
 ( 323 ) 21-May-2011
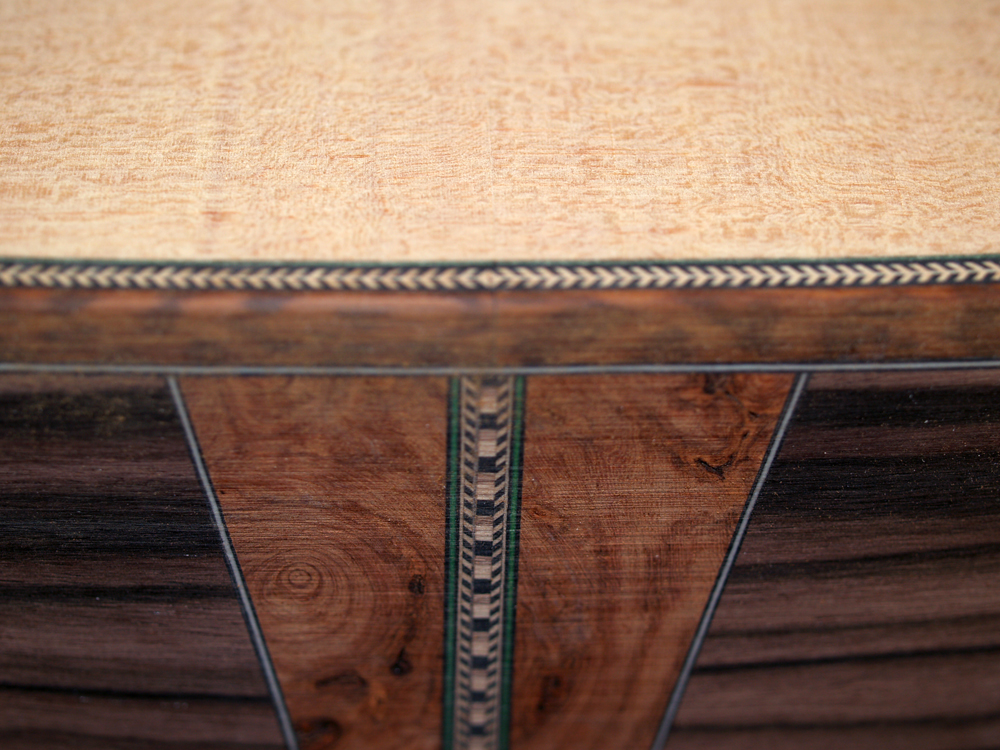
A picture of the final result.