 ( 19 ) December 21, 2010
The back pieces go into the joining table.
 ( 19 ) December 21, 2010
The back pieces go into the joining table.
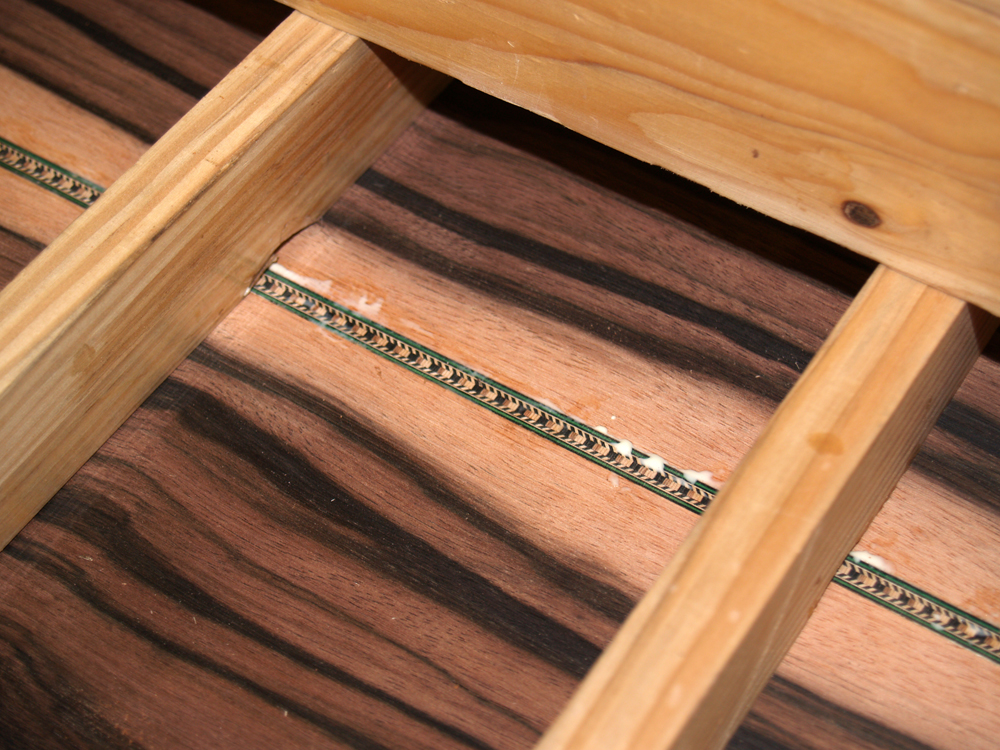 ( 20 ) December 21, 2010
A little bit of glue squeeze out at the joint is just right.
 ( 21 ) December 21, 2010
After the sides are joined together I use a template to trace the outline of the back. I use a washer to give me an extra quarter inch to allow for variations.
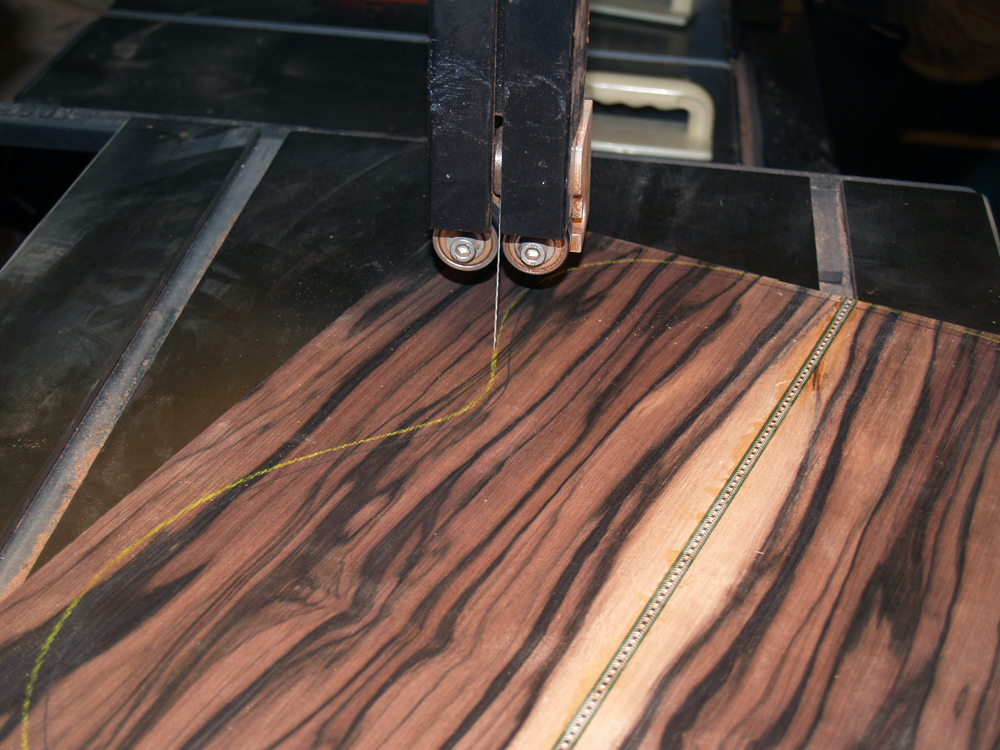 ( 22 ) December 21, 2010
Here I am using the band saw, (I love my bandsaw) to cut the back out of the joined blanks.
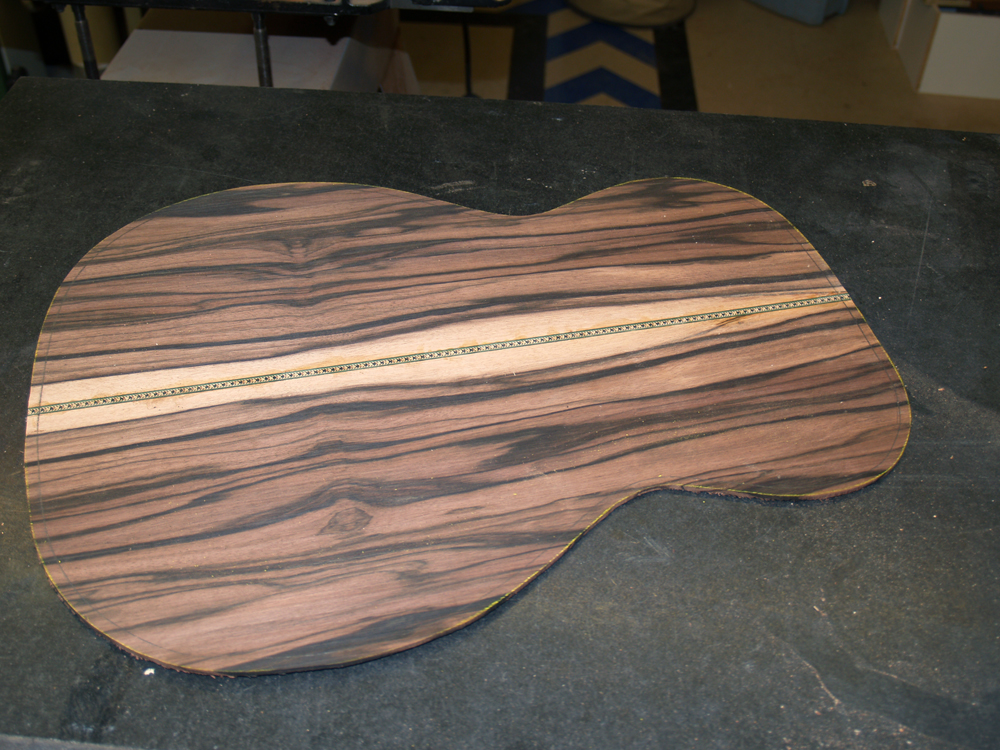 ( 23 ) December 21, 2010
At this point I am not cutting out the cutaway section from the back.
 ( 24 ) December 21, 2010
The back goes into the drum sander to bring the thickness of the back to about 100 mils.
 ( 25 ) December 21, 2010
Since wood is not a perfect material it is necessary to fix certain areas to ensure the wood's integrity. Here I am using a bit of cyanoacrylate (CA) glue to fix a small hole.
 ( 26 ) December 21, 2010
Before bending the side pieces I layout the pieces with the side templates.
 ( 27 ) December 21, 2010
I trim the side blanks down to size next.
 ( 28 ) December 21, 2010
Here I am laying one of the side pieces in a heating blanket.
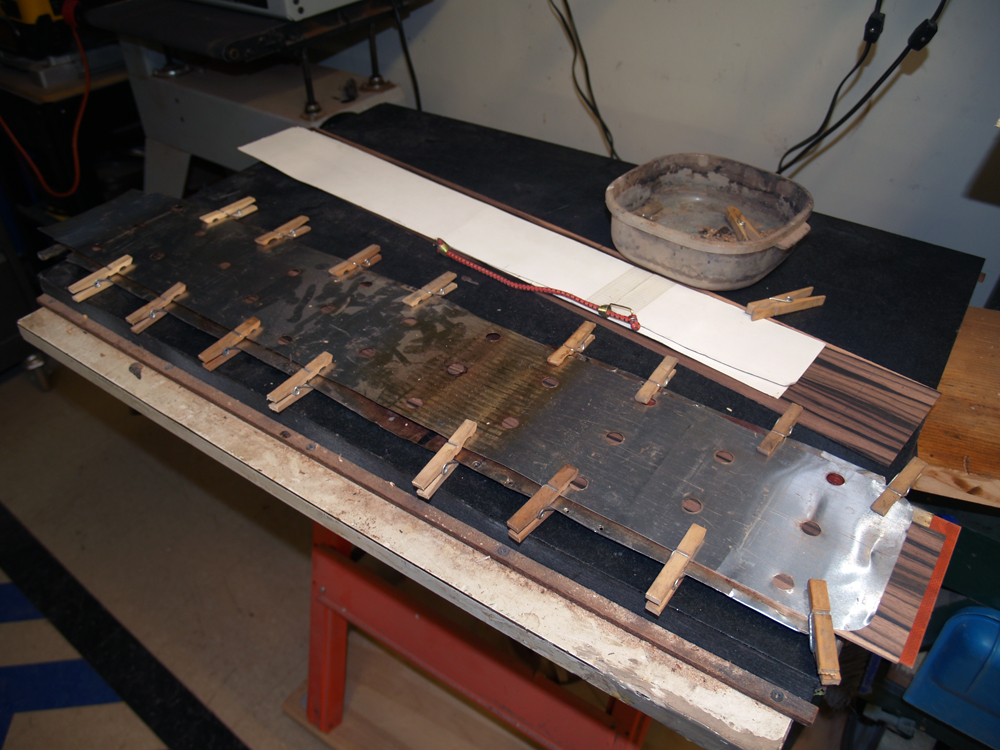 ( 29 ) December 21, 2010
The side piece is sandwiched in between two pieces of aluminum flashing and the heating element. The top piece of flashing has holes in it so I can squirt water on to the wood as it is being heated.
 ( 30 ) December 21, 2010
The heating sandwich is constrained in the bending machine with two small pegs. This makes sure that the waist and bouts end up just where I want them.
 ( 31 ) December 21, 2010
After the wood has heated up to temperature the waist shoe is pressed into place.
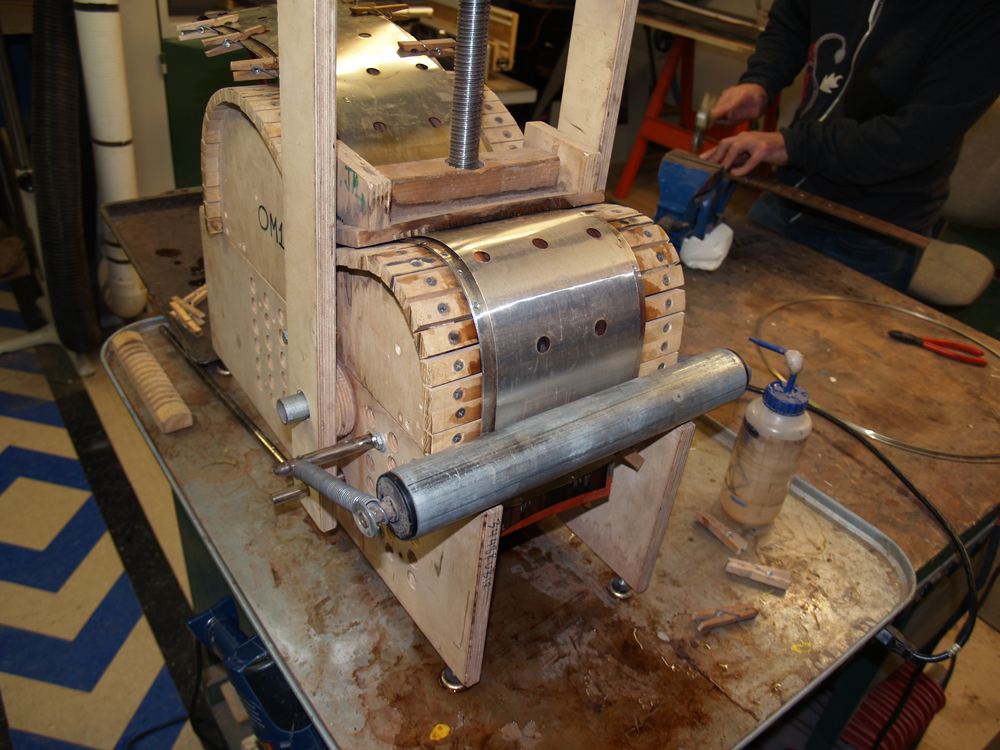 ( 32 ) December 21, 2010
Then a roller presses the upper bout into shape.
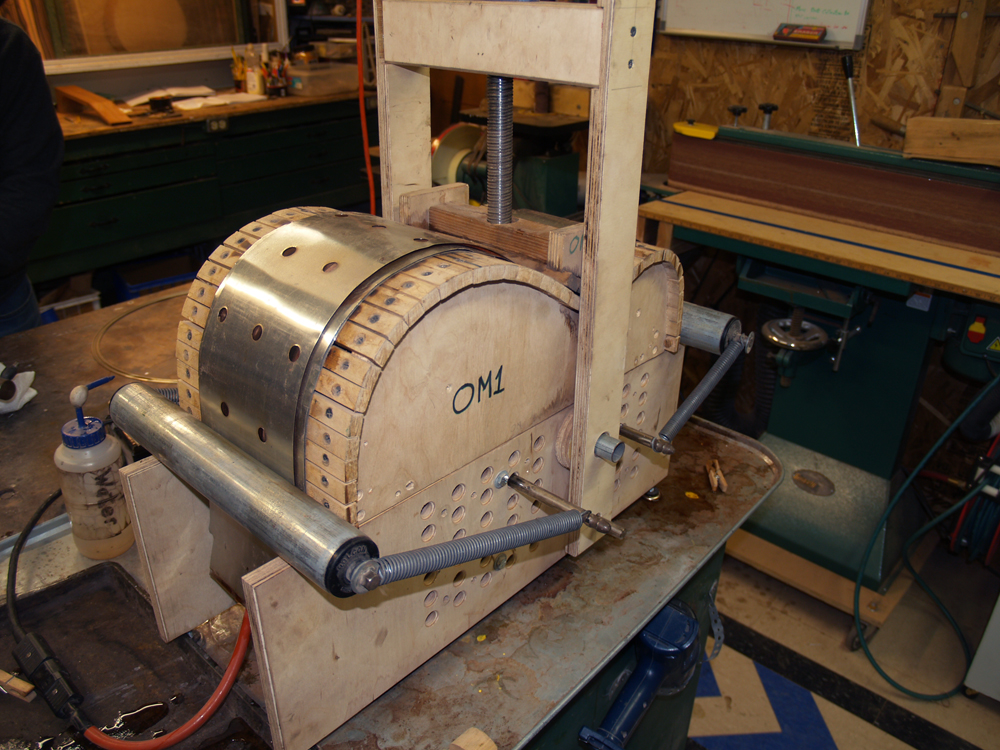 ( 33 ) December 21, 2010
And the the lower bout is pressed into shape.
 ( 34 ) December 21, 2010
After the wood cooks for a while, it will hold its shape.
 ( 35 ) December 21, 2010
The other side piece then goes into the heating blanket.
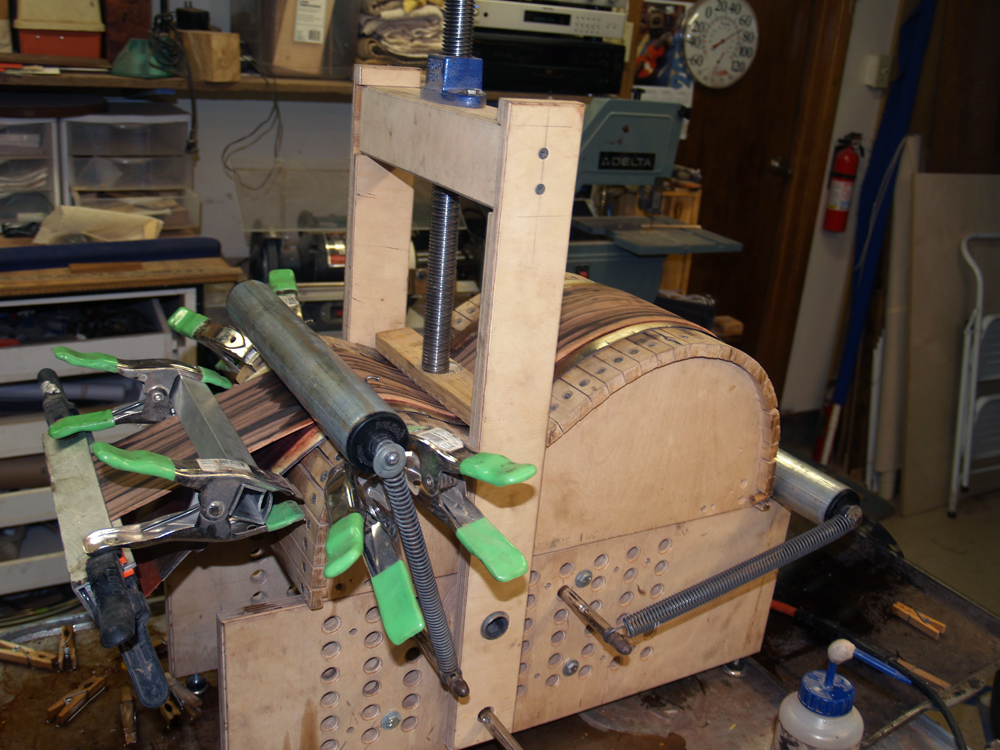 ( 36 ) December 21, 2010
The same process is followed for the cutaway side except the upper bout is stopped at the peak of the cut.
 ( 37 ) December 21, 2010
The cutaway sides then comes out of the bending machine after it too has cooked for a while.
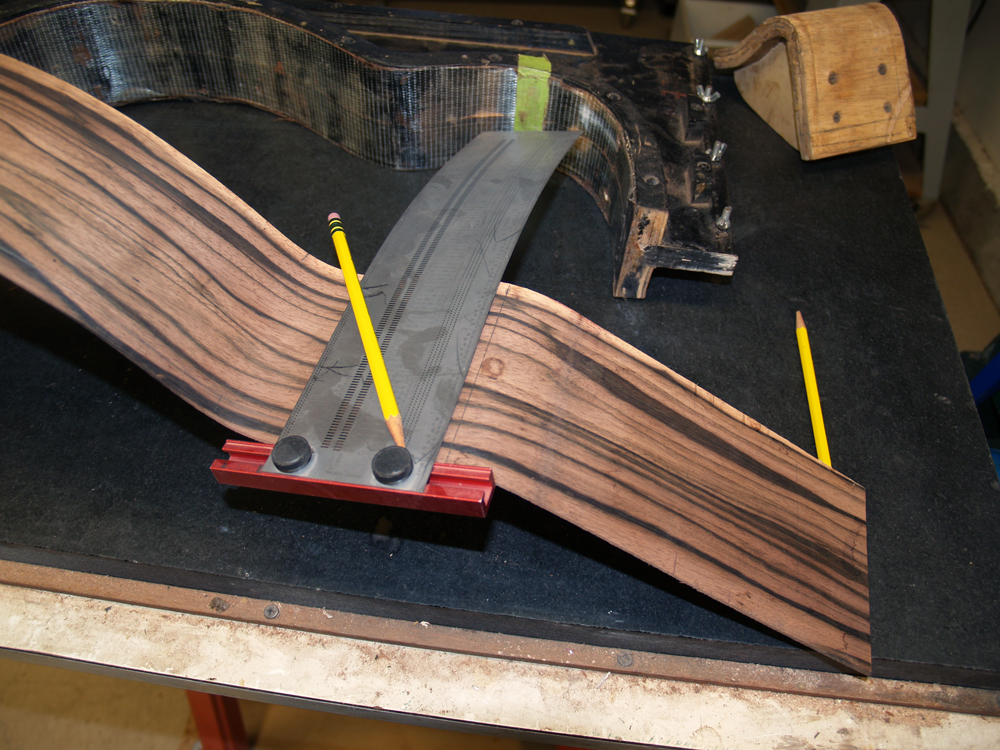 ( 38 ) December 21, 2010
Here I am carefully marking the peak of the cutaway.
 ( 39 ) December 21, 2010
And I use my bandsaw to cut the piece off. Scary!
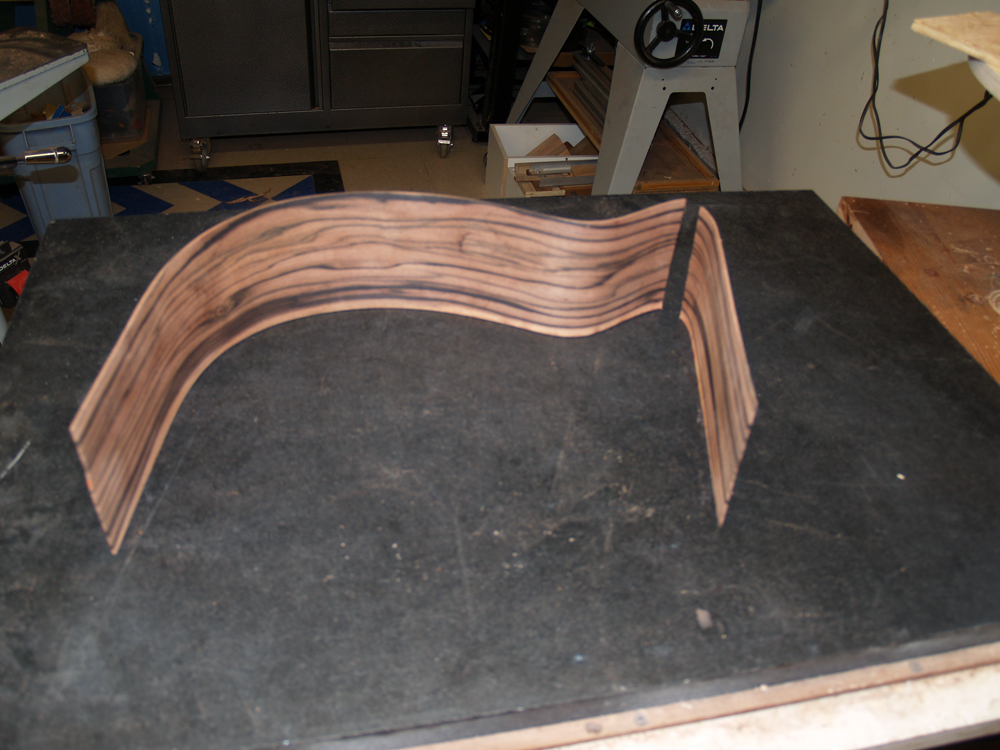 ( 40 ) December 21, 2010
This is what the two pieces look like together at this point.
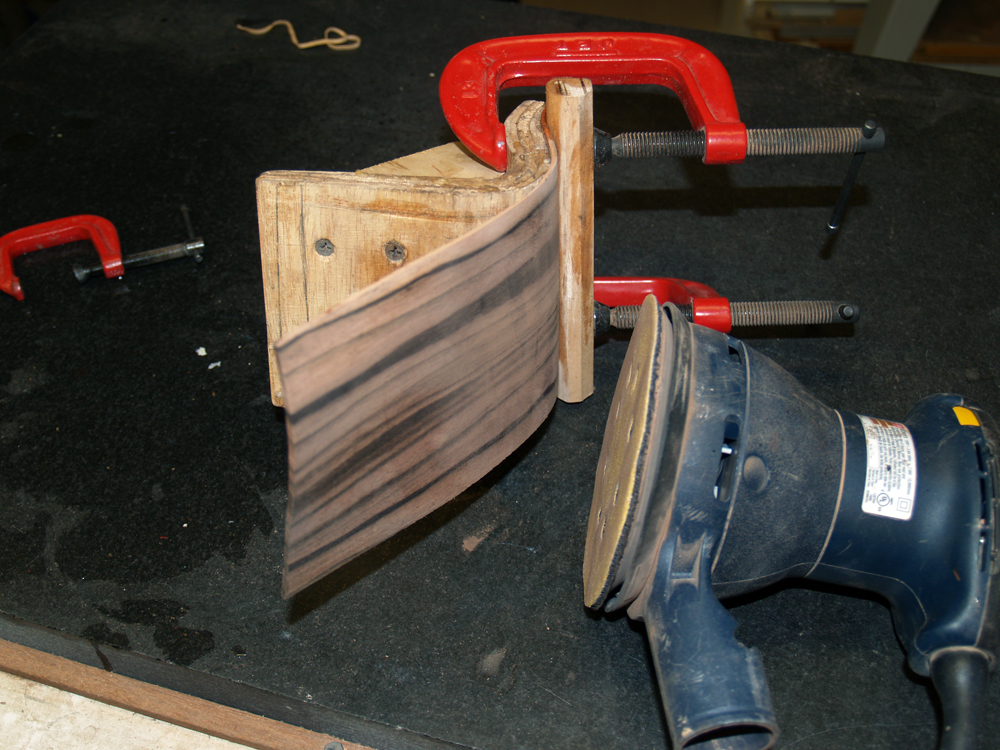 ( 41 ) December 21, 2010
To enhance the bendability of the cutaway section, since it has a wicked tight curve to it, I sand the side down to about 60 mils thick.
 ( 42 ) December 21, 2010
I use a heating iron to force the cutaway section into shape on this mold. I hold it in shape with these C-clamps.
 ( 43 ) December 21, 2010
The whole assembly then goes into the oven to set the bend.
 ( 44 ) December 21, 2010
When it comes out of the oven and it has cooled down we have a funny shaped piece of wood.
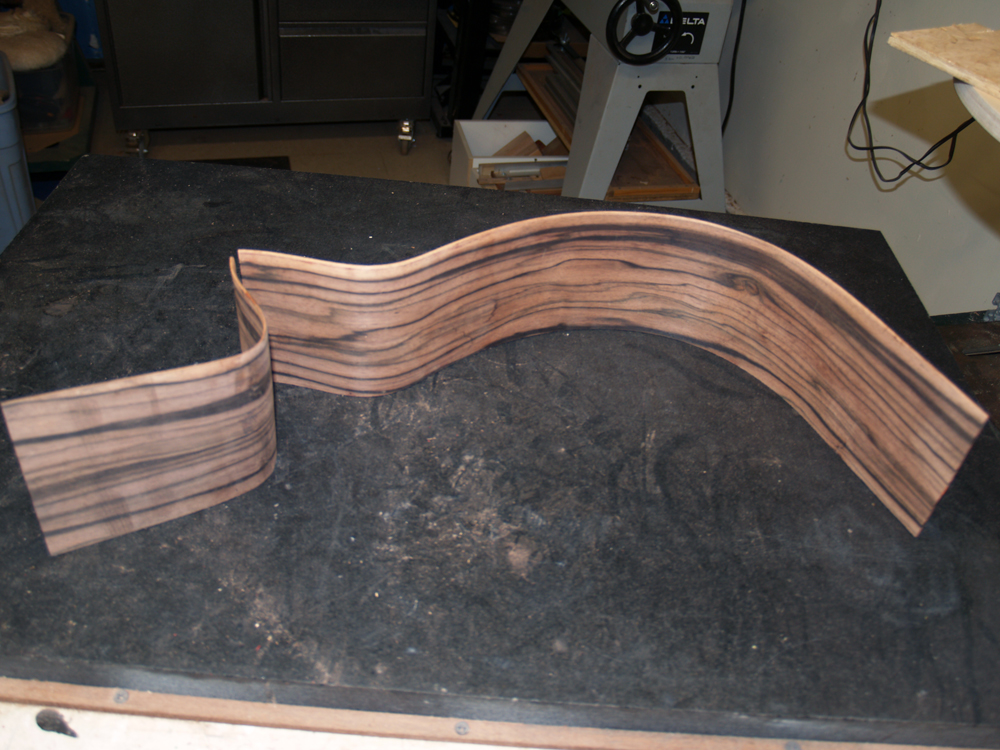 ( 45 ) December 21, 2010
Here we see both pieces of the cutaway side placed together.
 ( 46 ) December 21, 2010
And finally I place all of the side pieces into their forms to hold them in shape until the next steps.