 ( 152 ) 31-Jan-2011
In this picture I have laid out the Amboyna burl and Brazilian rosewood plates that will be used to make the rosettes.
 ( 152 ) 31-Jan-2011
In this picture I have laid out the Amboyna burl and Brazilian rosewood plates that will be used to make the rosettes.
 ( 153 ) 31-Jan-2011
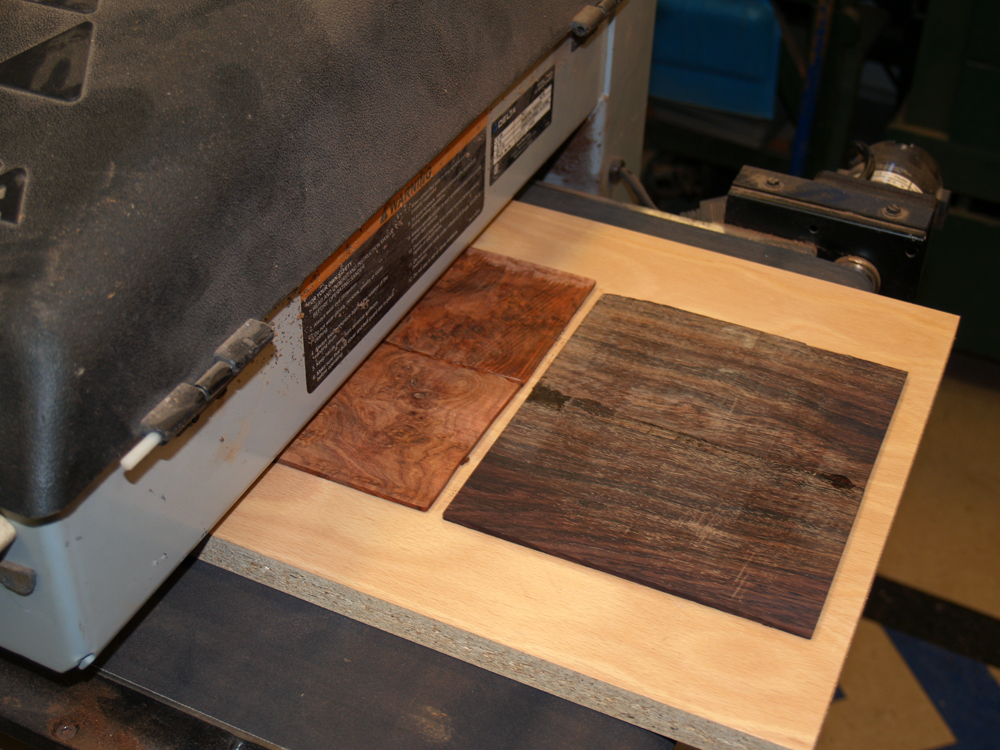
I am sanding the two plate sets in the drum sander to make them thin and of equal thickness.
 ( 154 ) 31-Jan-2011
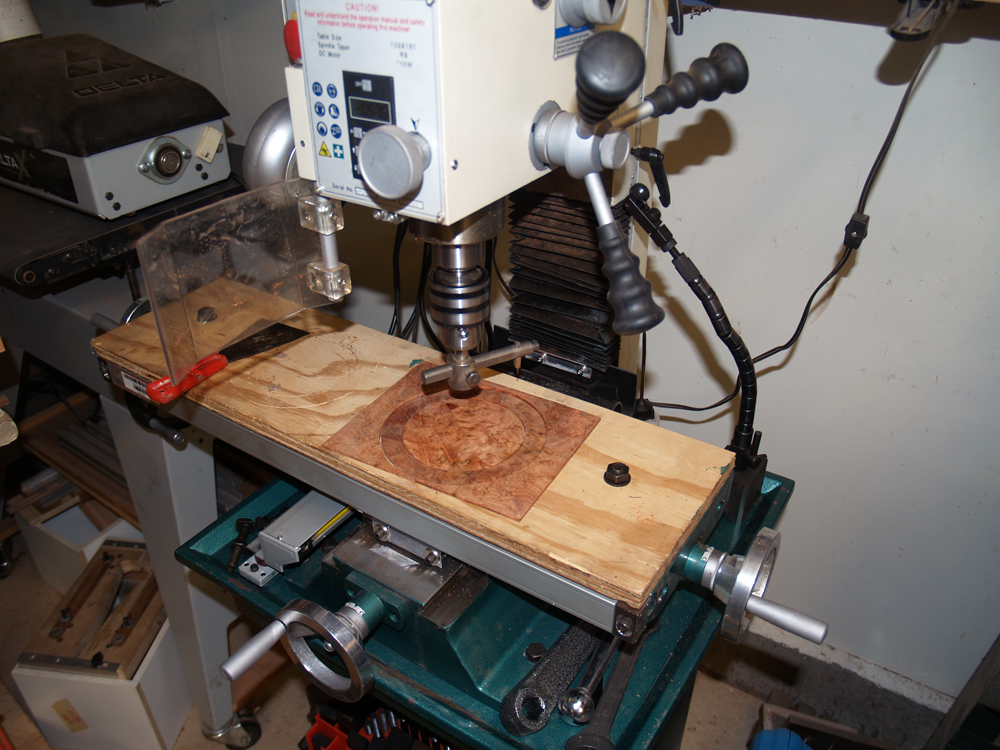
I am using my new milling machine with a rotary cutting tool to cut out matching circles from each plate.
 ( 155 ) 31-Jan-2011
I carefully section each circle to create the individual sections and then mix the two sets together to get the final rosette blank. The residual disk from the center of the Amboyna burl plate will be used for the background of the contra-rosette.
 ( 156 ) 31-Jan-2011
Before going any further with building the rosette I need to create the receiving channel in the top. Here I am laying out and measuring the position of the of the different parts that will be glued to the top.
 ( 157 ) 31-Jan-2011
I use this washer to over size the outline shape of the guitar.
 ( 158 ) 31-Jan-2011
Here I am measuring the layout of the sound hole and the rosette.
 ( 159 ) 31-Jan-2011
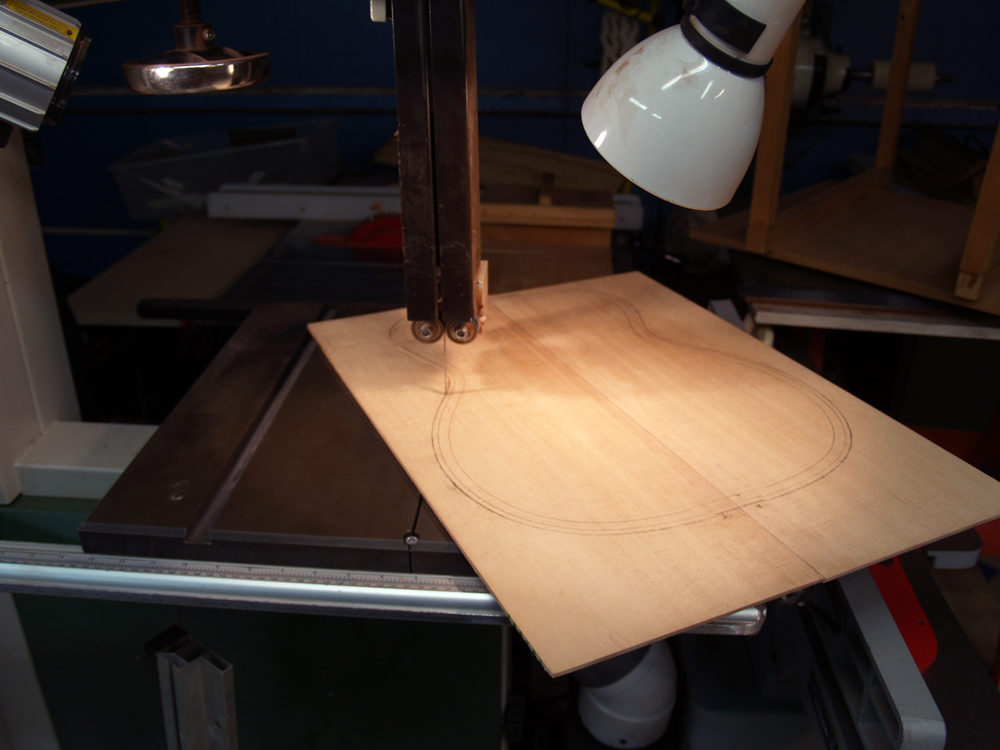
I use the bandsaw to cut out the top. I don't cut out the cutaway section at this point because it tend to be a bit fragile.
 ( 160 ) 31-Jan-2011
The top cut out. I will use the excess material from the top plate to create the sound hole ring a a few other reinforcing plates. I try to use every piece of wood I can, not wasting anything if I can avoid it.
 ( 161 ) 31-Jan-2011
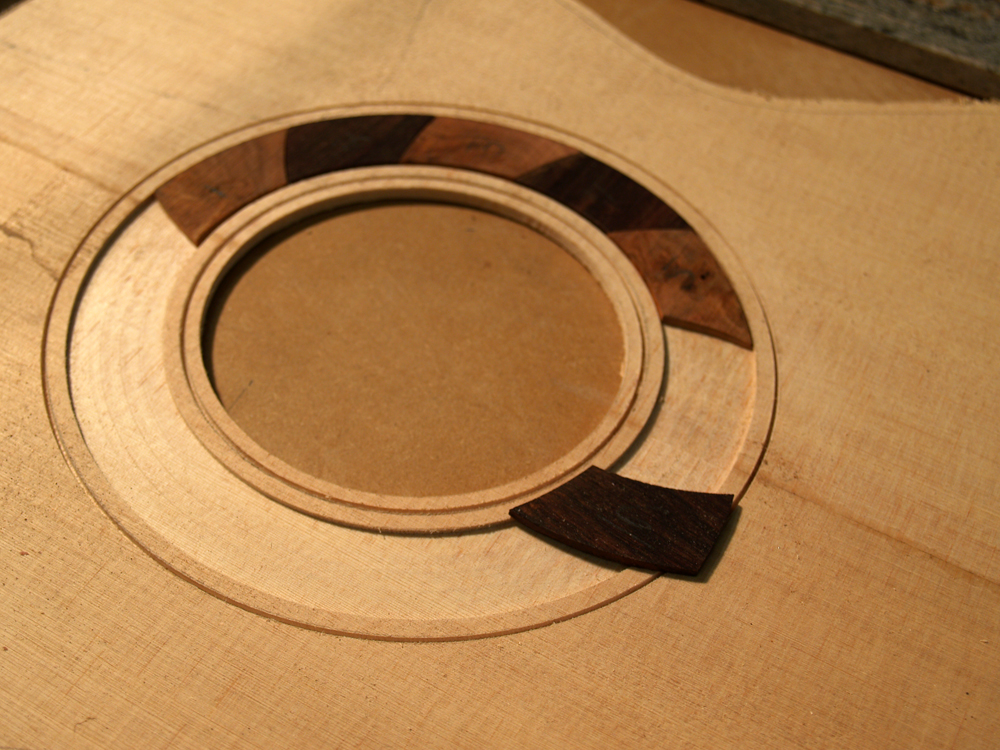
I use the milling machine again to route out the channel for the rosette.
 ( 162 ) 31-Jan-2011
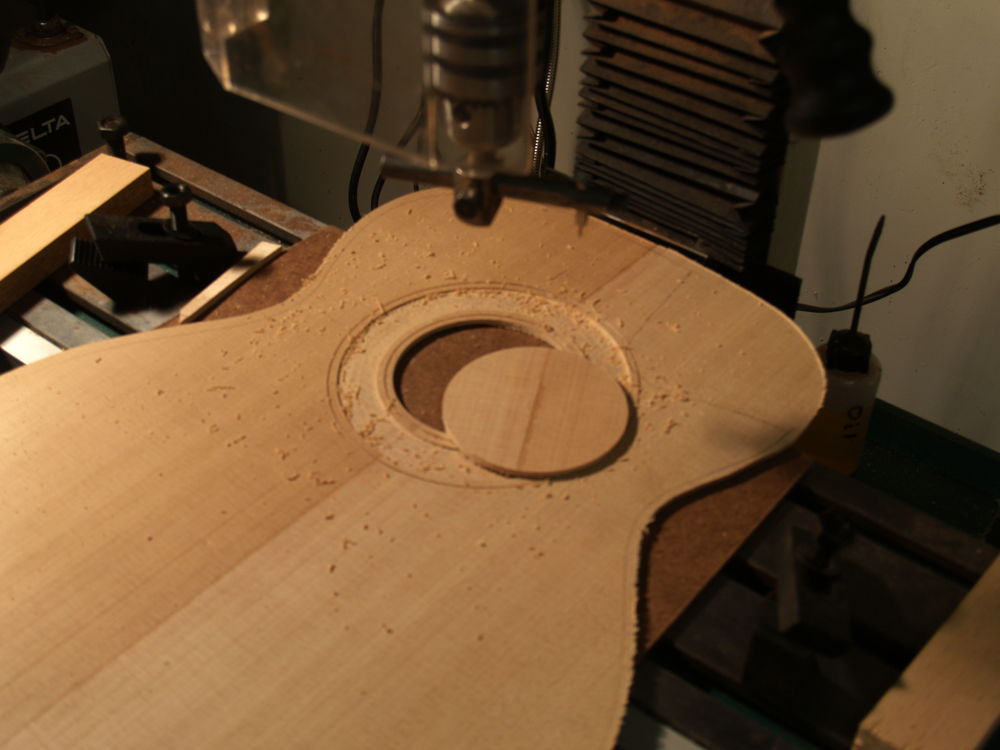
And while everything is lined up on center I cut out the sound hole.
 ( 163 ) 31-Jan-2011
I was very careful to create the channel so the individual section of the rosette would perfectly fit.
 ( 164 ) 31-Jan-2011
The rosette sections laid out in the rosette channel.
 ( 165 ) 31-Jan-2011
The rosette is outlined with a thin green strip and bordered with a black/white/black pinstripe.
 ( 166 ) 31-Jan-2011
A bit of glue tacks everything into place.
 ( 167 ) 31-Jan-2011
And with a bit of sanding, any voids that exist are filled in.
 ( 168 ) 31-Jan-2011
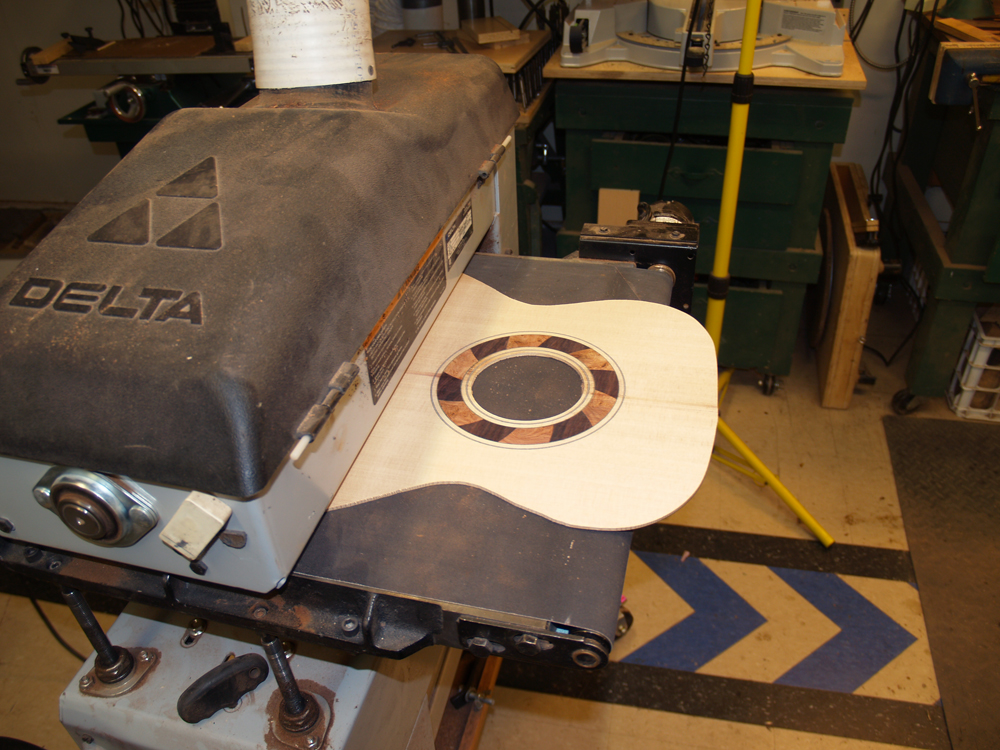
Since the rosette assembly stands a bit proud of the surface I use the drum sander to sand everything flush.
 ( 169 ) 31-Jan-2011
And finally I sand the back of the top plate so it is about 100 mils thick.
 ( 170 ) 31-Jan-2011
This is a bit of a diversion from working on the bracing. Here I am laying out the end graft. The end graft is made from Amboyna burl and the center strip that goes down the center of the back.
 ( 171 ) 31-Jan-2011
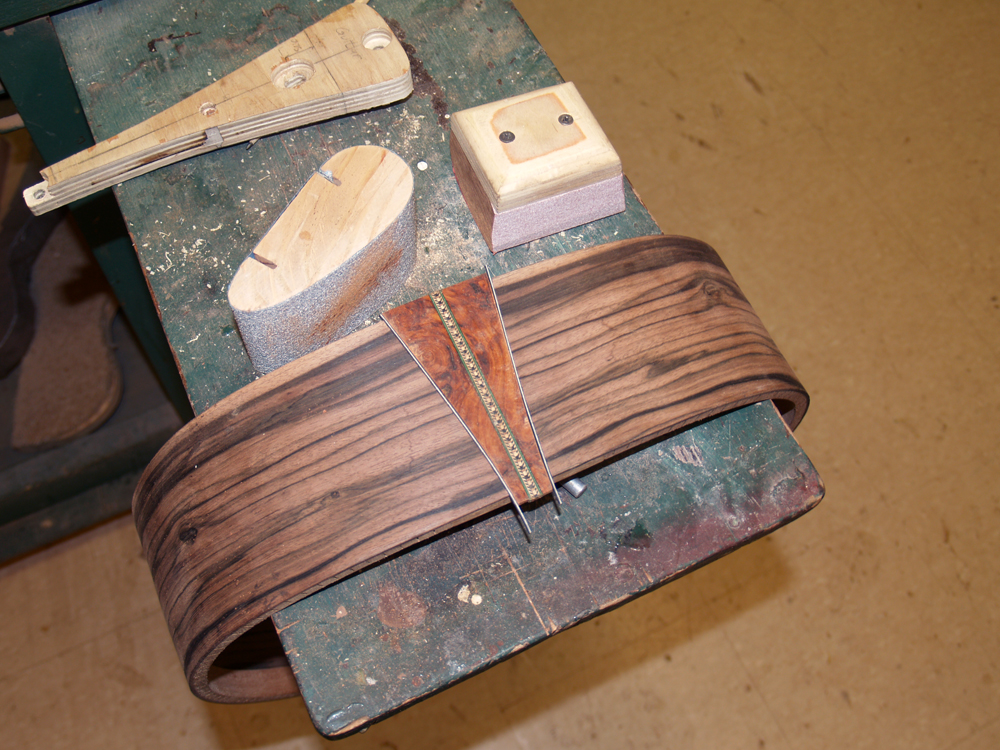
I carefully cut out the shape of the end graft.
 ( 172 ) 31-Jan-2011
And with a bit of fussing and fitting a perfectly (or nearly so) fit is made.
 ( 173 ) 31-Jan-2011
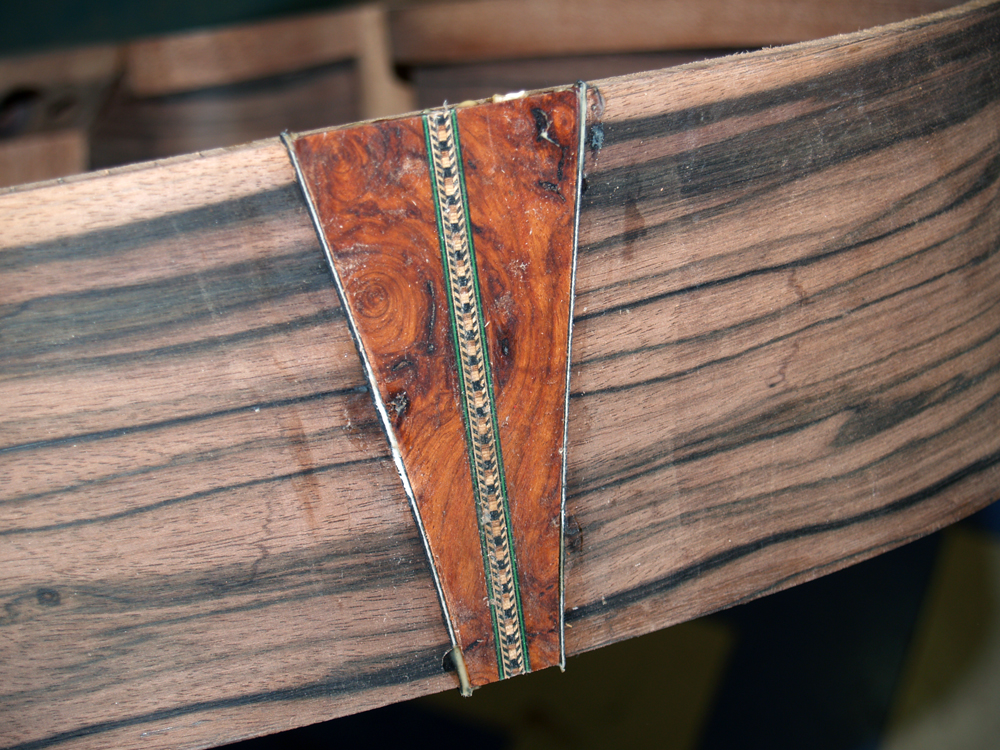
A few clamps are used to glue the plate into place.
 ( 174 ) 31-Jan-2011
When it is dry the end graft stands a bit proud of the surface.
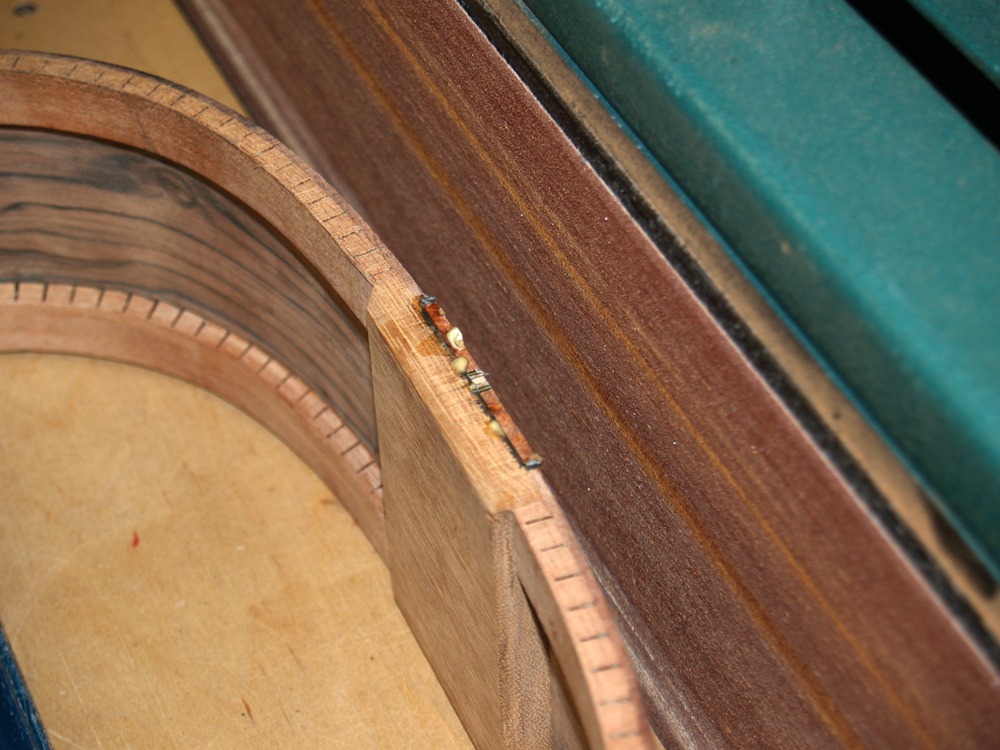 ( 175 ) 31-Jan-2011
So I use the belt sander to sand everything flush.
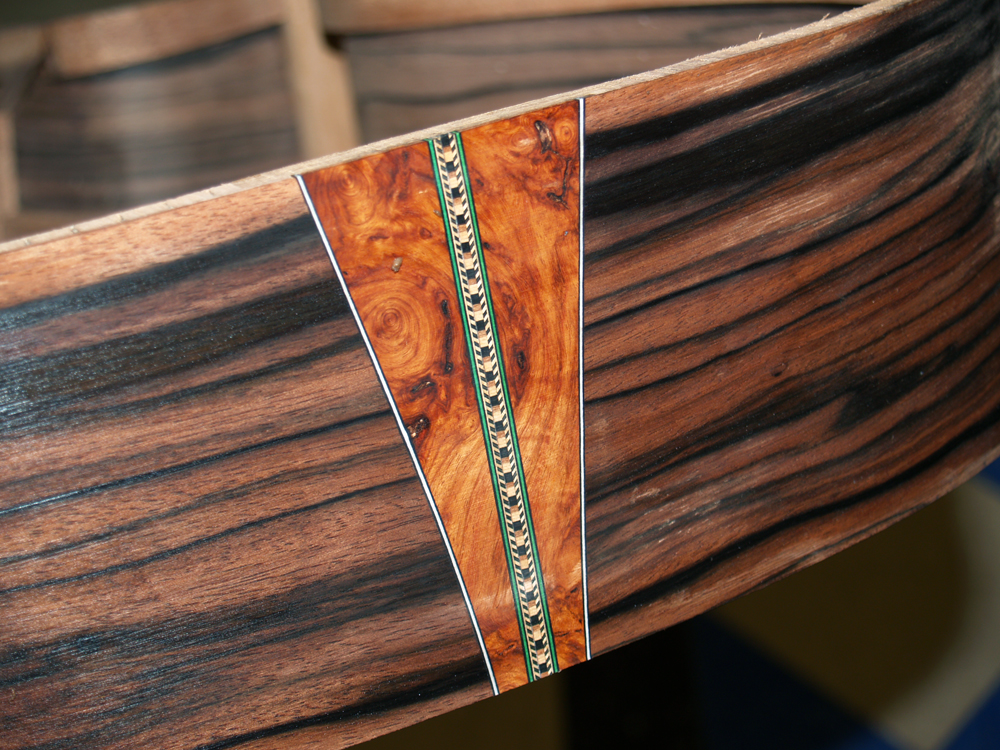 ( 176 ) 31-Jan-2011
And when I am done a beautiful end graft.
 ( 177 ) 31-Jan-2011
Back to laying out the braces for the top. Here I am measuring a piece of stock Indian Rosewood for the bridge plate.
 ( 178 ) 31-Jan-2011
The main X-brace uses a dovetail at the cross point. I use my bandsaw like a power file to carefully create each channel.
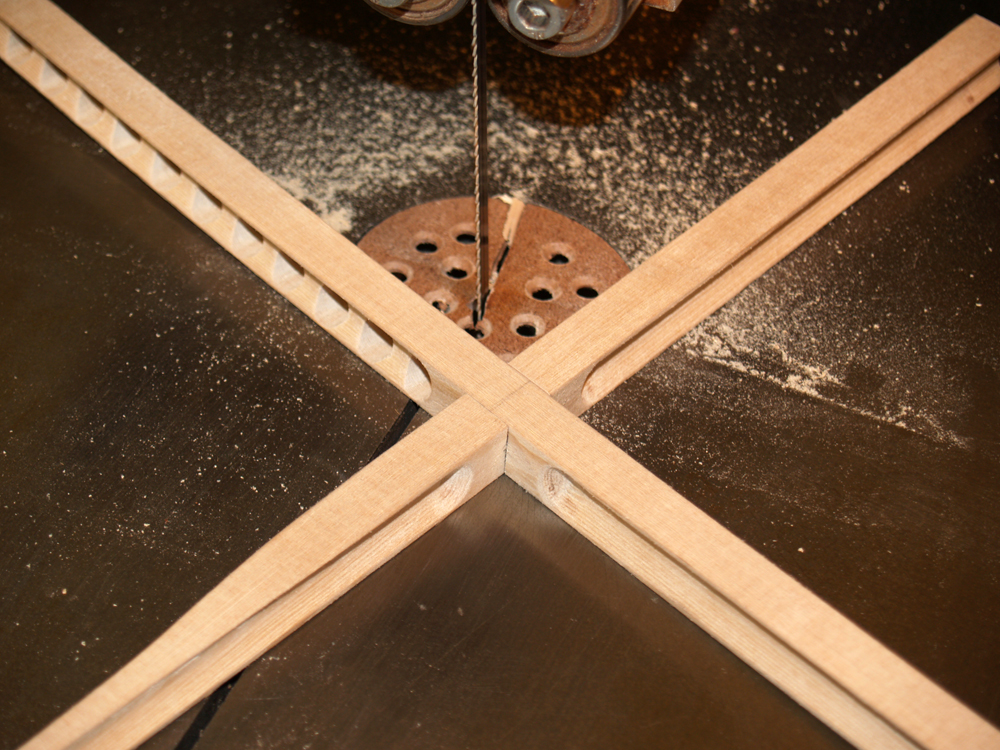 ( 179 ) 31-Jan-2011
With a little care the dovetails perfectly match at the proper angle.
 ( 180 ) 31-Jan-2011
The bracing system employes an A-frame brace to convey the force of the strings from the rim to the heel block. This configuration requires that the braces butt up against each other. To get a good fit I use this contour gage copy the I-shape of the brace to the end of the A-Brace.
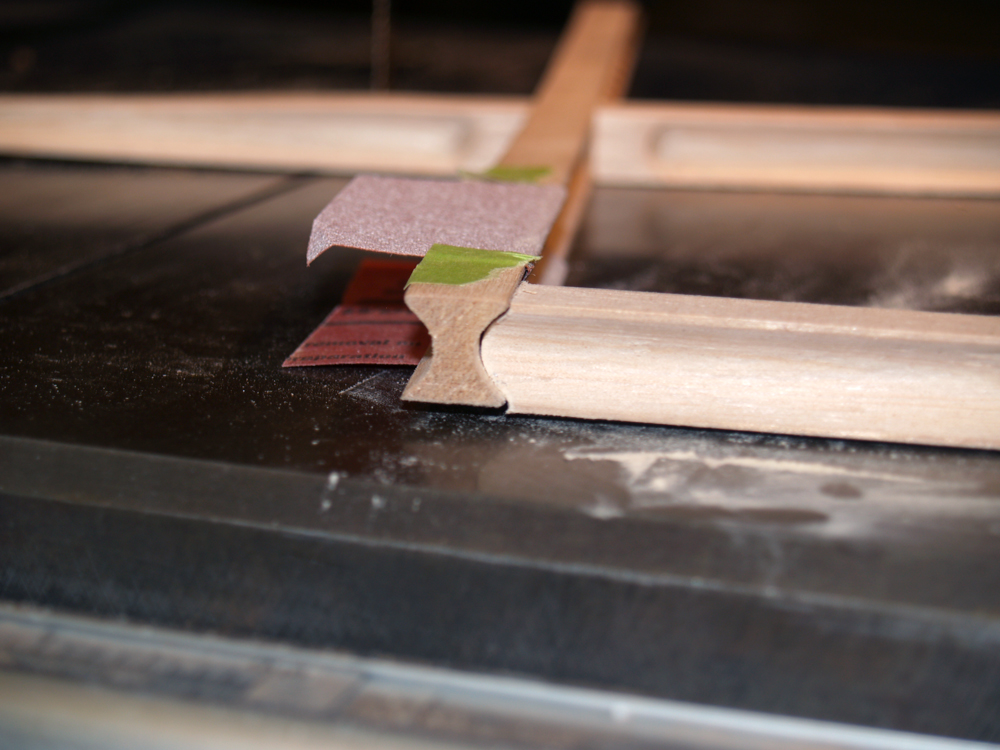 ( 181 ) 31-Jan-2011
With a bit of sanding the two arms of the brace make a good match.
 ( 182 ) 31-Jan-2011
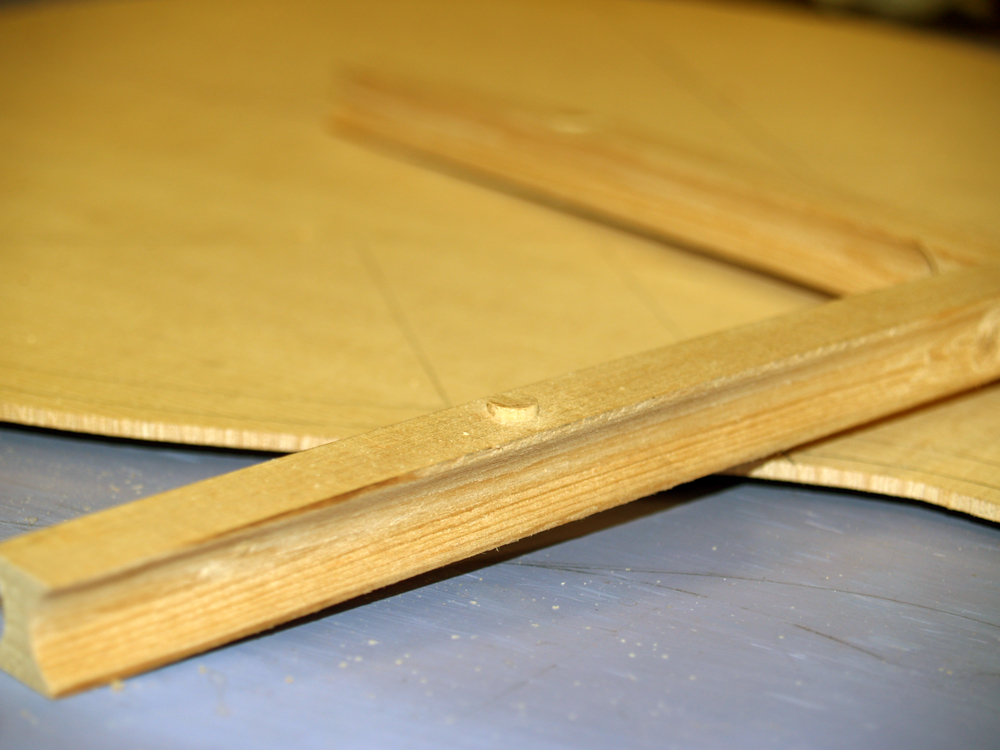
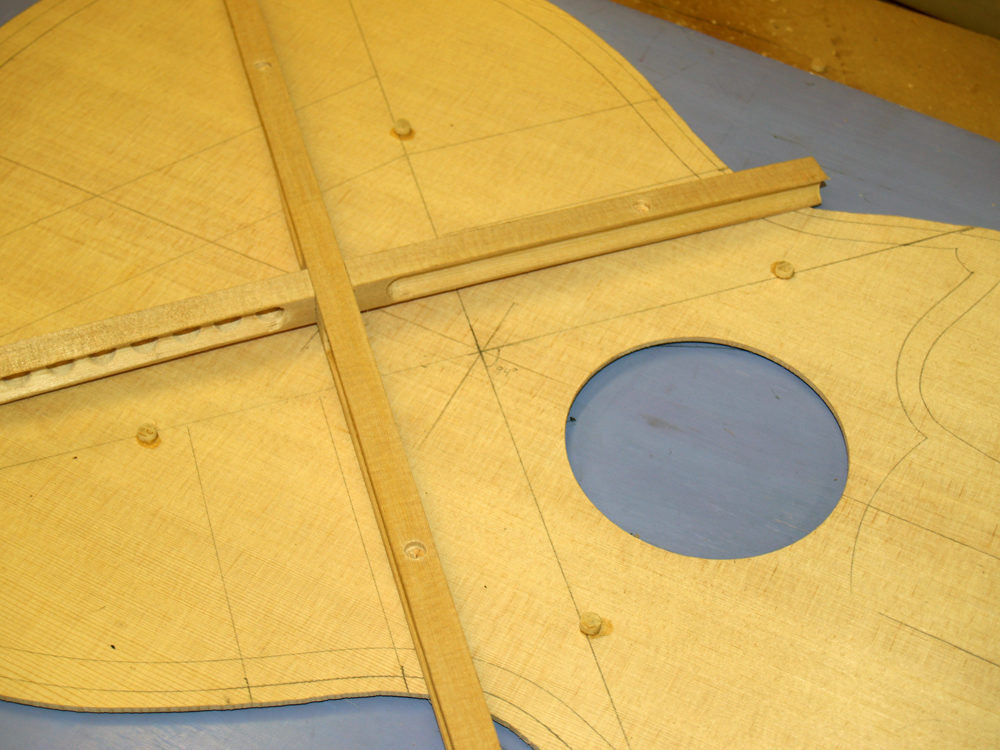
I the construction process I need to be able to repeatably place the brace in their final position. To facilitate this process I use these fiducial buttons to lock the braces in place. I drill a 1/4 inch hole in the brace an put a small piece of 1/4inch dowel in the hole. I then put a small drop of glue on the end of the dowel.
 ( 183 ) 31-Jan-2011
Then I press the brace into place and the buttons stick to the top. When I pull the brace away the buttons stay in place. I can then accurately replace the brace by lining up the holes in the brace with the buttons.
 ( 184 ) 31-Jan-2011
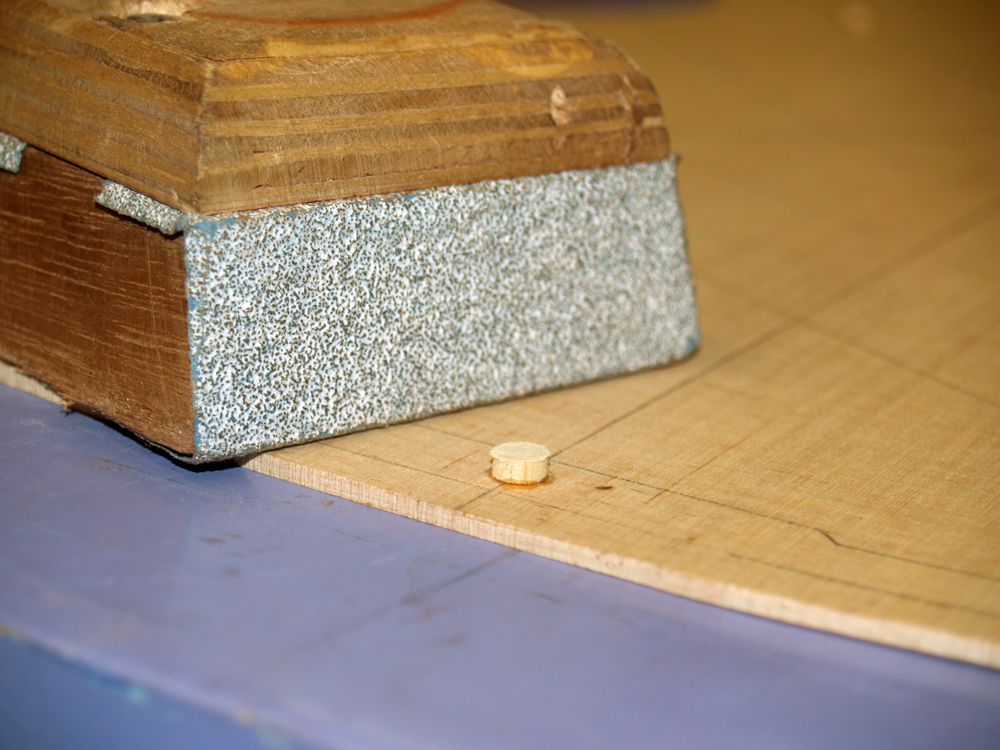
I need to sand the buttons down slightly to ensure that there is no interference and the brace will make good contact with the surface.
 ( 185 ) 31-Jan-2011
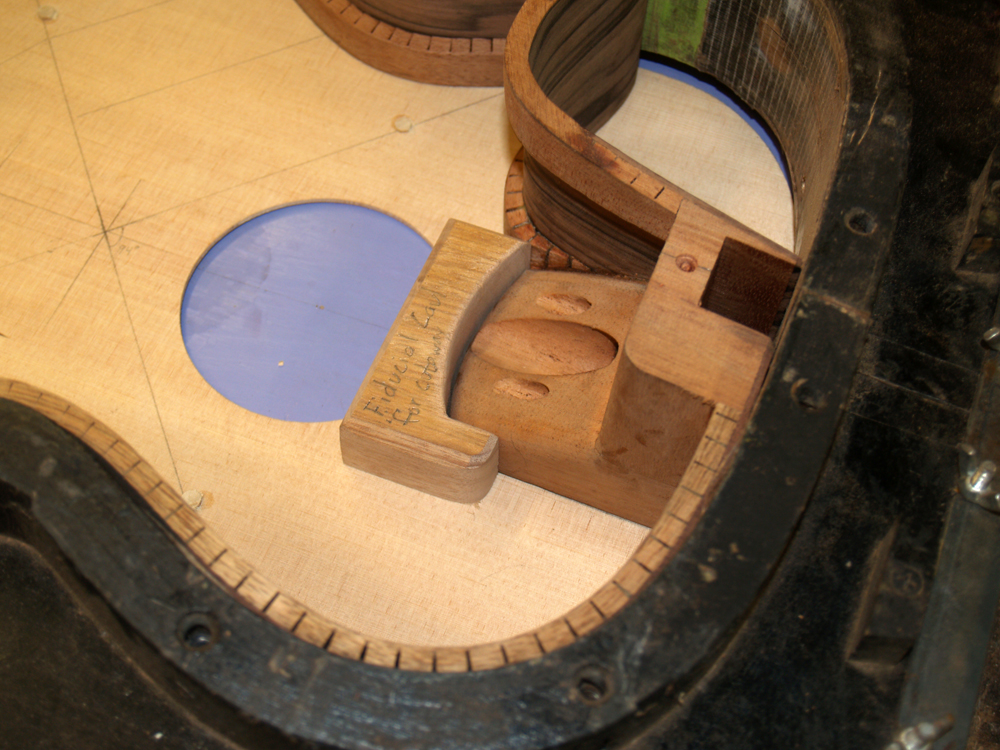
To position the rim on the top repeatably I use a fiducial button on the tail block and this fiducial block on the heal block.
 ( 186 ) 31-Jan-2011
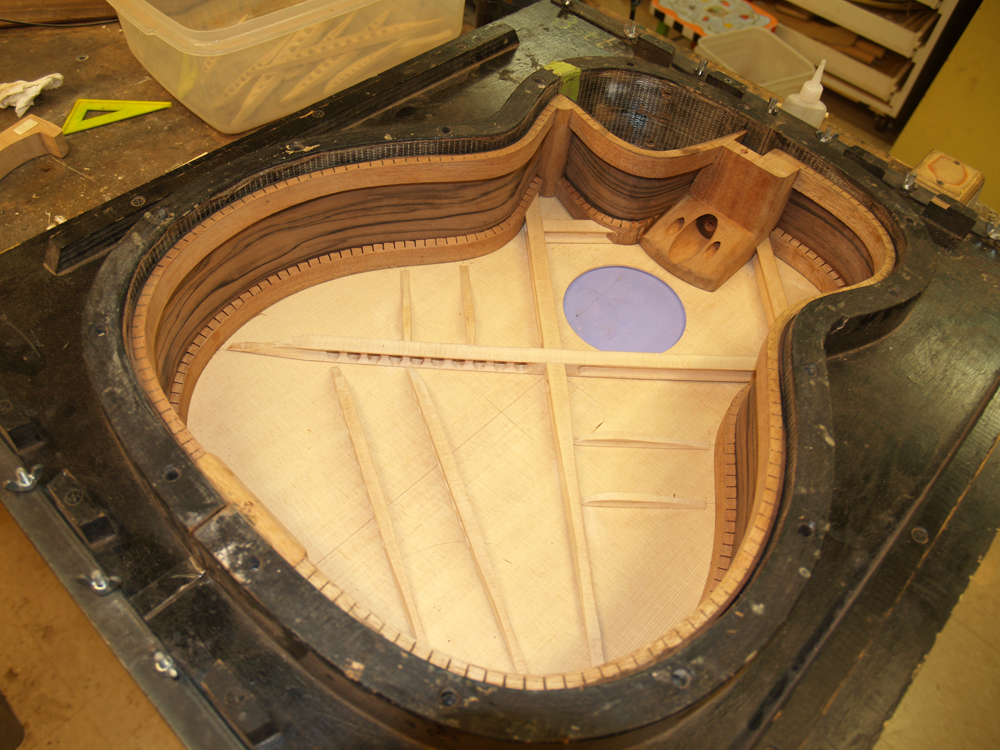
With the brace in place and the rim laid in place over the braces I use a sharp scribe to mark the ends of the braces. It is important that the ends of the braces firmly but up against the rim to ensure force from the string is effectively transferred to the rim.
 ( 187 ) 31-Jan-2011
I cut the excess off of the braces and then carefully sand the ends of the braces up to the scribe mark.
 ( 188 ) 31-Jan-2011
When all is done the rim will slide over the braces and make good contact all around.
 ( 189 ) 31-Jan-2011
Now I start to install the braces. I use this rolling applicator to apply a thin layer of glue to the bottom of the brace.
 ( 190 ) 31-Jan-2011
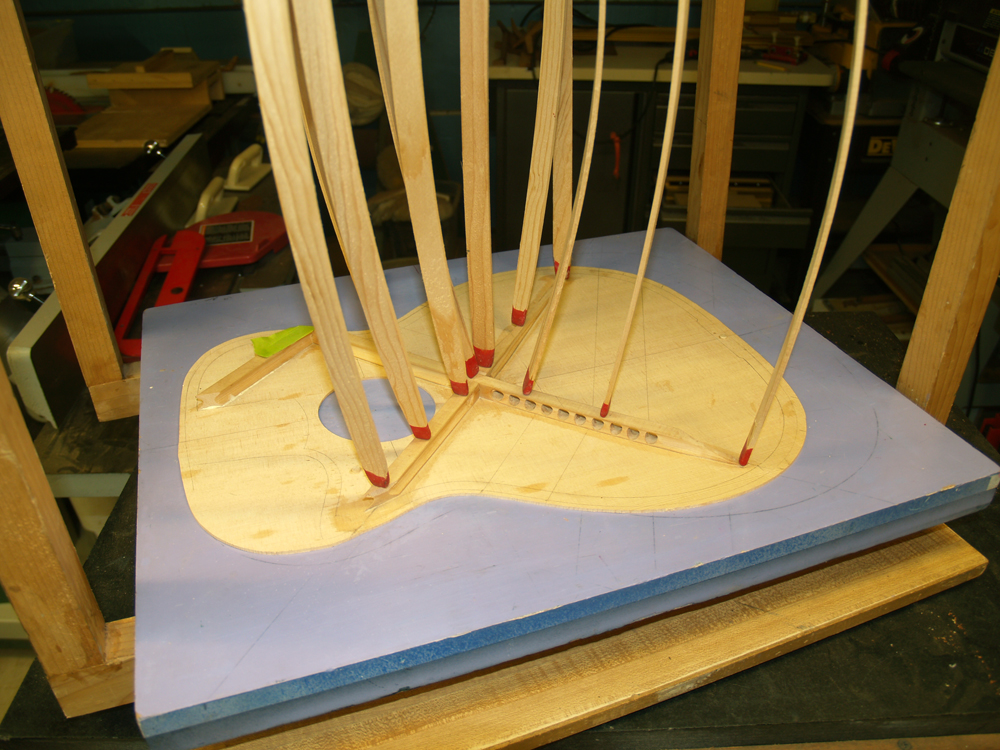
The fiducial buttons insure that the brace is accurately placed on the top and the go-sticks are used to apply pressure to the brace to ensure a good joint is created.
 ( 191 ) 31-Jan-2011
The top is placed in the form that has the final shape of the top, and the bottoms of the braces have been sanded to the complementary shape. When all the braces are glued into place the top will take on the shape of the form and we will have a domed top.
 ( 192 ) 31-Jan-2011
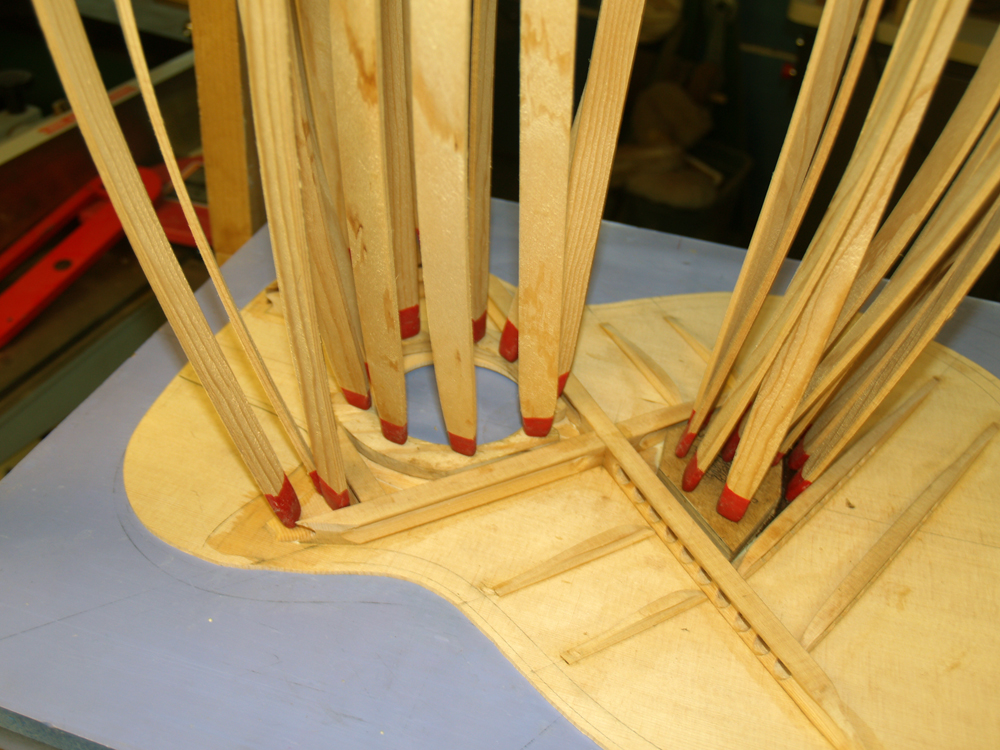
I am not afraid to use lots of go-sticks.
 ( 193 ) 31-Jan-2011
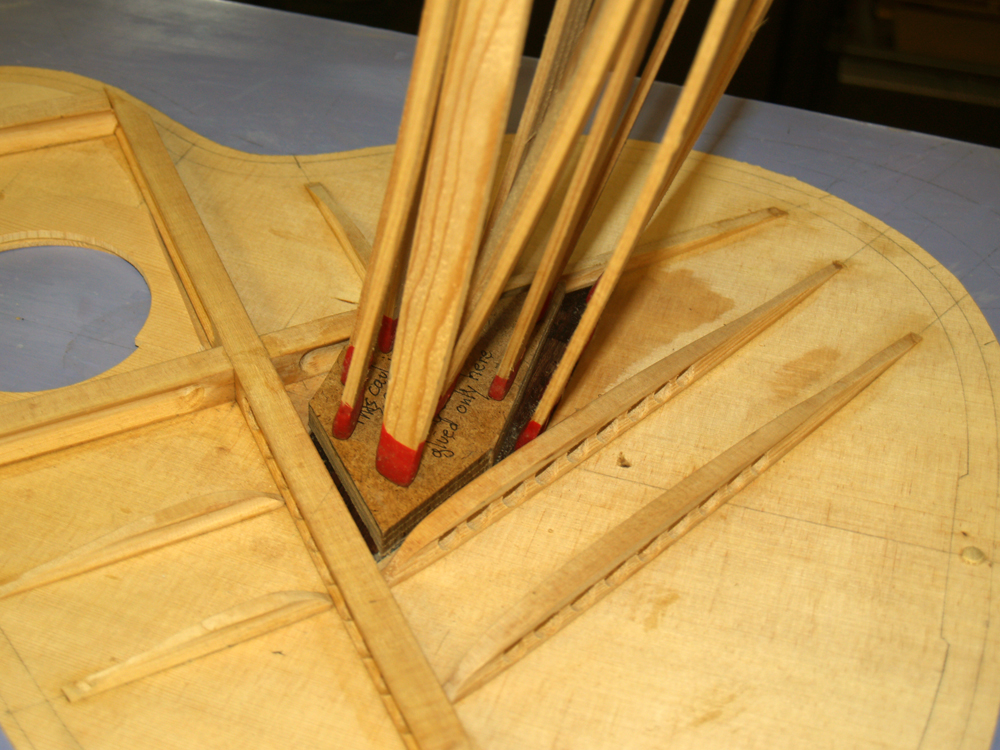
It is a forest of sticks. The ends of the sticks have been dipped in a room temperature vulcanizing rubber to provide a soft surface to prevent damaging the braces.
 ( 194 ) 31-Jan-2011
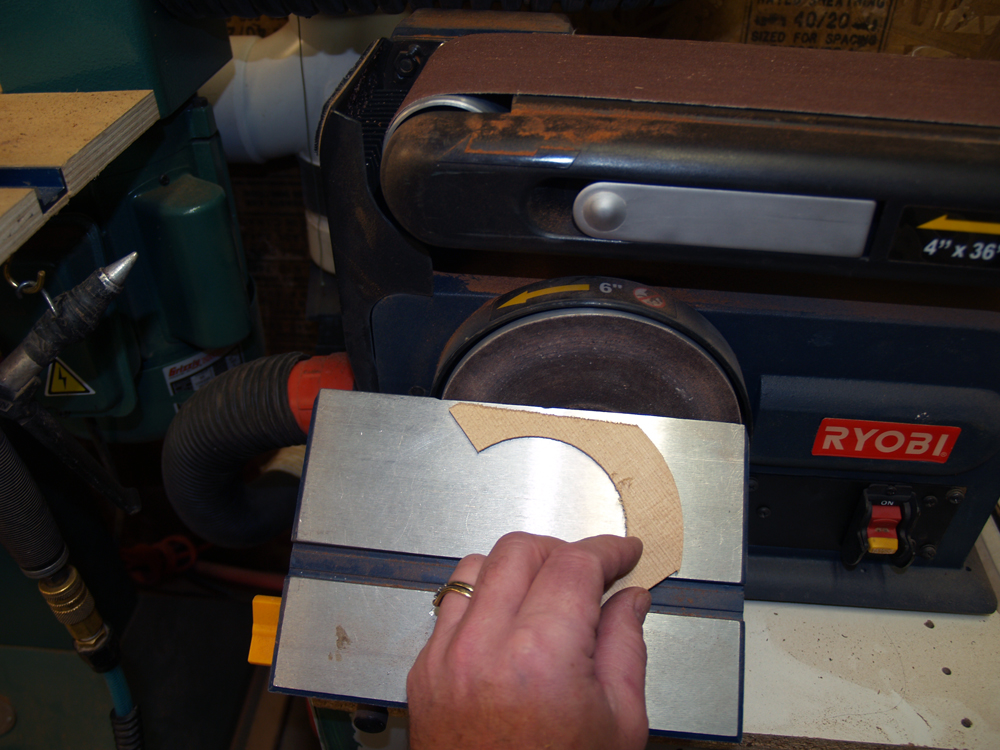
With the first set of braces being glued in place I start forming the second set of brace plates. Here I am sanding the bridge plate.
 ( 195 ) 31-Jan-2011
And here I am sanding the sound hole reenforcing ring.
 ( 196 ) 31-Jan-2011
Back to the go-box to glue the bridge plate in place.
 ( 197 ) 31-Jan-2011
And the sound hole ring and wing plates.
 ( 198 ) 31-Jan-2011
In the end all of the braces glue in place.
 ( 199 ) 31-Jan-2011
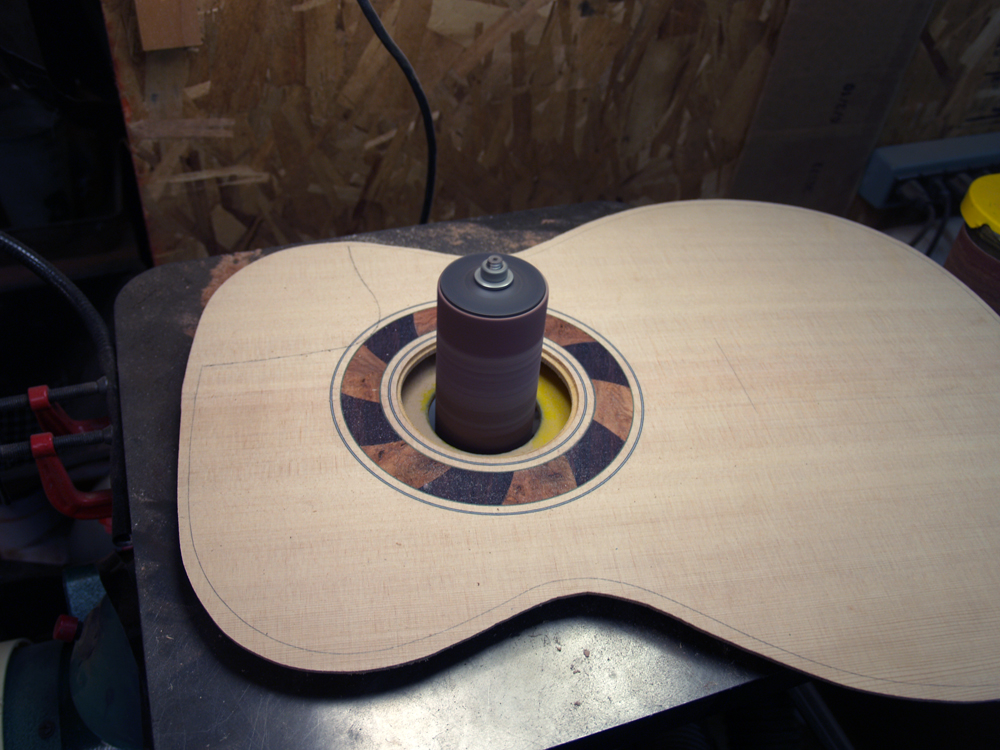
The sound hole ring is slightly over sized so it gets sanded flush with the sound hole. The sound hole will be eventually sanded into a smooth ring. Maybe this lets the notes get out easier.
 ( 200 ) 31-Jan-2011
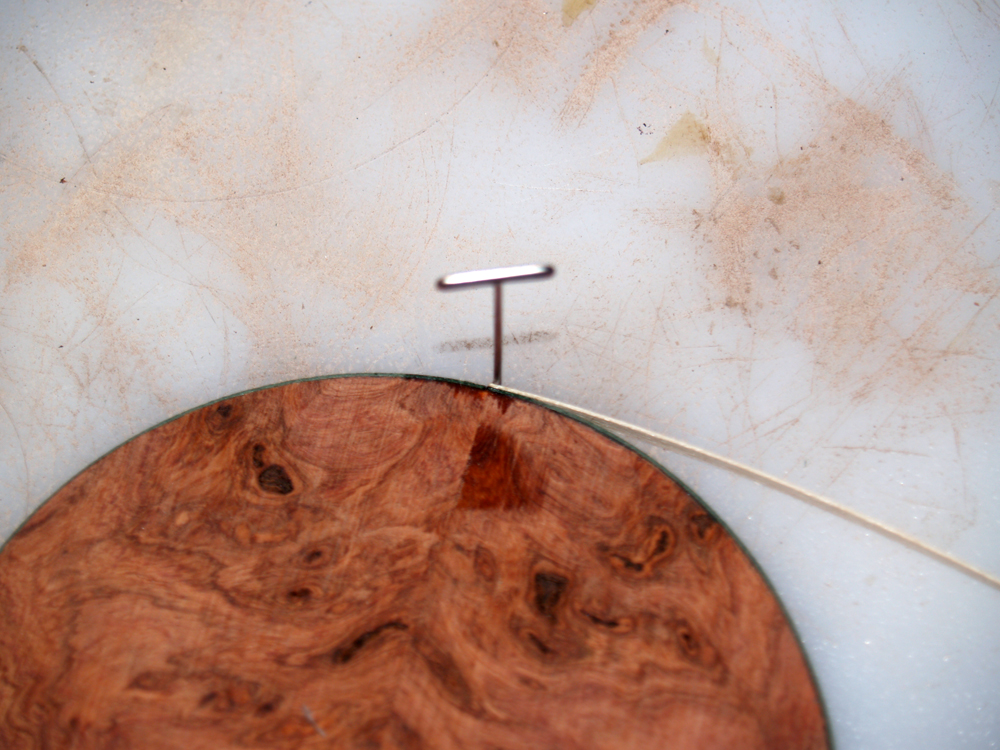
Now I turn my attention to the contra-rosette. I have taken the disk of Amboyna burl created when cutting out the rosette and am using it as the base for the contra-rosette. Here I am gluing a green/white/green border in place. This border will reflect the green pinstripe of the center strip on the back.
 ( 201 ) 31-Jan-2011
I have created a breaking wave icon out of Macassar Ebony veneer.
 ( 202 ) 31-Jan-2011
In this picture I have lined up the top with the rosette in place and the contra-rosette behind it to get an idea of how the two will work together. My intention with this design is to give a sense of free form motion something like the music that will be made with the guitar.