 ( 324 ) 26-May-2011
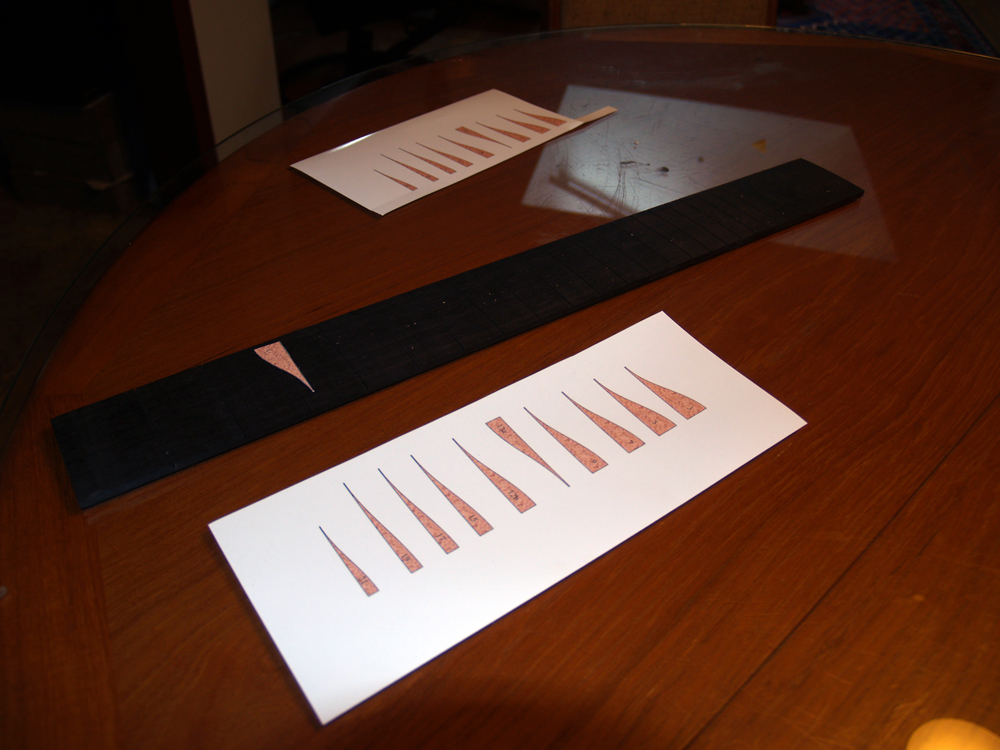
Now I turn my attention to the fretboard. We have decided to use an Amboyna Burl and Snakewood set of markers and binding that matches the body of the guitar. Here I am laying out the markers with paper templates.
 ( 324 ) 26-May-2011
Now I turn my attention to the fretboard. We have decided to use an Amboyna Burl and Snakewood set of markers and binding that matches the body of the guitar. Here I am laying out the markers with paper templates.
 ( 325 ) 26-May-2011
After heating the Snakewood marker strip I press it onto an Amboyna Burl blank.
 ( 326 ) 26-May-2011
After the glue dries I cut the marker inlay blank and trim it to size.
 ( 327 ) 26-May-2011
I use a Dremel tool router to create the inlay channel. This is very exacting work getting the insert and the channel to match with minimal gaps.
 ( 328 ) 26-May-2011
Here you can see the channel that I have created.
 ( 329 ) 26-May-2011
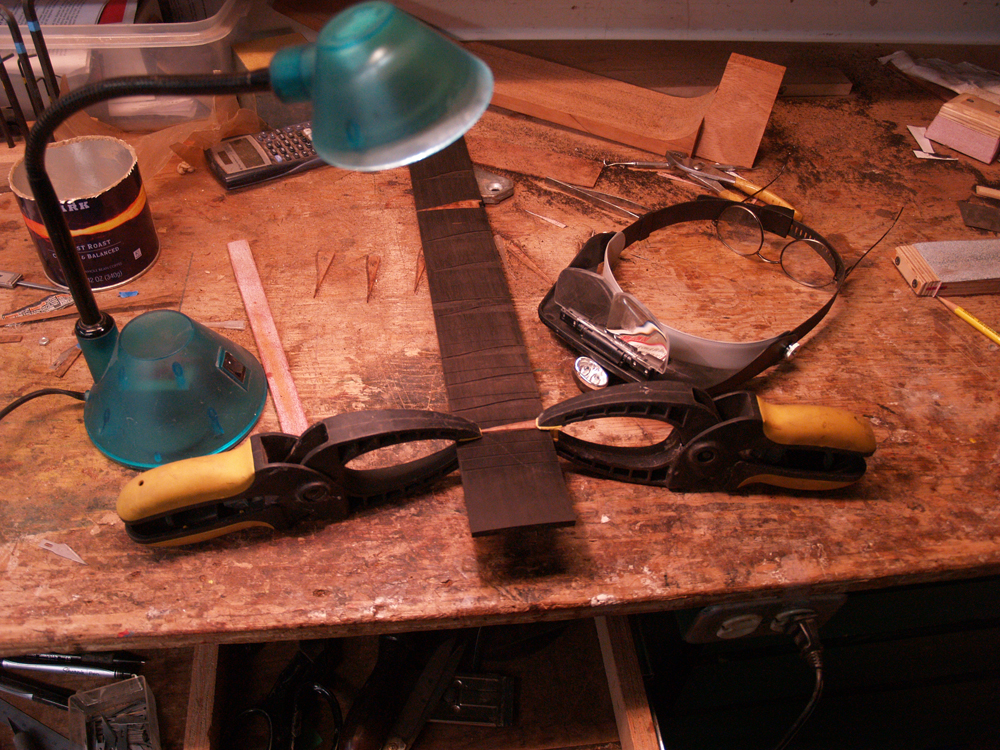
I use a couple of clamps to hold the insert in place as the glue dries.
 ( 330 ) 26-May-2011
And after I have all of the inserts in place I sand everything flush.
 ( 331 ) 26-May-2011
Now I use my bandsaw to trim the fretboard to size.
 ( 332 ) 26-May-2011
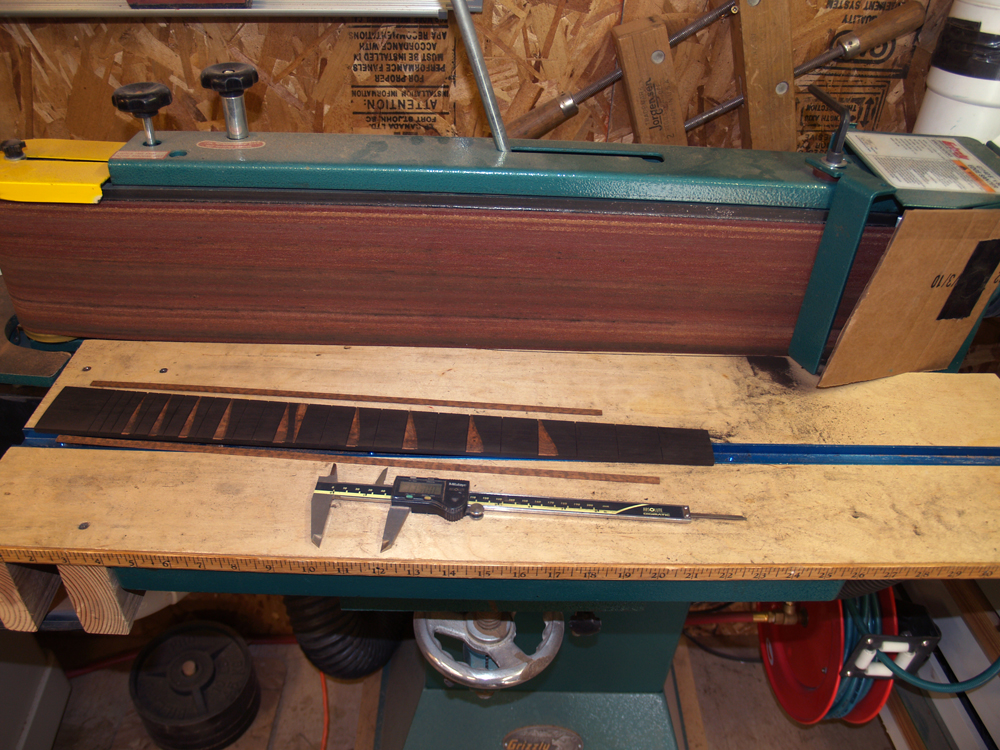
And with the Snakewood binding I sand the fretboard edges until the width of the fretboard at the nut and the 14th fret are at their prescribed widths.
 ( 333 ) 26-May-2011
And then I trim the top of the fretboard to create the extended curve.
 ( 334 ) 26-May-2011
I am installing a piece of green pin striping on the top of the fretboard to match the pin striping in the top of the guitar body. Here I am using my milling machine as an overhead router to create the channel for the pin striping
 ( 335 ) 26-May-2011
Here you can see the channels for the green pin striping
 ( 336 ) 26-May-2011
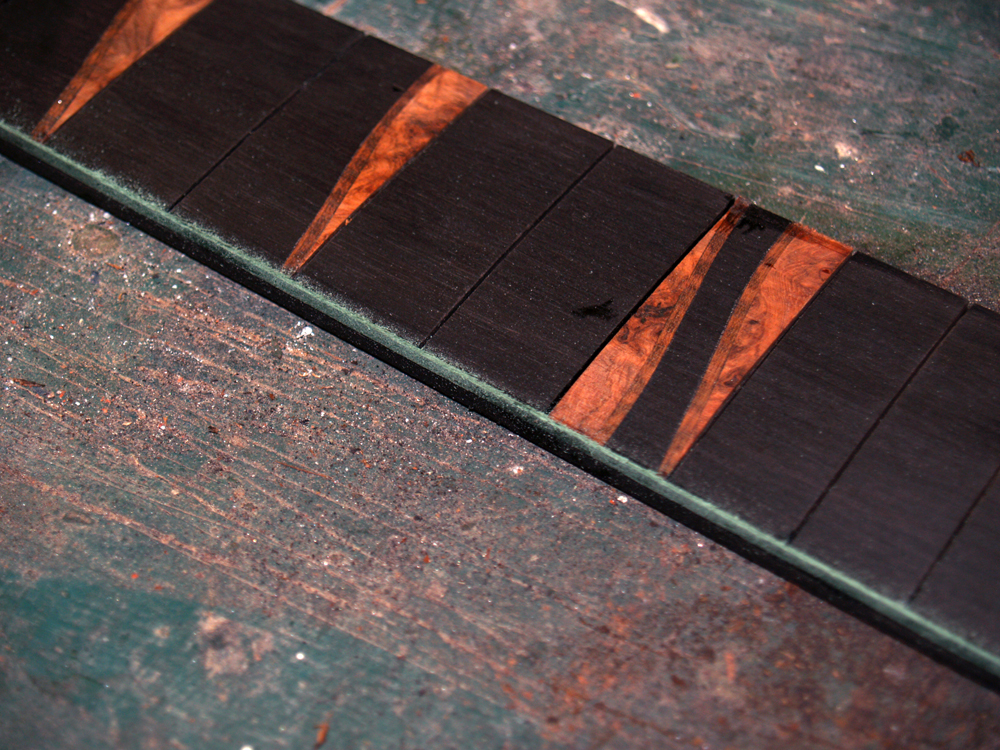
In this picture I am installing the green pin striping along the edge.
 ( 337 ) 26-May-2011
And in this picture I am gluing in the green pin striping on the extended curve.
 ( 338 ) 26-May-2011
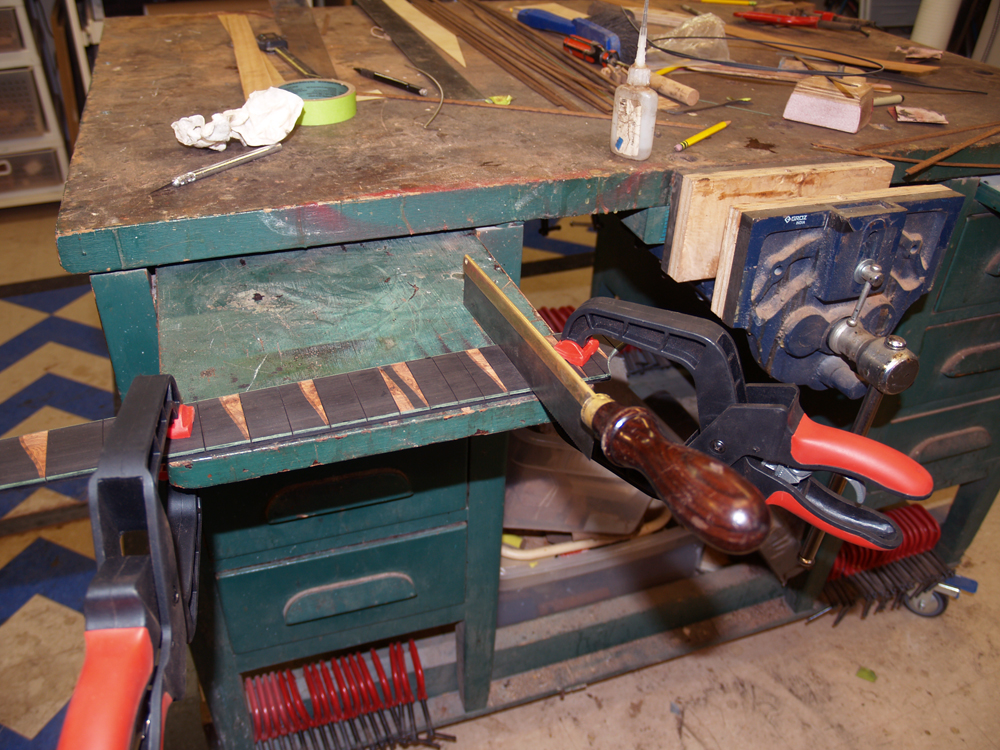
After the green pin striping is installed I open up the fret slots and cut through the pin striping using a small hand saw.
 ( 339 ) 26-May-2011
I am using this small press to shape the Snakewood binding that will go on the extended curve.
 ( 340 ) 26-May-2011
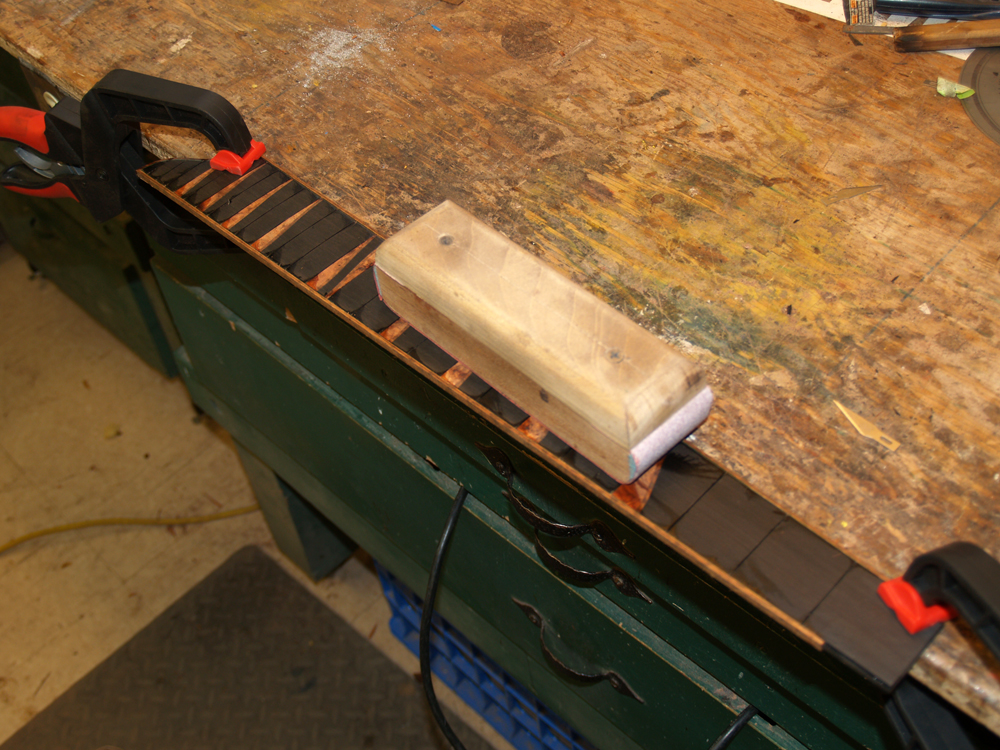
In this picture I am gluing on the Snakewood binding into place.
 ( 341 ) 26-May-2011
And once the glue is dry I sand everything flush.
 ( 342 ) 26-May-2011
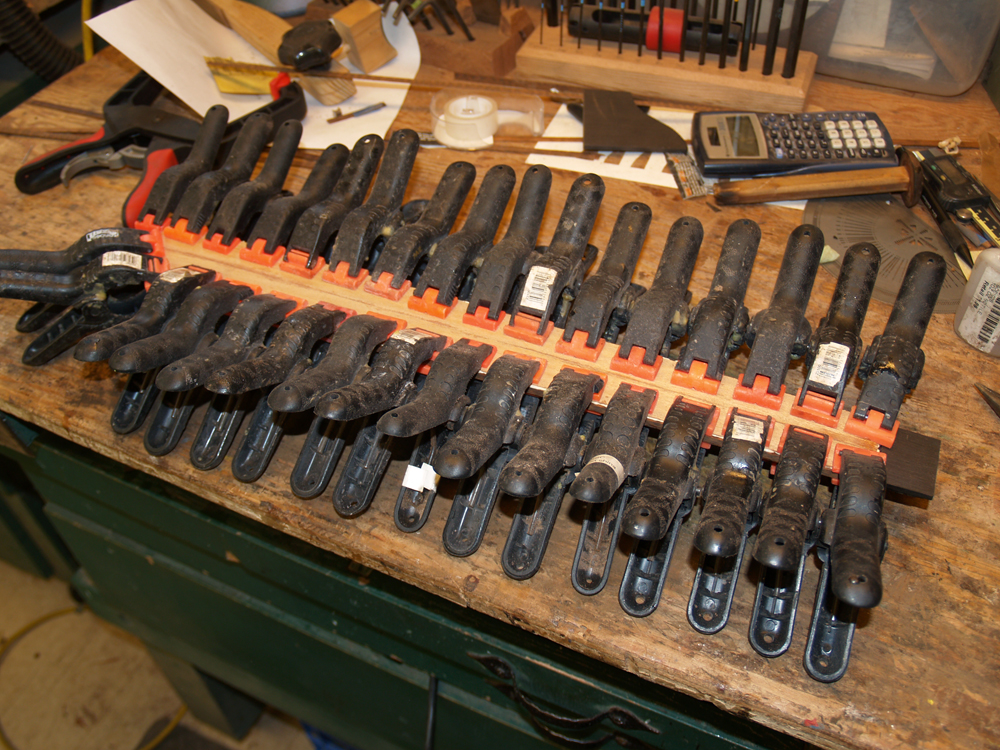
The edge of the fretboard will have a b/w/b pinstripe to match the pinstripe on the side of the guitar body. I am gluing a spacer on the bottom of the fretboard to match the depth of the b/w/b pinstripe.
 ( 343 ) 26-May-2011
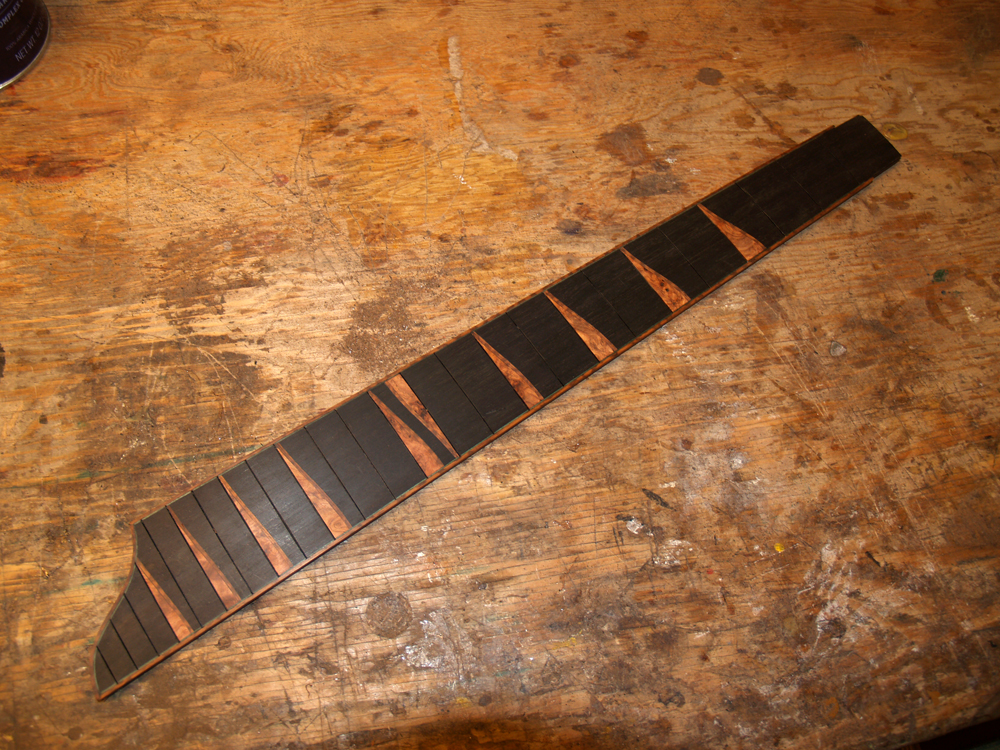
A quick look at the fretboard before getting ready to install the pin striping
 ( 344 ) 26-May-2011
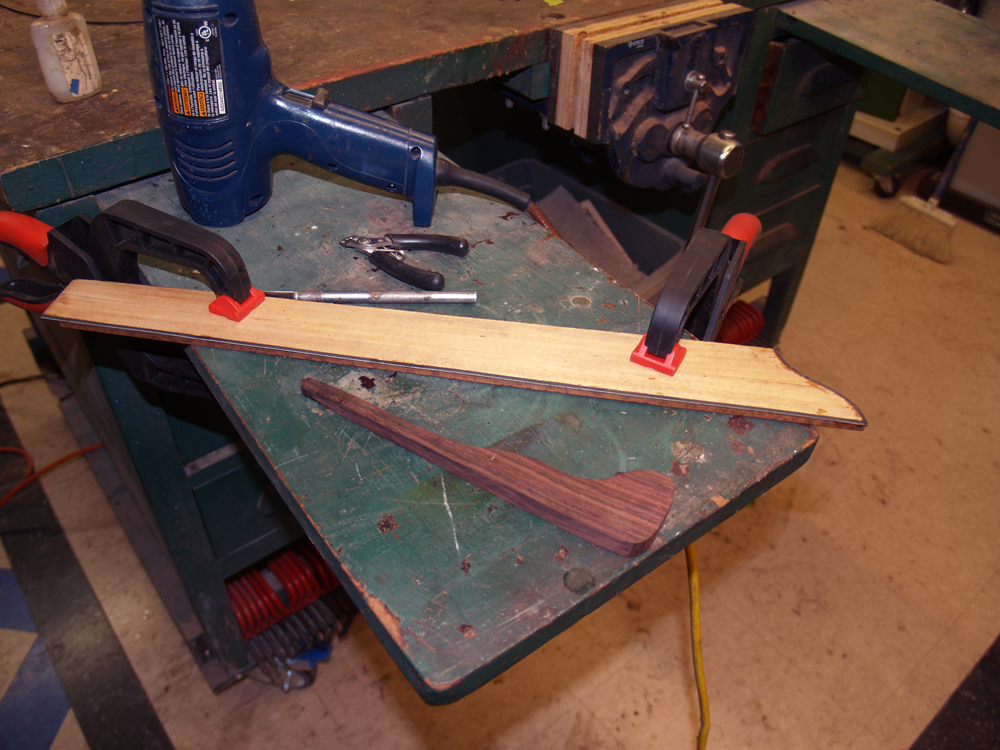
I very carefully trim the end of the fretboard at the nut.
 ( 345 ) 26-May-2011
Here I am installing the b/w/b pin striping
 ( 346 ) 26-May-2011
And when the glue is dry I use a scraper to remove the excess and make everything flush.
 ( 347 ) 26-May-2011
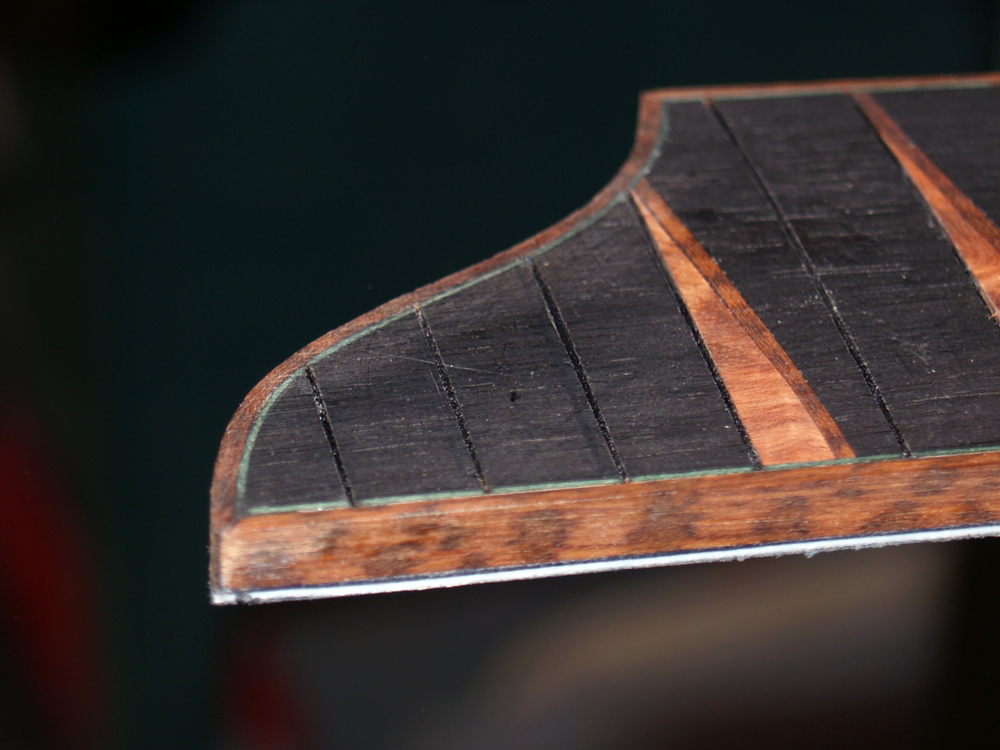
A look at the extended curve with all of the binding in place before installing the frets.
 ( 348 ) 26-May-2011
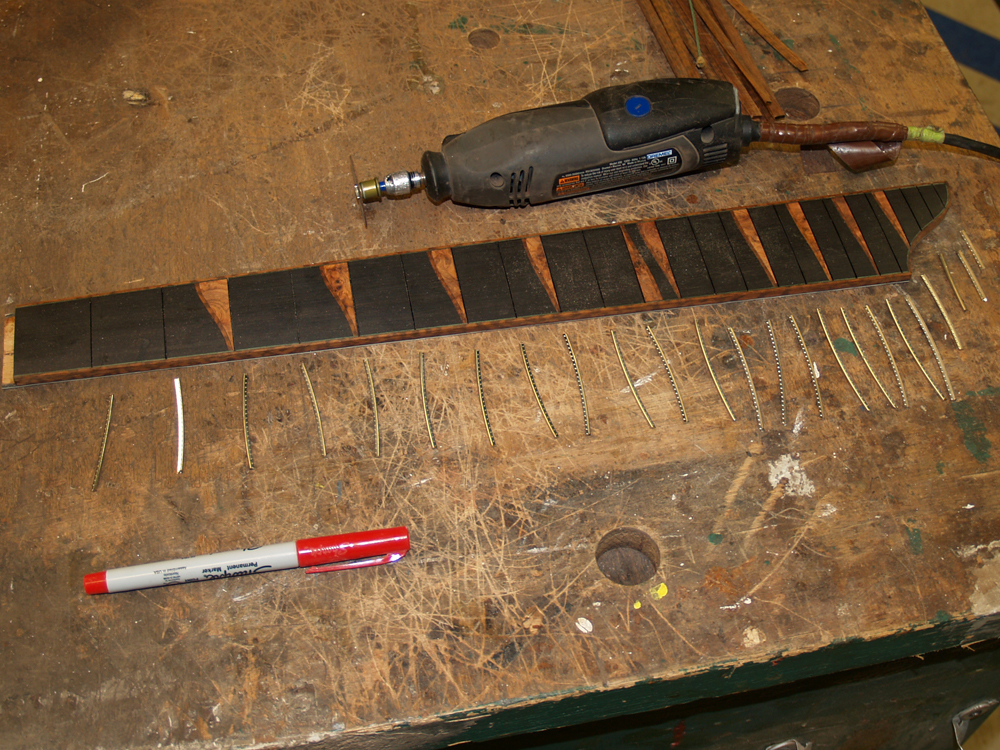
I cut and mark all of the fret blanks. Since this guitar has binding on the fretboard the fret blanks have to have the tang removed where it sits over the binding.
 ( 349 ) 26-May-2011
I have a special jig to help me sand off the tang.
 ( 350 ) 26-May-2011
I use a hammer and anvil to press the frets into place. I am very careful to make sure each fret makes good contact with the surface of the fretboard.
 ( 351 ) 26-May-2011
The frets extend over the edge of the fretboard after I have initially installed them.
 ( 352 ) 26-May-2011
I use a bit of CA glue to make sure the ends of the frets will stay in place, and then I sand the ends of the frets flush with the binding.
 ( 353 ) 26-May-2011
A picture of the finished fretboard.
 ( 354 ) 26-May-2011
A picture of the finished fretboard.
 ( 355 ) 26-May-2011
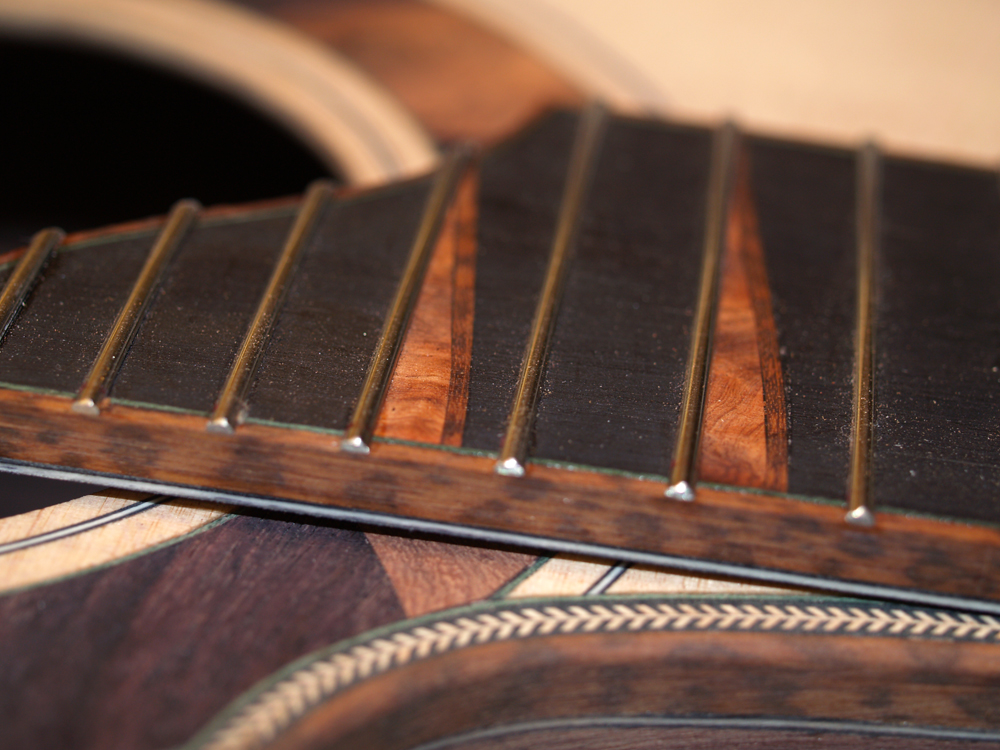
A picture of the finished fretboard.
 ( 356 ) 26-May-2011
A picture of the finished fretboard.
 ( 357 ) 26-May-2011
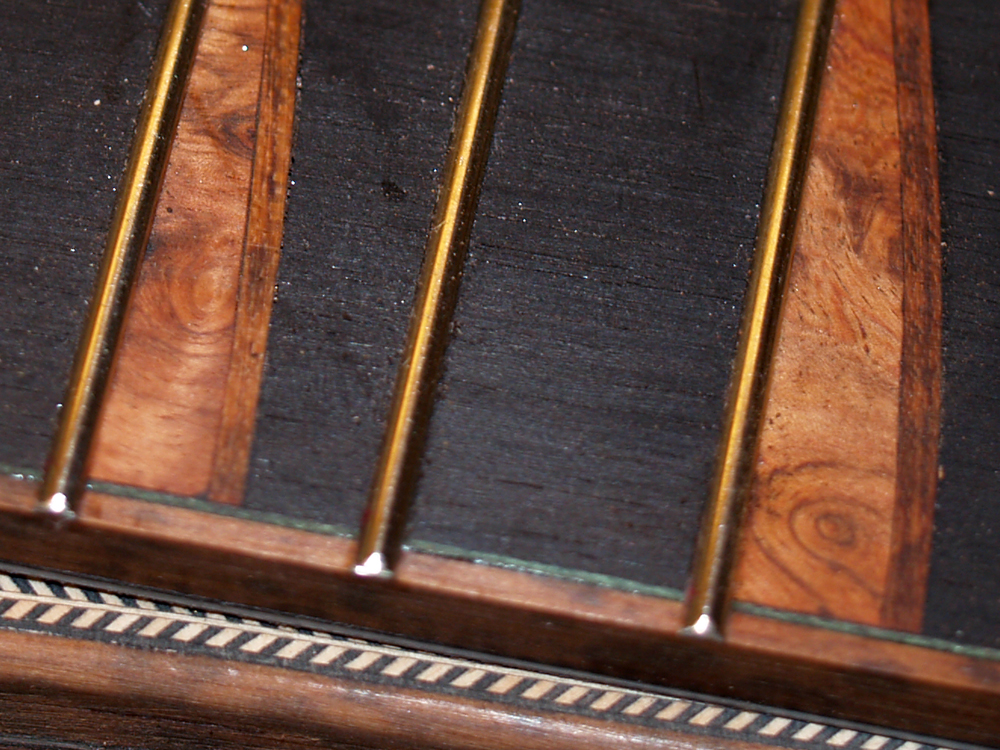
A picture of the finished fretboard.