Portland Guitar Co. | Portland Oregon | Contact Jay Dickinson-503.245.3276 | jay@portlandguitar.com
Portland Guitar Pretty Good Intonation (PGPG) System
Finished Build
Orchestral Model Cutaway
Serial # OMC 1.6.41
- Body:.......................... Philippine Ebony
- Top:............................ Sitka Spruce
- Neck:.......................... Khaya (Mahogany)
- Binding:...................... High Figure Snakewood
- Purfling:...................... Fine Herringbone with Green Pinstriping
- Appointments:............ Amboyna Burl, Brazilian Rosewood
- Fretboard & Bridge:.... 24 Nickel-Silver Frets Macassar Ebony with Snakewood Binding
- Tuners:........................Waverly, Nickel Plated with Ebony Knobs
Page 12
 ( 404 ) 2-July-2011
Before the finish is applied I like to have the bridge made. Since the top of the guitar has a considerable arch to it the bridge needs to have a matching curve on its bottom so a good glue joint can be made. The sanding block I am using here has the same shape as the top of the guitar. I mark the bottom of the bridge with a line that matches the curve of the top and use my oscillating sander to remove most of the material.
 ( 405 ) 2-July-2011
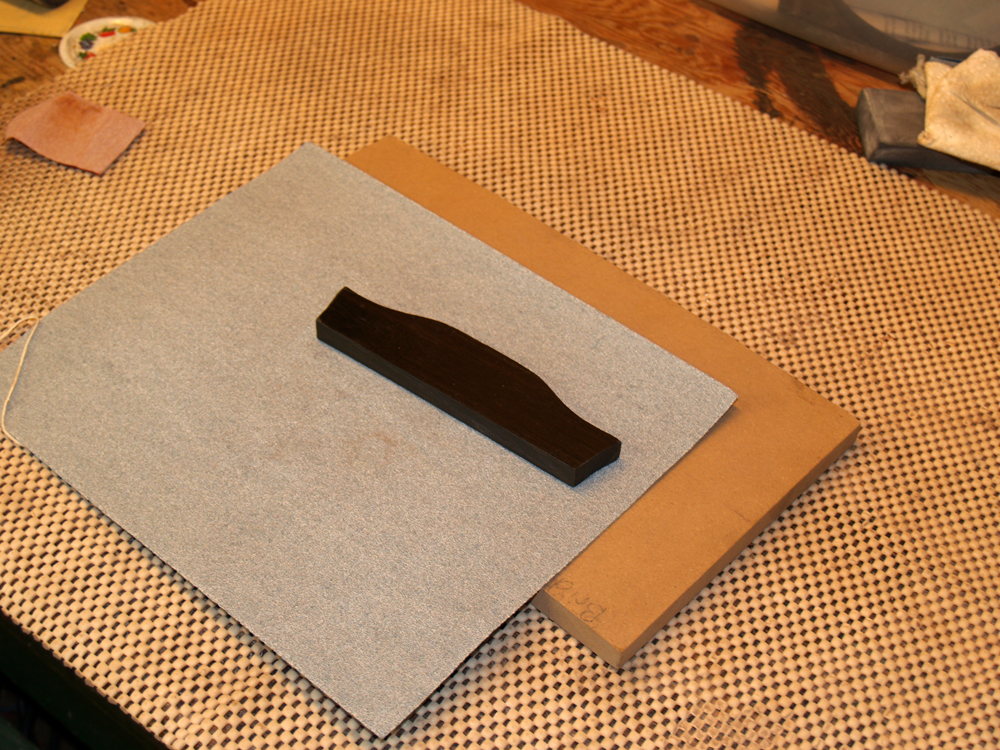
I then use the sanding block with a piece of sandpaper on top to finish up the bottom of the bridge.
 ( 406 ) 2-July-2011
When I am finished, the bottom of the bridge has the same shape as the top. The two fit together with no gaps.
 ( 407 ) 2-July-2011
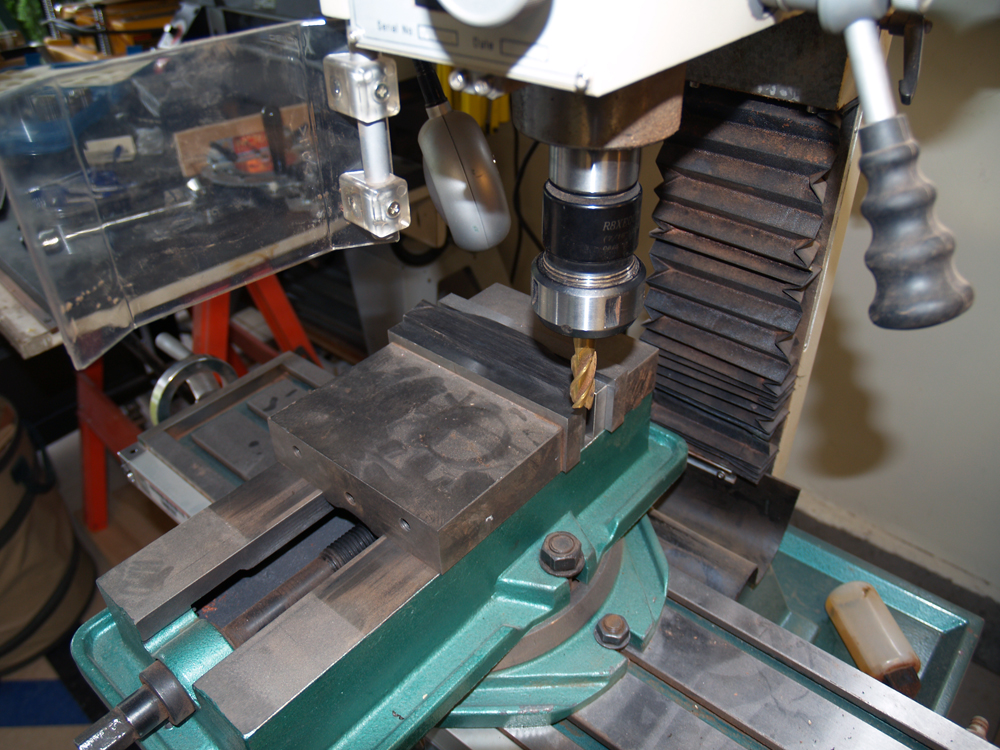
This bridge will have a split saddle. To create the channel for the saddle I use my milling machine.
 ( 408 ) 2-July-2011
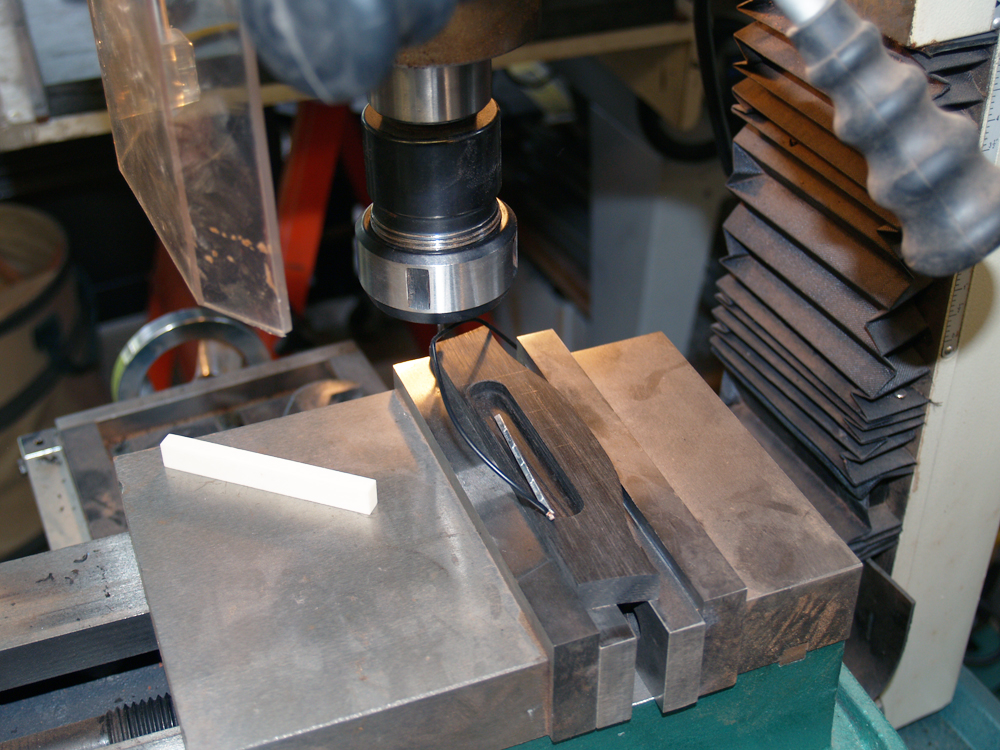
The bridge is starting to take shape.
 ( 409 ) 2-July-2011
The guitar will have an under saddle piezoelectric pickup that requires a small channel to hold it. I once again use the milling machine to create the channel.
 ( 410 ) 2-July-2011
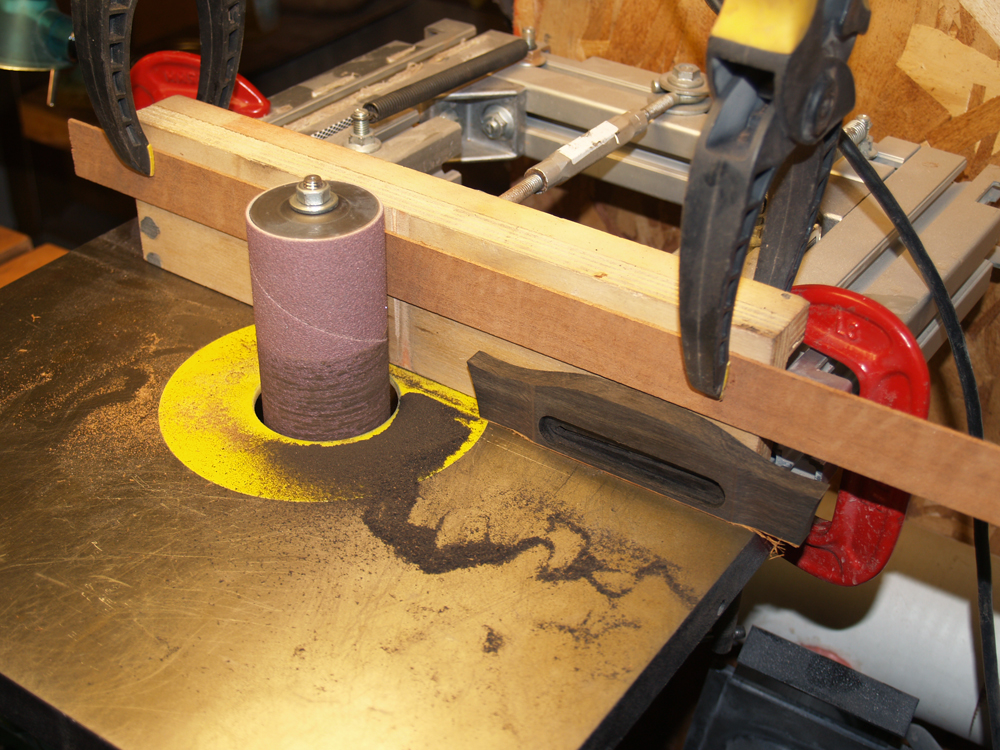
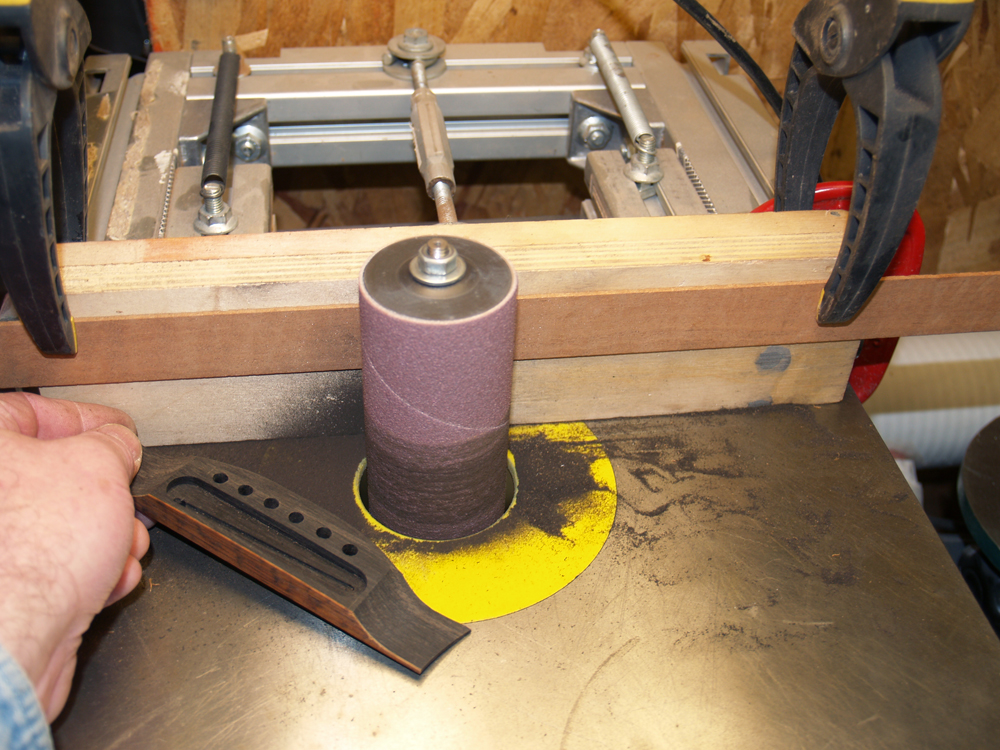
To create the wings on the bridge I use the oscillating sander with an adjustable platen. The adjustable platen allows me to easily create two wings that have the same dimensions.
 ( 411 ) 2-July-2011
I slant the front of the bridge at a small angle and glue a thin veneer of Snakewood just for the look.
 ( 412 ) 2-July-2011
After marking their positions I drill the bridge pin holes.
 ( 413 ) 2-July-2011
With the bridge pins holes drilled I finish shaping the bridge.
 ( 414 ) 2-July-2011
To provide a solid surface for the saddle blocks to make contact with the pickup I fashion a bone plate to go in the bottom of the saddle channel.
 ( 415 ) 2-July-2011
And I use the milling machine to create six identical saddle blanks.
 ( 416 ) 2-July-2011
Now I am ready to apply the lacquer. I set up my spray booth with lights and a spinning fixture to hold the guitar as I spray it.
 ( 417 ) 2-July-2011
The process of applying lacquer and then sanding it to remove the high spots will eventually create a surface that is mirror smooth. I repeat the application and sanding process many times over several days until I am satisfied that I have a smooth surface and enough lacquer on the guitar to protect it. I want to keep the lacquer as thin as possible, but I also want enough lacquer so that scratches can be buffed out a few times at least.
 ( 418 ) 2-July-2011
Once the lacquer has been applied and leveled, I let it cure for about a week or so. The lacquer hardens and shrinks during this period, a process that will continue for a long time. Once the lacquer is hard enough, I then start to buff it to create a high shine.
 ( 419 ) 2-July-2011
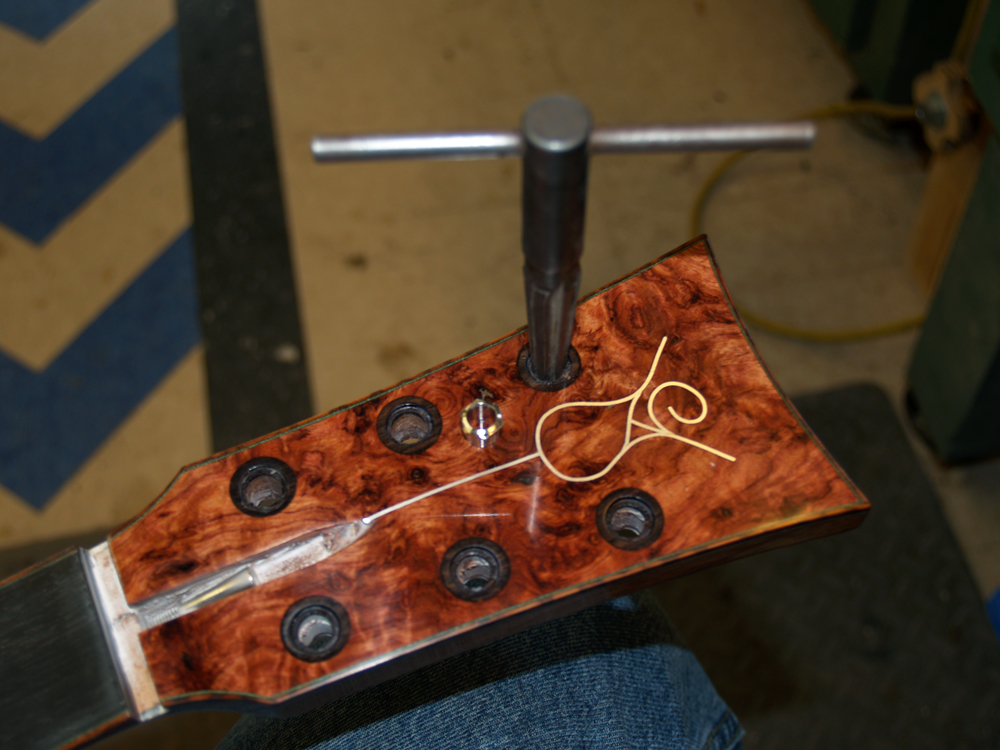
The machine peg holes are reamed out a bit until they will accept the machine peg flanges.
 ( 420 ) 2-July-2011
The flanges are installed with a press fit.
 ( 421 ) 2-July-2011
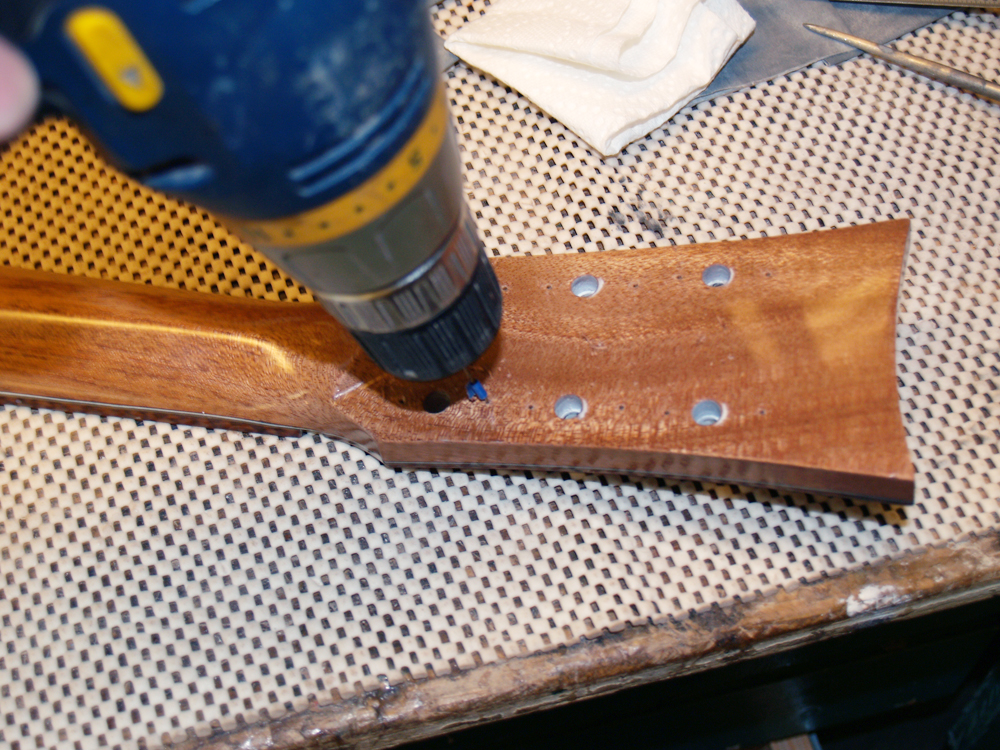
The tuning machines are held in place with small screws that need predrilled holes. I am very careful to not drill through the top.
 ( 422 ) 2-July-2011
When I am installing the screws I use a protective dam around the tuning machine to prevent scratching the surface should the screwdriver slip.
 ( 423 ) 2-July-2011
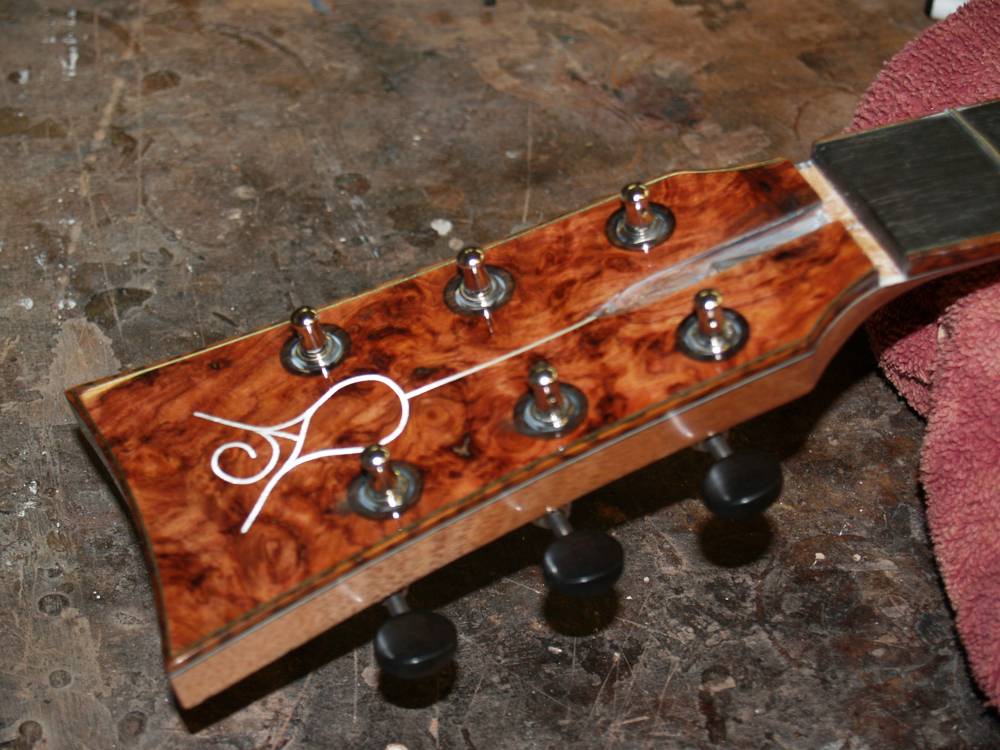
The peg head with the tuning machines installed.
 ( 424 ) 2-July-2011
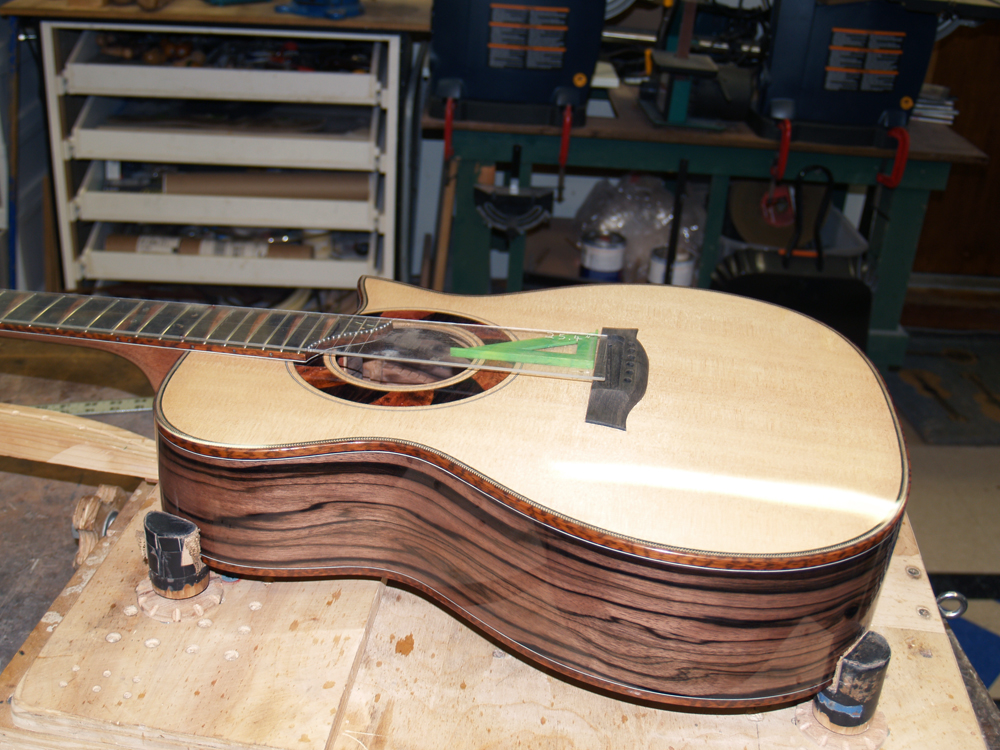
I have a scale length template that helps set the position of the bridge. Since I am using an adjustable split saddle bridge I don't have to worry about getting the position of the bridge exact at this point, at least in terms of intonation, the position of the bridge will have an effect in terms of the tone however.
 ( 425 ) 2-July-2011
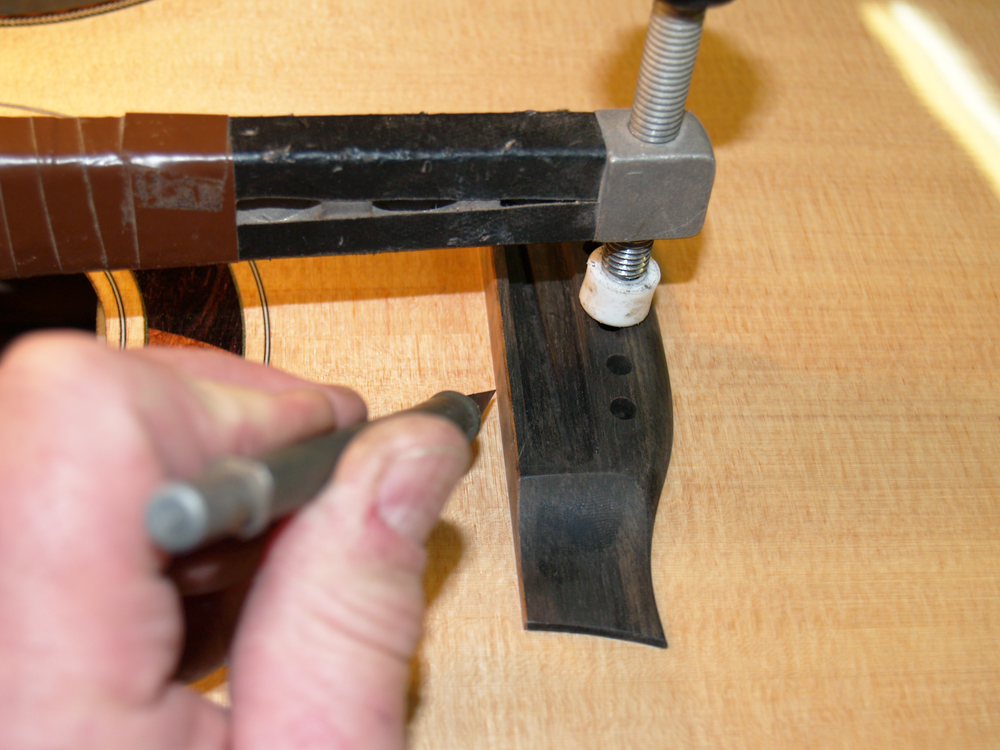
I clamp the bridge in place and then use a new Exacto blade to score the outline of the bridge into the finish.
 ( 426 ) 2-July-2011
I carefully scrape away the finish where the bridge will go. I have to be very careful to make the footprint exactly the same size as the bridge. I use the four fiducial blocks to hold the bridge in place as it is being glued down.
 ( 427 ) 2-July-2011
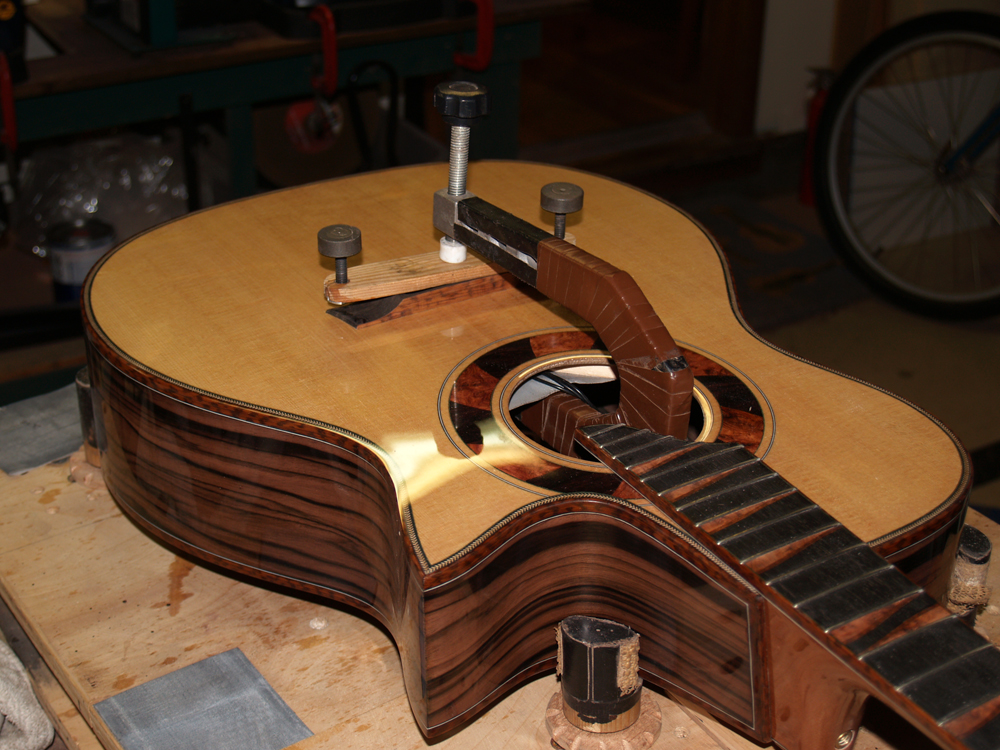
A small amount of glue on the bottom of the bridge is all that is needed to glue the bridge on to the top. This special clamping fixture allows me to press the bridge wings down as the main clamp presses the bridge into place.
 ( 428 ) 2-July-2011
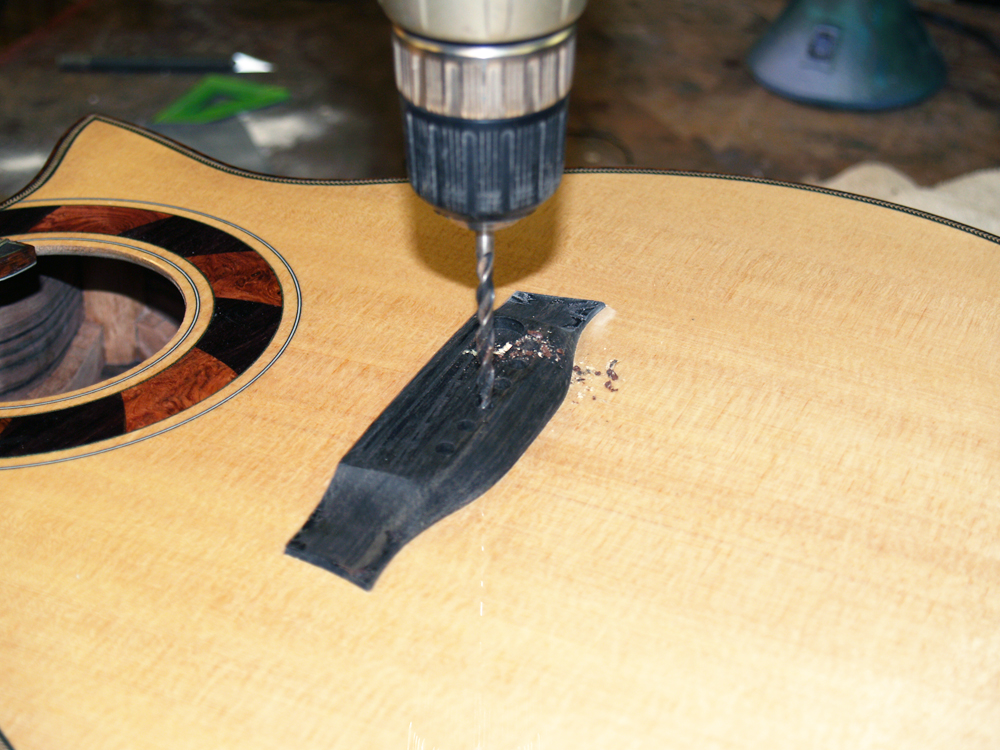
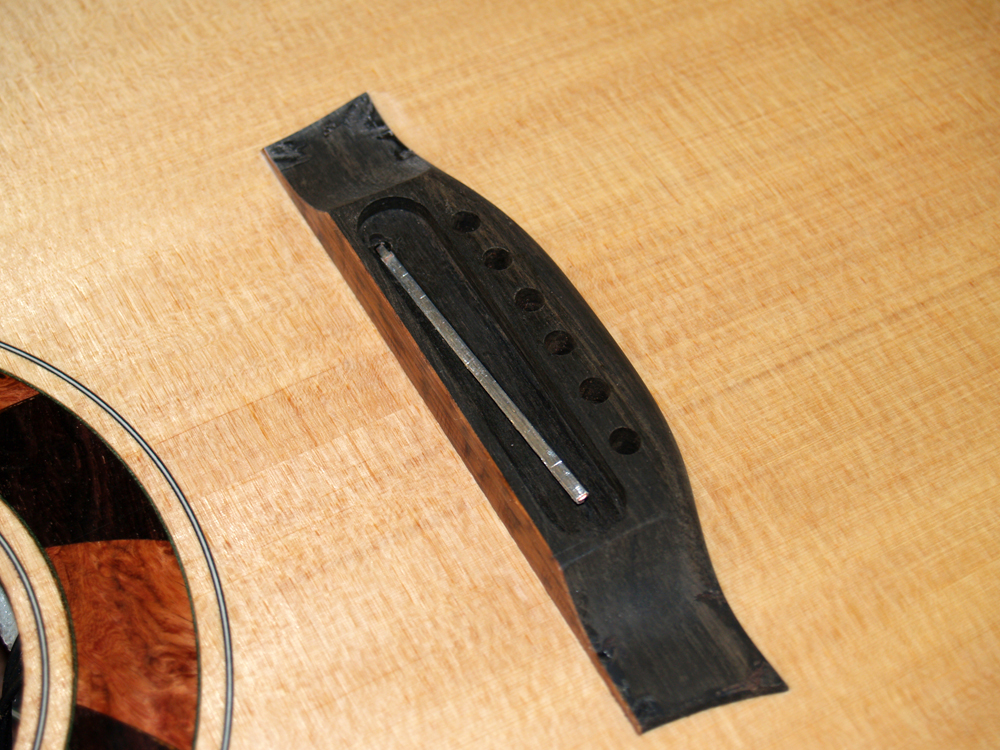
After letting the glue set over night I remove the clamping fixture and then drill the bridge pin holes through the top.
 ( 429 ) 2-July-2011
A small hole is also drilled for the under saddle pickup wires. The pickup fits snuggly into its slot.
 ( 430 ) 2-July-2011
And the saddle plate goes on top of the pickup.
 ( 431 ) 2-July-2011
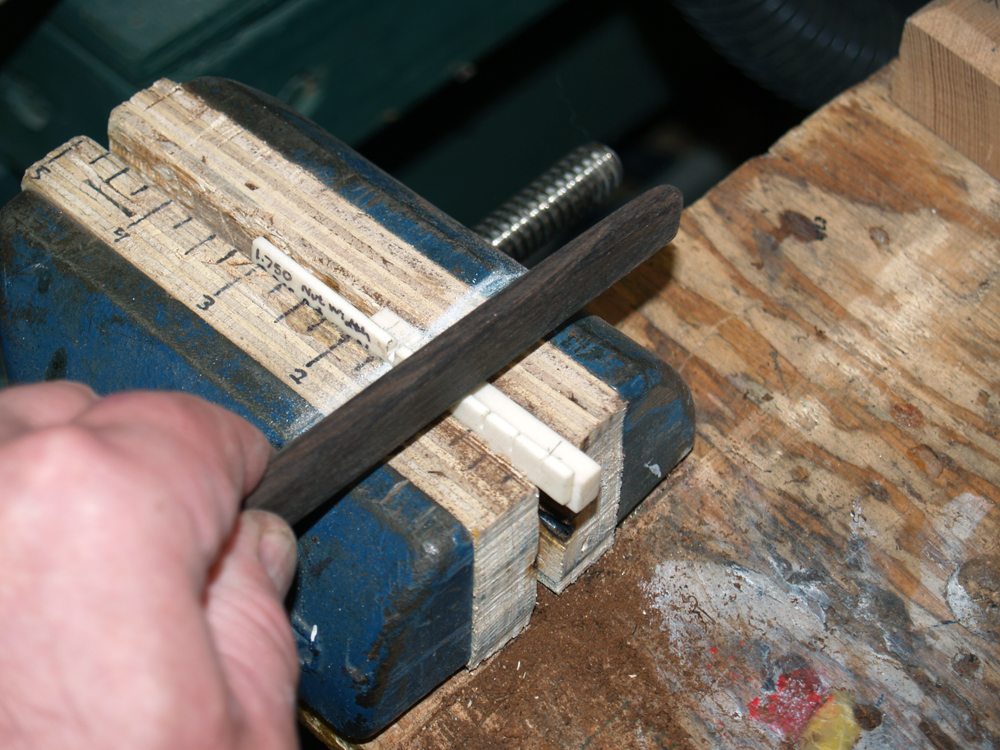
Here I am cutting the slots into the nut blank.
 ( 432 ) 2-July-2011
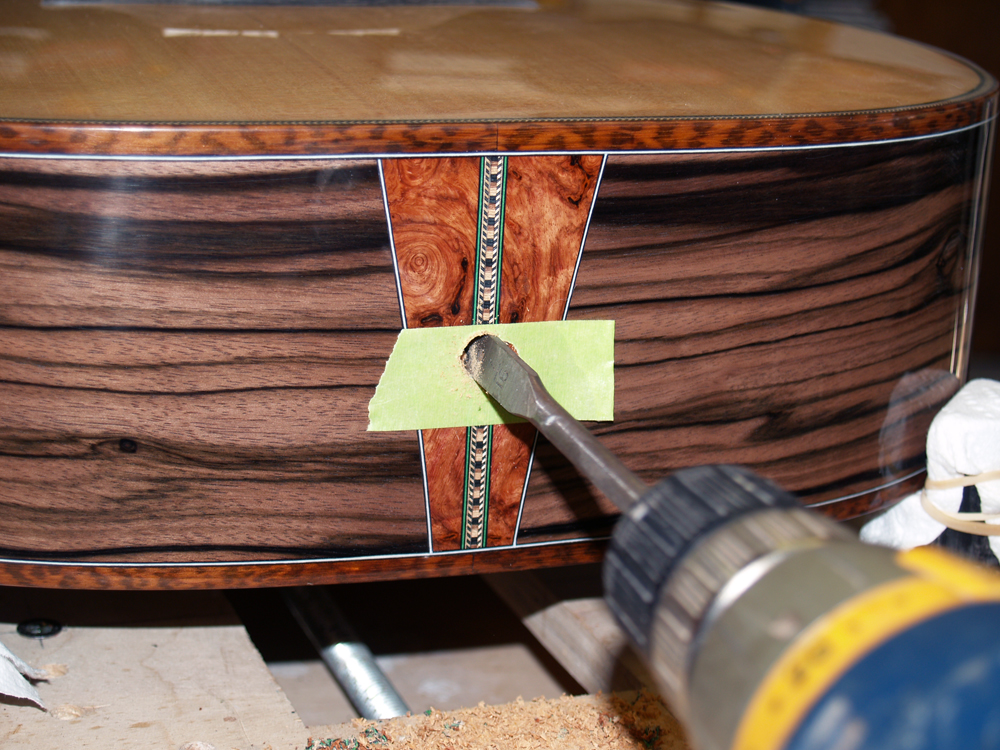
And a hole goes in the back of the guitar for the output jack.
 ( 433 ) 2-July-2011
The output jack.
 ( 434 ) 2-July-2011
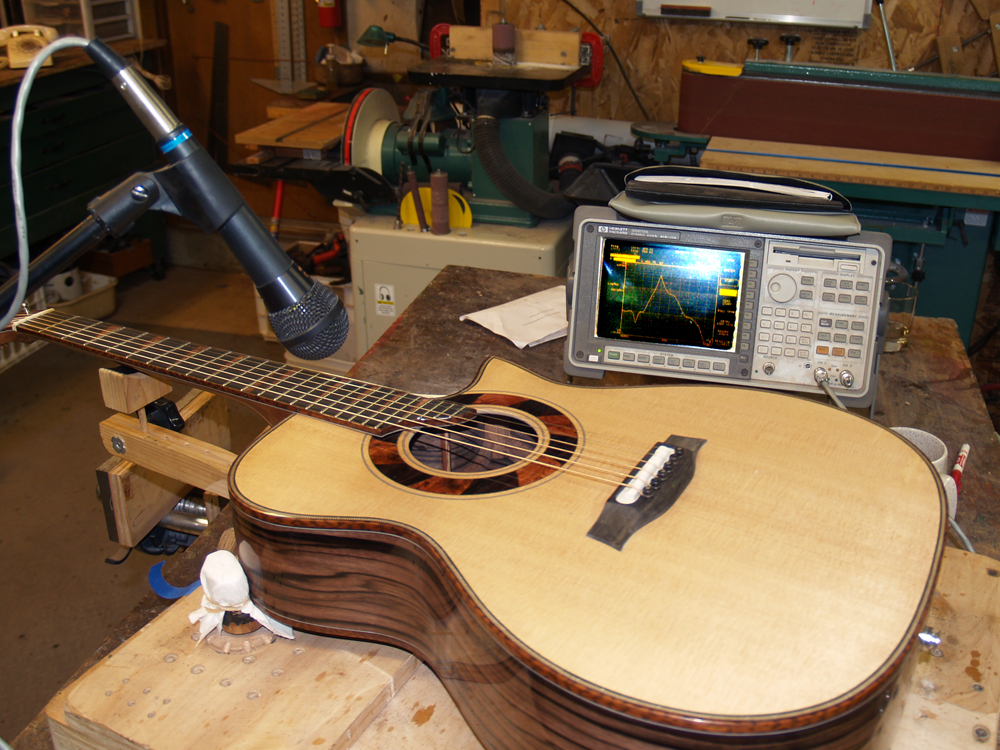
Now here is some of the beauty of the split saddle bridge. I use a spectrum analyzer to measure the overtone frequencies of a free playing string after it has been plucked, and then set the position of the saddle block so that the played frequency at the twelfth fret, and twenty-forth fret on the top two strings, matches the overtone frequencies of the free playing string. I move the saddle block back and forth until I am totally satisfied that the best intonation has been found. After letting the guitar settle for a few days and then rechecking the intonation I glue the saddle blocks in place so they will not move about when the strings are being changed. As the guitar ages or if a different type of stringis is used, the saddle block assembly can be reproduced and modified to keep the instrument properly intonated.
 ( 435 ) 2-July-2011
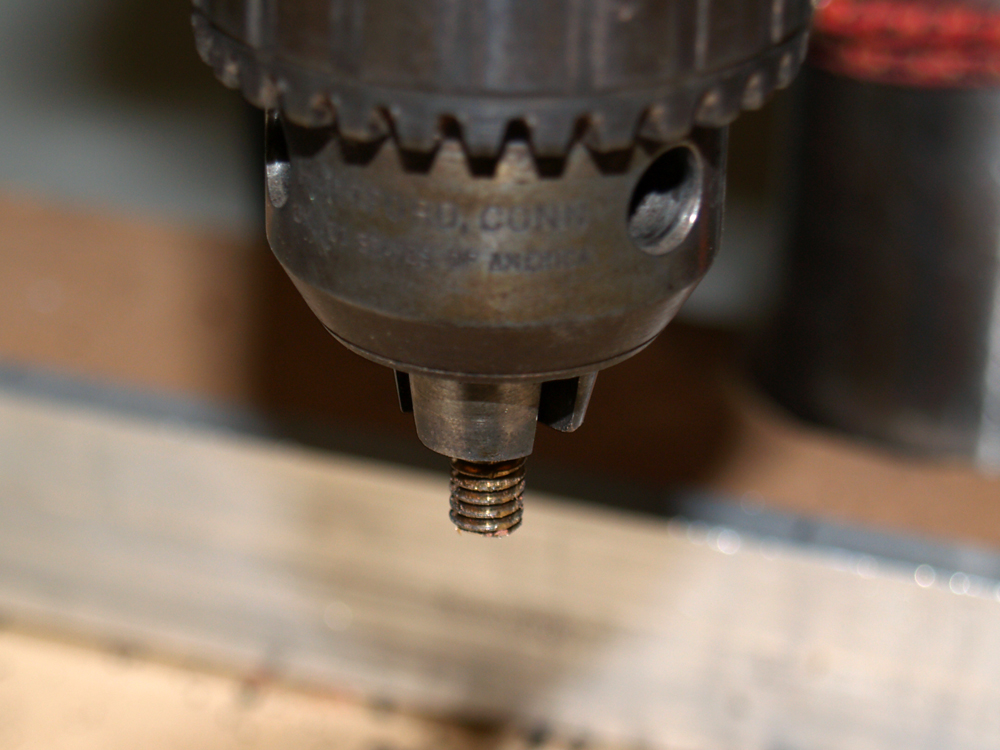
I use my drill press and a file to create a bolt for the front strap pin.
 ( 436 ) 2-July-2011
The strap pin will hide the hole that is used for the tool that adjusts the angle of the neck.
 ( 437 ) 2-July-2011
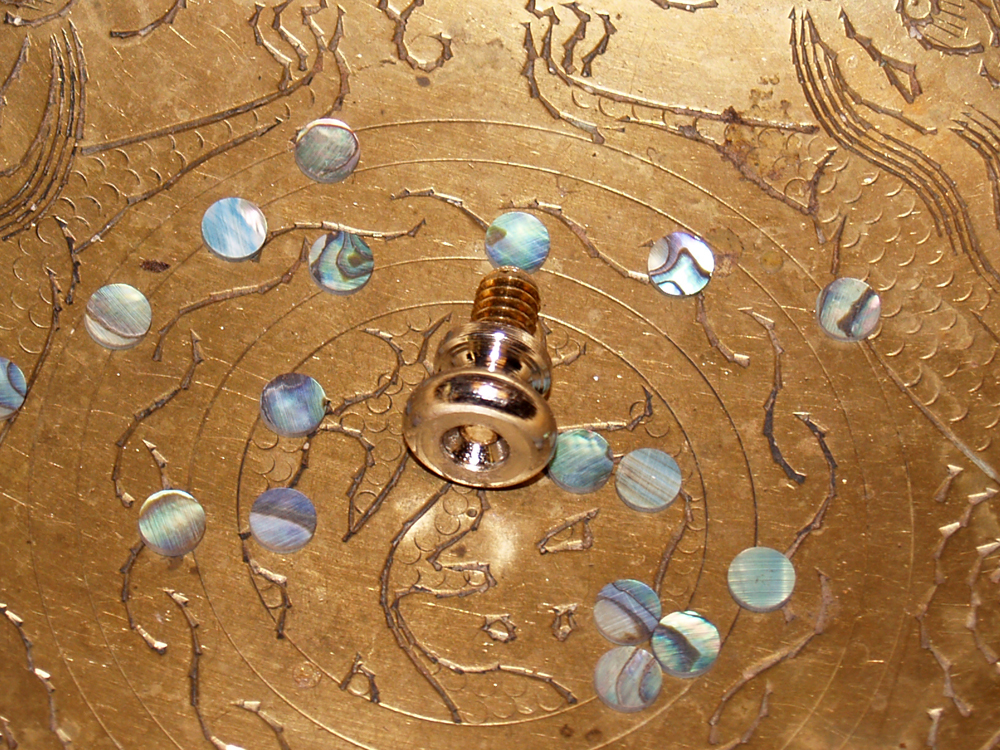
I am going to install an abalone button on this strap pin.
 ( 438 ) 2-July-2011
I need to shape the back of the abalone button to the shape of the strap pin. I tape the button on this dowel so I can easily hold it.
 ( 439 ) 2-July-2011
And then I can glue it in place.
 ( 440 ) 2-July-2011
I am using a bit of the Ebony scrap to create a truss rod cover.
 ( 441 ) 2-July-2011
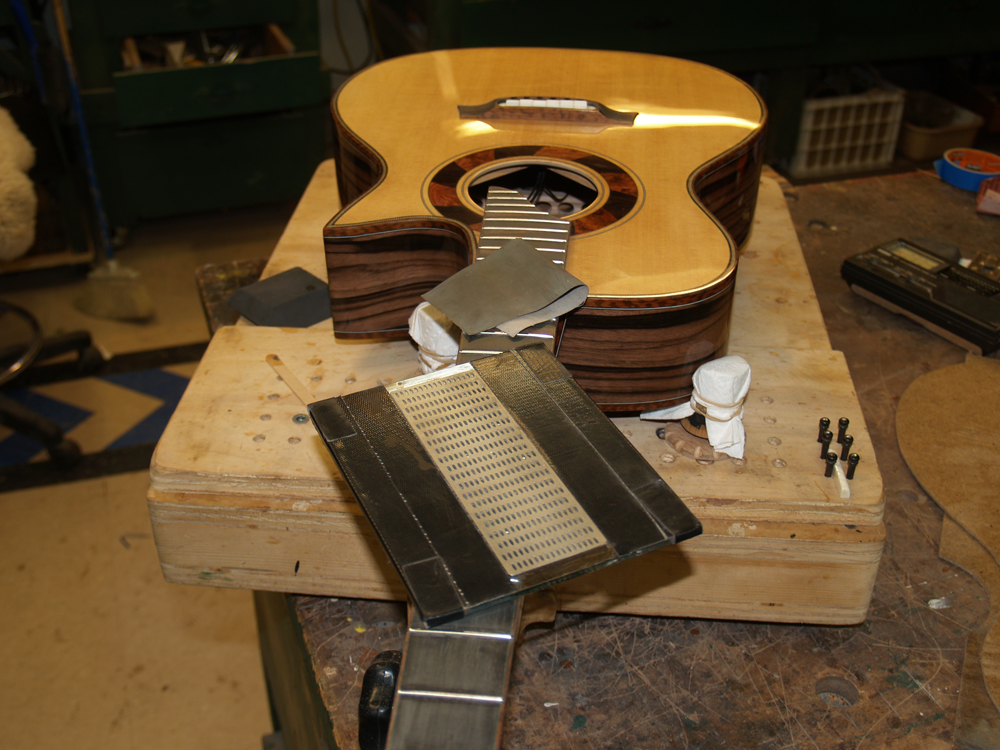
And then the final task is to level and dress the frets. I use a diamond sanding plate glued to a glass back - very flat - to level off any high spots in the set of frets. After am satisfied with the level, I shape and polish the frets to make them shine.
Time to play guitar!
 ( 404 ) 2-July-2011
 ( 405 ) 2-July-2011
 ( 406 ) 2-July-2011
 ( 407 ) 2-July-2011
 ( 408 ) 2-July-2011
 ( 409 ) 2-July-2011
 ( 410 ) 2-July-2011
 ( 411 ) 2-July-2011
 ( 412 ) 2-July-2011
 ( 413 ) 2-July-2011
 ( 414 ) 2-July-2011
 ( 415 ) 2-July-2011
 ( 416 ) 2-July-2011
 ( 417 ) 2-July-2011
 ( 418 ) 2-July-2011
 ( 419 ) 2-July-2011
 ( 420 ) 2-July-2011
 ( 421 ) 2-July-2011
 ( 422 ) 2-July-2011
 ( 423 ) 2-July-2011
 ( 424 ) 2-July-2011
 ( 425 ) 2-July-2011
 ( 426 ) 2-July-2011
 ( 427 ) 2-July-2011
 ( 428 ) 2-July-2011
 ( 429 ) 2-July-2011
 ( 430 ) 2-July-2011
 ( 431 ) 2-July-2011
 ( 432 ) 2-July-2011
 ( 433 ) 2-July-2011
 ( 434 ) 2-July-2011
 ( 435 ) 2-July-2011
 ( 436 ) 2-July-2011
 ( 437 ) 2-July-2011
 ( 438 ) 2-July-2011
 ( 439 ) 2-July-2011
 ( 440 ) 2-July-2011
 ( 441 ) 2-July-2011