 ( 250 ) 16-Apr-2011
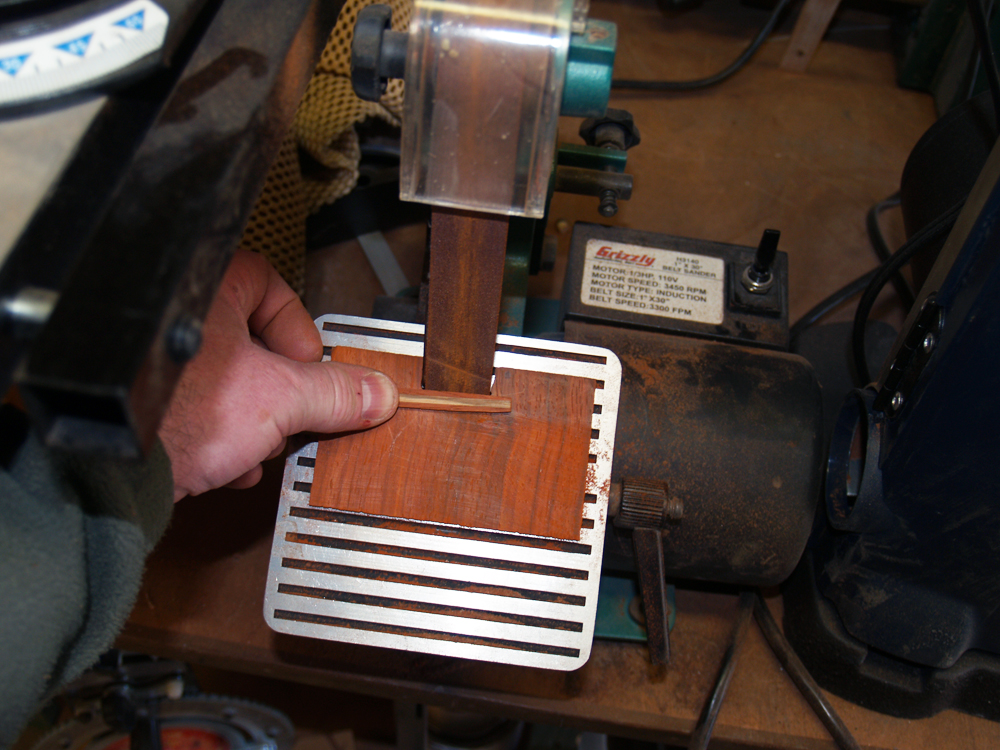
In this picture I am shaping the reenforcing bars that bind the sides together. Just because it looks a bit more elegant I like to bevel the edges and give them a bit of a taper.
 ( 250 ) 16-Apr-2011
In this picture I am shaping the reenforcing bars that bind the sides together. Just because it looks a bit more elegant I like to bevel the edges and give them a bit of a taper.
 ( 251 ) 16-Apr-2011
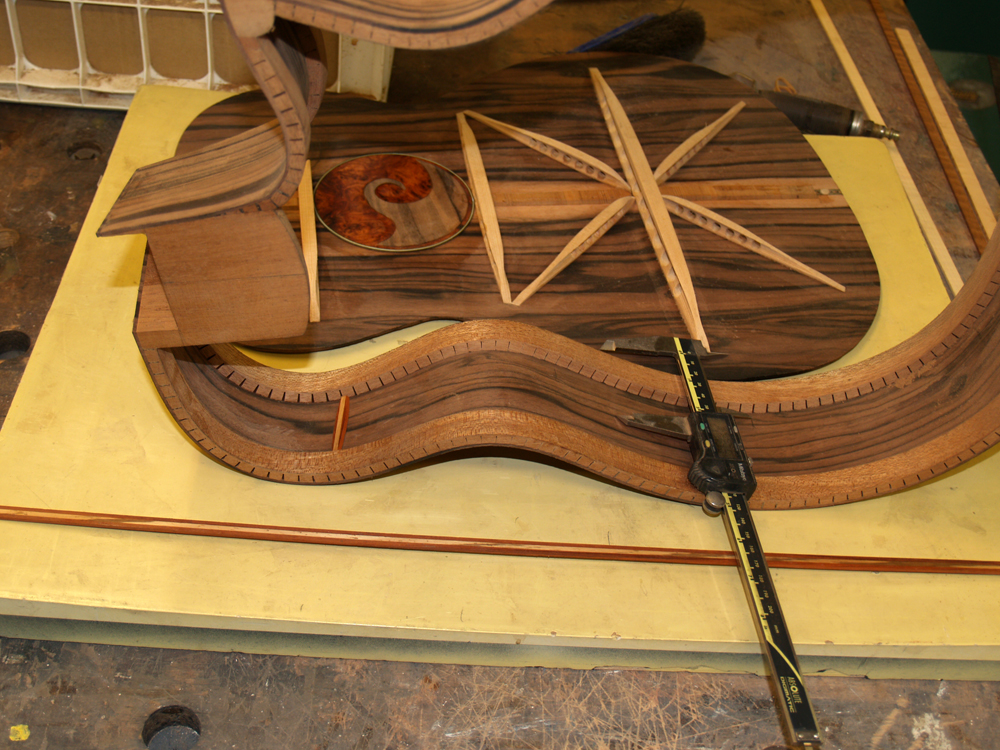
The grain of the wood runs the full length of the body and the wood can be somewhat brittle. If the guitar should ever experience a short sharp shock (that never happens does it) the sides have the potential of splitting. These reenforcing bars bind the wood together and help prevent the wood from developing cracks. Here I am measuring the width of the side between the kerfing where the next bar will go.
 ( 252 ) 16-Apr-2011
A couple of clamps help glue the bars in place.
 ( 253 ) 16-Apr-2011
When they are all glued in we have a nice series of columns.
 ( 254 ) 16-Apr-2011
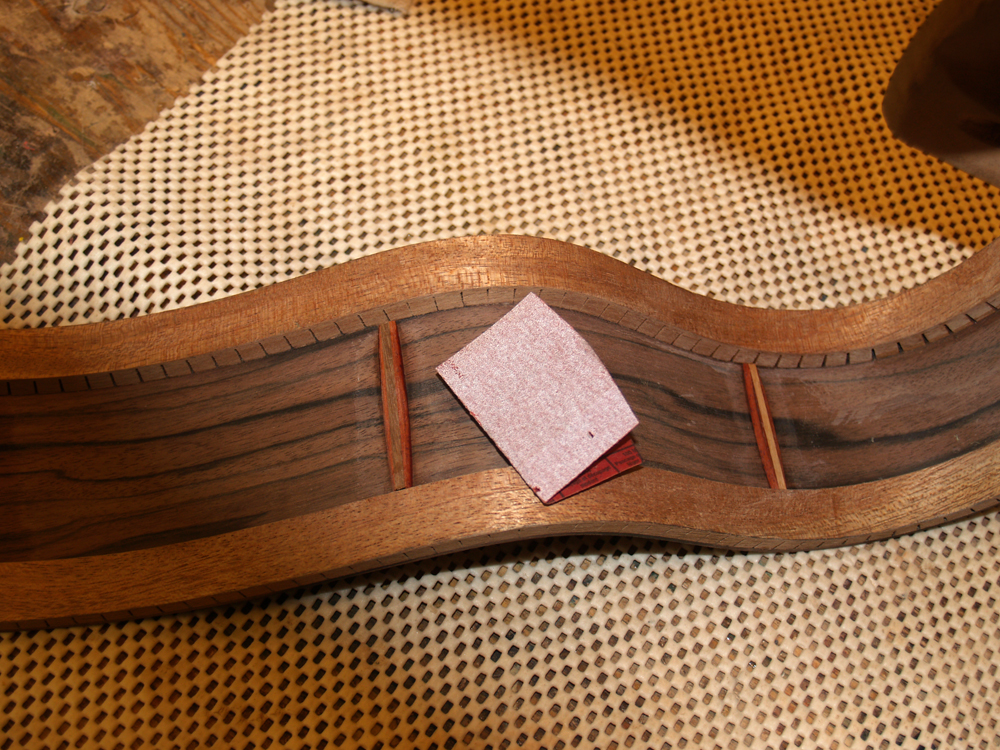
I use a bit of sandpaper to clean up the glue residue.
 ( 255 ) 16-Apr-2011
Before getting ready to glue the back onto the rim I clean up the back with a bit of sandpaper. All of this sanding has the added benefit that while I am doing it I am inspecting all of the details of the assemblies looking for, finding, and correcting anything that is not up to expectations. My expectations are perfection; never gotten there, but I keep trying.
 ( 256 ) 16-Apr-2011
An art shot of the back.
 ( 257 ) 16-Apr-2011
Here I am dry fitting the back to the sides to make sure everything fits. Just because it looks better, the reenforcing bars line up with the brace ends.
 ( 258 ) 16-Apr-2011
At this point in the build process I sign and date the guitar. It is part of my design philosophy, and my own general desire with the things that I own, that I don't want any overt advertizing on the guitar. I include an iconic headstock rose that identifies this instrument as a Portland Guitar so I don't feel the need to splash the name across the top. Nonetheless, as a piece of art it should be signed and dated. At this period in my luthier career I have gravitated to marking the guitar on the inside of heel block. It is visible if you want to look for it, but it is not in your face.
 ( 259 ) 16-Apr-2011
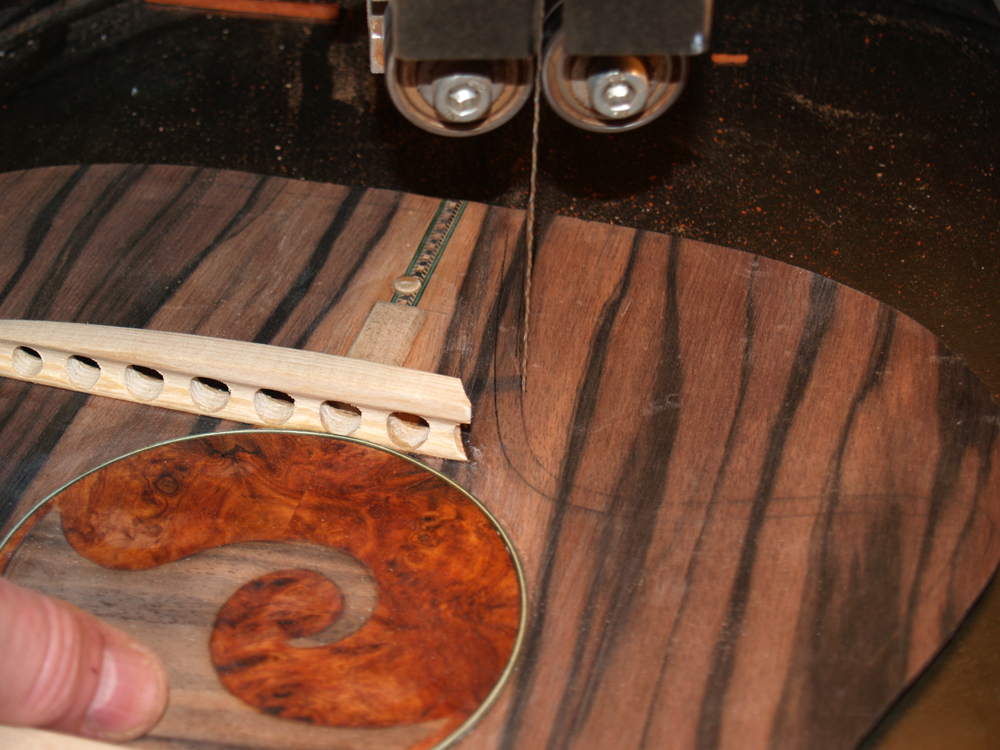
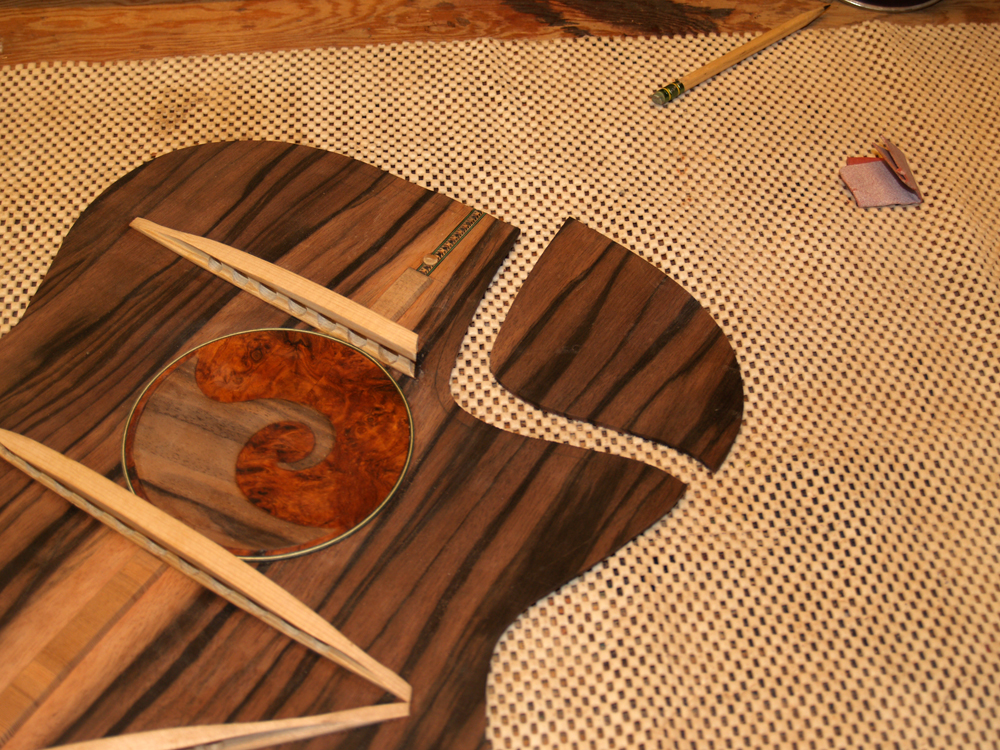
Here I am removing the cutaway section from the back plate. This is one of those time that I measure thrice and cut once.
 ( 260 ) 16-Apr-2011
A clean cut.
 ( 261 ) 16-Apr-2011
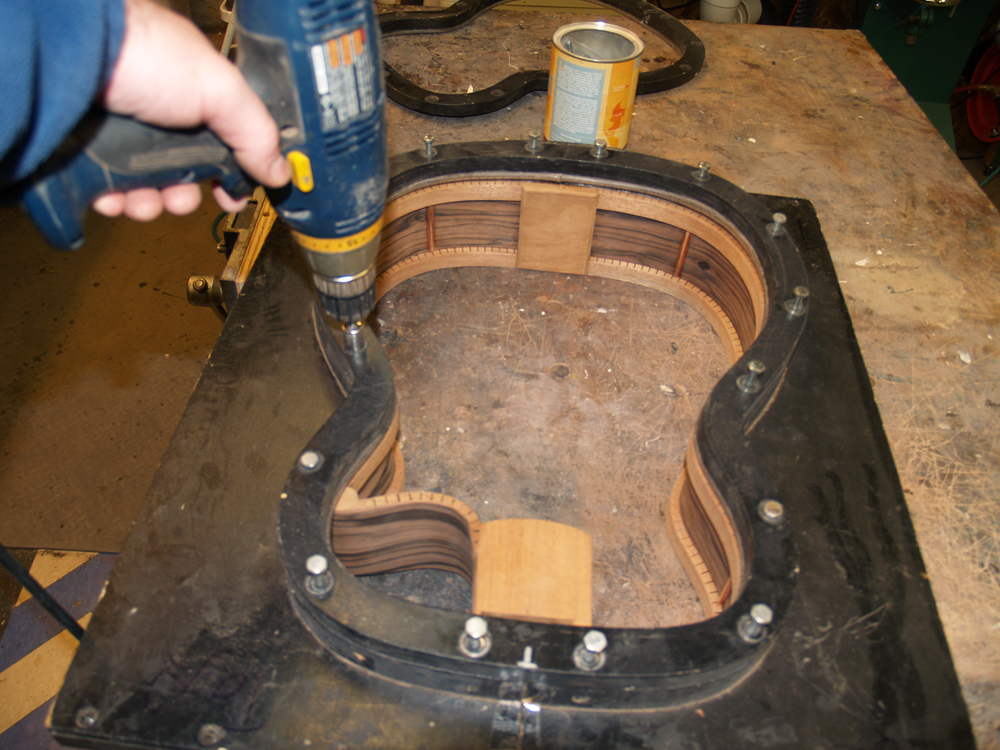
In this picture I am installing the rim in the side form and bolting on the top flange. This flange pushes the rim proud on the bottom.
 ( 262 ) 16-Apr-2011
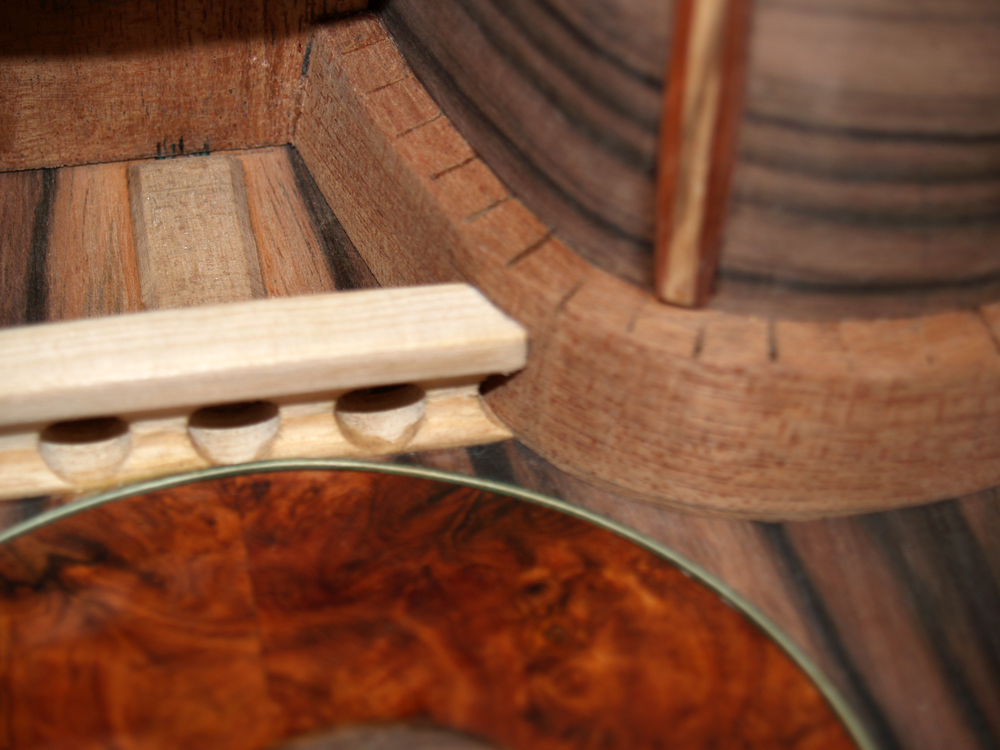
Another dry fit to check out alignment. In the order of things I glue the bottom on before I glue on the top. It is very difficult to to clean up the glue squeeze out working through the sound hole. So, if I glue the bottom on first it is easy to do the clean up that would be visible through the sound hole. Then when I glue the top on to the rim I don't have to worry too much about the squeeze out since fortunately, you can't see it unless you use a mirror. Nonetheless I try to minimize the amount of glue that I use. Just enough is just right. A stoichiometric amount if you may.
 ( 263 ) 16-Apr-2011
An a close inspection of the upper brace.
 ( 264 ) 16-Apr-2011
Here I am preparing to apply glue to the rim bottom.
 ( 265 ) 16-Apr-2011
I use this channeled roller to apply the glue. I cut these grooves into the roller to help in the dispersal of the glue.
 ( 266 ) 16-Apr-2011
I carefully lay the back onto the rim. The fiducial buttons I installed on the back insure that the back lines up exactly where I want it to and that it doesn't slip or slide as it is being pressed into place. It turns out that glue is rather slippery until it sets up.
 ( 267 ) 16-Apr-2011
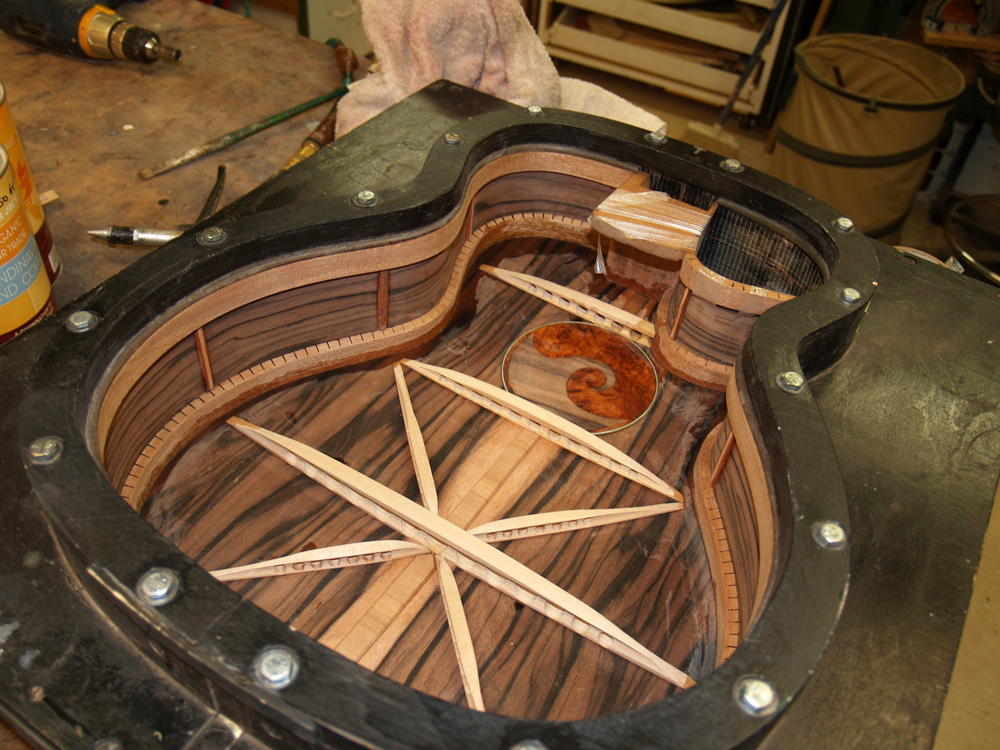
The bolted down bottom flange applies an even pressure around the edge of the rim. I use a bit of tape to apply force in the cutaway section.
 ( 268 ) 16-Apr-2011
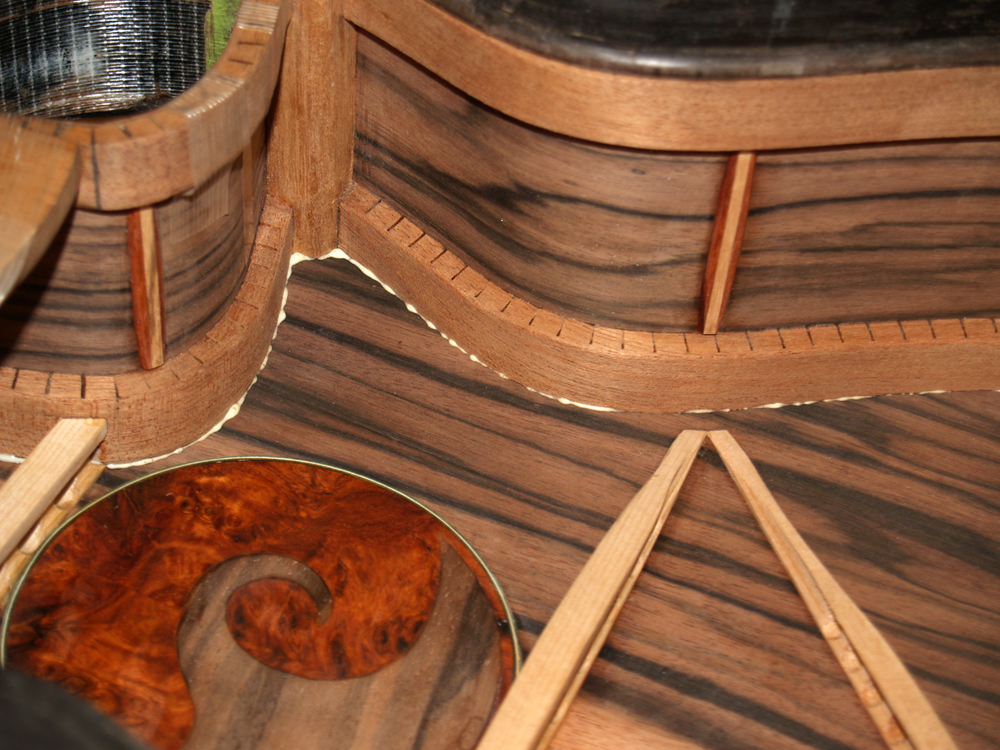
Here you can see a bit of the squeeze out.
 ( 269 ) 16-Apr-2011
I clean up the squeeze out before the glue starts to set.
 ( 270 ) 16-Apr-2011
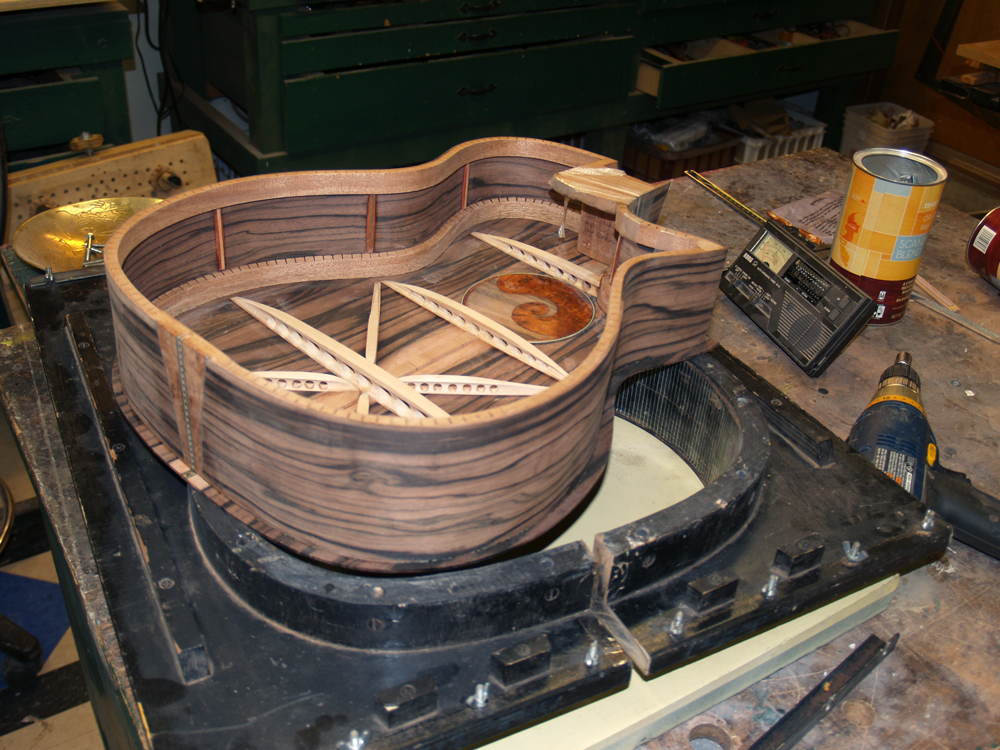
I let the back set up over night and when the flange comes off you can see the overlap of the back over the rim. I allow for this overhang just to give me a bit of margin. It is a whole lot easier to remove some of the wood when I don't need it than it is to put some back if I do.
 ( 271 ) 16-Apr-2011
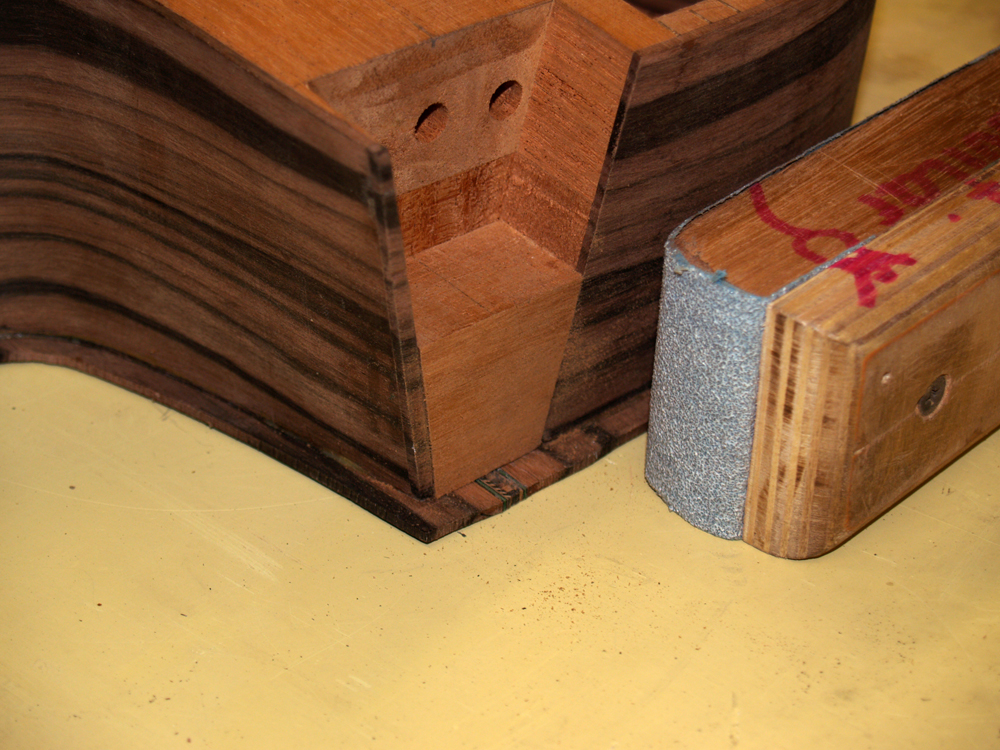
I crack the mold open and pull out the assembly.
 ( 272 ) 16-Apr-2011
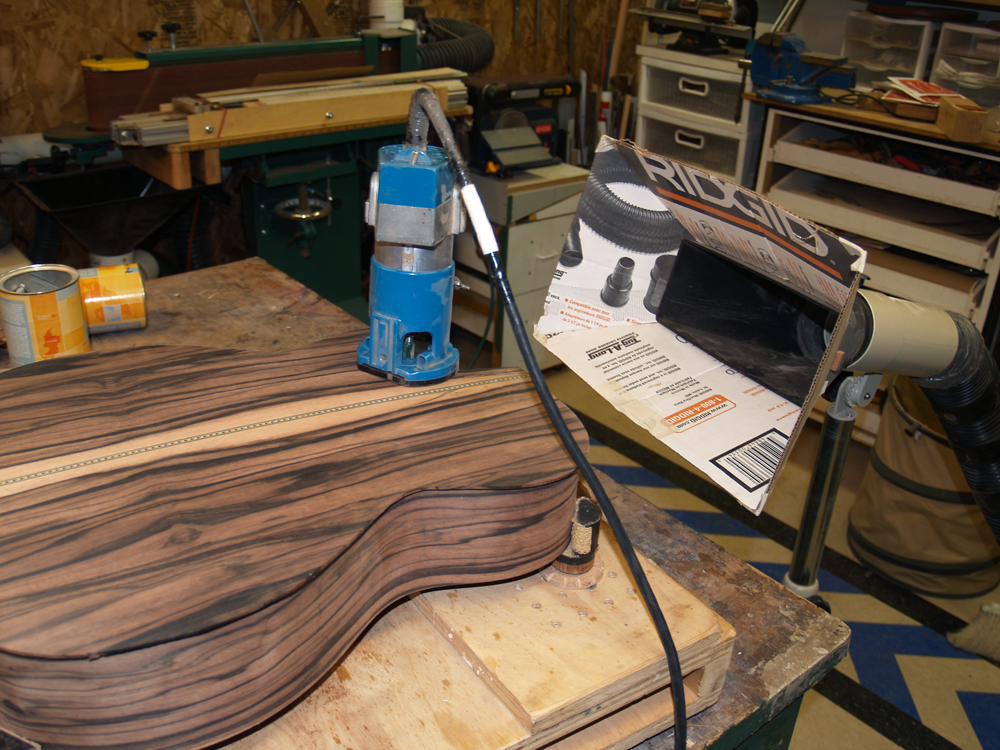
Here I am installing a temporary heel block insert and leveling it with the sides. This insert will prevent the router I will use in the next step from cutting into the bottom of the heel block channel.
 ( 273 ) 16-Apr-2011
I use a laminate trimmer to remove the overlap.
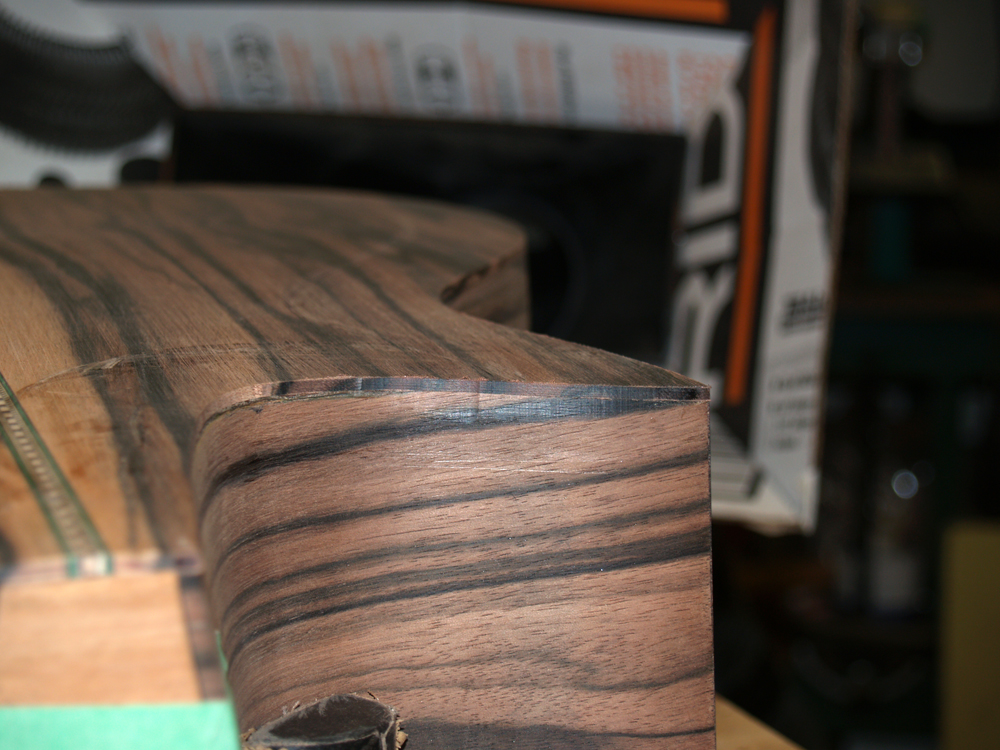 ( 274 ) 16-Apr-2011
A picture of the cleaned up back and side.
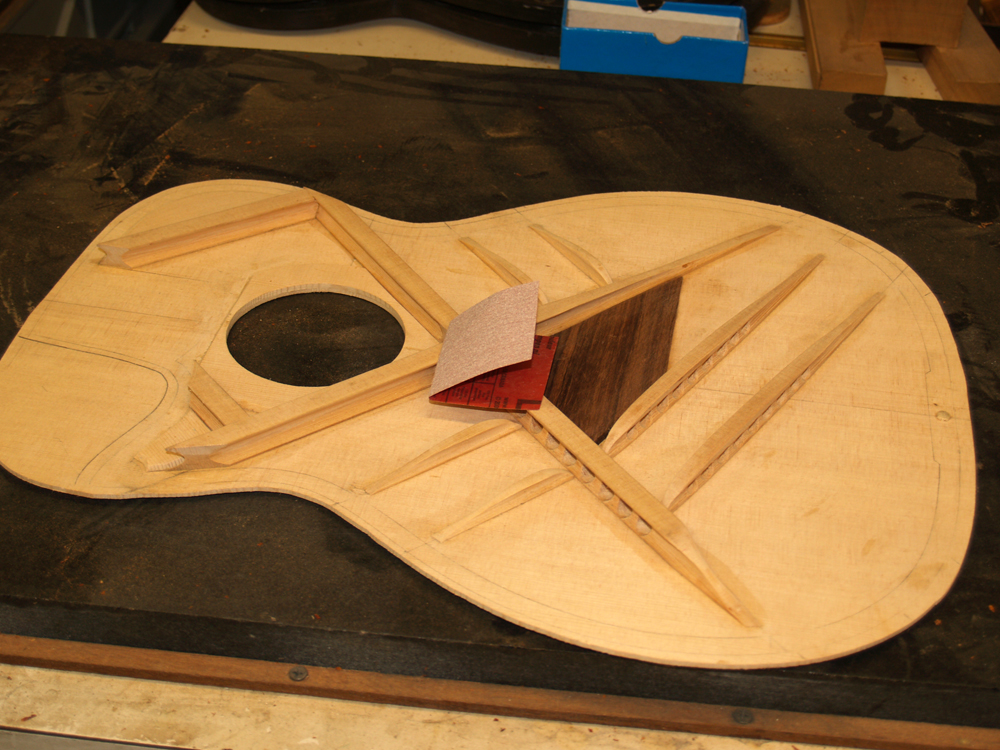 ( 275 ) 16-Apr-2011
Turning my attention to the top now, I use a bit of sandpaper to clean it up and make sure all the parts are smooth, the better to let the notes get out of the guitar, or at least Wayne Henderson says.
 ( 276 ) 16-Apr-2011
I round out of the reenforcing ring in the sound hole.
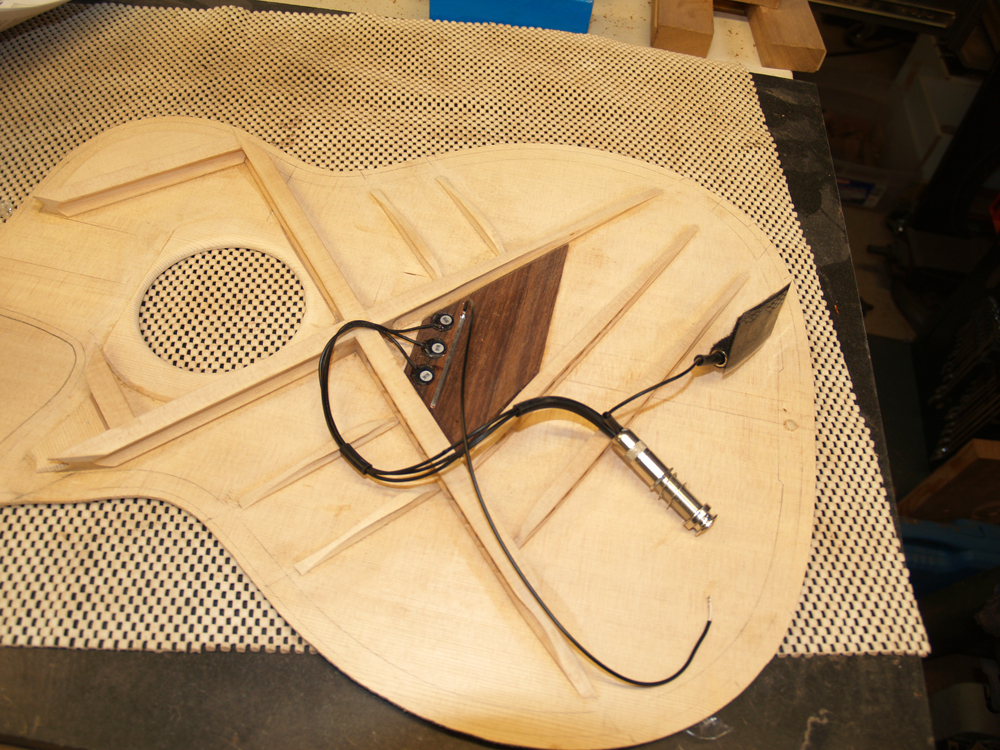 ( 277 ) 16-Apr-2011
Here I have glued the piezoelectric transducers to the bridge plate. It is much easier to do this now than it is after the top is glued on to the rim.
 ( 278 ) 16-Apr-2011
And after carefully measuring again, I trim away the cutout portion of the top.
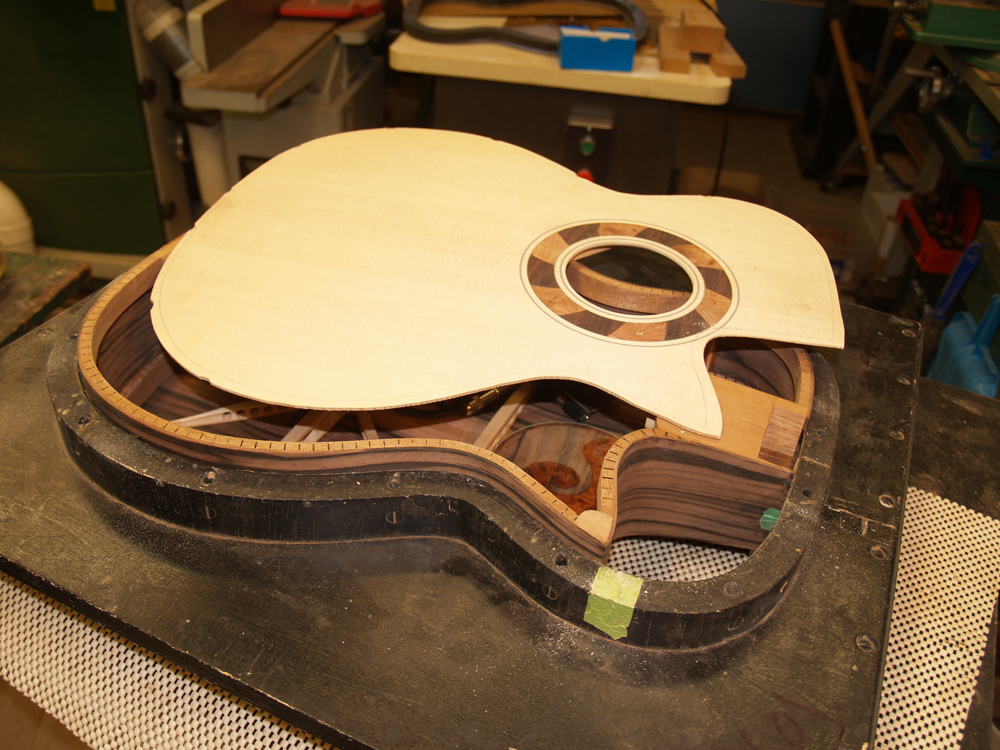 ( 279 ) 16-Apr-2011
After installing the rim into the side form and bolting on the bottom flange, once again I dry fit the top to to make sure everything lines up just right. There is very little margin for error in this step.
 ( 280 ) 16-Apr-2011
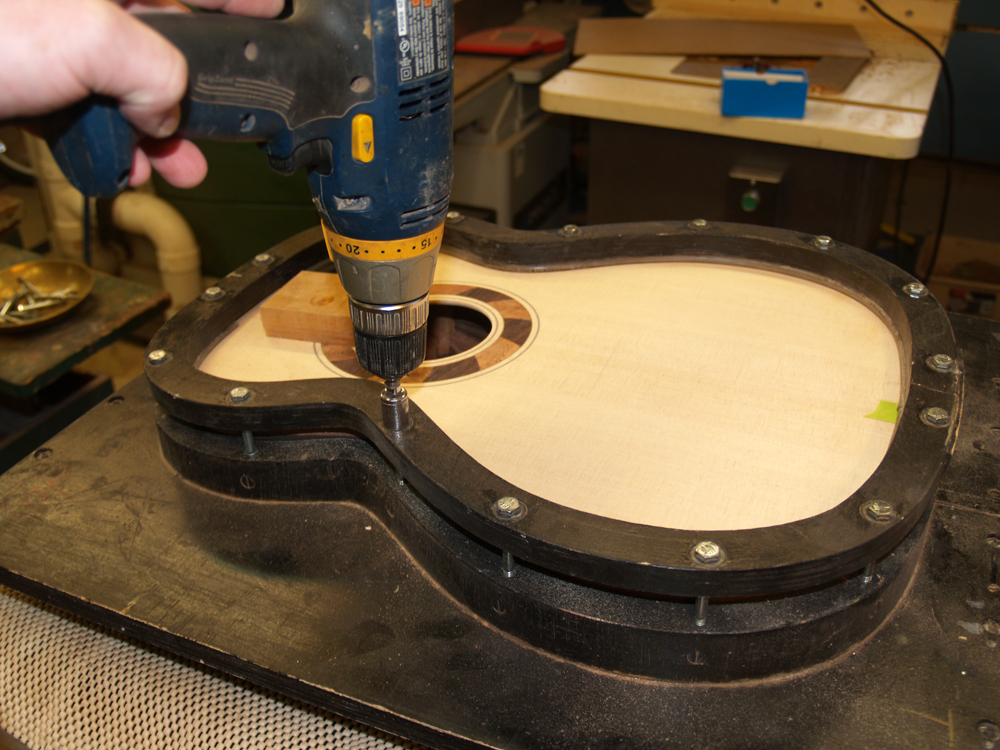
After the glue goes on the rim, I install the top using the fiducial buttons I included, and then bolt down the top flange. The fiducial buttons keep the pieces from sliding around as they are being glued together.
 ( 281 ) 16-Apr-2011
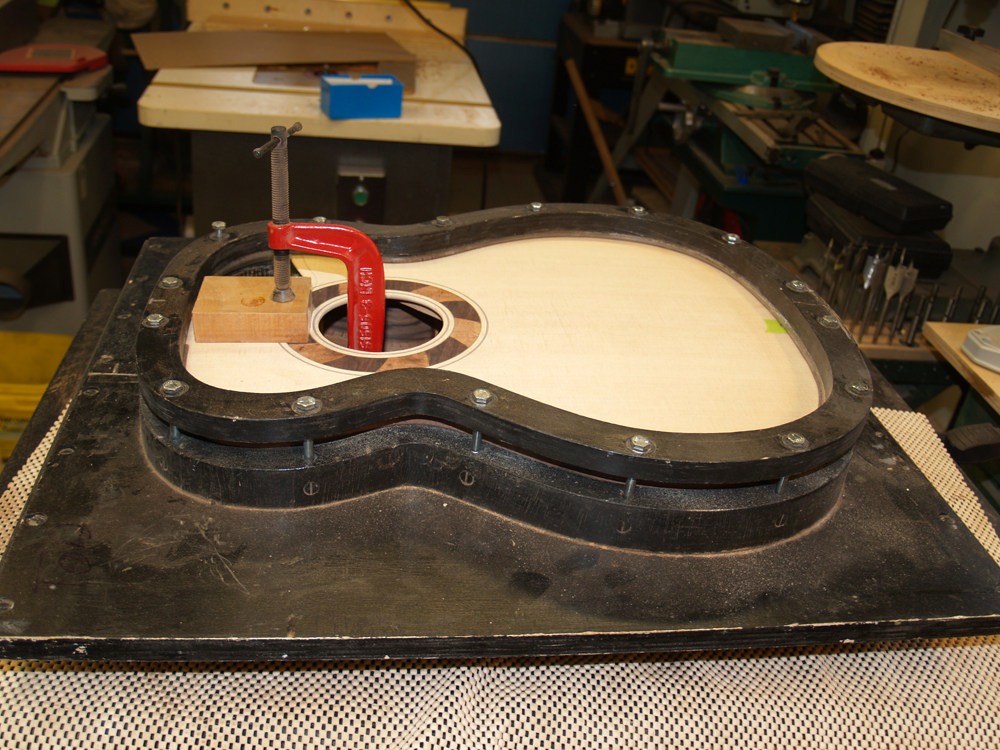
I use a c-clamp and caul to apply pressure to the fretboard shelf.
 ( 282 ) 16-Apr-2011
And I use a bit of tape to pull the cutaway section tight.
 ( 283 ) 16-Apr-2011
After the glue has set up over night I pull the assembly out of the form.
 ( 284 ) 16-Apr-2011
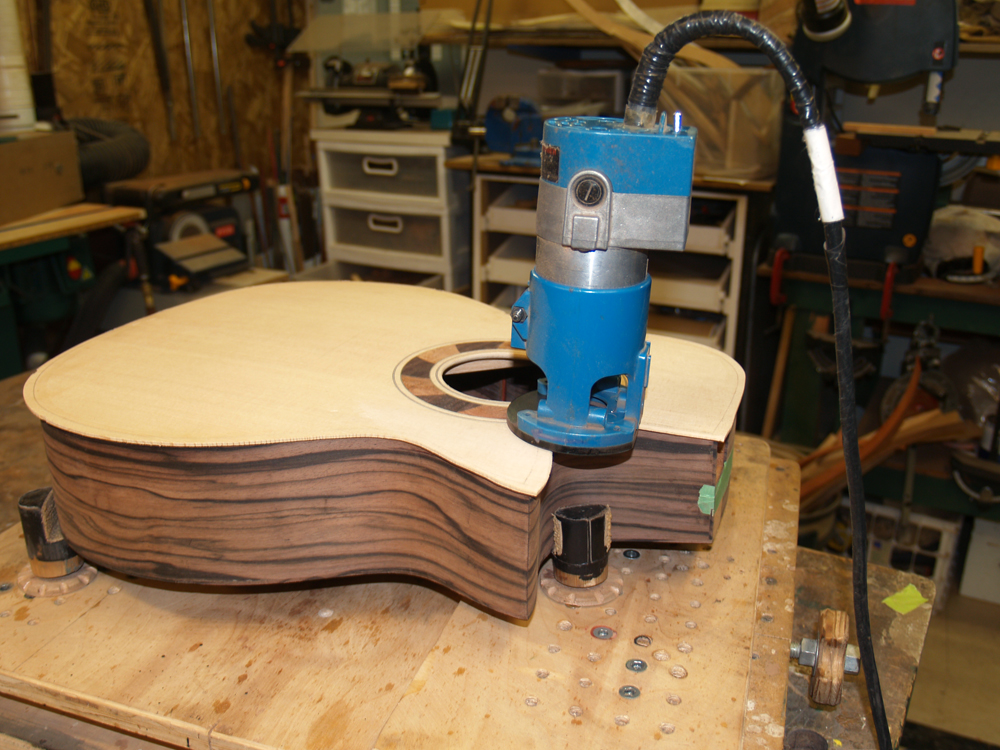
And I use the laminate trimmer again to rout off the top overlap.
 ( 285 ) 16-Apr-2011
This time when I route in the heel block area I follow the contour of the inside of the heel block channel. This results in two little top wings that extend into the channel. These wings will slide into two slots in the neck just under the fretboard. The result of all this detail is a movable intersection of the neck to the body with an almost invisible seam. More pictures of this system later.
 ( 286 ) 16-Apr-2011
In this picture I am laying out the lines for the fretboard cantilever reenforcing block channel.
 ( 287 ) 16-Apr-2011
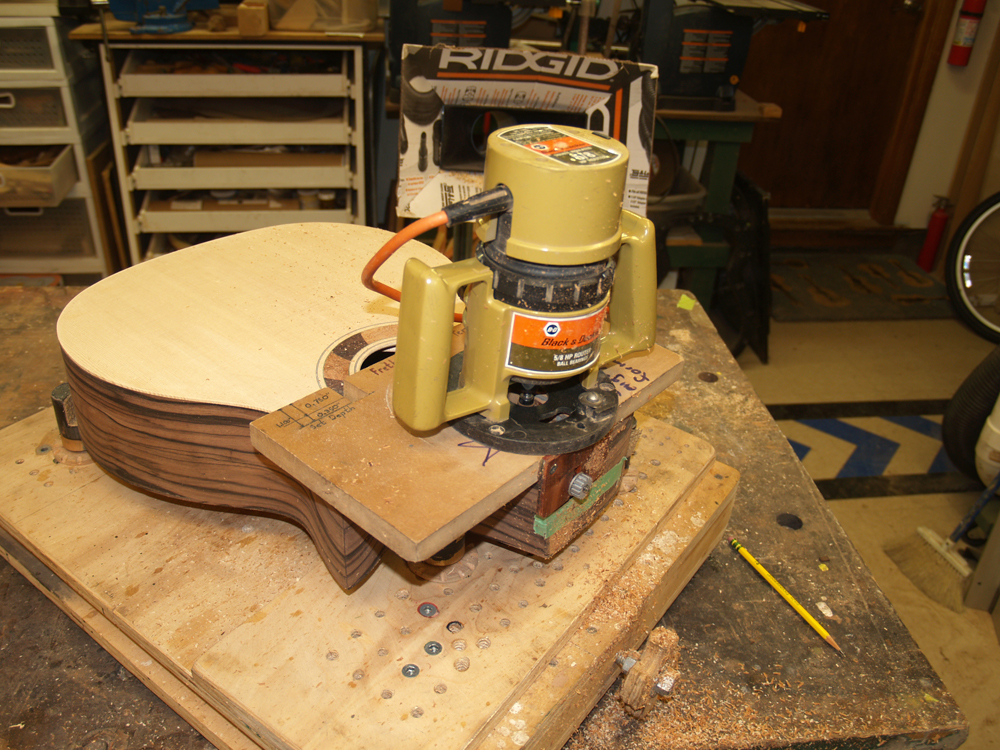
I use this carefully crafted routing template to help me cut the channel.
 ( 288 ) 16-Apr-2011
And I use this dedicated router to do the deed. This channel needs to be just deep and wide enough to accept the cantilever brace when the fretboard lies flat against the top.
 ( 289 ) 16-Apr-2011
And finally a look at the cantilever channel. Lots of detail goes into this User Adjustable Tilt Action neck attachment system.