 ( 203 ) 29-Mar-2011
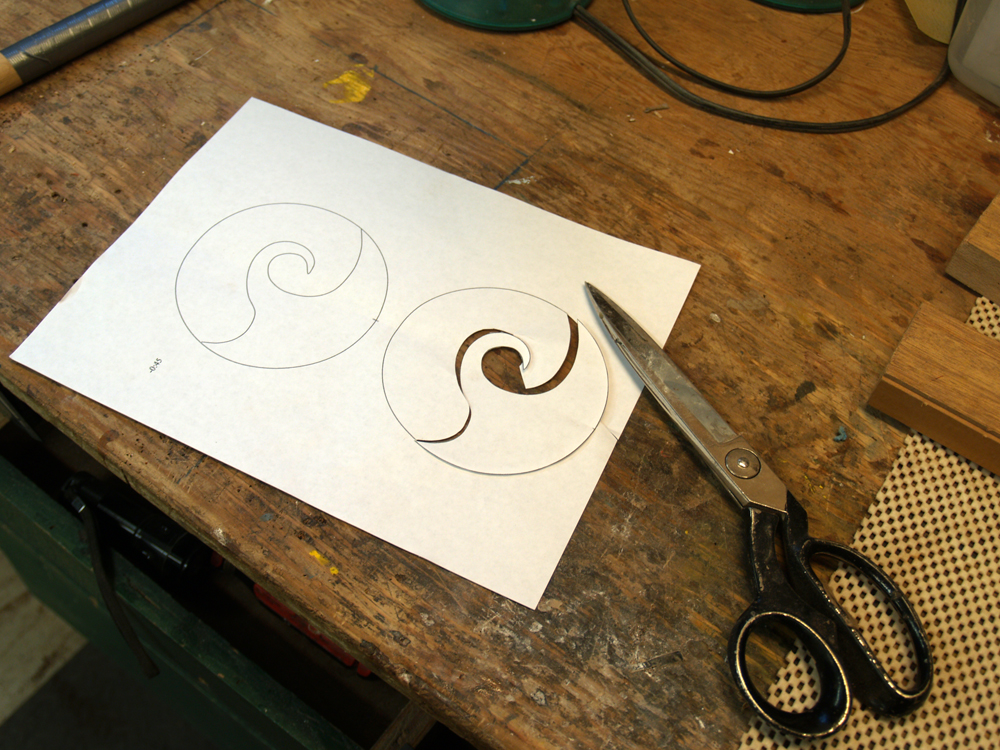
After looking over the contra-rosette, we decided to make some modifications to the design. I have created a template of the new design that I will use to trace out the shape on the Macassar Ebony veneer that will be used.
 ( 203 ) 29-Mar-2011
After looking over the contra-rosette, we decided to make some modifications to the design. I have created a template of the new design that I will use to trace out the shape on the Macassar Ebony veneer that will be used.
 ( 204 ) 29-Mar-2011
To ensure a proper fit I lay out the template on the Amboyna burl disk.
 ( 205 ) 29-Mar-2011
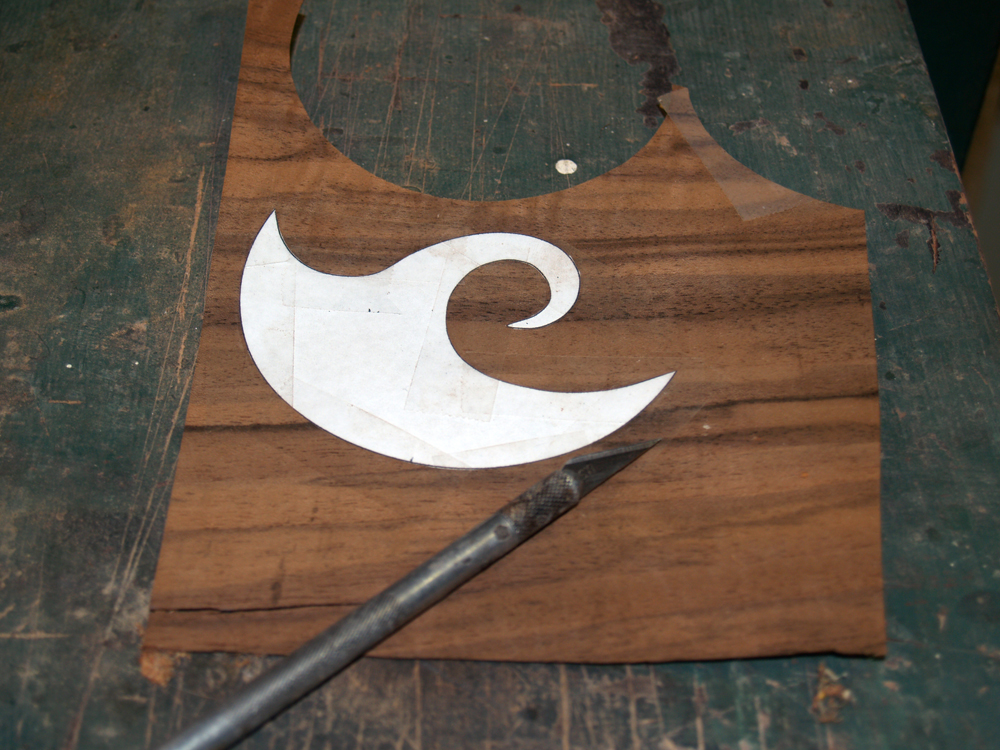
After I am satisfied with the fit I trace out the design onto the Macassar Ebony veneer.
 ( 206 ) 29-Mar-2011
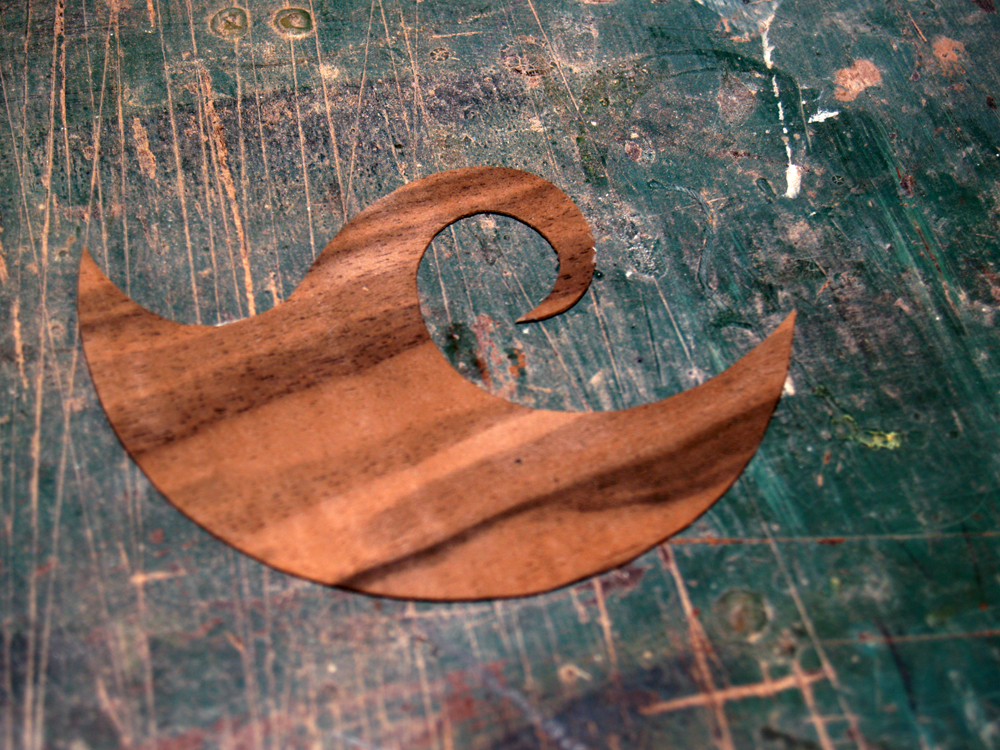
The cut out.
 ( 207 ) 29-Mar-2011
To glue the veneer to the disk I use a glass plate and a few clamps to ensure that the veneer lays flat.
 ( 208 ) 29-Mar-2011
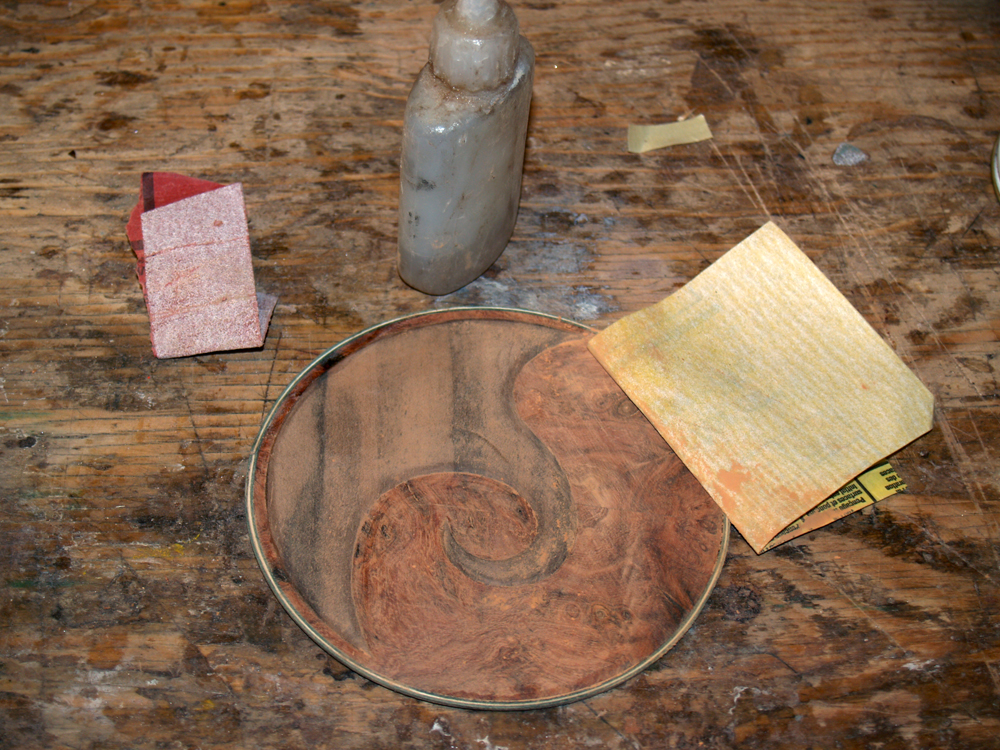
After the glue is set I round over the the edges of the veneer with sandpaper to produce an embossed look to the medallion.
 ( 209 ) 29-Mar-2011
To finish up the back of the guitar I install a set of reenforcing strips over the cent joint. In this picture I am trimming the center line reenforcing strip so it fits snuggly into the braces. This strip is necessary to help prevent the back seam from coming apart shoud it ever be unduly stressed. Nobody ever drops their guitar do they... no, never.
 ( 210 ) 29-Mar-2011
The contra-rosette and the reenforcing strips are glued into place using the go-box.
 ( 211 ) 29-Mar-2011
I use lots of go-sticks to make sure the medallion lays flat.
 ( 212a ) 29-Mar-2011
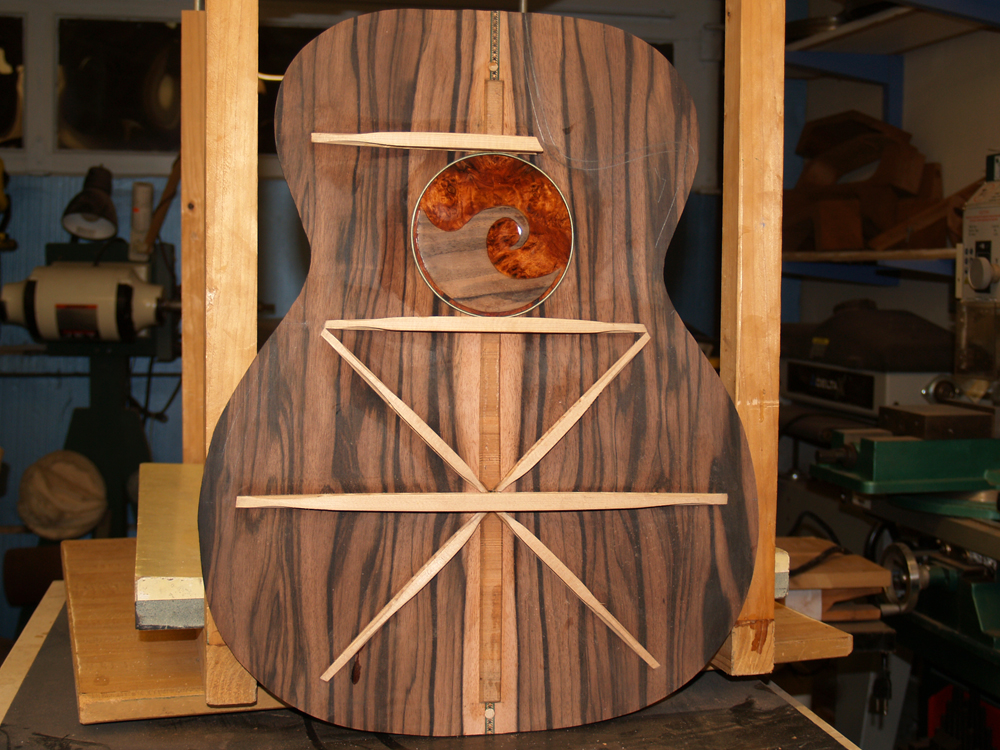
Here we see the contra-rosette after it has been glued in place. I will trim off the cutaway section and clean up the interior surfaces before the back is attached to the sides.
 ( 212b ) 29-Mar-2011
To get an idea of how the rosettes look together I have placed the top in front of the back for this picture.
 ( 212c ) 29-Mar-2011
A close up of the rosettes. Rather nice I think.
 ( 213 ) 29-Mar-2011
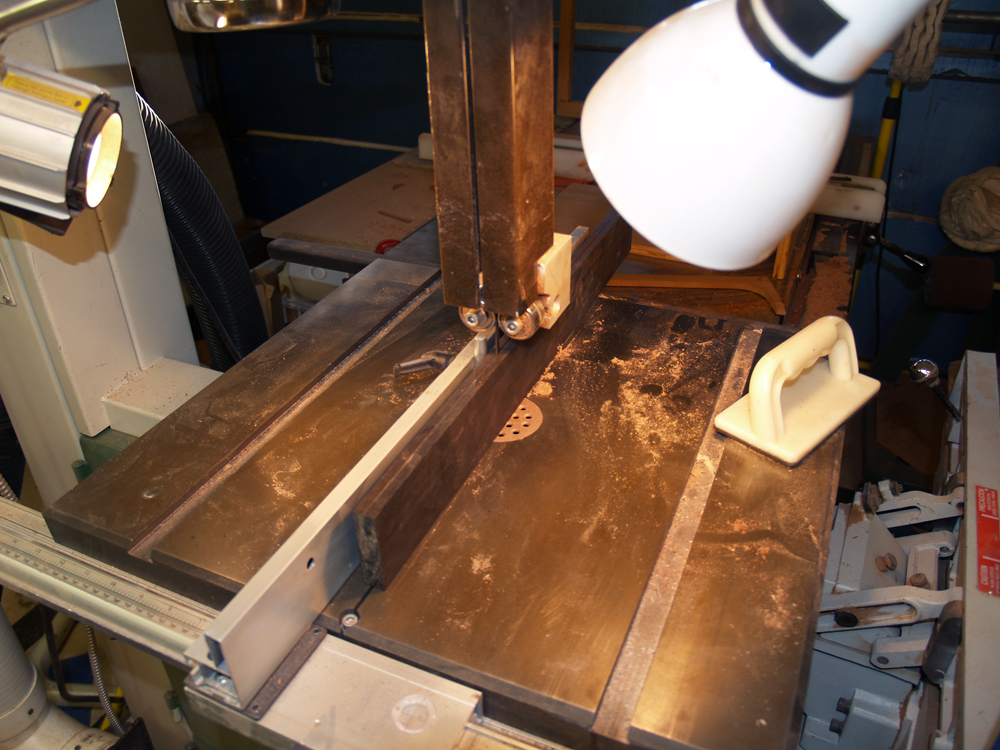
Next up is some work on the fret board. Here I have a Macassar Ebony board that I am resawing into two fretboard blanks.
 ( 214 ) 29-Mar-2011
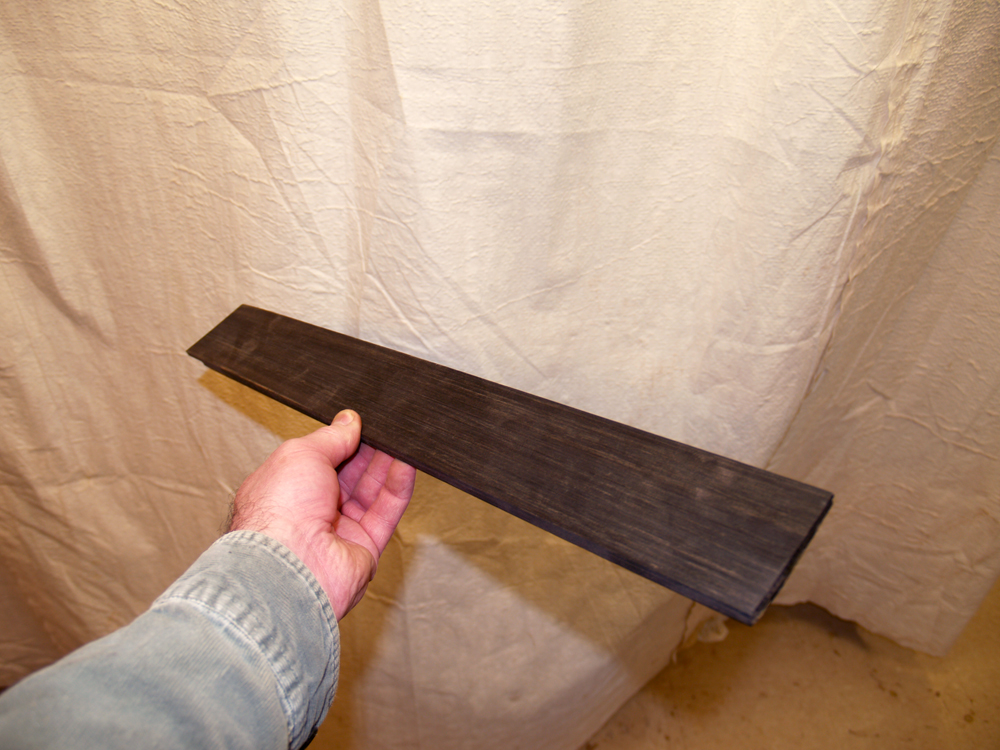
A picture of the fretboard blank.
 ( 215 ) 29-Mar-2011
The guitars I build employ what is called a compound radius fretboard. The objective of the compound radius is to produce a fretboard where the strings remain a consistent distance above the frets along the length of the fretboard. A curved fretboard feels more comfortable and since the set of strings are tapered, i.e., closer together at the nut than at the saddle, the required shape of the fretboard is a conic section. To accurately create a conic section on the fretboard I have built a machine I call the Universal-Radiusator. This is a machine that has two pendulum arms of different length tied together with a cross bar, i.e., a compound pendulum. By carefully selecting the lengths of the pendulum arms the desired conic section is swept out as the pendulums swing back and forth.
 ( 216 ) 29-Mar-2011
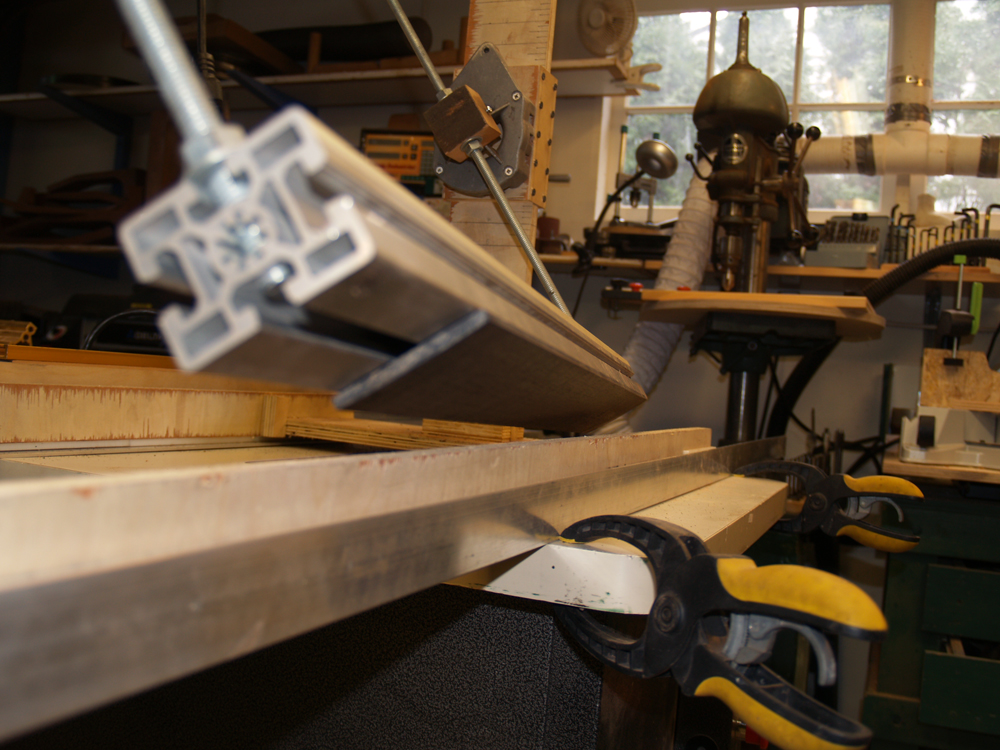
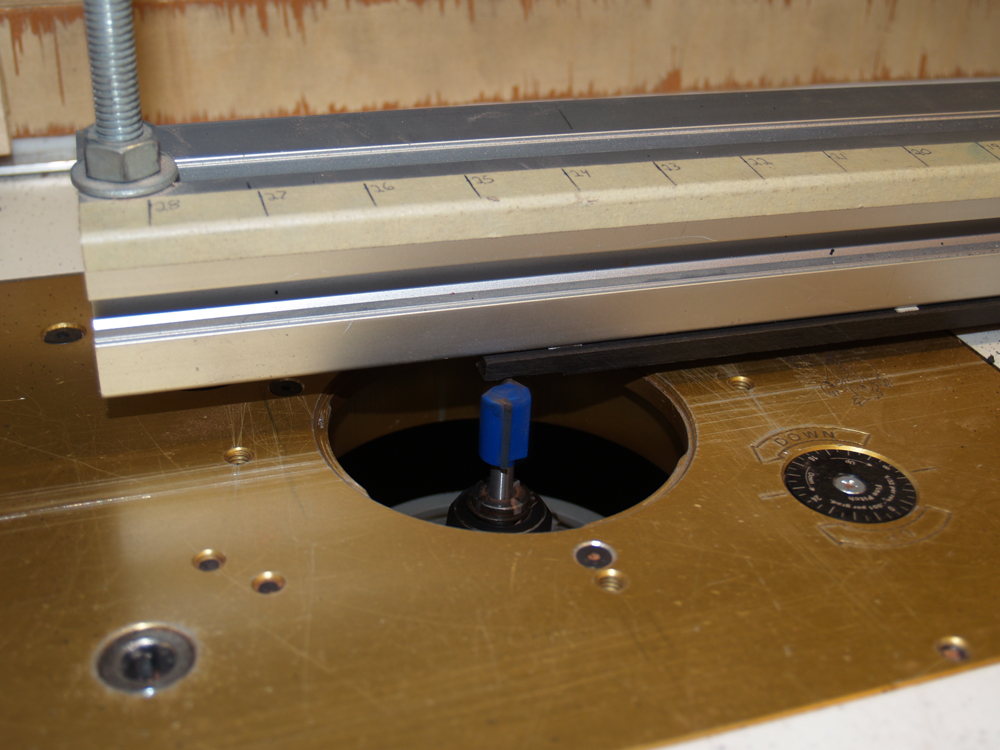
The Universal-Radiusator works by mounting the compound pendulum on a sled suspended over a router bit. Each time the compound pendulum swings over the router a section of the freeboard is routed off with a radius that is equal to the weighted average of the lengths of the two arms. When the router cuts a path in the fretboard blank near the long arm, the radius of the cut is closer to the length of the long arm. As the sled is moved toward the short arm, the radius of the cut becomes gradually smaller. In this picture I have attached the fretboard blank to the bottom of the cross bar with mounting tape.
 ( 217 ) 29-Mar-2011
Here you can see the compound pendulum about to swing over the router bit.
 ( 218 ) 29-Mar-2011
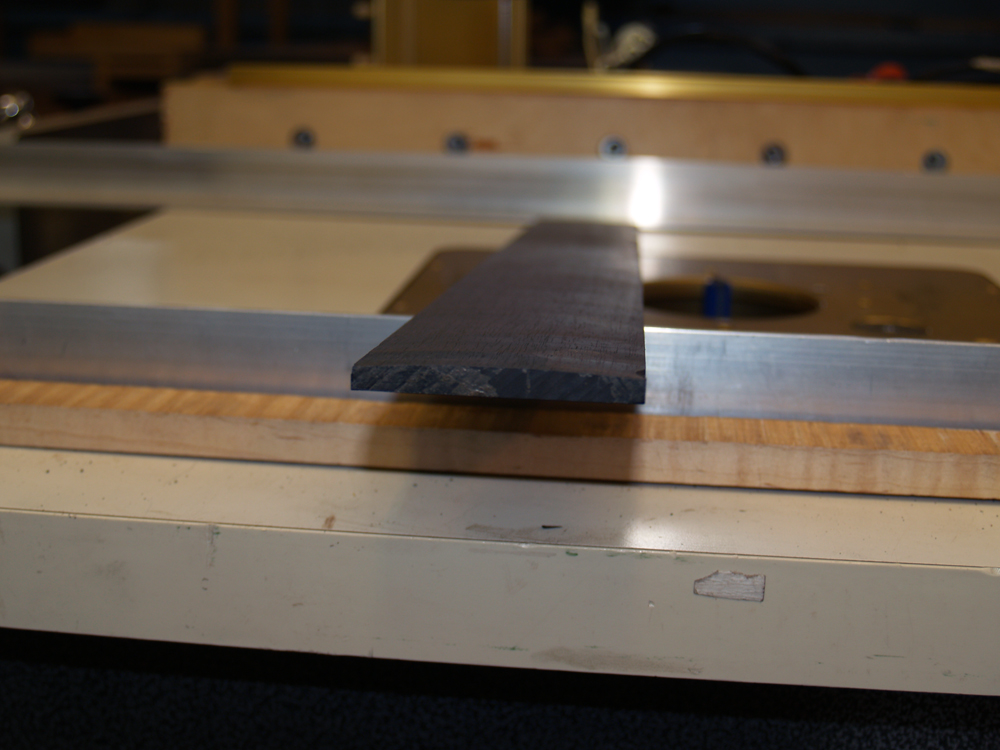
In this picture you can see the radius of the fretboard created at the long arm end. This end will go on the saddle side of the fretboard.
 ( 219 ) 29-Mar-2011
In this picture you can see the radius of the fretboard created at the short arm end. The radius is smaller, i.e., a sharper curve than the radius seen in the previous picture. This end will go toward the nut.
 ( 220 ) 29-Mar-2011
Now with the shape of the fretboard in a conic section I use my fret-slot cutting machine to cut the twenty four slots that the fret wire goes into. In cross section the fretwire looks a bit like a mushroom with a round top and a stem that fits into the fret slot. This machine has a set of slotted templates that allows me to accurately and precisely positions a small circular saw that cuts the fret slots.
 ( 221 ) 29-Mar-2011
I use a small hand saw as a stop plate for the guide sled. The hand saw blade fits into the template slots; the saw blade prevents the sled from moving as the circular saw is drawn across the fretboard.
 ( 222 ) 29-Mar-2011
Once everything is set up it doesn't take very long to cut the twenty four slots.
 ( 223 ) 29-Mar-2011
When I am finished, a series of twenty-four slots has been cut into the fretboard blank. The frets are logarithmically spaced to create the even tempered scales we use in traditional western music.
 ( 224 ) 29-Mar-2011
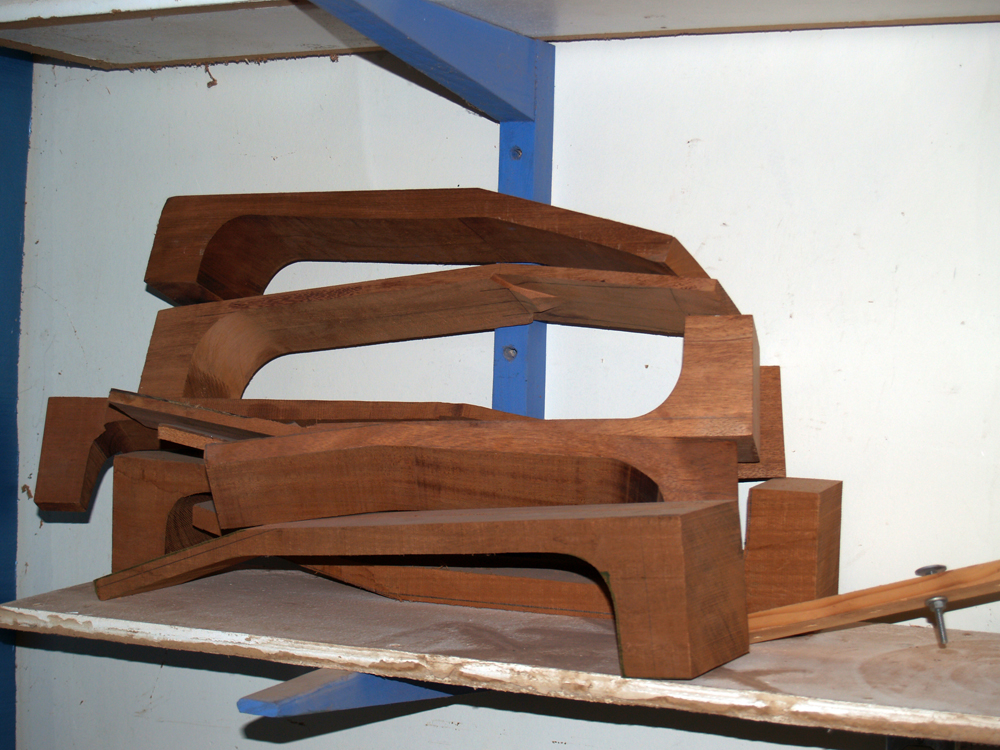
The neck for this guitar is constructed out of a single piece of Mahogany. To accommodate and allow for any shrinkage or warpage in the neck blanks I precut them and allow the blanks to settle for at least four months. When I am ready to make a neck I choose one from my pile of cured blanks.
 ( 225 ) 29-Mar-2011
To facilitate the process of making a neck the first thing I do is square up dimensionsof the neck blank. Here I am using my jointer to make the top of the blank flat.
 ( 226 ) 29-Mar-2011
A little bit of sanding on the top for some fine tuning.
 ( 227 ) 29-Mar-2011
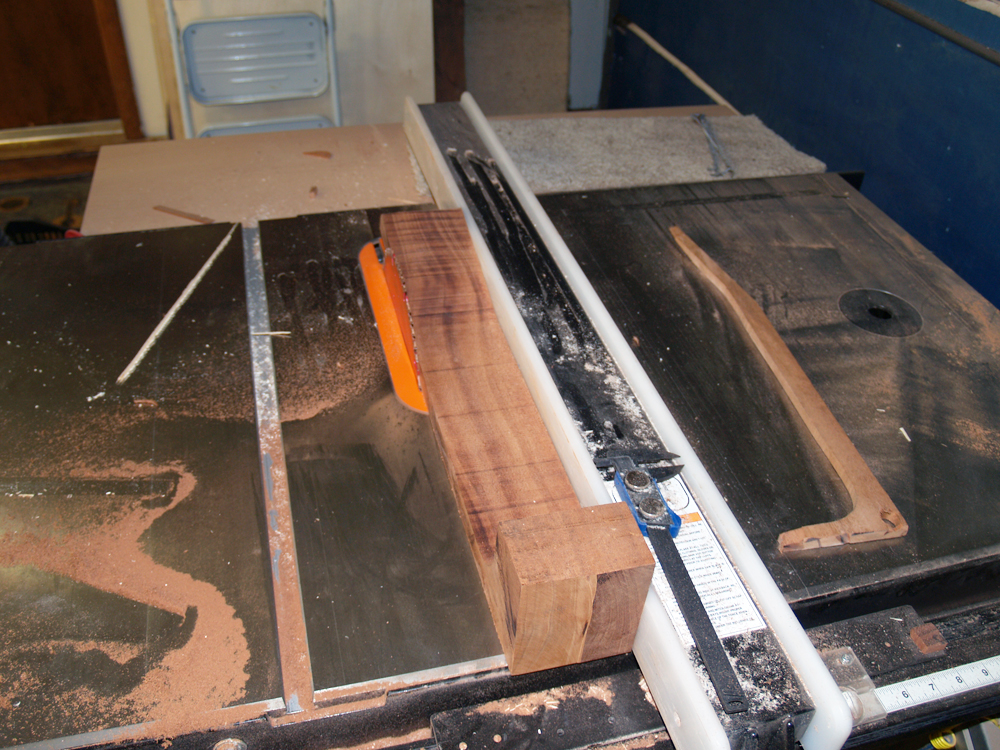
I next square the sides using the table saw.
 ( 228 ) 29-Mar-2011
Checking for squareness.
 ( 229 ) 29-Mar-2011
And checking again. Measure twice or thrice and cut once.
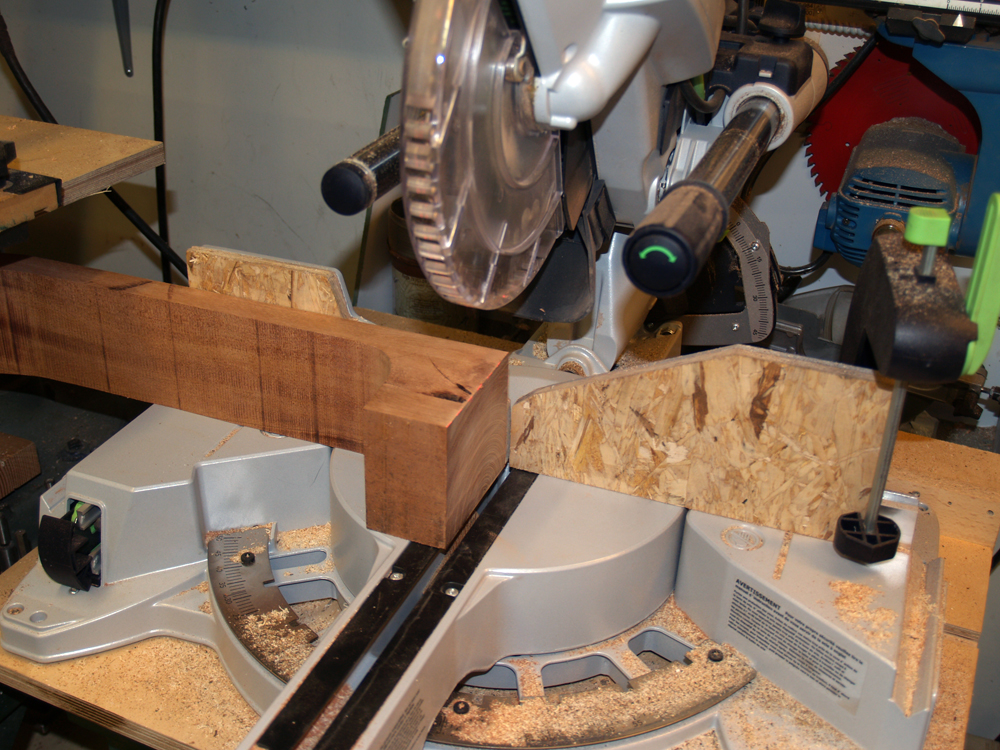 ( 230 ) 29-Mar-2011
Here I am using my compound miter saw to square off the end of the neck blank.
 ( 231 ) 29-Mar-2011
I use the milling machine to square up the head stock.
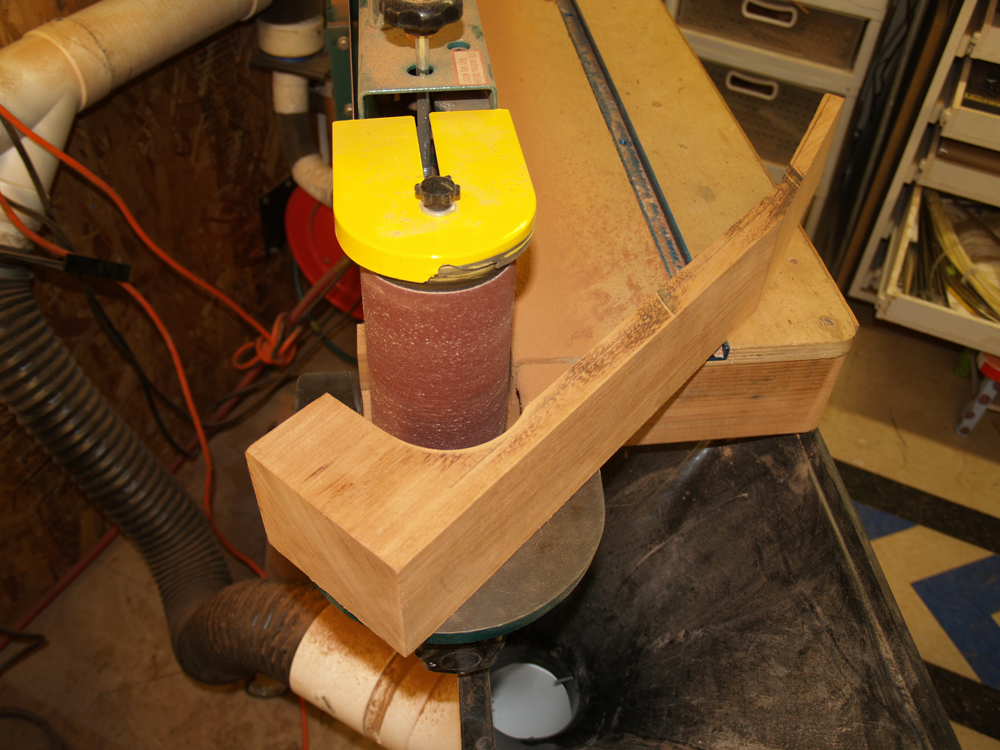 ( 232 ) 29-Mar-2011
Now that everything on the blank is square I start the process of shaping the neck. Here I am using the idler pulley on the belt sander to establish the thickness of the neck at the heel.
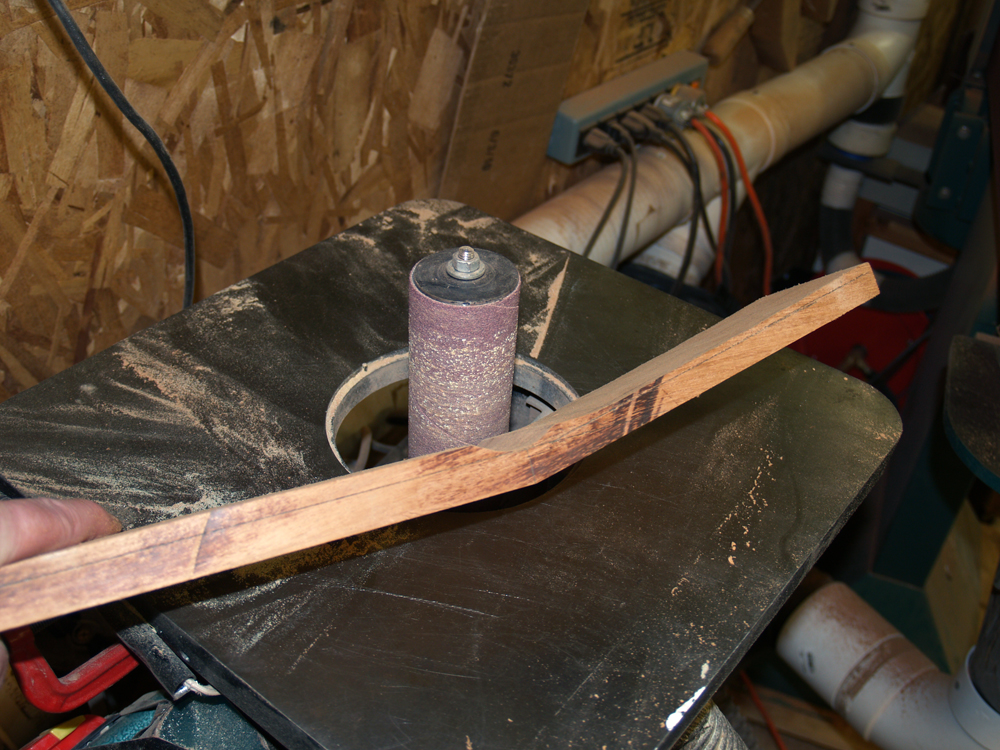 ( 233 ) 29-Mar-2011
I use the oscillating sander to start shaping the headstock.
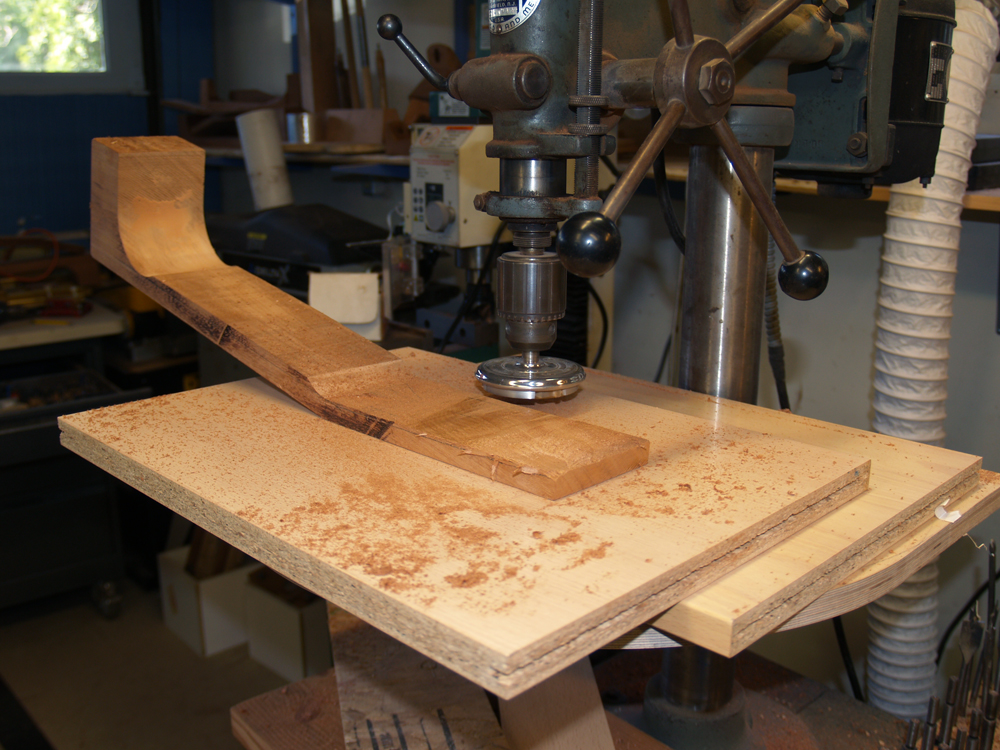 ( 234 ) 29-Mar-2011
Here I am using a safety plane to dimension the back of the headstock. A bit of trivia: the front and back of the headstock are the only spots on a Portland Guitar that are flat.
 ( 235 ) 29-Mar-2011
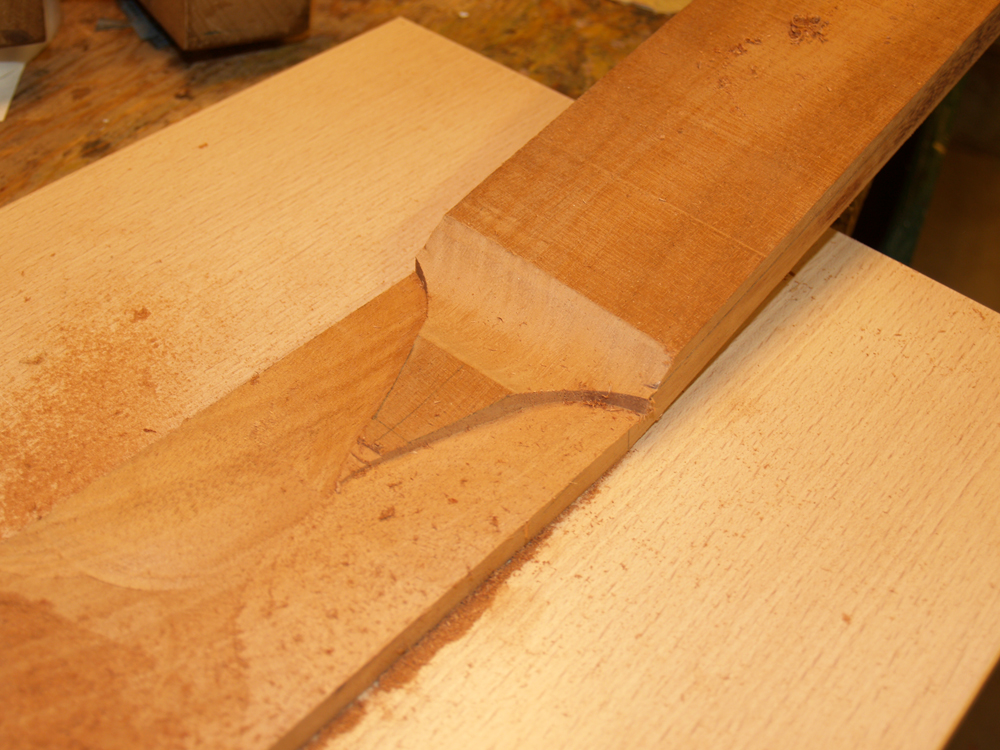
Here is a look at the intersection of the neck and headstock. The reinforcing/decorative detail is starting to take shape.
 ( 236 ) 29-Mar-2011
The safety plane is used to dimension the thickness of the neck. Lots of woodchips here.
 ( 237 ) 29-Mar-2011
I use this counter boring bit to shape the sides of the intersection detail.
 ( 238 ) 29-Mar-2011
Now with the neck blank roughed out I install a threaded insert into the squared off end of the heel. This insert is used to bolt the neck to the body. The insert is positioned in the center of the neck and on the line around which the neck will pivot as the action is adjusted, al a "The User Adjustable Tilt Action Neck"
 ( 239 ) 29-Mar-2011
My next task is to shape the heel of the neck using the router table. To guide the shape I attach the heel template to the squared off end of the neck blank.
 ( 240 ) 29-Mar-2011
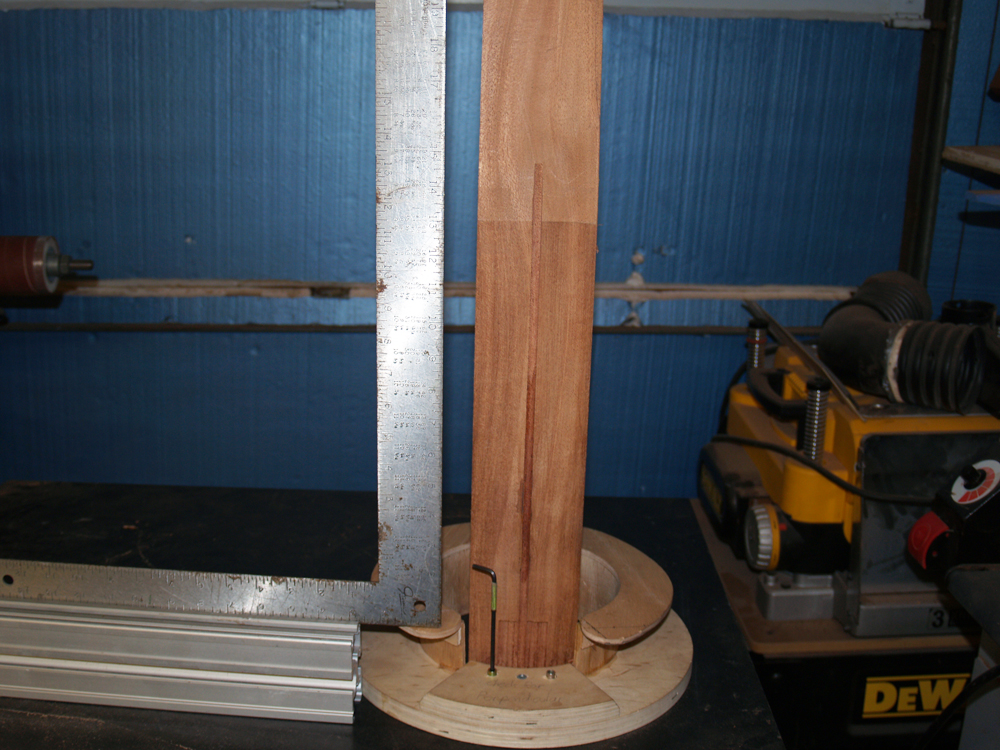
And then this assembly is attached to the routing platform. This fixture allows me to adjust the tilt of the neck so that it is perpendicular to the table. The routing fixture is designed so that I can firmly grasp and move the neck around the router table while keeping my fingers out of harms way.
 ( 241 ) 29-Mar-2011
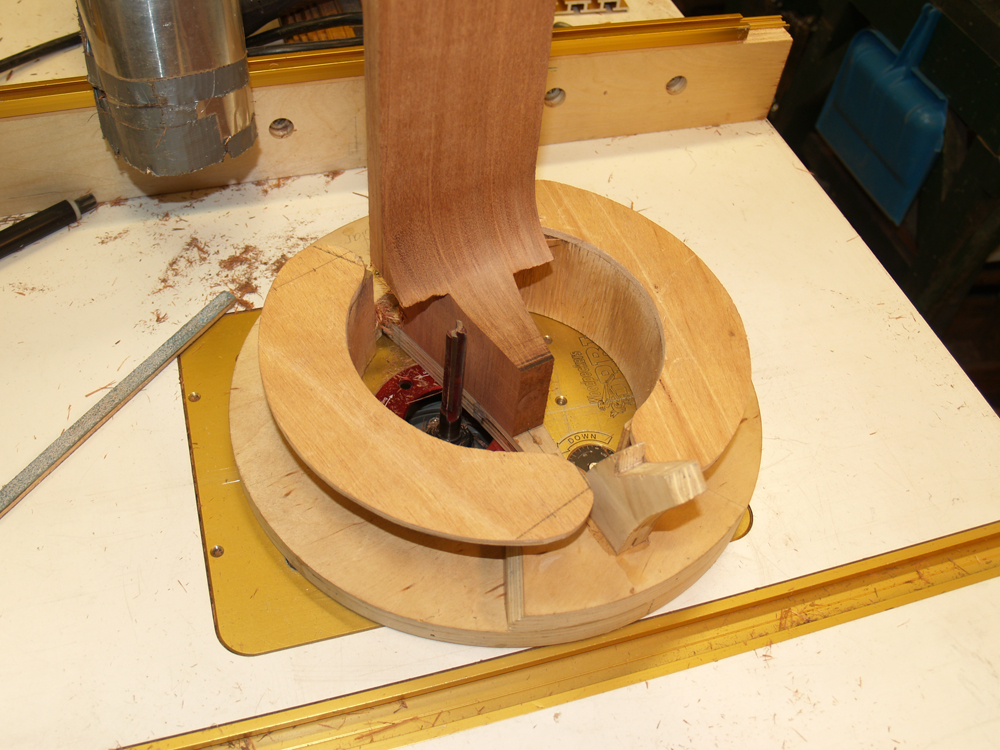
And then to the routing table. I use a three inch long 1/2 inch diameter router bit (very scary) to shape the heel. The base of the router bit runs along the template seen in picture 239. The router fixture has a feature that holds the dust collector nozzel. This process creates a lot of wood chips.
 ( 242 ) 29-Mar-2011
Here you can see the router bit and the heel taking shape.
 ( 243 ) 29-Mar-2011
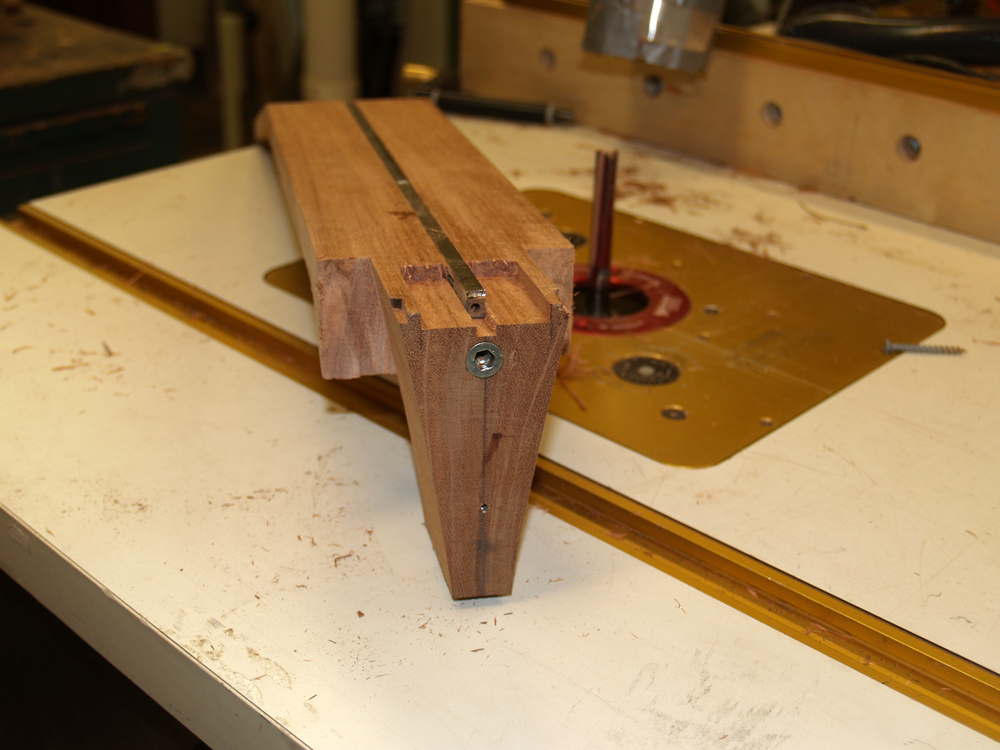
And here is an end on view of the shaped heel. (I forgot to take pictures) I have also routed out a channel for the truss rod and a channel for the reenforcing plate for the cantilevered section of the fretboard.
 ( #244 ) 29-Mar-2011
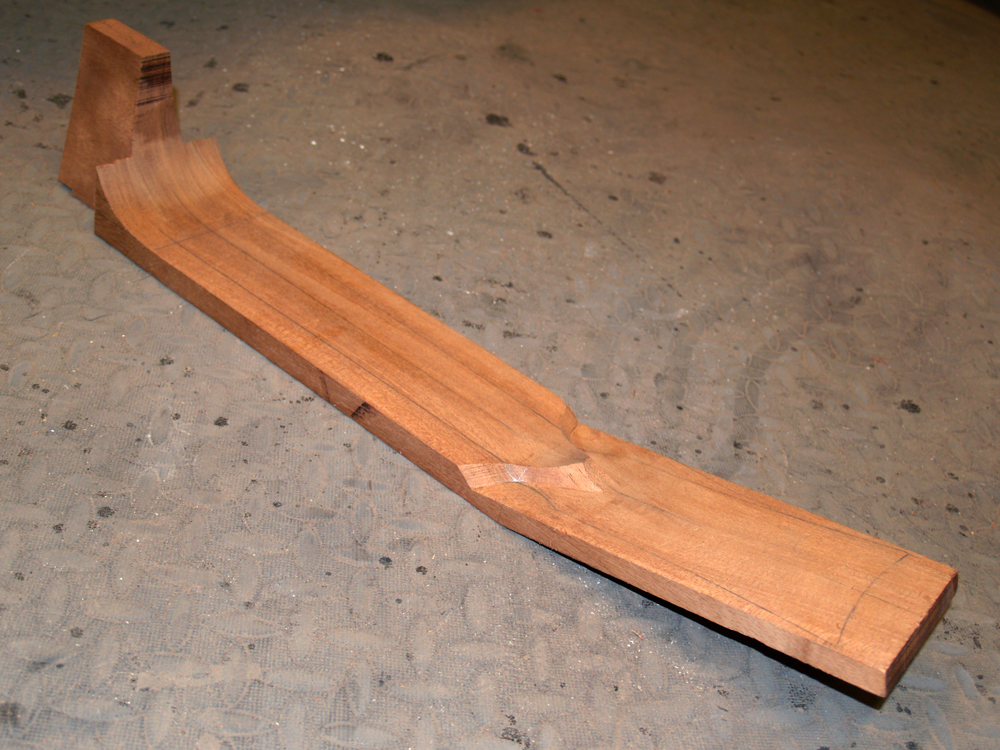
A quick look at the roughed ot neck.
 ( 245 ) 29-Mar-2011
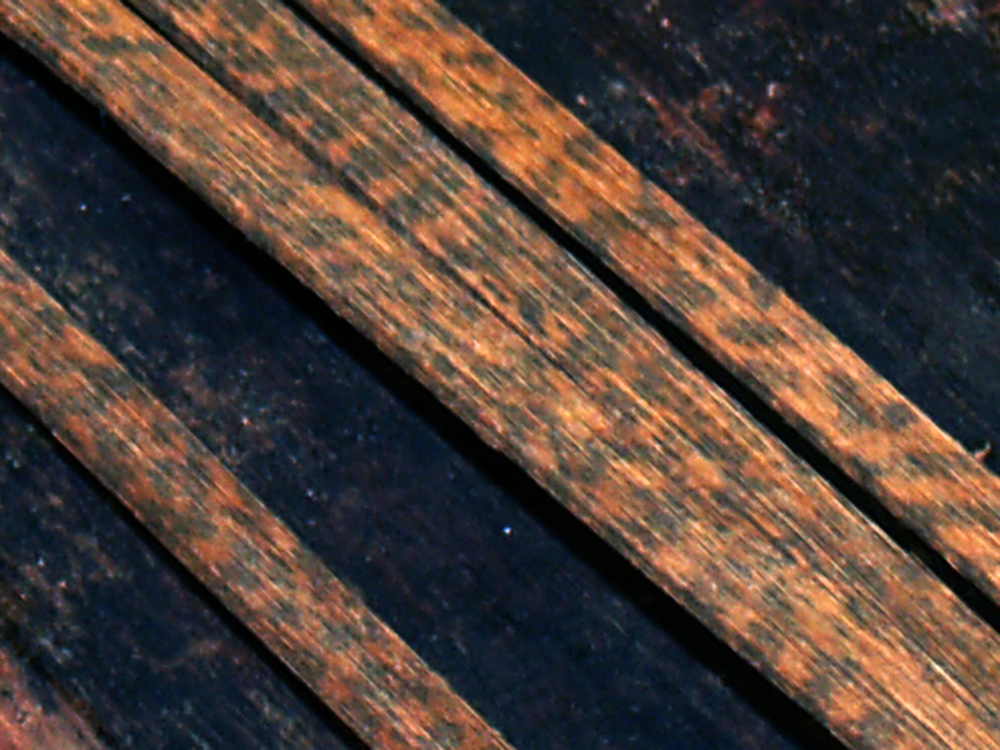
This guitar is going to have Snakewood binding some of which is seen here.
 ( 246 ) 29-Mar-2011
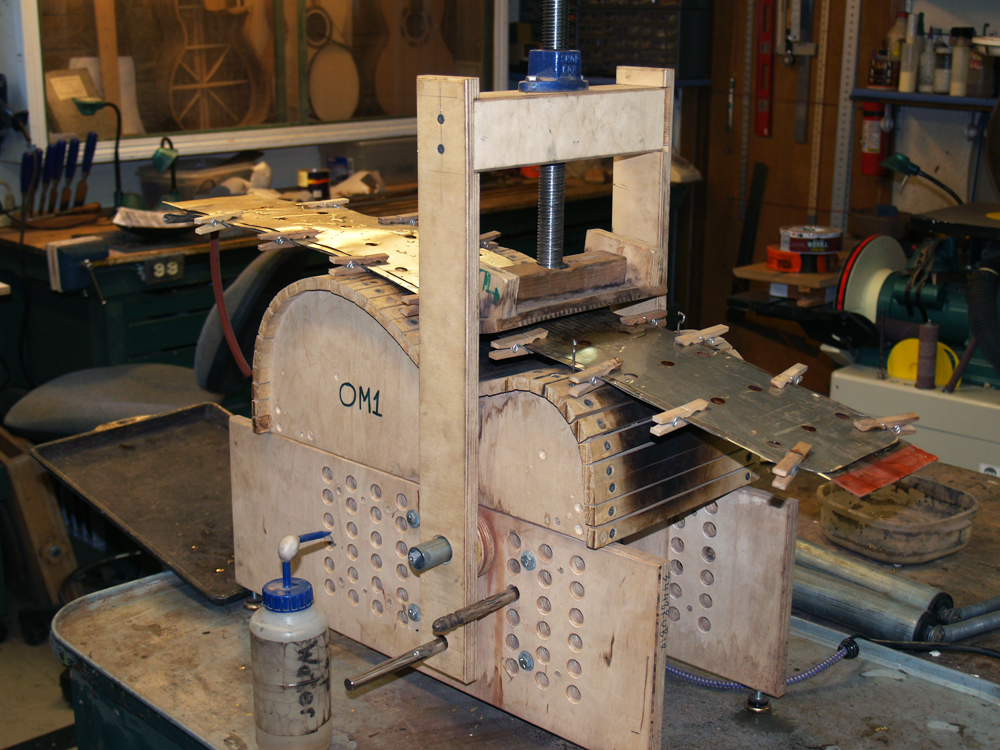
The binding needs to be bent into the same shape as the sides, so the binding strips go through the same bending process as the sides. Here I have set them into the heating sandwich.
 ( 247 ) 29-Mar-2011
And the heating sandwich goes into the bending machine.
 ( 248 ) 29-Mar-2011
After cooking for a while the binding holds its new shape.
 ( 249 ) 29-Mar-2011
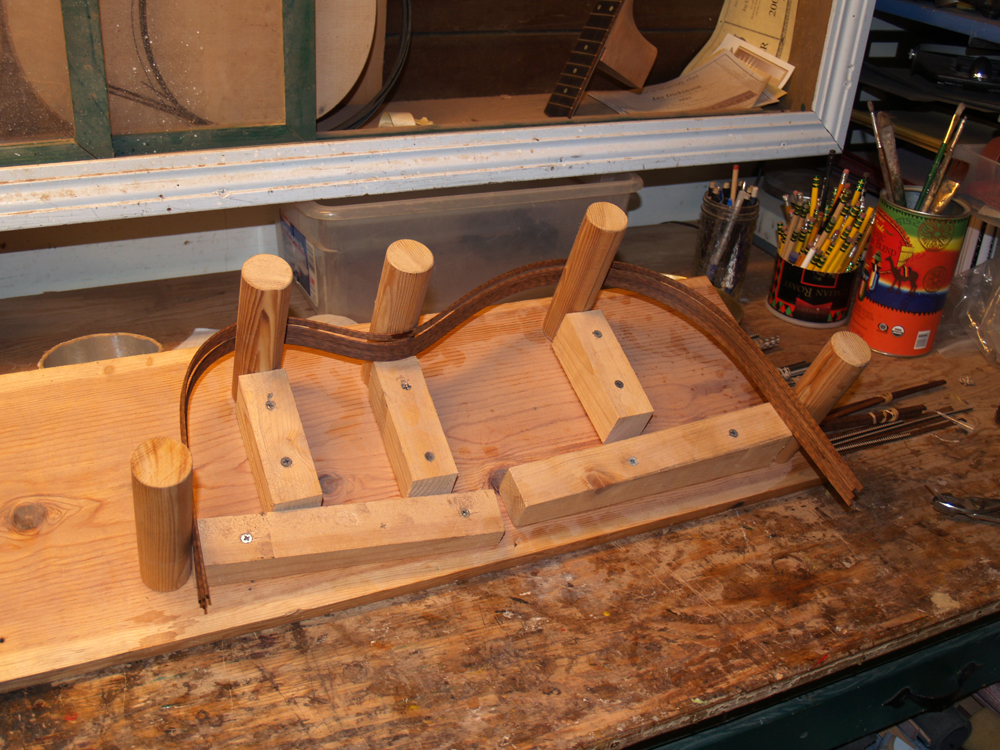
I am not going to be using the binding for some time so to maintain its shape I put it into this fixture that hold it in place.