 ( 47 ) 3-Jan-2011
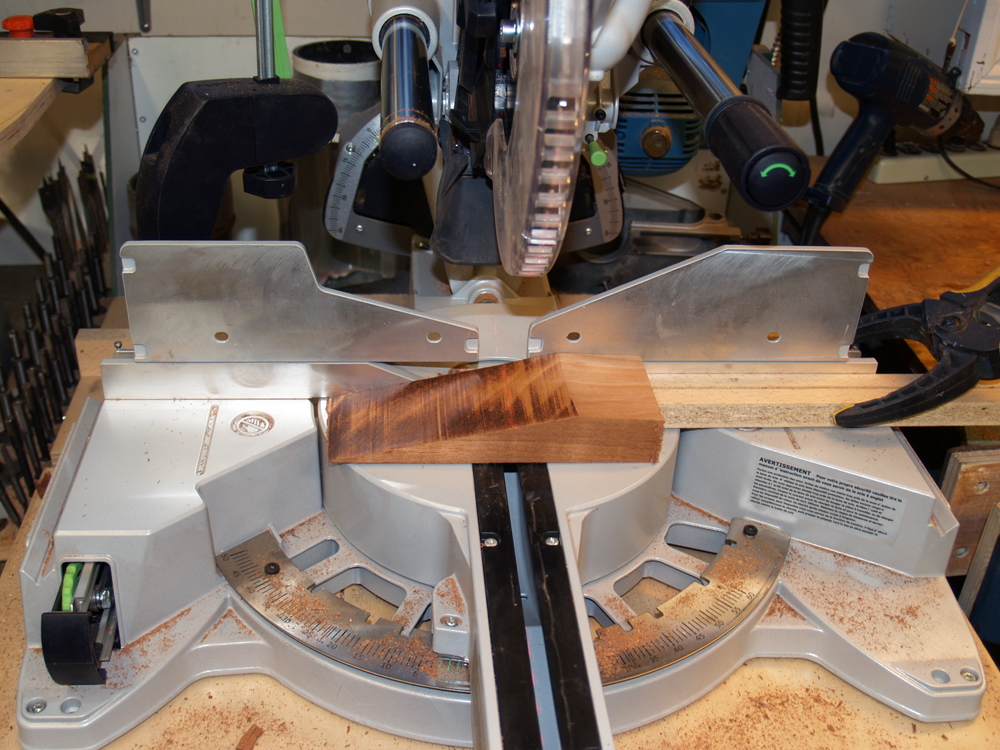
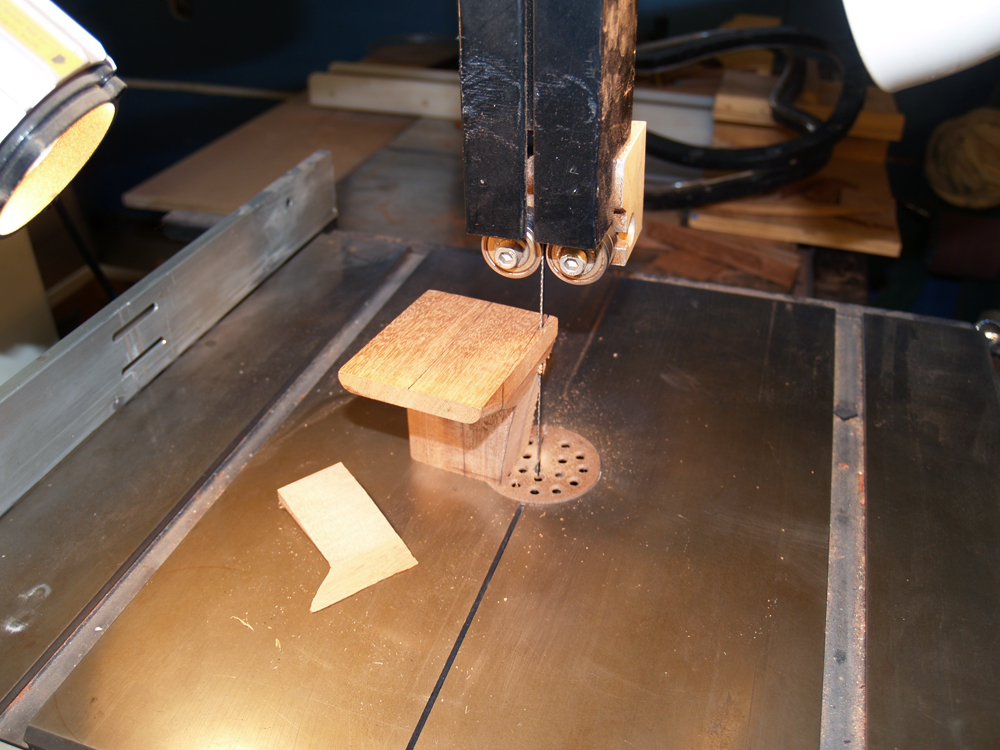
The next task is to make the heel block that will house all of the neck attachment hardware and tie the two sides of the guitar together. Here I am cutting a piece of mahogany for one of the pieces.
( 47 ) 3-Jan-2011
The next task is to make the heel block that will house all of the neck attachment hardware and tie the two sides of the guitar together. Here I am cutting a piece of mahogany for one of the pieces.
 ( 48 ) 3-Jan-2011
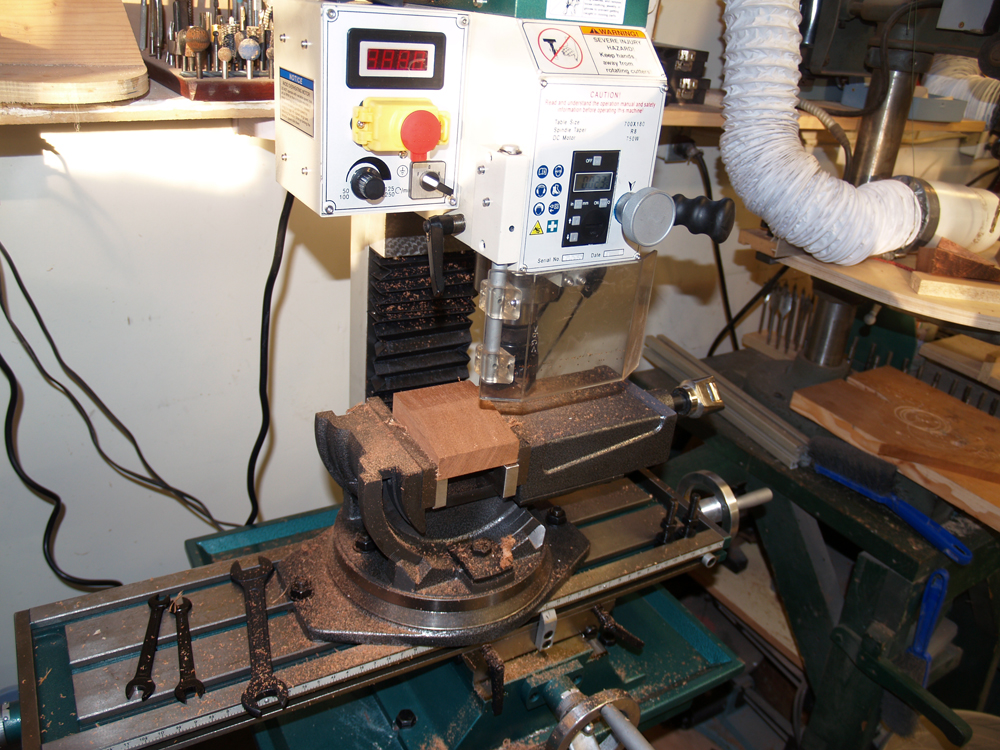
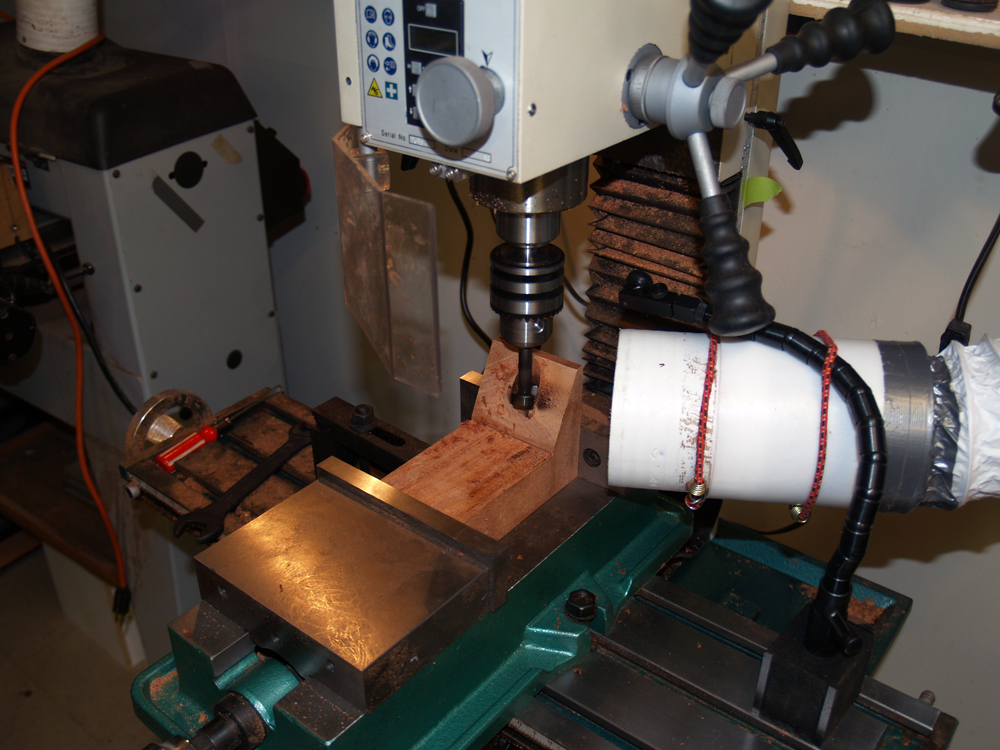
I am using my new milling machine to mill one of the surfaces flat.
 ( 49 ) 3-Jan-2011
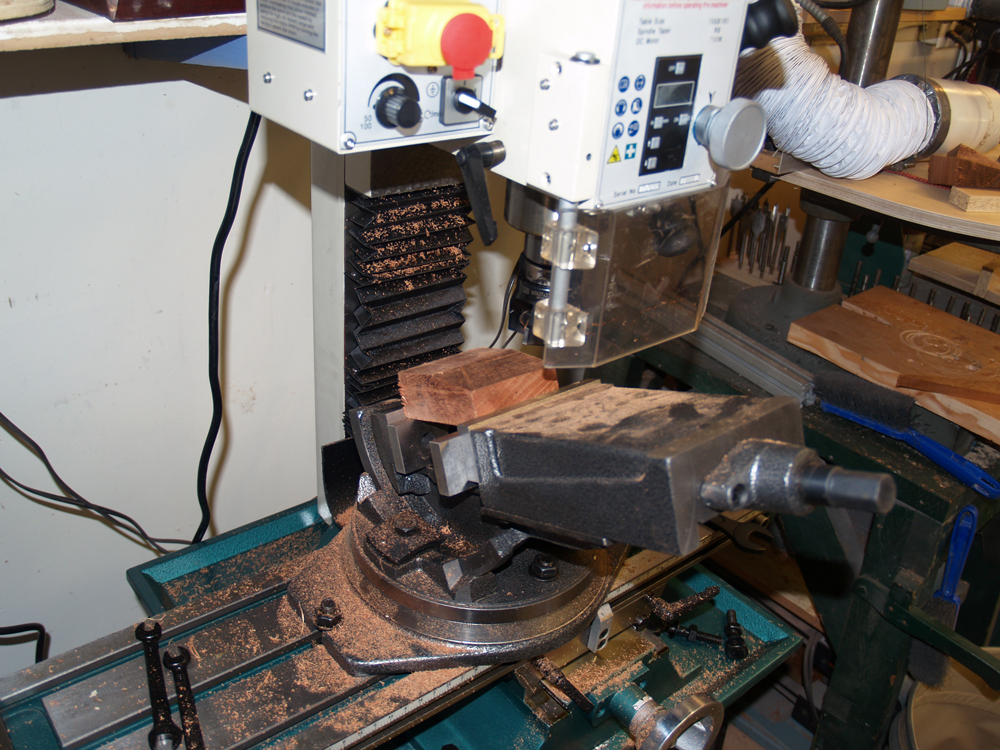
Here I am milling a surface of the heel block at an angle.
 ( 50 ) 3-Jan-2011
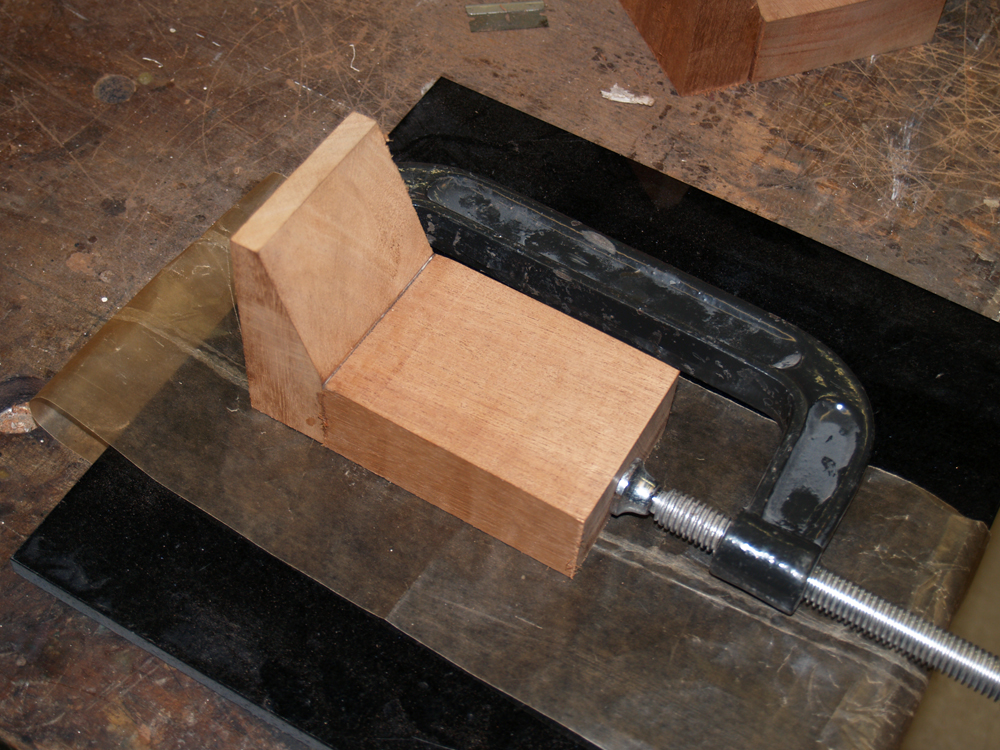
After cutting the second piece that makes up the heel block, they get glued together.
 ( 51 ) 3-Jan-2011
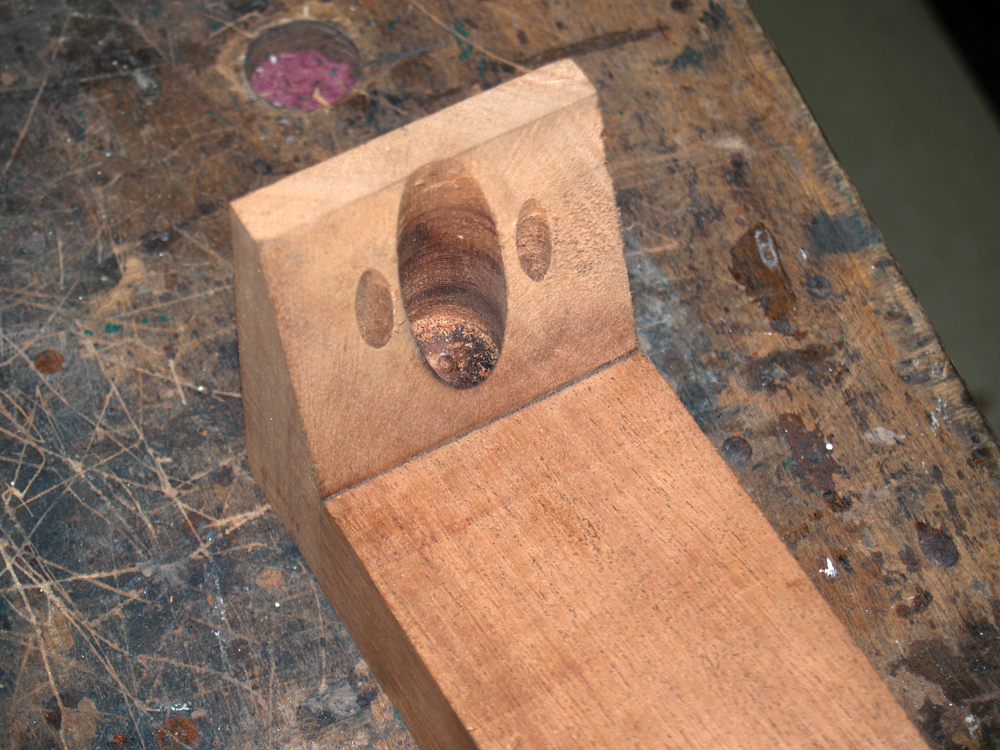
In this picture I am drilling a hole into the heel block that will hold the neck attachment bolt.
 ( 52 ) 3-Jan-2011
Next I drill the two holes that will allow access to the pivot set screws.
 ( 53 ) 3-Jan-2011
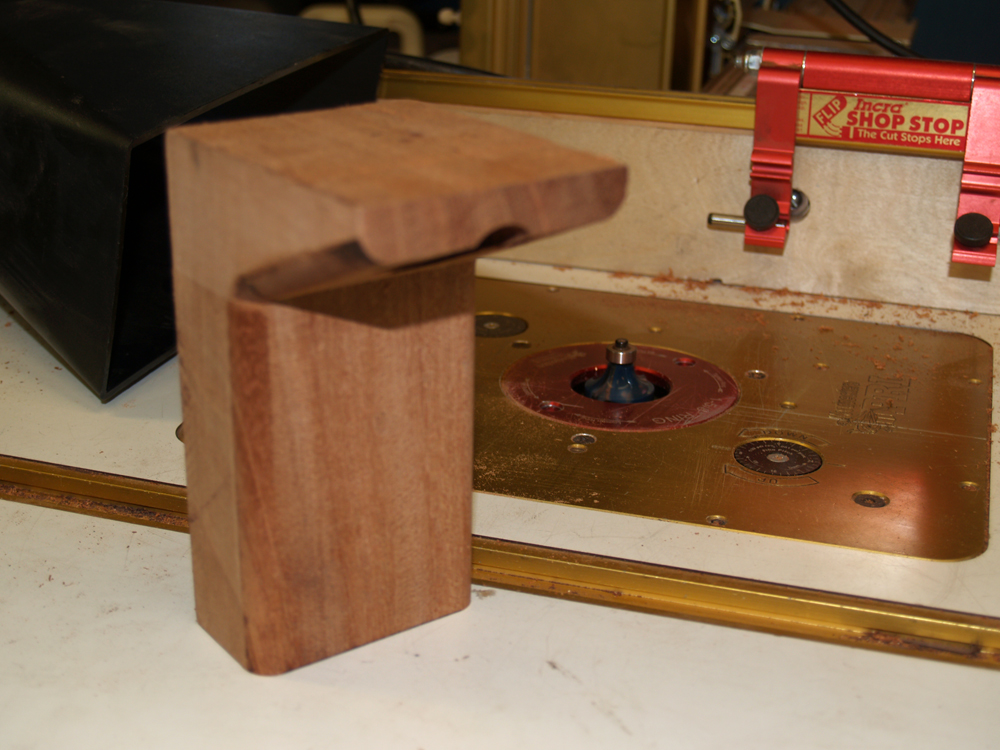
And then I use the routing table to round over the edges of the heel block.
 ( 54 ) 3-Jan-2011
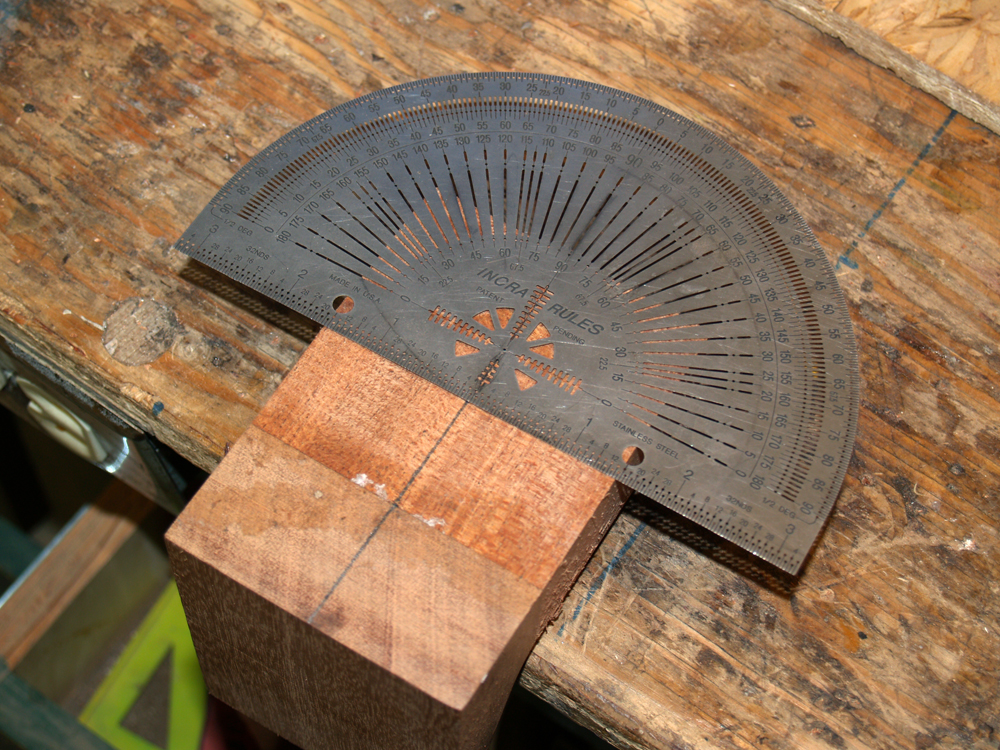
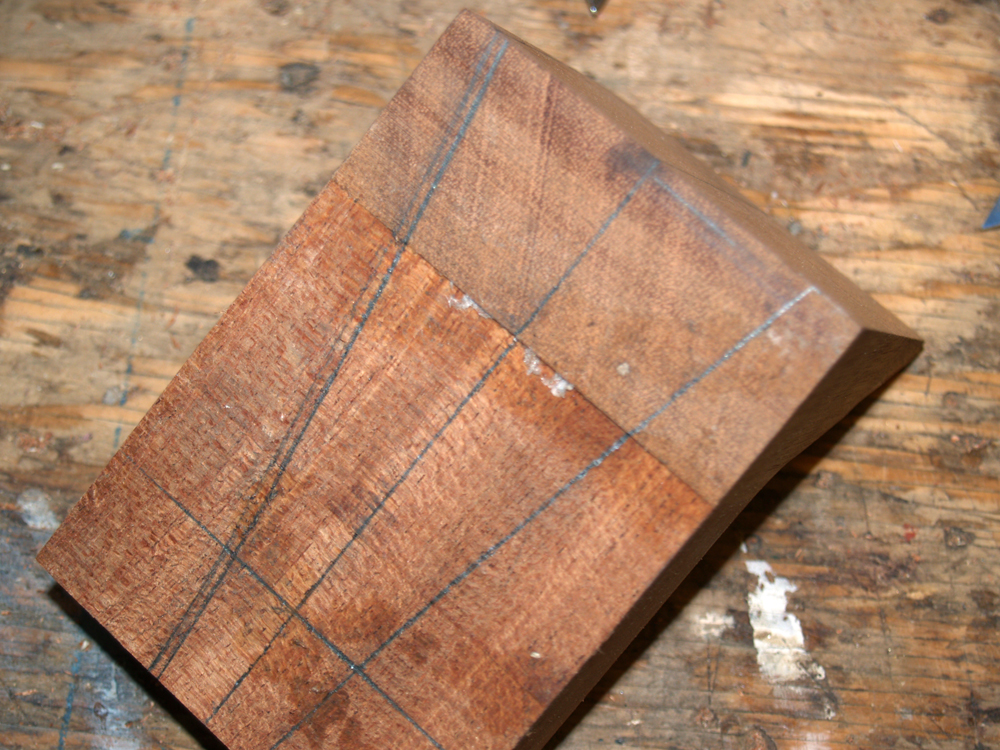
Here I am marking the center lines.
 ( 55 ) 3-Jan-2011
And then I trace the outline of the heel onto the heel block.
 ( 56 ) 3-Jan-2011
Eventually this area will be routed out to accept the heel of the neck.
 ( 57 ) 3-Jan-2011
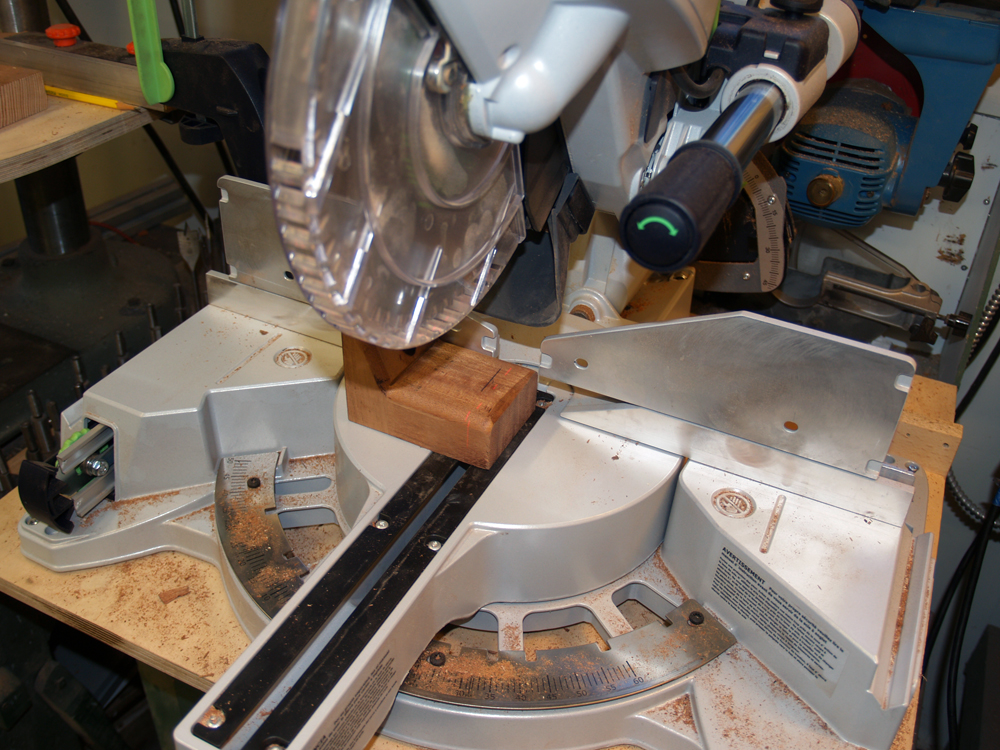
I use my miter saw to trim the heel block to length.
 ( 58 ) 3-Jan-2011
And then I carefully trim away some of the excess material where the cutaway section will go.
 ( 59 ) 3-Jan-2011
And a little bit more gets trimmed away.
 ( 60 ) 3-Jan-2011
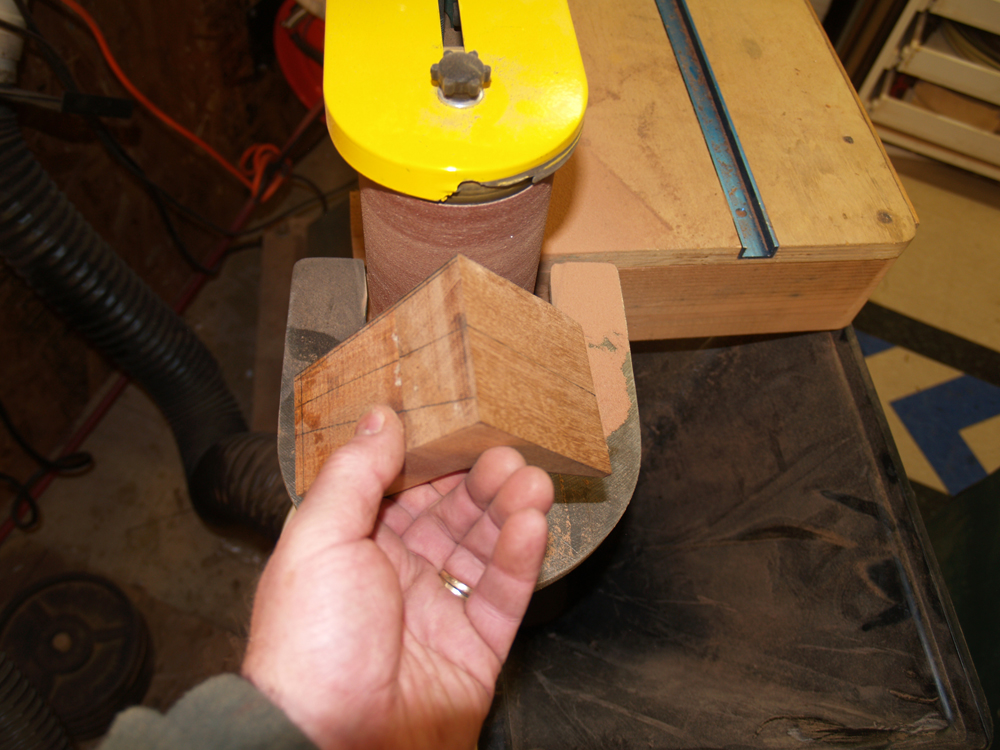
Finally I use my belt sander to finish up the cutaway shape of the heel block.
 ( 61 ) 3-Jan-2011
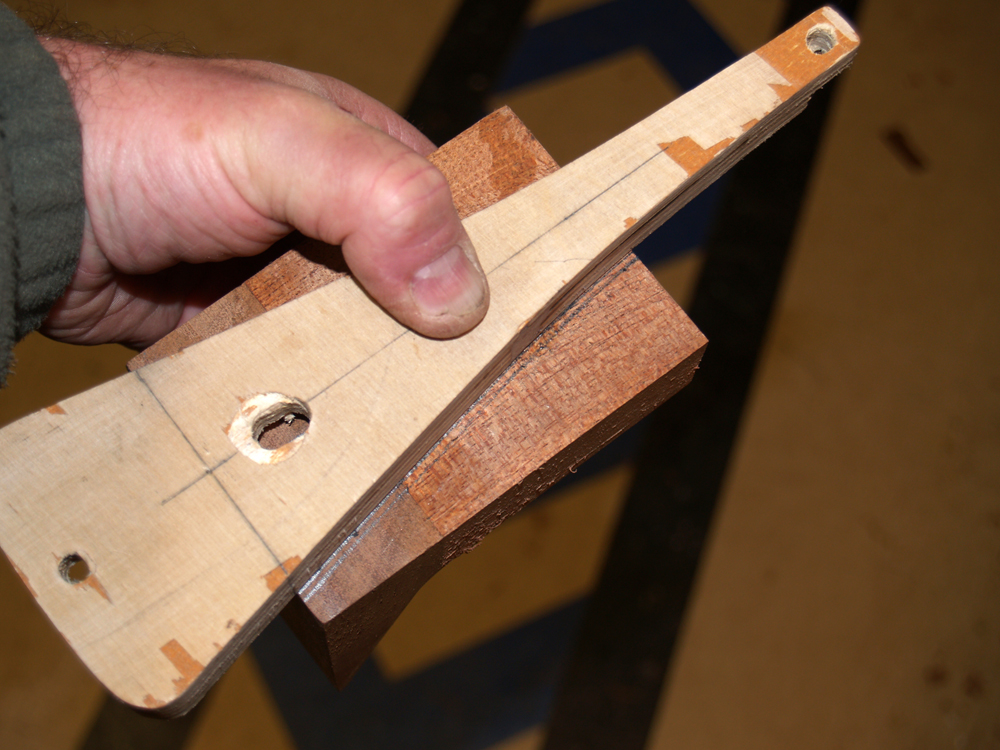
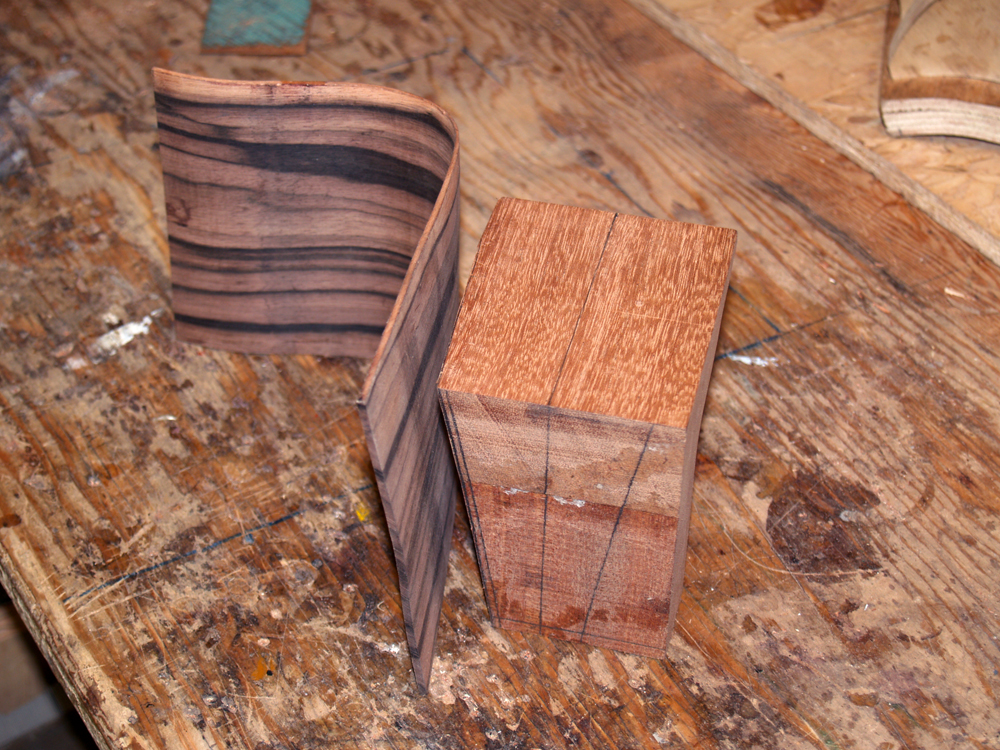
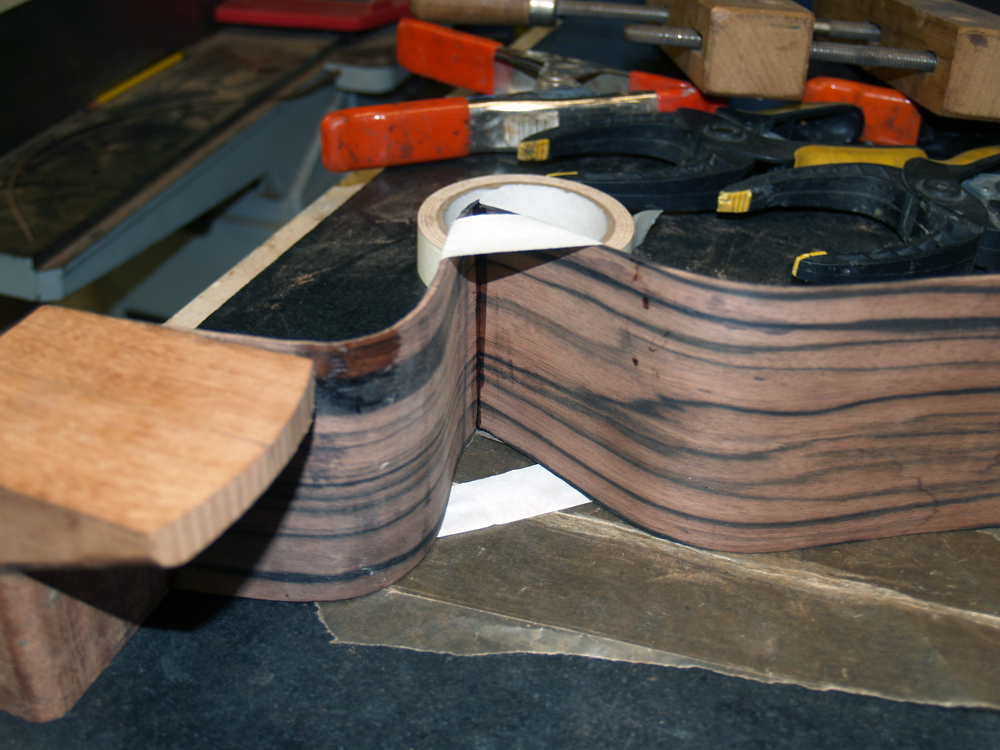
Here we can see how the heel block and the cutaway side will fit together,
 ( 62 ) 3-Jan-2011
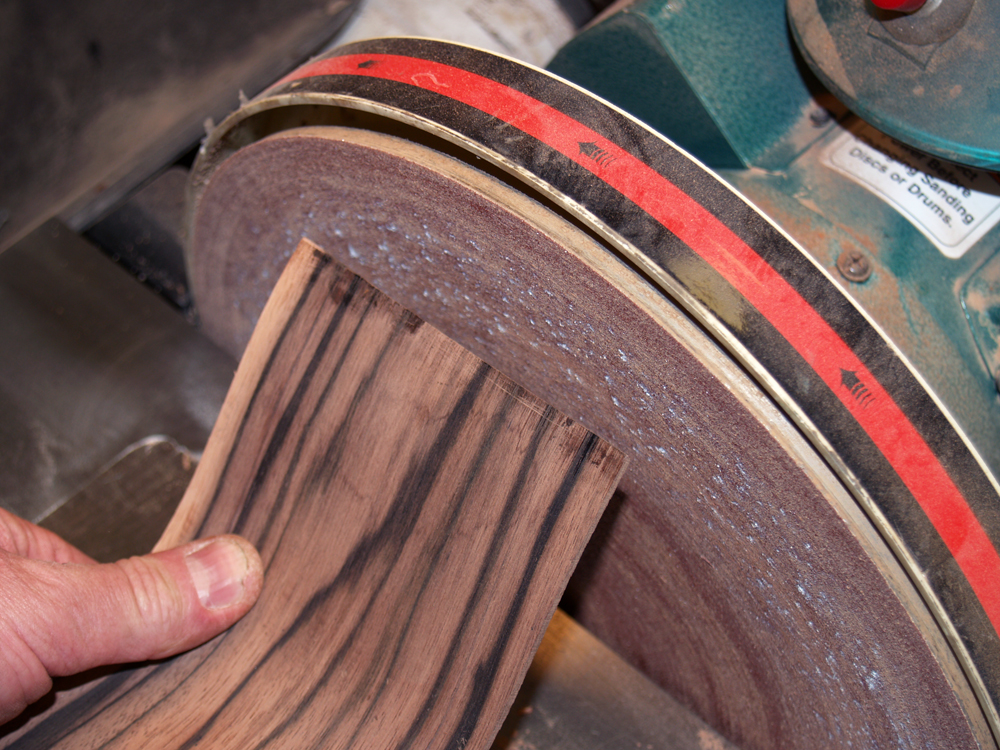
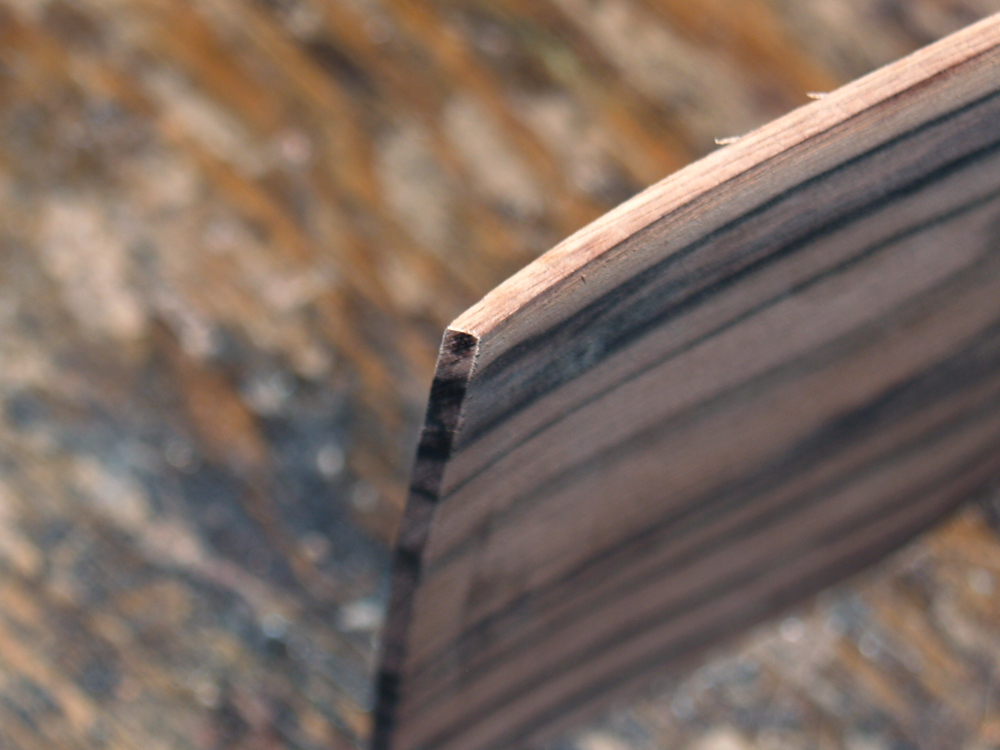
The two pieces of the cutaway side are beveled so that they will exactly meet at the point.
 ( 63 ) 3-Jan-2011
I work this bevel angle until I am satisfied that the parting line will not be visible.
 ( 64 ) 3-Jan-2011
A look at the second bevel.
 ( 65 ) 3-Jan-2011
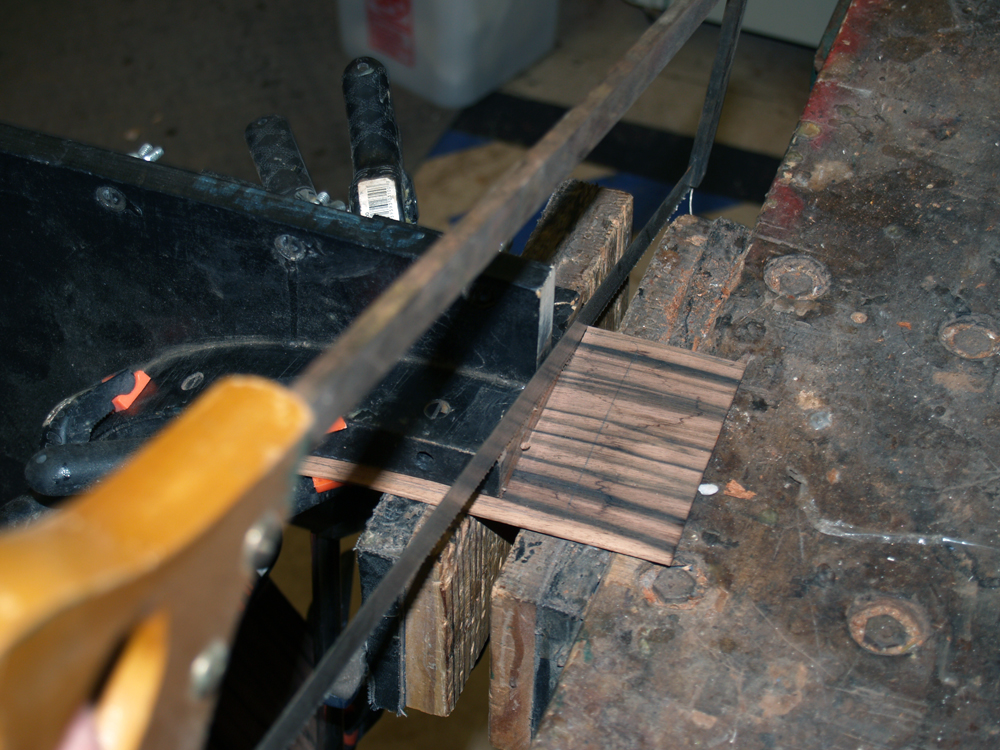
Now I put the side pieces into their forms and trim off the excess. Afew pulls of a sharp saw is all it takes.
 ( 66 ) 3-Jan-2011
A look at the side pieces in their forms.
 ( 67 ) 3-Jan-2011
The heel block gets positioned in the form.
 ( 68 ) 3-Jan-2011
And then the cutaway portion of the side gets trimmed.
 ( 69 ) 3-Jan-2011
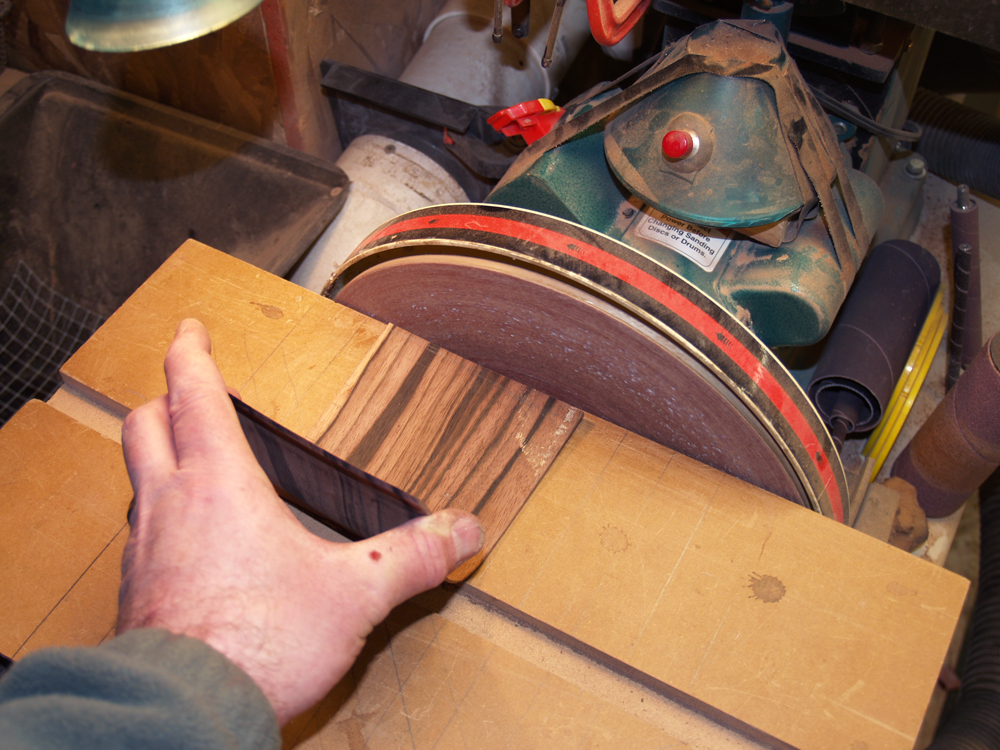
The cutaway section finally gets sanded to make a good fit.
 ( 70 ) 3-Jan-2011
Here we see the cutaway section of the side in position.
 ( 71 ) 3-Jan-2011
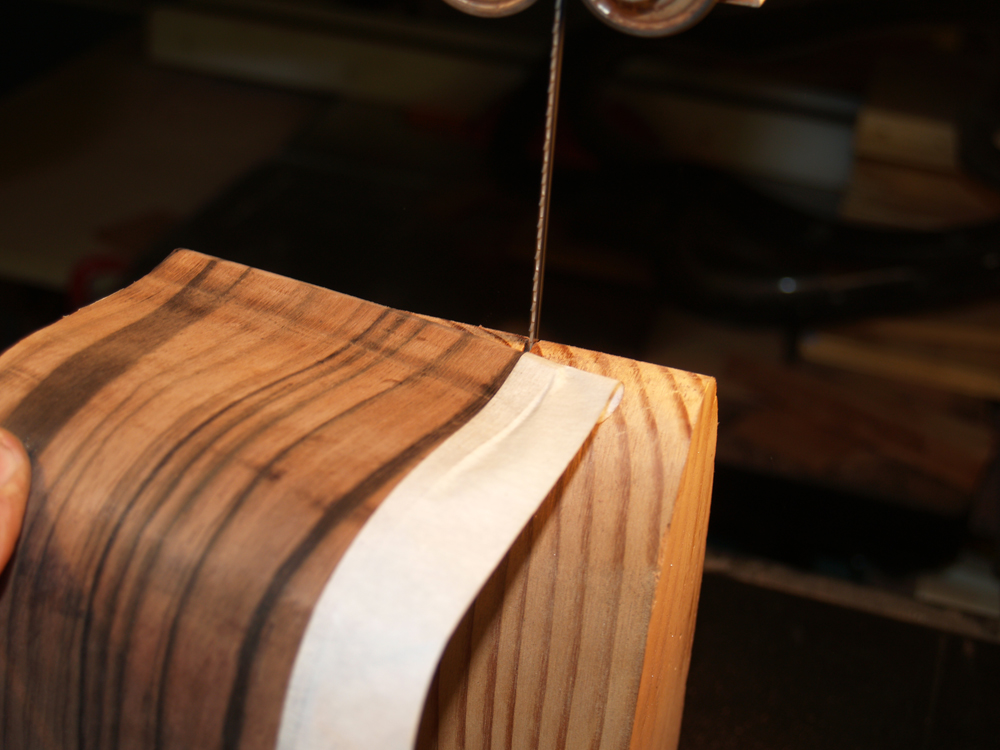
Next I mark the sides where I will trim them to their semi-final shape.
 ( 72 ) 3-Jan-2011
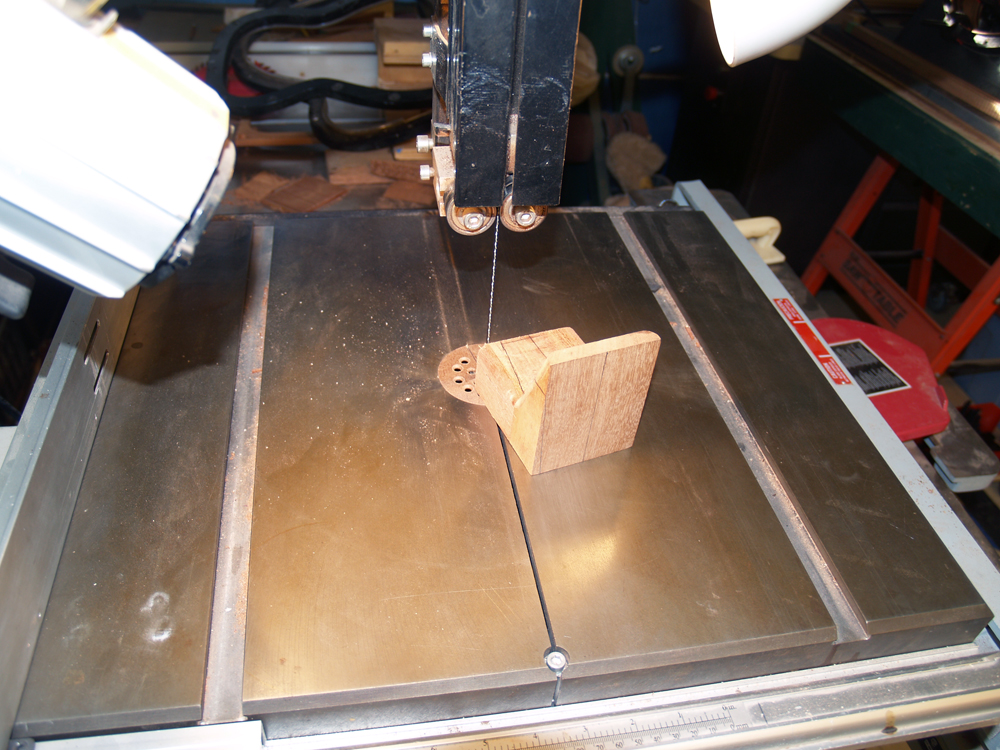
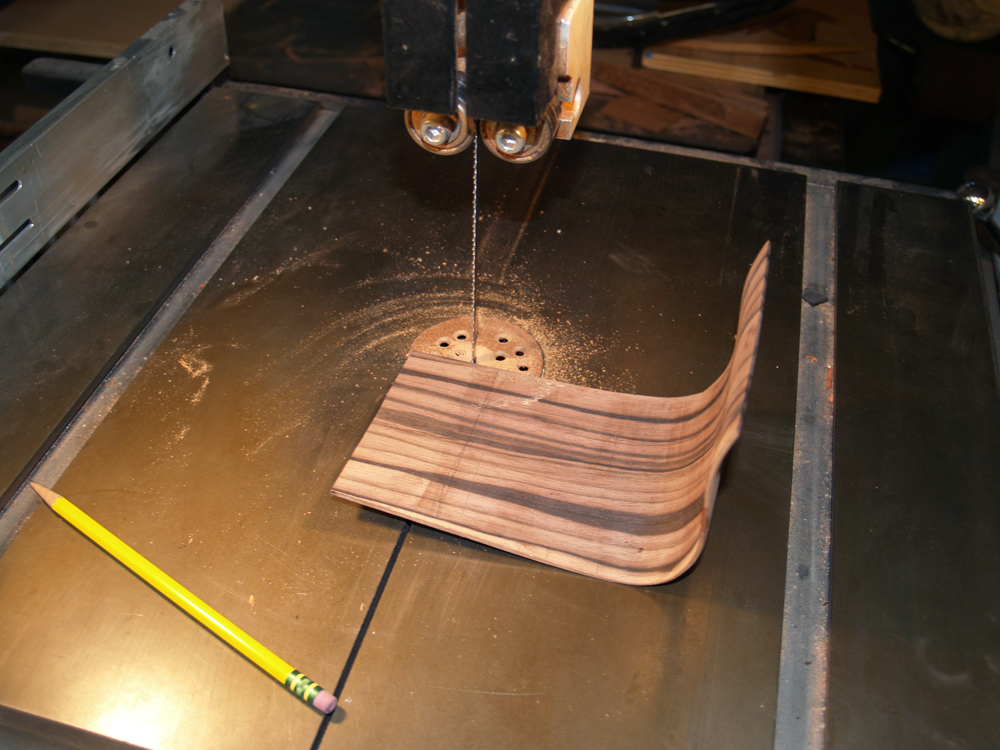
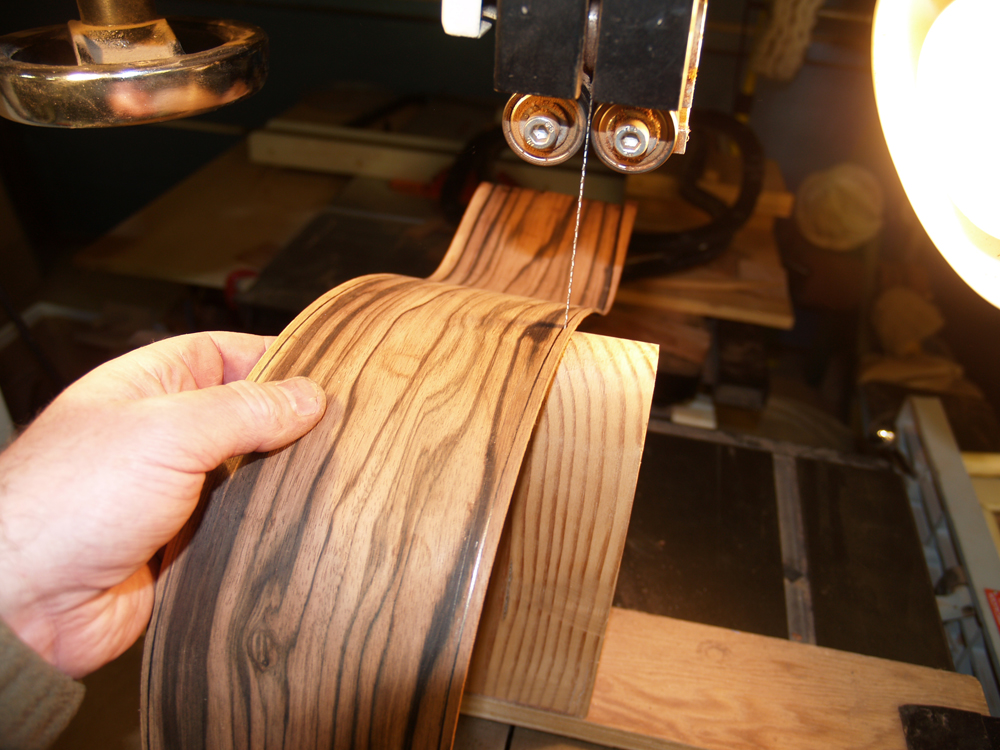
I use the band saw with an extended anvil to trim the sides.
 ( 73 ) 3-Jan-2011
The cutaway section also gets trimmed to shape.
 ( 74 ) 3-Jan-2011
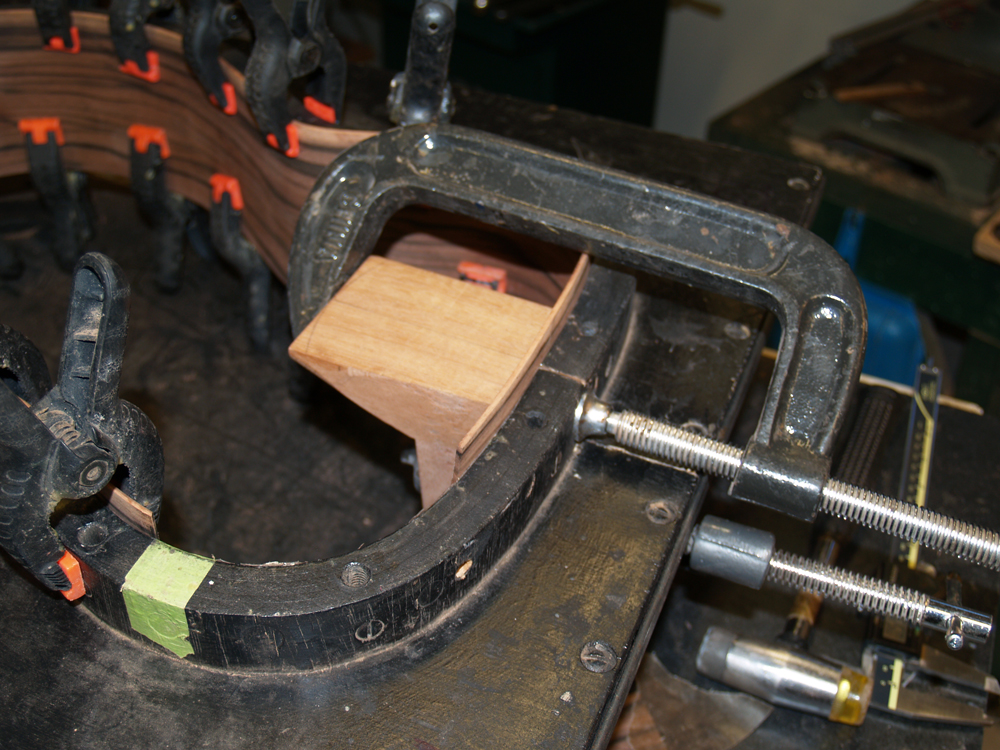
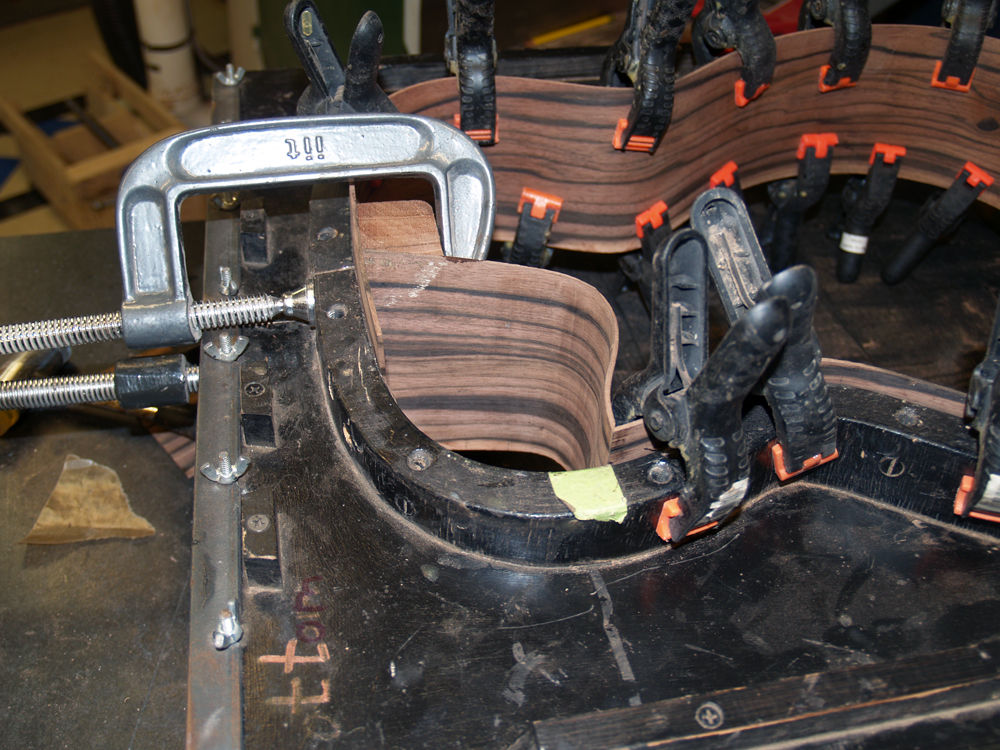
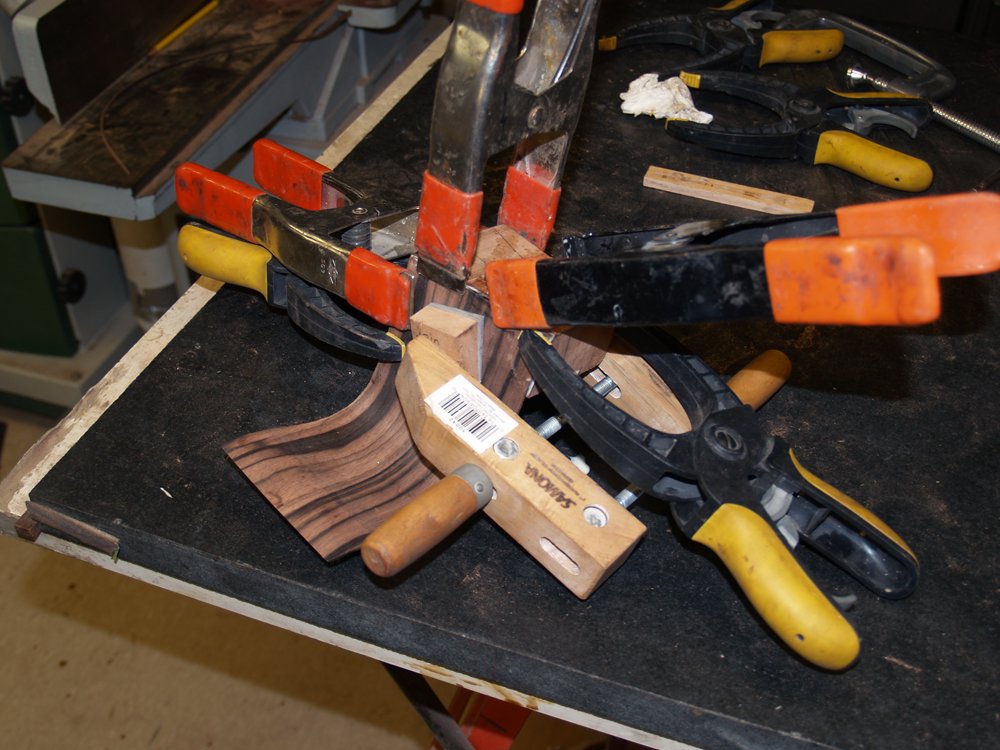
Next I glue the cutaway section to the heel block. This is a wickedly complex set of compound curves. I use lots of clamps to insure that I get a good joint.
 ( 75 ) 3-Jan-2011
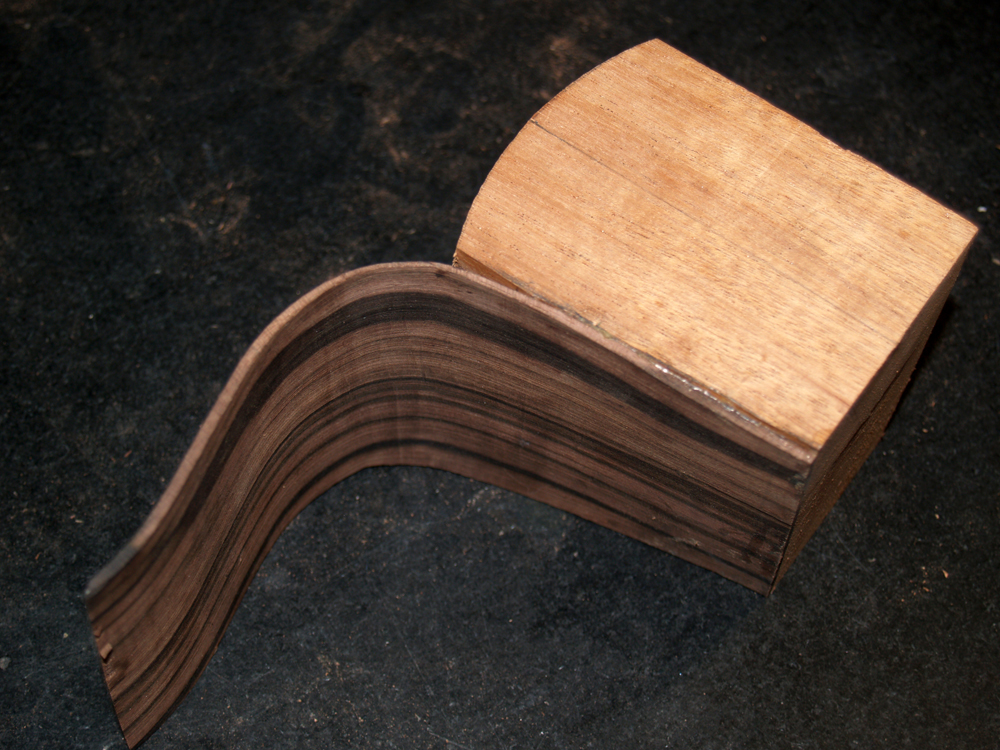
Here we see the results. A funny shaped couple of pieces of wood.
 ( 76 ) 3-Jan-2011
Now I carefully glue the two pieces of the cutaway side together.
 ( 77 ) 3-Jan-2011
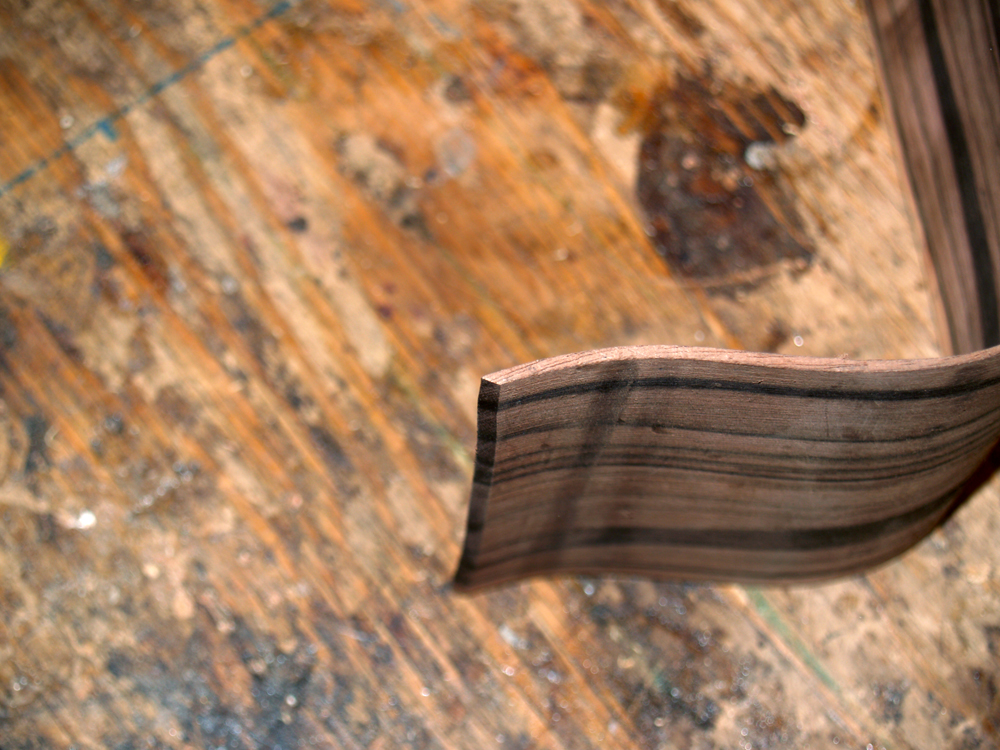
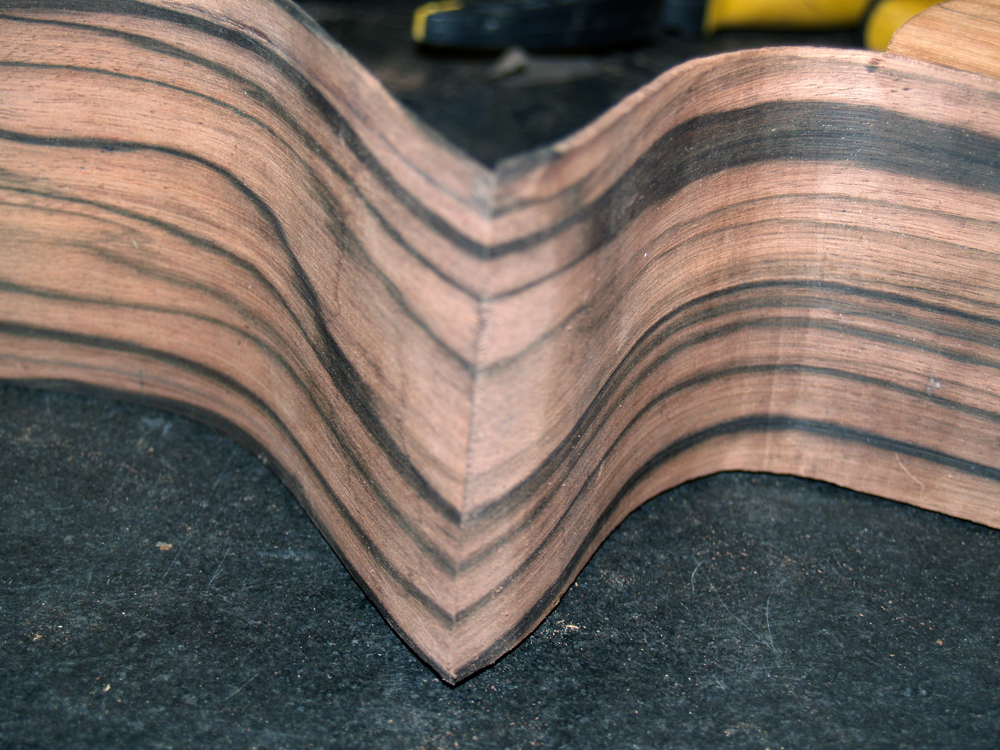
Here we can see the point of the cutaway. I was very careful to ensure the figure of the wood is continuous around the point.
 ( 78 ) 3-Jan-2011
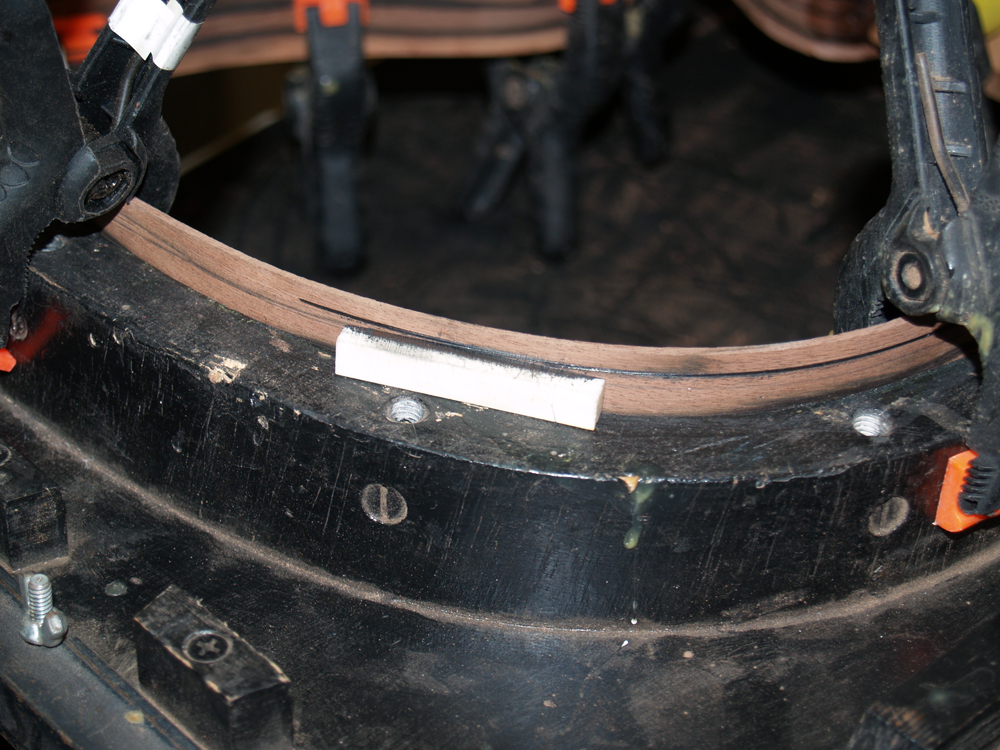
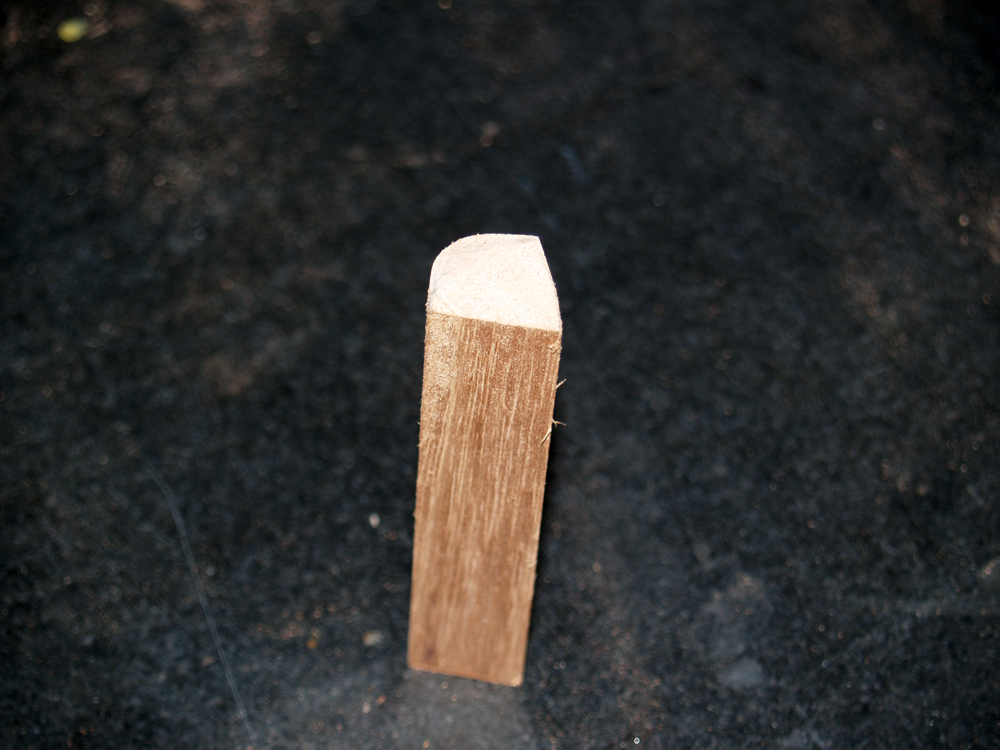
To reinforce the cutaway point I will use this bar on the interior.
 ( 79 ) 3-Jan-2011
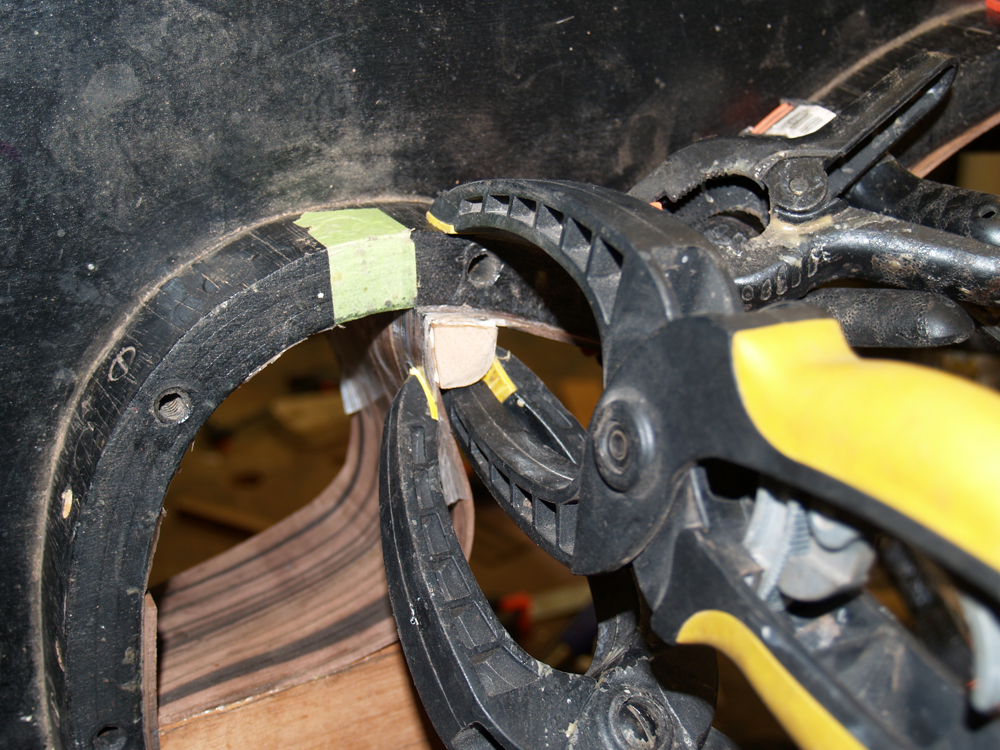
More clamps to glue the reinforcing bar in place.