 (1) December 13, 2010
The back and side set of Philippine Ebony we will use.
 (1) December 13, 2010
The back and side set of Philippine Ebony we will use.
 (2) December 13, 2010
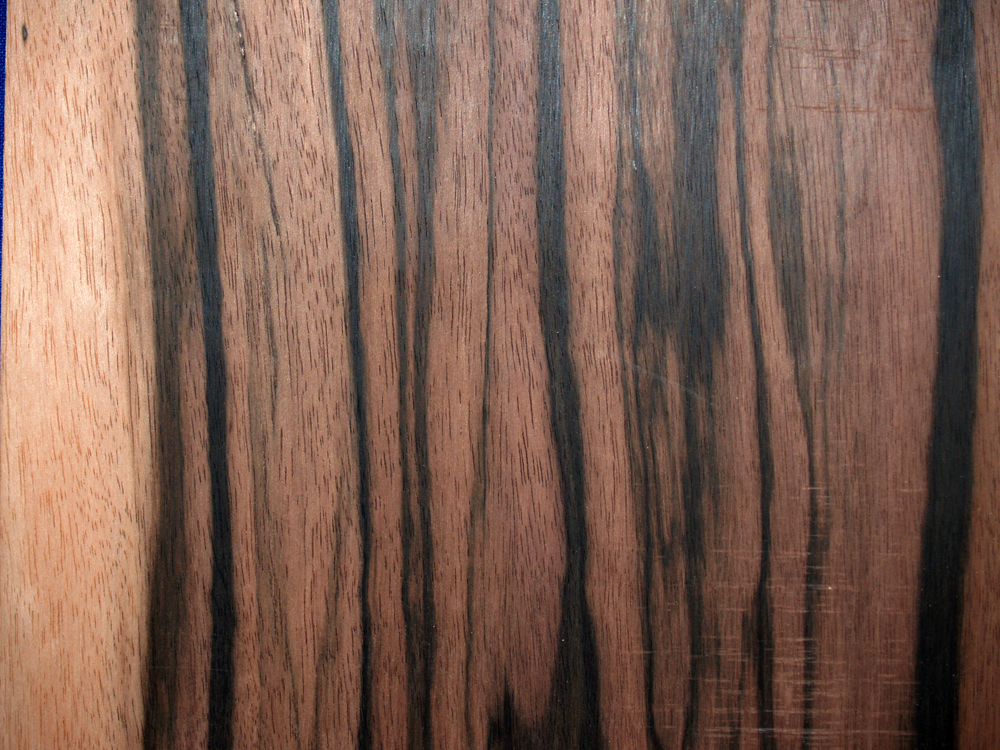
A close up view of the Philippine Ebony back.
 (3) December 13, 2010
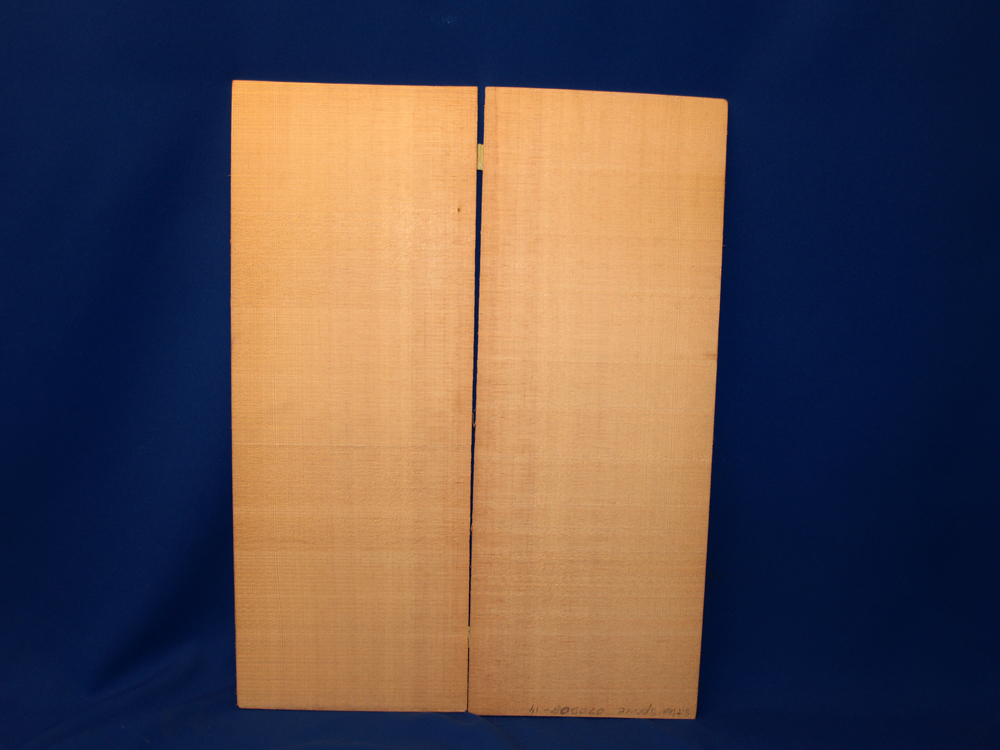
A picture of the Sitka Spruce top set.
 (4) December 13, 2010
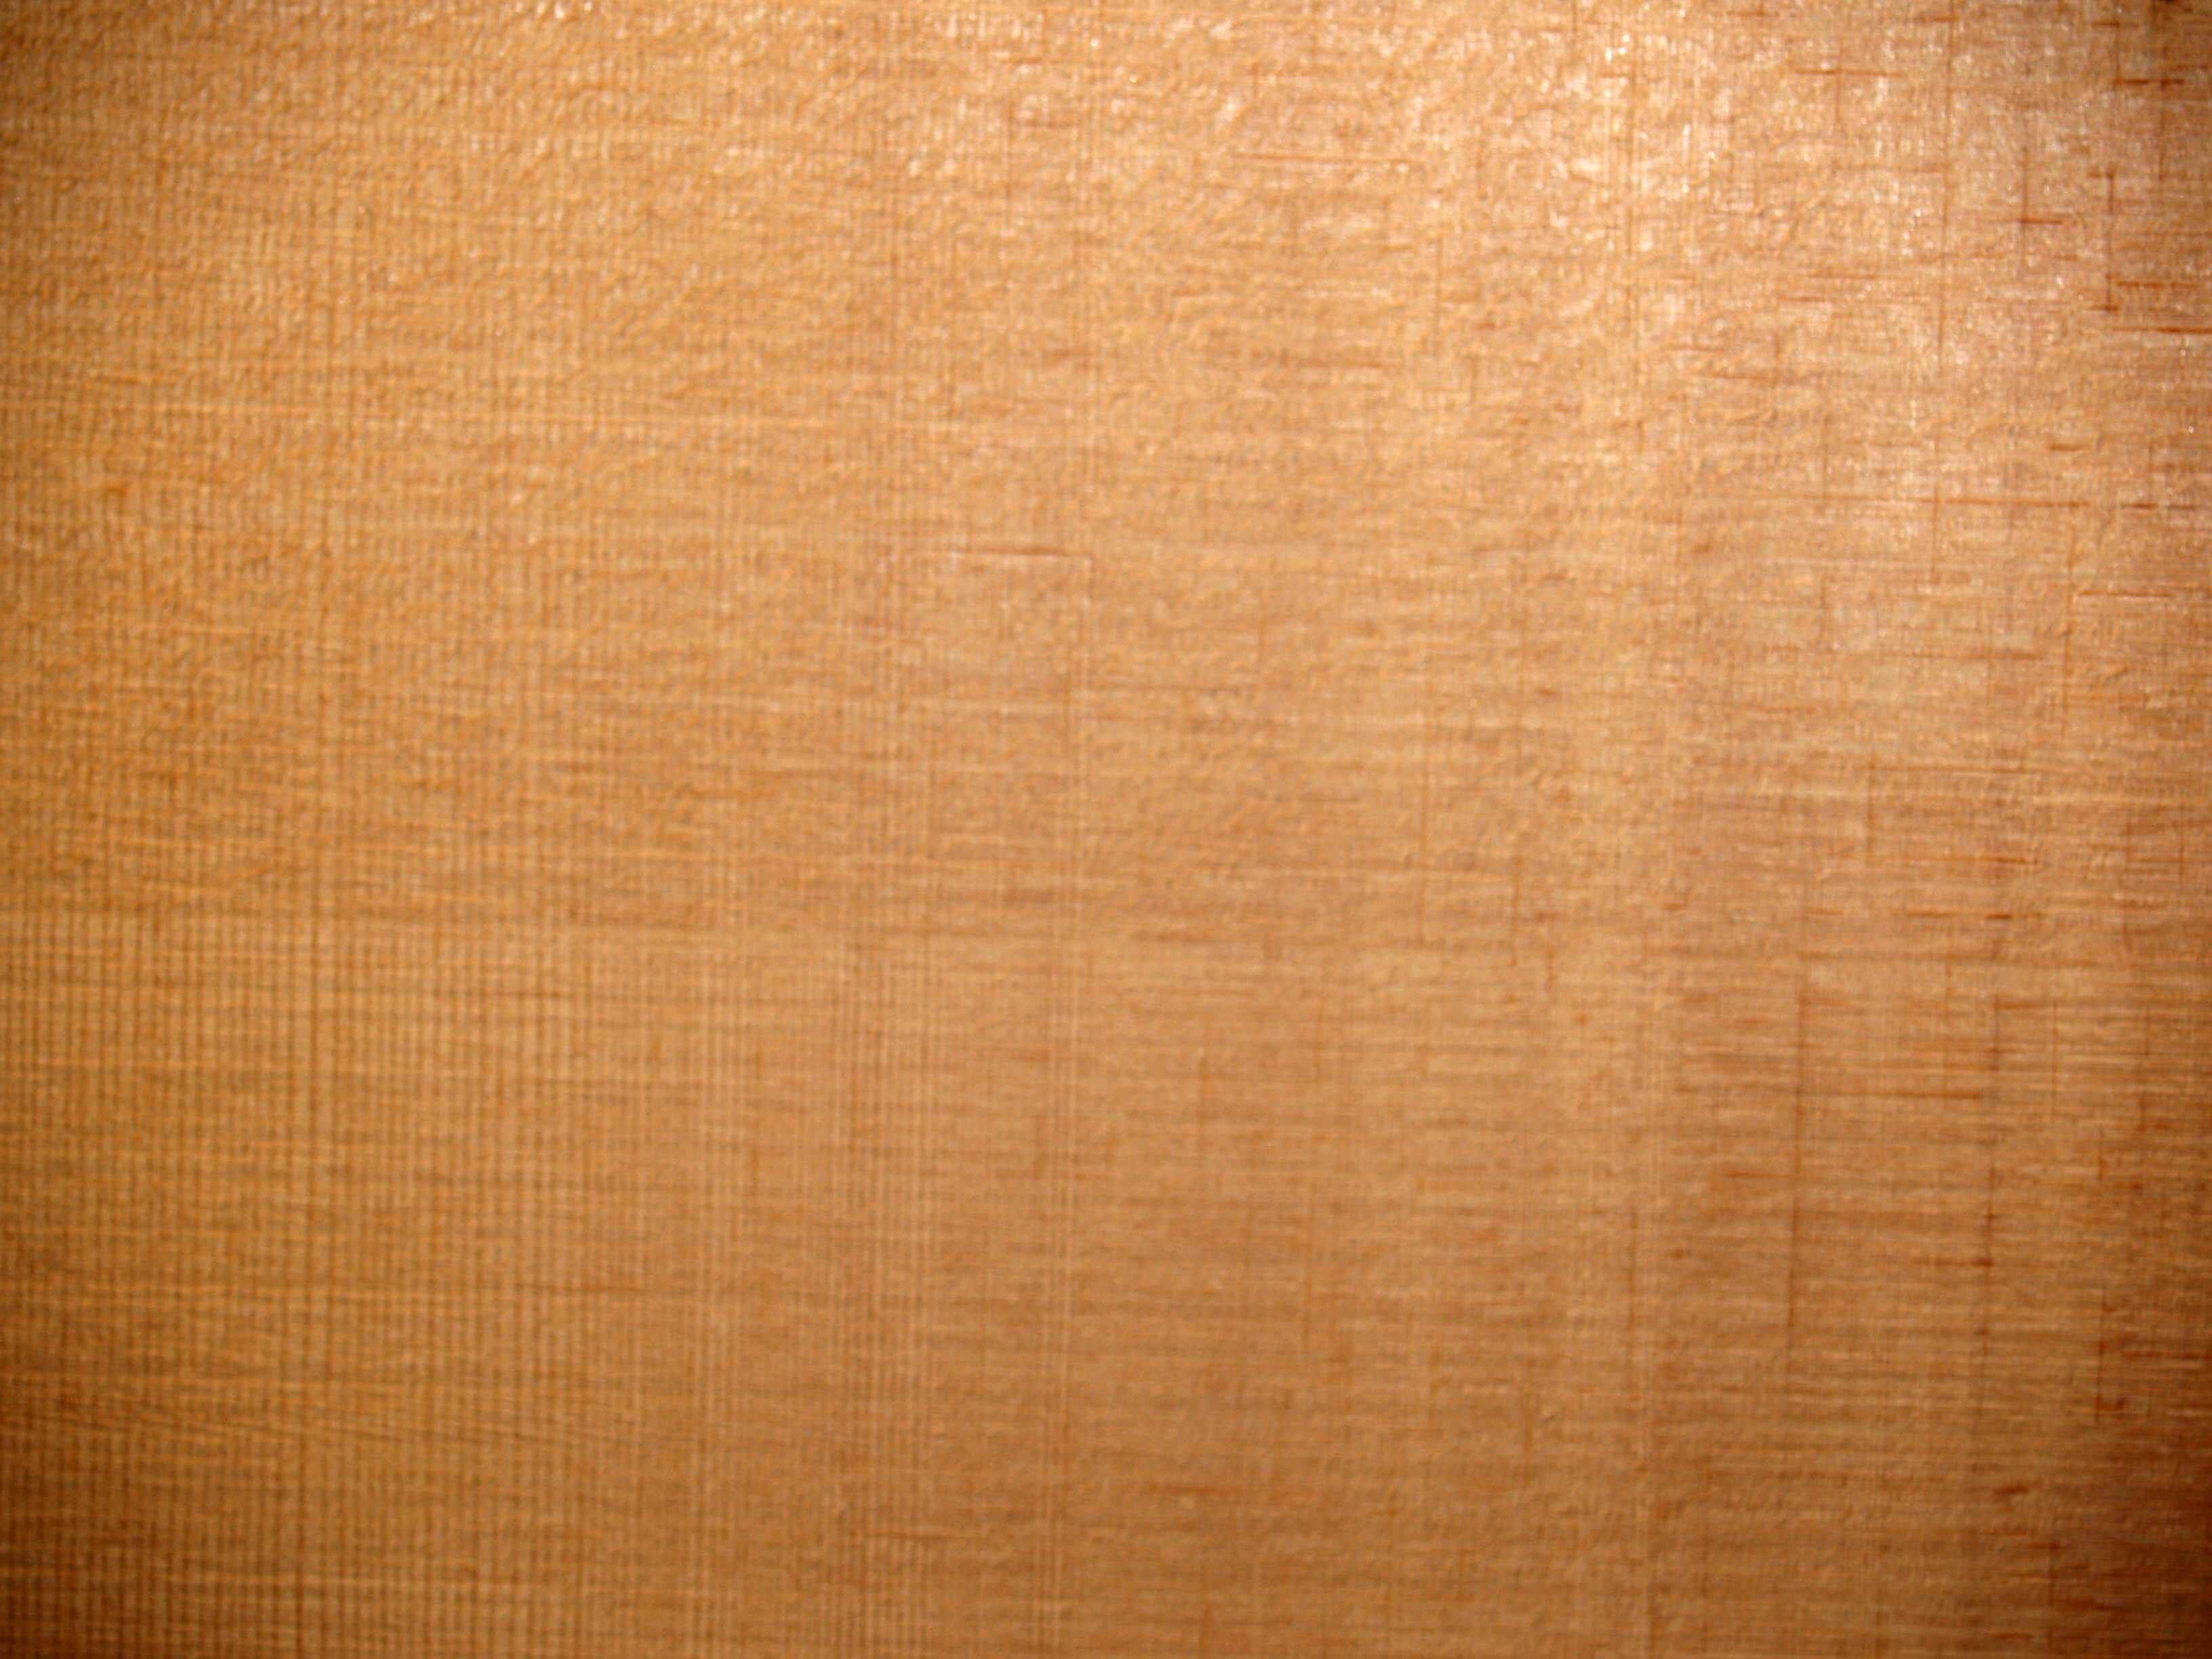
A close up view of the Sitka Spruce.
 (5) December 13, 2010
These are some of the Snakewood binding we will use.
 (6) December 13, 2010
A close up of a piece of the Snakewood binding.
 (7) December 14, 2010
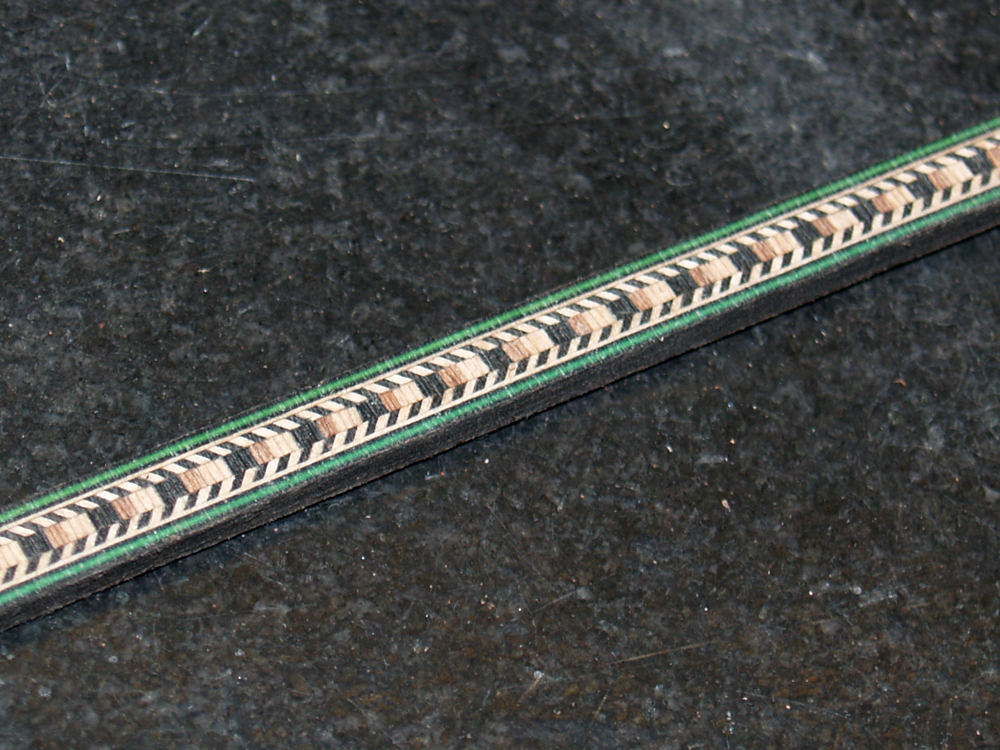
This is a picture of the center strip that we will use on the back of the guitar.
 (8) December 14, 2010
Before I start to use my drum sander I like to clean it up a bit. This tool lets me sand a wide piece of wood to a very precise dimension.
 (9) December 14, 2010
Here I am sanding a piece of the top to get both halves equally thick.
 (10) December 14, 2010
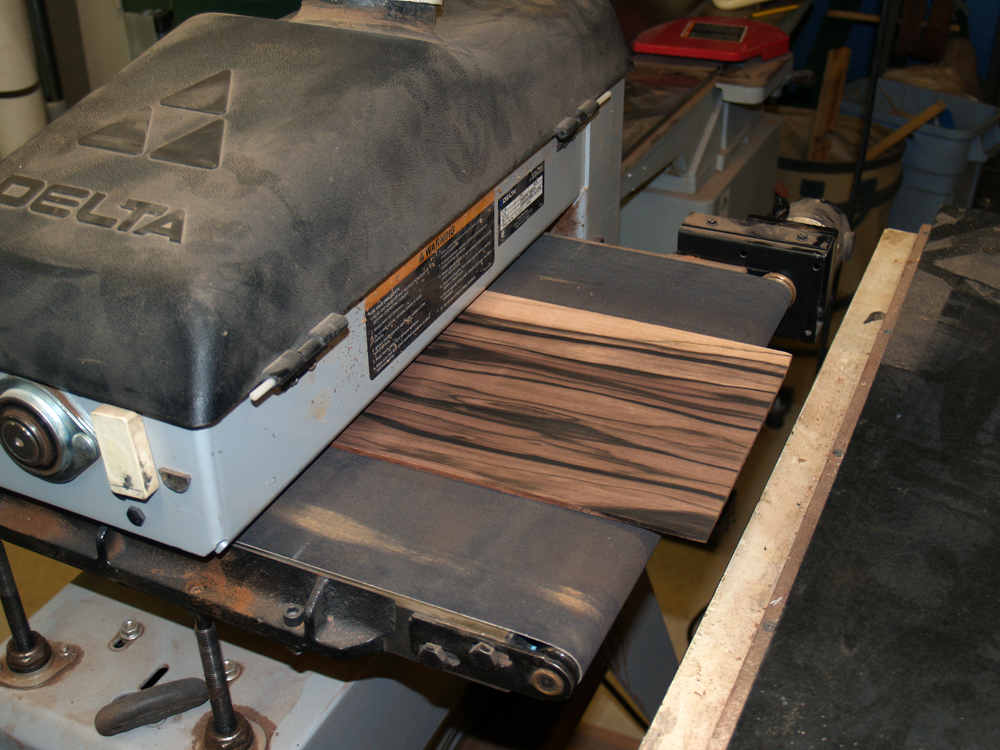
I sand the back blanks to the same dimension as the center strip.
 (11) December 14, 2010
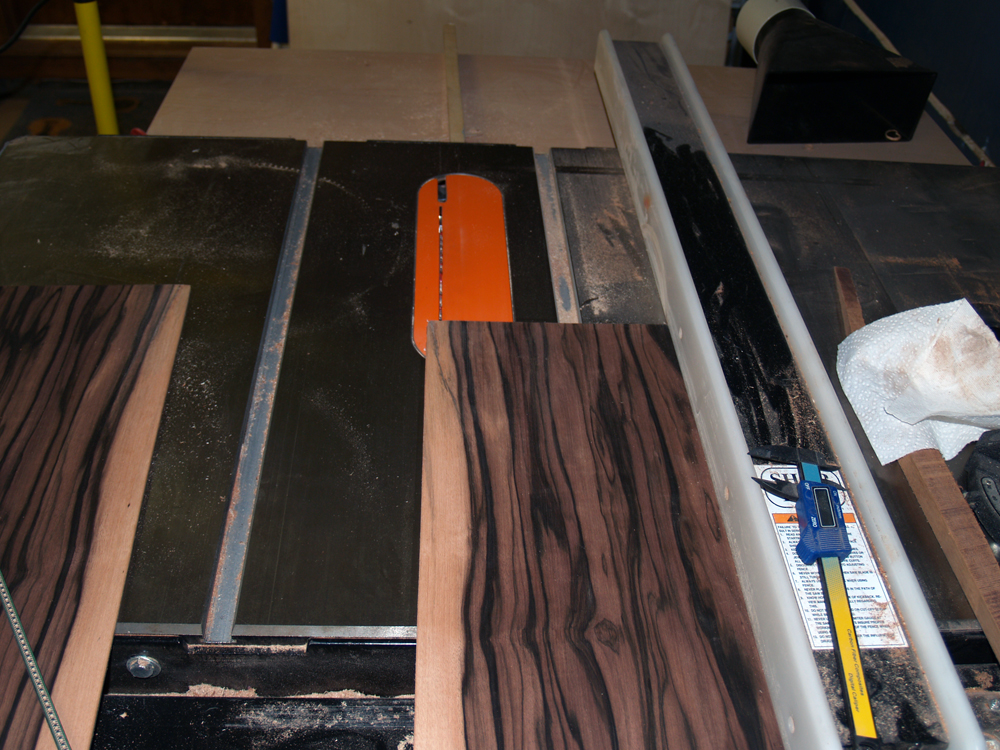
We decided to make the center sapwood section a bit thinner than the original wood. I am using my table saw to trim a bit of the wood away.
 (12) December 14, 2010
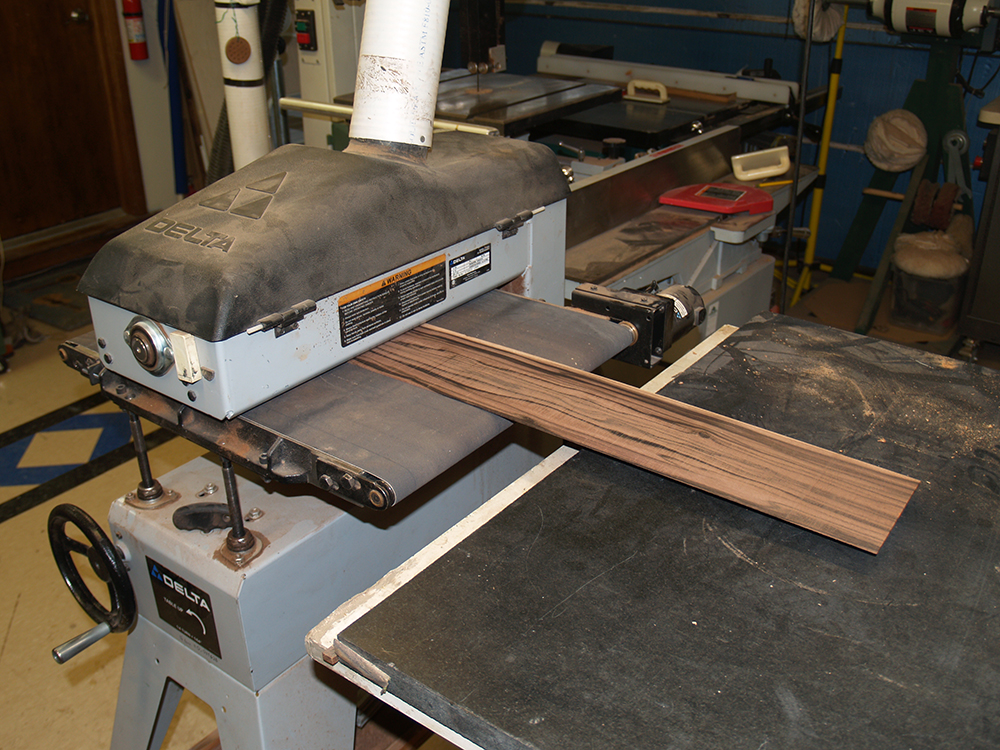
Here I am using my drum sander to reduce the thickness of the side pieces to about 90 mils. (0.090") This will make bending them possible.
 (13) December 14, 2010
I am trimming the edges of the top pieces to get an initially straight edge.
 (14) December 14, 2010
But since I am going to be joining these two edges together and I don't want any seam to show I use this edge sanding tool to create very straight and complimentary edges. This tool holds the piece vertical and has a precisely straight surface to sand the edge on. I will continue to work on these edges until I am satisfied that the seam will be invisible.
 (15) December 14, 2010
The back pieces get the same treatment.
 (16) December 14, 2010
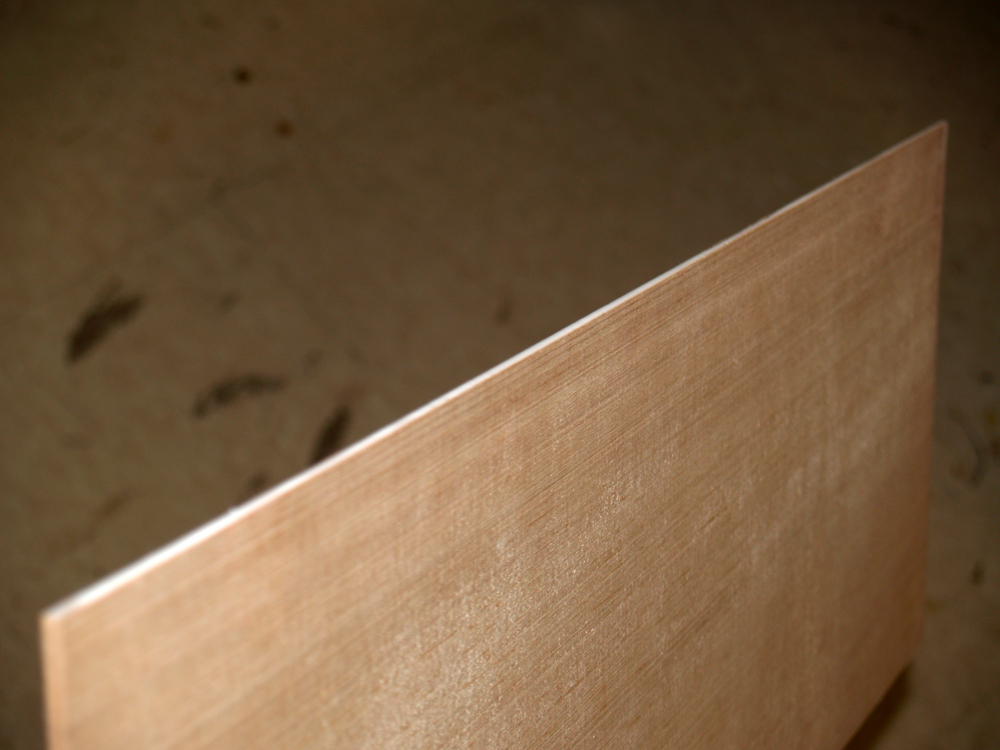
To glue the pieces together I run a thin bead of white glue along one edge.
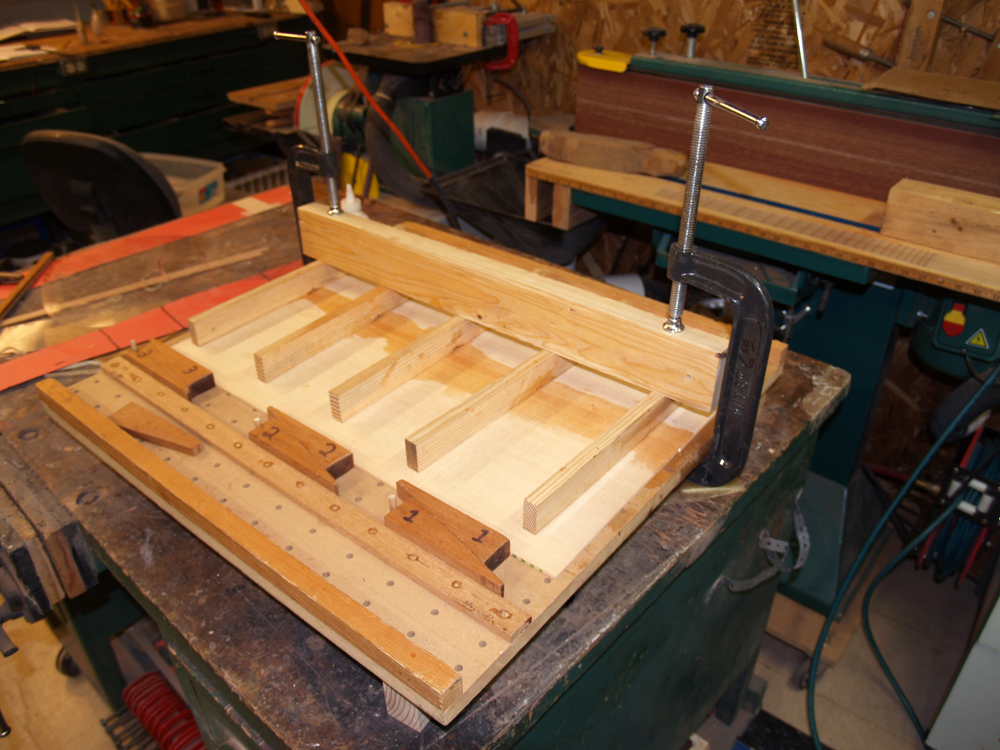 (17) December 14, 2010
And I use this press tool to press the two halves together while holding them flat.
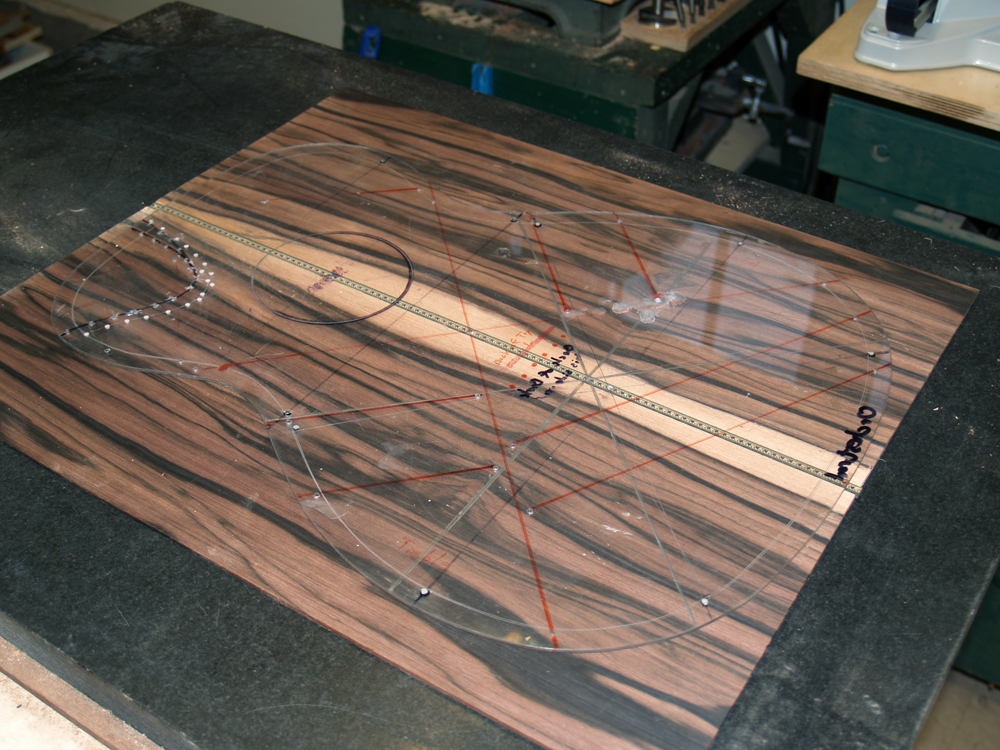 (18) December 14, 2010
Here I am laying out the back pieces to see how they will fit together.