 |
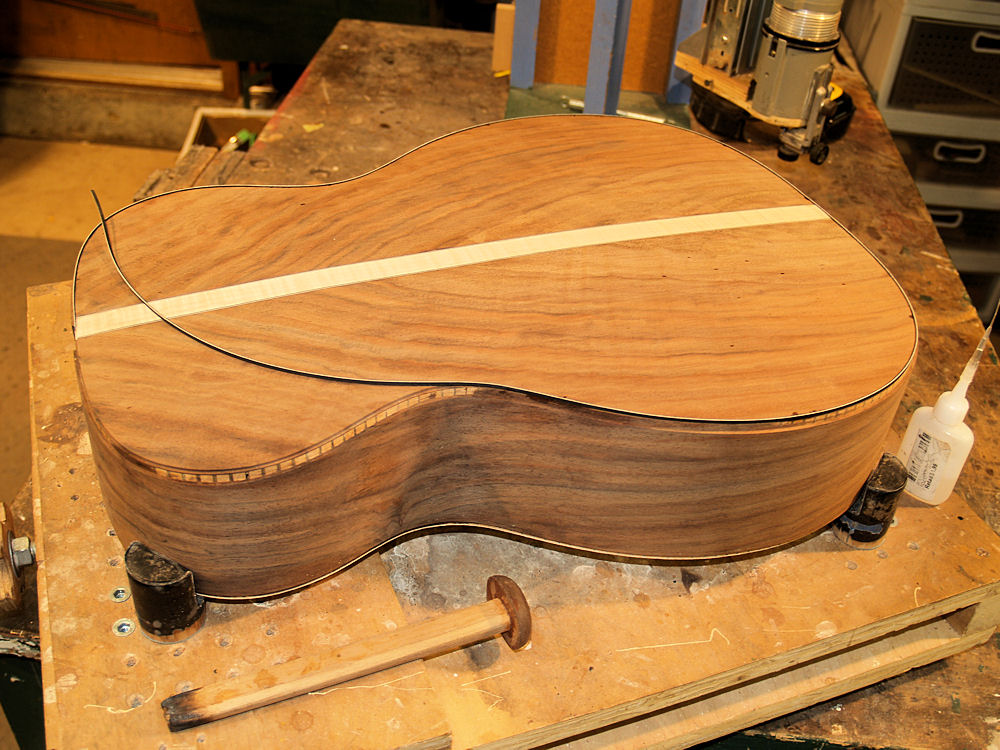
(191) 4-Jan-2010
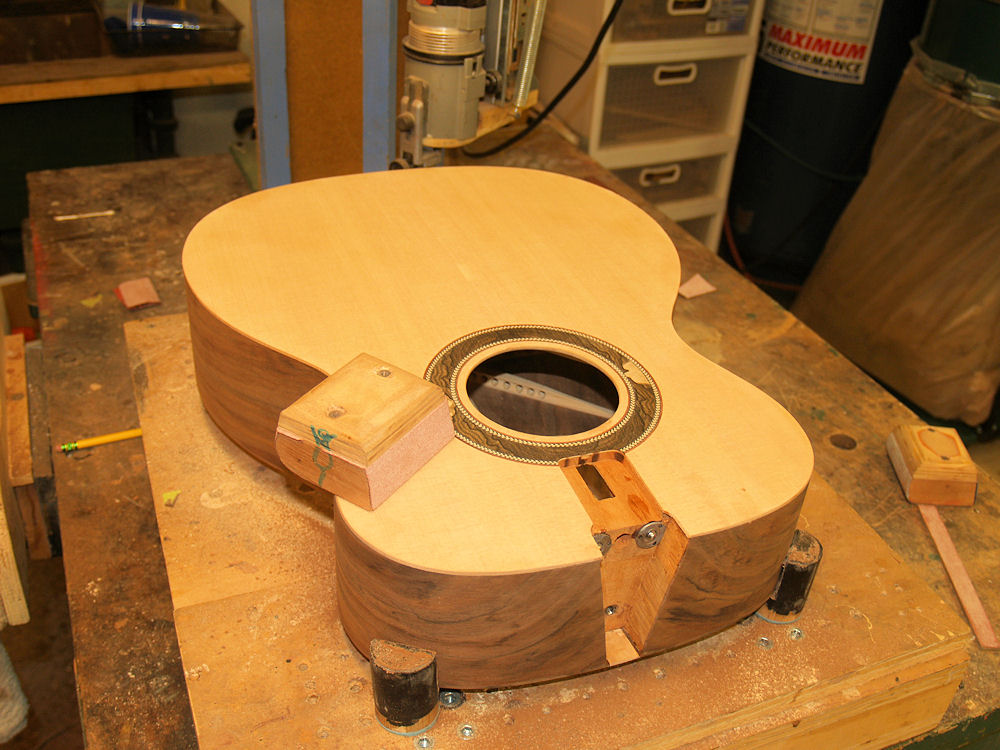
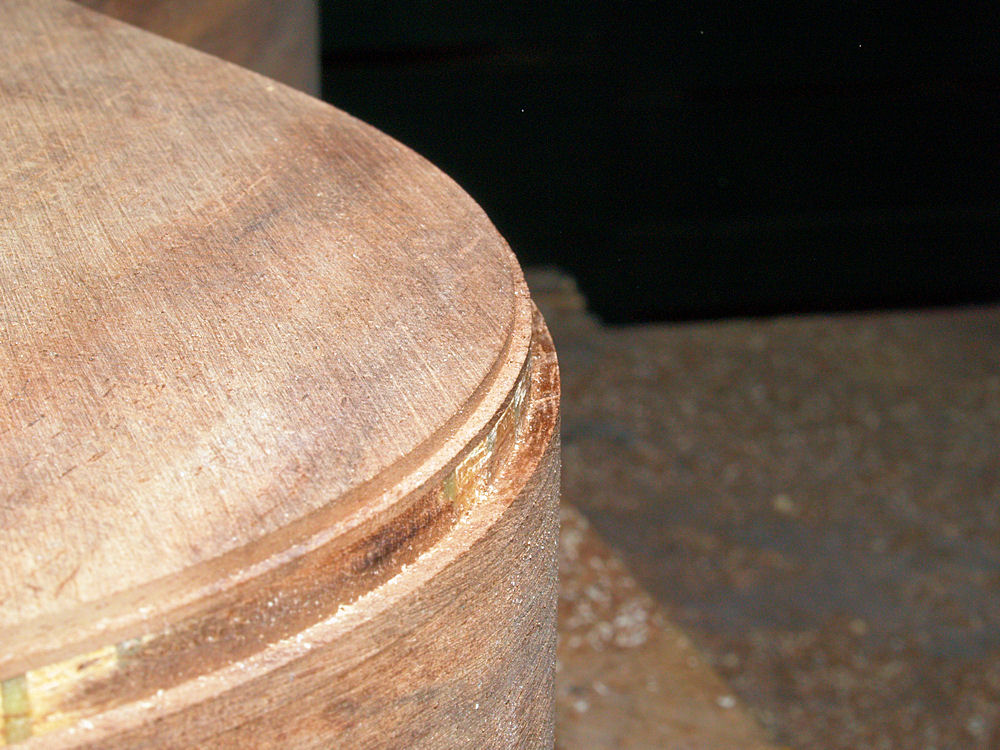
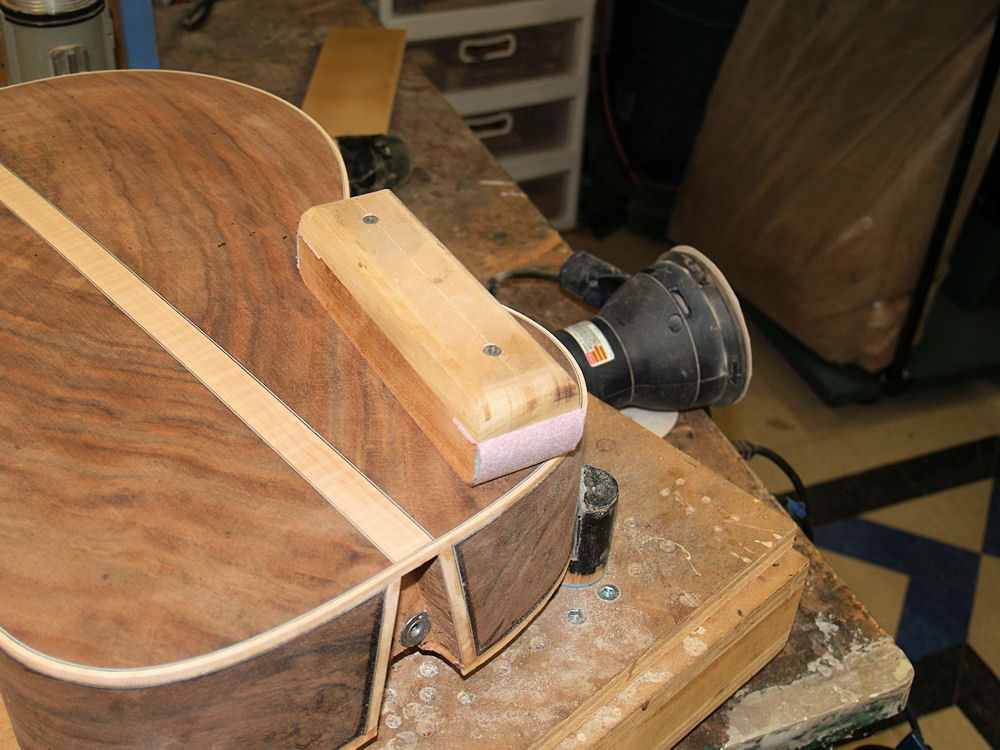
In this picture I am sanding the sides of the guitar to make them as square. level and smooth as possible. |
 |
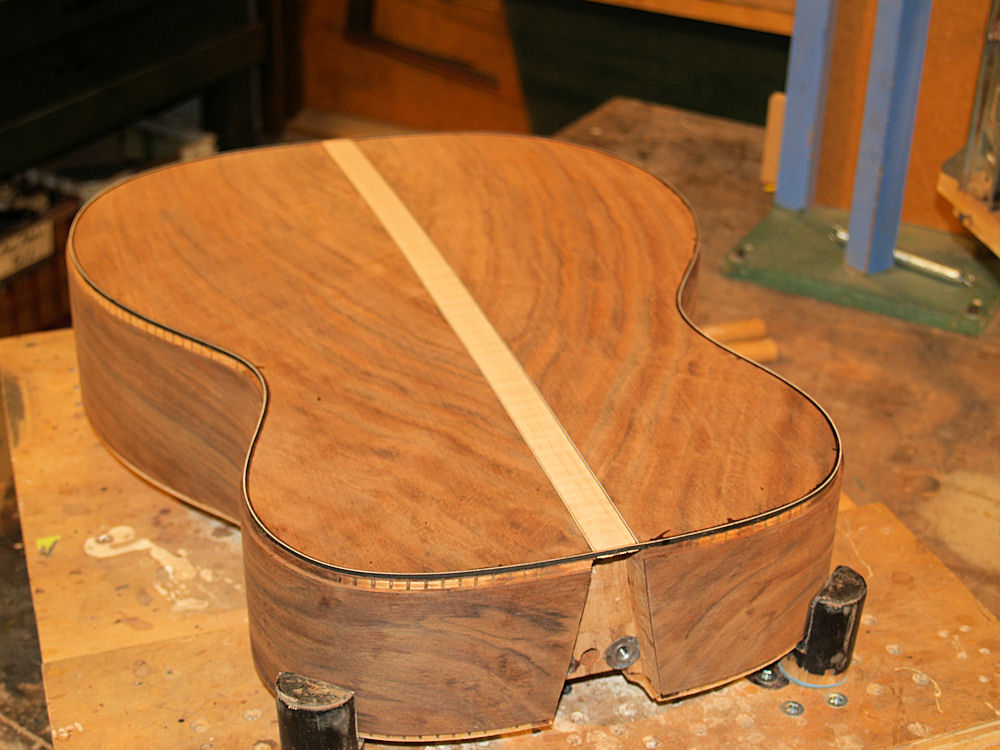
(192) 4-Jan-2010
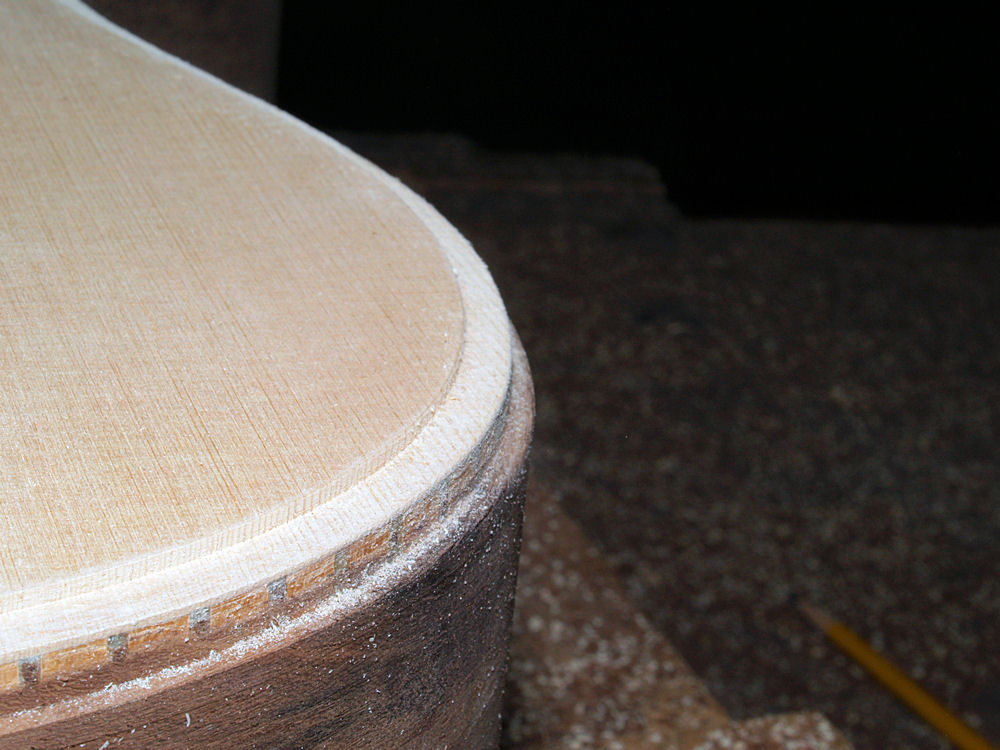
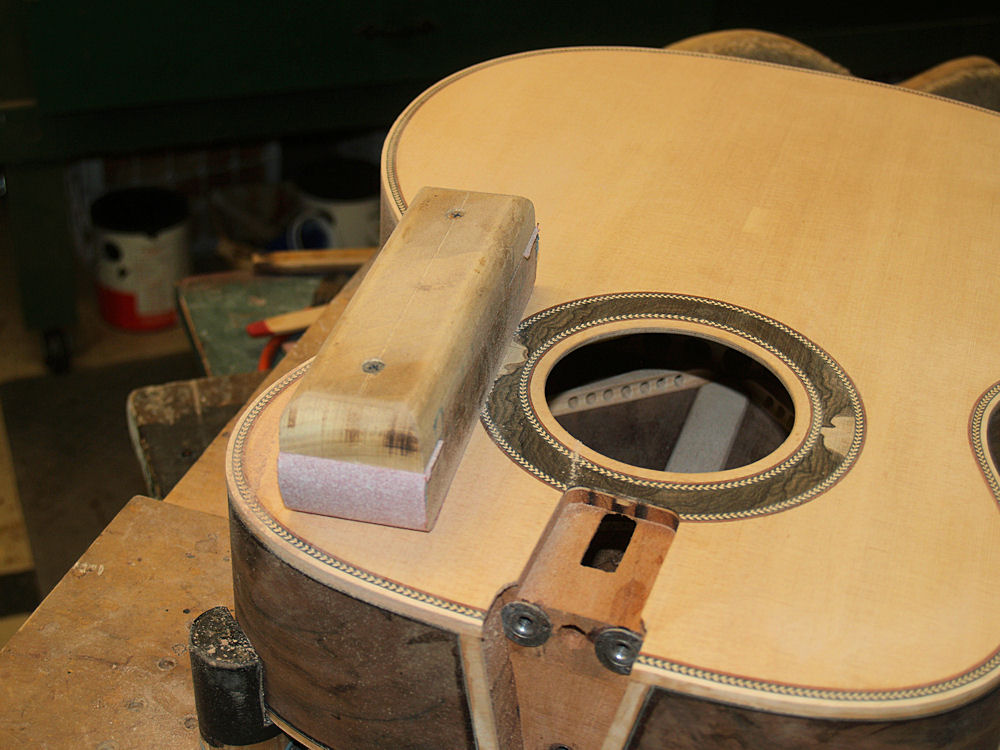
The top gets a bit of sanding at this point to smooth everything out and to reduce the thickness of the top around the edges. |
 |
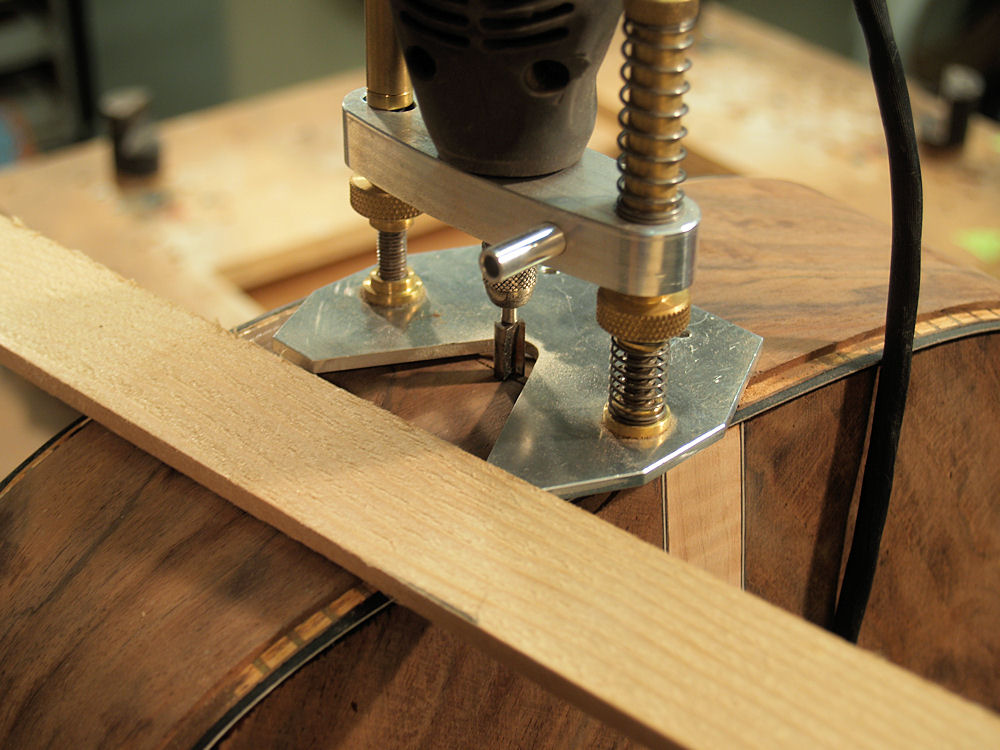
(193) 4-Jan-2010
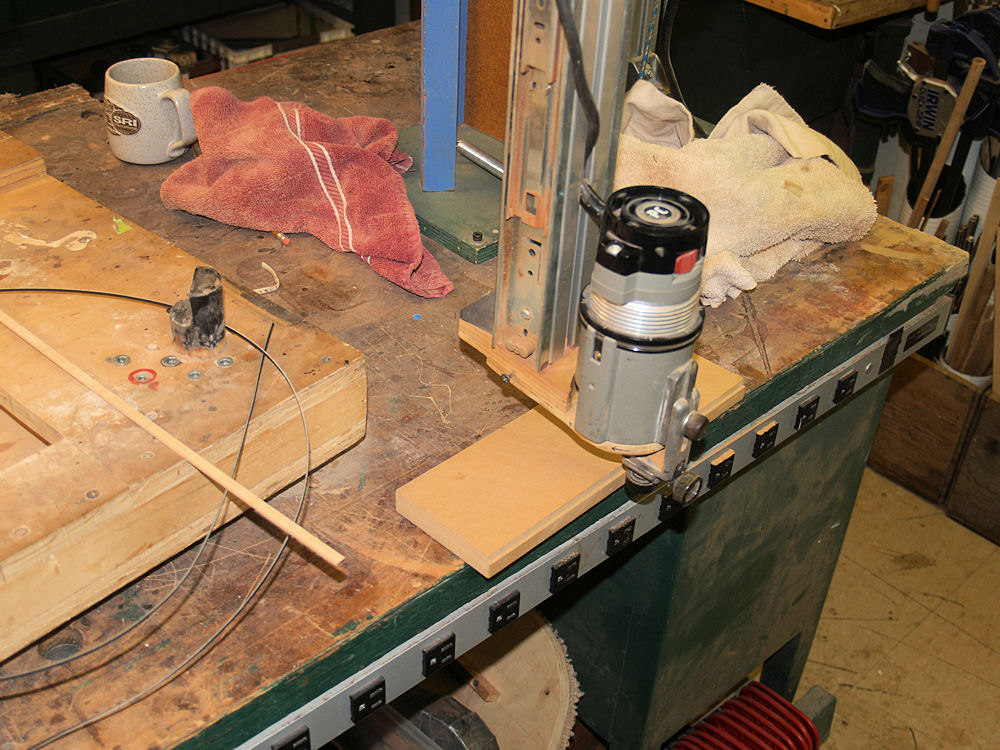
I am preparing to route out the channels for the binding so I set up the router with a block of MDF. |
 |
(194) 4-Jan-2010
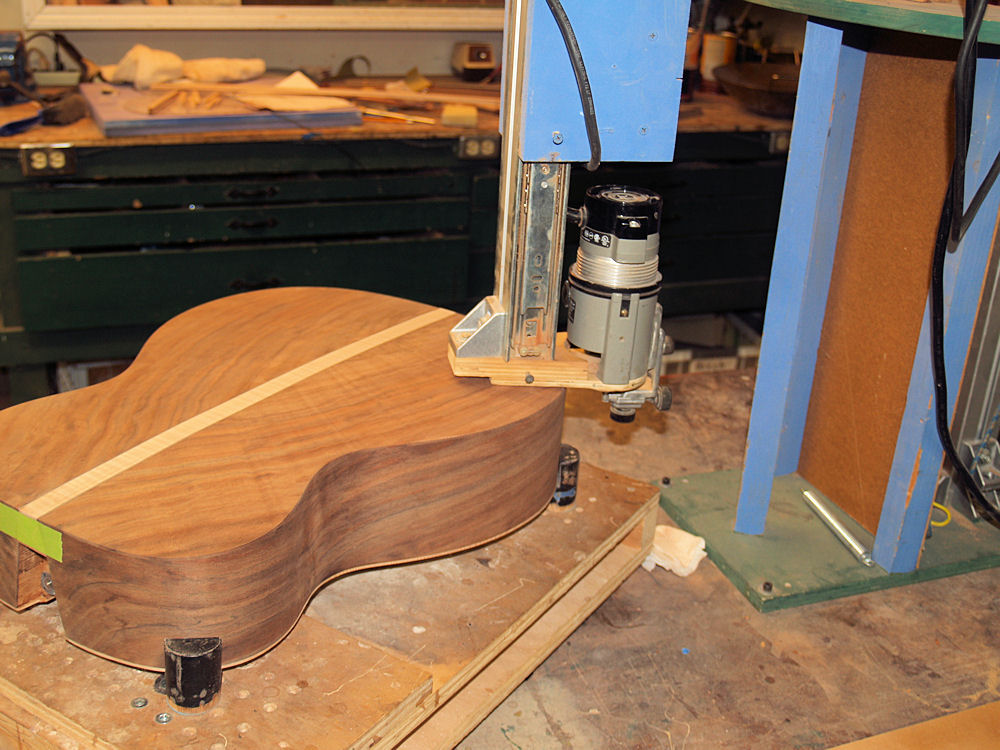
Here I am using my "Universal Bindalator" to route out the main channel for the binding. |
 |
(195) 4-Jan-2010
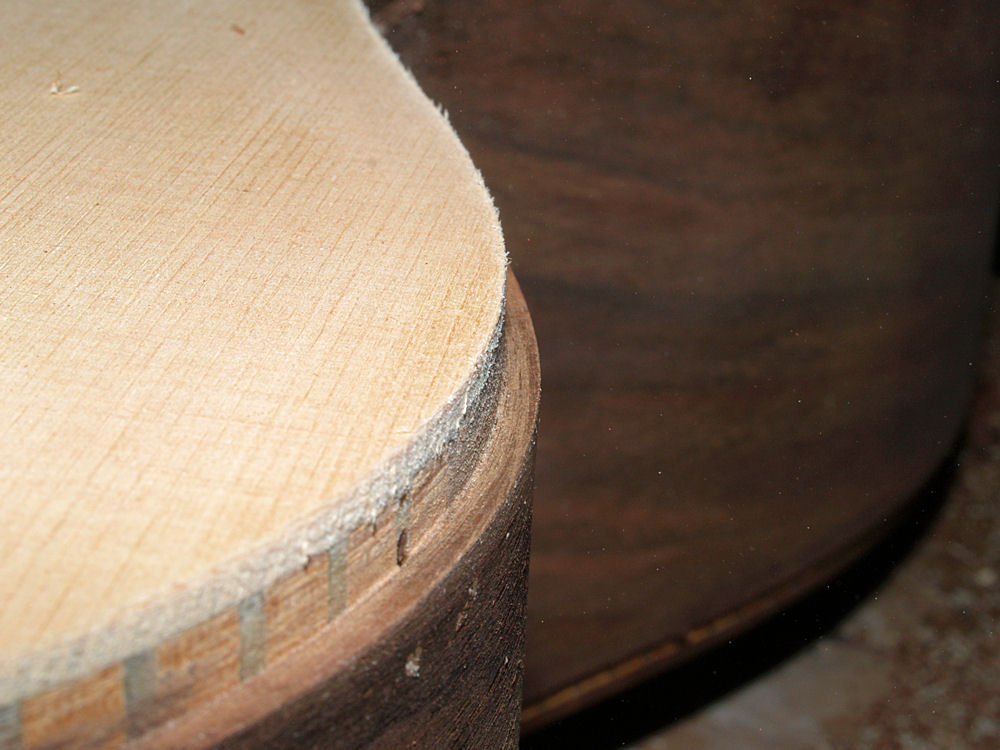
A close up look at the binding channel. |
 |
(196) 4-Jan-2010
To start, the top gets the channel with the same dimensions as the bottom. |
 |
(197) 4-Jan-2010
Next I route out a channel for the purfling on the bottom. |
 |
(198) 4-Jan-2010
The channel for the purfling on the top is a bit deeper. |
 |
(199) 4-Jan-2010
I am laying out the wood binding and purfling in the heeting blanket.
|
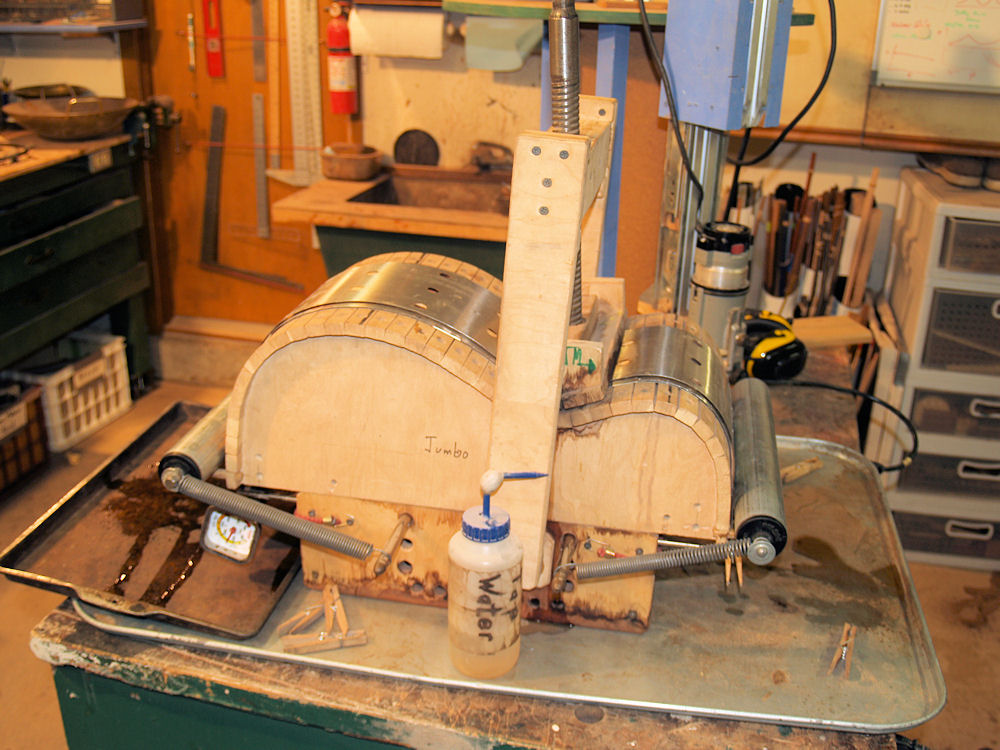 |
(200) 4-Jan-2010
The wood binding and purfling I will use gets bent in the "Universal Bendalator." |
 |
(201) 4-Jan-2010
In this picture I am starting the process of installing the pinstripe purfling on the bottom.
|
 |
(202) 4-Jan-2010
This is a relatively flexible material, but nonetheless I am careful to make sure that it is fully seated in the channel. |
 |
(203) 4-Jan-2010
I finish up where I started. |
 |
(204) 4-Jan-2010
Next I install the bloodwood purfling on the top. |
 |
(205) 4-Jan-2010
And next comes the herringbone purfling on the top. |
 |
(206) 4-Jan-2010
I use cyanoacrylate glue and a little heat to tack the various strips into place. |
 |
(207) 4-Jan-2010
I am careful to make sure that there are no gaps between the strips and wood. I try to leave no gaps. |
 |
(208) 4-Jan-2010
Before I can continue I have to route the channels for the neck outline. |
 |
(209) 4-Jan-2010
The channels for the purfling that will outline the neck. |
 |
(210) 4-Jan-2010
Here I am installing the pinstripes that go on the sides. |
 |
(211) 4-Jan-2010
Pinstriping everywhere. |
 |
(212) 4-Jan-2010
Here is the first piece of maple binding being installed. |
 |
(213) 4-Jan-2010
The bottom binding starts at the back. |
 |
(214) 4-Jan-2010
And the two pieces meet in the front. |
 |
(215) 4-Jan-2010
I glue the binding down one inch at a time, trying to get a good fit. |
 |
(216) 4-Jan-2010
Here
I am using a push stick to force the binding into place. The
bendalator gets the binding strips close to the final shape, but I
don't want any visible gaps. |
 |
(217) 4-Jan-2010
The binding and purfling have been installed. Everything is a bit proud of the final surface level. |
 |
(218) 4-Jan-2010
After
going over all of the binding with glue to fill in any voids and to
make sure all of the pieces are well secured I start to sand everything
flush. |
 |
(219) 4-Jan-2010
The top and sides get the same treatment as the bottom. |
 |
(220) 4-Jan-2010
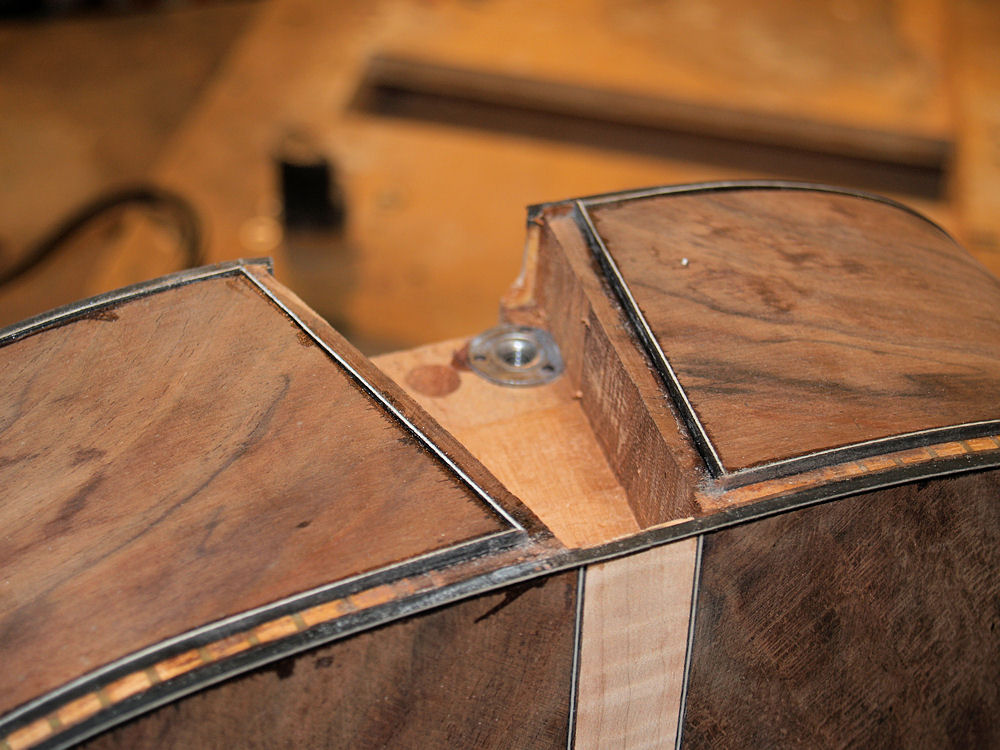
In
this picture I am setting up to shave the neck outline binding so that
the neck will fit with a very narrow gap. There has to be a gap
so the neck can move al a the User Adjustable Tilt Action Neck. |
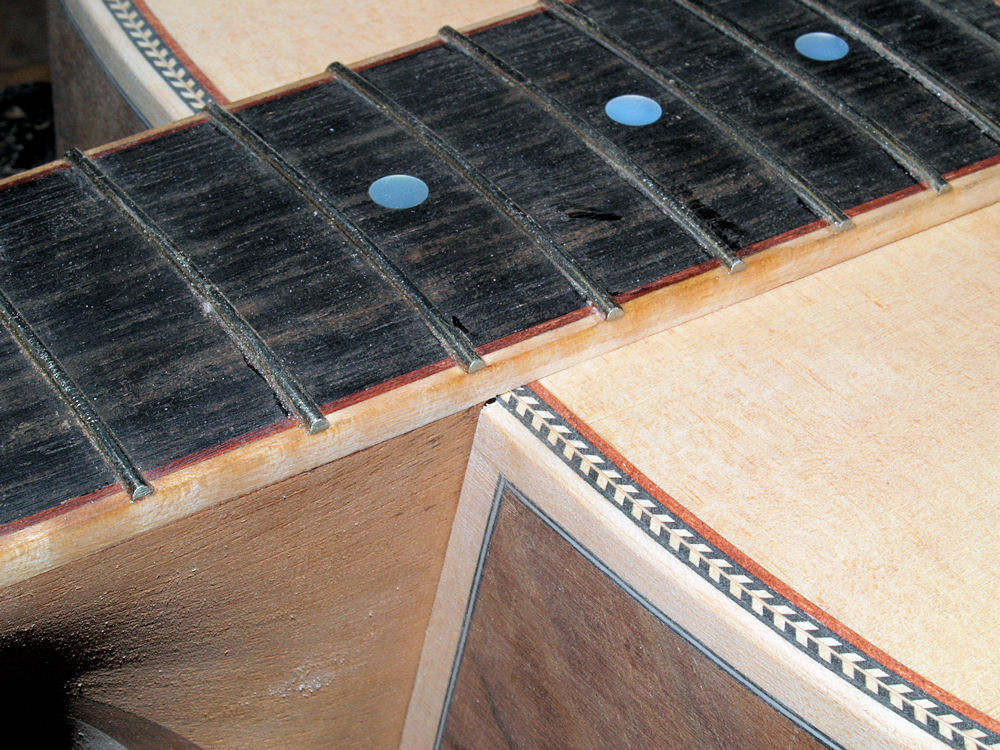
 |
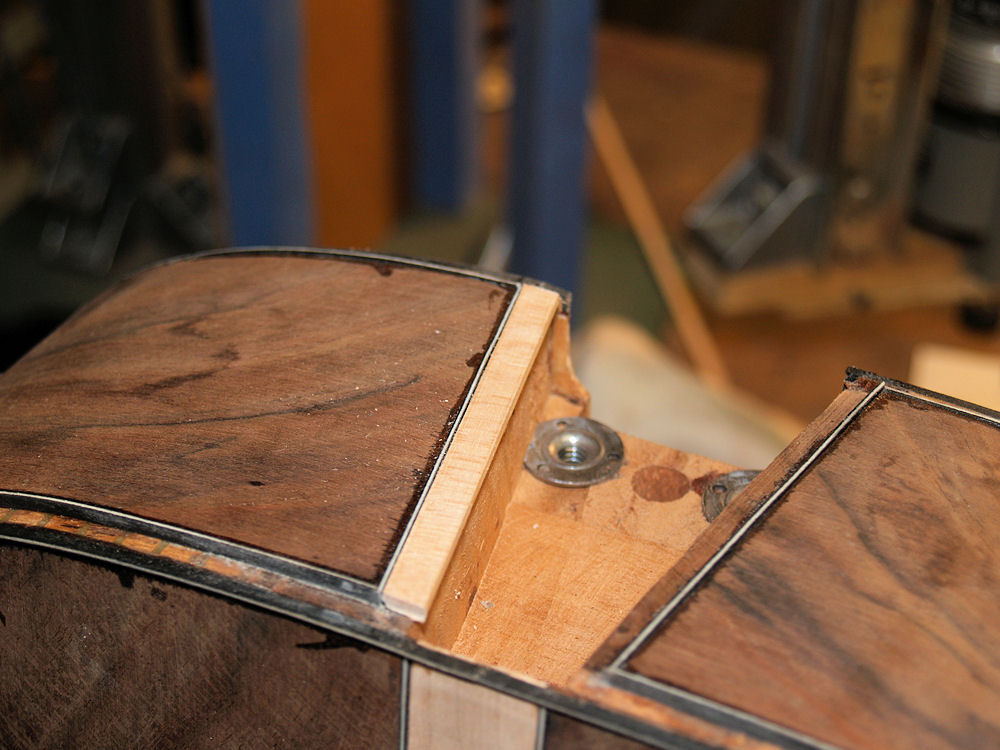
(221) 4-Jan-2010
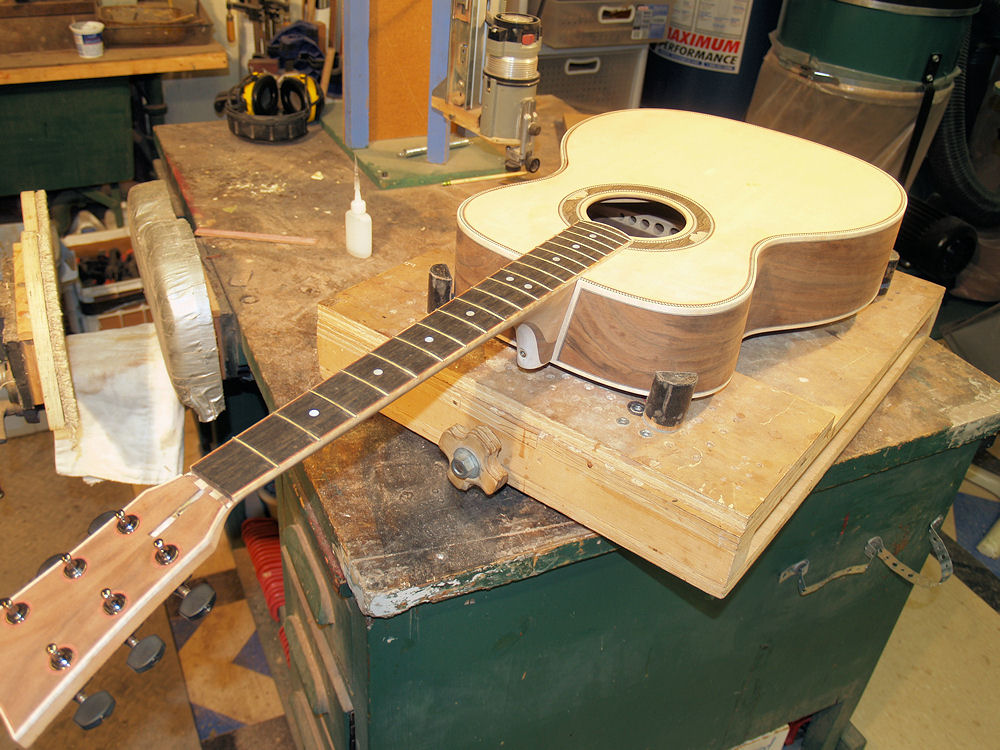
The neck fits. |
 |
(222) 4-Jan-2010
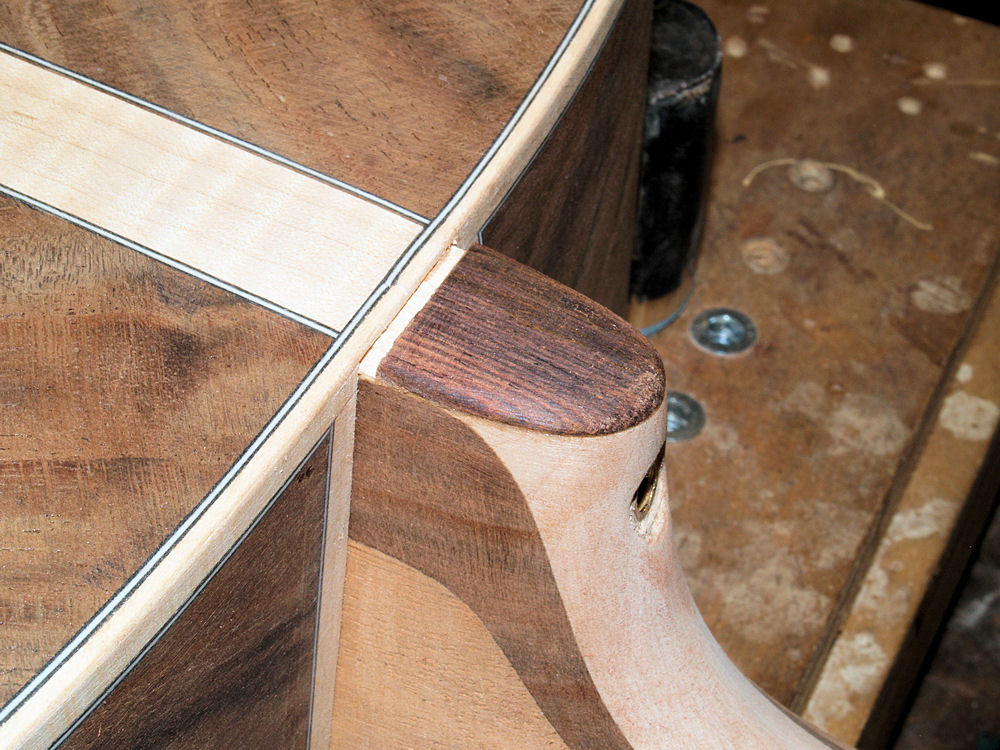
Here I have installed the Cocobolo heal cap. |
 |
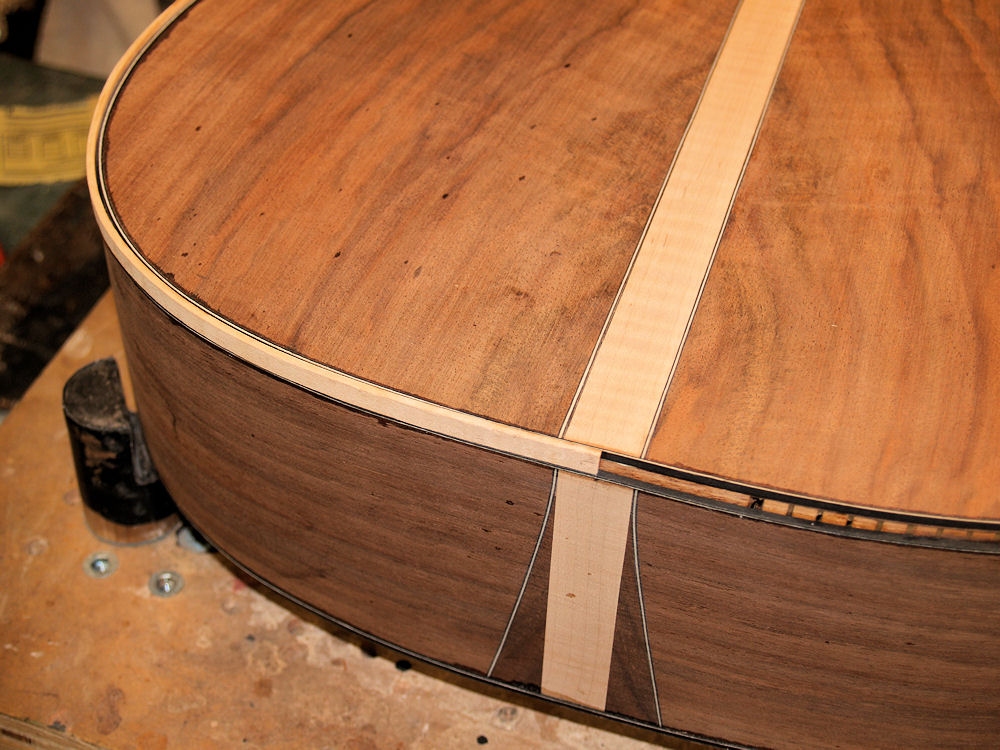
(223) 4-Jan-2010
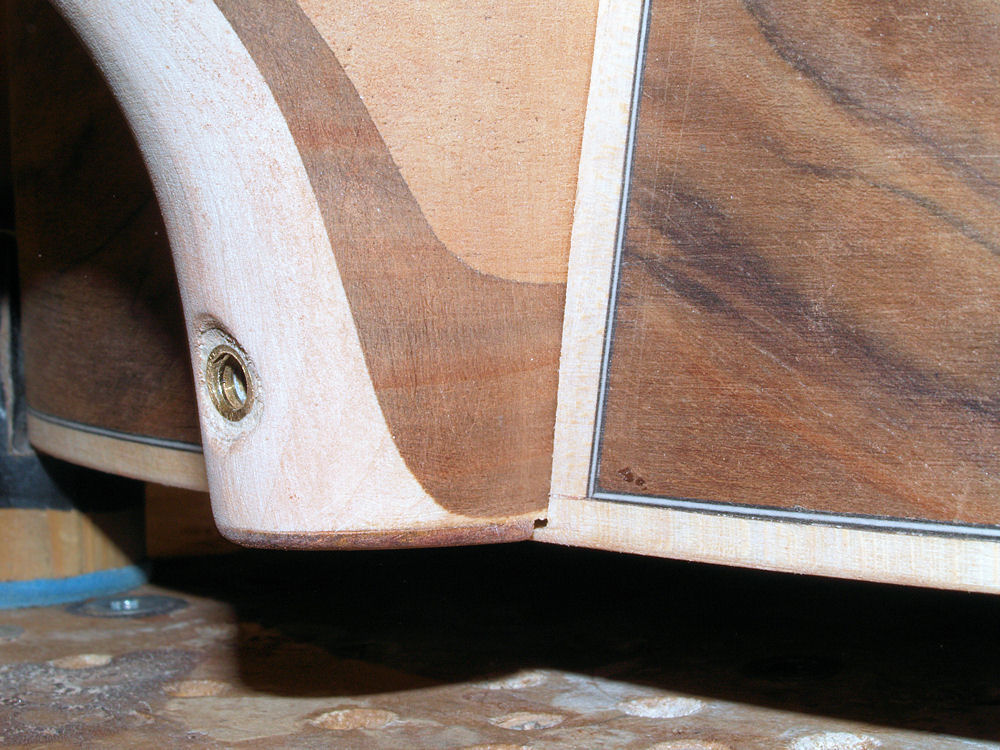
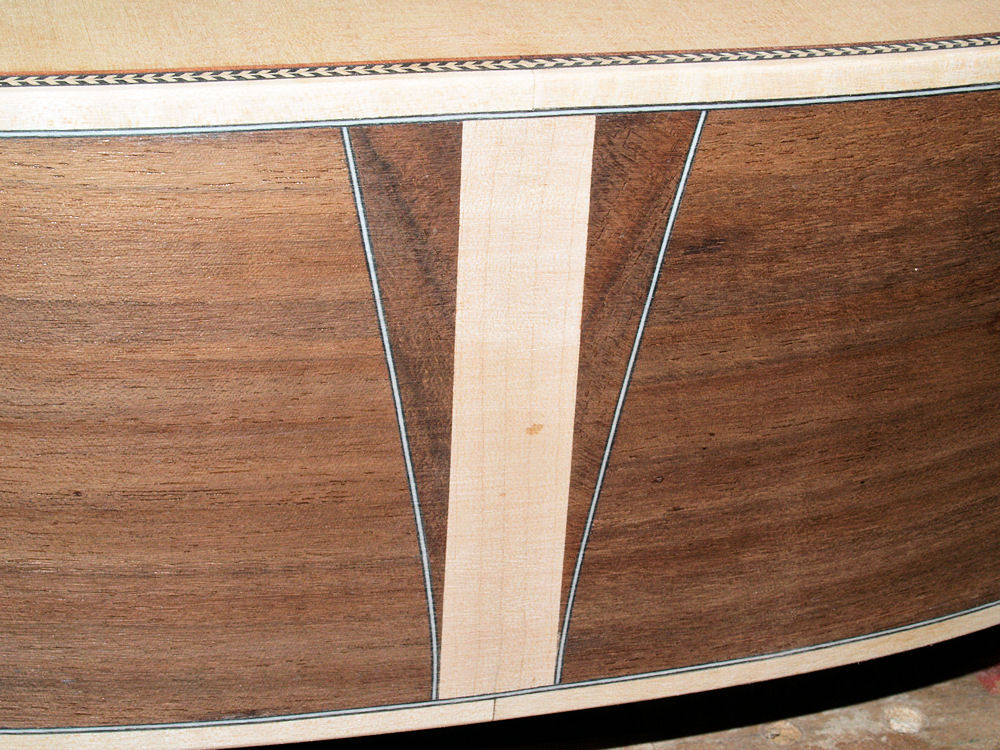
A picture of the binding and purfling. |
 |
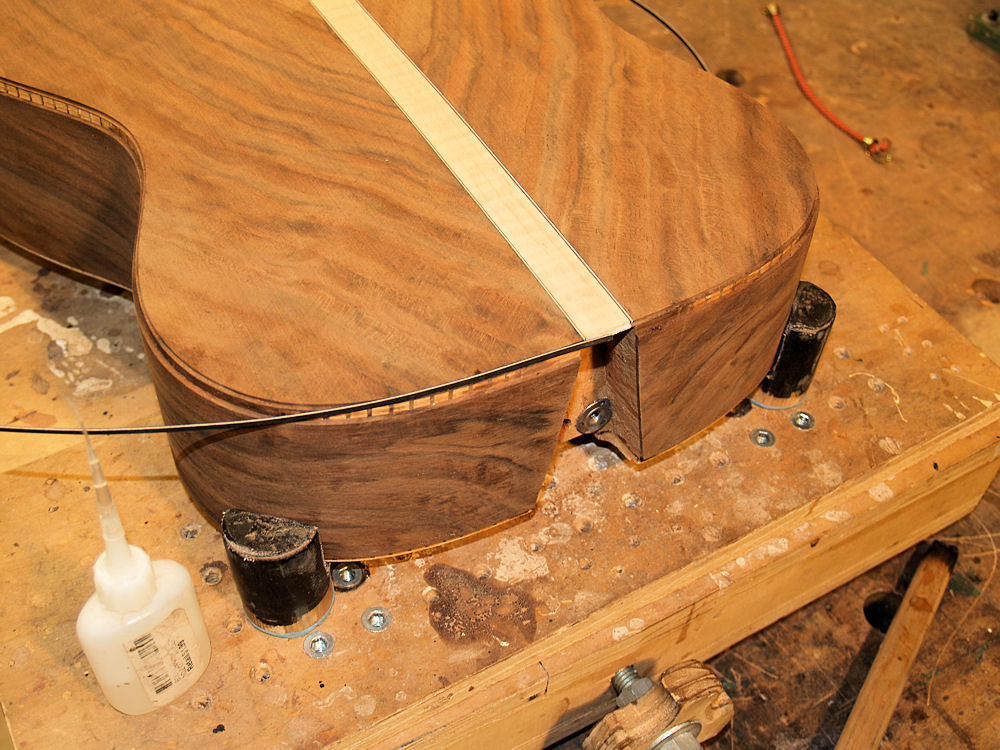
(224) 4-Jan-2010
The end graft. |
 |
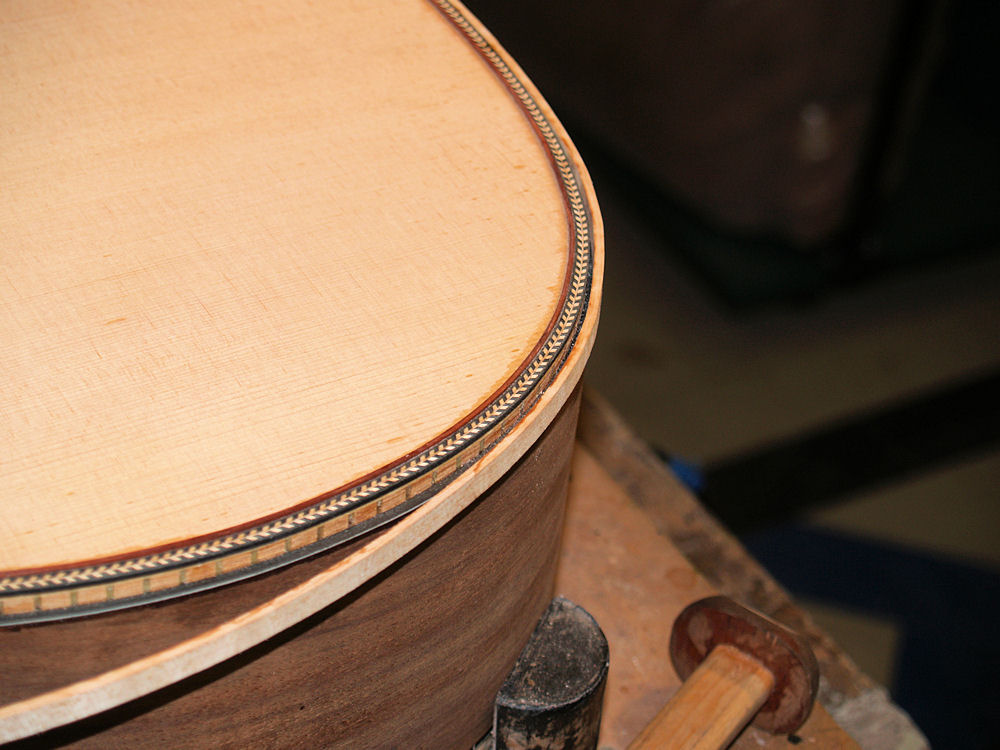
(225) 4-Jan-2010
Another detail shot. |
 |
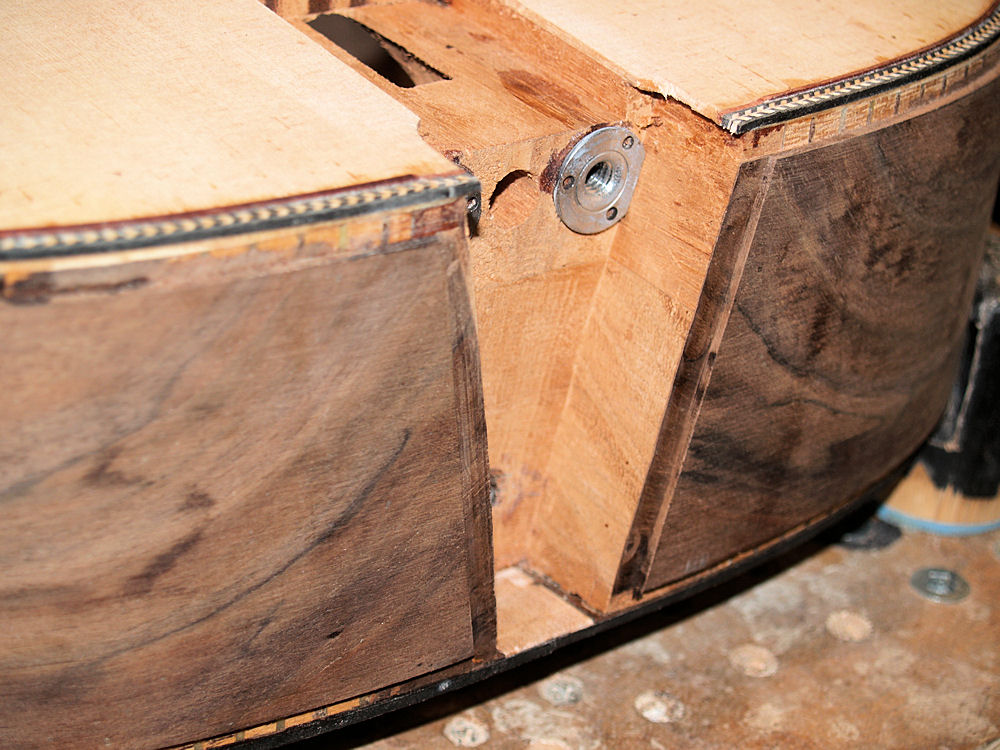
(226) 4-Jan-2010
I spend a lot of time trying to hide the gaps between the neck and body. |
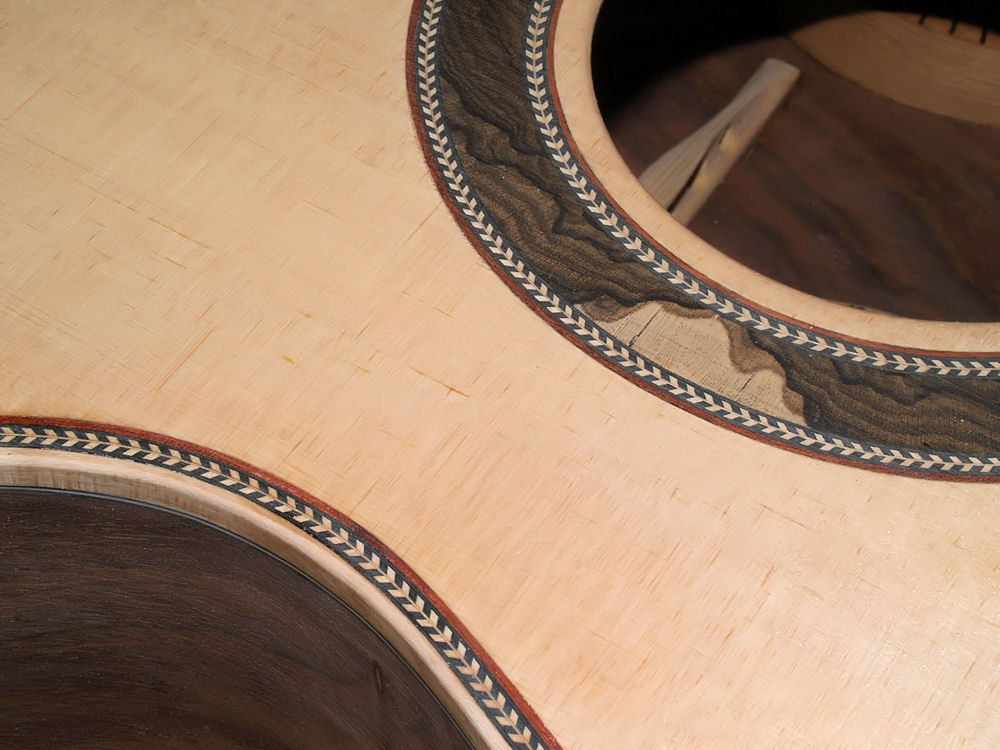 |
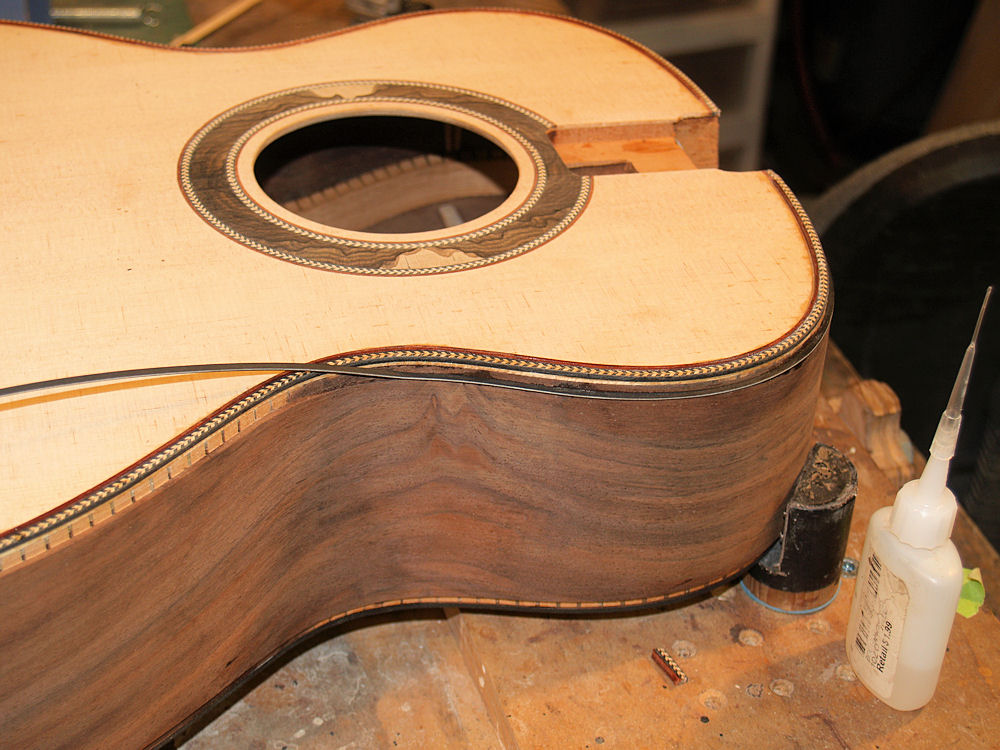
(227) 4-Jan-2010
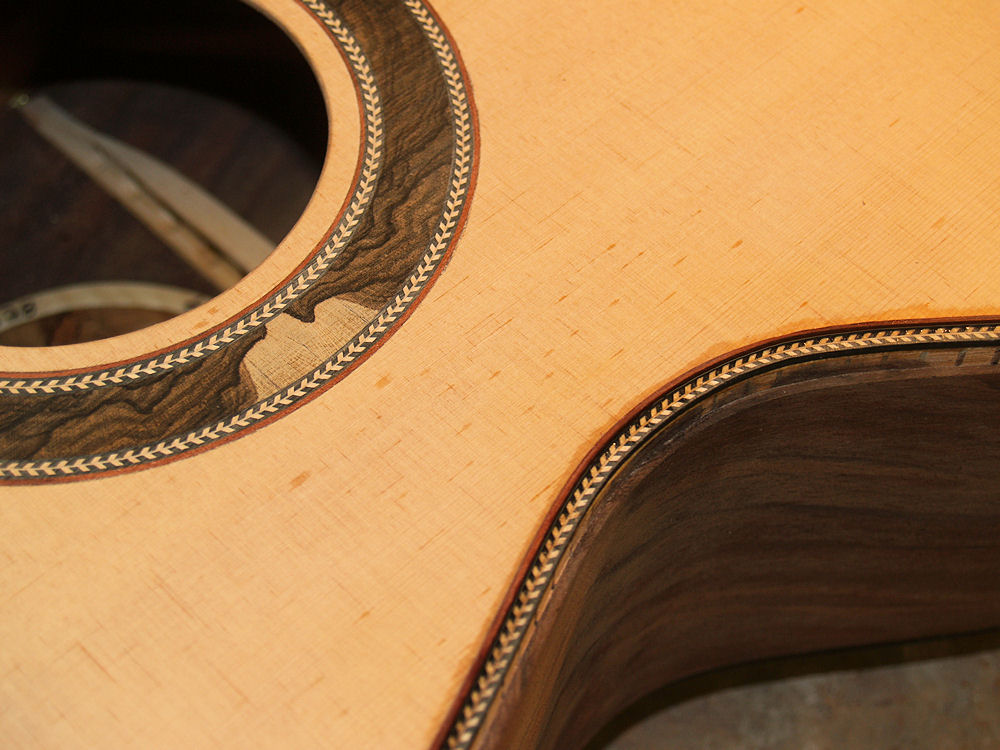
A picture of the waist and the sound hole. |
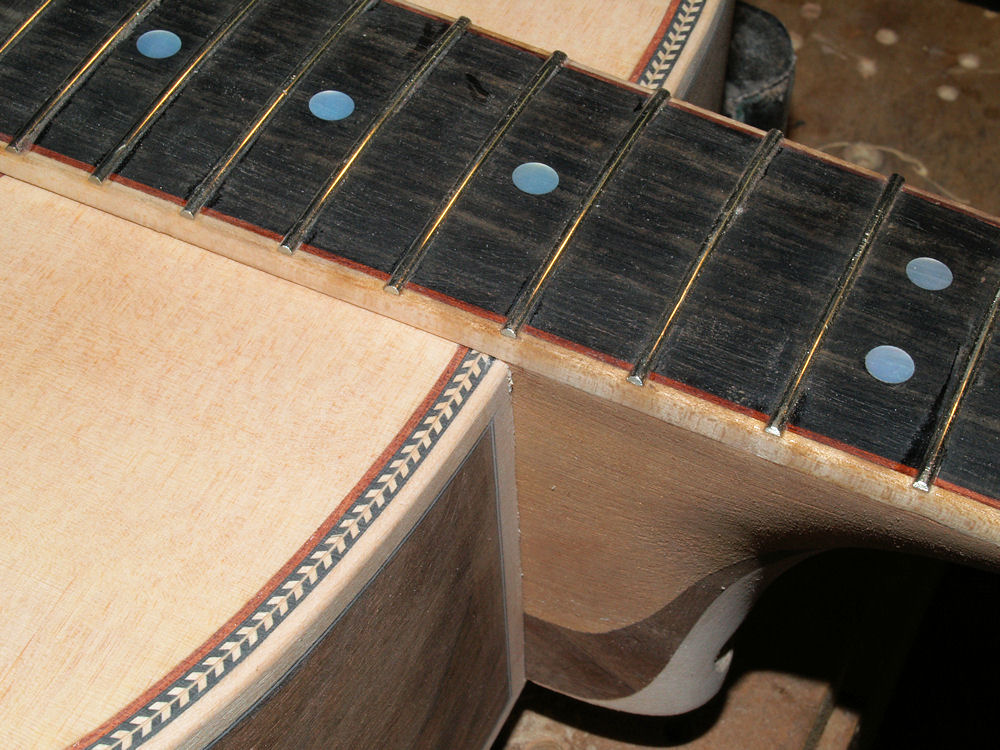 |
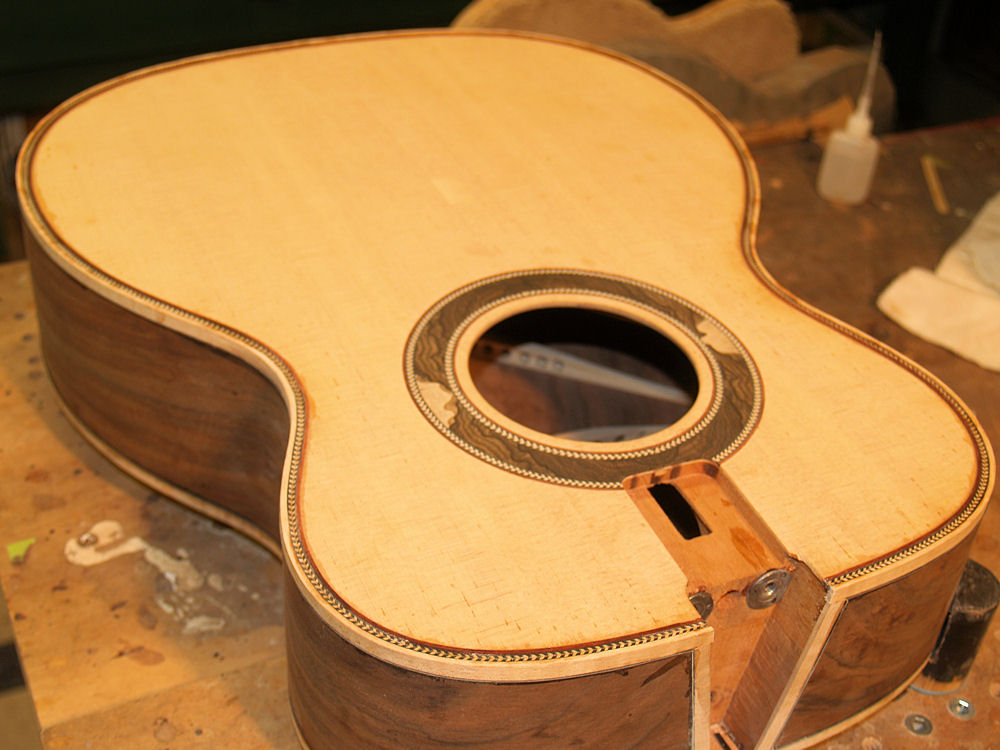
(228) 4-Jan-2010
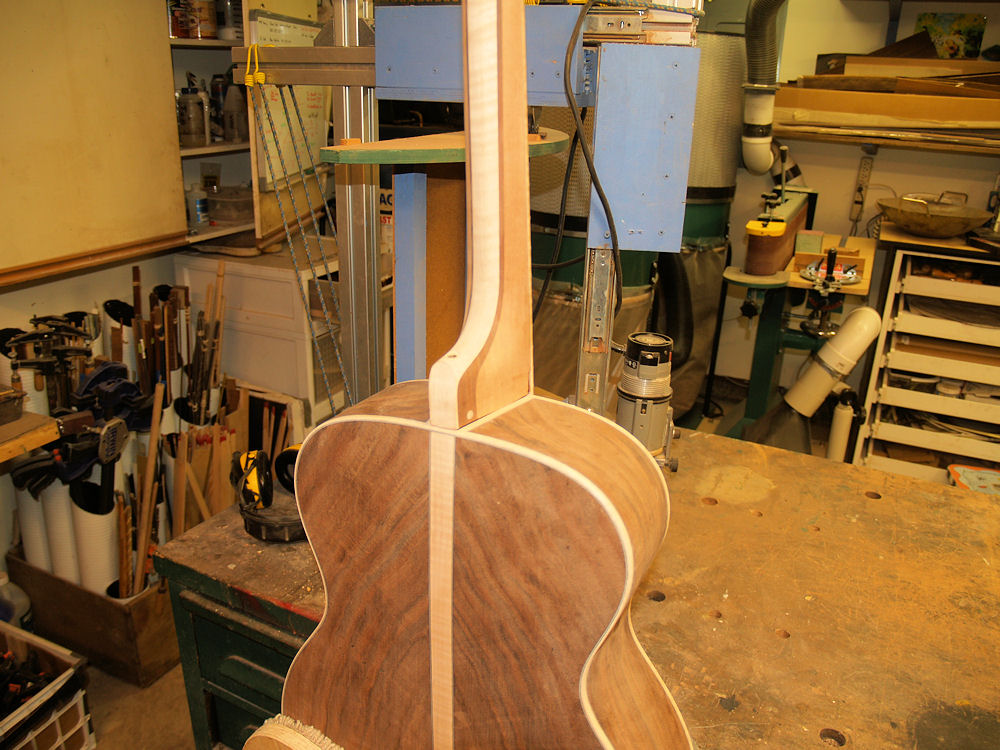
A picture of the neck entering the body and the floating fretboard. |