 |
(136) 15-Dec-2009
When the fretboard comes out of the radiusing machine it requires a light sanding to remove the machining marks. |
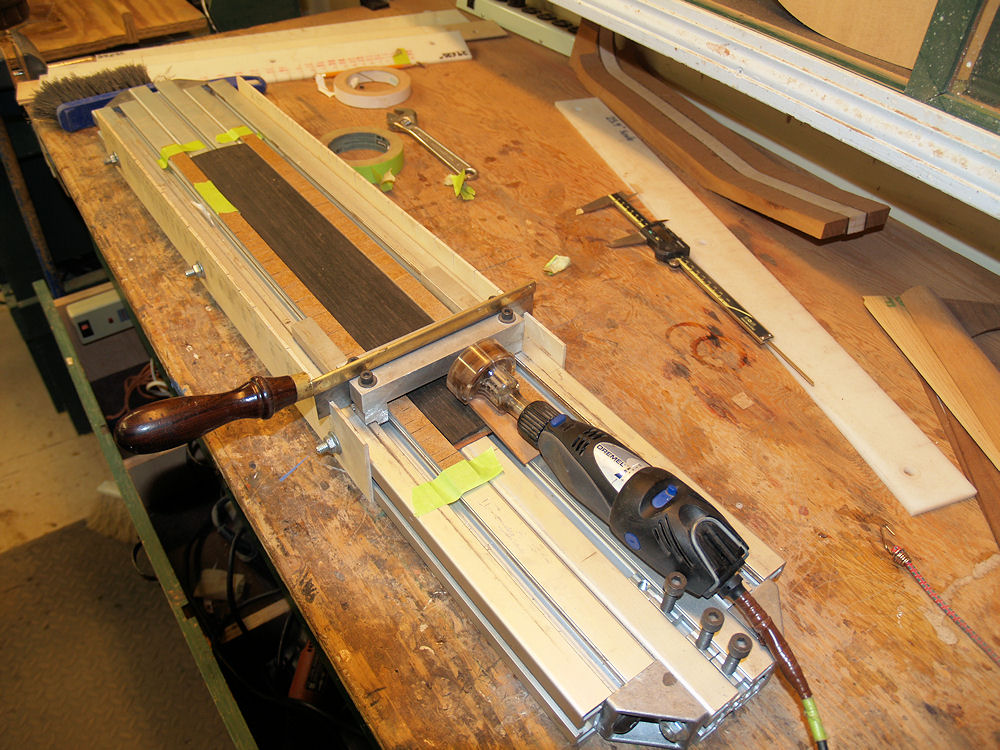 |
(137) 15-Dec-2009
I
have created a set of templates to use in the fretboard slotting
machine. The position of each fret follows a mathematical formula
that result in each note being one twelfth root higher than the note
that proceeds it. This results in twelve equal tempered notes in
each octave. The templates I created allow me to repeatedly and
accurately position a sled that guides the Dremel saw. The saw creates the slots that the fretwire will be pressed into. |
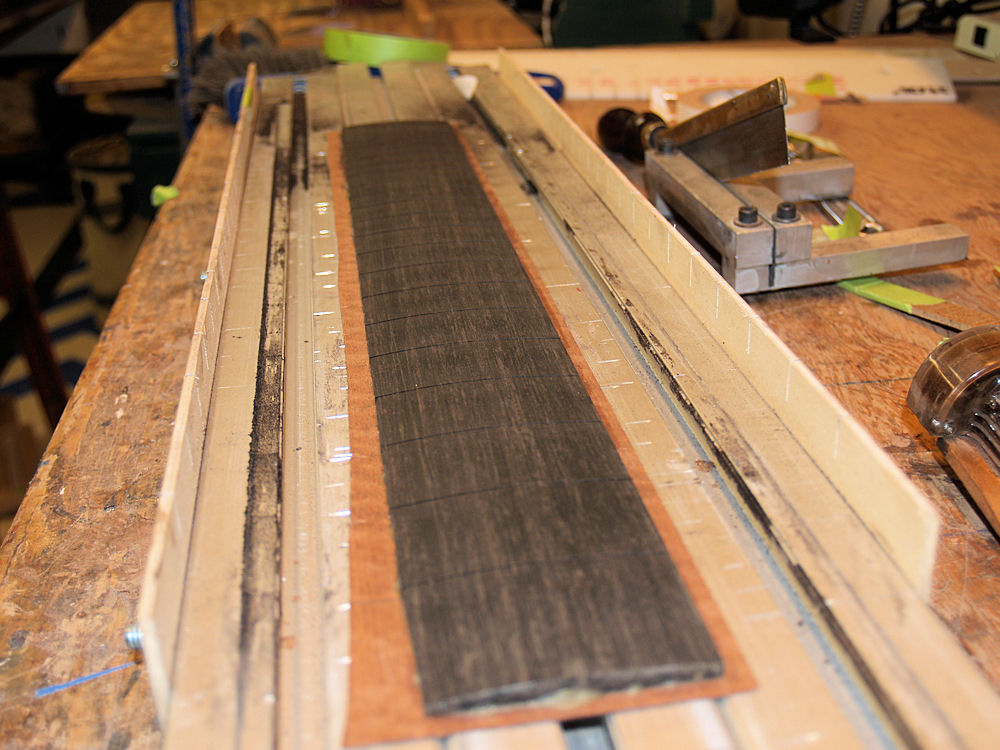 |
(138) 15-Dec-2009
Here we see the fretboard after the slots have been sawn. |
 |
(139) 15-Dec-2009
Before
I can install the fretwire I have to to install the binding and
purfling. In this picture I am slicing thin peaces of bloodwood
for the purfling that will go around the neck and body. |
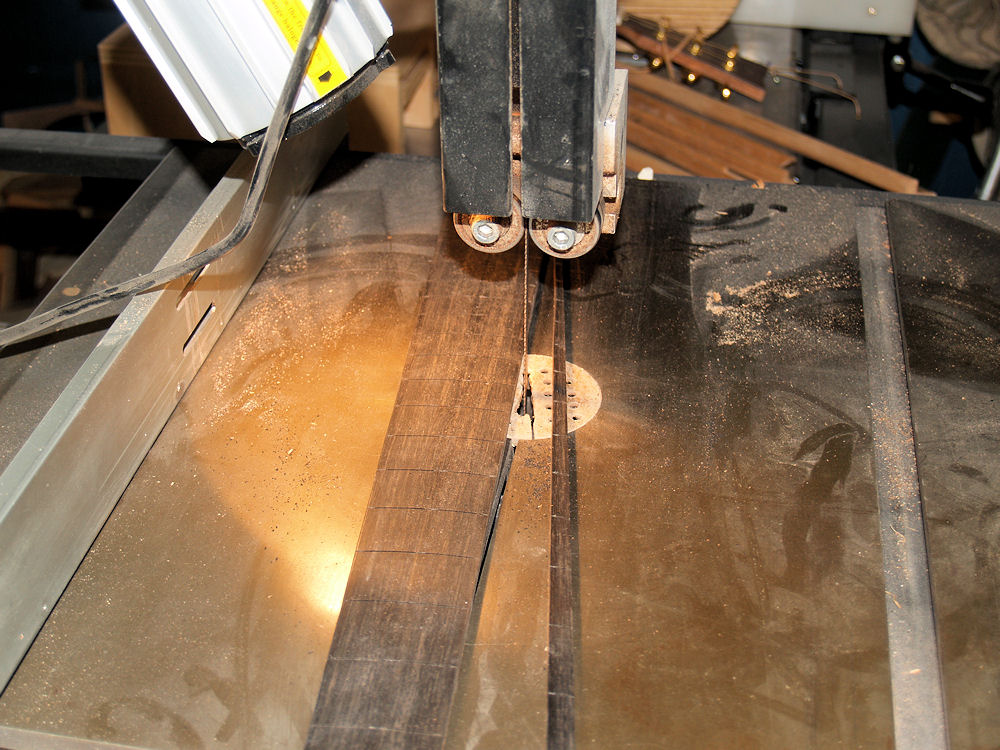 |
(140) 15-Dec-2009
Here I am trimming off the edges of the fretboard blank. |
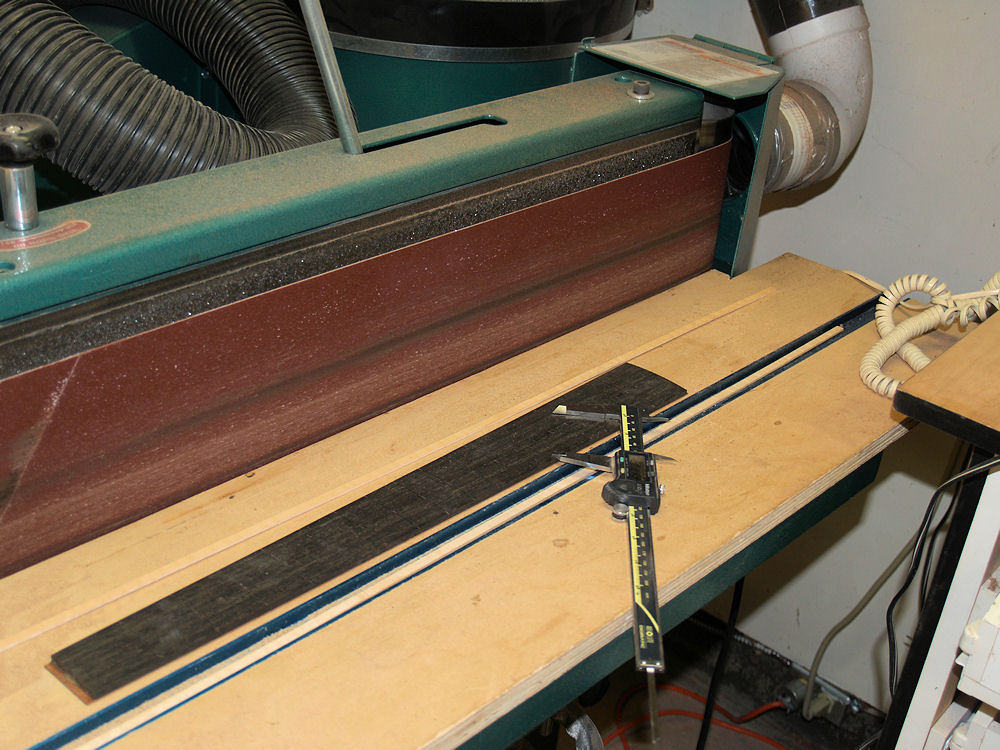 |
(141) 15-Dec-2009
And then I dimension the fretboard blank to its final size. |
 |
(142) 15-Dec-2009
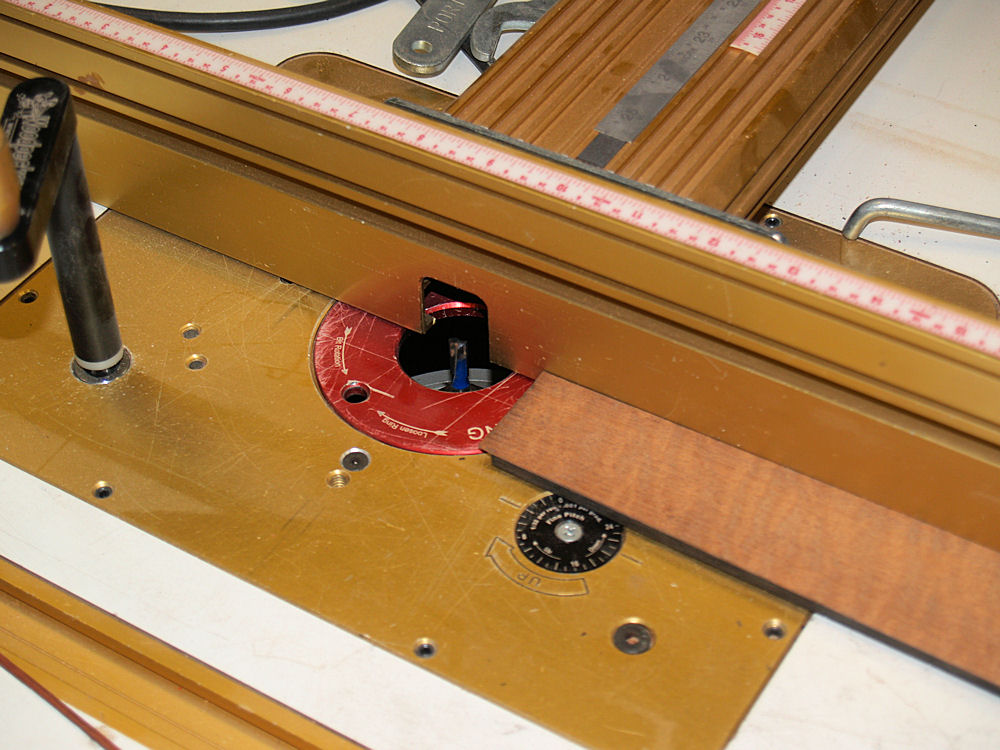
The fretboard will have maple binding with bloodwood purfling so a channel must be routed out for the purfling. |
 |
(143) 15-Dec-2009
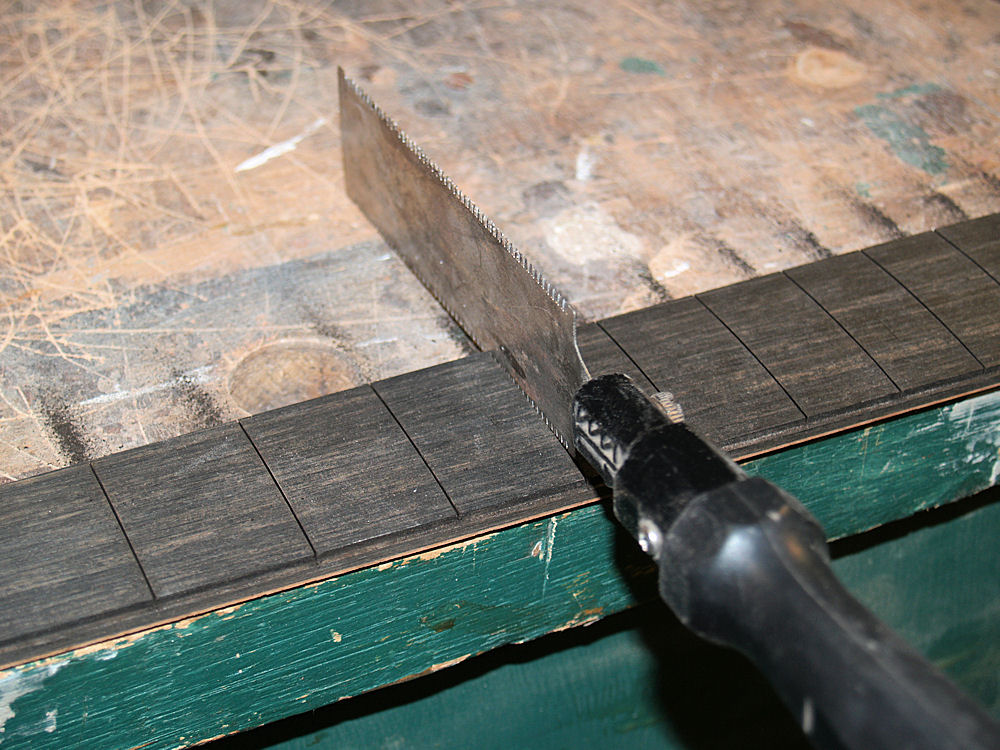
Before
I start to apply the binding I open up the fret slot slightly.
I want the frets to have a snug but not overly tight fit in their
slots. |
 |
(144) 15-Dec-2009
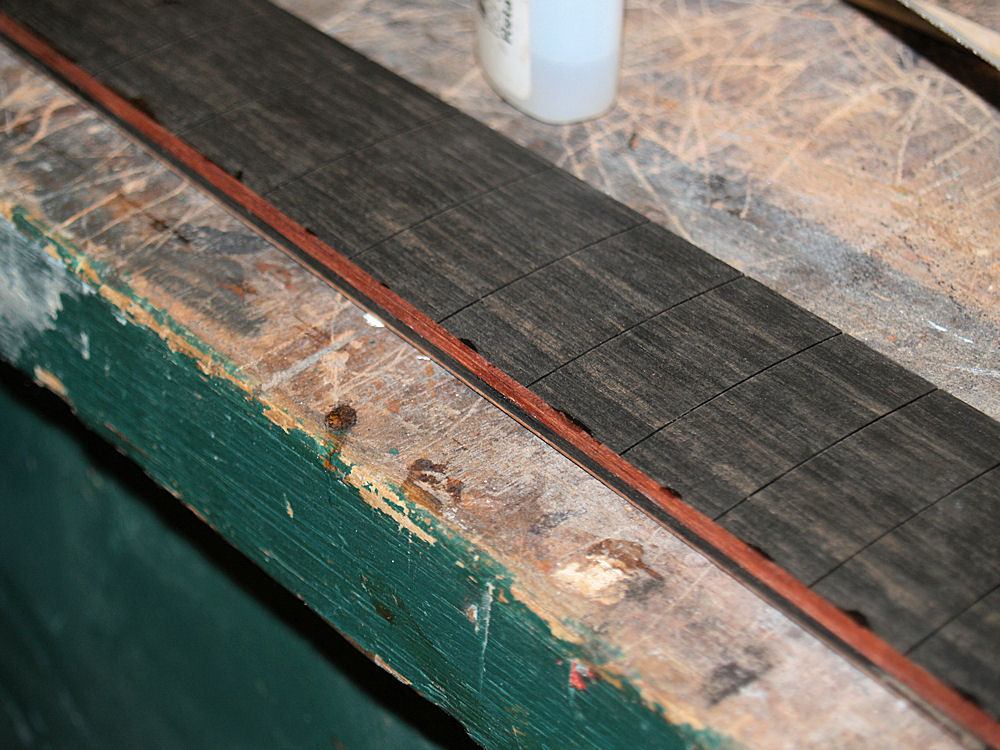
I apply the purfling and binding one layer at a time to insure that they have a good fit. |
 |
(145) 15-Dec-2009
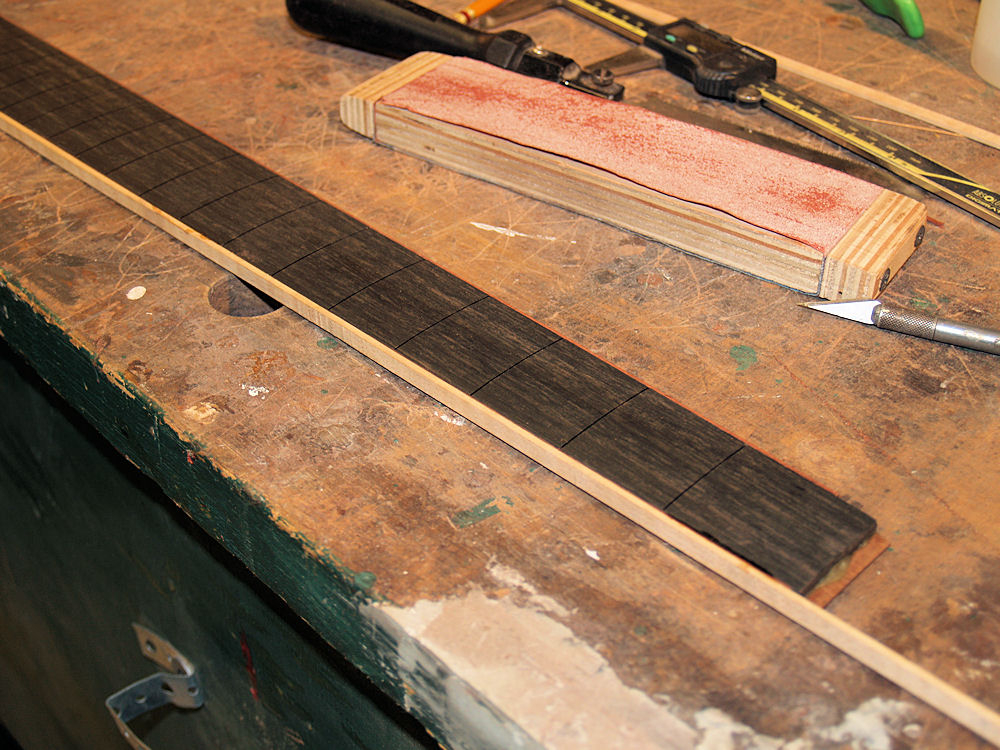
After the purfling is installed and I am happy with its fit then I apply the binding. |
 |
(146) 15-Dec-2009
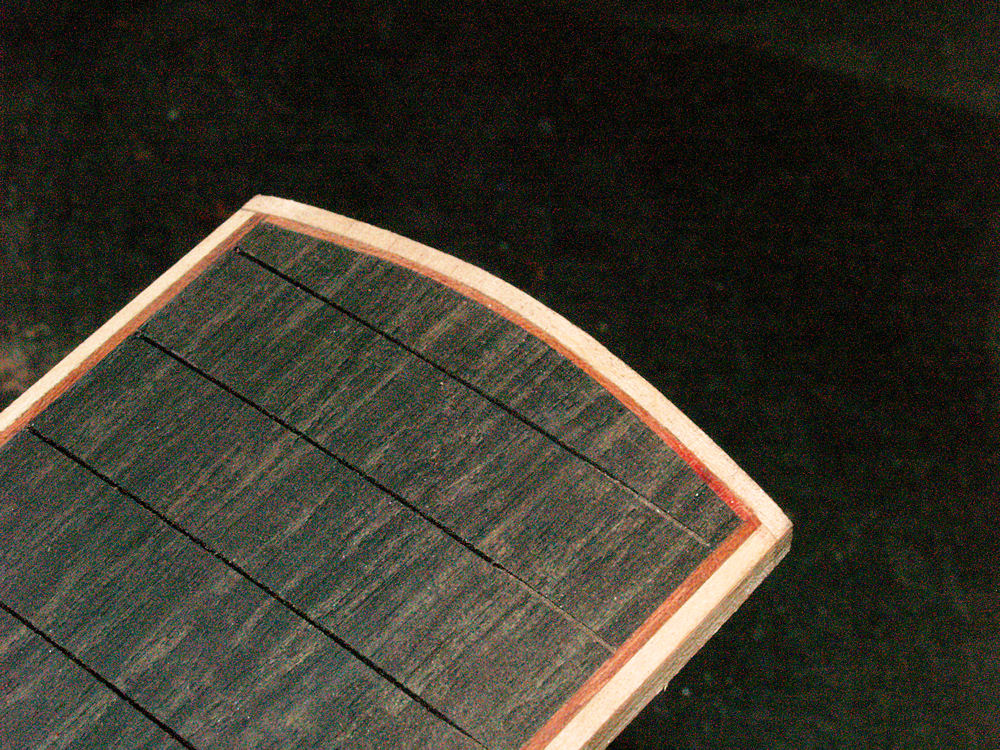
The end of the fretboard gets a channel for the bloodwood purfling cut by hand. |
 |
(147) 15-Dec-2009
The final results of the fretboard binding. |
 |
(148) 15-Dec-2009
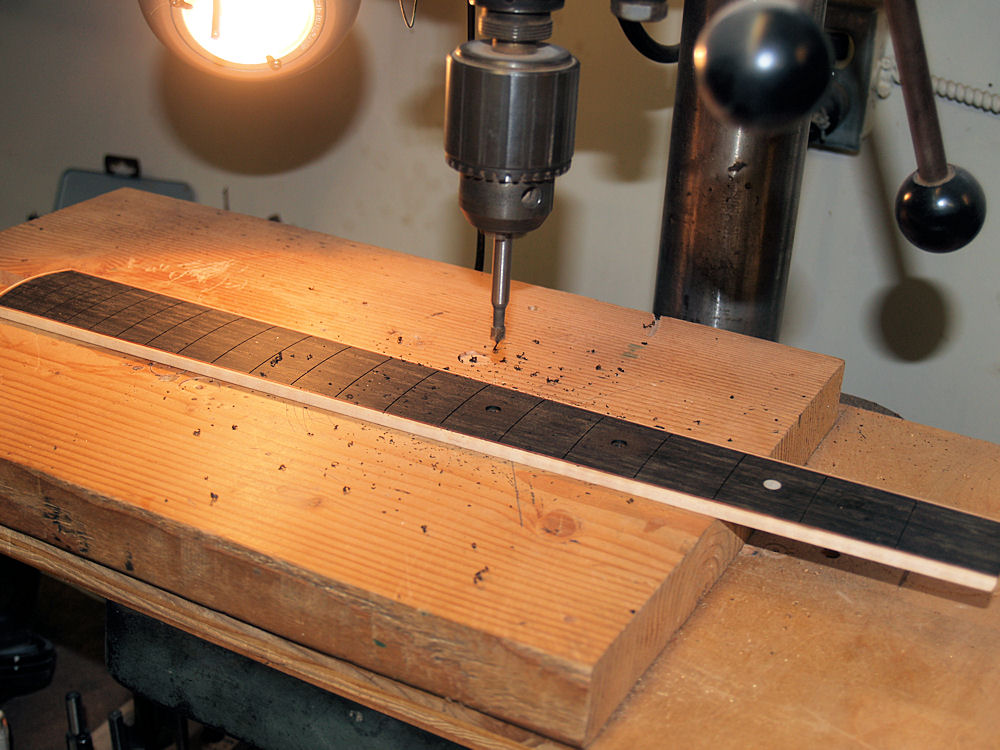
A look at the middle binding. The binding will be contoured slightly before the frets are applied. |
 |
(149) 15-Dec-2009
Now
I drill the 1/4 inch holes for the fretboard dots. I am very
careful to get them down the center of the fretboard and half
way between the frets. |
 |
(150) 15-Dec-2009
After the dots are glued in they get sanded level with the fretboard and we are ready to install the frets. |
 |
(151) 15-Dec-2009
The
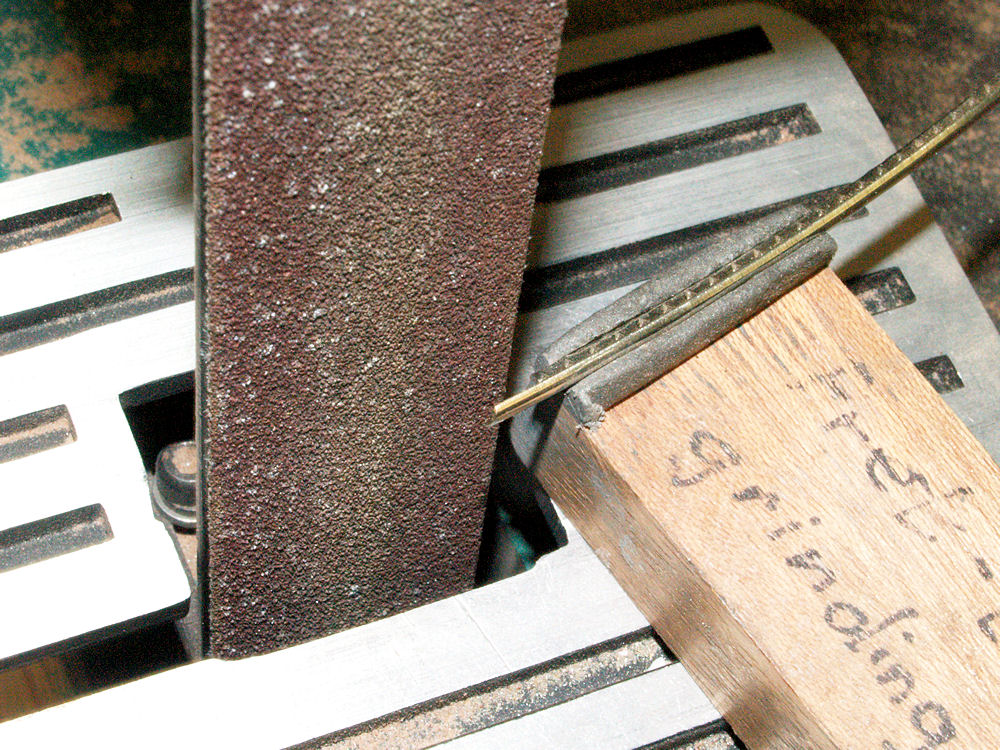
slots for the frets do not go through the binding so the fret wire has to
have the tang removed on that portion. This is a particularly precise operation
in that the tang must be fully removed without removing any of the
crown. If any of the crown is removed the fret wire will not lay flat
on the board and there will be an unsightly gap and the fret may be
loose. |
 |
(152) 15-Dec-2009
I
have devised a fixture to hold the fretwire while I sand off the tang.
This gives me sufficient control so I end up with just the tang
on the fretwire removed. |
 |
(153) 15-Dec-2009
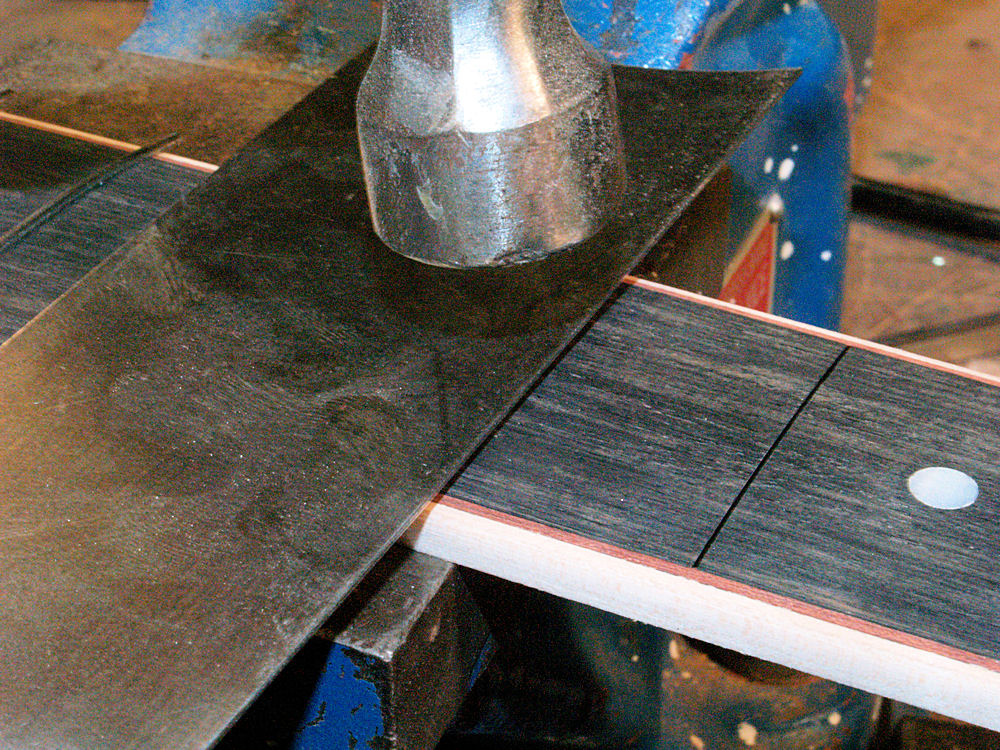
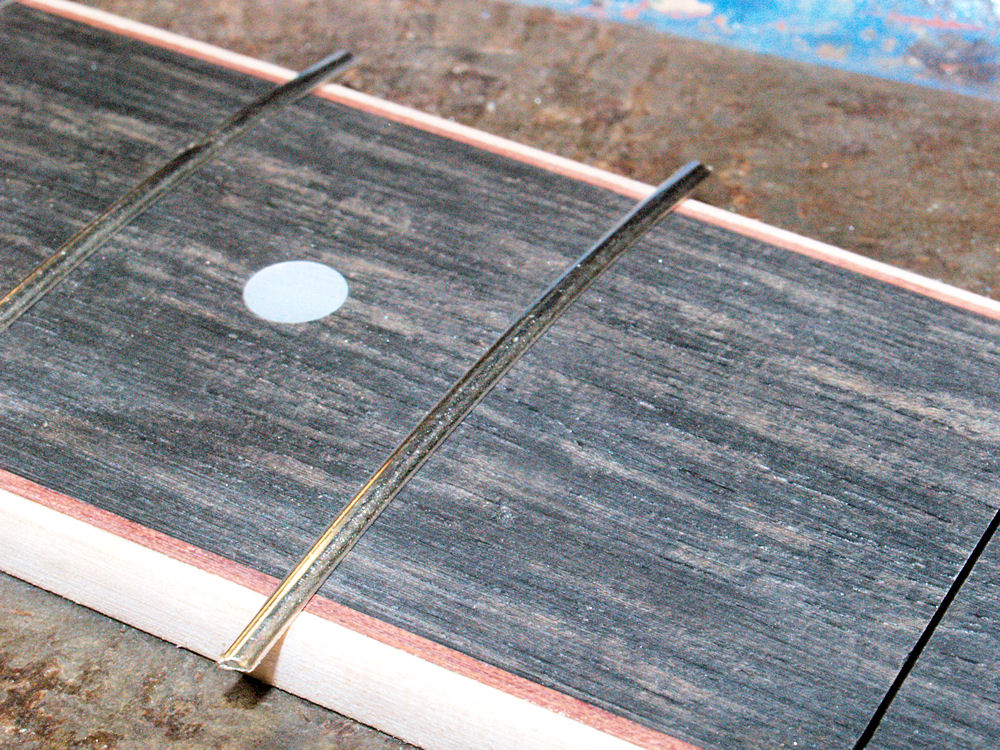
When I install the fretwire I use a steel plate to prevent creating divots in the wire with the hammer. |
 |
(154) 15-Dec-2009
Every fret gets inspected front an back to make sure that it is fully flush with the fretboard. |
 |
(155) 15-Dec-2009
After
all of the wires are installed they get a few drops of glue on the ends
to insure they stay fully seated on the board. Then the ends get
filed off flush with the binding. |
 |
(156) 15-Dec-2009
The headstock veneer will be a book matched set of walnut made from some of the trim that came from the back pieces of the body.
|
 |
(157) 15-Dec-2009
Gluing
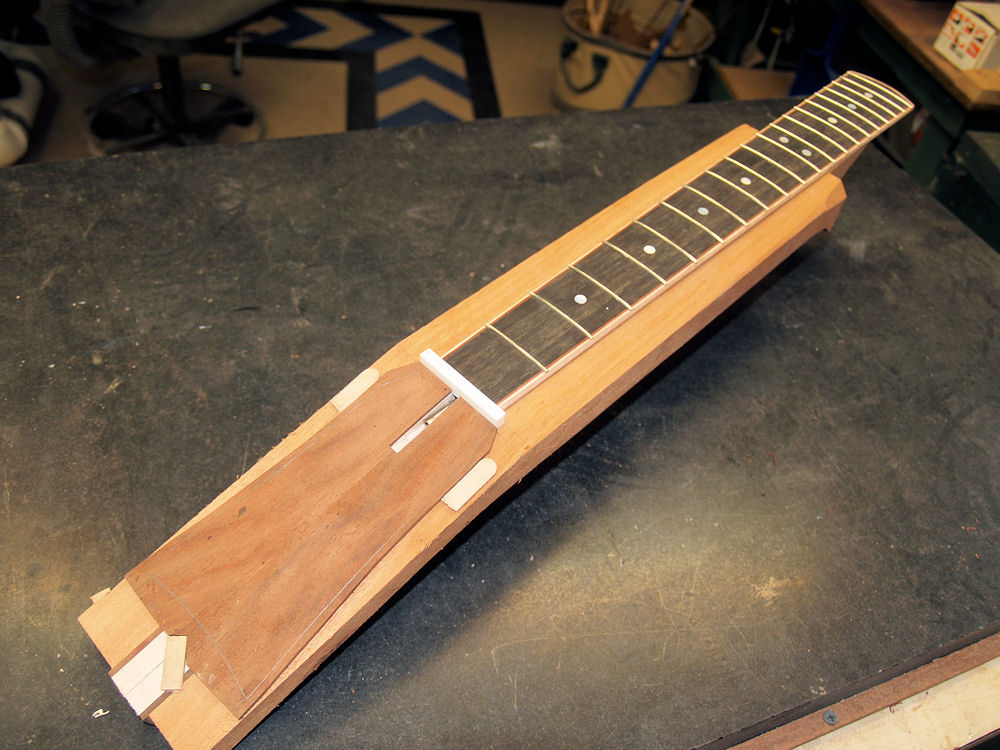
the fretboard to the neck blank requires that it be precisely placed.
To insure that the fretboard does not slip when the glue and clamps are
applied I use 1/4 inch dimples to hold it in place. |
 |
(158) 15-Dec-2009
I
use out riggers to hold the headstock veneer in place. It turns
out that glue is really quite slippery before it set up. This
system of dimples and out riggers lets me make any corrections to
placement before I try to glue it up. When I clamp every thing down
I don't have to worry about it moving. |
 |
(159) 15-Dec-2009
The
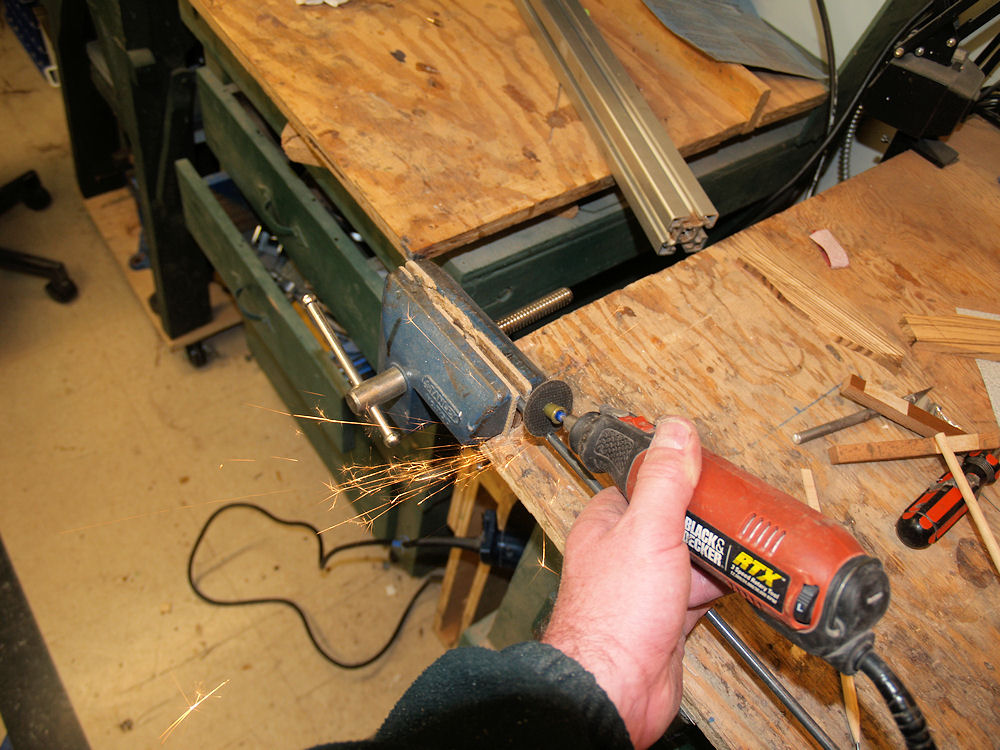
cantilevered portion of the fretboard is reinforced with two 1/4 piano
wire rods. I use my dremel tool and a high speed cut off wheel to
cut it. |
 |
(160) 15-Dec-2009
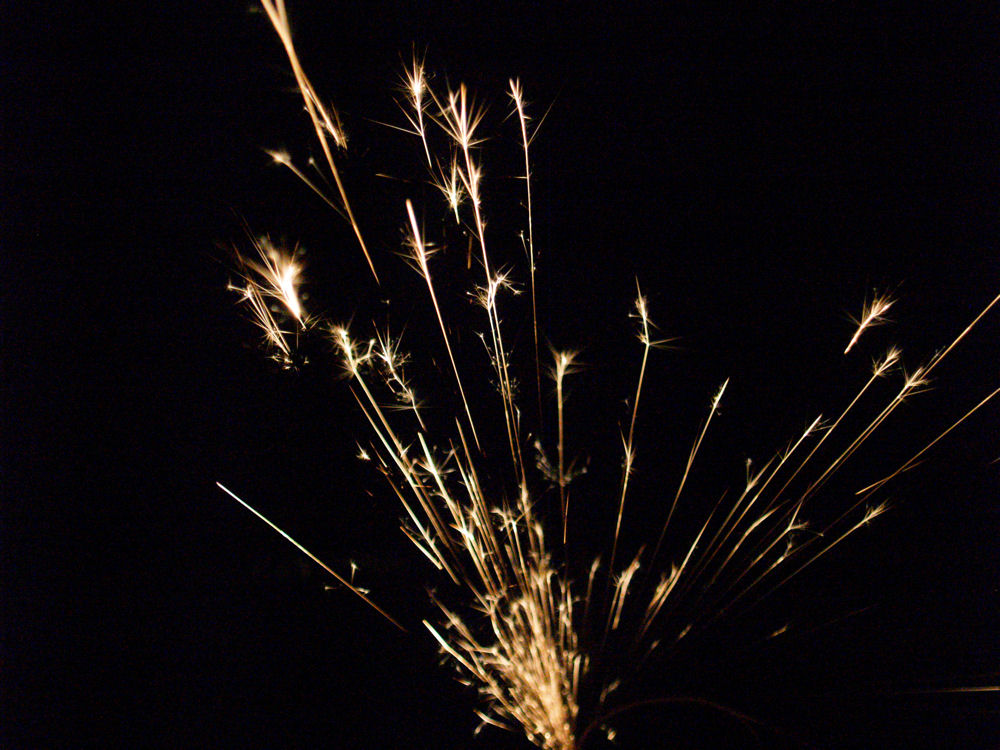
The
Large Hadron Collider at Cern doesn't have anything on this when it
comes to visual effects. There is some serious physics going on
when I cut this high carbon steel. |
 |
(161) 15-Dec-2009
A little bit of clean up and the rods are ready to be installed. |
 |
(162) 15-Dec-2009
I
win, I have the most clamps. I am striving to apply even and
significant pressure to the fretboard to ensure that It makes good
contact with the neck blank. I don't want any gaps between the
fretboard and the neck and I want to make sure that it goes on
straight. The headstock veneer goes on at the same time.
Tomorrow all of the clamps come off and I start to shape the neck. |