 |
(53) 16 October 2009
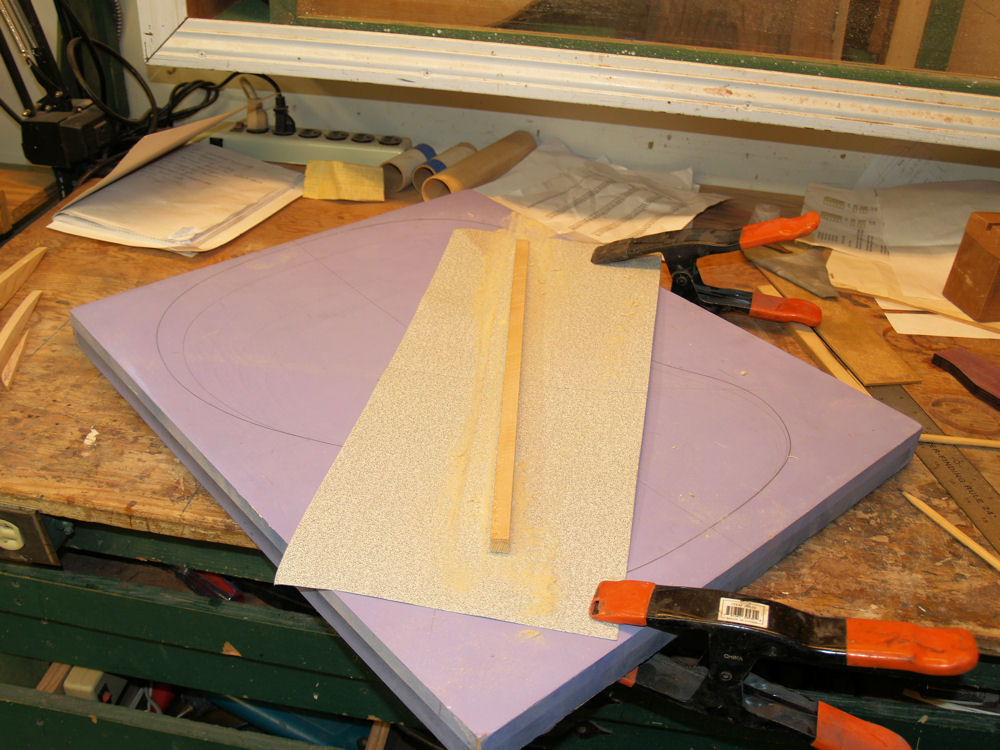
Now that I have the brace blanks cut out I use the back form and some
sandpaper to make sure the braces take the exact shape of the form. |
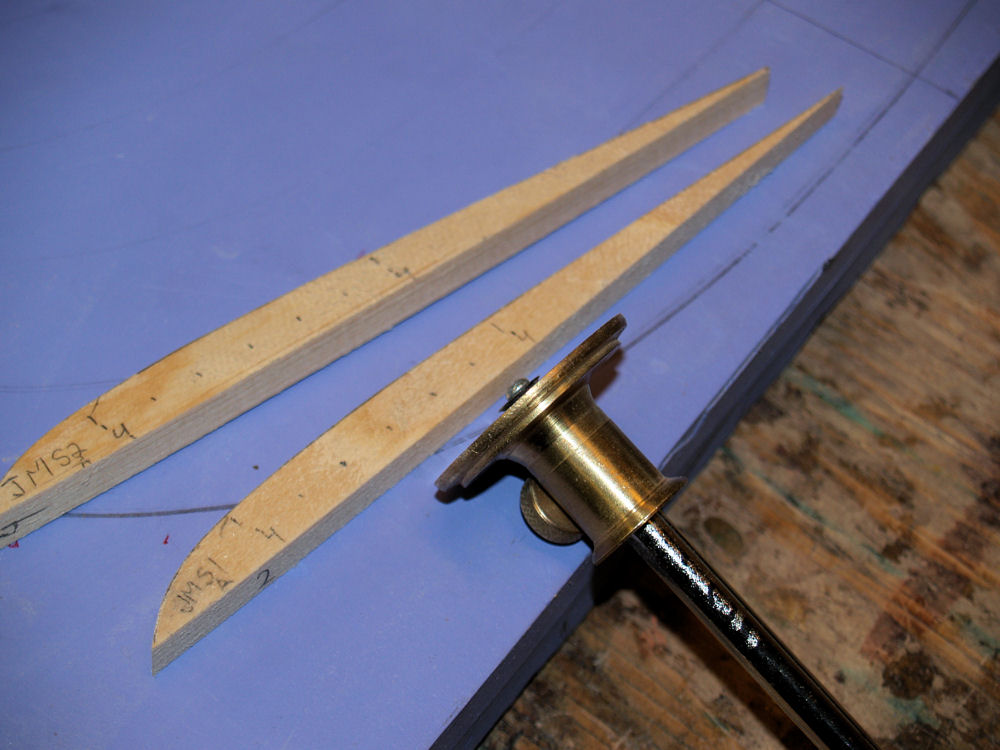 |
(54) 16 October 2009
I have marked out where the holes will go in the braces. |
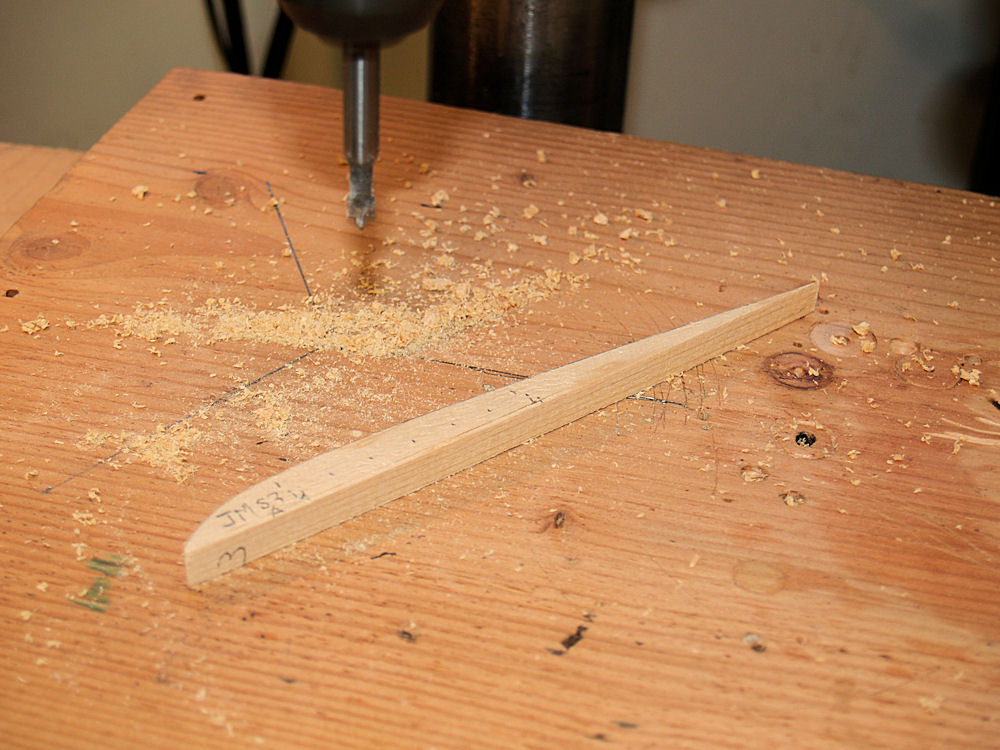 |
(55) 16 October 2009
And I use my drill press to drill the holes. |
 |
(56) 16 October 2009
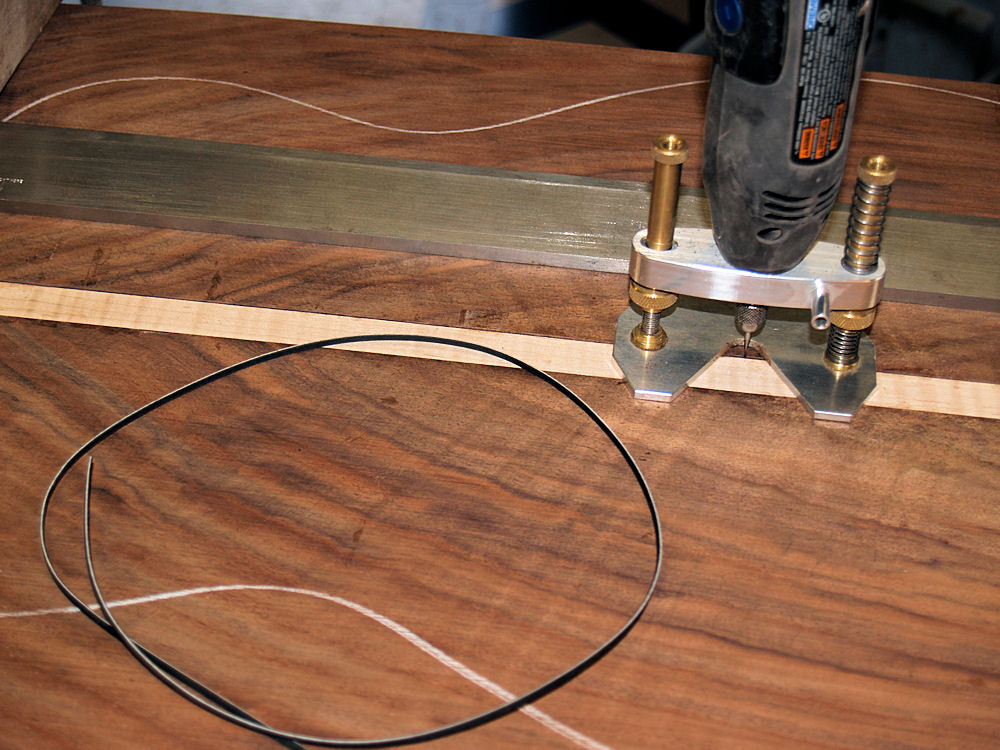
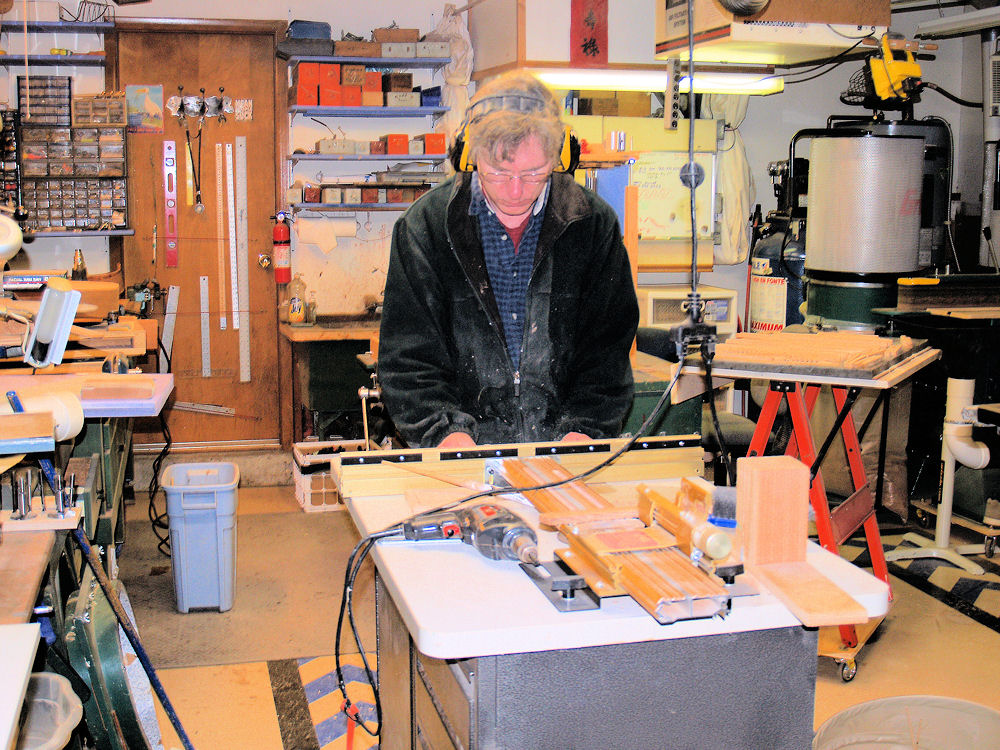
This picture is a bit of a departure. While considering the maple
back strip it really called for a BWB pinstripe outline. In this
image I am routing a channel for the pinstriping |
 |
(57) 16 October 2009
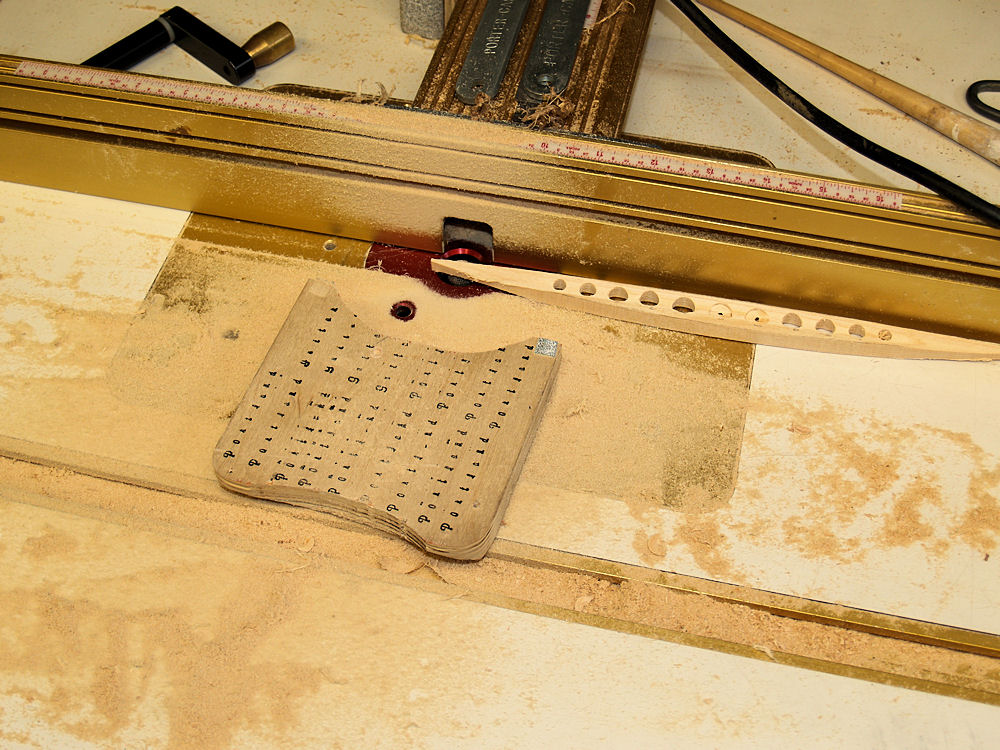
Here I am hard at work in front of a hot router table. |
 |
(58) 16 October 2009
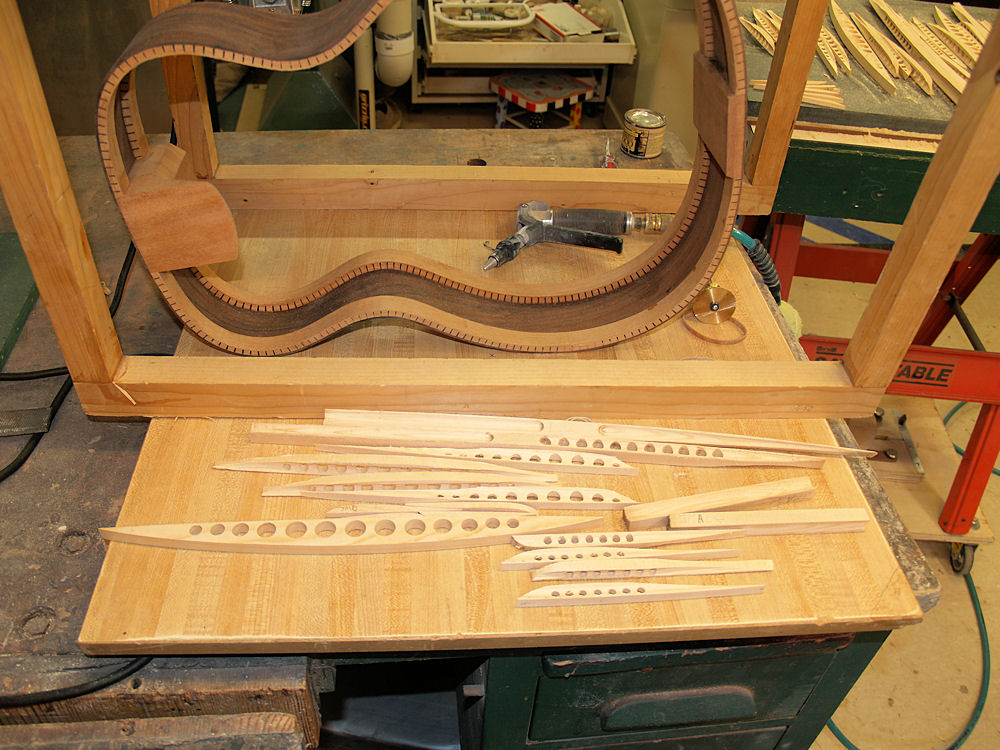
I am using the router table to route a round channel in the braces.
This channel makes the braces into an effective I beam. |
 |
(59) 16 October 2009
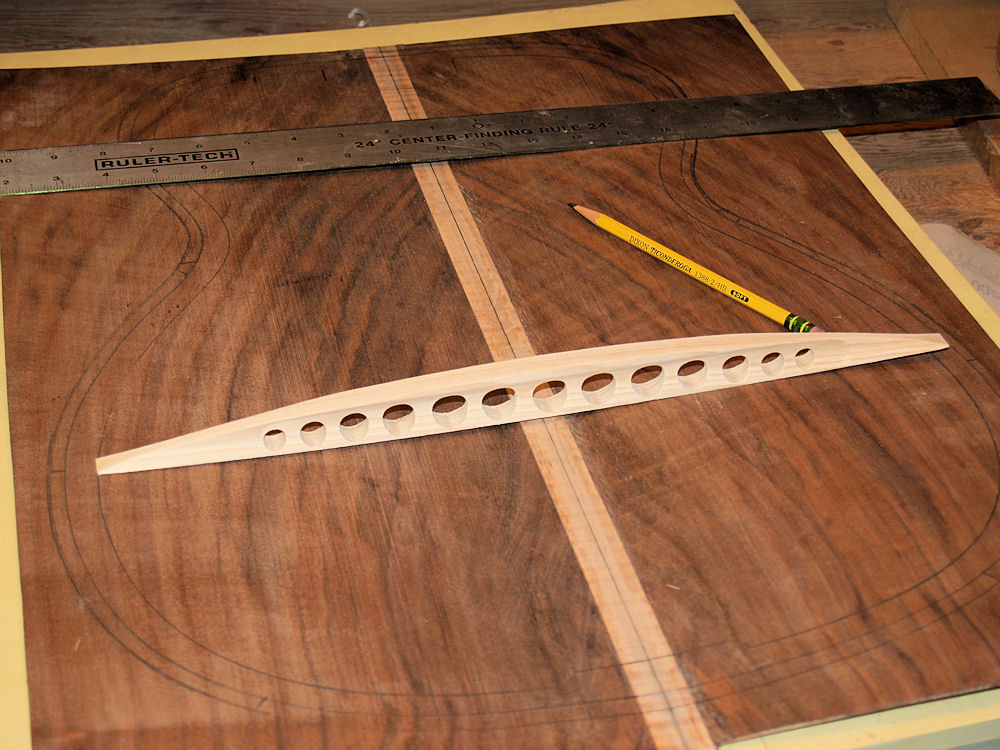
And here we see the collection braces ready to be fitted to the back. |
 |
(60) 16 October 2009
The braces require a bit of trimming to make them fit with in the
sides. I have carefully traces the outline of the sides onto the
back. |
 |
(61) 16 October 2009
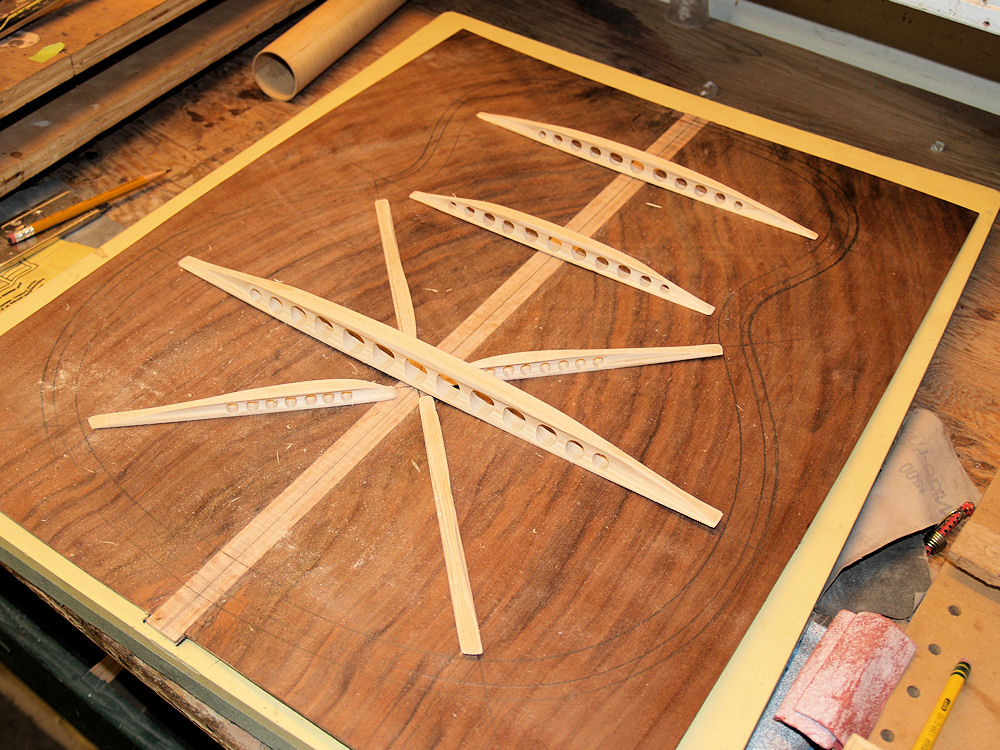
Here we see the set of back braces laid out before gluing them down. |
 |
(62) 16 October 2009
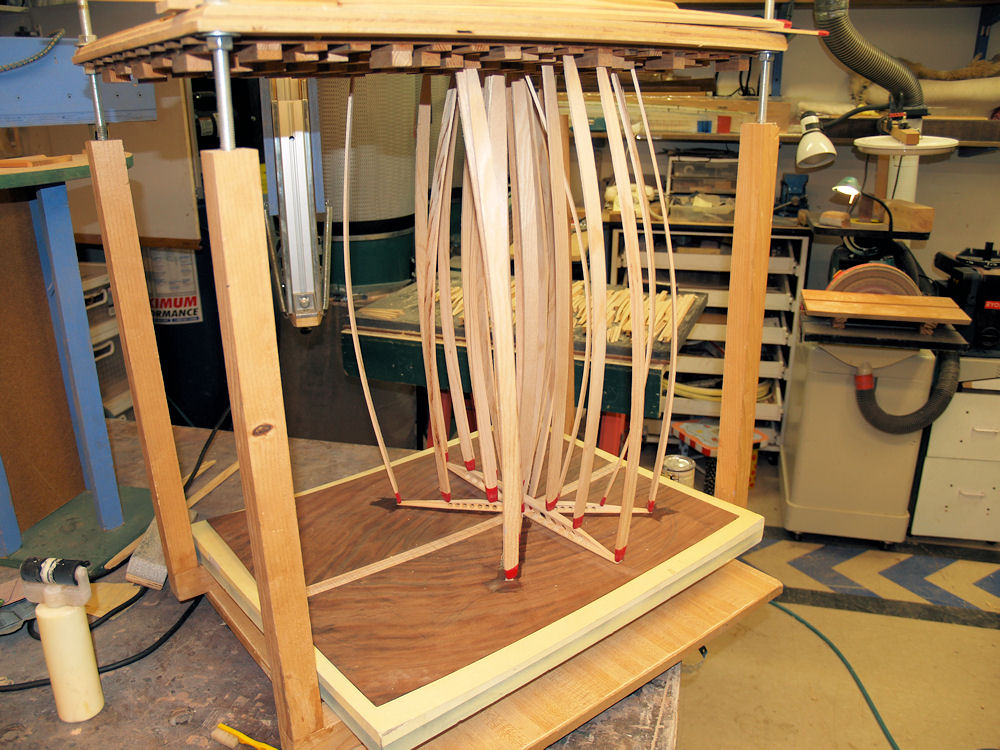
In this image I am using my go-box and the back form to glue the braces
into place. |
 |
(63) 16 October 2009
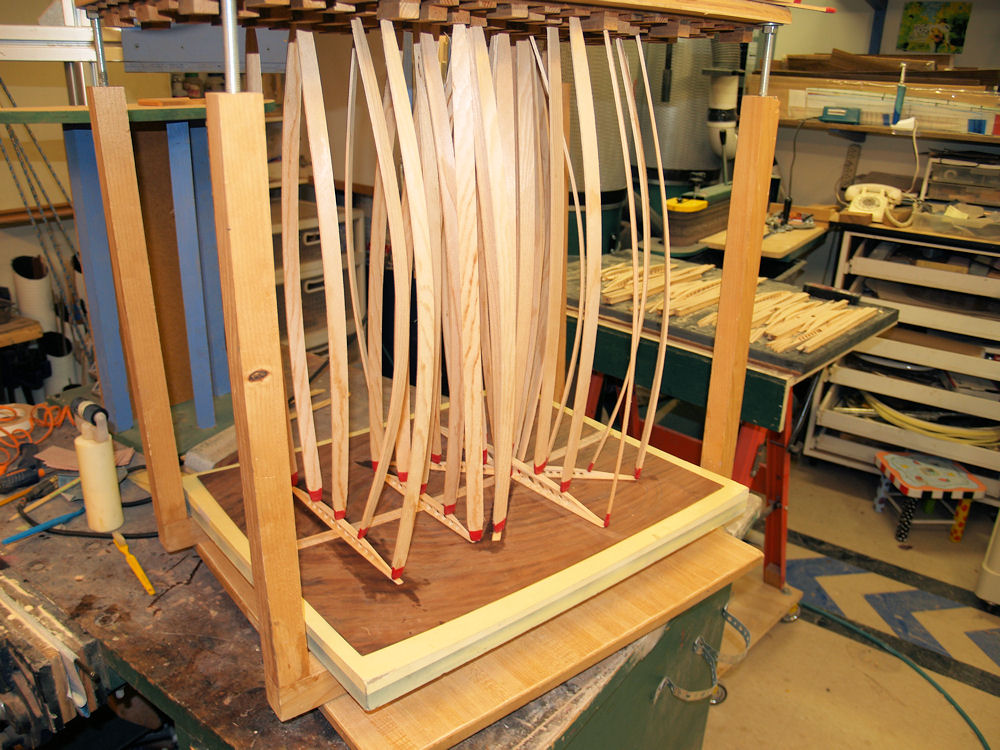
I use very springy spruce go-sticks to push the braces firmly into
place. |
 |
(64) 16 October 2009
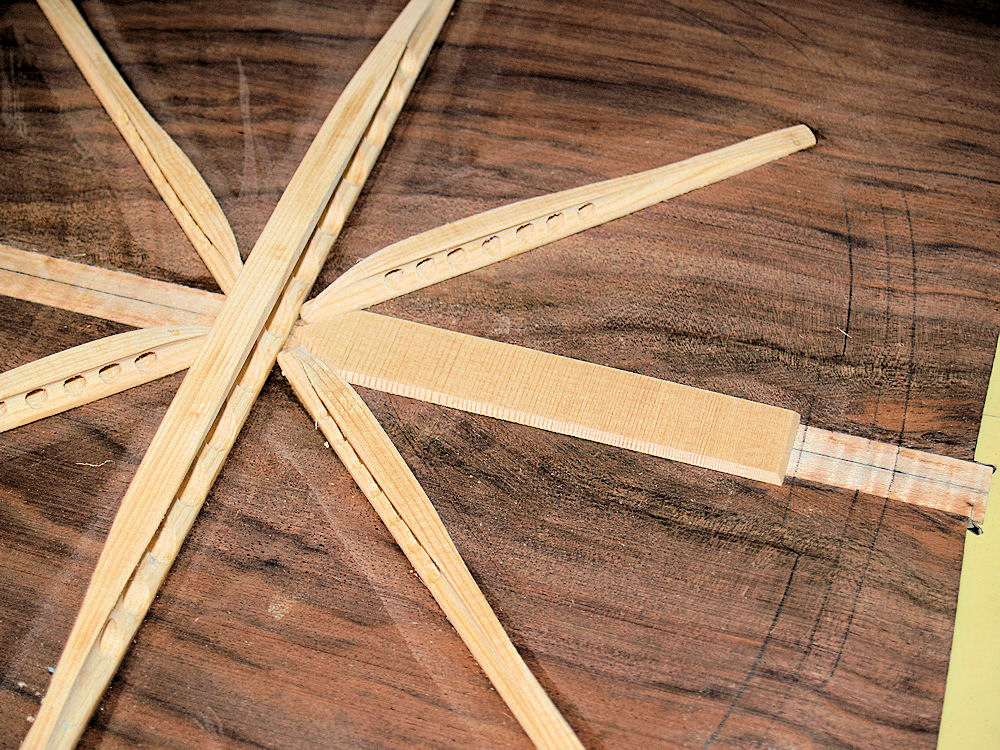
Once the main braces have been glued in, I am installing a set of back
reinforcing strips into place to insure the integrity of the back plate
joints. |
 |
(65) 16 October 2009
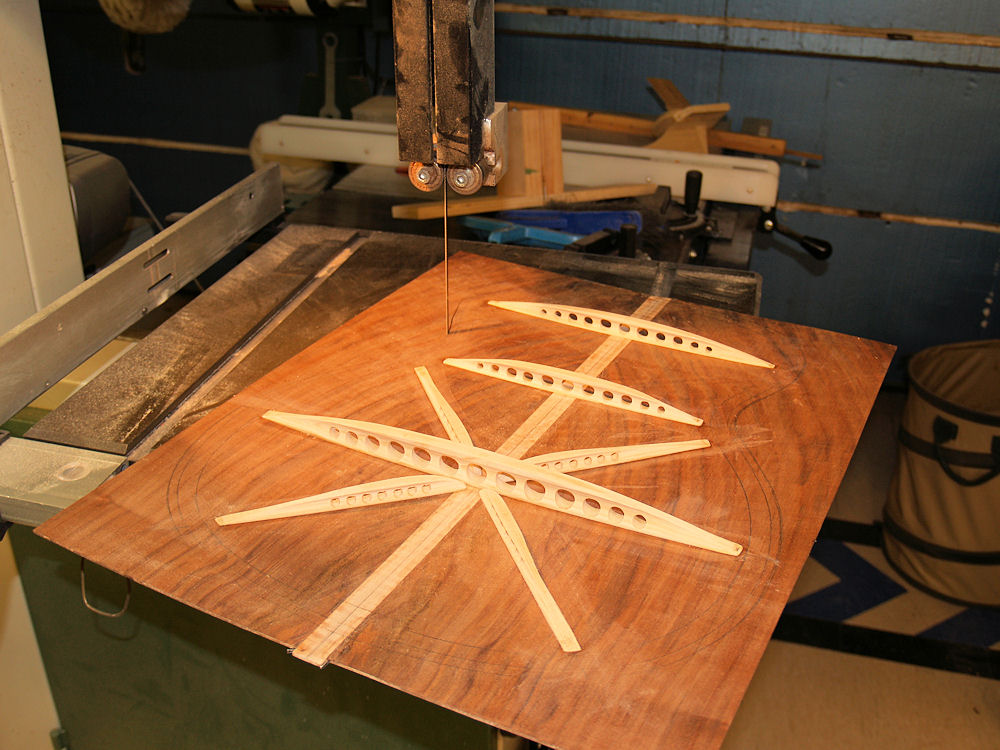
Now that the braces are in place I use my bandsaw to cut out the back
plate. |
 |
(66) 16 October 2009
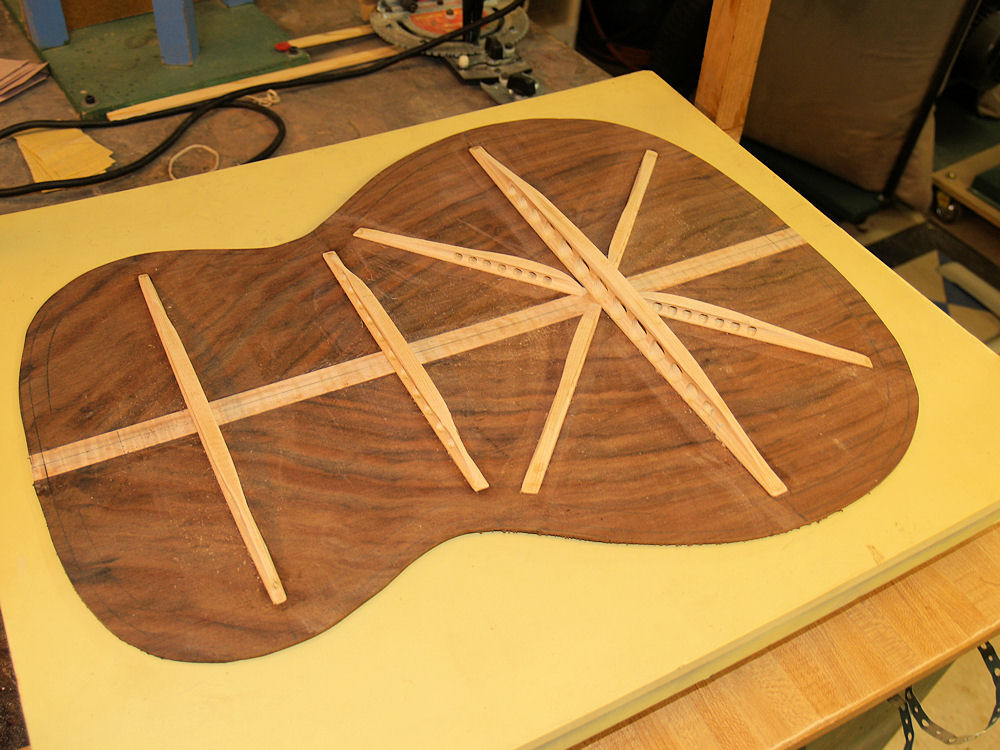
Here we see the back plate with the braces installed. |
 |
(67) 16 October 2009
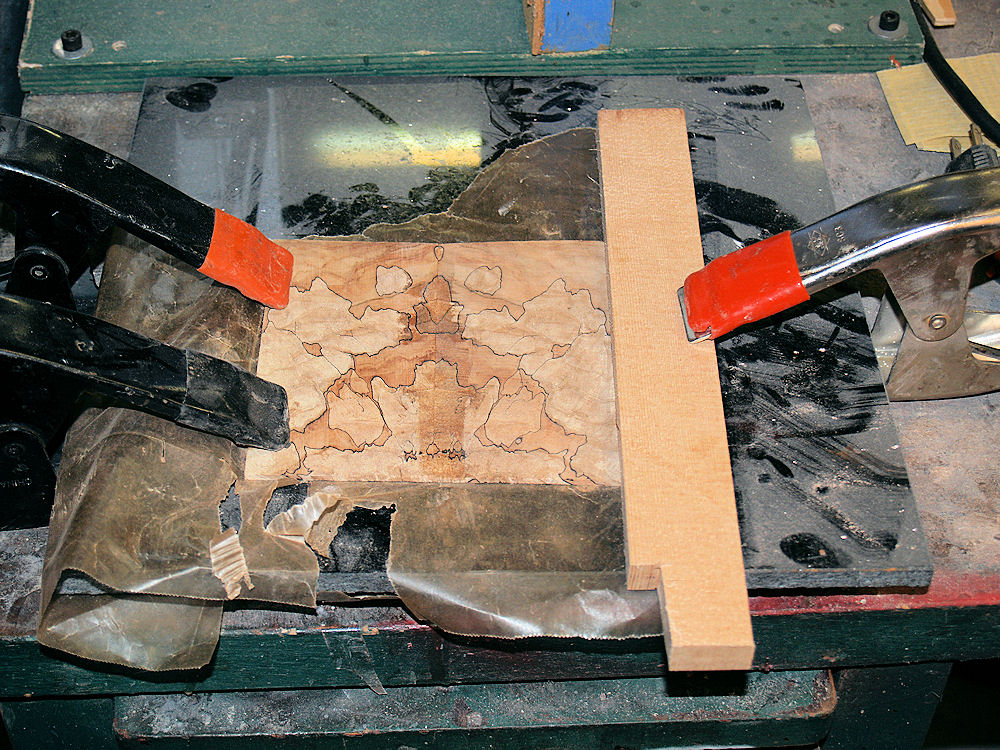
A quick side job is to glue the two halves of the contra-rosette
together. |
 |
(68) 16 October 2009
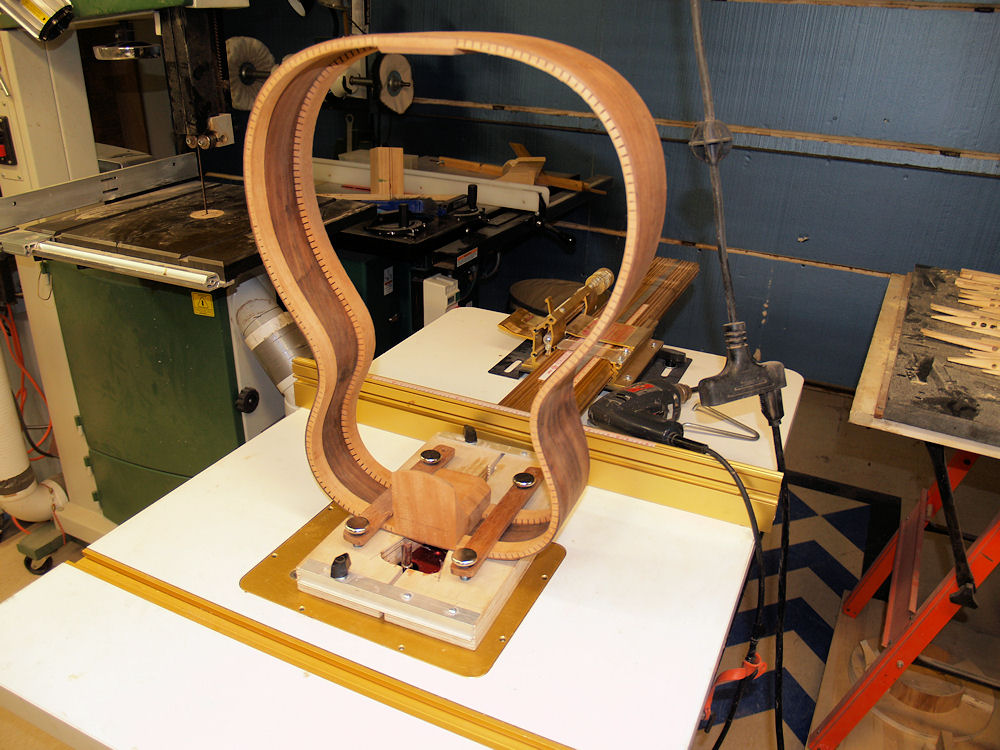
And then I turn my attention to routing out the heel block channel.
I have created a specialty jig that holds the sides vertical over
a template that has the same shape as the heel block. There are
many ways to go very wrong in this operation, so I spend a good bit of
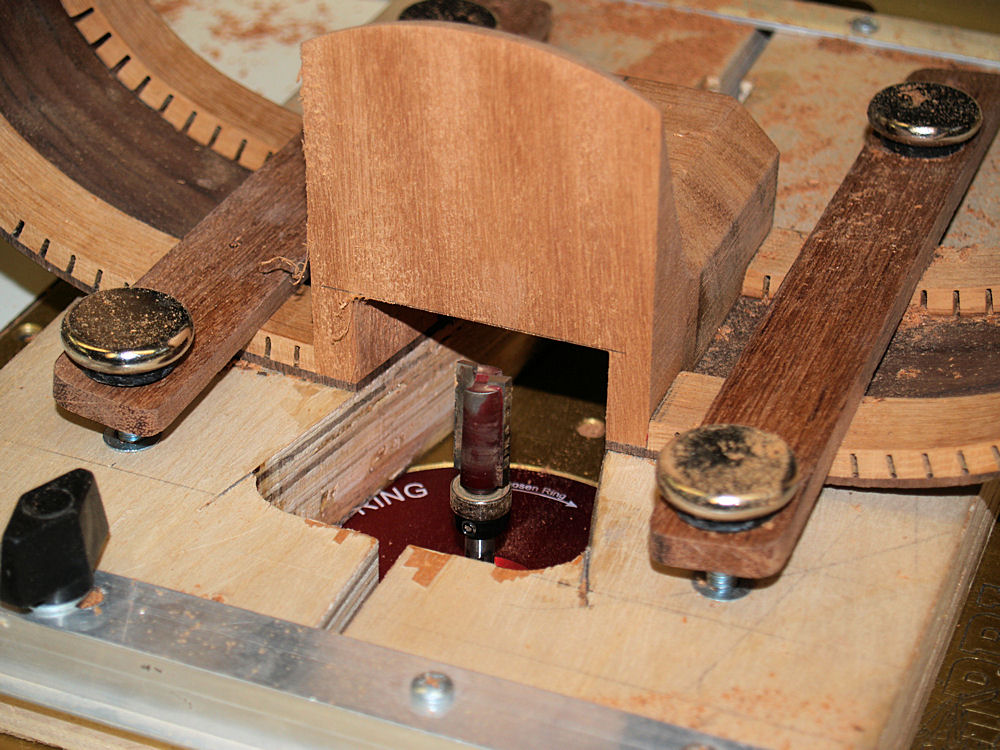
time making sure every thing is lined up properly. |
 |
(69) 16 October 2009
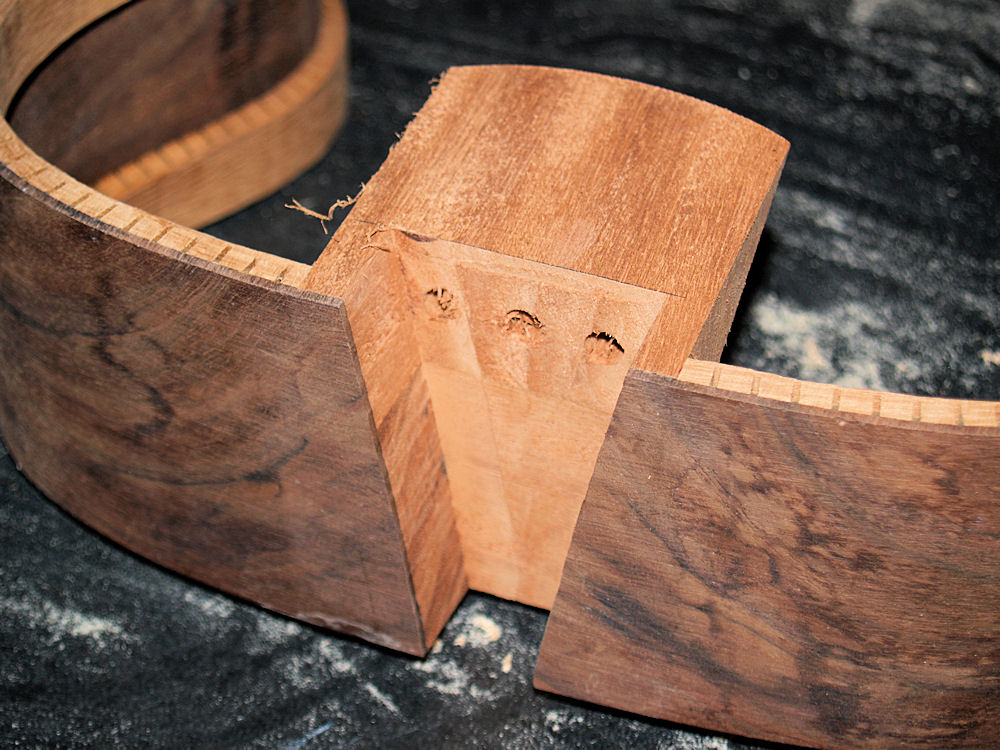
I slowly raise the router bit until I have routed out a channel that is
one inch deep. |
 |
(70) 16 October 2009
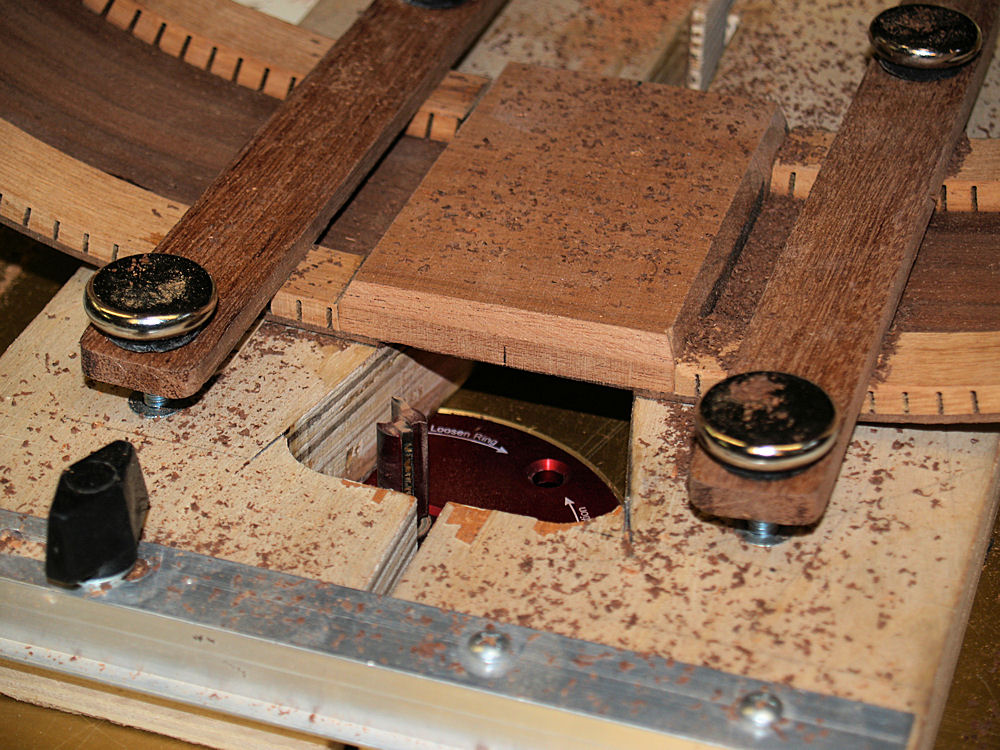
This channel will house all of the attachment and adjustment hardware
that makes up the User Adjustable Tilt Action Neck. |
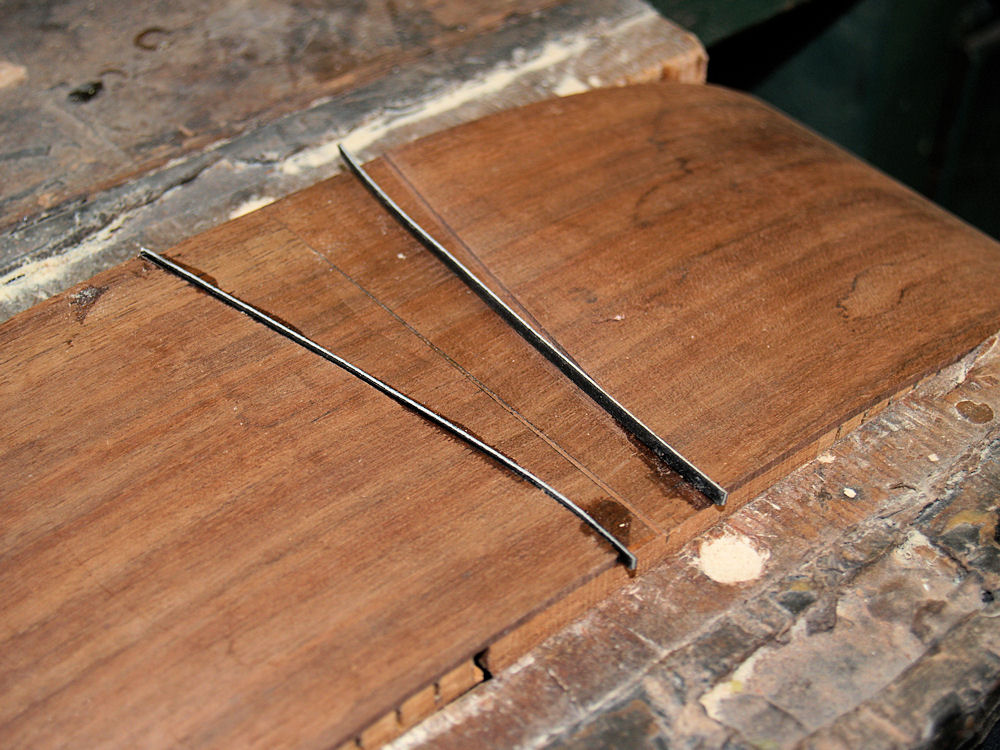
 |
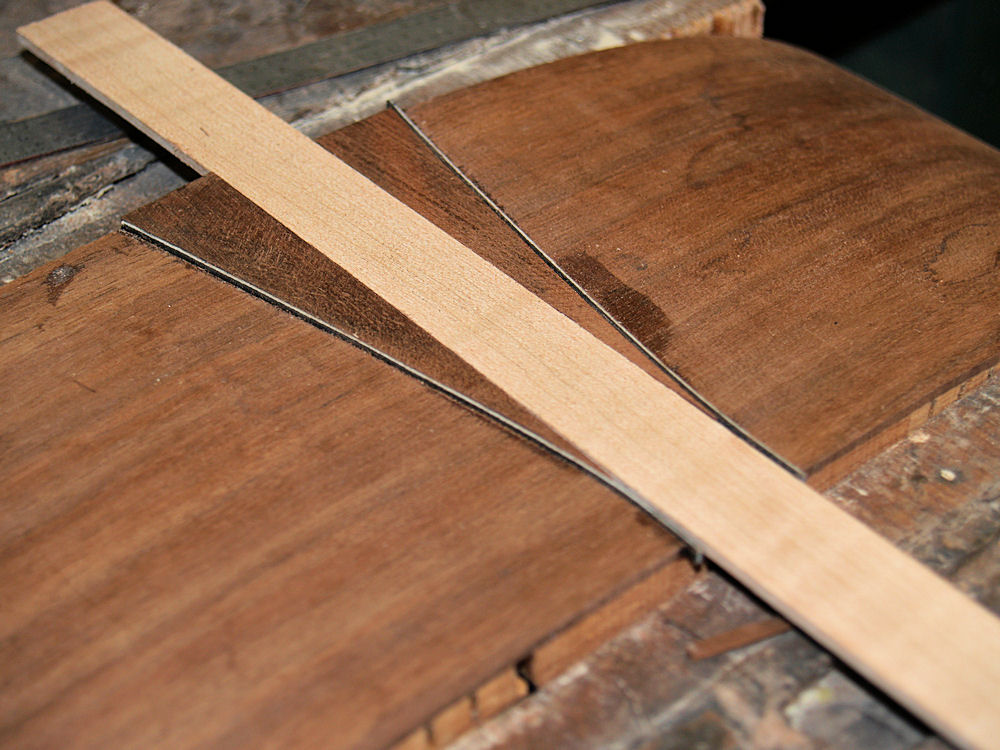
(71) 16 October 2009
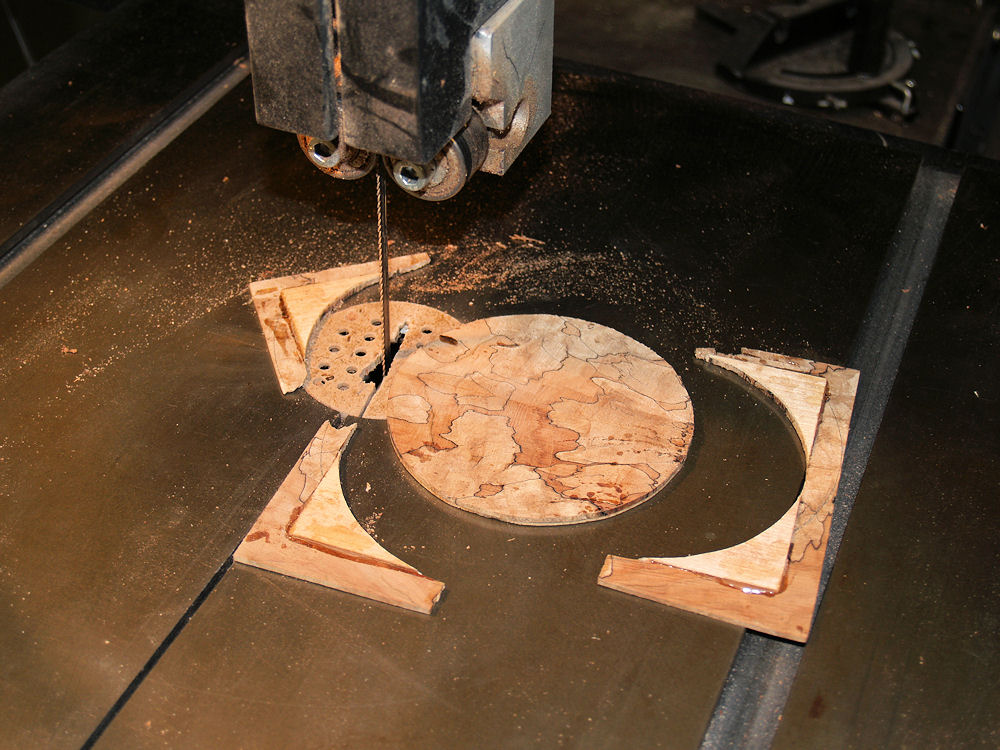
I use the same fixture to route out a channel for the tail graft. |
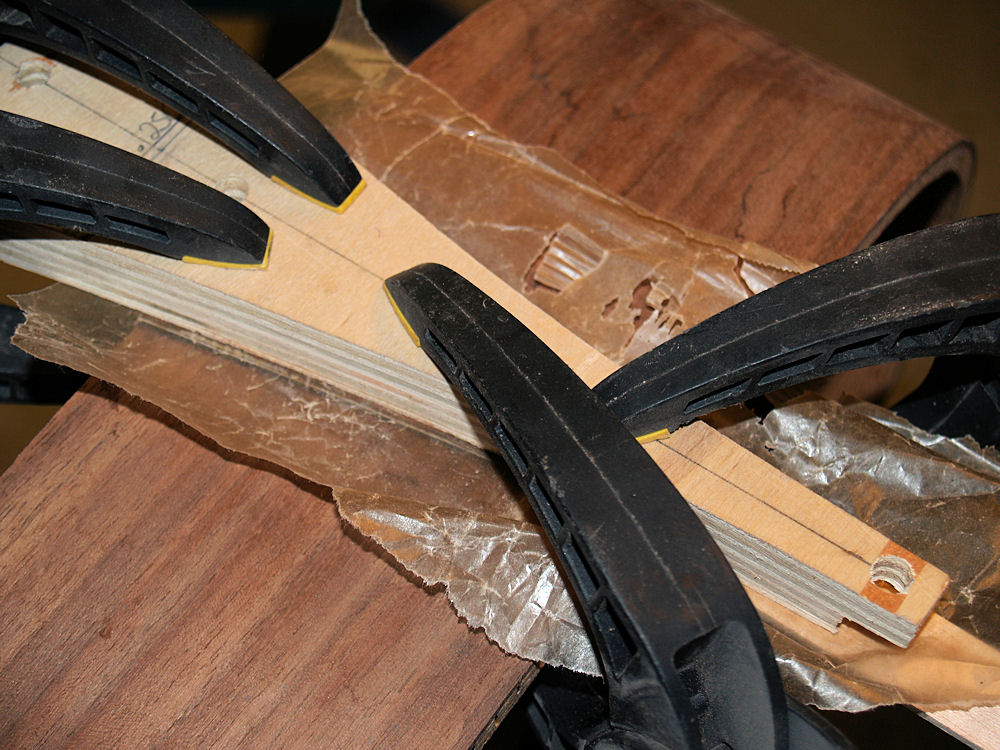
 |
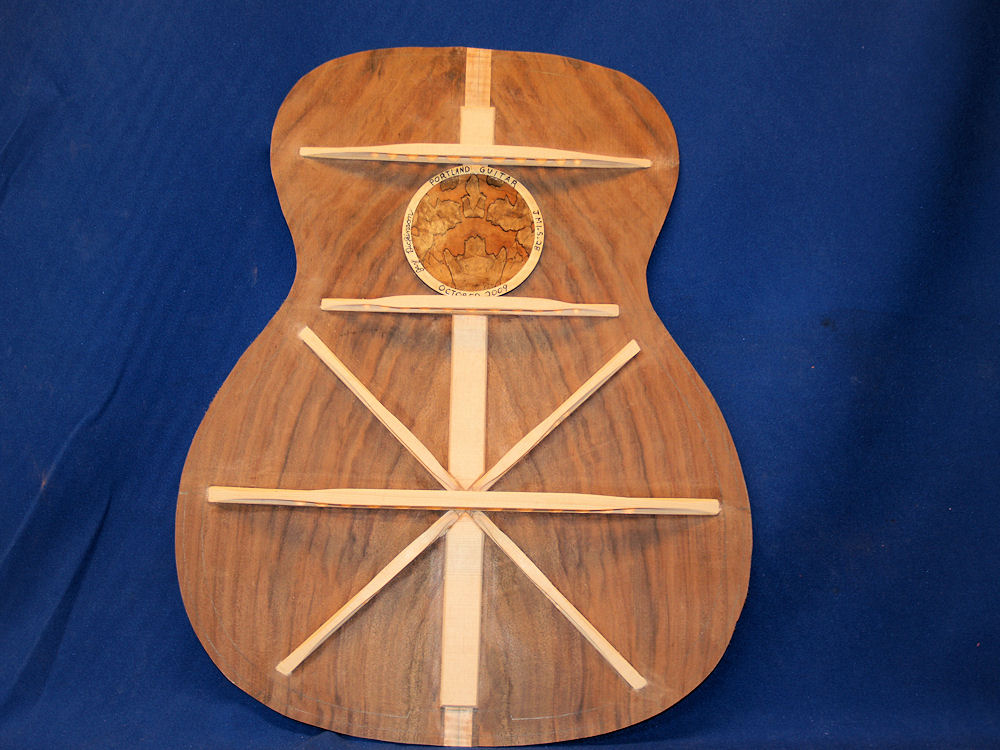
(72) 16 October 2009
After I glued the contra-rosette onto a spruce support plate I cut it
out into a circle. |
 |
(73) 16 October 2009
Here I am gluing the pinstriping into the tail graft channel. |
 |
(74) 16 October 2009
I am using complimentary set of walnut to surround the flamed maple
tail graft. This is the same set of maple that is used for the
back strip, and the will be used for the center piece of the neck. |
 |
(75) 16 October 2009
And everything gets glued into place with lots of clamps and a caul. |
 |
(76) 16 October 2009
And here we see the completed back plate. |