 |
(247) 29-Jan-2010
Now
while the lacquer is curing, I turn my attention to dressing the frets.
In this picture I am using the broad side of my straight edge to
support a sanding surface. I run the frets over this set up and
the frets come out level with each other. |
 |
(248) 29-Jan-2010
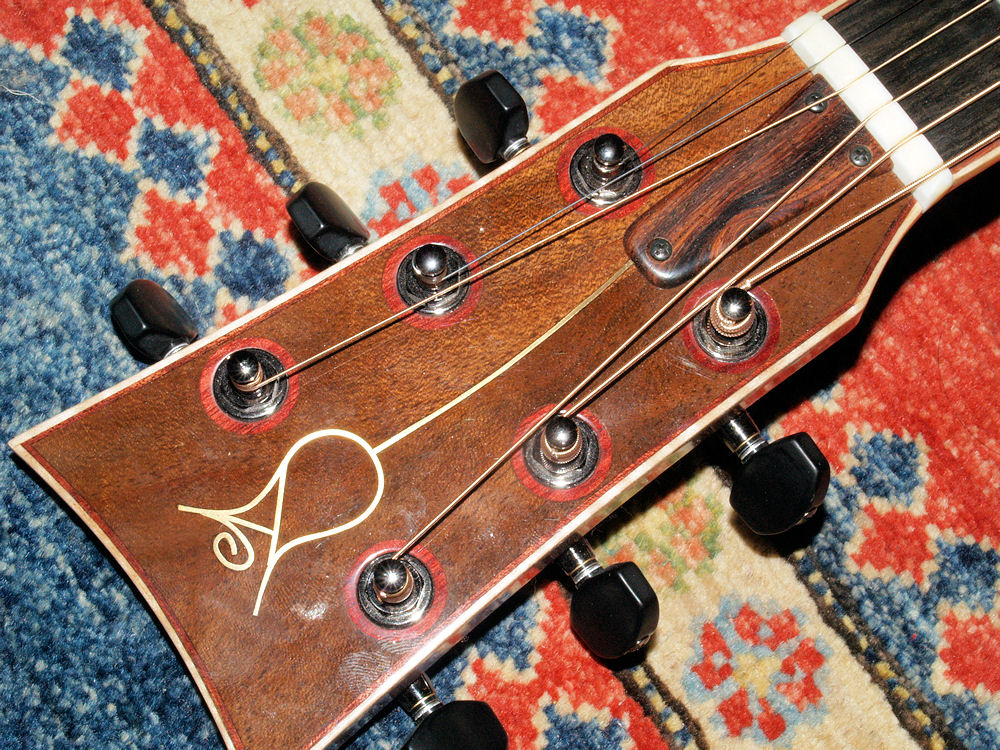
Now to bring out the gloss. Here I am using an orbital sander to work on the head stock. |
 |
(249) 29-Jan-2010
My
buffing wheel puts the final polish on the finish. I use
different sanding techniques for each unique surface, but I essentially
start out with 300 grit sandpaper and work my way up through 1500,
1800, 2400, 3200, 3600, 4000, 6000, 8000, and 12000 grit. And
then the buffing wheel. |
 |
(250) 29-Jan-2010
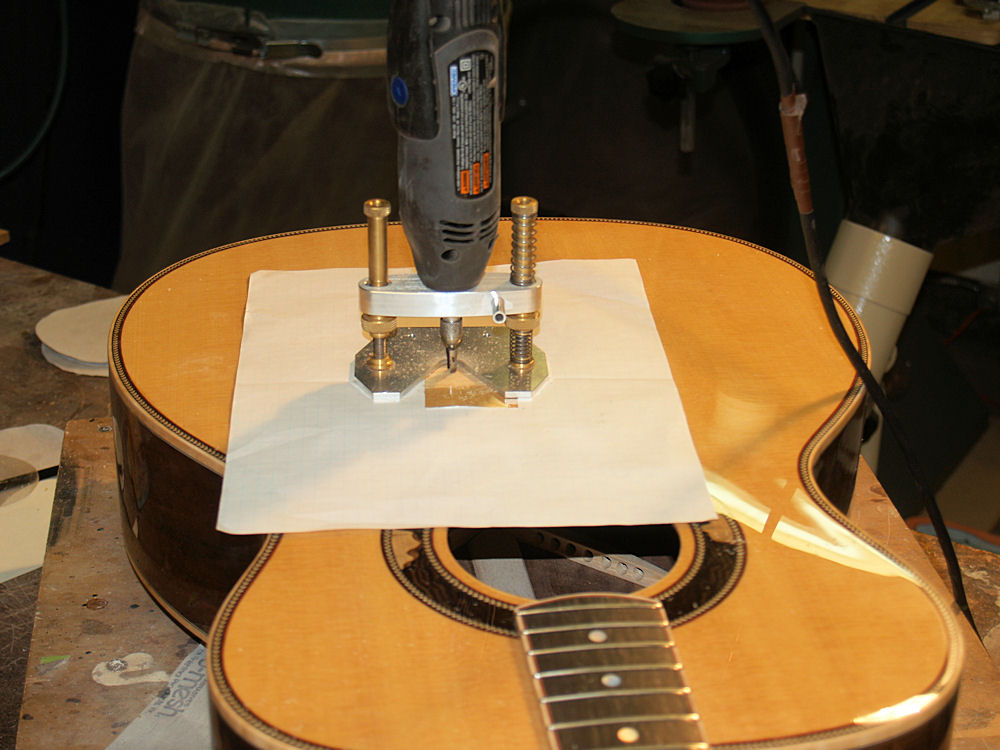
Once
the polish is on, I use a small router to grind away the finish where
the bridge will go. I want the bridge to mate to the wood of the
top, not the lacquer. |
 |
(251) 29-Jan-2010
I carefully scribe the outline and remove everything on the inside. Nerve wracking! |
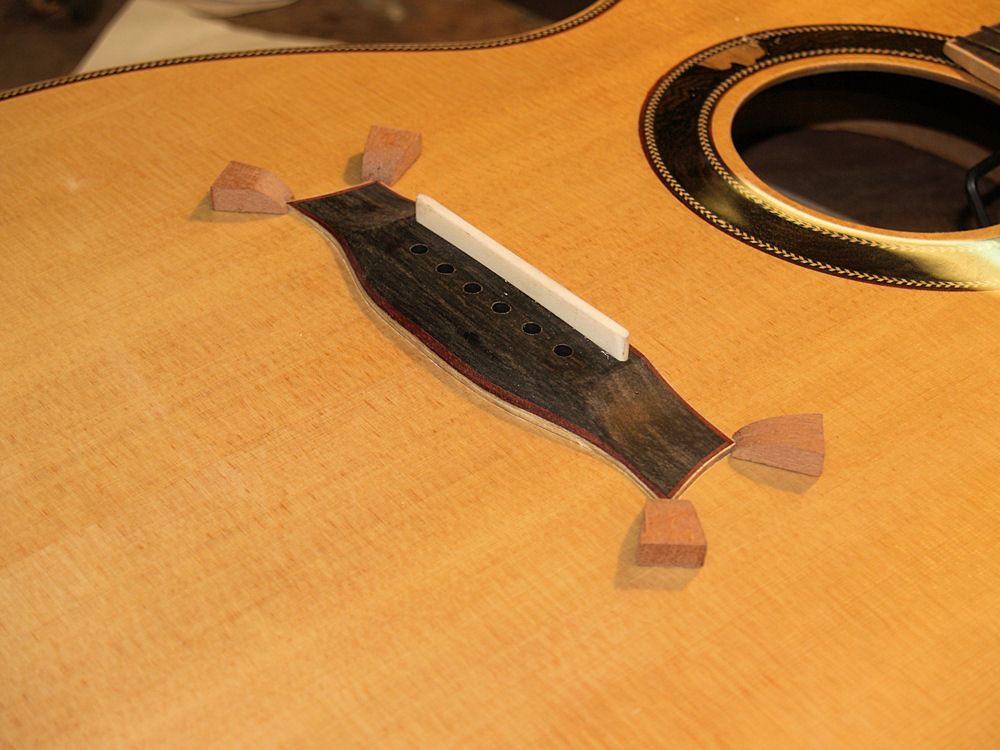 |
(252) 29-Jan-2010
When I apply glue and start to press the bridge down it will slip out of place, so
I use four little corner blocks to firmly hold it until the glue has a chance to set. |
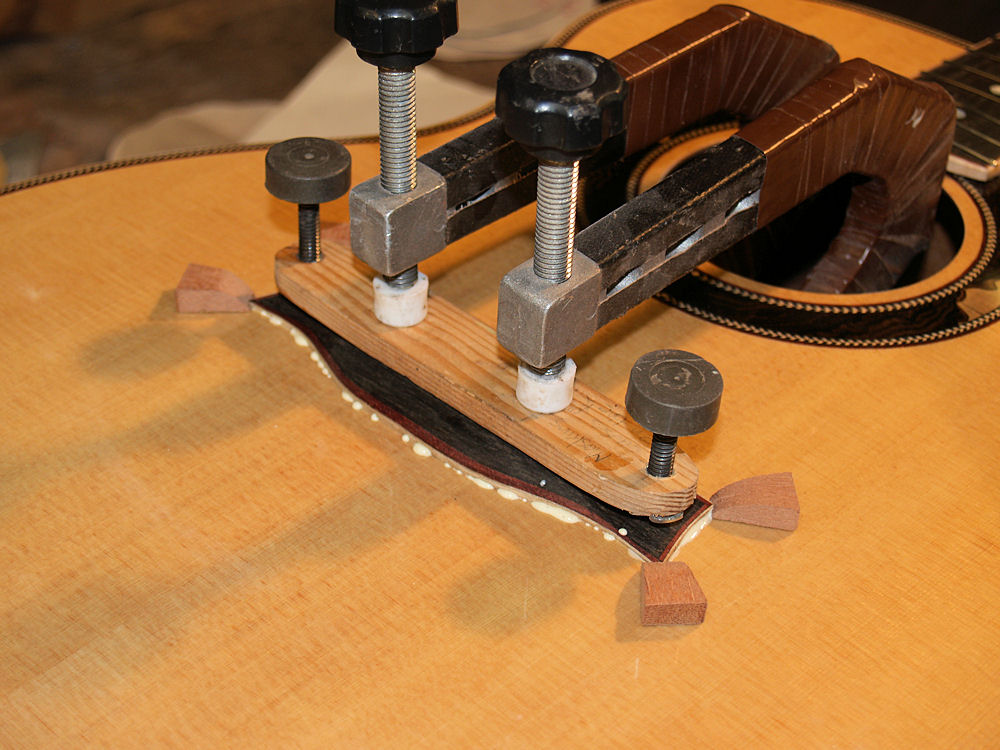 |
(253) 29-Jan-2010
I
have two long throat C clamps that press the bridge into place.
The caul has two wing screws that press the outer wings of the
bridge down. |
 |
(254) 29-Jan-2010
After the glue is dry and set, the next morning I make a saddle... |
 |
(255) 29-Jan-2010
a truss rod cover and a nut. |
 |
(256) 29-Jan-2010
And
I string the guitar up for the first time. I'll spend several
days playing the guitar and making tests and adjustments to bring out
as much of the potential that I have built into this instrument. |
 |
(257) 29-Jan-2010
A hole gets drilled in the end of the guitar. |
 |
(258) 29-Jan-2010
And I install the end pin. |
 |
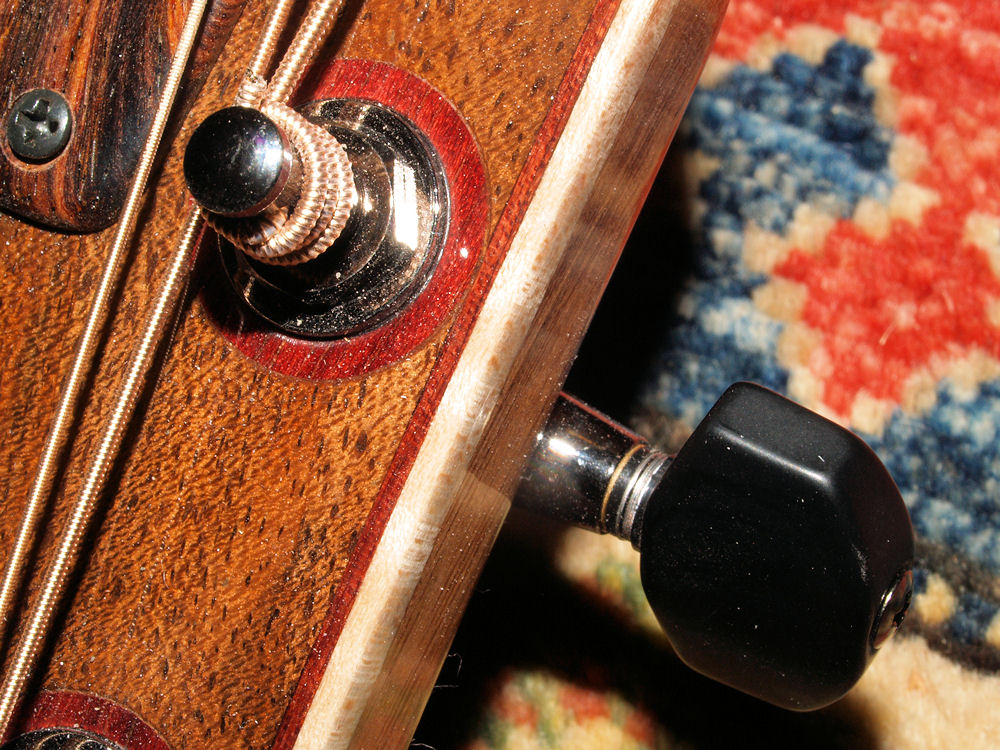
(259) 29-Jan-2010
I
have made and installed the forward strap pin in the hole that provides
access to the User Adjustable Tilt Action Neck adjustment. |
 |
(260) 29-Jan-2010
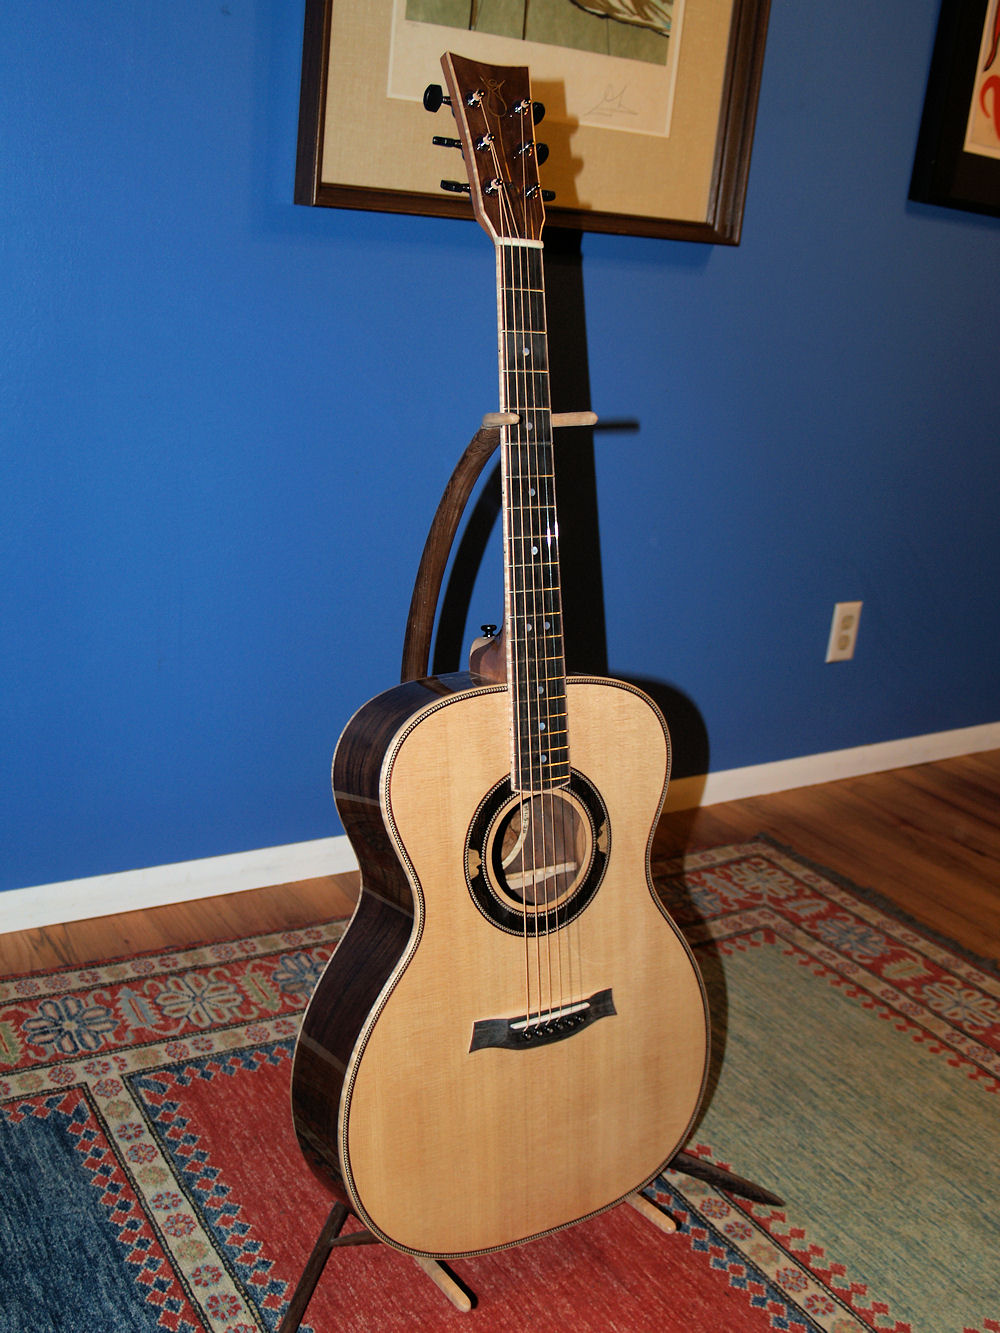
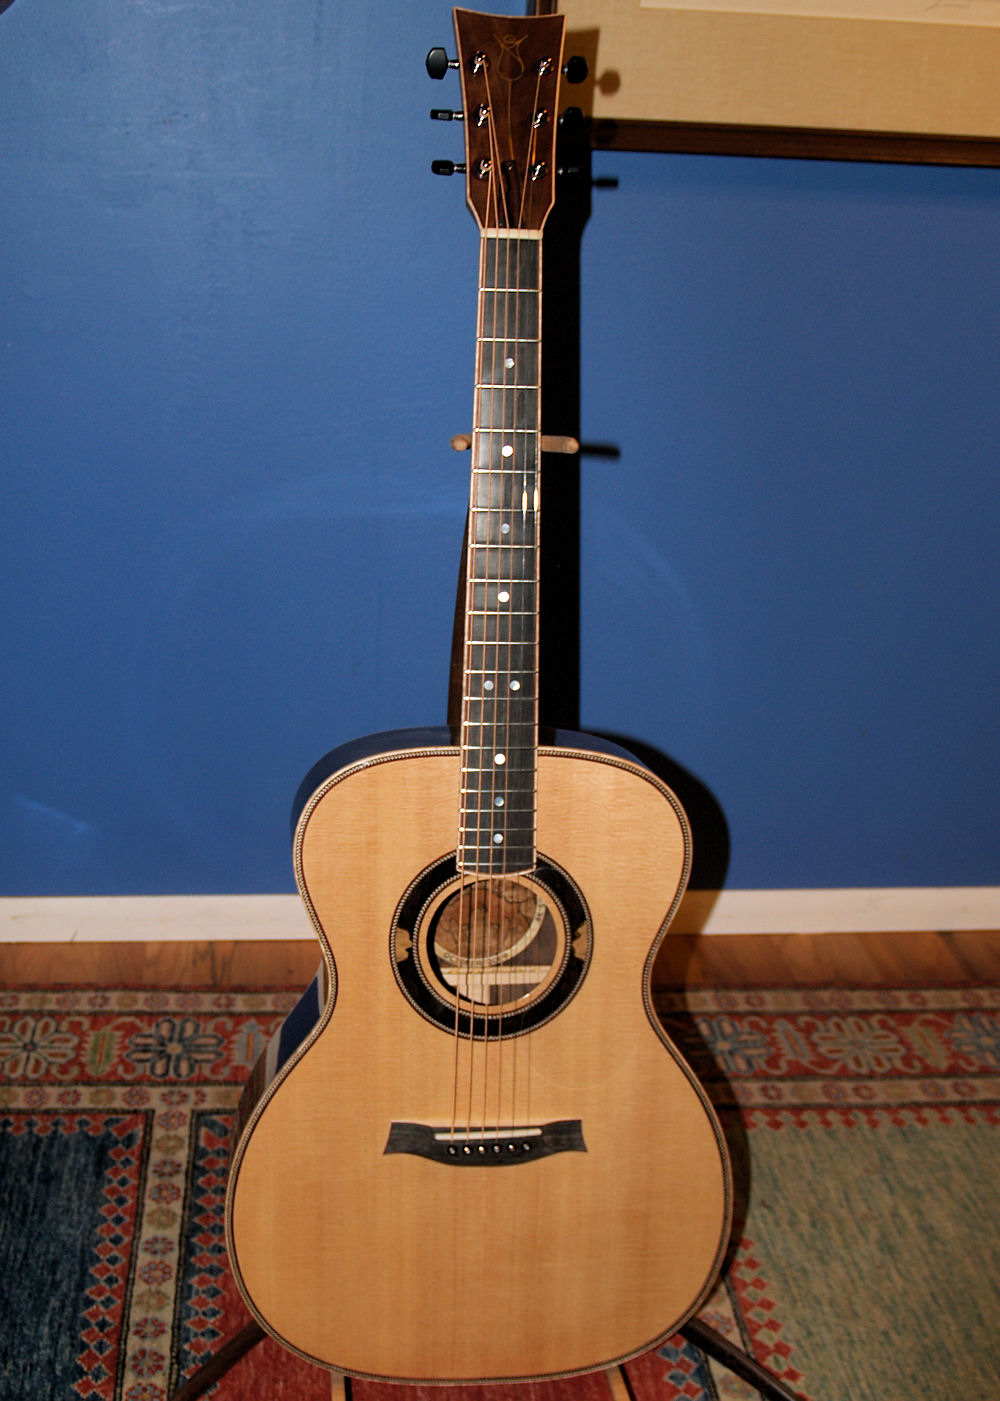
And finally, the clear pick guard goes in place and the guitar is finished. |
 |
(261) 29-Jan-2010 |
 |
(262) 29-Jan-2010
Take it into the sun light and your can see fifteen different colors in the wood. |
 |
(263) 29-Jan-2010
On fire man! |
 |
(264) 29-Jan-2010 |
 |
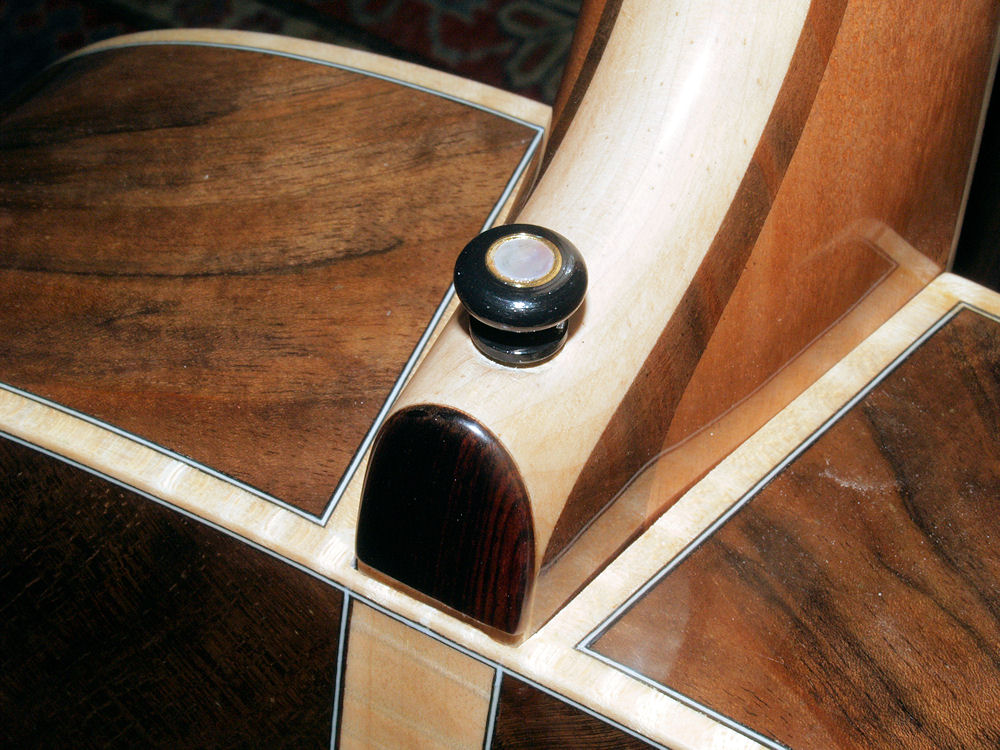
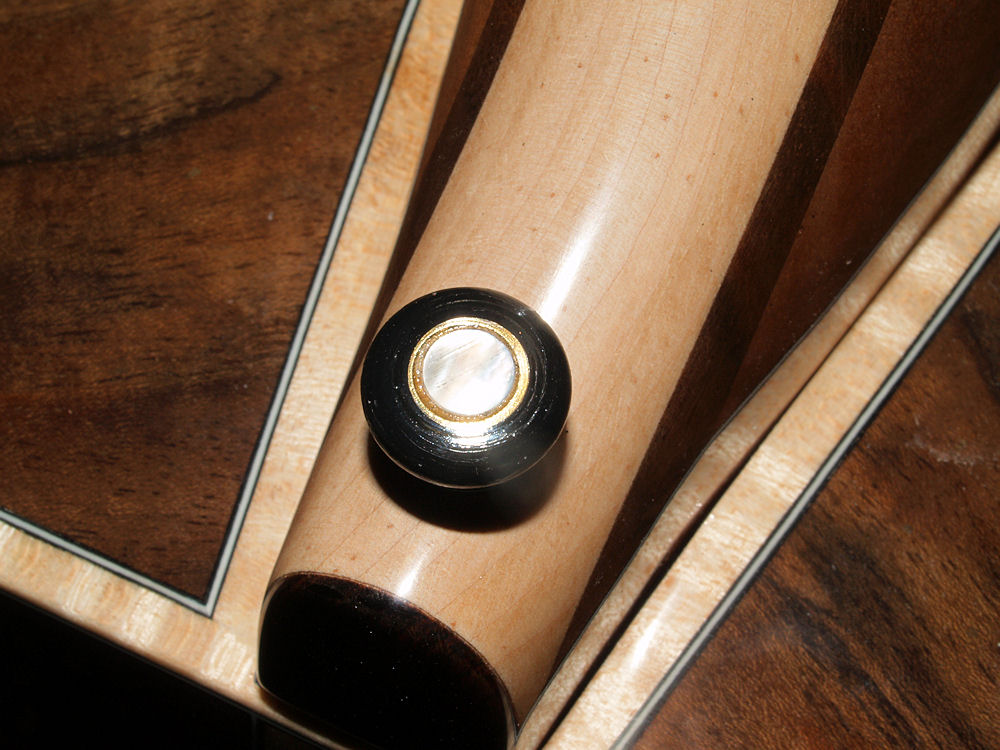
(265) 29-Jan-2010
This
is a cocobolo rosewood heal cap. Chocolately rich! I found
this particular little piece of wood inspiring. |
 |
(266) 29-Jan-2010 |
 |
(267) 29-Jan-2010 |
 |
(268) 29-Jan-2010
And the cocobolo rosewood truss rod cover. |
 |
(269) 29-Jan-2010 |
 |
(270) 29-Jan-2010
Portland Guitar's Jasmine Rose |
 |
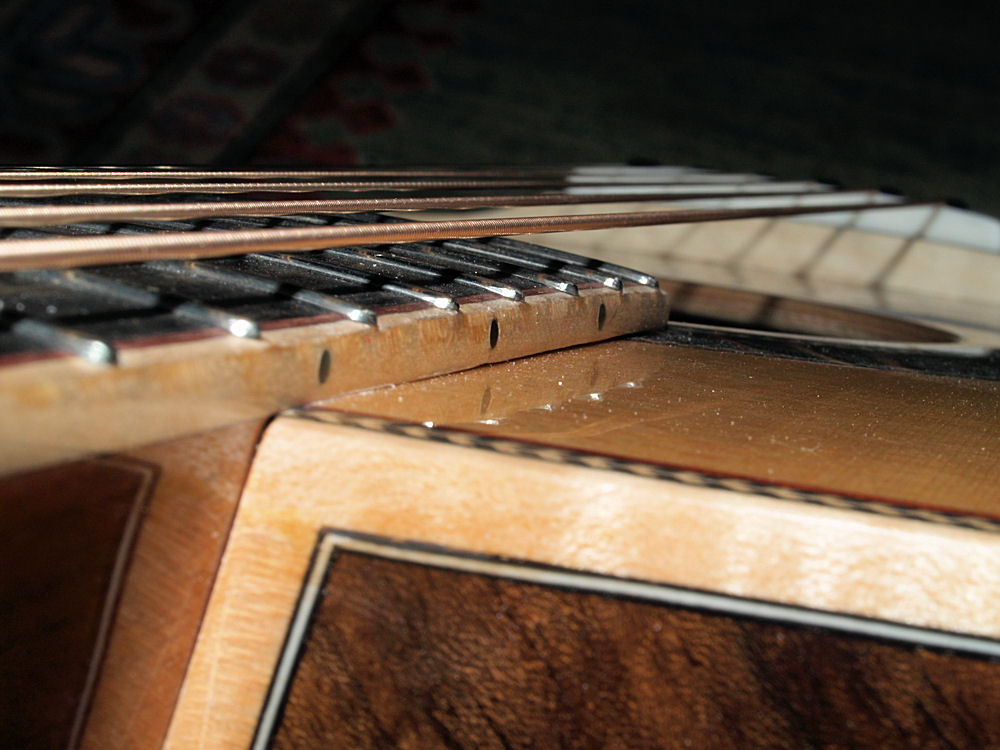
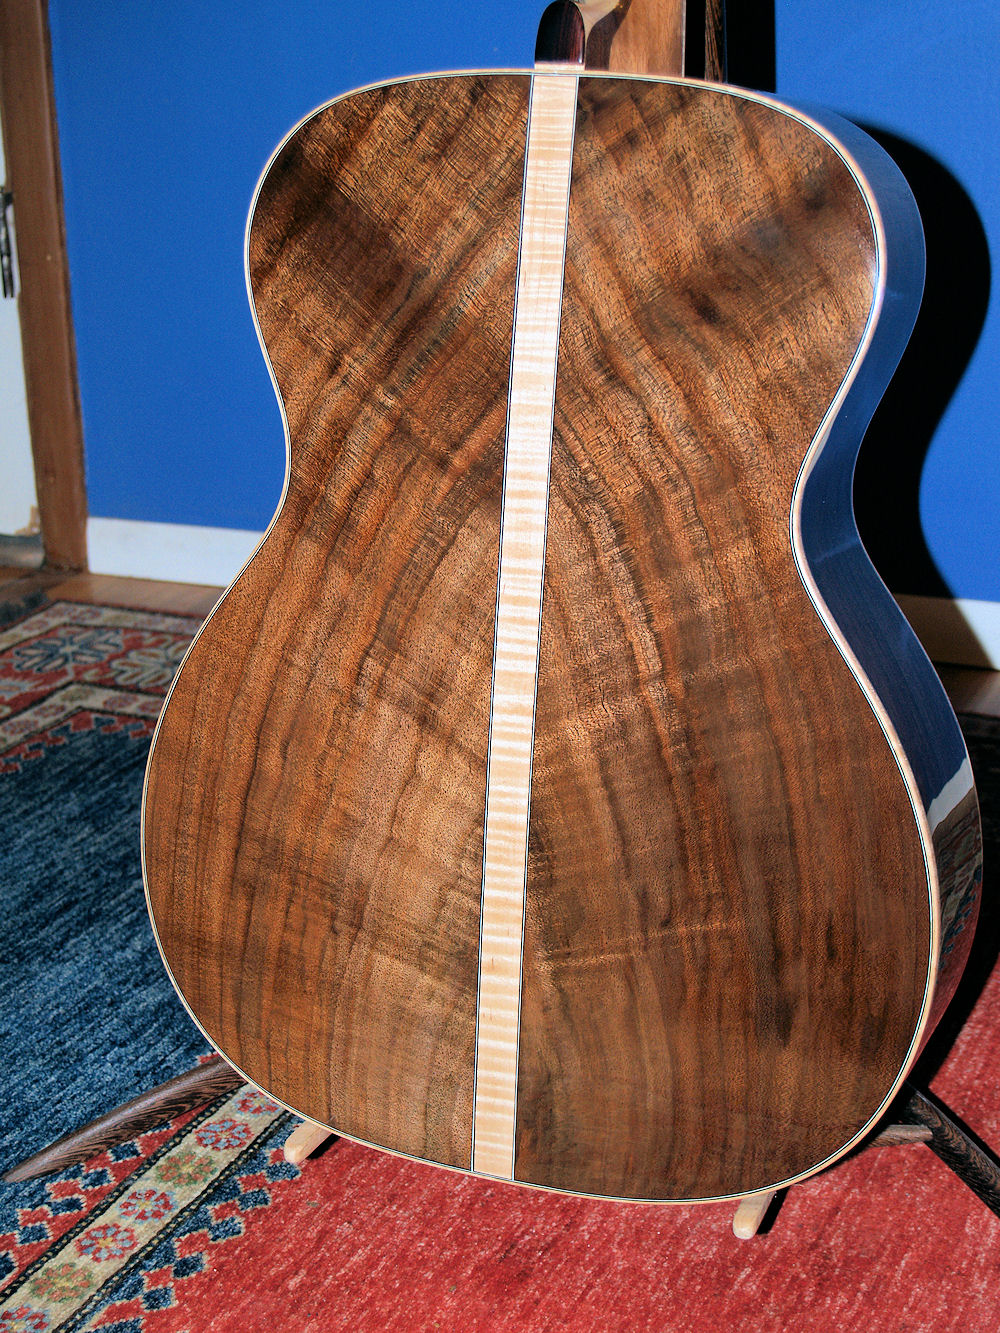
(271) 29-Jan-2010
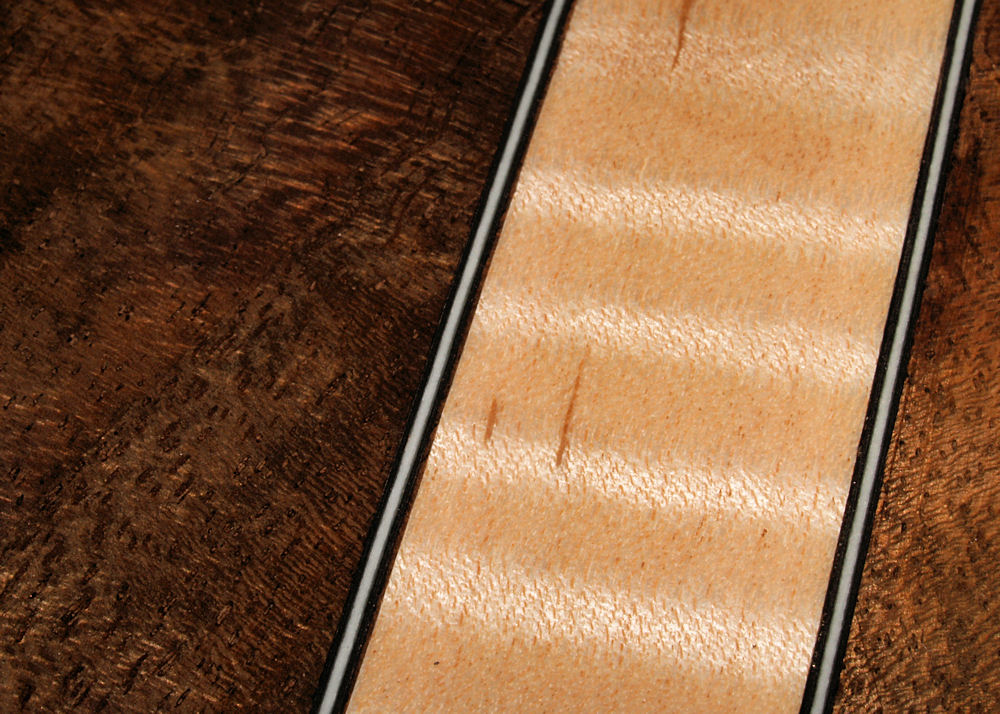
I
spend a lot of time up very close to the wood. The amount of
detail in the structure of the wood is unbelievable. What a
marvelous material. |
 |
(272) 29-Jan-2010 |
 |
(273) 29-Jan-2010 |
 |
(274) 29-Jan-2010 |
 |
(275) 29-Jan-2010
Ta da! |