 |
(46) 05-Oct-2009
Now that the sides have been assembled it is necessary to shape the top
and the bottom of the rim to conform to the shape of the bowl that top
and bottom will be constructed in. It is necessary to do this so
when the top and bottom are glued on to the sides there is a good
contact surface and the top and bottom are not forced out of shape. |
 |
(47) 05-Oct-2009
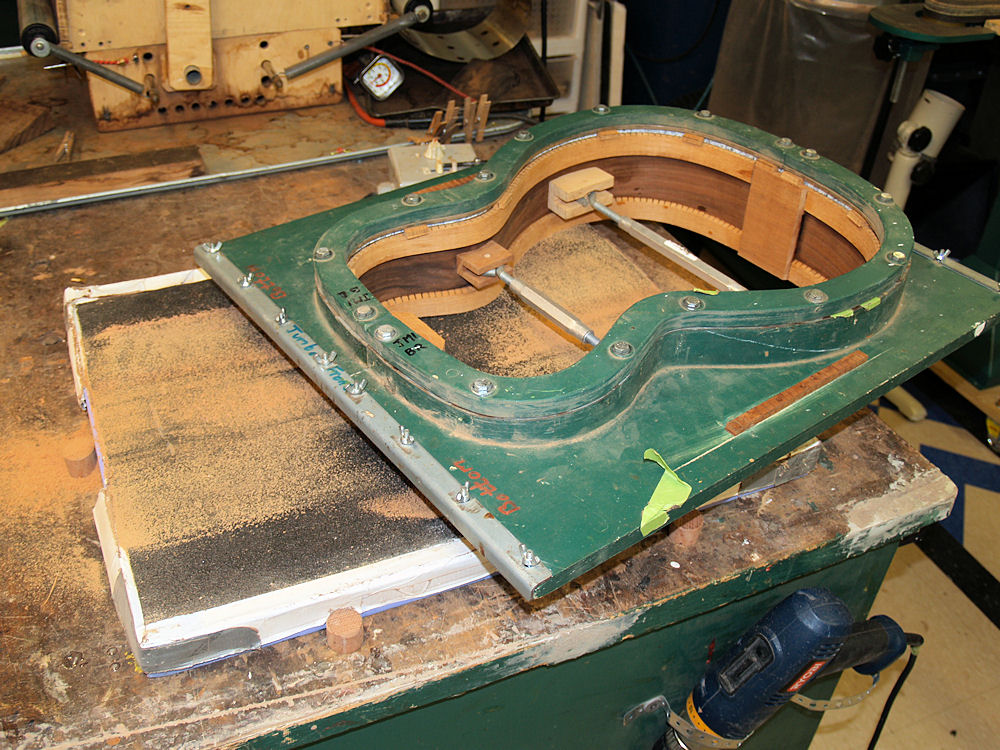
To shape the rim I place a large sheet of sandpaper in the construction
bowl and
then run the rim, while it is held in the side form, over the bowl.
Eventually the rim takes on the shape of the bowl. In
these two pictures you can see the rim in the form and the sandpaper on
the bowl. I hold the rim in the bowl with a set of spreaders to
make sure the sides take on just the right shape. |
 |
(48) 05-Oct-2009
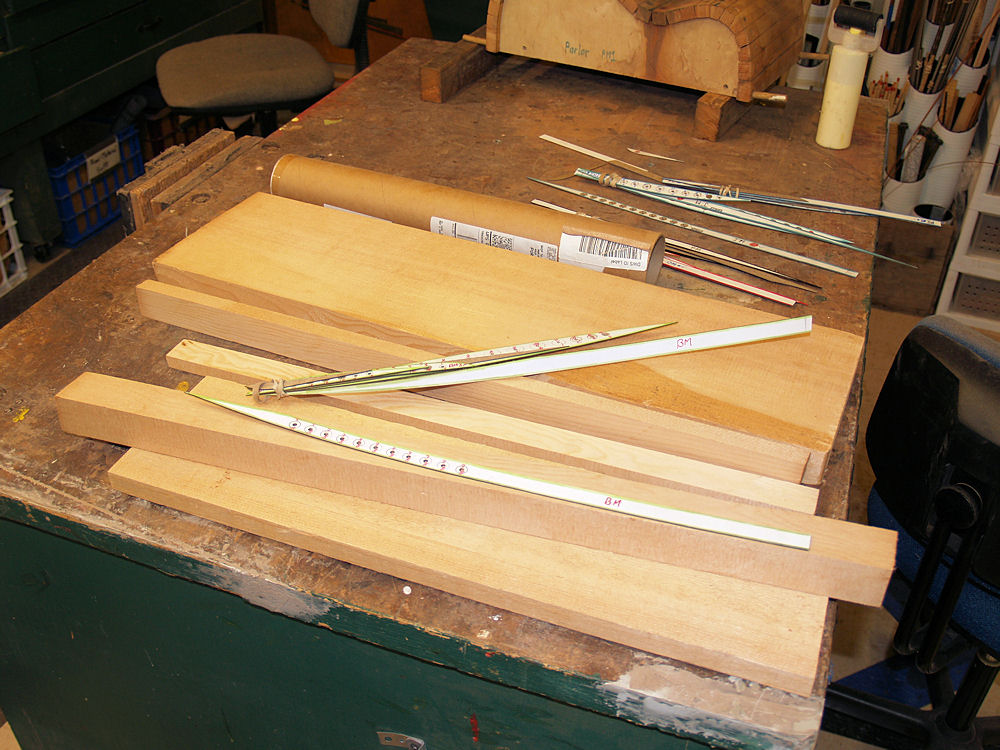
Now on to making the braces for the top and bottom. I have a set
of templates I have created over time and I lay these out along with
the billets of brace wood I will use. Each piece of wood has a
different set of characteristics and I try to match the function of
each brace with the piece of wood I will use to create it. This
is a matter of theory, experience, and judgement. |
 |
(49) 05-Oct-2009
Here I am laying out a brace template and
tracing its outline on one of the blanks I have made . |
 |
(50) 05-Oct-2009
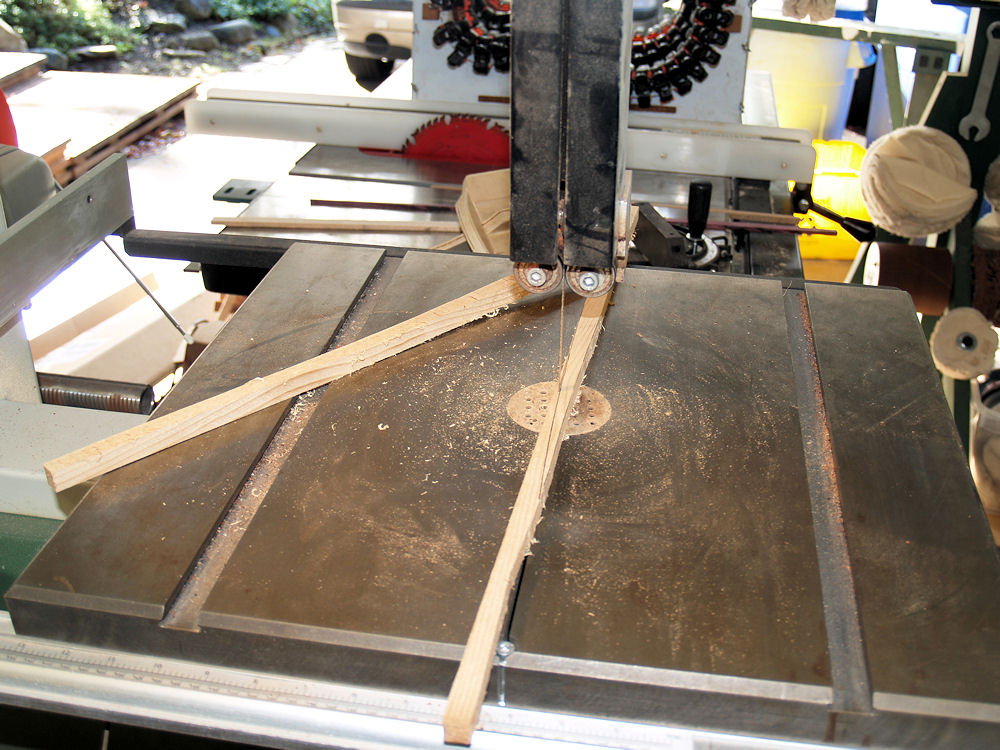
Once I am happy with the outlines, I use my band saw to rough cut the
braces. |
 |
(51) 05-Oct-2009
Here we see the rough out back braces laid out on the back. |
 |
(52) 05-Oct-2009
And here are the roughed out top braces are laid out on the
top. |