 |
(110) Nov 17, 2009
Here I have laid out some of the pieces of wood that will go into the neck. |
 |
(111) Nov 17, 2009
The
neck will have a center piece made of flamed maple. After cutting out a
blank I used the drum sander to sand it to the proper dimension. |
 |
(113) Nov 17, 2009
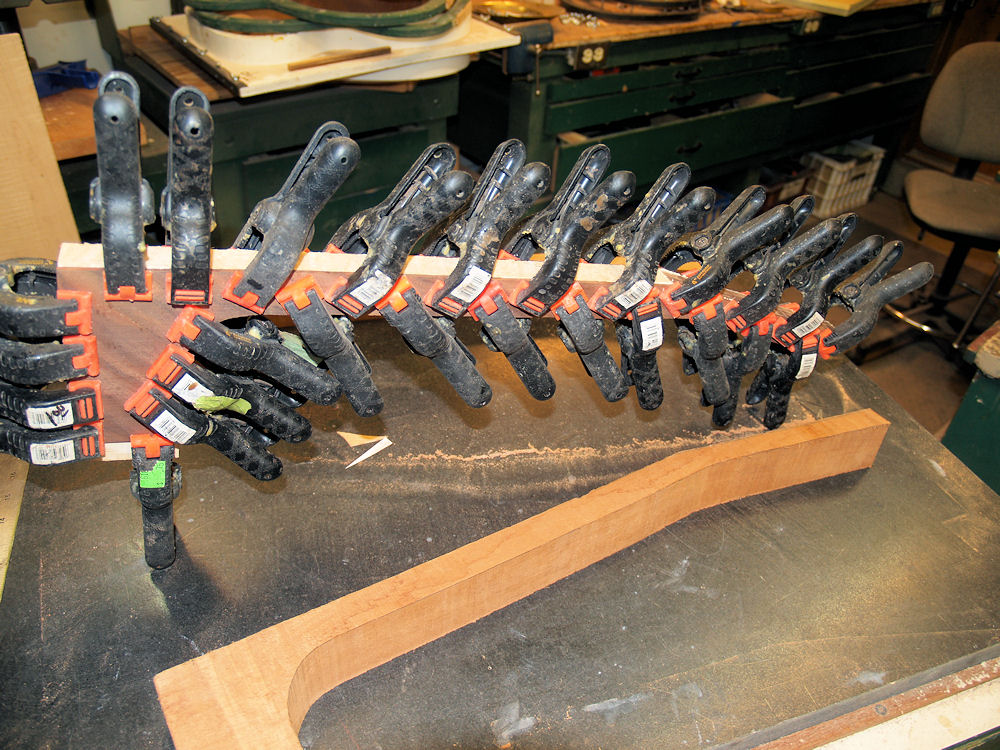
I have a standing supply of neck blanks and in this picture I am splitting one in half using the table saw. |
 |
(114) Nov 17, 2009
The
maple center piece will be framed by narrow walnut strips. In
this picture I am gluing the walnut blanks to the maple blank. |
 |
(115) Nov 17, 2009
An finally I glue the mahogany blanks to the center assembly. |
 |
(116) Nov 17, 2009
After the glue dries, the clamps come off and the assembled neck blank is ready. |
 |
(117) Nov 17, 2009
In this picture I am setting up to route out a channel for the fretboard cantilever support hardware. |
 |
(118) Nov 17, 2009
I have a special fixture that attaches to the body of the guitar and will guide the router bit. |
 |
(119) Nov 17, 2009
Routing out the channel. |
 |
(120) Nov 17, 2009
And
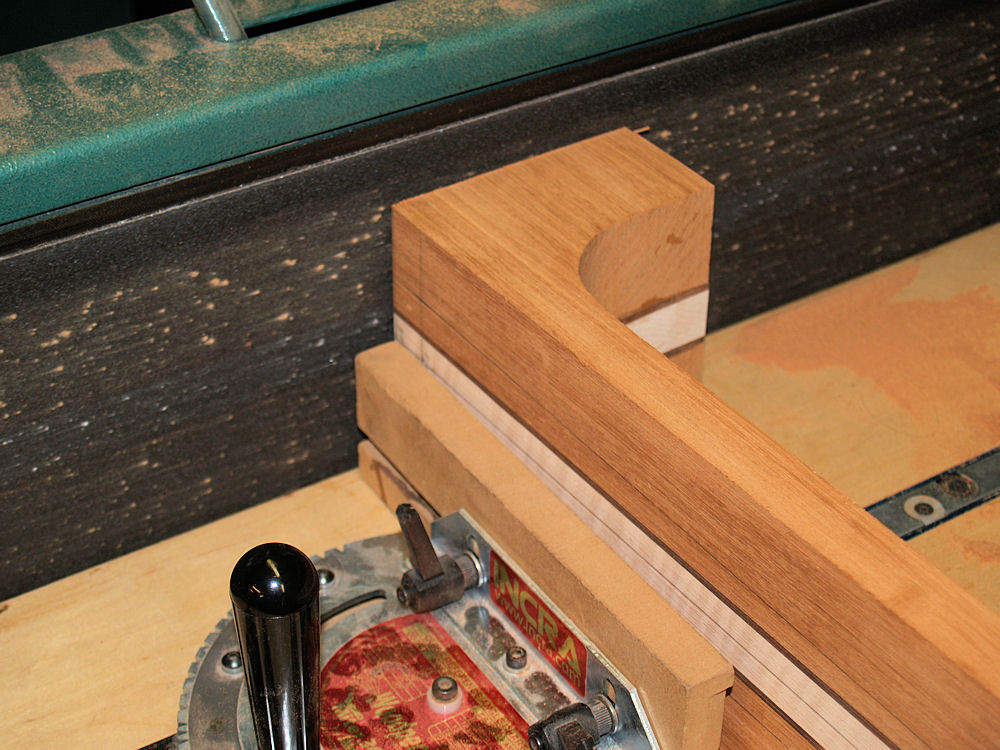
here we see the channel that I have created. I use two steel
reinforcing rods to support the free hanging portion of the fretboard
and these rods need some free space to move around in. |
 |
(121) Nov 17, 2009
Back
to the neck. Before I start to work on the neck blank I square up
all of the sides. Here I am using the belt sander to square the
end of the neck blank. |
 |
(122) Nov 17, 2009
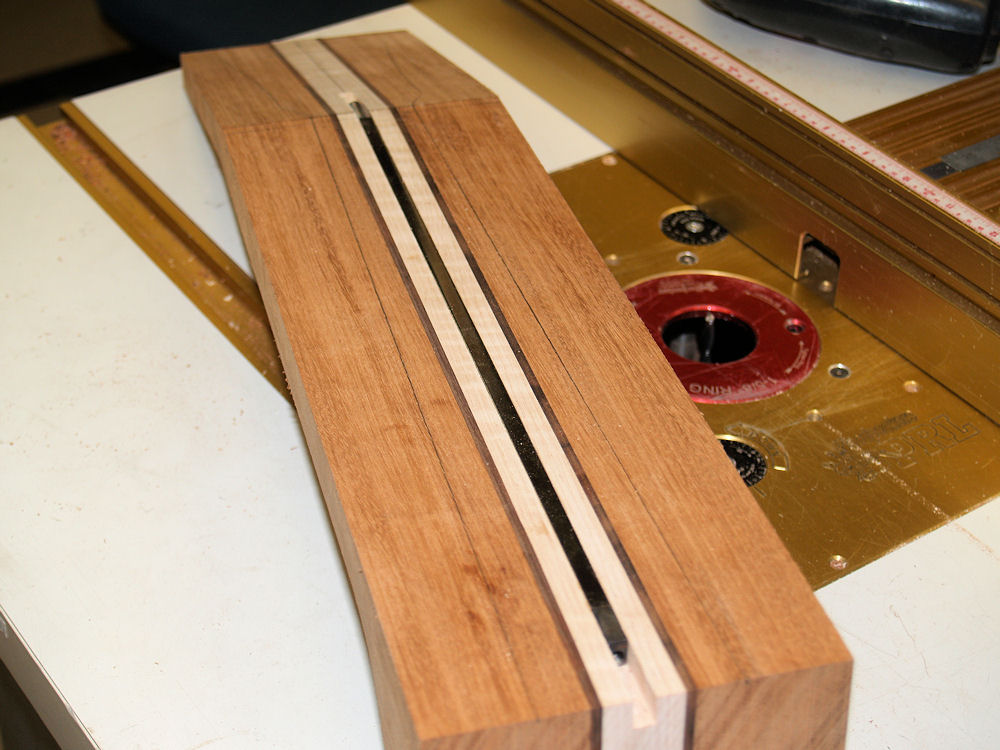
Once everything is square, the first thing I do to the neck is create a channel for the truss rod. |
 |
(123) Nov 17, 2009
Careful
measurement, and adjustment of the router table and I end up with a
channel that goes right down the middle of the center strip. |
 |
(124) Nov 17, 2009
A wide angle view of the truss rod. |
 |
(125) Nov 17, 2009
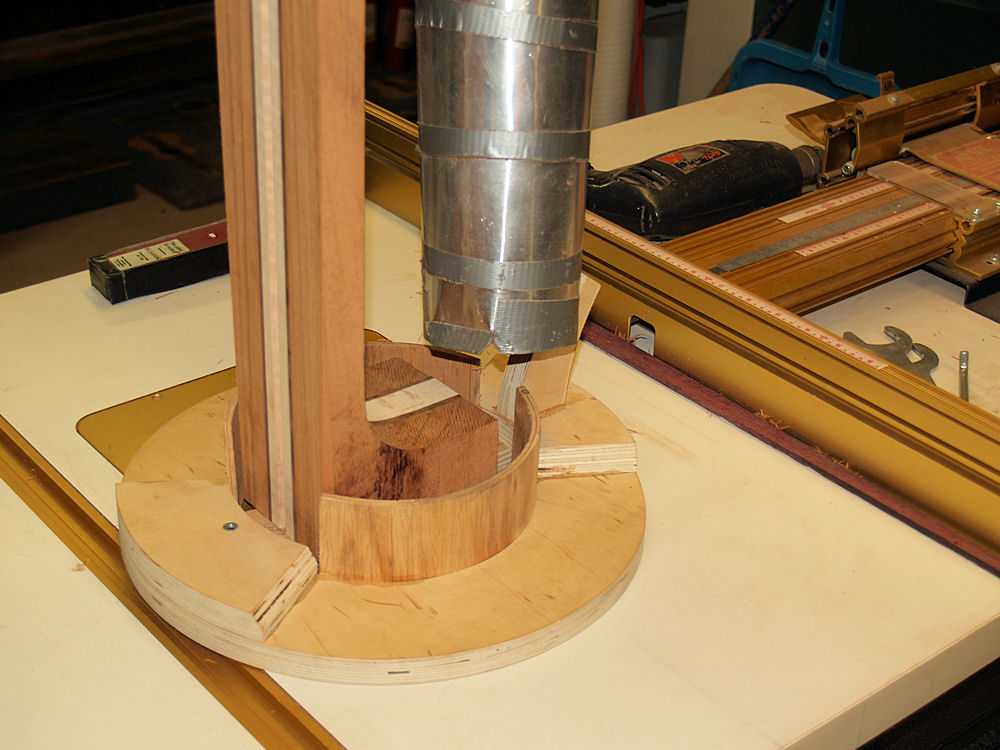
Here I am drilling a hole for the nut insert that will be used to hold the neck on the body. |
 |
(126) Nov 17, 2009
I
use the bolt insert to bolt the neck blank onto this fixture that will
be used to route the heal of the neck blank. I have created a
set of fixtures that shape the heal of the neck so that it will neatly
fit into the heal channel that I routed out of the body. |
 |
(127) Nov 17, 2009
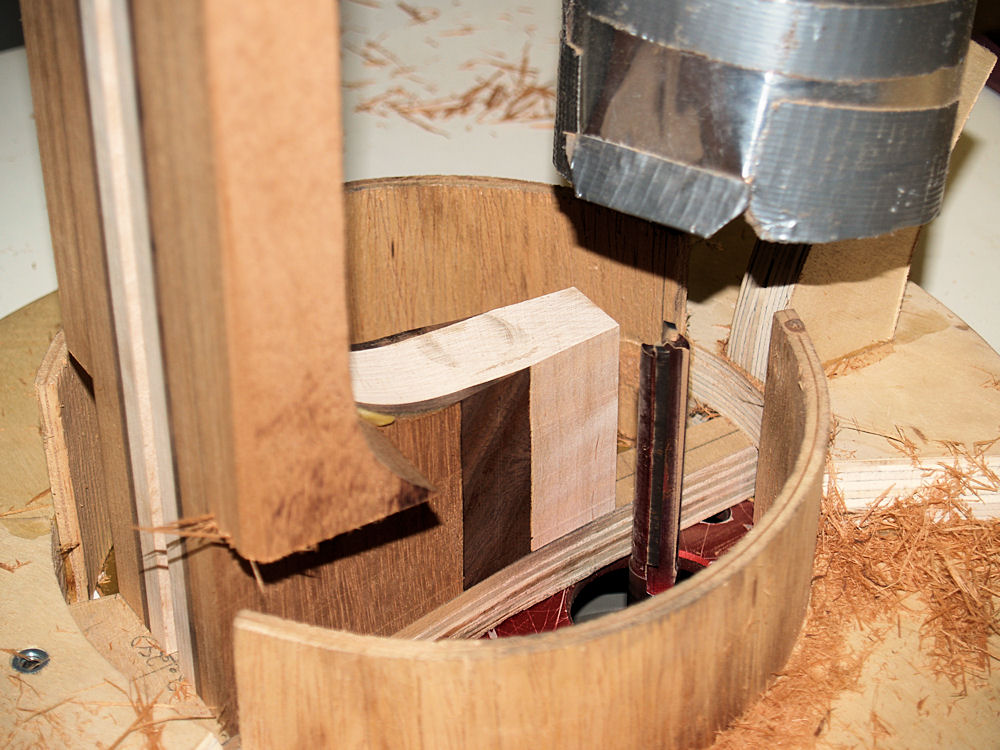
Here
is a close up of the router bit and fixture. I have designed this
fixture so I can hold on to it while keeping my hands out of hams way,
and have included a mounting support for the dust collector. This
process creates an incredible amount of saw dust. |
 |
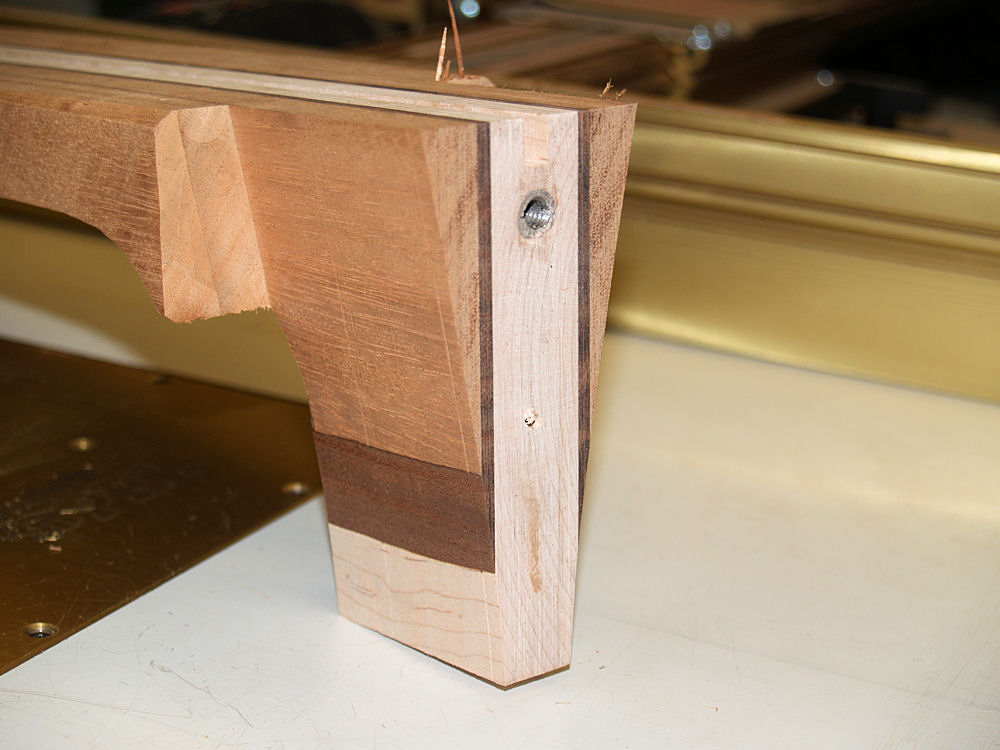
(128) Nov 17, 2009
That is one scary router bit. When I am finished, the heal of the neck has the same shape as the heal channel. |
 |
(129) Nov 17, 2009
Another
view of the heal of the neck. Once the heal has been defined by
this process, the neck will be finished up by sawing off the excess and
sanding the neck to shape. |
 |
(130) Nov 19, 2009
I attach the fretboard blank on the horizontal bar with some double stick tape. |
 |
(131) Nov 19, 2009
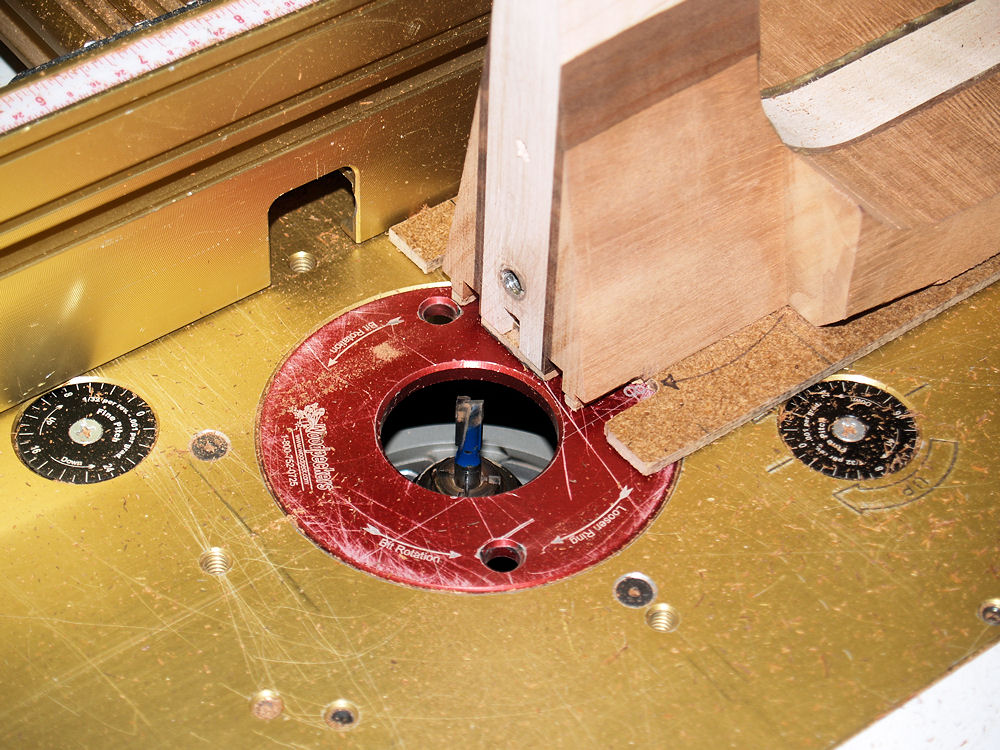
I set the hight of the router bit. |
 |
(132) Nov 19, 2009
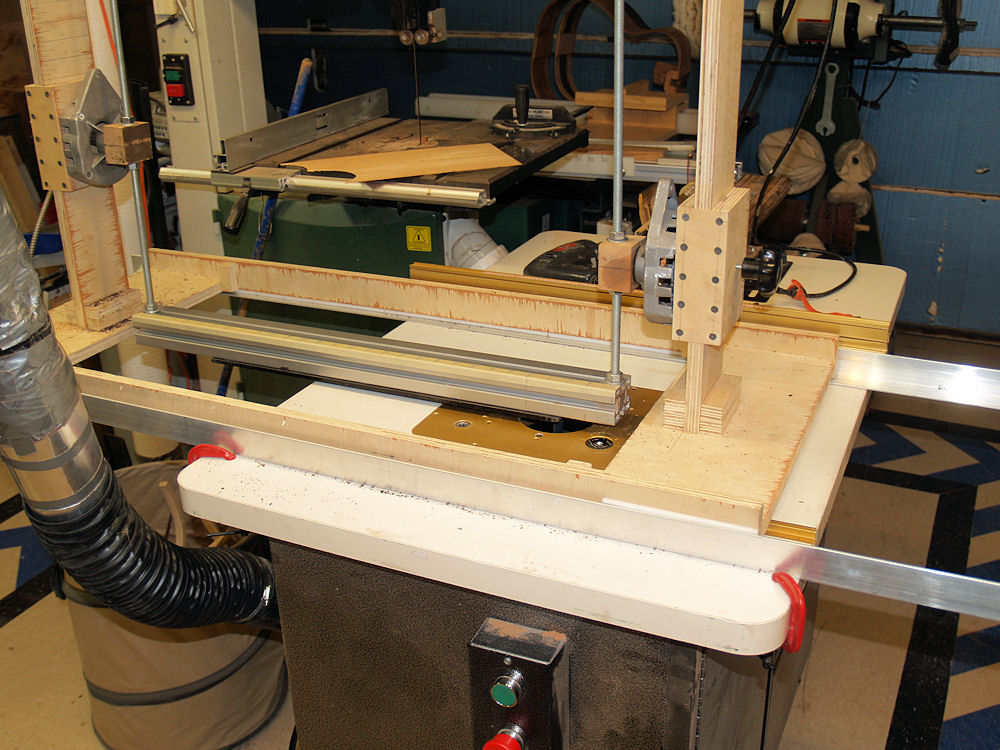
The
surface of the fretboard gets routed as I swing the pendulum assembly
over the router bit and slide the frame over along the rails I have set
up. |
 |
(133) Nov 19, 2009
And
in the end a nicely curved fretboard. It will get a light sanding
to remove the router marks and then it will be ready to have the fret
slots cut. |
 |
(134) Nov 19, 2009
But
next, I am finishing up the hardware section of the neck. In this
picture I have am betting ready to route out the slots for the
cantilever support beams and the wing slots for the top. If you
go back to picture 120 you will notice the top overhangs the channel
that has been created. This innovation helps to hide the seam
between the fretboard cantilever and the top of the guitar. |
 |
(135) Nov 19, 2009
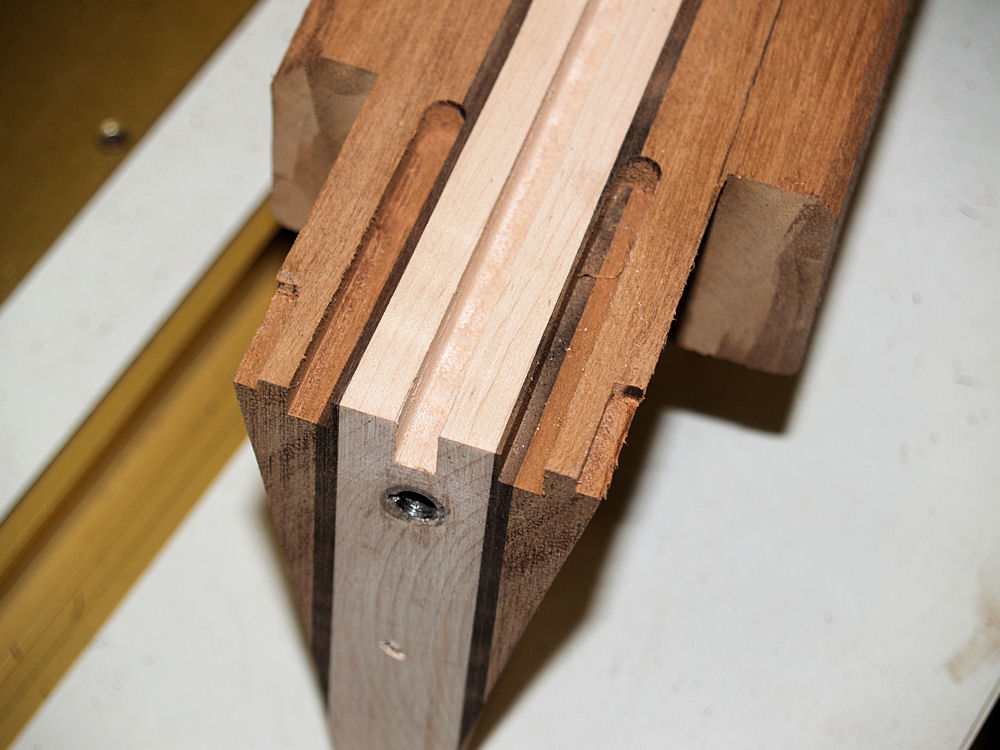
And here are the slots that have been routed out. |