 |
(163) 22-Dec-2009
Now
that the fretboard has been glued on I am getting ready to shape the
neck. I have laid out some of the tools I will be using.
|
 |
(164) 22-Dec-2009
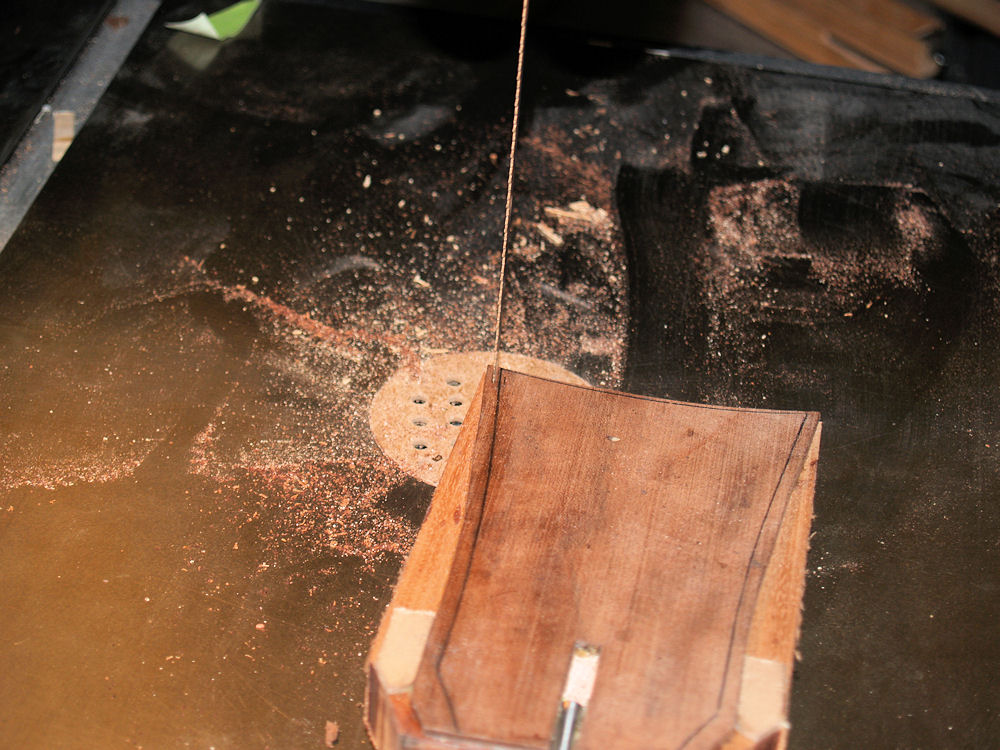
The first thing I do is trim off the excess around the head stock. |
 |
(165) 22-Dec-2009
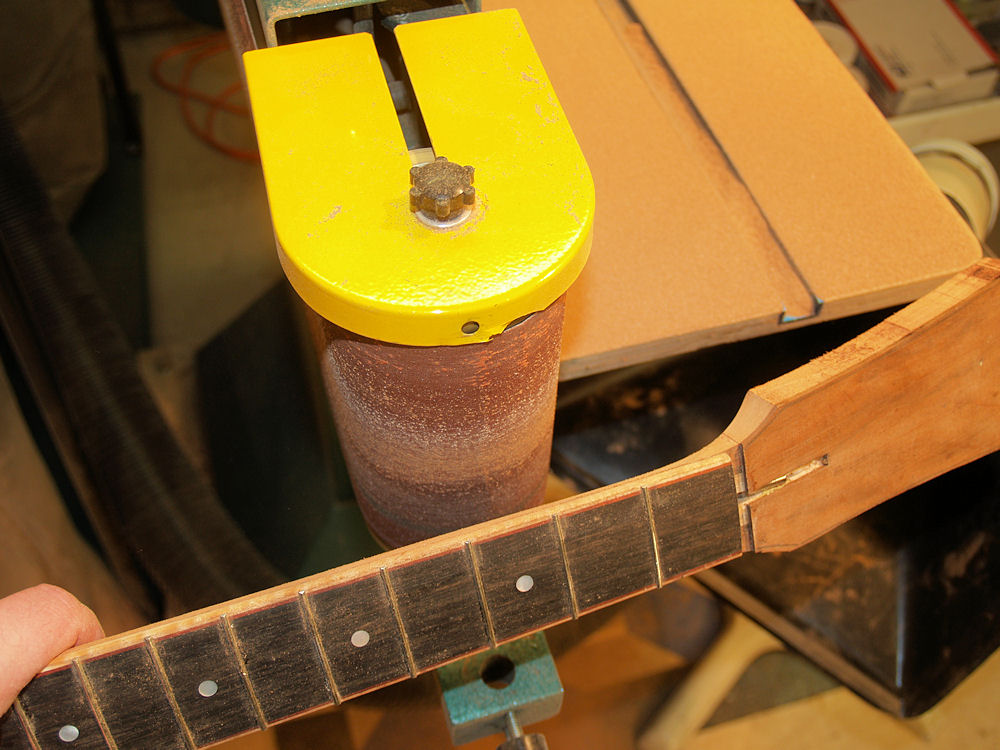
I use the idler pulley on my belt sander to start the shaping process. |
 |
(166) 22-Dec-2009
While shaping the neck with the belt sander I go very slowly. The trick is to remove just enough wood but not too much. |
 |
(167) 22-Dec-2009
I take a little bit off then go and measure the shape using my contour gage. |
 |
(168) 22-Dec-2009
After I get close to the shape I am after using the belt sander I turn to hand standing. |
 |
(169) 22-Dec-2009
Back to measuring and comparing the shape to my standard. |
 |
(170) 22-Dec-2009
Here I am sanding the final shape of the head stock. |
 |
(171) 22-Dec-2009
And
here I am trimming the bottom of the heel so that it will fit into the
heel channel of the body. This feature has several different
angles to it and I try to get the fit to the body width as tight as I
can. Some day I'll make a fixture for this process. |
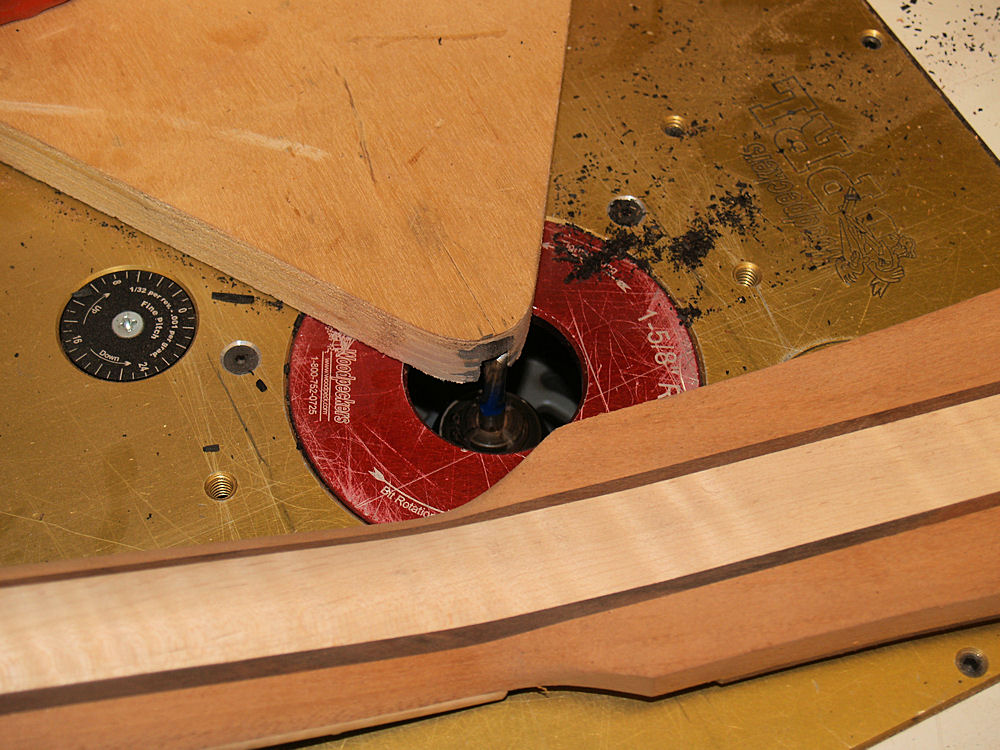 |
(172) 22-Dec-2009
The
headstock will have the same trim as the fretboard. I use my
router table and a special fixture that allows me to get around the
various curves the head and neck to create a channel for the binding
and trim.. |
 |
(173) 22-Dec-2009
I have to use a spacer on the face to prevent the fretboard from causing problems. You can see the start of the channel. |
 |
(174) 22-Dec-2009
Here we can see the trim and binding being glued in. Everything is oversized and will be sanded flush later. |
 |
(175) 22-Dec-2009
All of the trim and binding installed. |
 |
(176) 22-Dec-2009
I
use a recessed pocket for the tuning machine washer, and I am going to
outline the washer with a bloodwood line. Here I have fashioned
some trim inserts that will go around the washers. |
 |
(177) 22-Dec-2009
Drilling the pocket for the washer trim. |
 |
(178) 22-Dec-2009
And I glue the trim inserts into place. |
 |
(179) 22-Dec-2009
Now I sand everything flush, drill the tuning machine holes and install the tuning machines to check their fit. |
 |
(180) 22-Dec-2009
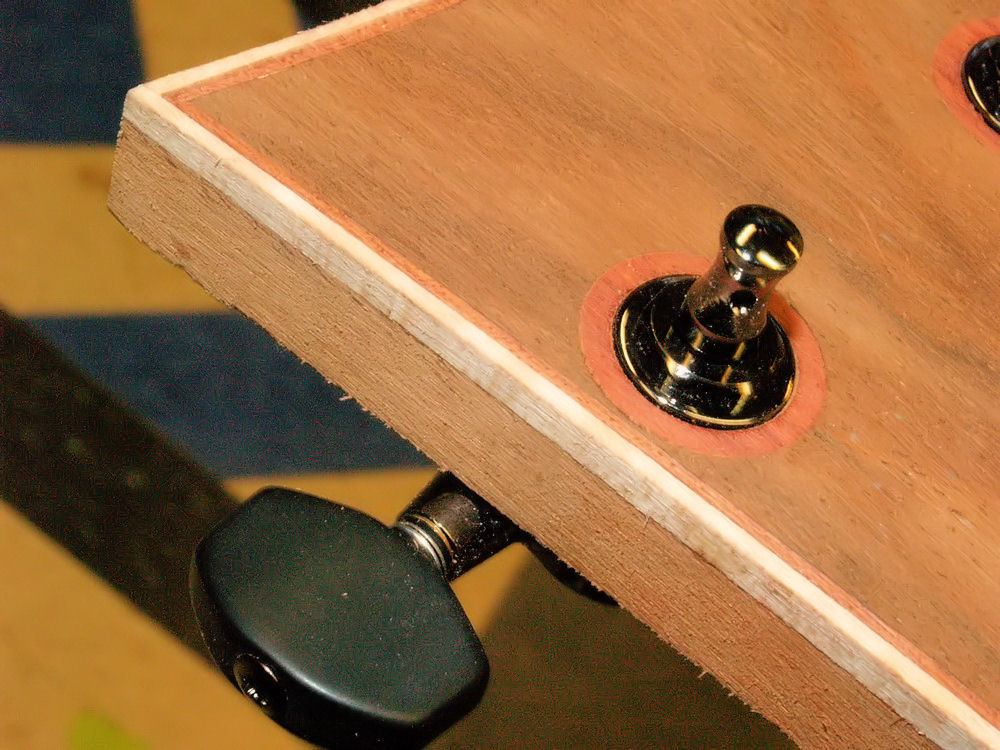
A close up of the headstock. |
 |
(181) 22-Dec-2009
Another closeup of the headstock. |
 |
(182) 22-Dec-2009
And another. |
 |
(183) 22-Dec-2009
Now
I am turning my attention to fitting the neck to the body. In
this image we see the hardware that holds the neck on and give us
control of the neck angle and yaw. The two tee bolts at the top
will have set screws in them and will control the intonation and yaw of
the neck. The bolt insert at the bottom will control the neck
angel. The hole in the top middle will have a bolt that holds the
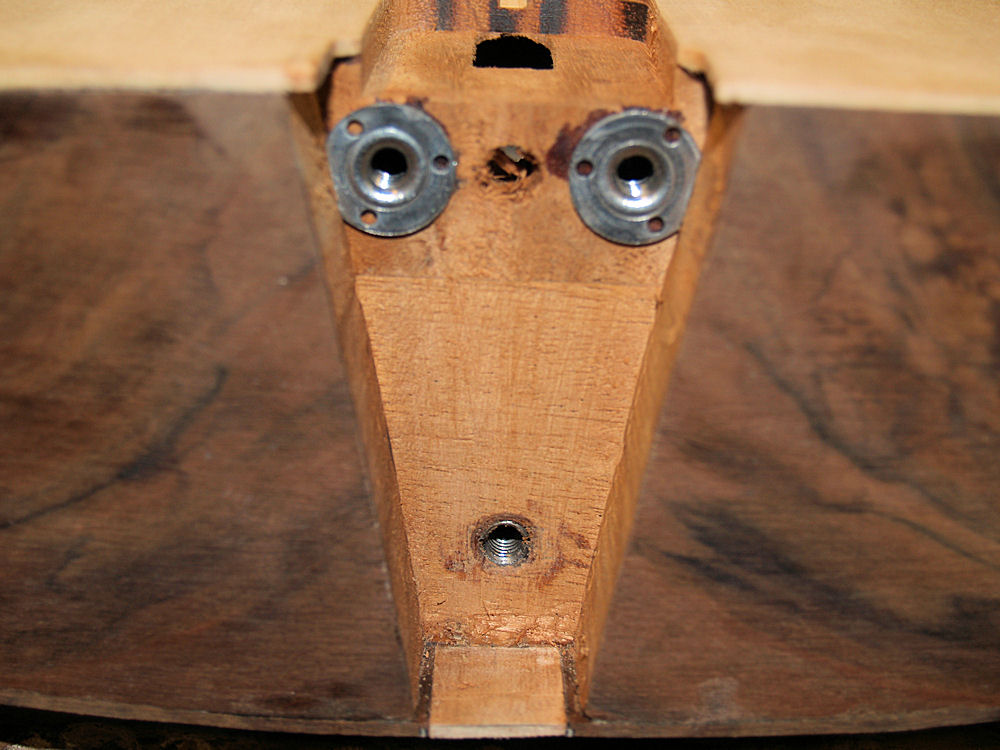
neck on when there are no strings on the guitar. |
 |
(184) 22-Dec-2009
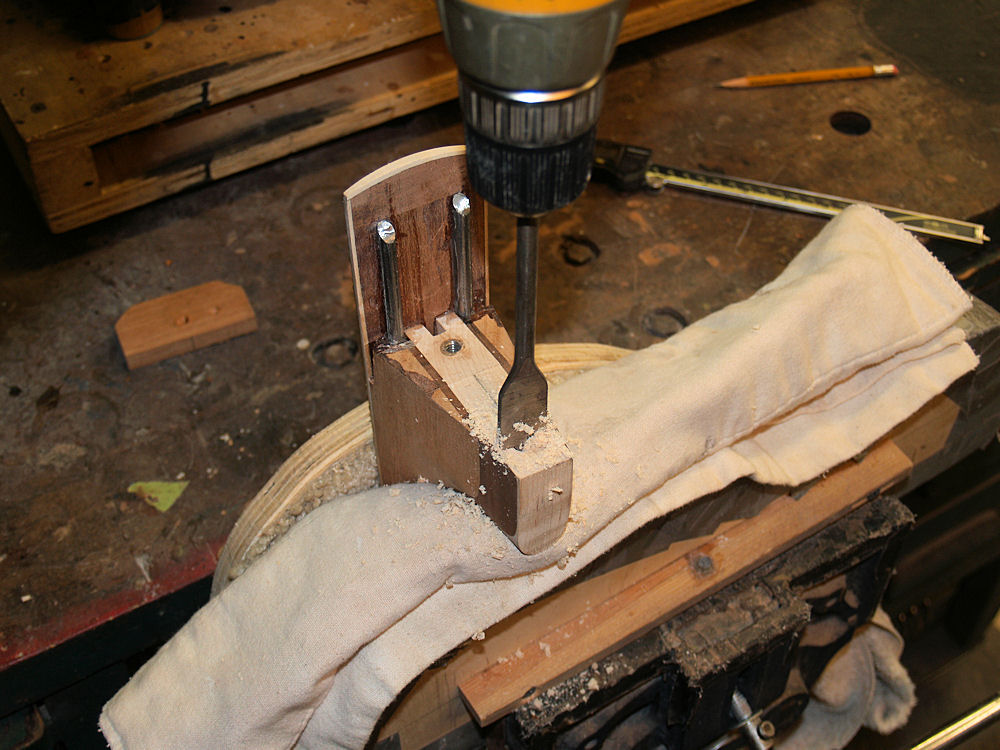
Here I am drilling a hole in the back of the heel that will house the neck angle adjustment bolt. |
 |
(185) 22-Dec-2009
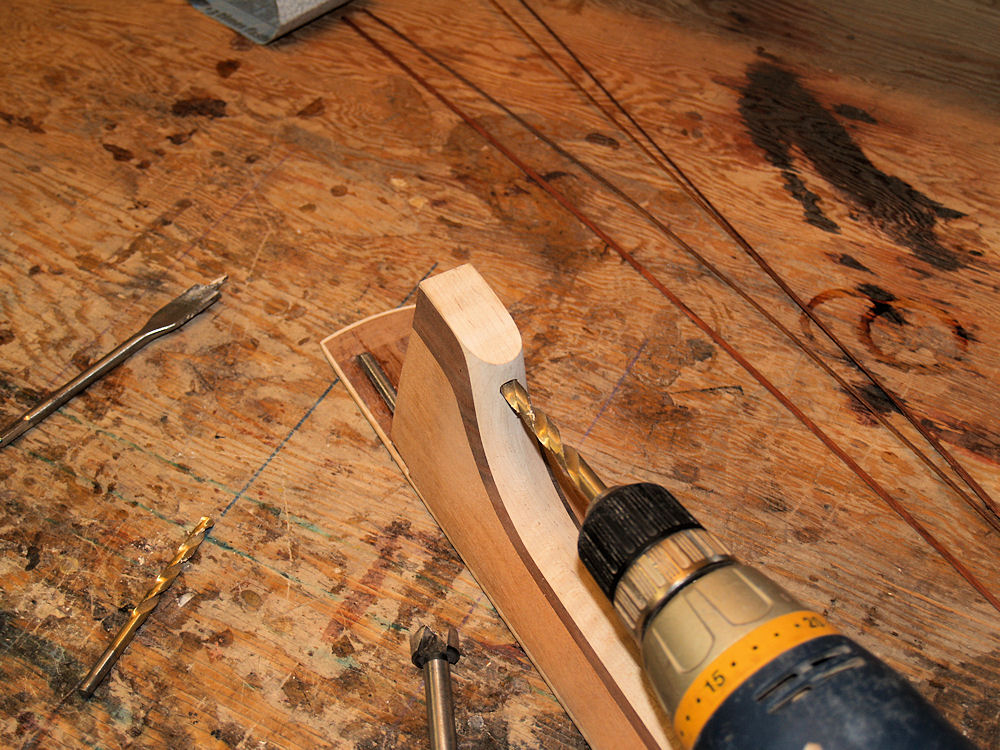
And in the front of the heel is a hole to insert the adjustment key. |
 |
(186) 22-Dec-2009
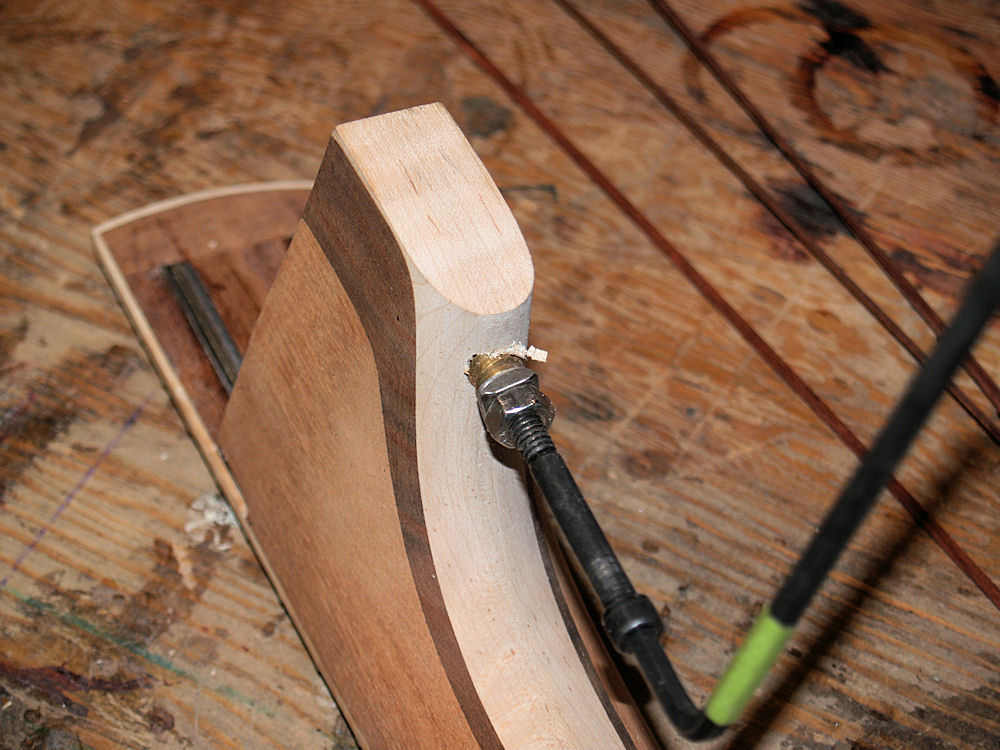
I use a bolt insert so we can screw in a strap button. |
 |
(187) 22-Dec-2009
Here
is a picture of the hardware that goes in the back of the heel.
There are two brass rod inserts where the set screws will meet
the neck. The neck angle bolt is held in place with an oak
ferrule that is glued in place and has two pins drilled through its
side. This holds the neck angle adjustment bolt in place,
hopefully without any slop, but not so tightly that it can't be turned.
I use a little graphite to provide some lubrication. The
bolt is designed to have some float to accommodate the changing angel
between the neck and body. |
 |
(188) 22-Dec-2009
Here
is a picture of the neck inserted into the heel channel. A quick
side bar here... in many of the pictures you will notice extraneous
wood and glue on various parts of the guitar. This is normal
during the construction process. I have learned to avoid over
working parts before they are finished. Every time a surface is
cleaned up a small portion of the surface is removed. If I
try to make things look pretty before their time the parts end up being
too small, so I try to delay working a part until I a ready to set its
final dimension. |
 |
(189) 22-Dec-2009
And
another view of the heel inserted into the body. I spent a fair
amount of time getting the swoop of the maple and walnut on the heel to
be graceful and symmetrical. I wasn't sure how this was going to
turn out, actually had a few sleepless hours thinking about it, but in
the end I think it is quite dramatic. I hope Joe likes it.
|
 |
(190) 22-Dec-2009
It is starting to look like a guitar. |