 |
(1) 14-Sept-09
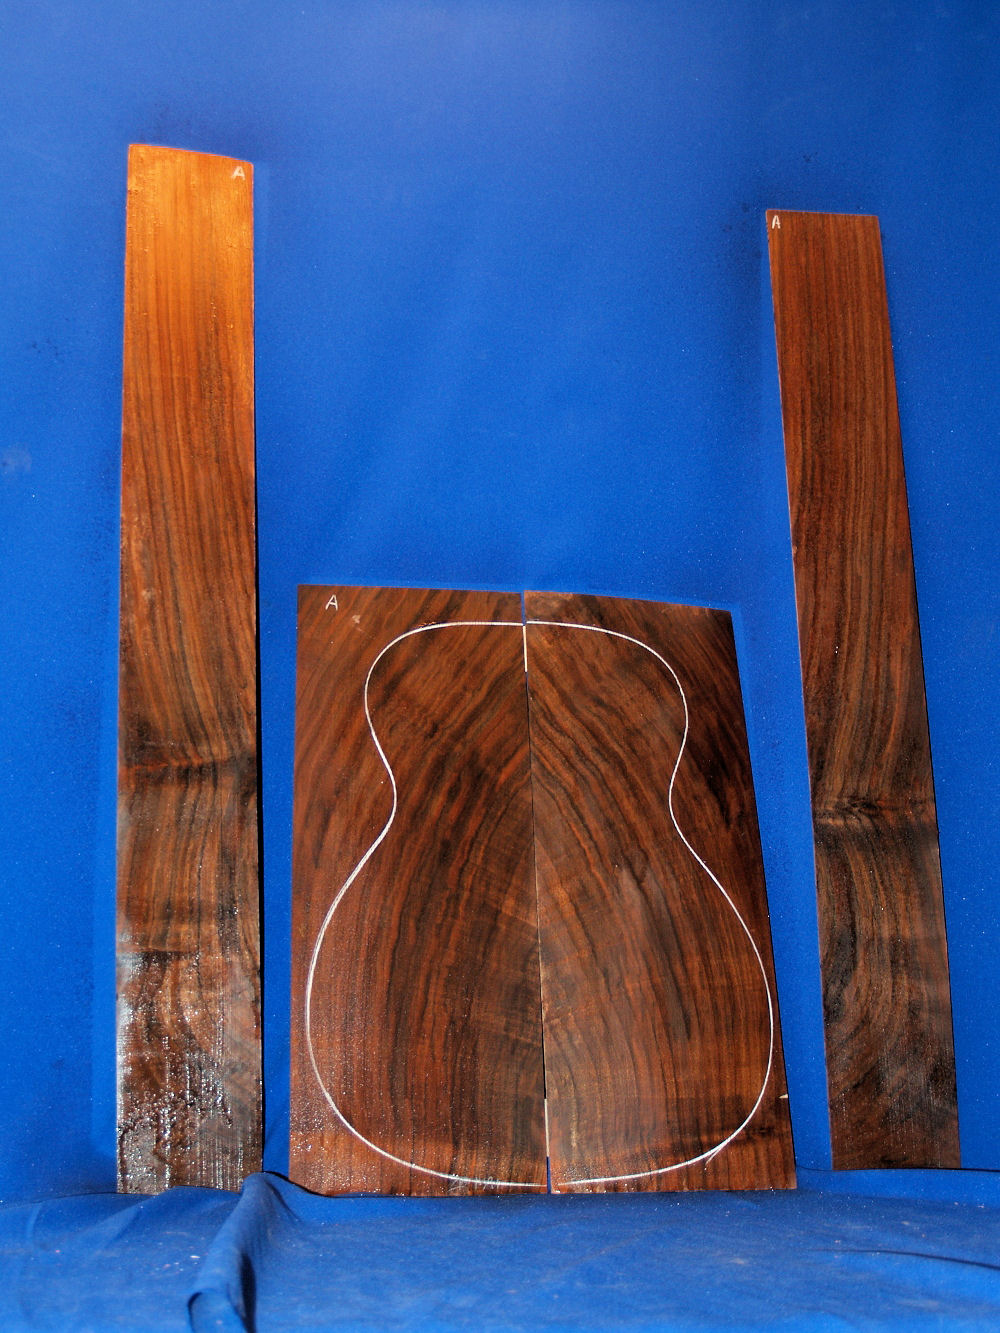
This set of figured Walnut comes from a the crook of a tree that was
cut in the Willamette Valley in the middle of the last century and has
been sitting in the shop of a local woodworker since then. I was
lucky enough to come across it and give it life as a guitar. |
 |
(2) 14-Sept-09
In these pictures the wood has been wetted down to bring out the
figure. Beautiful! |
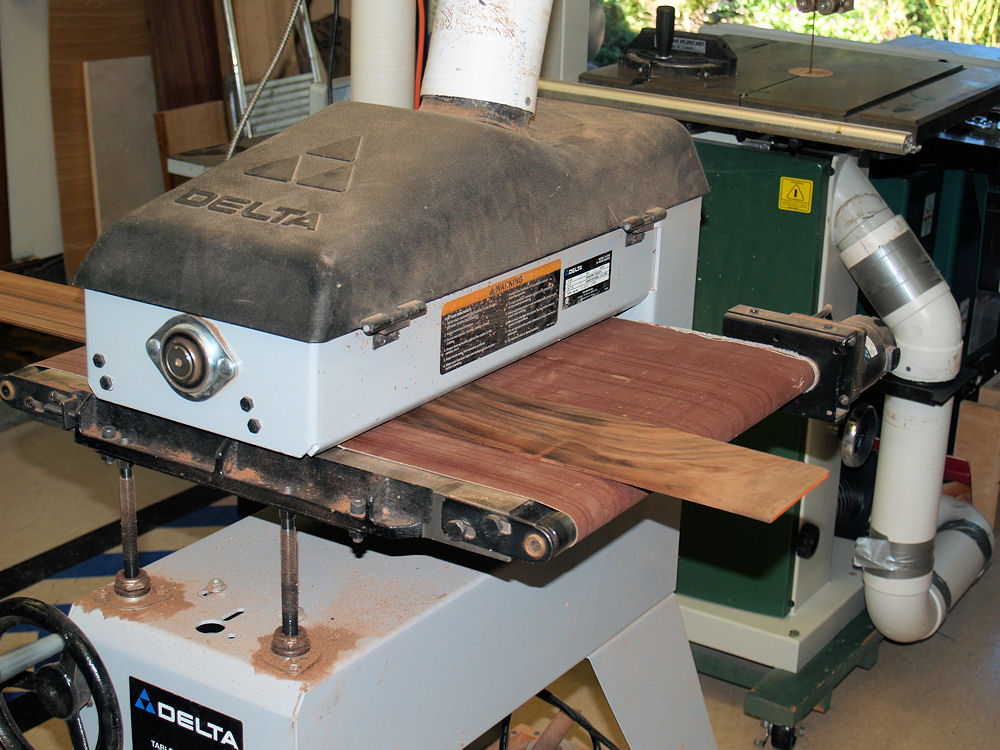
 |
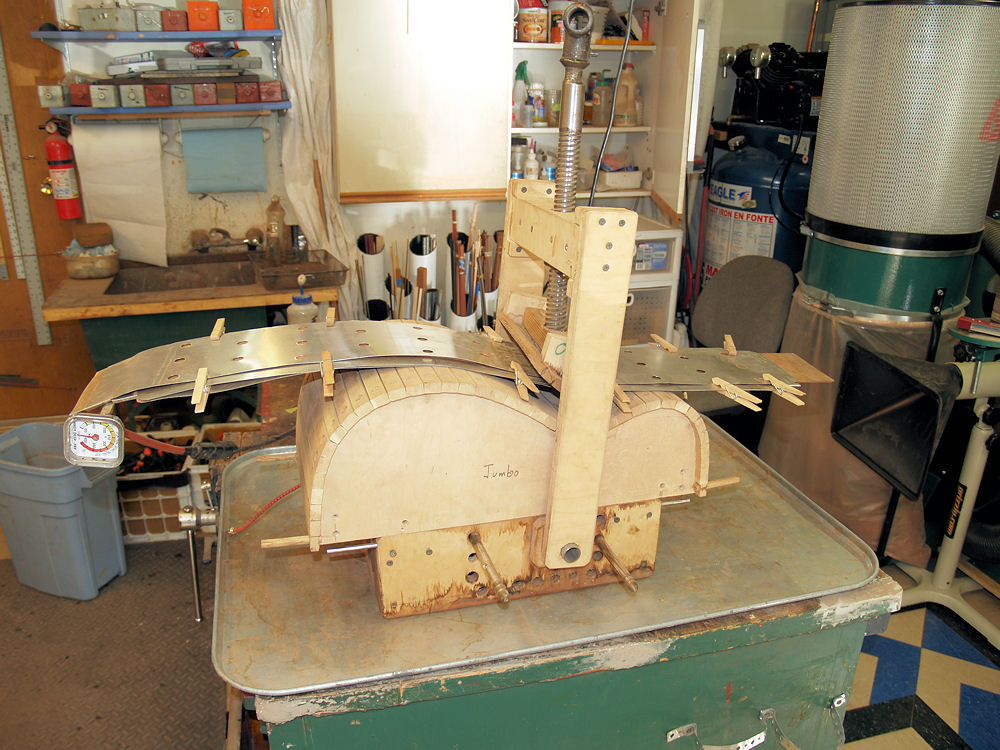
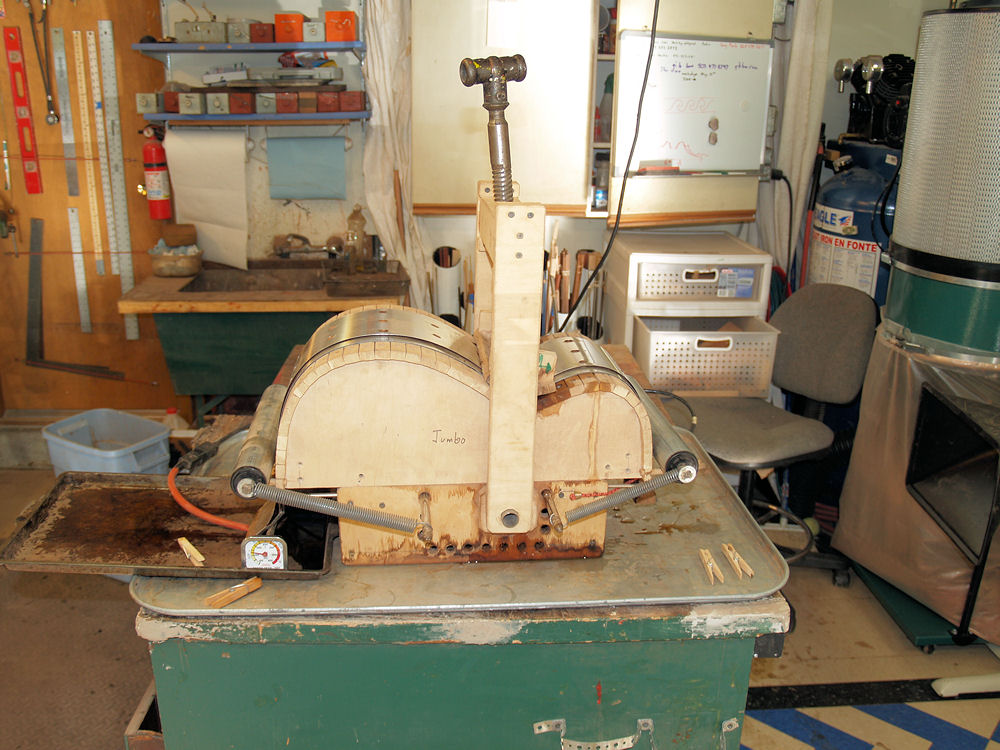
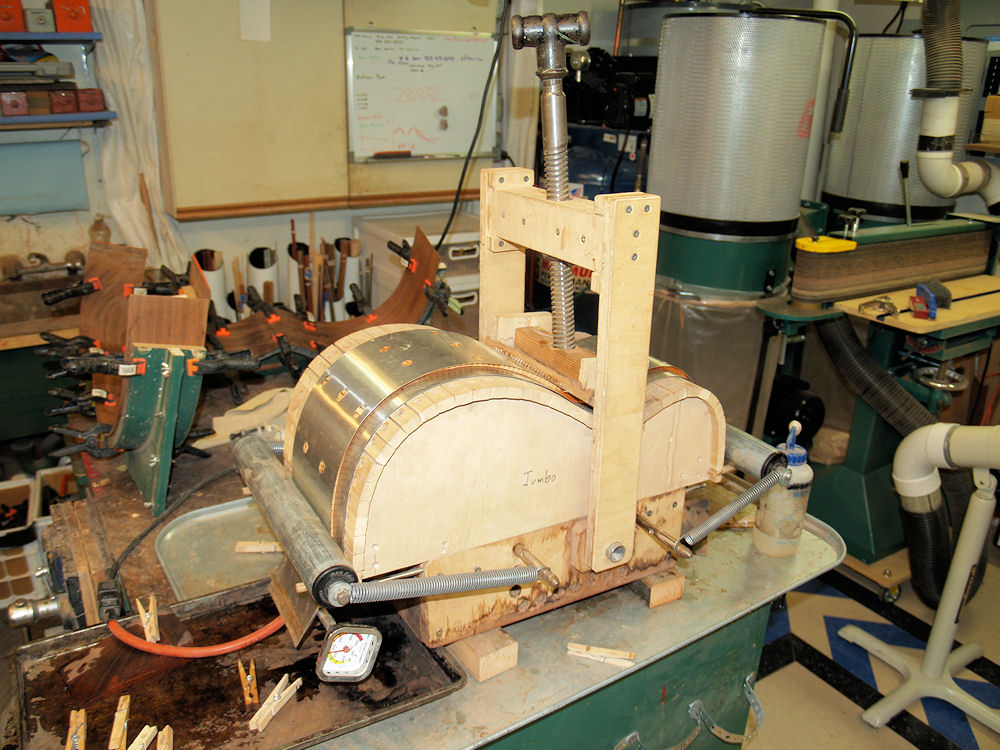
(3) 14-Sept-09
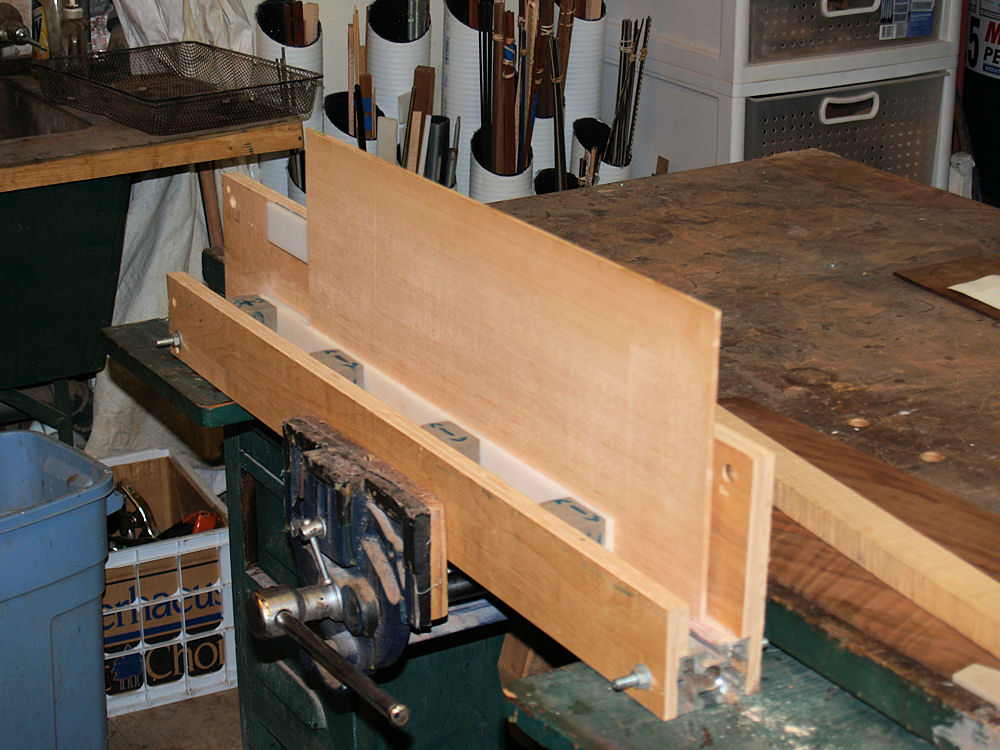
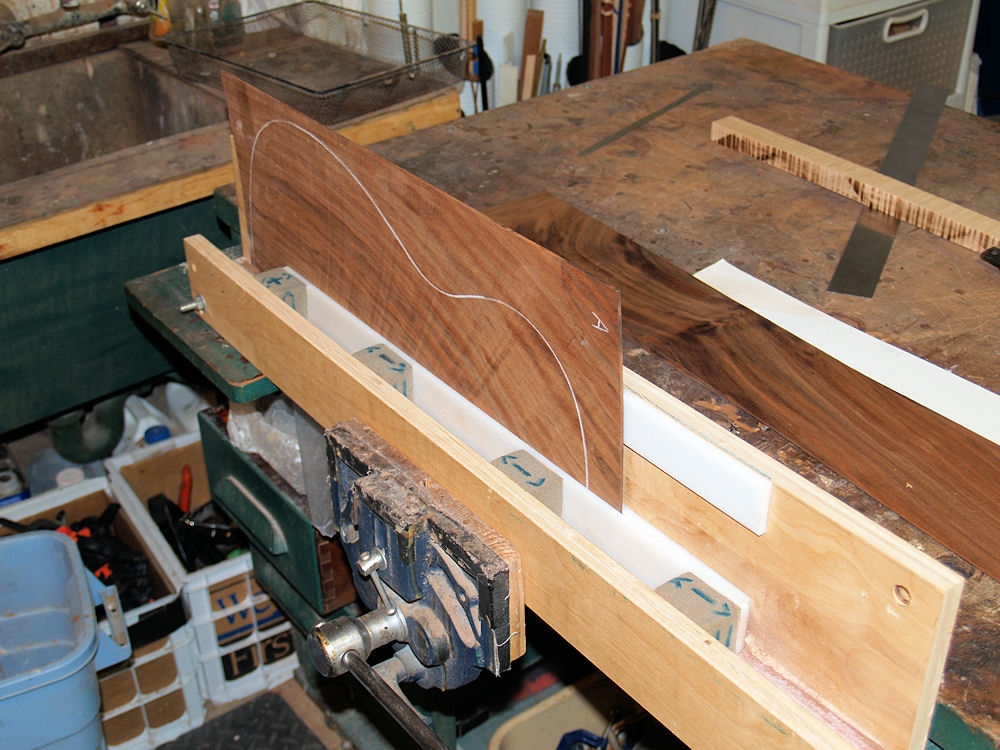
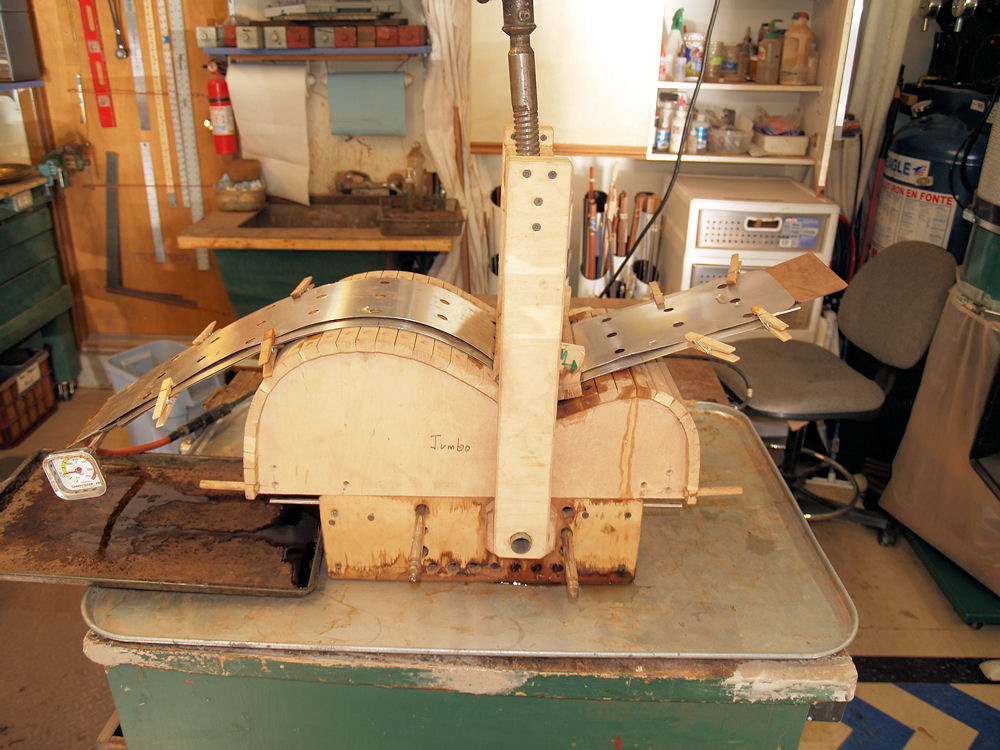
I am starting this guitar by preparing the edges of top boards. I
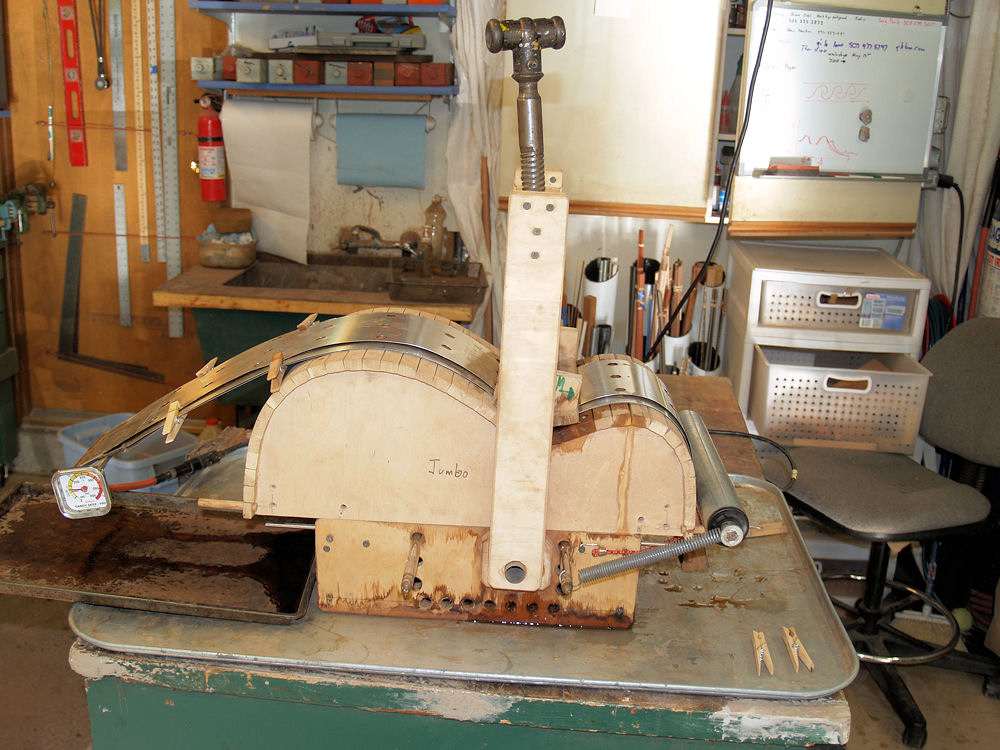
want the joint to be nearly invisible, so I use this tool that holds
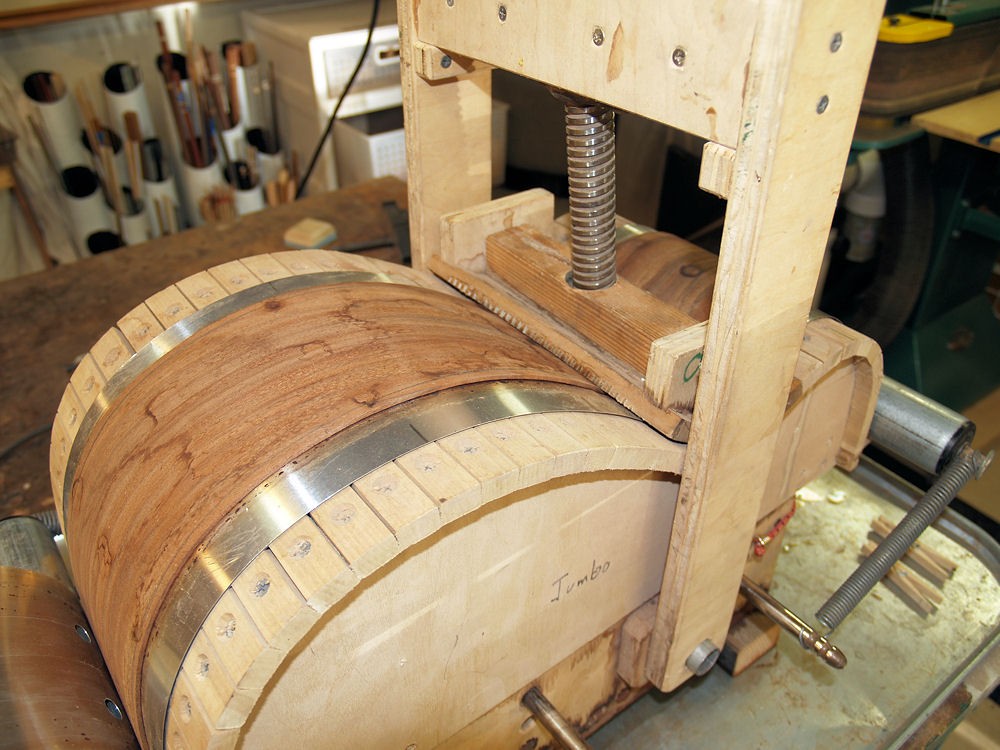
the pieces vertical while sanding the edge perpendicular to the top.
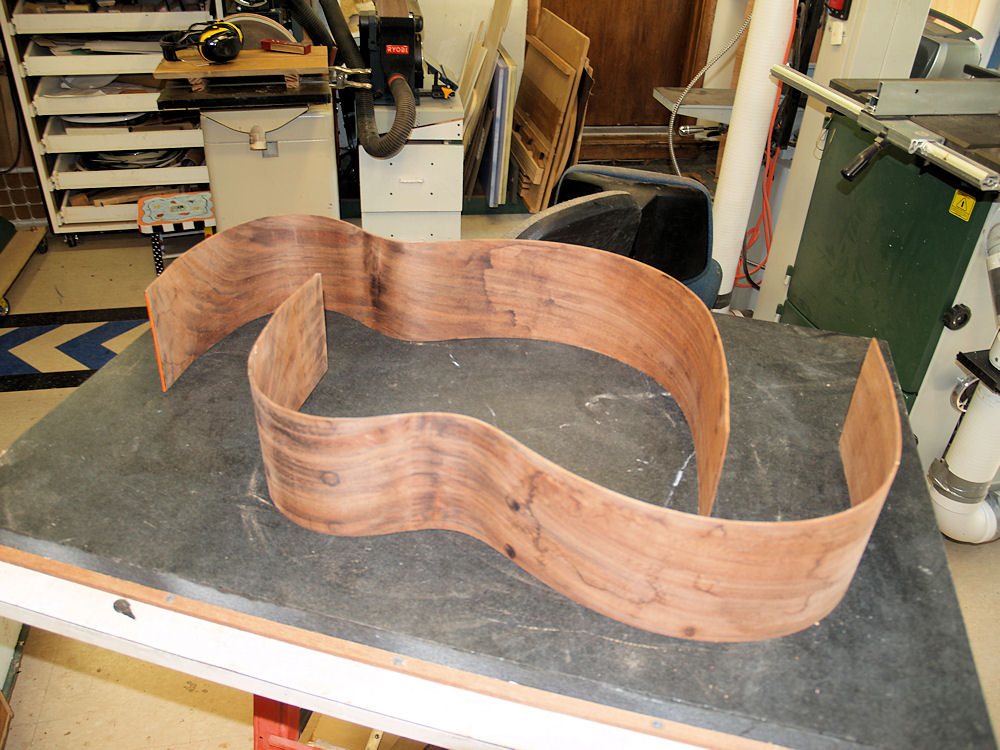
I reverse the orientation of the second piece when I sand it to
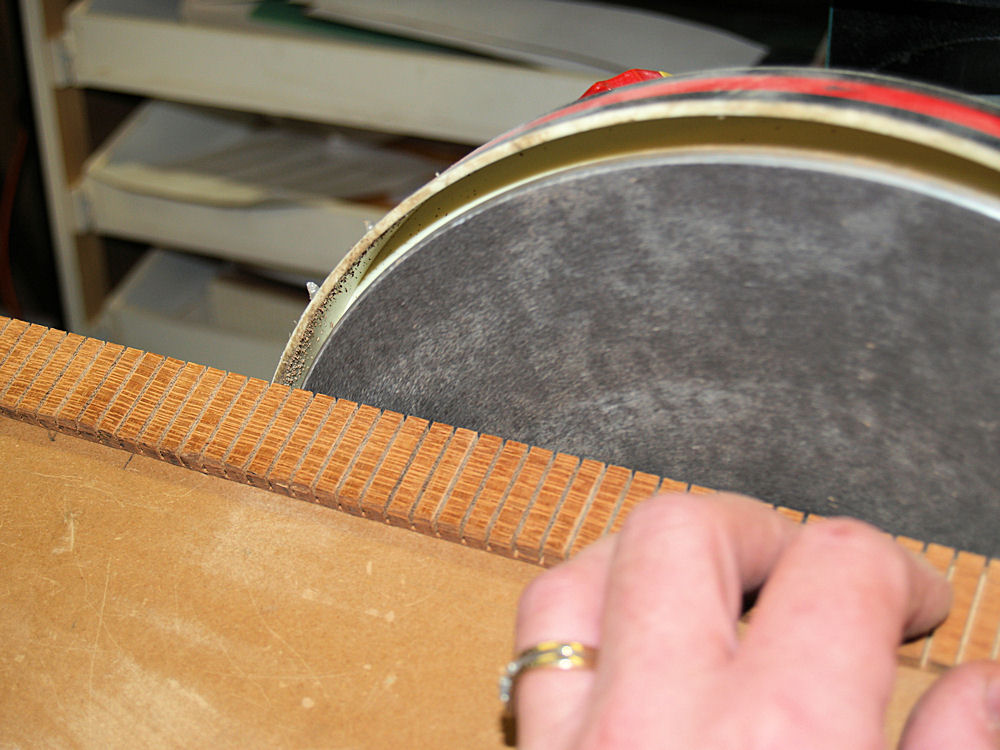
match any variation in the surface angle. |
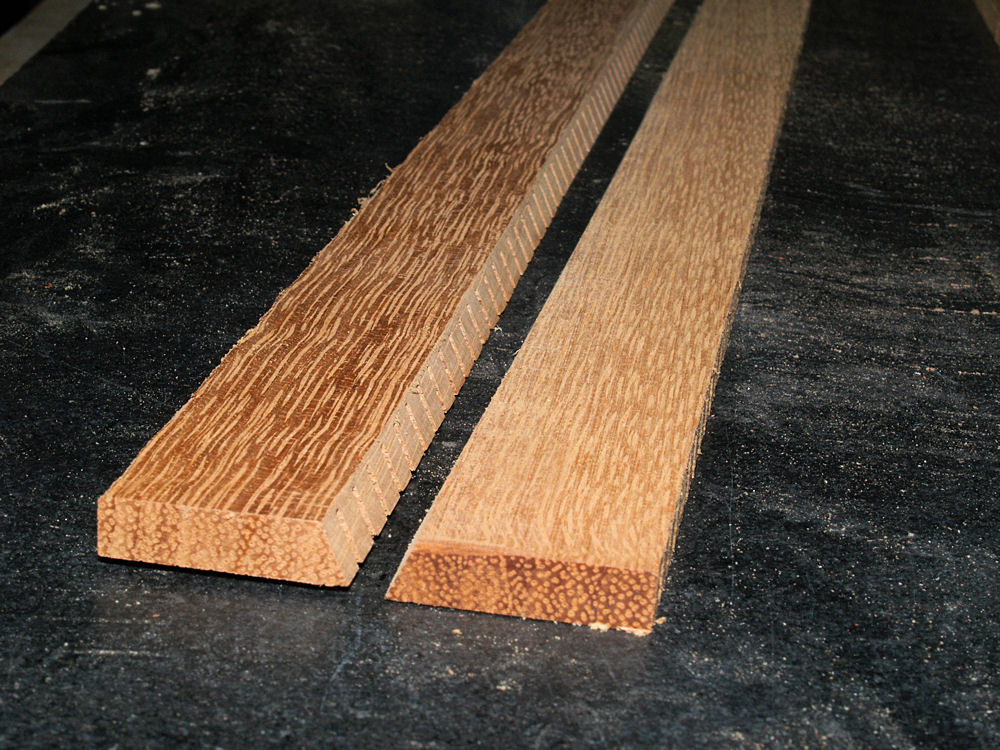
 |
(4) 14-Sept-09
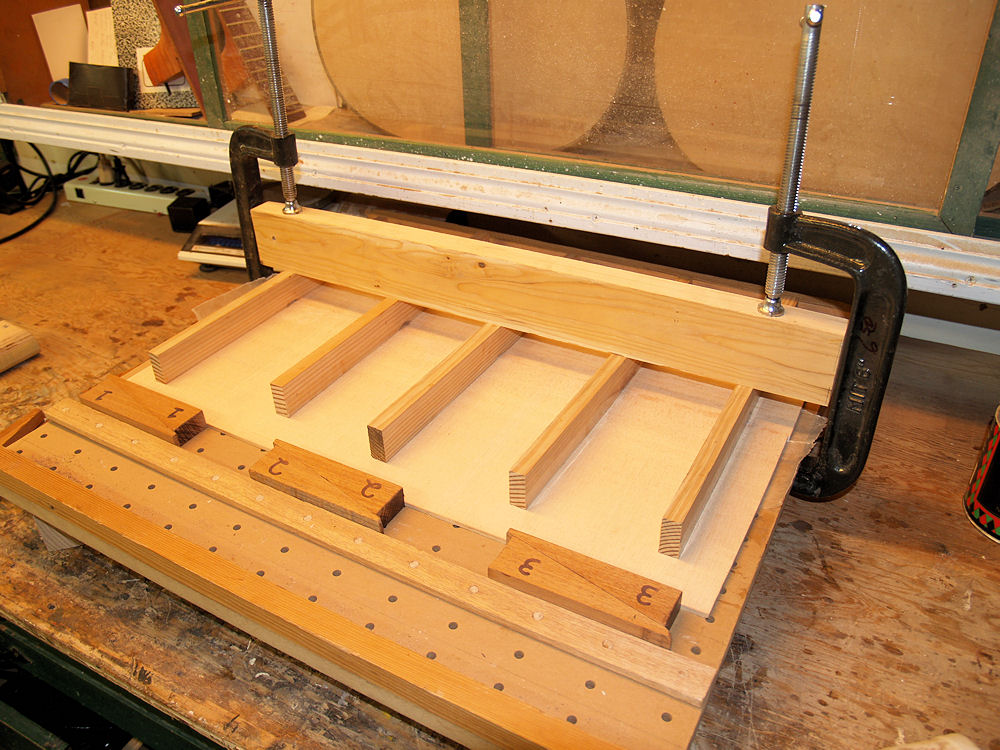
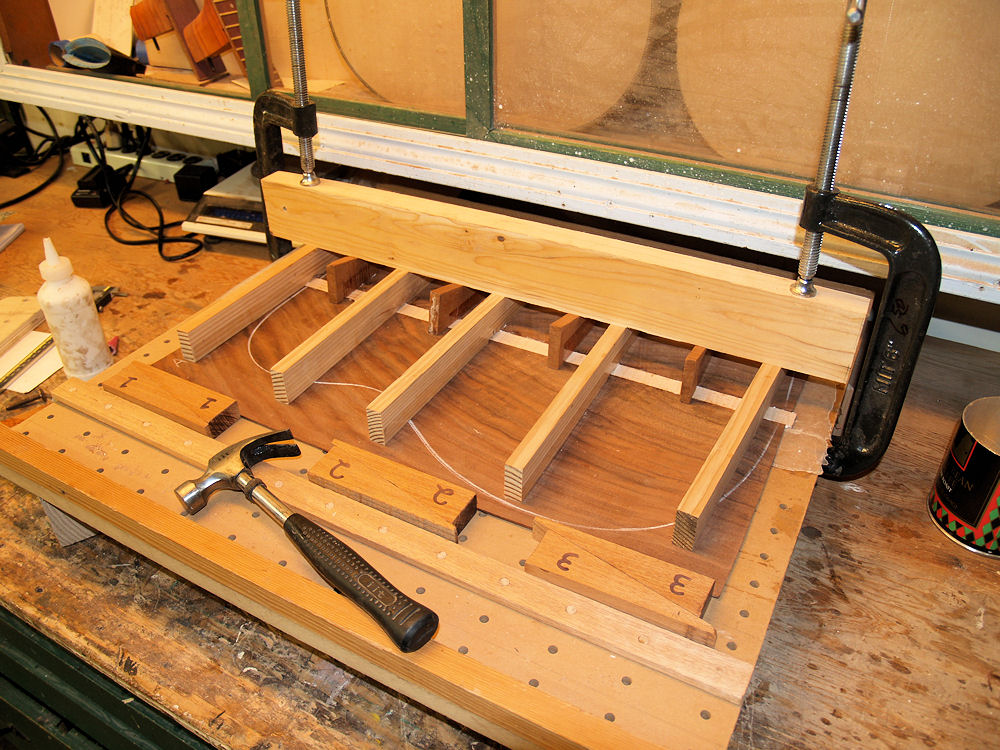
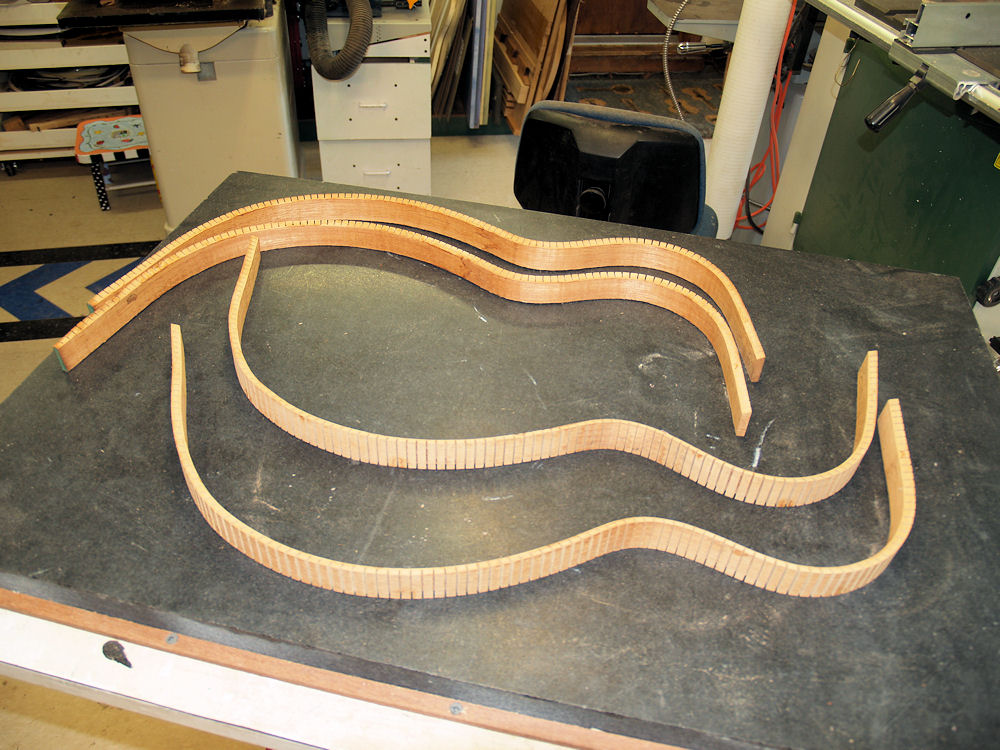
I use this joining machine that uses a set of wedges to force the two
pieces of the top together while it holds the top down flat. |
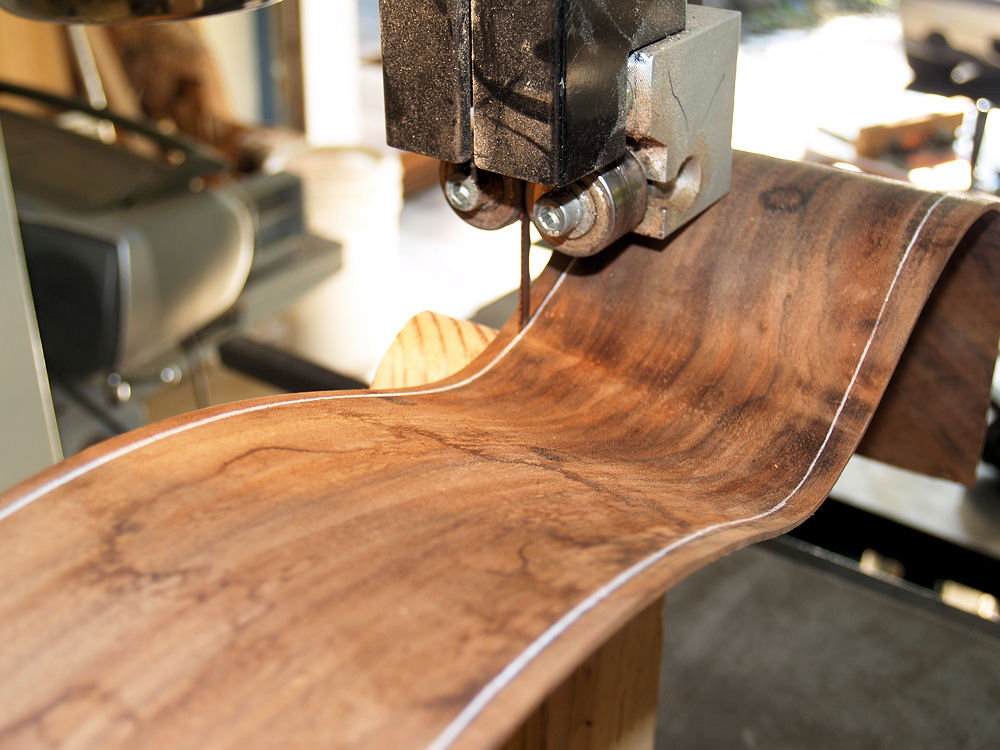
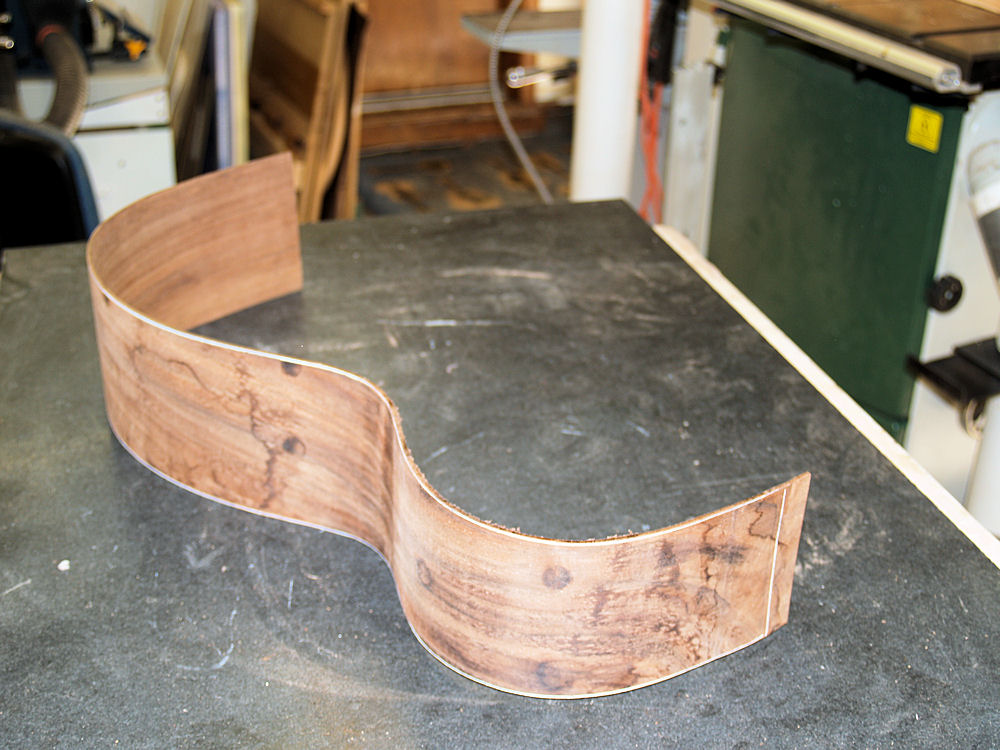
 |
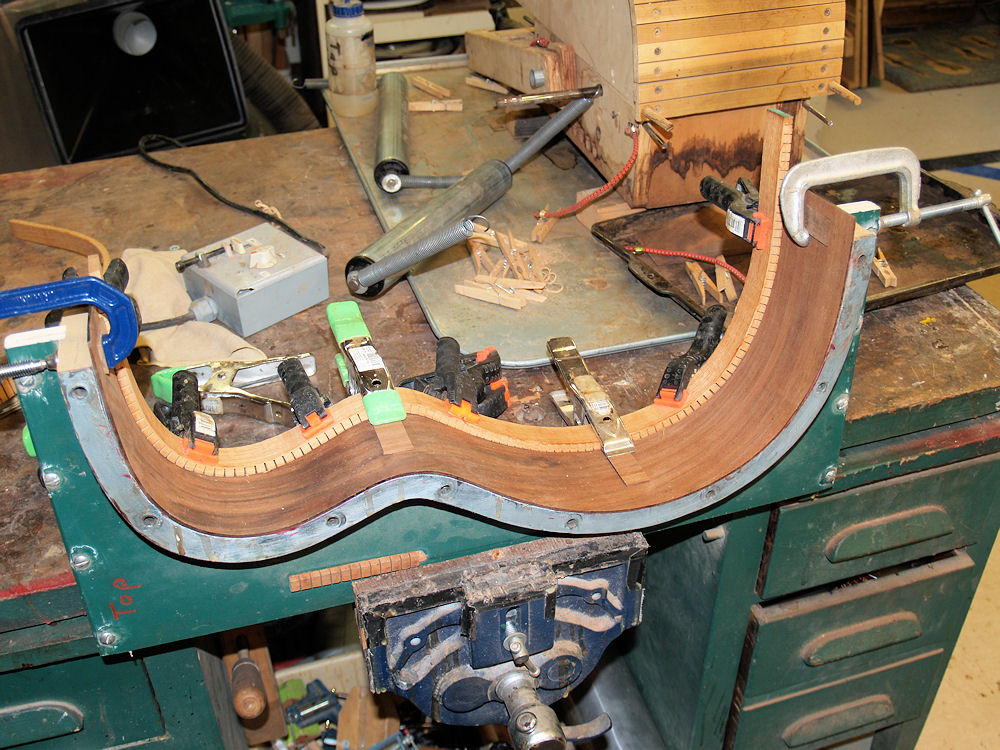
(5) 14-Sept-09
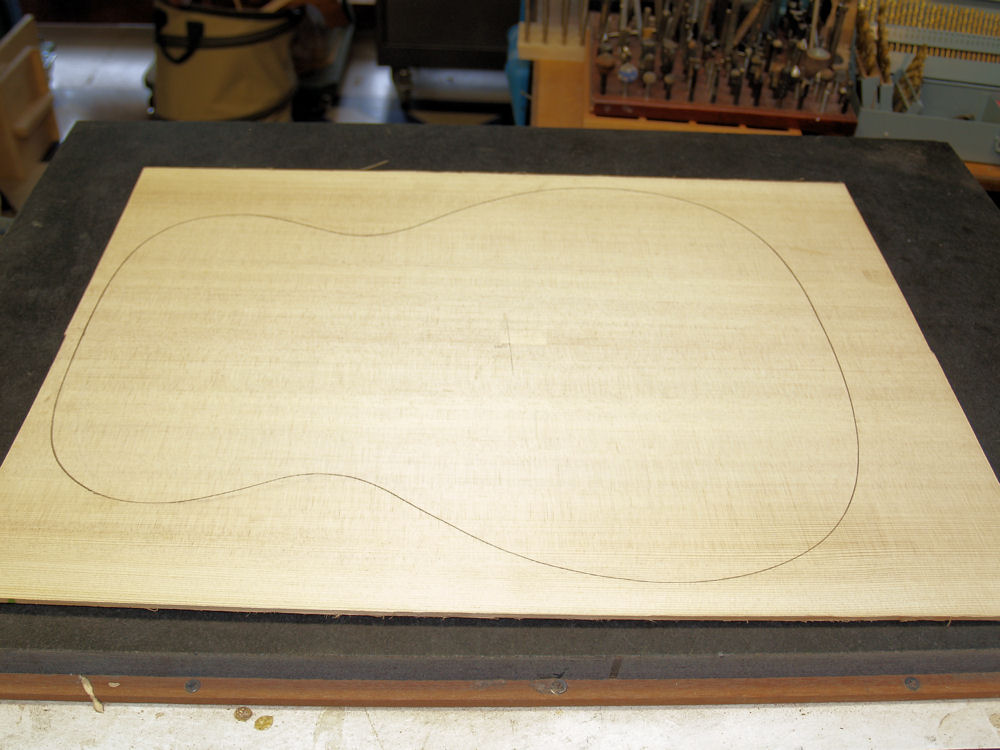
Here we see the joined top with the outline of the guitar drawn on it. |
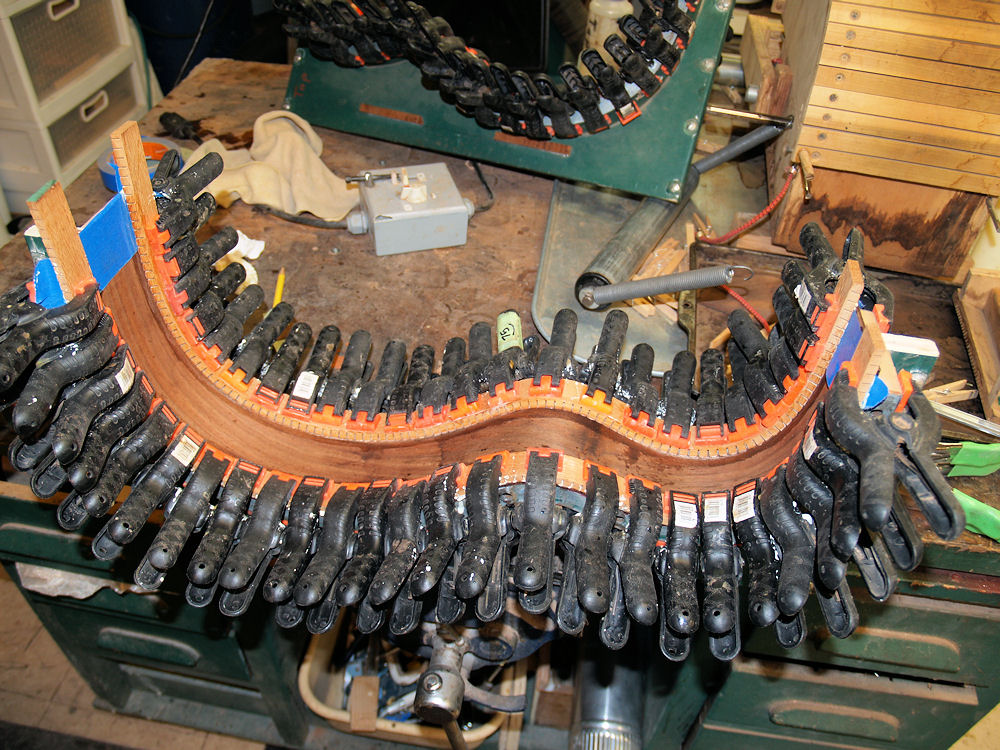
 |
(6) 14-Sept-09
I do the same thing for the back pieces. |
 |
(7) 14-Sept-09
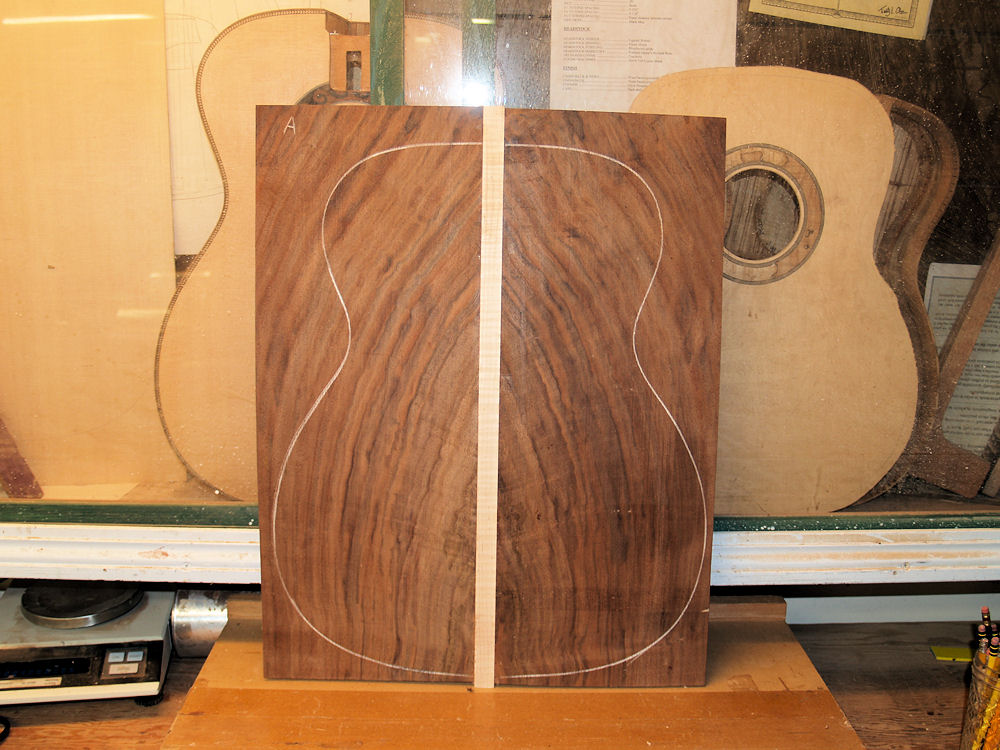
In this picture you can see the center strip of flamed maple that has
been inserted between the two halves of the back. |
 |
(8) 14-Sept-09
A picture of the joined back. |
 |
(9) 14-Sept-09
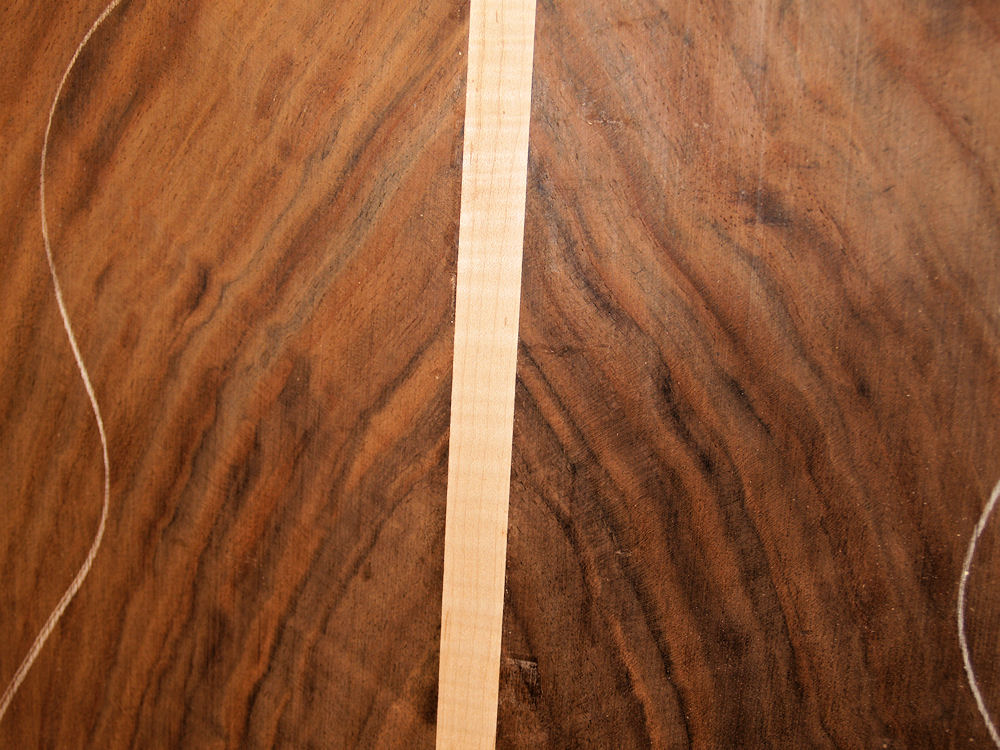
And a close up of the joined back. |
 |
(10) 14-Sept-09
Next I use my drum sander to dimension the thickness of the side pieces
to about 90 mils. |
 |
(11) 14-Sept-09
And these pieces go into the bending machine. You can see here
the heating sandwich that has a heating blanket in between two pieces
of flashing with the side lain on top and another piece of flashing on
top of the wood. The top piece of flashing has holes in it to
allow me to squirt water on the wood. The flashing helps to
support the wood while it is bending and helps to spread the heat
evenly. The water acts as a thermal conductor and prevents the
wood from getting scorched. I heat the wood up to about 200 degs
F or until the wood becomes pliable. |
 |
(12) 14-Sept-09
When bending the wood the first thing I do is use the central tower to
press the waist into shape. |
 |
(13) 14-Sept-09
And then I use the front roller to bend the upper bout. |
 |
(14) 14-Sept-09
And then the back roller to bend the lower bout. |
 |
(15) 14-Sept-09
After the wood has taken its shape I remove the top piece of flashing
and cook the wood at about 120 degs until the wood will hold its shape. |
 |
(16) 14-Sept-09
And in the end we have a couple pieces of funny shaped wood. |
 |
(17) 14-Sept-09
In this picture I am putting a bezel on the kerfing. I use a
reversed kerfing method that puts the slots next to the back with a
solid strip of wood held about 1/4 inch away from the sides. This
will result in a system with a gunnel around the rim of the guitar and
sides that are very stiff. .... Stiff is good! |
 |
(18) 14-Sept-09
Here we a close up of the shape of the kerfing. |
 |
(19) 14-Sept-09
The kerfing goes into the bending machine to give it the shape of the
sides. |
 |
(20) 14-Sept-09
A picture of the bent kerfing. |
 |
(21) 14-Sept-09
I have carefully drawn the outline of the guitar on the side blanks and
in this picture I am trimming the excess from the sides. I leave
about 1/8 of an inch excess. |
 |
(22) 14-Sept-09
With a little imagination you might start to see the guitar. |
 |
(23) 14-Sept-09
In this picture I am laying out the kerfing in the sides to make sure
the kerfing goes into the right place. |
 |
(24) 14-Sept-09
While the side is in the form I glue the kerfing into place using about
fifty clamps. This process insures that the sides take the shape
of the form. All of those clamps are pushing the side piece into shape
with a lot of force. If each clamp produces a force of ten pounds
that would result in a total force of about 1/4 ton. At the same
time the kerfing is being pressed into the sides so the glue joint is
solid and with out any gaps. |
 |
(25) 14-Sept-09
And when all of the glue is dry the sides come out of the forms and
they are very stiff and will hold their shape. The blue tape is
in place because I will remove the kerfing in those areas and I don't
want the kerfing to stick to the sides. This is where the heal
block and the tail block will go and these will hold the sides together. |