 |
(229) 23-Jan-2010
In this picture I am installing the black mop dots on the side of the neck. |
 |
(230) 23-Jan-2010
One more time I go over the whole guitar leveling out the surface and looking for anything that need attention.. |
 |
(231) 23-Jan-2010
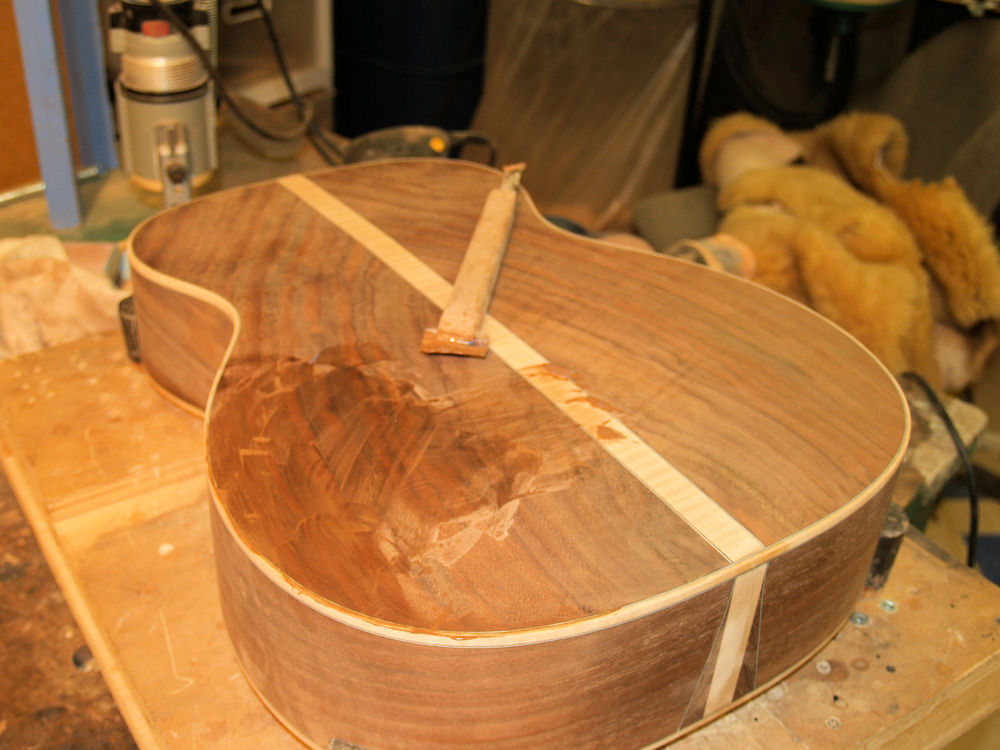
In
this picture I am using a filling compound to fill in all of the pours
in the walnut. I use a platten to force the compound into the
pores and then I try to scape off the excess with out pulling the
compound out of the pores. |
 |
(232) 23-Jan-2010
After
the filler has set up I go over the guitar again with sandpaper to
remove the excess filler and to look for anything else that needs
attention. I use a very bright light and high diopter pair of
glasses so I can get a good look at the surface. |
 |
(233) 23-Jan-2010
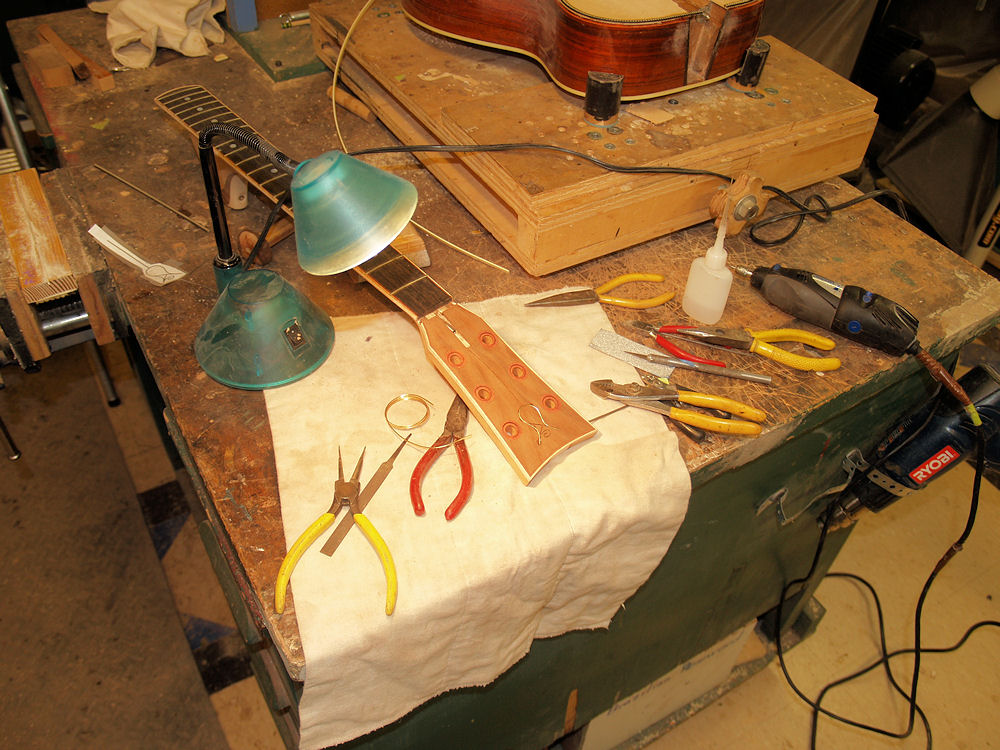
These are the tool I will use to install the headstock rose. |
 |
(234) 23-Jan-2010
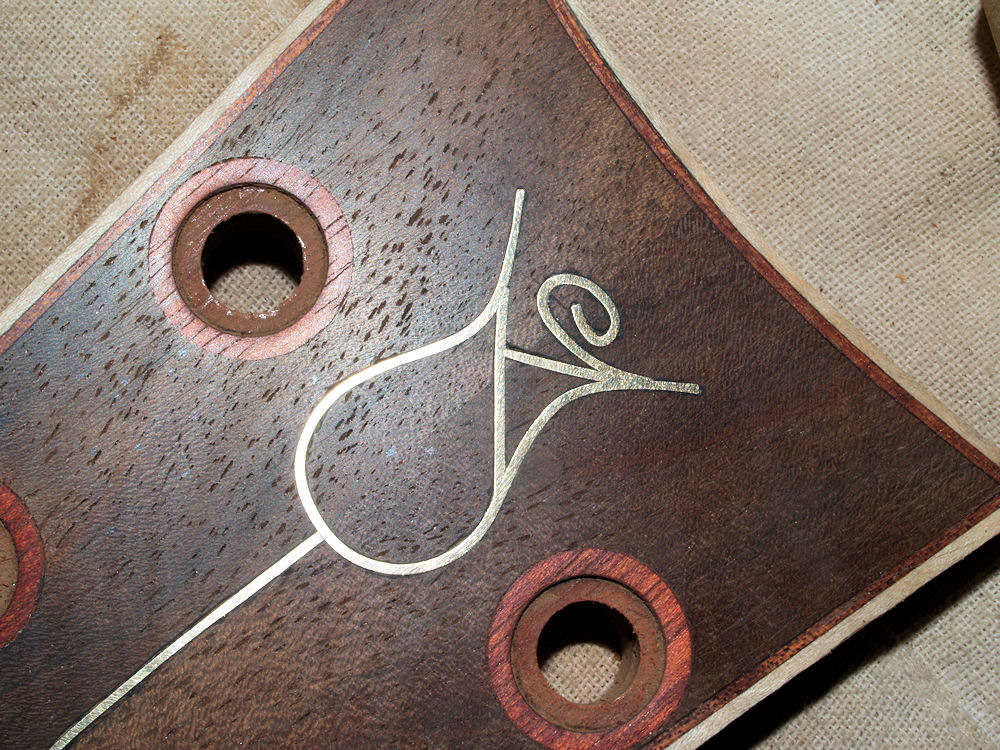
A look at the headstock after the rose has been installed. |
 |
(235) 23-Jan-2010
A close up of the rose. |
 |
(236) 23-Jan-2010
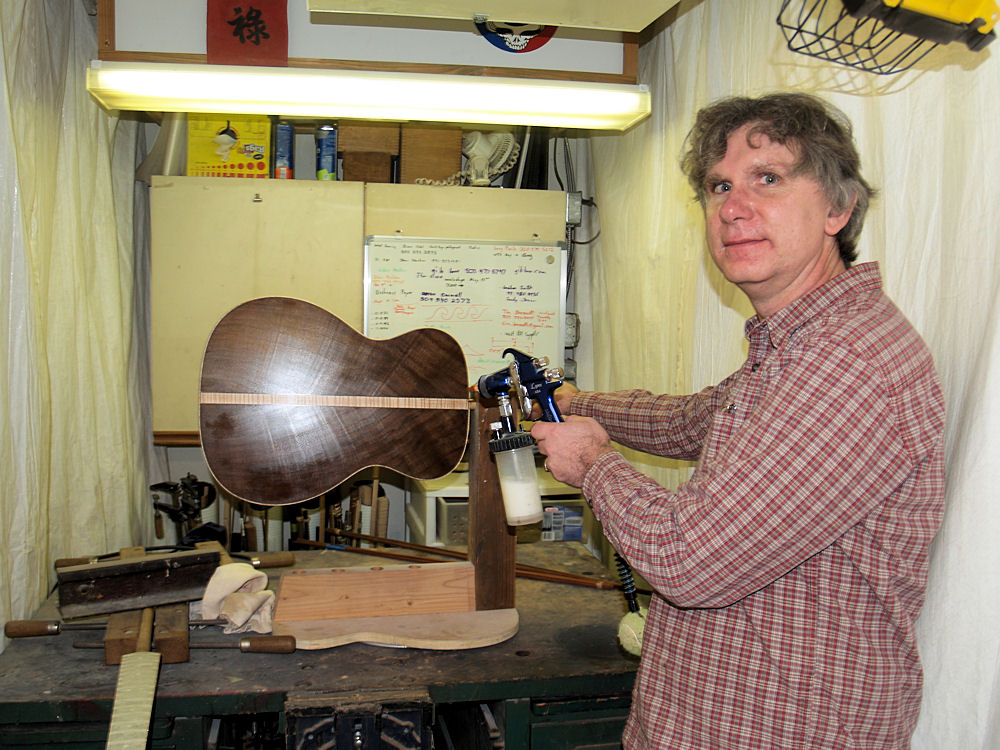
Finally into the paint booth. |
 |
(237) 23-Jan-2010
I
am always happy with a spray gun in my hand. In this process I
spray on several coats of lacquer, sand it down level and then repeat
the process until I am happy with the results. The trick is to
get enough lacquer on to protect the guitar's surface, provide enough
material to accommodate the buffing process, and provide a bit of
margin so future scratches can be buffed out, with out leaving any
excess. I.e., I want the finish thin, but not too thin. |
 |
(238) 23-Jan-2010
While
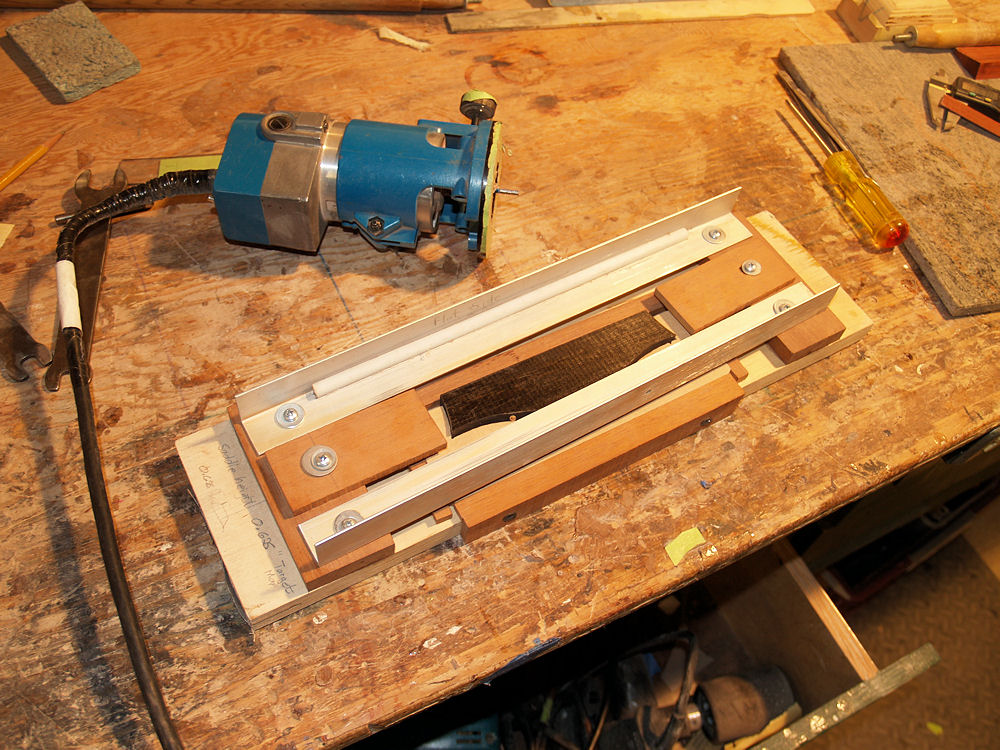
the lacquer is curing I turn my attention to building the bridge.
I use this tool to rout the channel for the saddle. |
 |
(239) 23-Jan-2010
This fixture lets me slide the router along a well defined path while controlling the depth of the cut. |
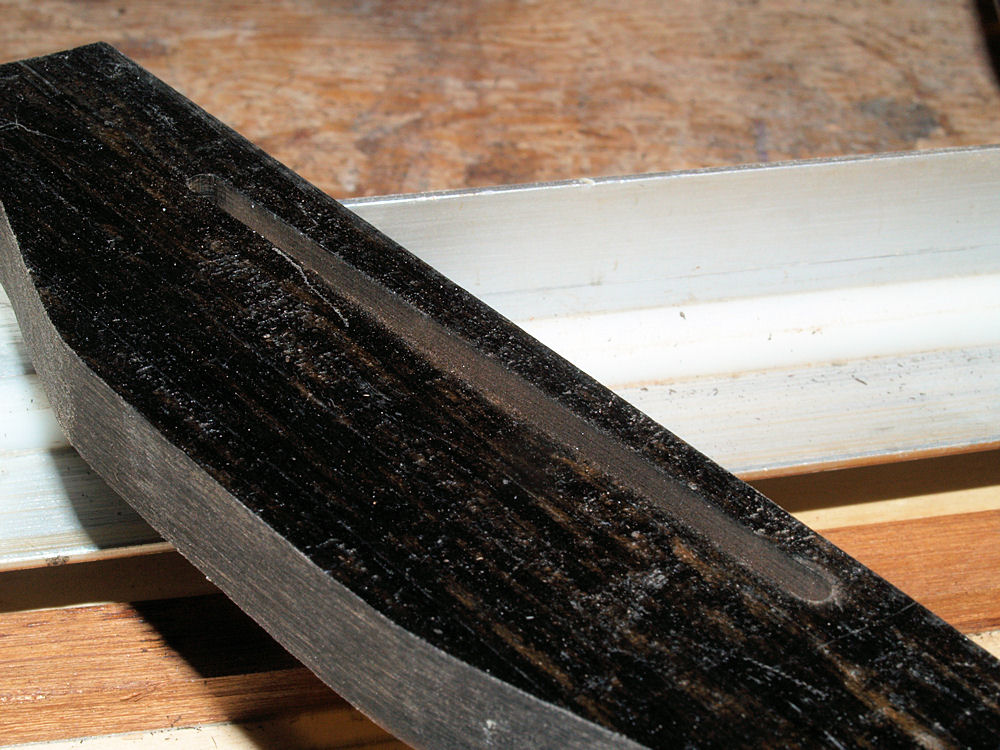 |
(240) 23-Jan-2010
A picture of the finished channel. This channel will hold the saddle quite snuggly. |
 |
(241) 23-Jan-2010
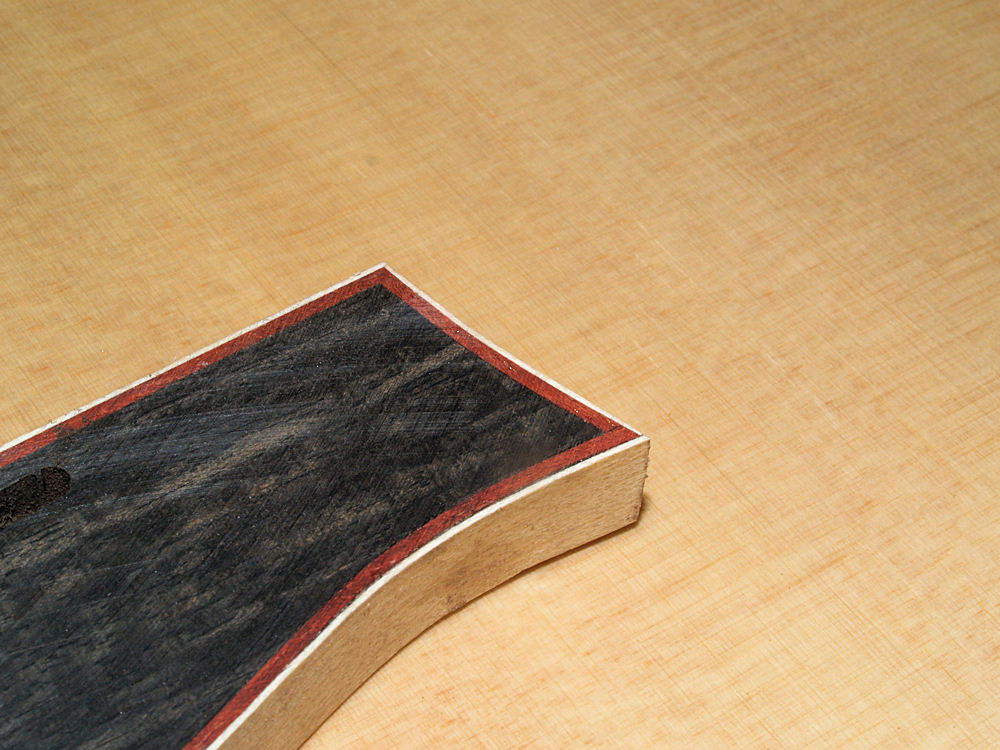
Now that I have the bridge blank defined I am adding some binding and purfling. |
 |
(242) 23-Jan-2010
A look at the bridge blank with the binding installed. |
 |
(243) 23-Jan-2010
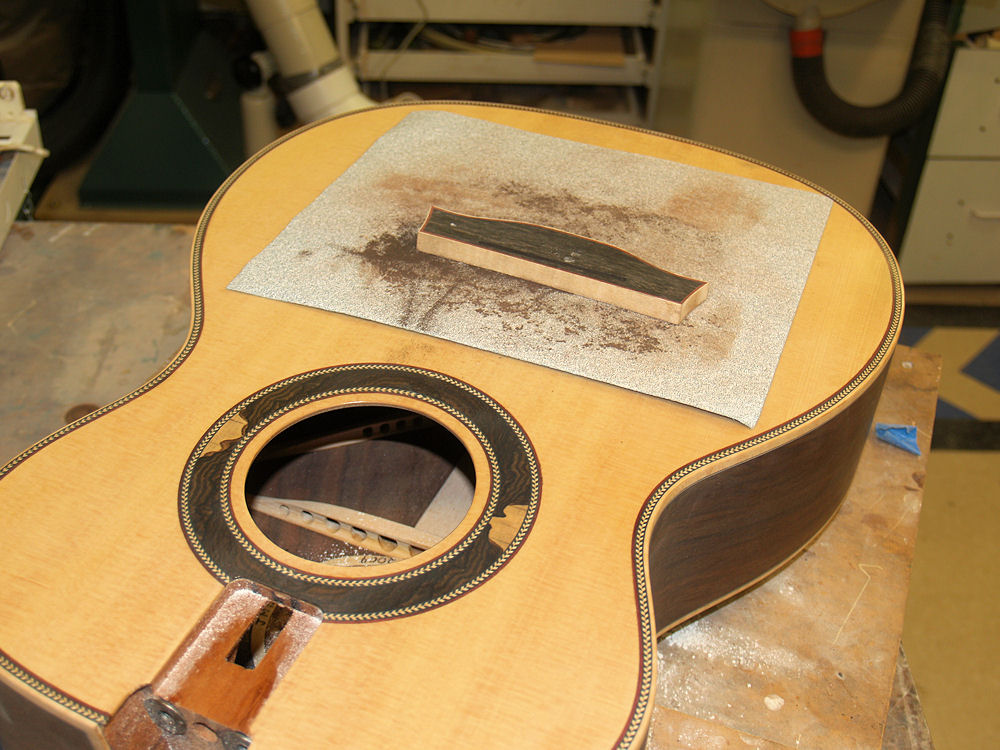
The
next operation matches the bottom of the bridge to the top of the
guitar. Remember the top is in the shape of a dome. I place
a sheet of sandpaper on the top and then run the bridge blank across it
until the two surface match allowing a good bond to be made when the
bridge is glued on to the top. |
 |
(244) 23-Jan-2010
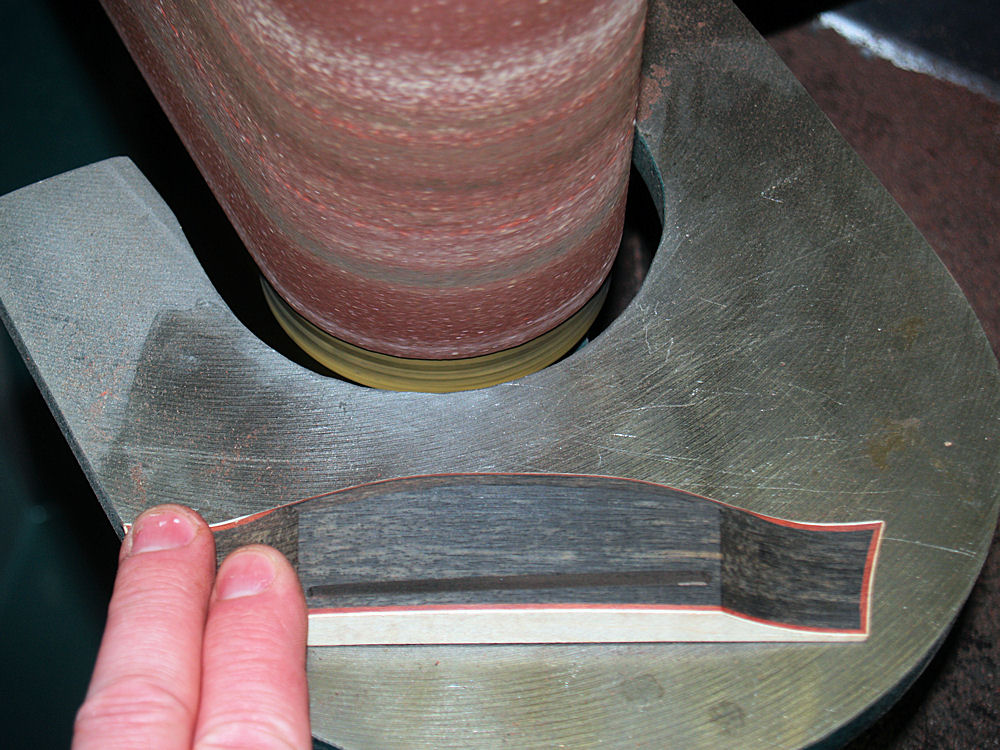
Here I am shaping the bridge using a belt sander. |
 |
(245) 23-Jan-2010
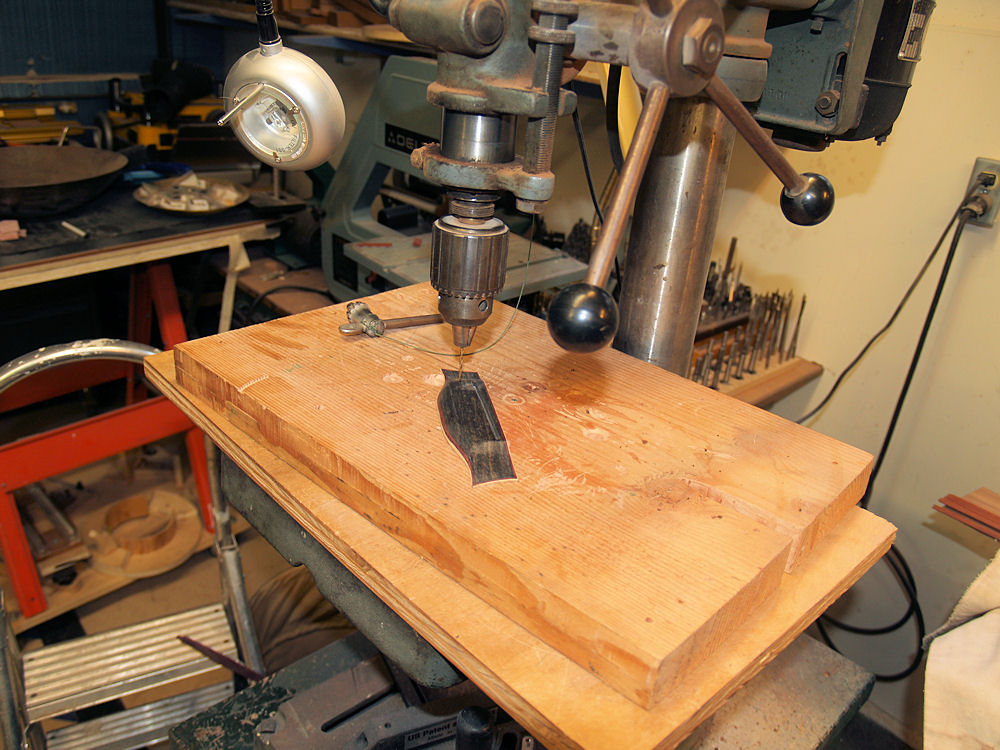
And finally the bridge gets the holes for the bridge pins. |
 |
(246) 23-Jan-2010
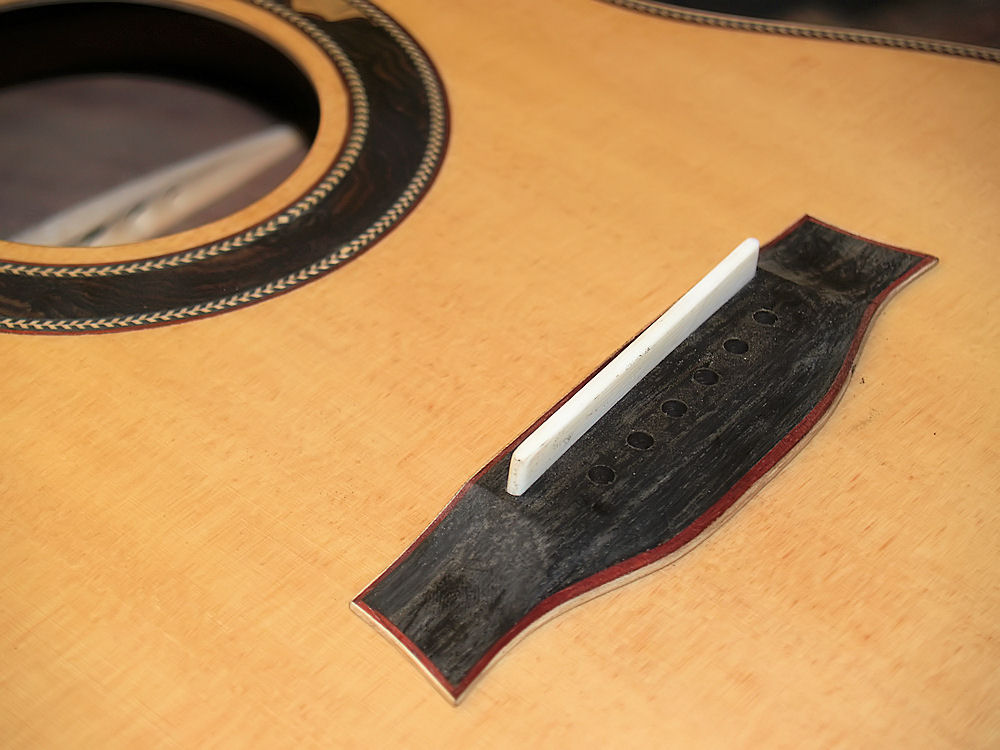
The finished bridge on the top of the guitar. |