 |
(26) 22-Sept-2009
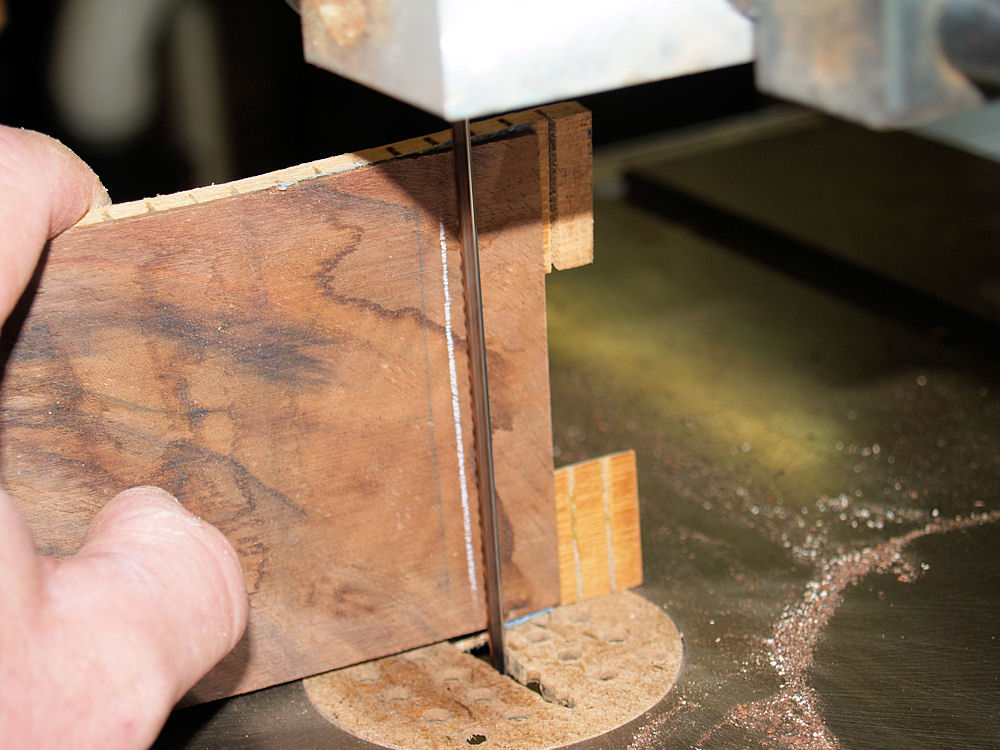
In this image I am trimming down the excess on the sides. I have
carefully outlined the shape of the sides. |
 |
(27) 22-Sept-2009
And the ends get trimmed off in the band saw |
 |
(28) 22-Sept-2009
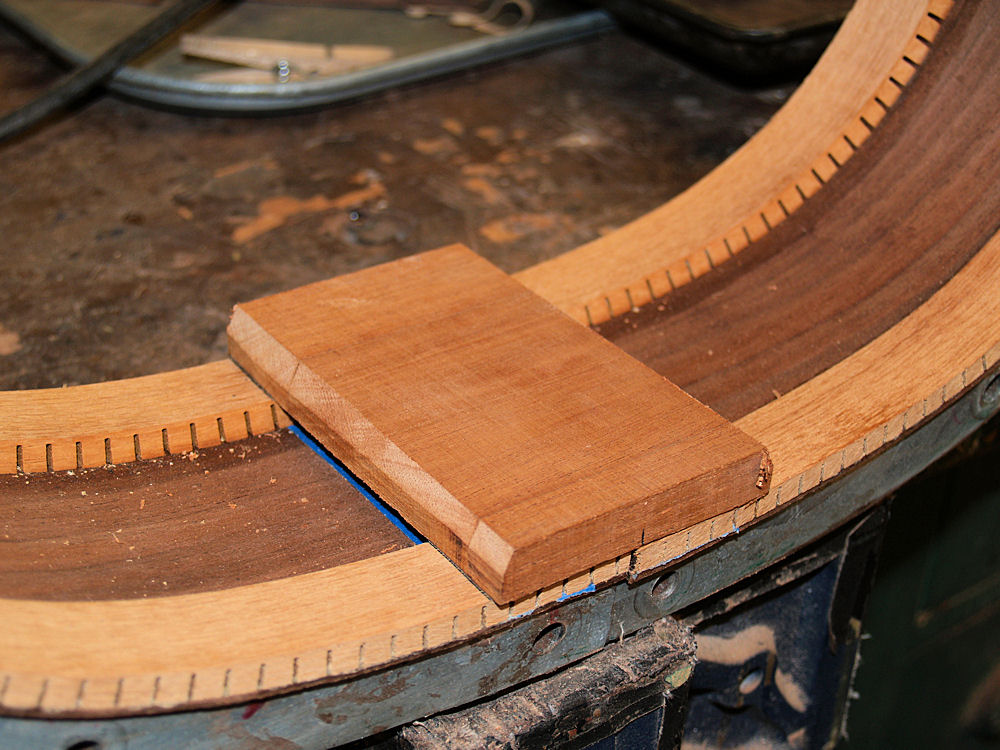
Now I am getting read to install the heal and tail blocks. First
I have to trim the kerfing off to make a snug fit. |
 |
(29) 22-Sept-2009
Here we can see the sides with the kerfing removed. |
 |
(30) 22-Sept-2009
The heal block makes a snug fit inbetween the kerfing. |
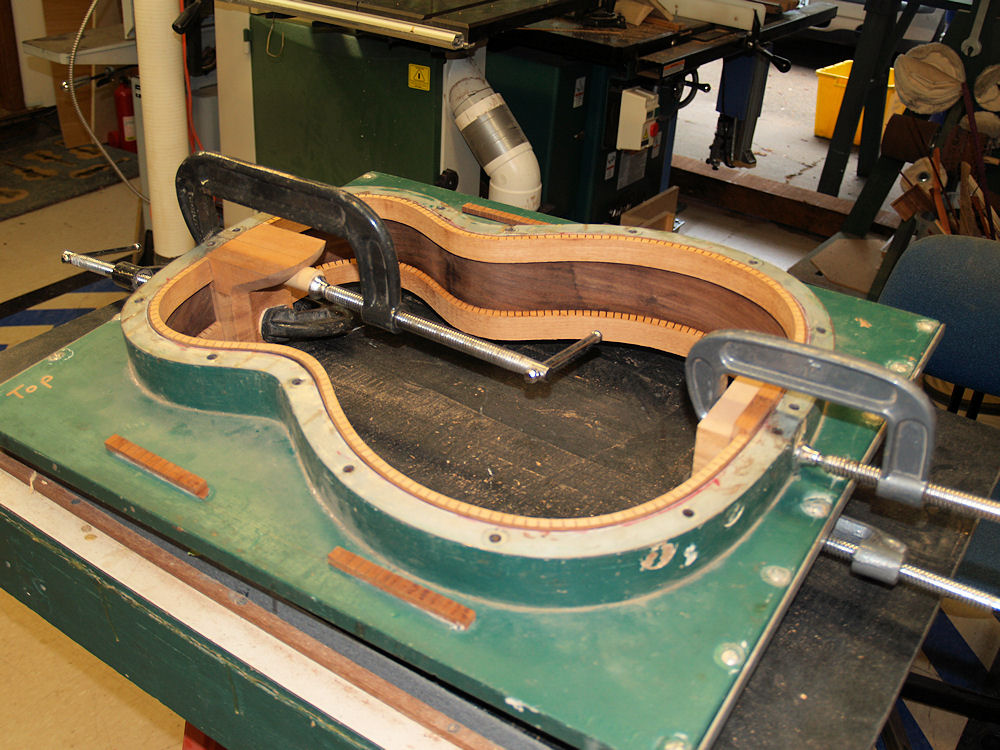 |
(31) 22-Sept-2009
Now, with everything in the form, the sides get glued together with the
heal and tail block. |
 |
(32) 22-Sept-2009
And when it is all dried it comes out of the forms and with a little
imagination you can just see a guitar in there somewhere. |
 |
(33) 22-Sept-2009
Next I am turning my attention to setting the rosette. Here I am
cutting a piece of Zircote into 1/4 of a ring. |
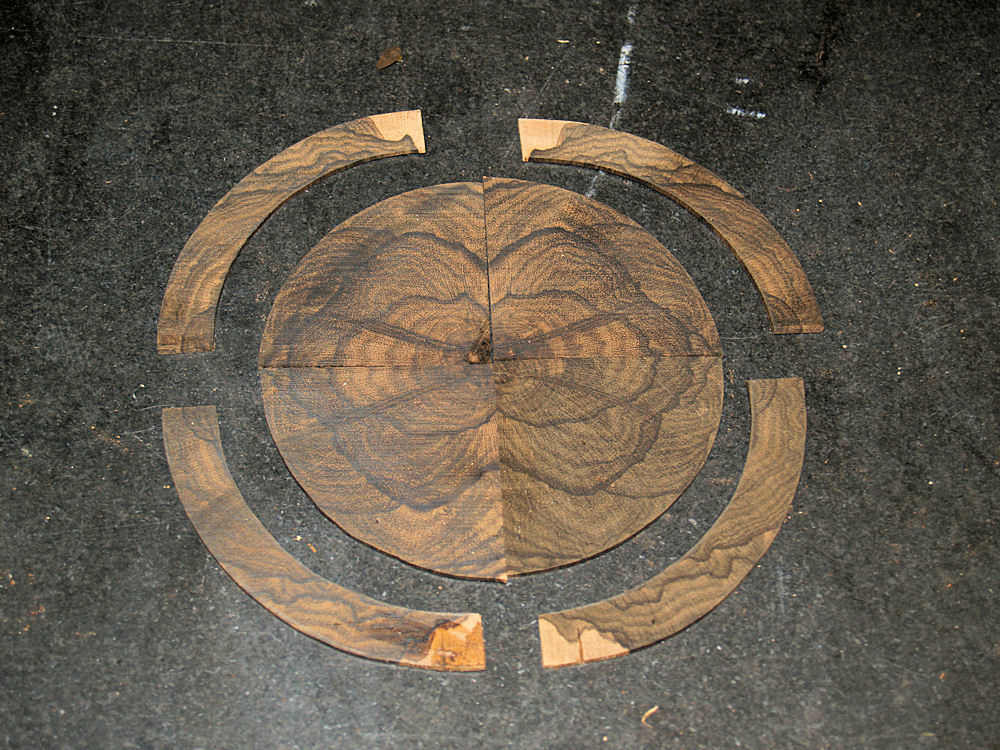 |
(34) 22-Sept-2009
And we see here the quad matched pieces from the Zircote. |
 |
(35) 22-Sept-2009
Before I can set the rosette, I have to make some blood wood strips.
I am using my small band saw for this. |
 |
(36) 22-Sept-2009
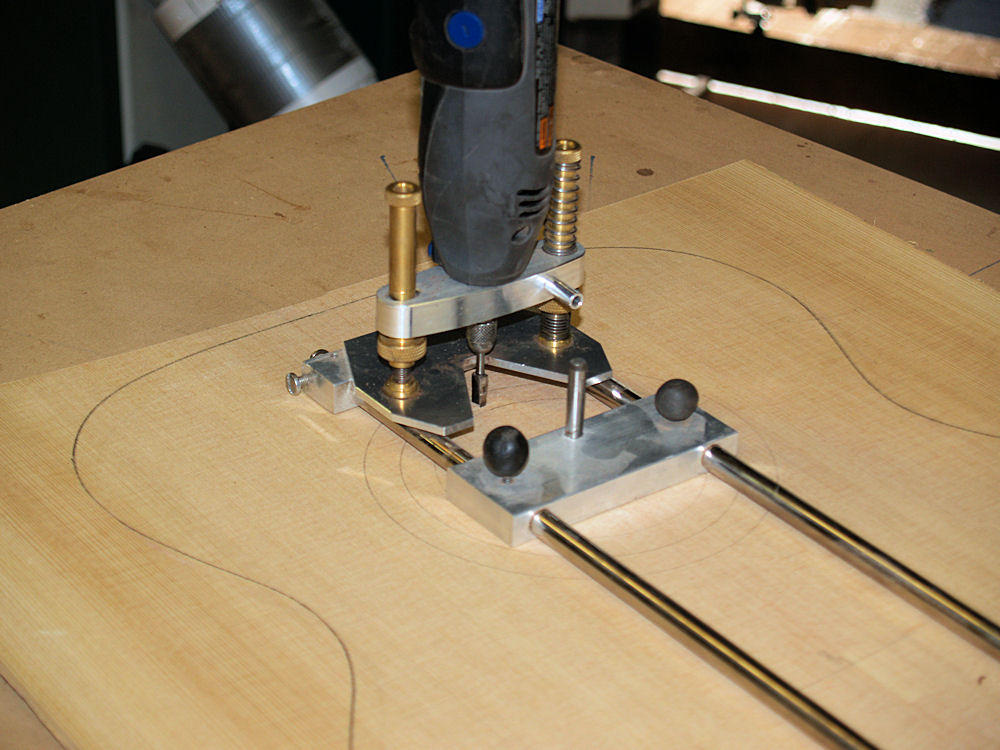
Now to the top. The first thing I will do is cut a channel out of
the top to accept the Zircote ring. |
 |
(37) 22-Sept-2009
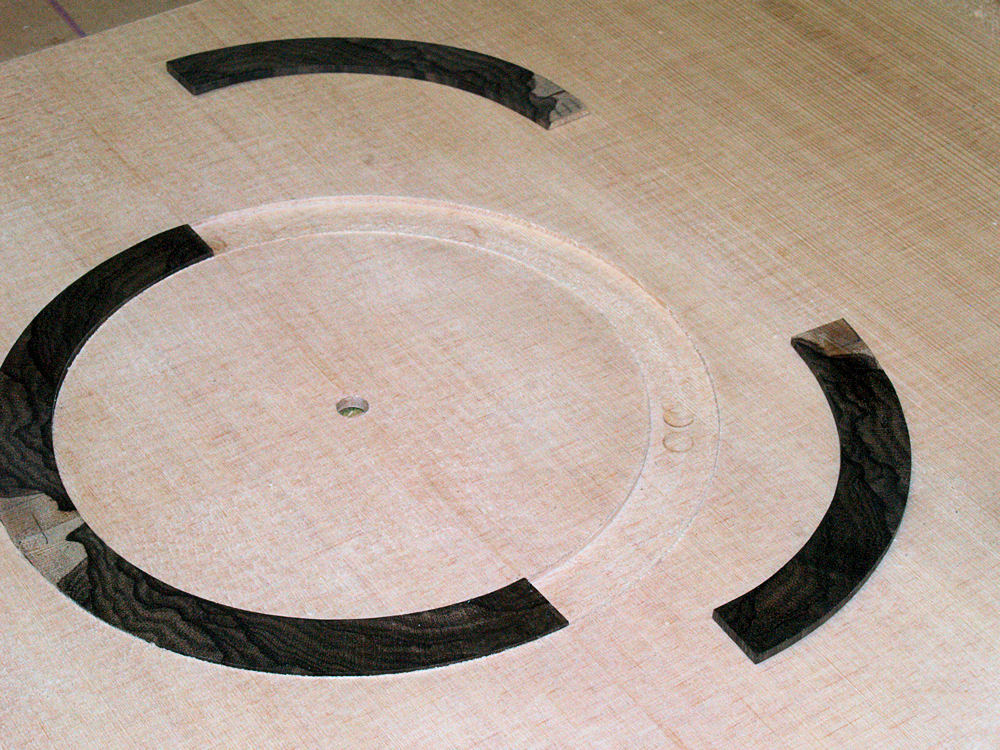
Here we see one of the pieces of the Zircote ring sitting in its
channel. |
 |
(38) 22-Sept-2009
Two pieces are installed with two left to go. |
 |
(39) 22-Sept-2009
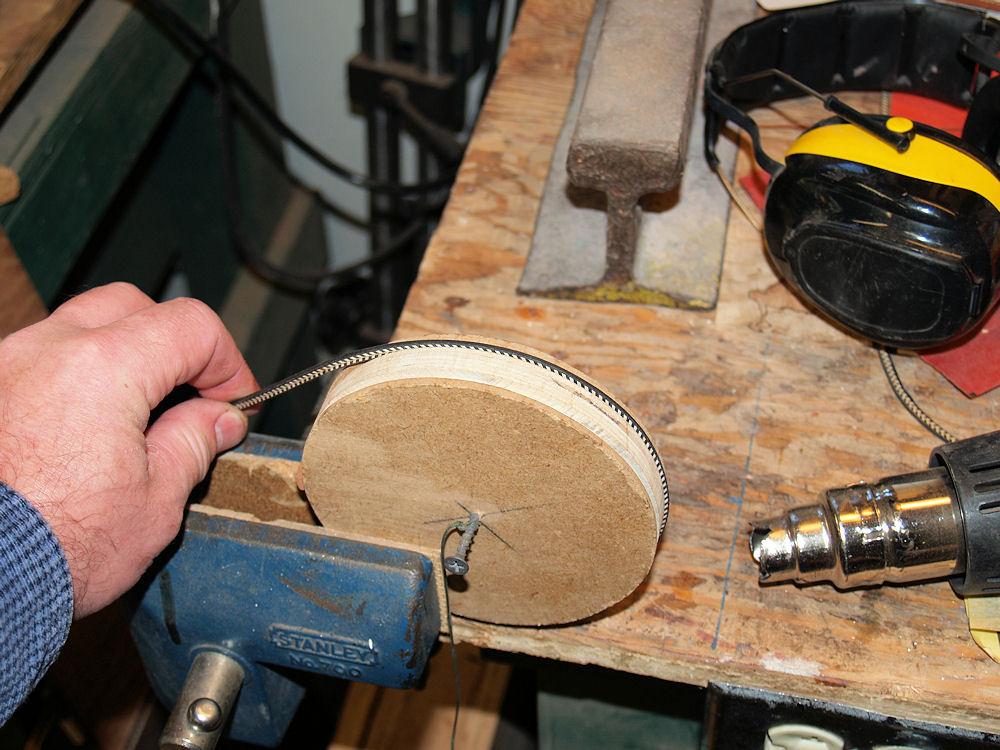
And finally all four pieces are in. |
 |
(40) 22-Sept-2009
In this picture I am using a circle form and a heat gun to bend
the purfling pieces that will outline the Zircote ring. |
 |
(41) 22-Sept-2009
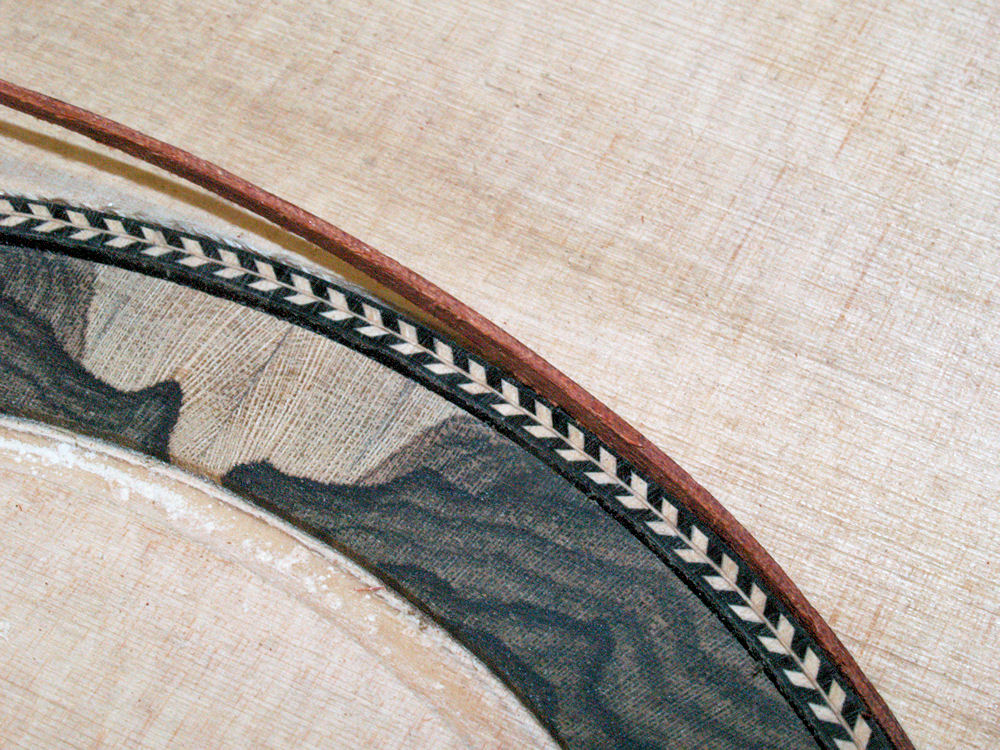
And the bent pieces of purfling easily go in the channel. |
 |
(42) 22-Sept-2009
Here we see a close up of the herringbone purfling and the blood wood
strip. |
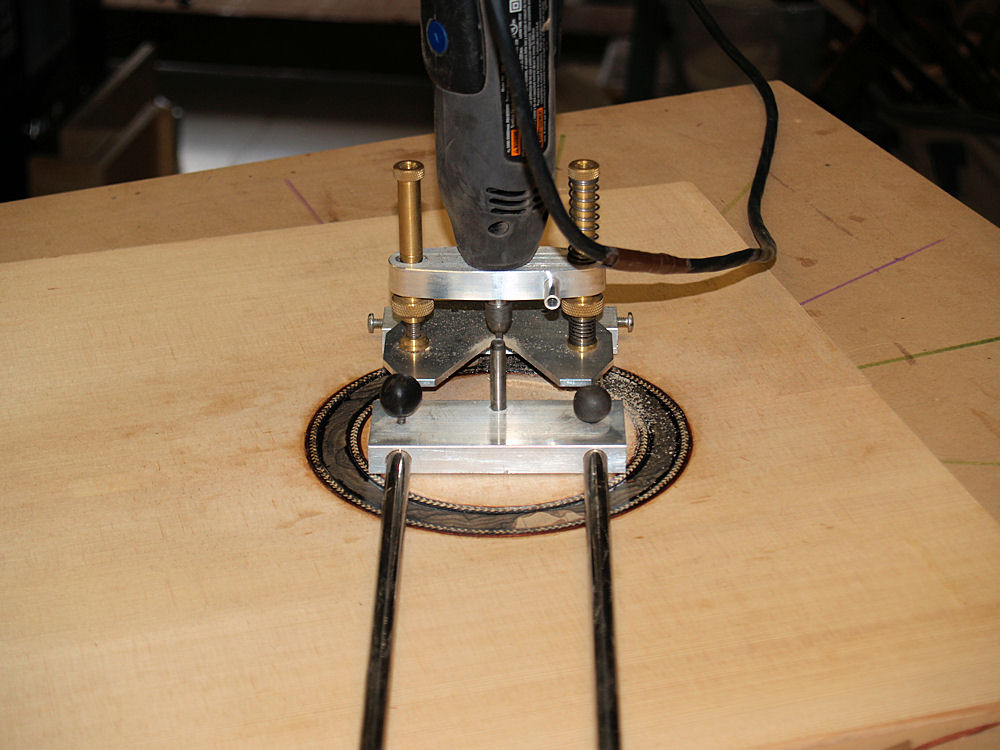 |
(43) 22-Sept-2009
Finally the sound hole gets cut out and then the top is sanded flush
and the top is sanded down to dimension by sanding the back. |
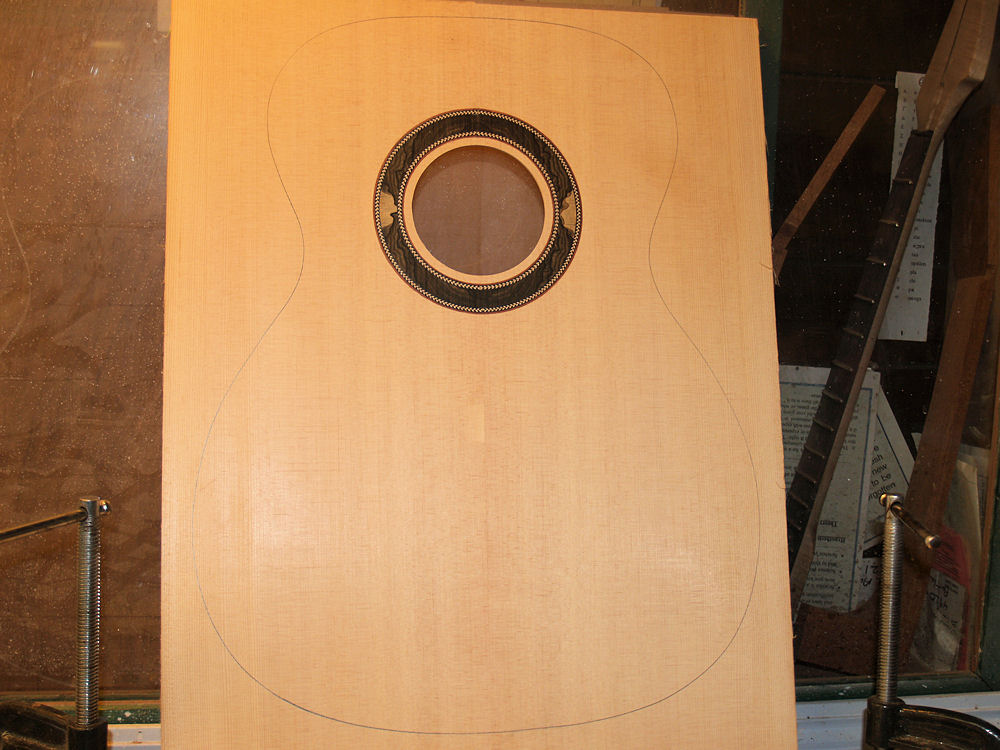 |
(44) 22-Sept-2009
Here we see the top with the rosette. |
 |
(45) 22-Sept-2009
And here is the rosette with the plates that we will use for the
contra-rosette showing through the sound hole. |