 |
(77) 26-Oct-2009
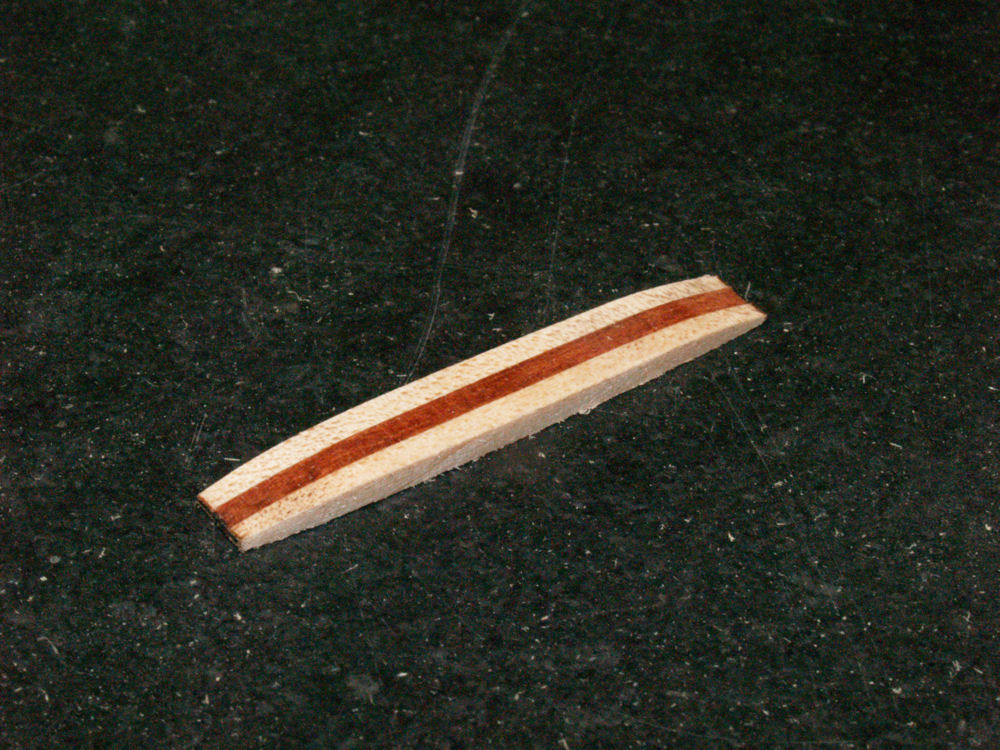
In
this image I am showing a brace that will help prevent sides from
splitting if the guitar is unduly stressed, i.e., if it is dropped.
This brace is a laminate of paduke and maple and is gently shaped
into a suggestion of a Greek column. |
 |
(78) 26-Oct-2009
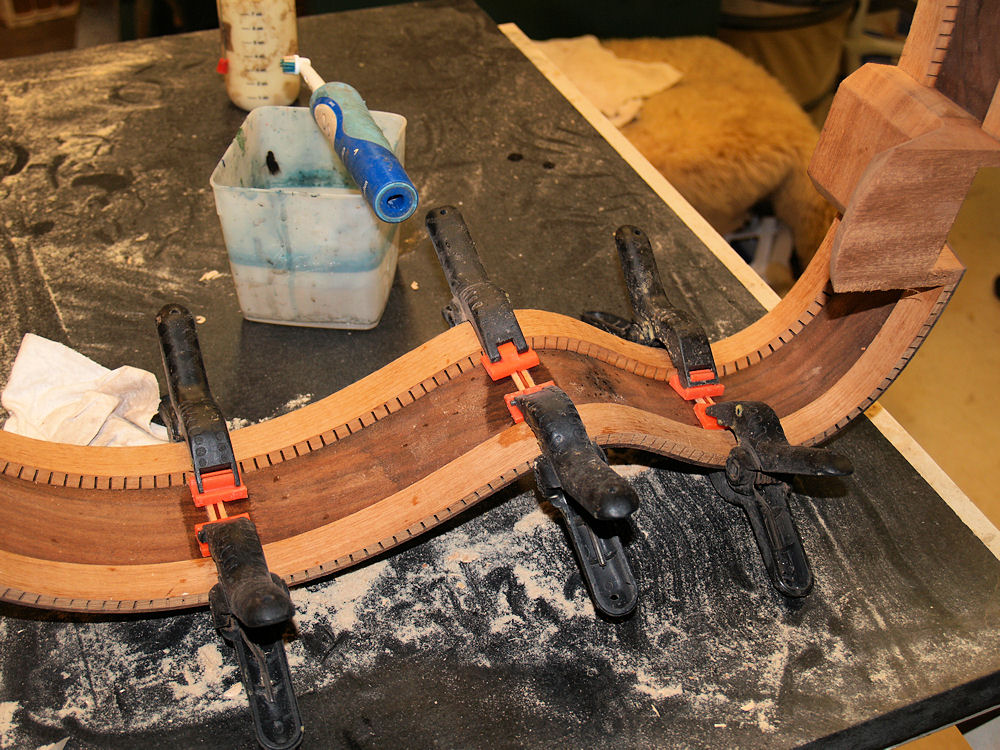
Here I am gluing the side straps into place. I position them so they match up to the bottom braces. |
 |
(79) 26-Oct-2009
To
help ensure that the top and back can be repeatedly positioned on the
sides in the correct position I install these small buttons that fit
into corresponding holes on the sides. |
 |
(80) 26-Oct-2009
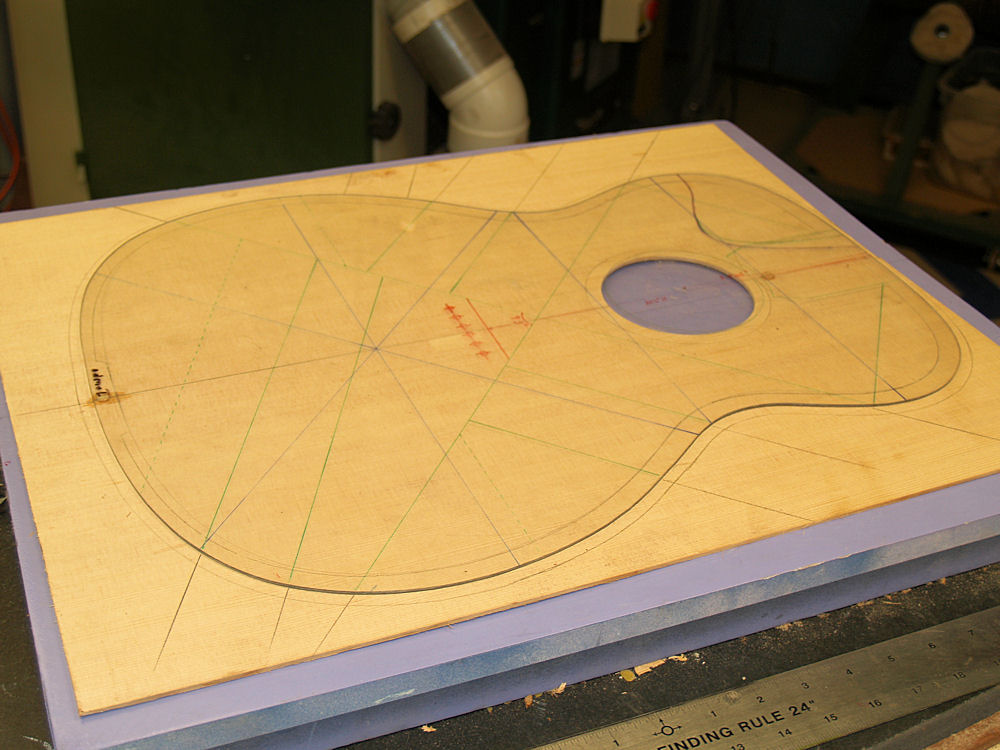
Here I am marking the position of the braces on the back side of the top. |
 |
(81) 26-Oct-2009
The major X-braces have a channel cut into them so they can dovetail into each other. |
 |
(82) 26-Oct-2009
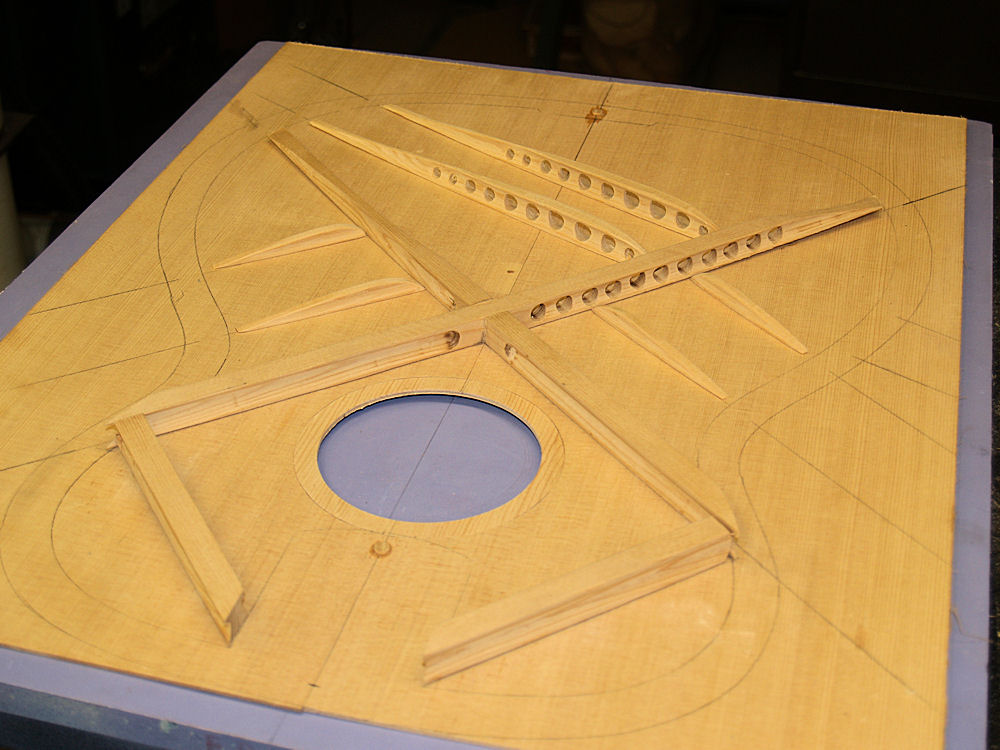
Here I am laying out the top braces to make sure everything will fit. |
 |
(83) 26-Oct-2009
I use the button and hole technique to position the major braces on the top. |
 |
(84) 26-Oct-2009
Before
I glue the braces on I cut out the top plate. The excess pieces
will be used for some of the reinforcing braces on the top. |
 |
(85) 26-Oct-2009
Here I am using my go-box to glue on the X-braces. |
 |
(86) 26-Oct-2009
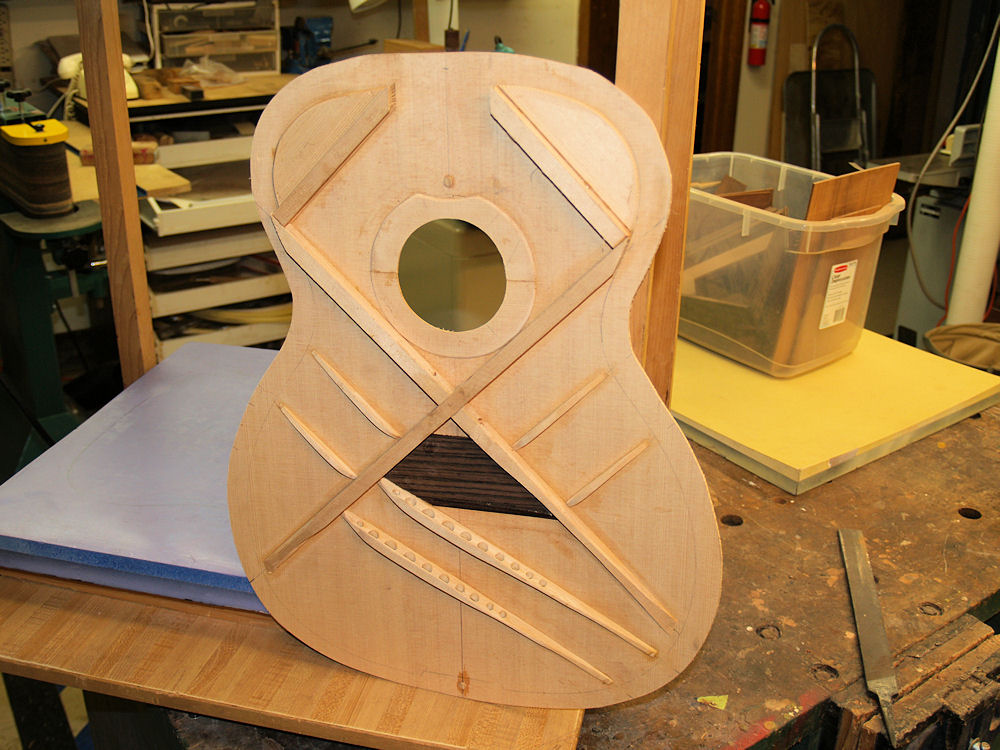
And more braces are glued on. |
 |
(87) 26-Oct-2009
And
in the end all of the braces are glued on. Before the top is
glued on to the sides I will go over the top and clean it up removing
any excess glue and positioning marks. |
 |
(88) 26-Oct-2009
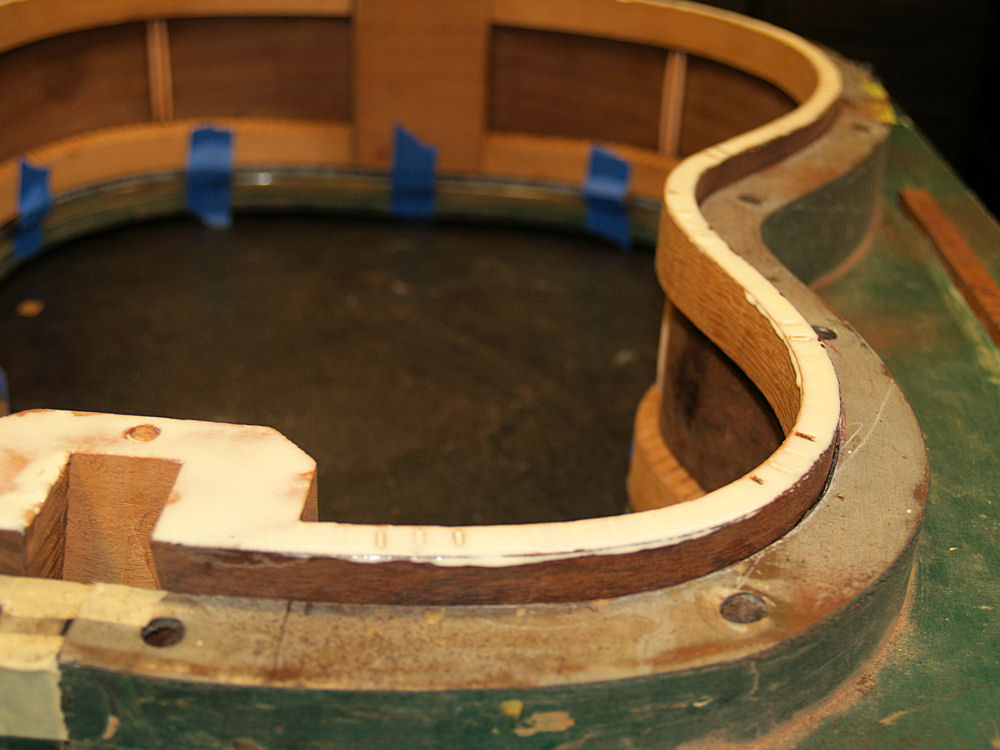
Here I am getting ready to glue the back onto the sides. |
 |
(89) 26-Oct-2009
The side is placed into its form and a bead of glue is applied to kerfing shelf. |
 |
(90) 26-Oct-2009
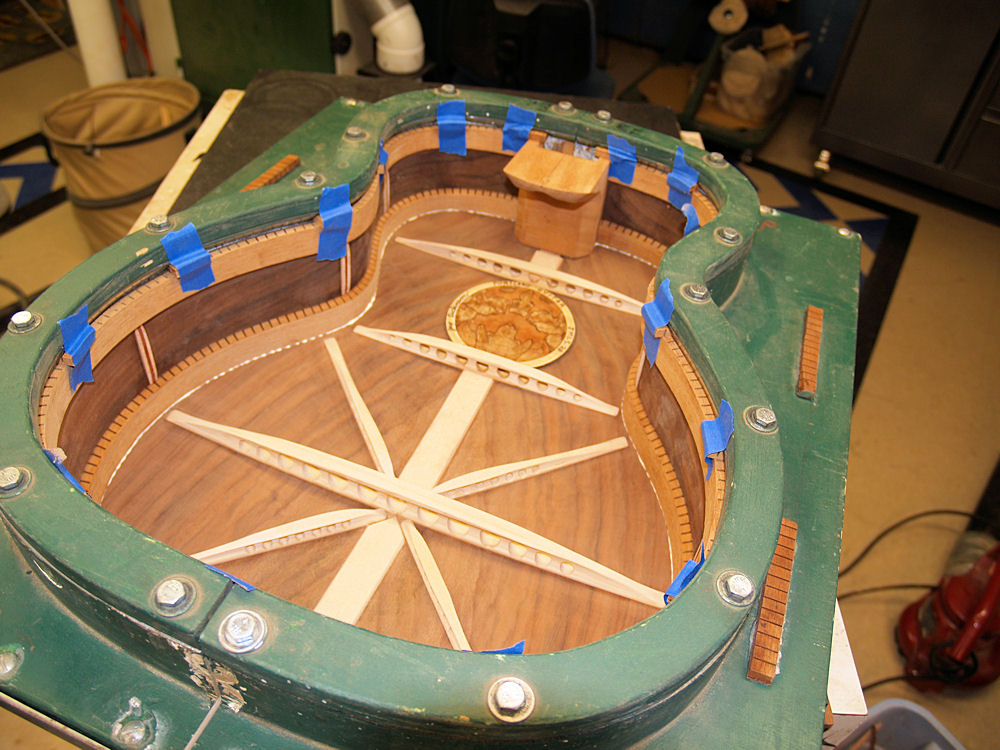
The back is place on the rim and the top flange applies pressure around the perimeter. |
 |
(91) 26-Oct-2009
A little bead of glue is squeezed out which I clean up before it sets. |
 |
(92) 26-Oct-2009
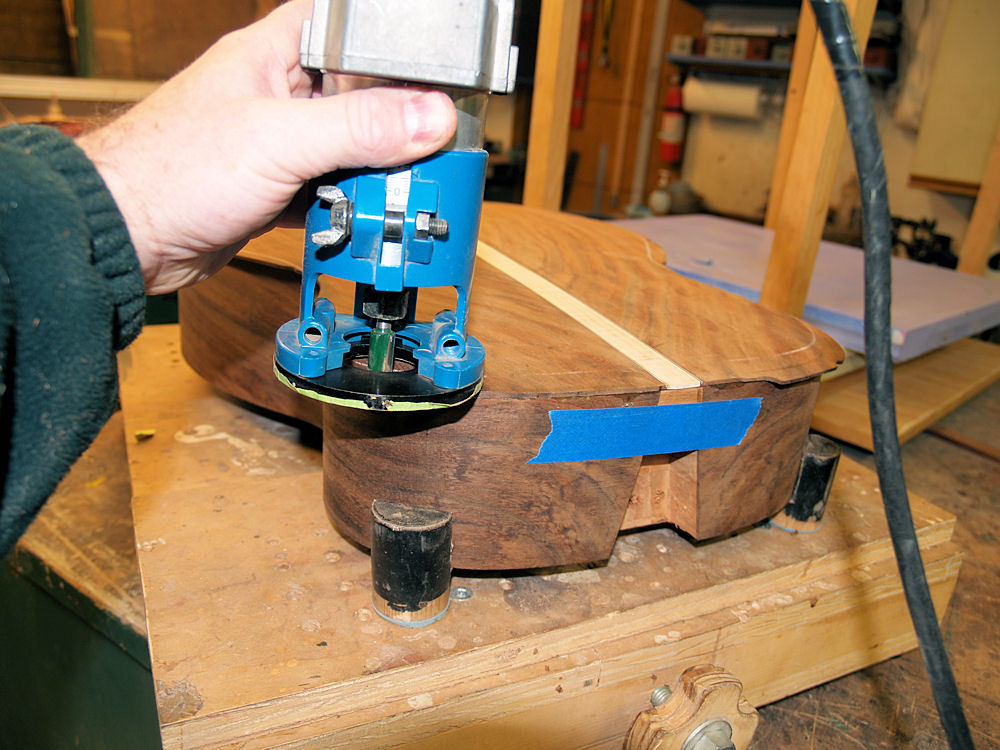
When the glue is dry and the assembly is removed from the form there is a lip of wood that will be routed off. |
 |
(93) 26-Oct-2009
Here I am routing off the excess. |
 |
(92) 26-Oct-2009
When the glue is dry and the assembly is removed from the form there is a lip of wood that will be routed off. |
 |
(93) 26-Oct-2009
Here I am routing off the excess. |
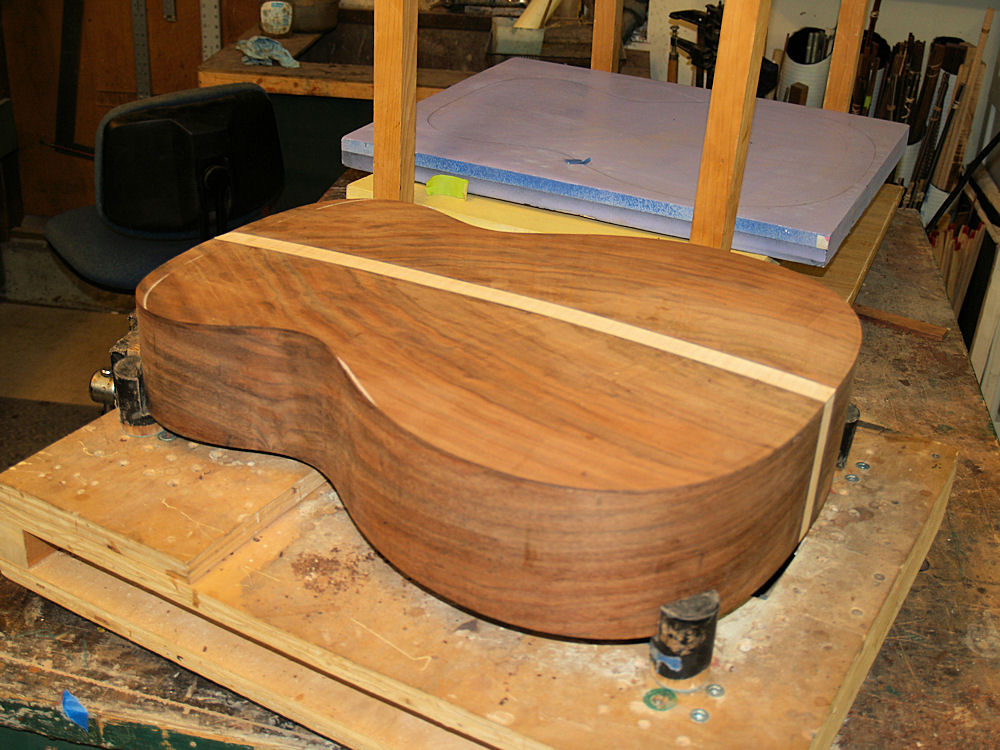 |
(94) 26-Oct-2009
The back glued on to the sides. |
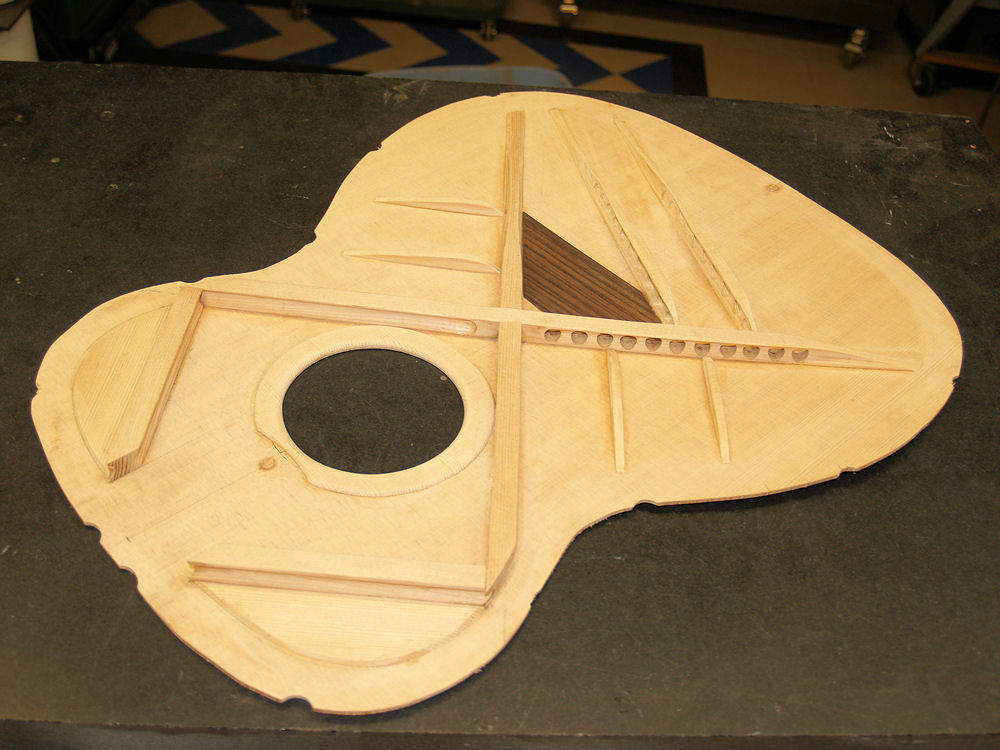 |
(95) 26-Oct-2009
Here I am preparing to glue the top onto the sides. |
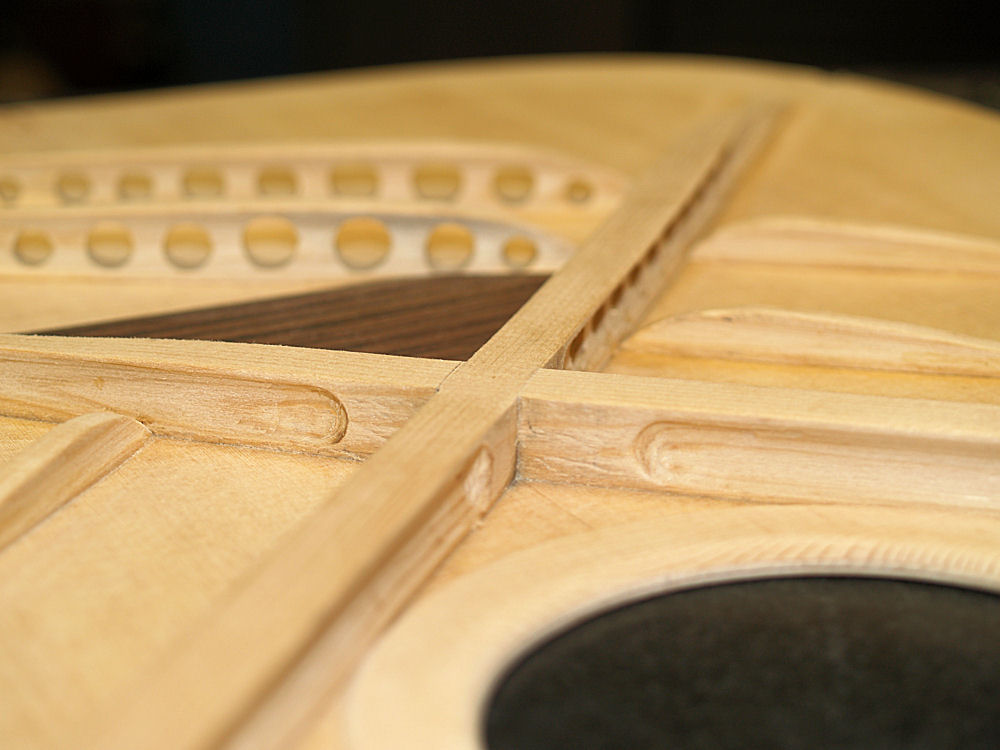 |
(96) 26-Oct-2009
A close up picture of the top braces. |
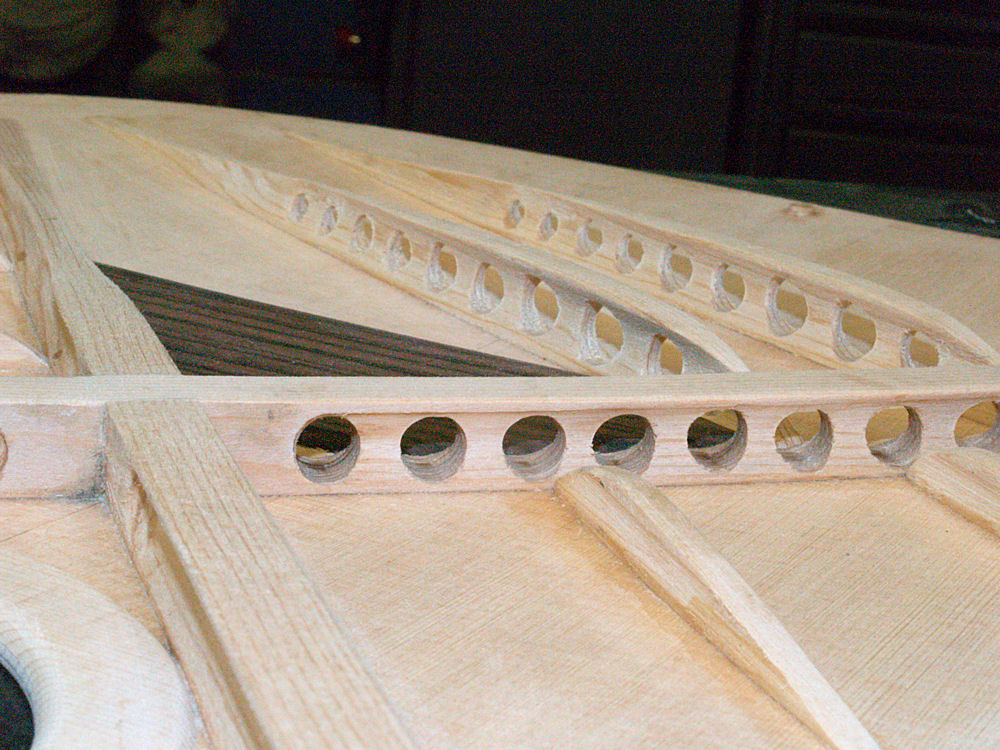 |
(97) 26-Oct-2009
A close up picture of the top braces. |
 |
(98) 26-Oct-2009
A close up picture of the top braces. |
 |
(99) 26-Oct-2009
A close up picture of the top braces. |
 |
(100) 26-Oct-2009
A close up picture of the top braces. |
 |
(101) 26-Oct-2009
A close up picture of the top braces. |
 |
(102) 26-Oct-2009
A close up picture of the rosette. |
 |
(103) 26-Oct-2009
And another. |
 |
(104) 26-Oct-2009
Just like gluing on the back I run a bead of glue around the rim. |
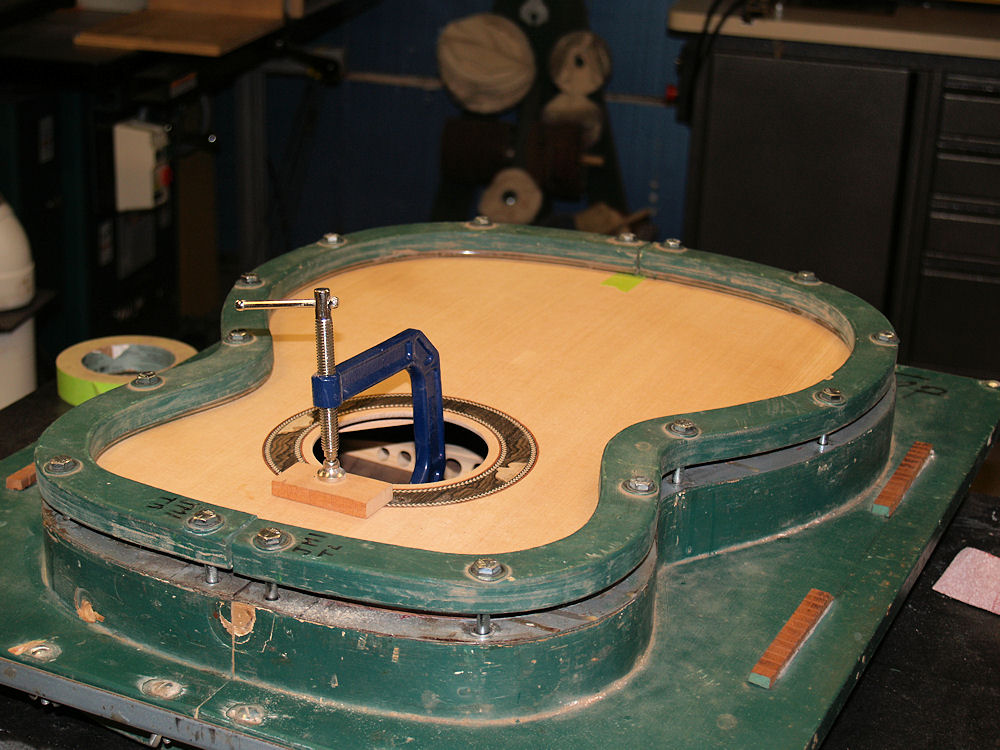 |
(105) 26-Oct-2009
The top flange presses the top into place and a C clamp presses the top onto the heal block. |
 |
(106) 26-Oct-2009
The top comes out of the form with an excess lip. |
 |
(107) 26-Oct-2009
And I use a router to remove the excess. |
 |
(108) 26-Oct-2009
A picture of the assembled box. |