 |
(143) Sept 12, 2008
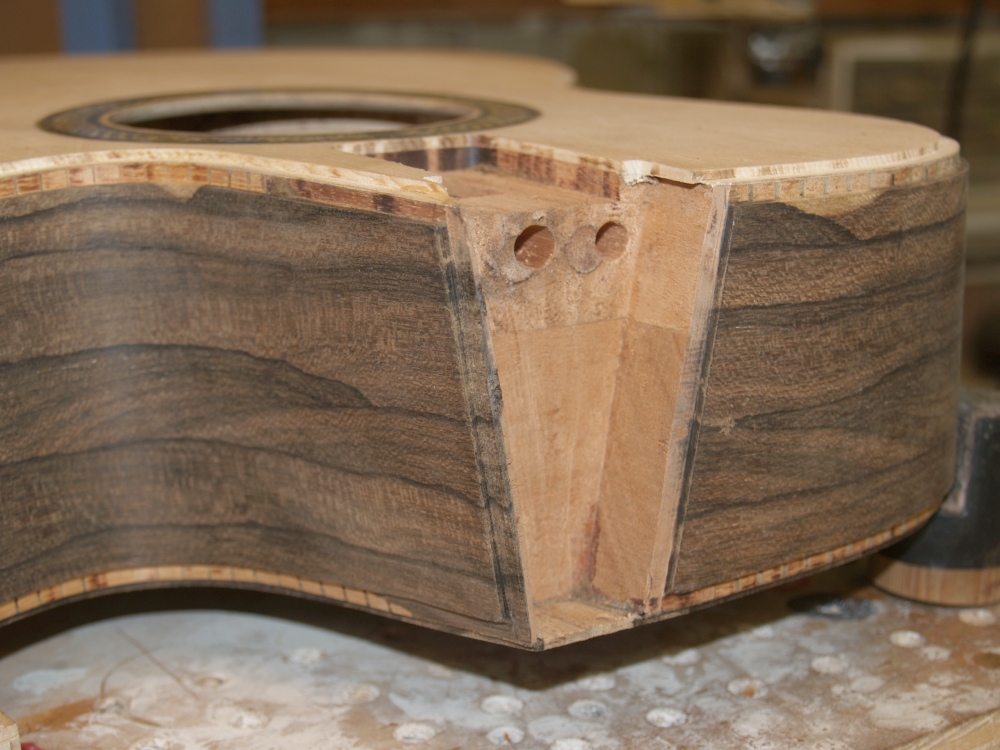
Here we see the end graft made of Snakewood. |
 |
(144) Sept 12, 2008
This guitar has active electronics; to make access to the battery easy
and convenient the end graft has a trap door that is held on with four
strong magnets |
 |
(145) Sept 12, 2008
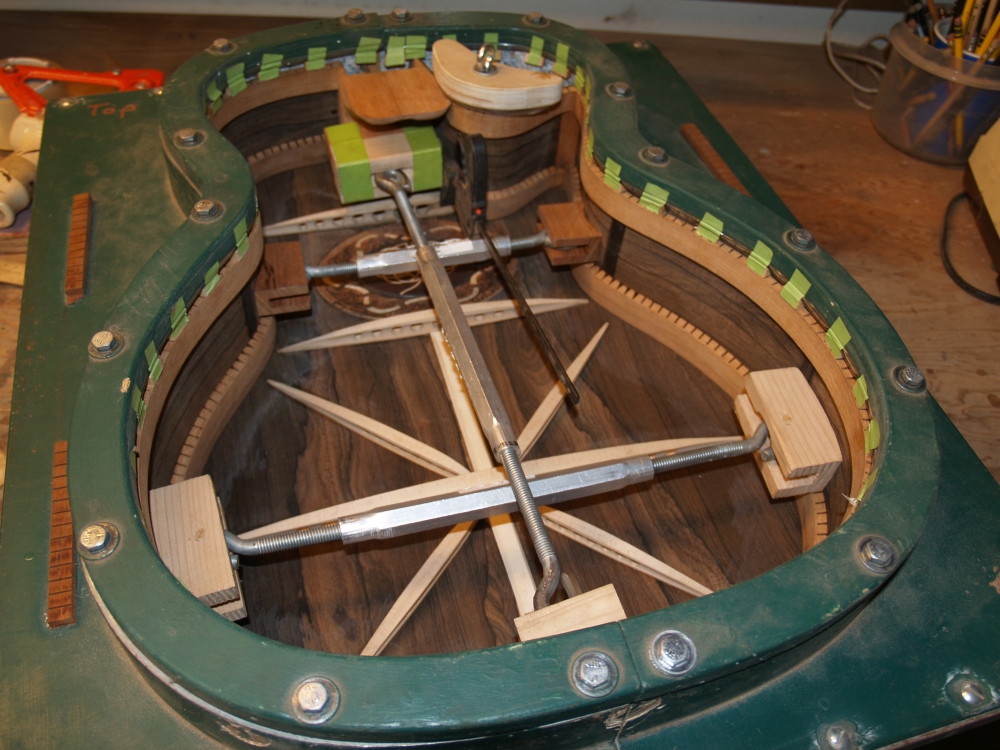
This image shows the spreaders used to force the rim into its final shape as the back is being glued on. |
 |
(146) Sept 12, 2008
When the rim comes out of the form the bottom has a small lip on it that has to be trimmed off. |
 |
(147) Sept 12, 2008
A hand held router trims the lip off flush with the side. |
 |
(148) Sept 12, 2008
This image shows the electronics set up. |
 |
(149) Sept 12, 2008
And now the top gets glued on. |
 |
(150) Sept 12, 2008
After the top is dry, it comes out of the form and the excess gets trimmed off. |
 |
(151) Sept 12, 2008
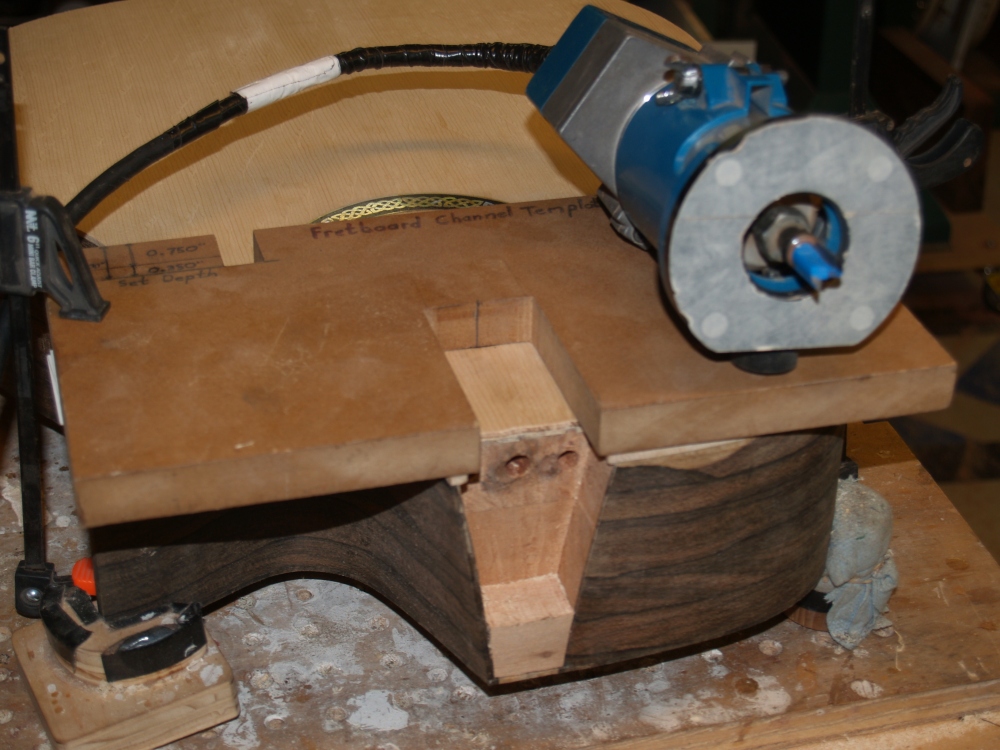
To accommodate the cantilever that supports the fretboard, a channel will be routed out of the top. |
 |
(152) Sept 12, 2008
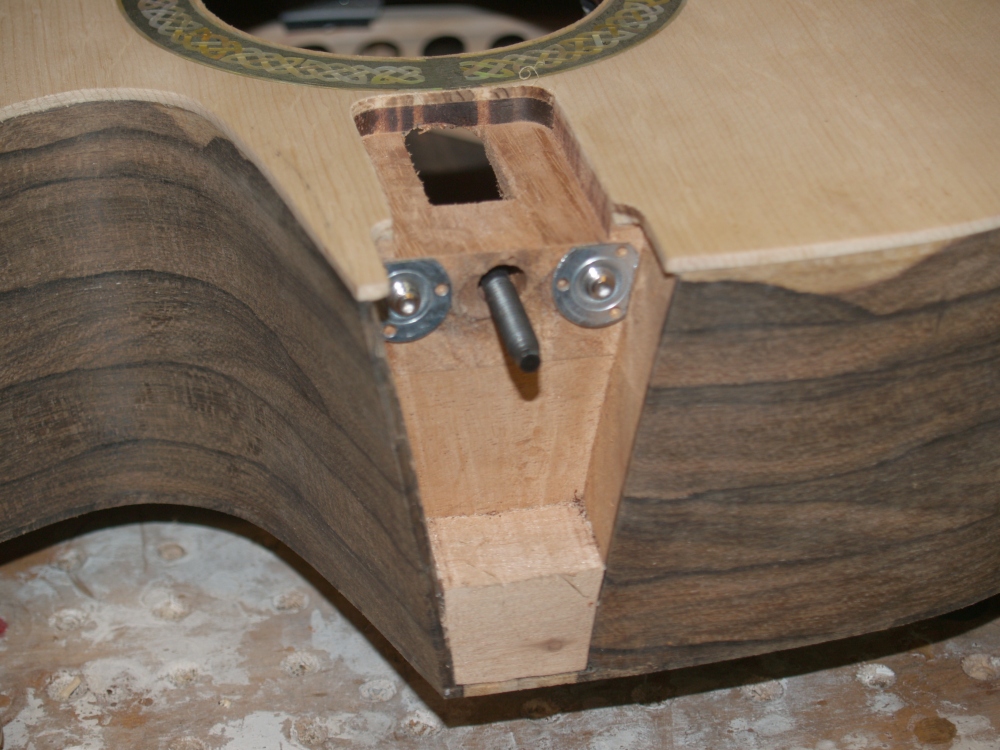
Here we see the cantilever channel and the hardware that will be used
to attach the neck and provide the pivot points. These pivot
points allow the neck to be adjusted right, left, and in and out.
This enables adjustments to the intonation if strings are changed. |
 |
(153) Sept 12, 2008
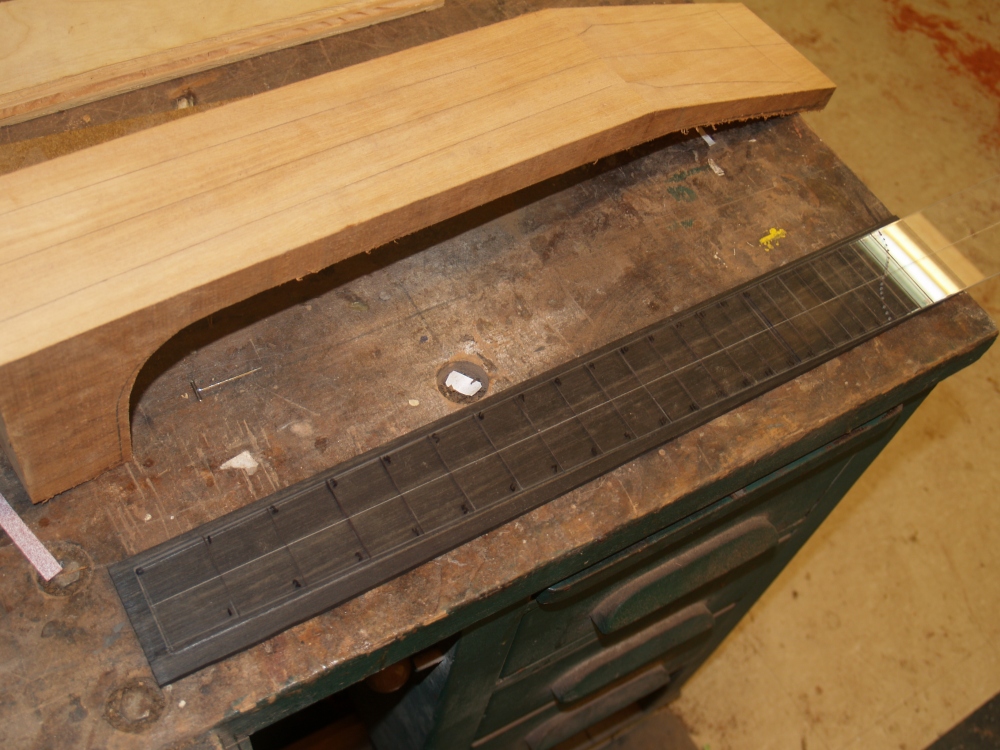
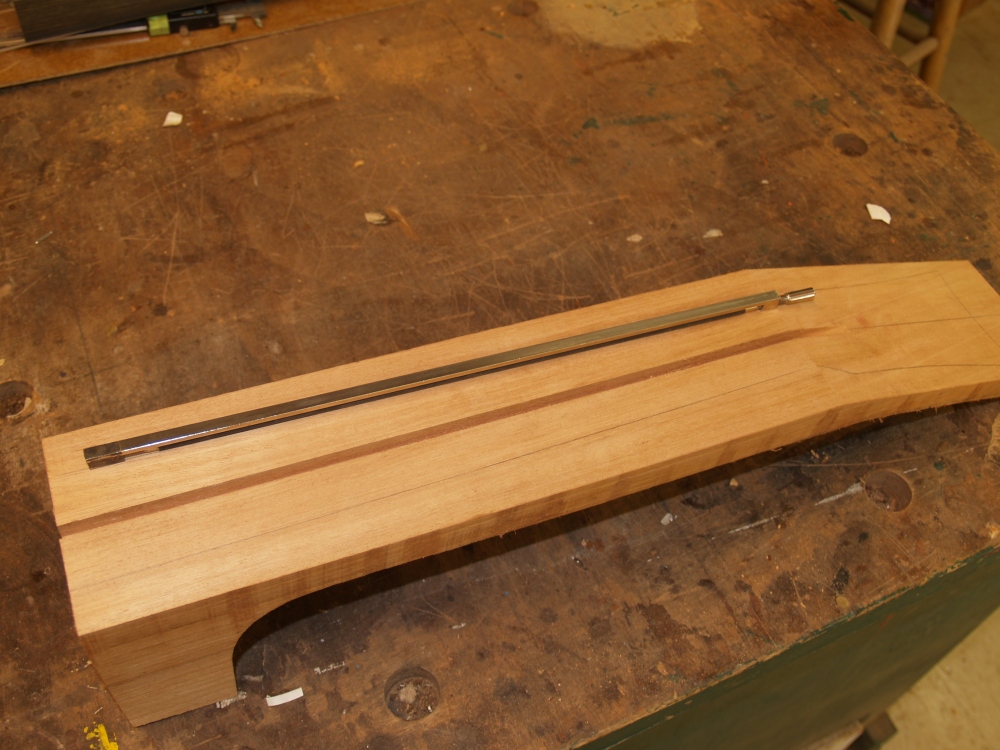
Here we see the fretboard and neck laid out. |
 |
(154) Sept 12, 2008
A channel is routed out of the neck blank for the truss rod. This rod allows adjustments to the bow of the neck. |
 |
(155) Sept 12, 2008
Next, two channels are routed out for the cantilever supports. |
 |
(156) Sept 12, 2008
After one side of the neck blank is trimmed off a hole is drilled into
the side to accept the barrel bolt that will hold the neck to
the body. |
 |
(158) Sept 12, 2008
Now I am trimming the body to accept the binding and purfling. I
use this machine of my own design called "The Universal Bindalator" to
hold the router parallel to the sides. |
 |
(159) Sept 12, 2008
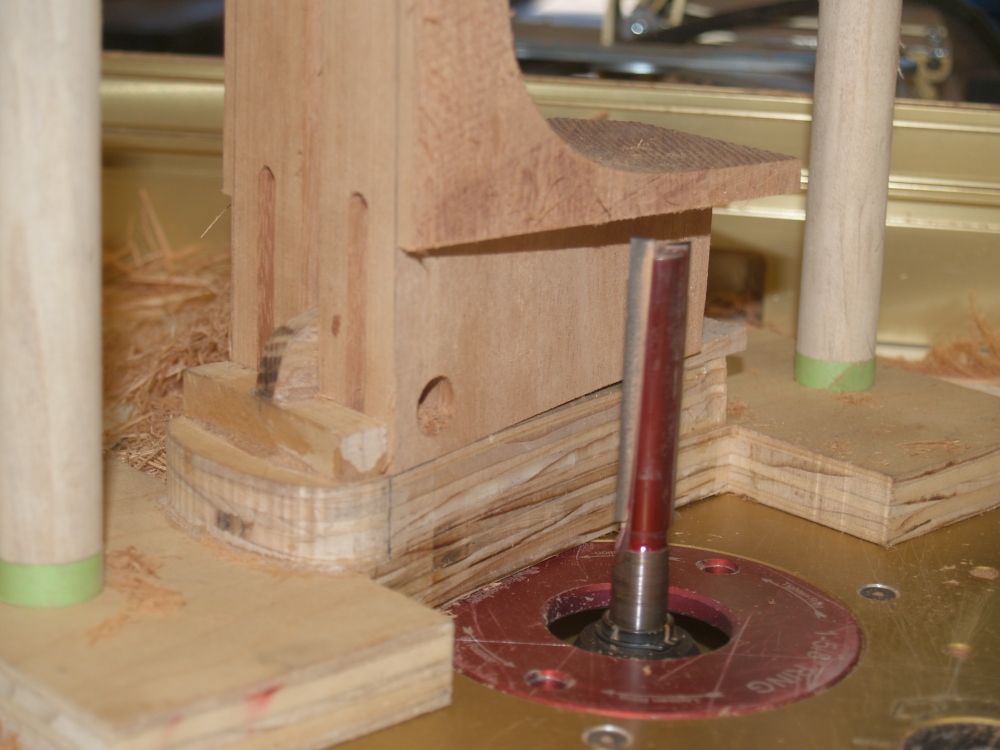
Here we see a profile of the channels. |
 |
(160) Sept 12, 2008
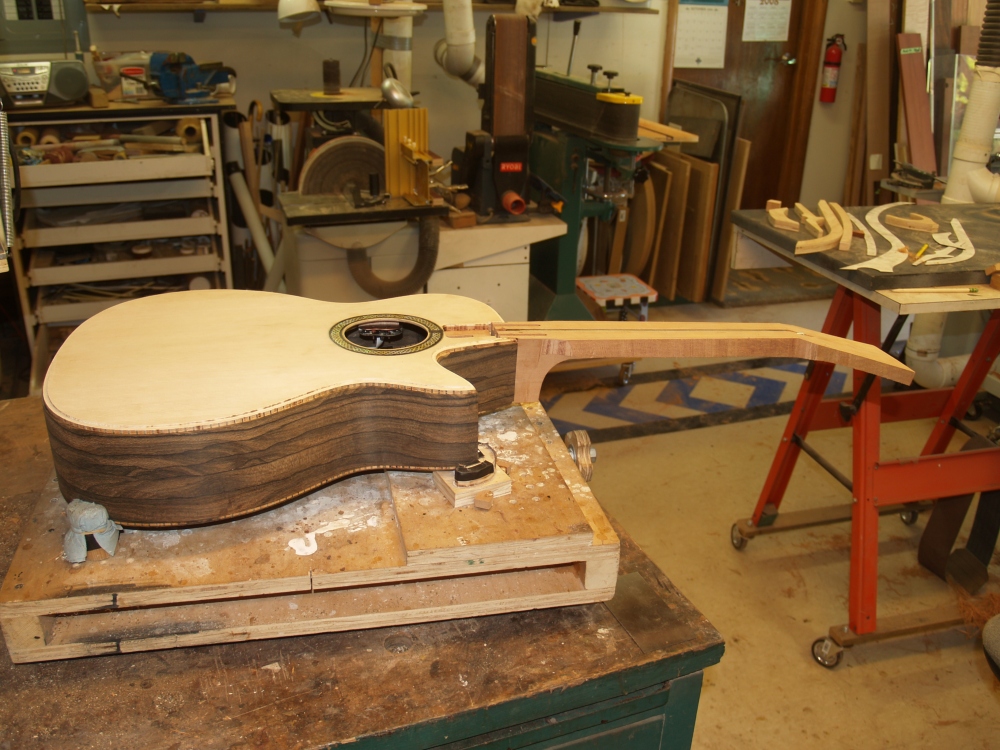
Now I am shaping the heal of the neck using my router table and this very big and scary router bit. |
 |
(161) Sept 12, 2008
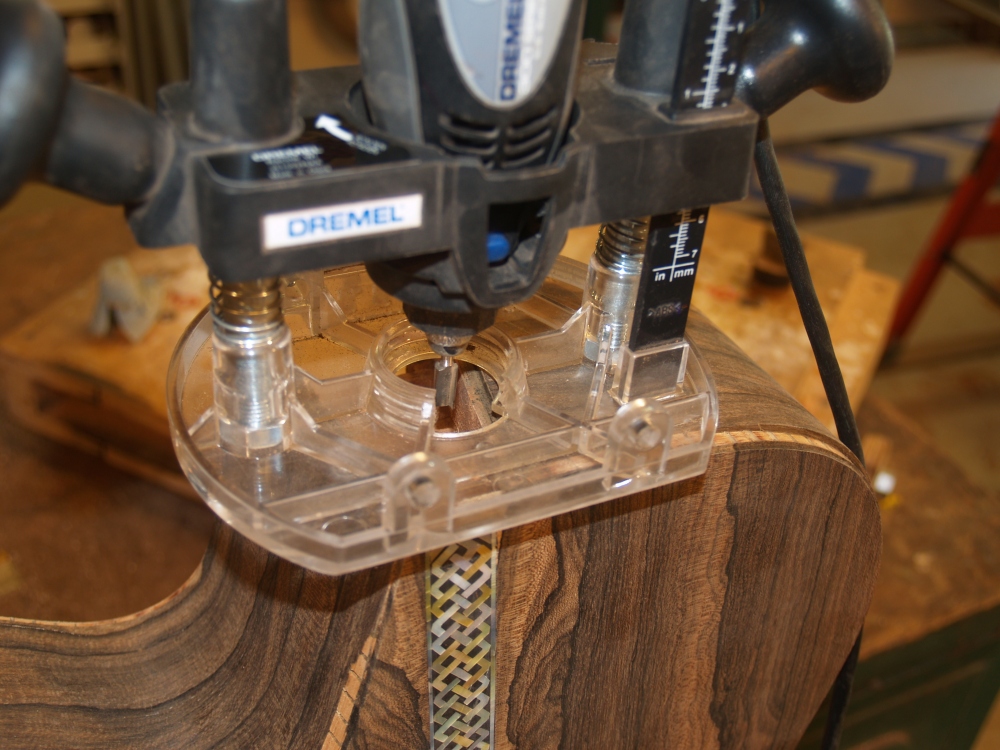
After the heal is shaped the neck gets fitted to the body and it really start to look like a guitar. |
 |
(162) Sept 12, 2008
Now I Use a small router to add the channels for the binding and purfling around the neck heal. |
 |
(163) Sept 12, 2008
Here we see the neck heal channel with the binding channels routed out. |
 |
(164) Sept 12, 2008
A am now doing a little tangential work to bend the Snakewood binding into shape. |
 |
(165) Sept 12, 2008
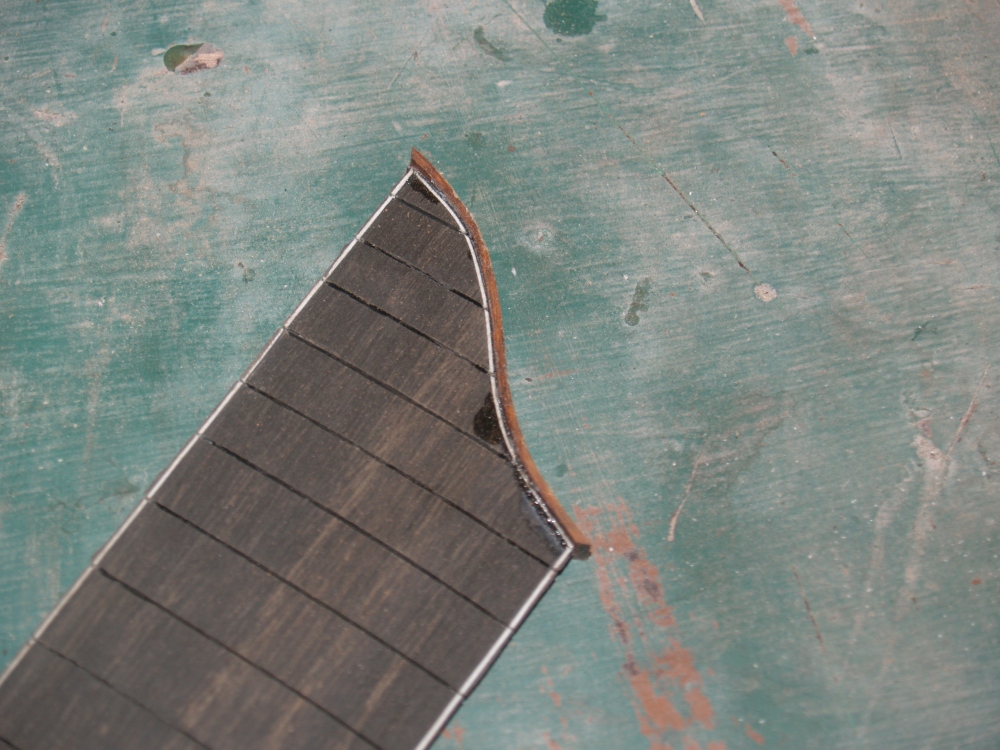
Now I am working on the fretboard. I use this sliding fixture
with a slotted template to guide a Dremel tool to saw the slots for the
fretwire. |
 |
(166) Sept 12, 2008
After the fretwire slots are cut I install the binding and purfling. |
 |
(167) Sept 12, 2008
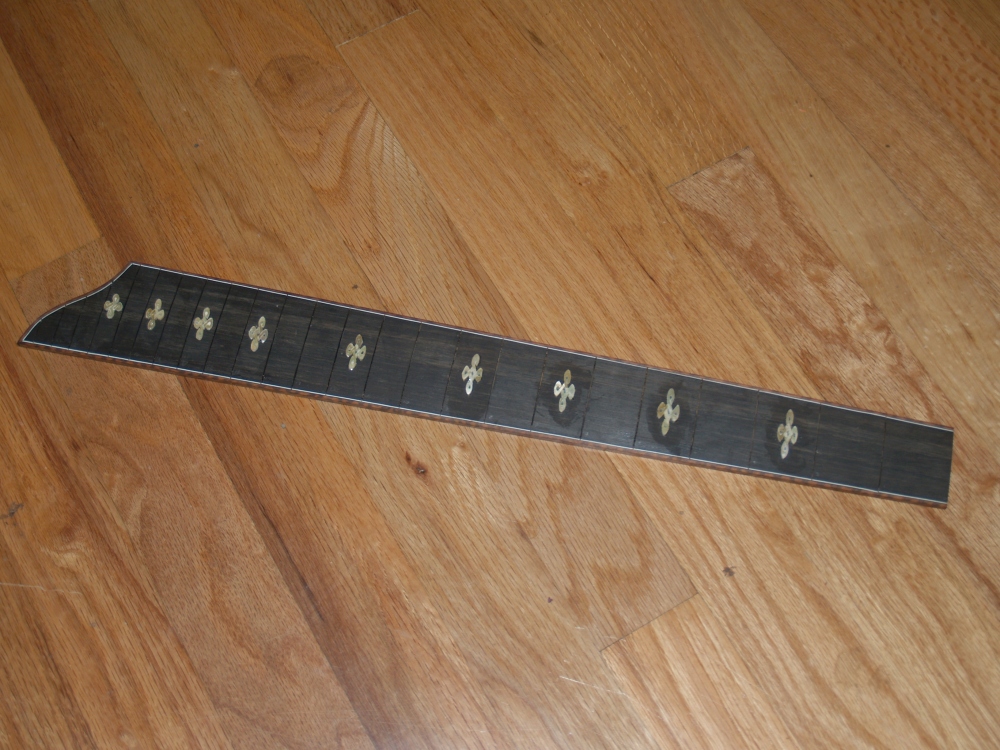
Finally I glue the fret markers in place. I will precisely
outline the inlays, remove them and then route out the channels to
accept the inlays. |
 |
(168) Sept 12, 2008
Here we see the guitar in its present state of construction. It is really starting to come together. |


