 |
(123) August 20, 2008
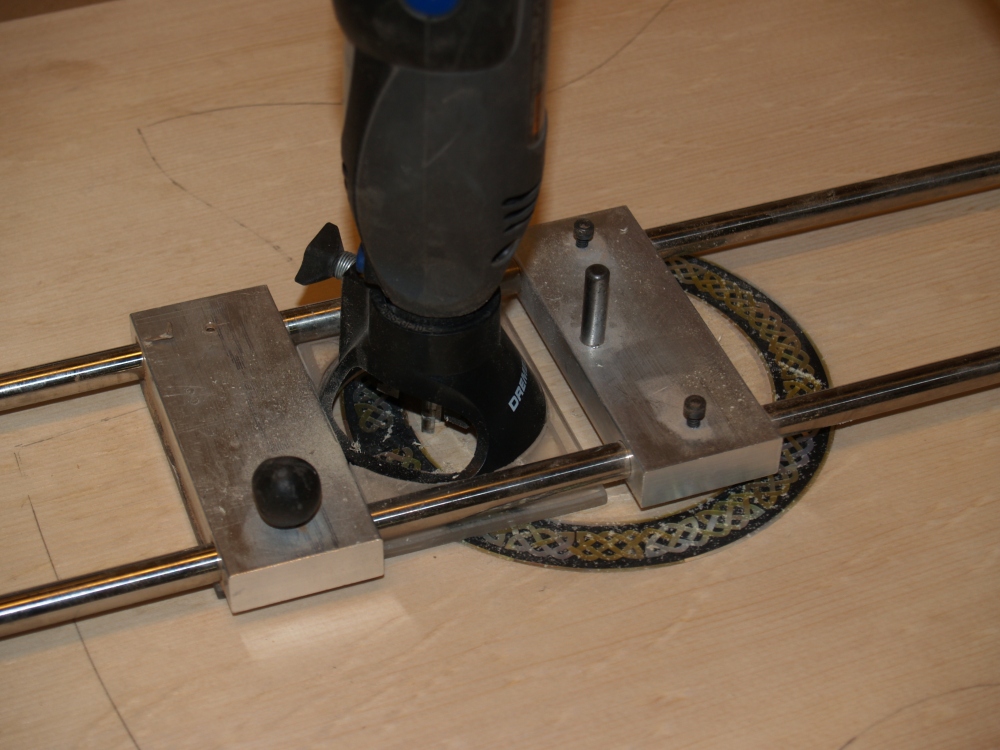
Now it is time to cut out the sound hole. I use a circle
cutting tool with the Dremel tool to do this. |
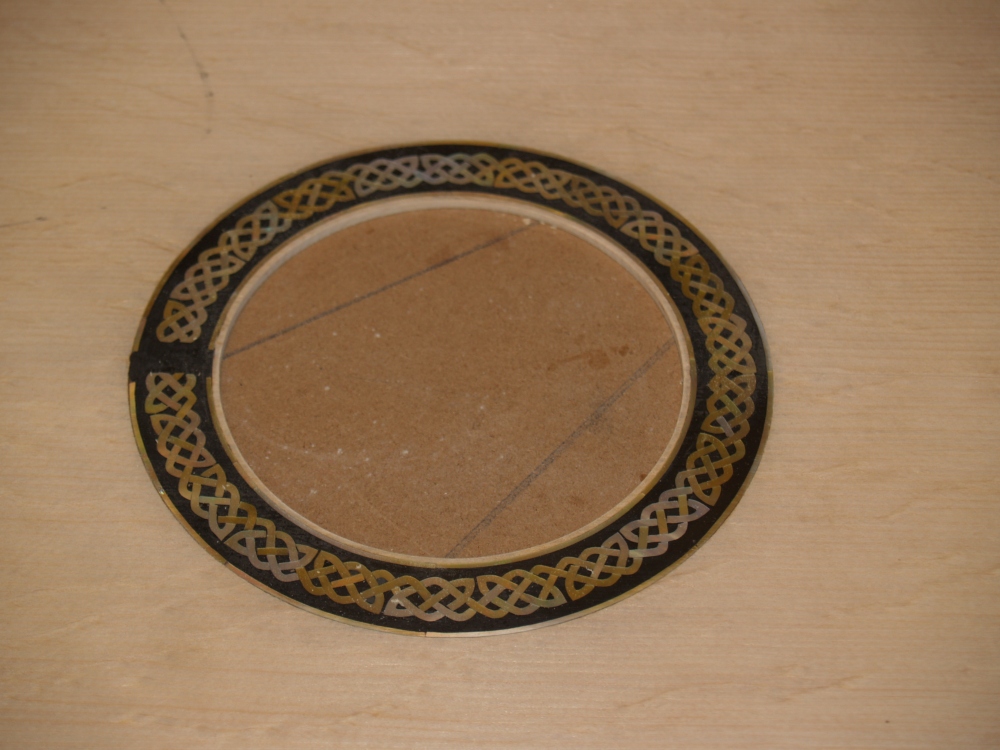 |
(124) August 20, 2008
The sound hole is cut out. |
 |
(125) August 20, 2008
This guitar will have active electronics on board and will need to have
a nine volt battery. I use an end graft access system to make
it
easy and convenient to change the battery. |
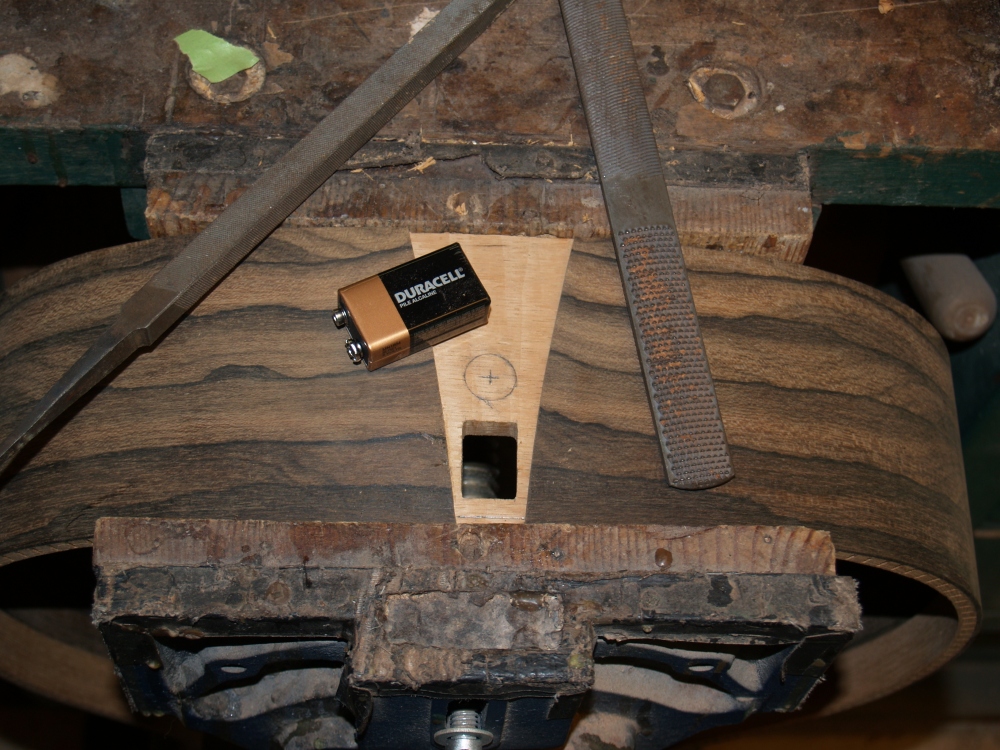 |
(126) August 20, 2008
I cut a rectangular hole into the end of the guitar to insert the
battery. |
 |
(127) August 20, 2008
I build a battery box on the inside of the guitar to hold the
battery. |
 |
(128) August 20, 2008
The battery slides into the end of the guitar, the hole will be
covered with an end graft piece that is held on with magnets. |
 |
(129) August 20, 2008
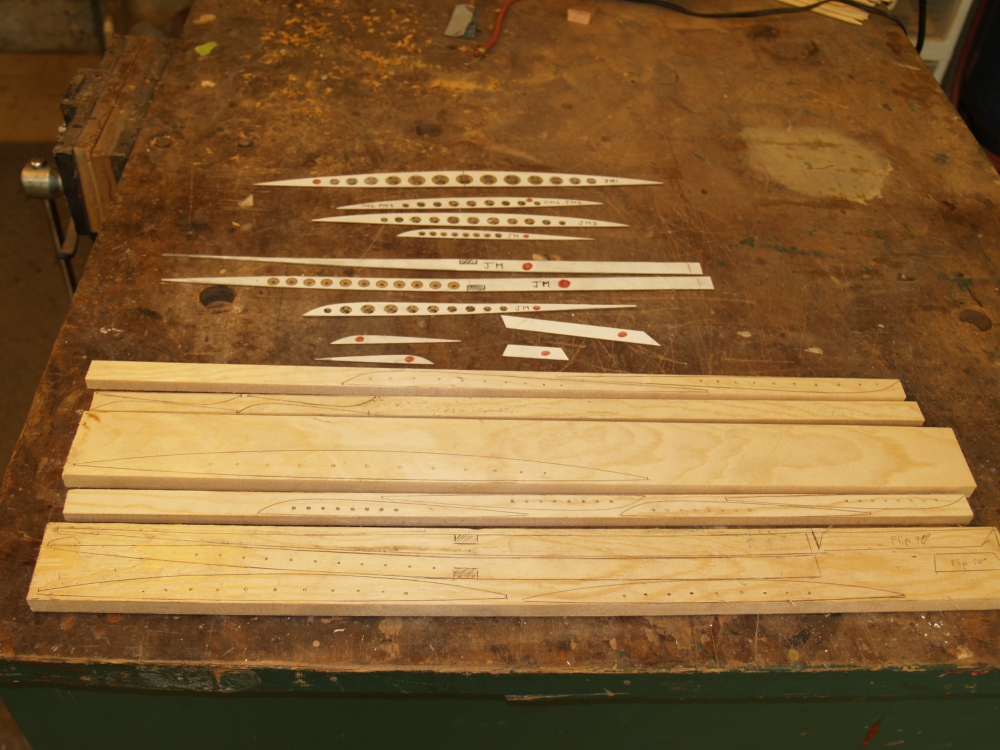
Now I am turning my attention to the braces. Here I have laid
out
the Sitka Spruce brace material along with the templates that I have
created. |
 |
(130) August 20, 2008
After cutting out a brace blank I shape the bottom of the brace to the
contour of the top in the top mold. |
 |
(131) August 20, 2008
Here we see the top brace blanks laid out on the top for inspection. |
 |
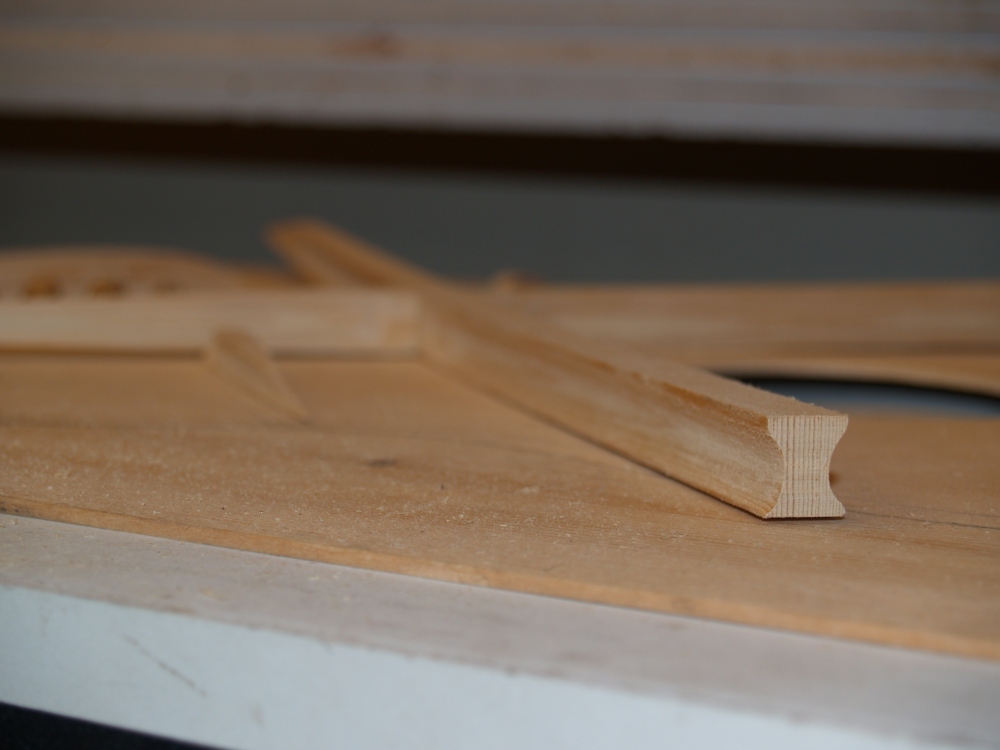
((132) August 20, 2008
I use an "Engineered Bracing" system in my guitars. The
braces
take on the look of aircraft braces. Light and strong. |
 |
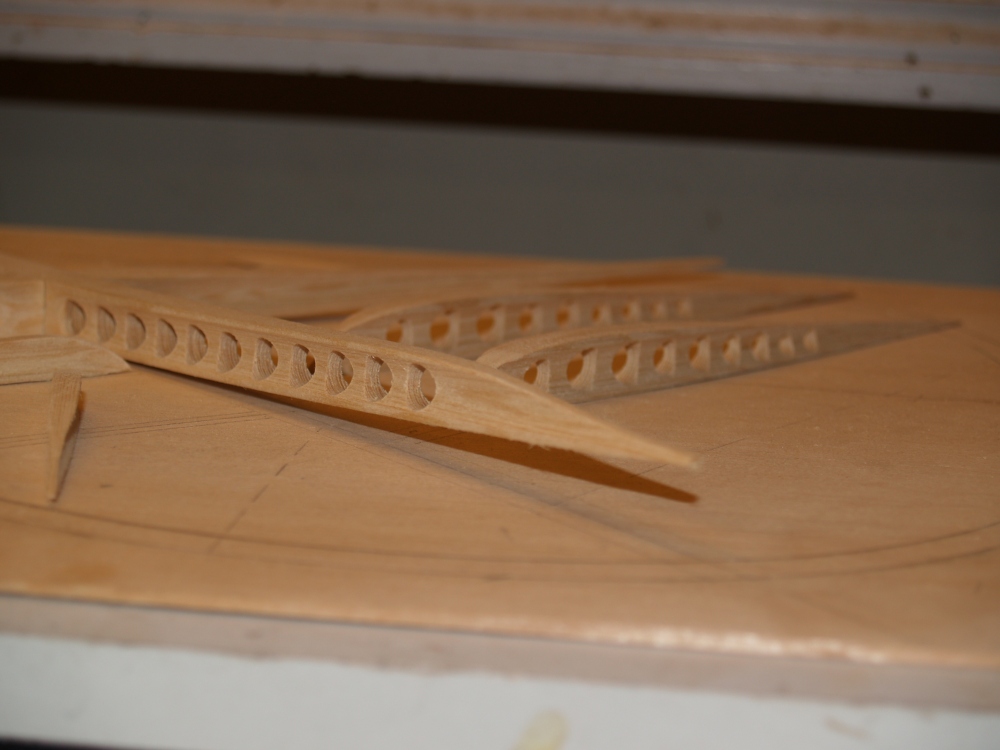
(133) August 20, 2008
After the holes are cut into the braces, the brace is shaped into an I
beam. Light and strong. Get it, LIGHT AND STRONG! |
 |
(134) August 20, 2008.
Here we see the some of the top braces laid out. |
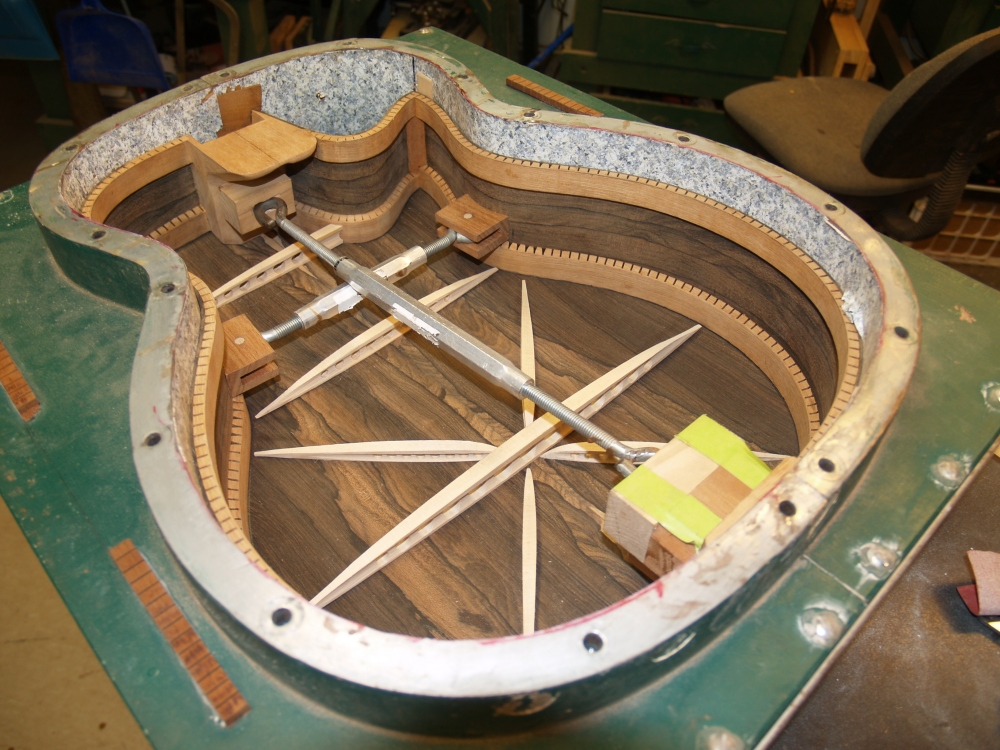 |
(135)
August 20, 2008
Here we see the bottom braces laid out with the sides in the form on
top. |


