 |
(102) July 31, 2008
Now I am finishing up the shape of the heel block. I am using
the
cutaway form with a piece of sandpaper attached to get the shape close
to its final shape. |
 |
(103) July 31, 2008
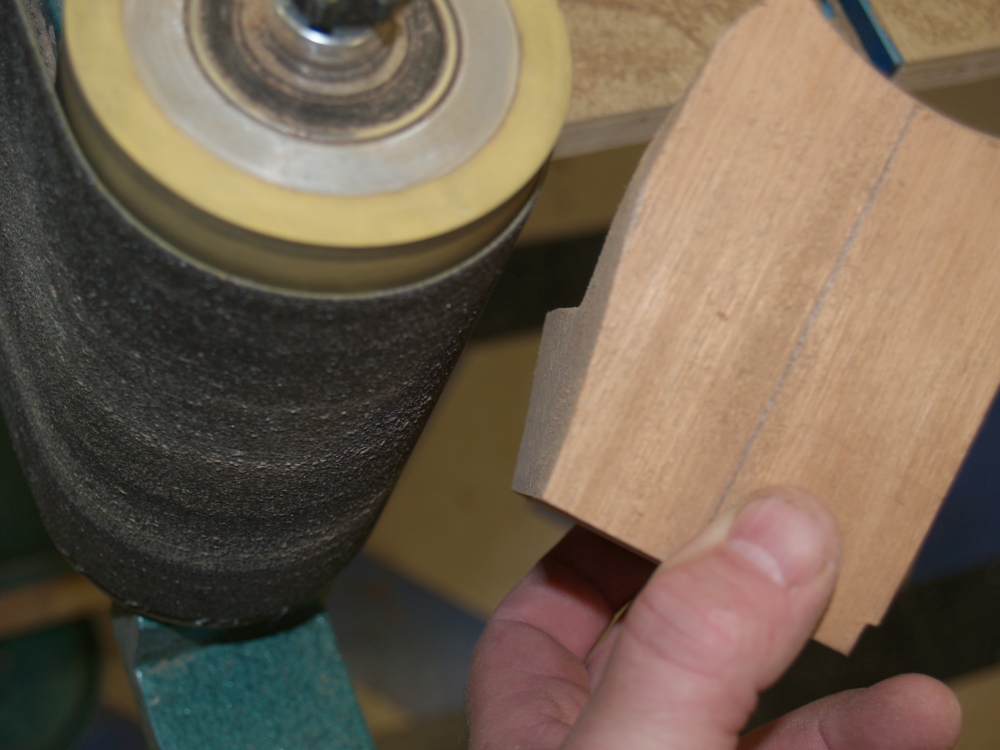
And then I use the idler pulley on the belt sander to fine tune the
shape. |
 |
(104) July 31, 2008
The result is a well shaped heel block. I will also chisel
out a
recess channel for the lower kerfing to complete this piece. |
 |
(105) July 31, 2008
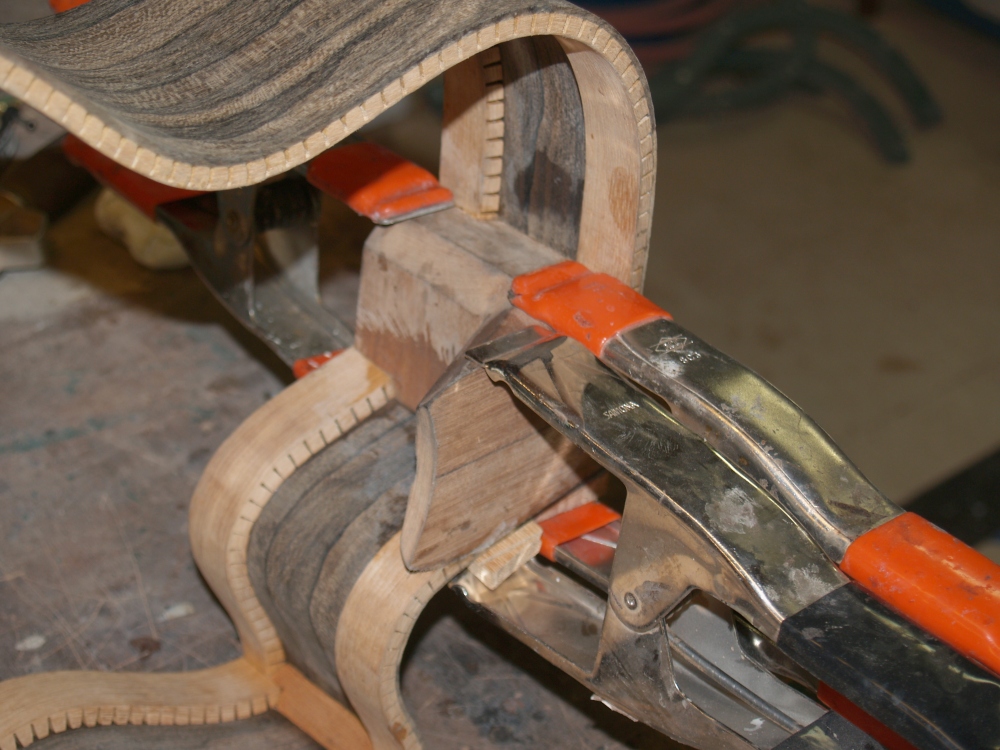
Here I am gluing the heel block to the right side of the guitar.
I use many clamps to ensure a firm joint. |
 |
(106) July 31, 2008
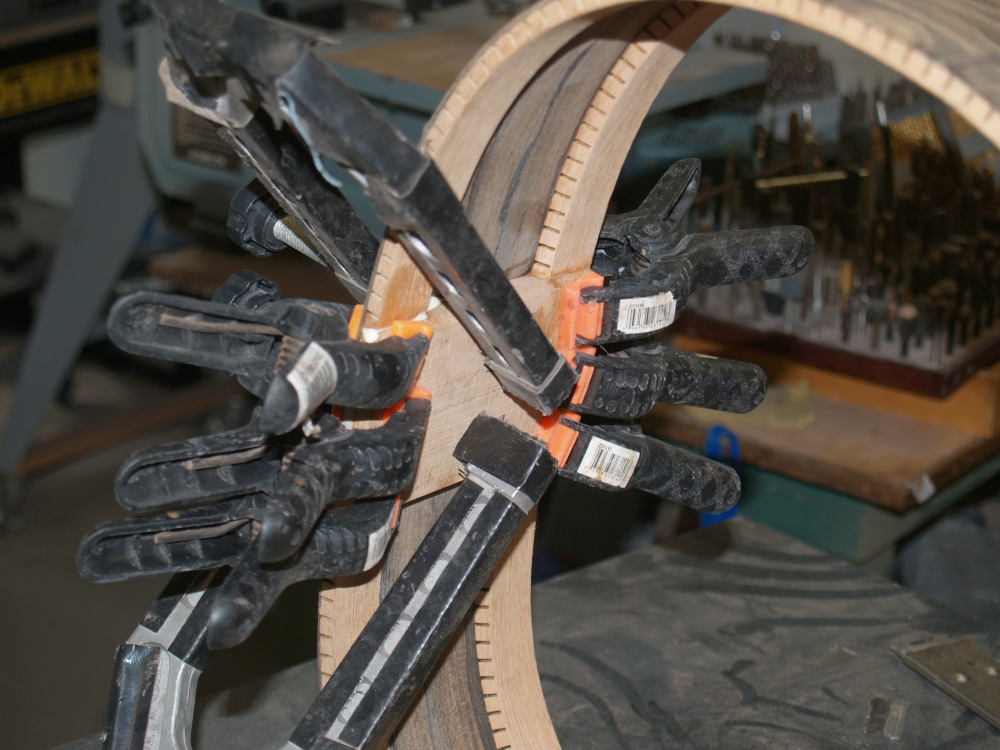
After the right side has dried, I glue the left side to the heel block. |
 |
(107) July 31, 2008
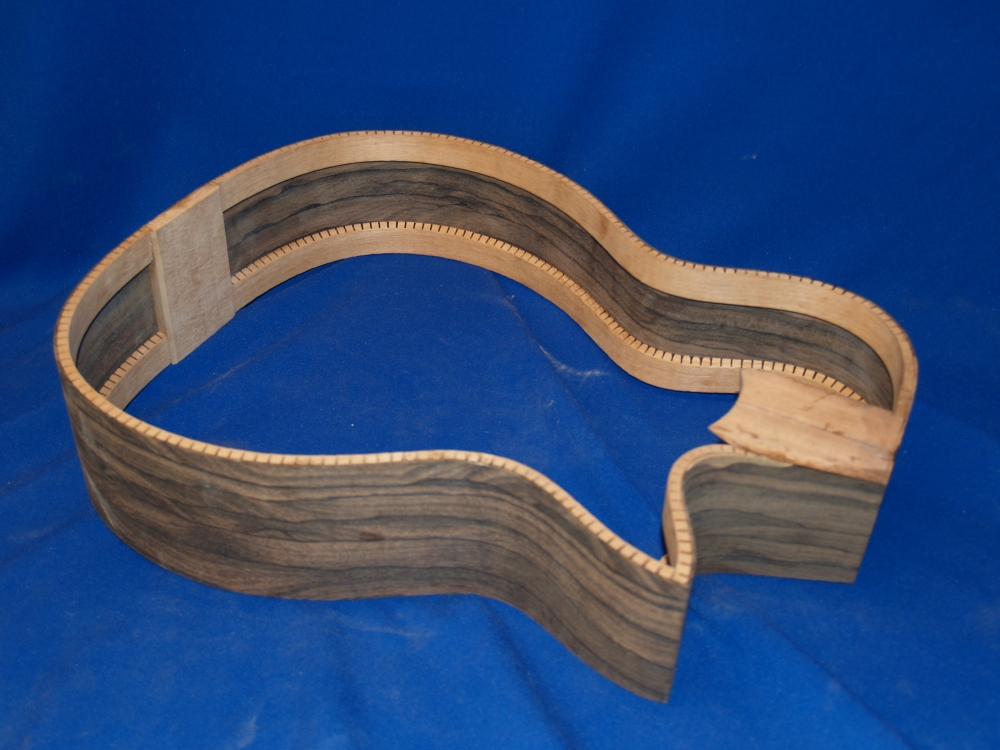
And then finally I glue the end block in place. |
 |
(108) July 31, 2008
A picture of the rim all glued up. |
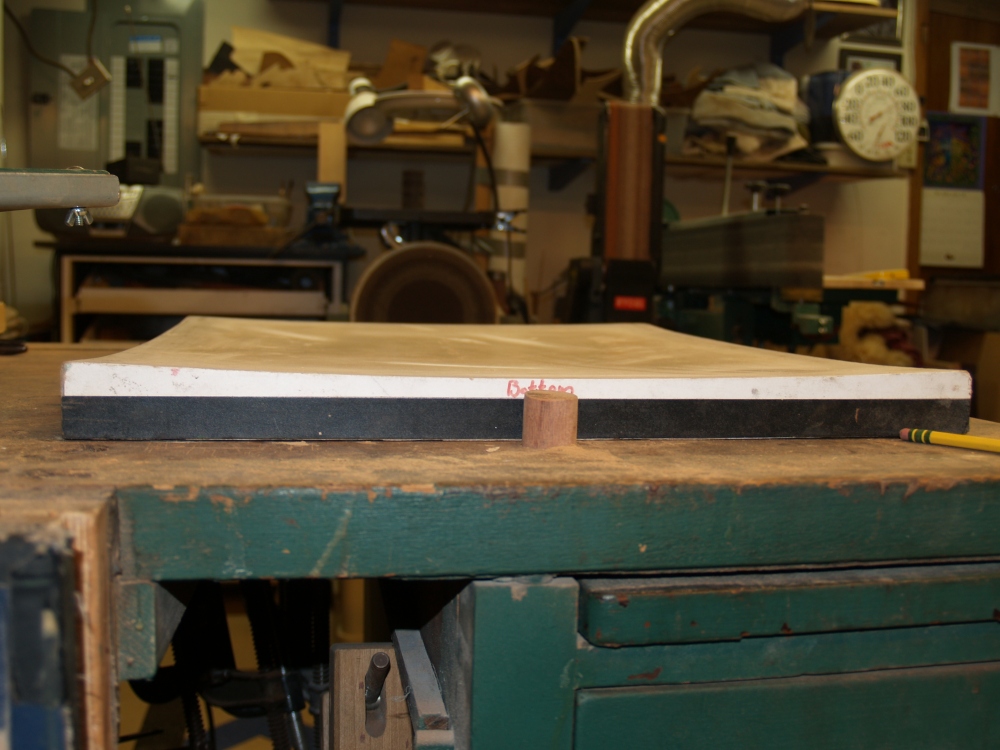 |
(109) July 31, 2008
If you take a look at a steel string acoustic guitar you will notice
that the back and top of the instrument are not exactly flat.
Each instrument maker forms the top and back into a bowl
shape to
a greater or lesser degree. Usually the back has a deeper
bowl
shape than the top, and some guitars truly are flat topped To
accomplish this we use bowl shaped form, one for the back and one for
the top. In this picture we can see the shape of
the form
for the back. This form has a shape that is equivalent to a
bowl
with a 14.25 foot radius. Shaping the top and back into a
bowl
increases the stiffness of the the plates while allowing the thickness
and mass of the plates to be reduced. In the physics of the
guitar, stiff and light are generally desirable traits. |
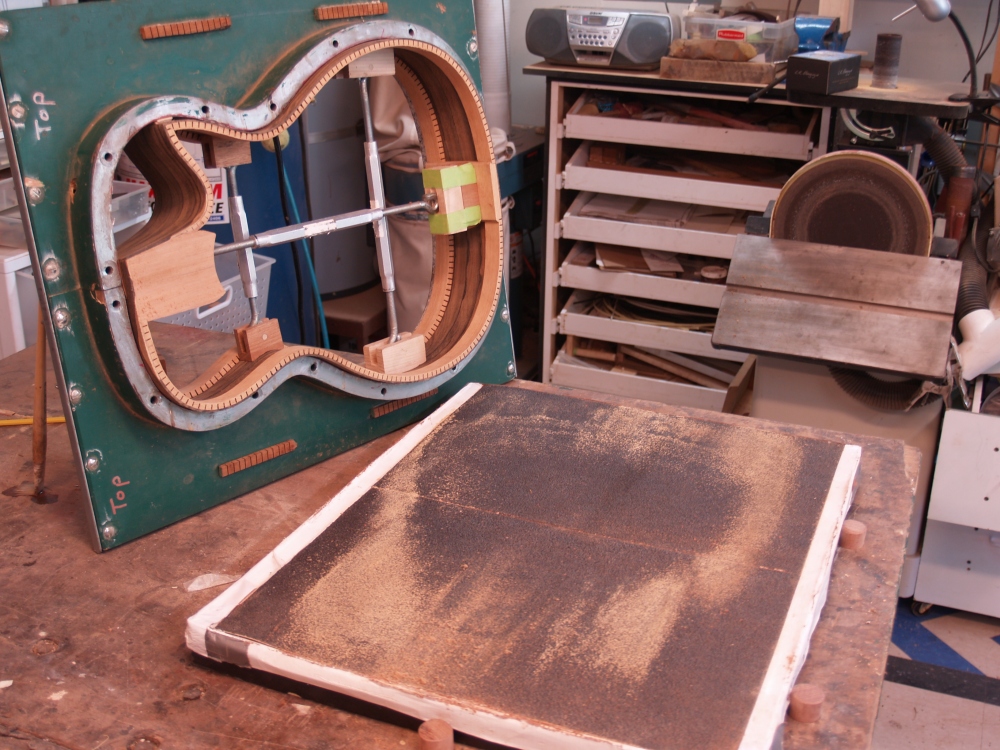 |
(110) July 31, 2008
Since the back and top of the guitar are shaped like a bowl, the rim of
the guitar must be shaped to match the bowl as the rim follows the
shape of the guitar. If you think about this a bit you will
come
to realize that the final shape of the sides is really quite complex.
If you look back to picture 14 you can get a sense
of the
convoluted shape of the side when it is laid out flat. This
is
especially true of the cutaway side. To match up the sides to
the
front and back plates, I place the rim into the side form and put a
piece of sandpaper on the back and top form. Then using a bit
of
elbow grease I sand the rim down until the rim comes in contact
everywhere with the form. This gets the shape of the rim
right
and sets the angle of the shelf at the same time. Here we see
the
top in process. Where there is no sawdust on the form the
sides
are not yet touching. The final bit of adjustment come in
getting
the width of the sides symmetrical on the right and left sides. |


