 |
(65)
July 24, 2008
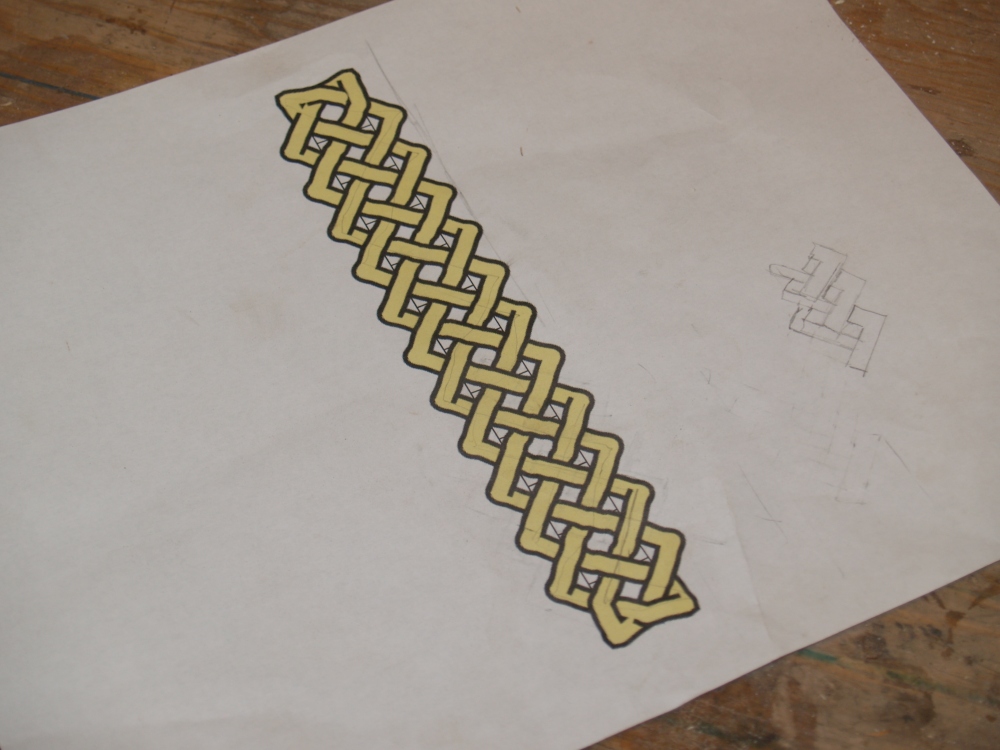
I am going to digress a little and give credit to the source of
inspiration for the Celtic rope design. I was searching the
web for
Celtic design ideas when I ran across an interesting and useful web
site.
Steve
Abbott's Computer Drawn Celtic Knotwork
This site provides a software tool that will generate a wide
variety of knots. I used this tool to draw the knot in this
picture and used this as my template for the rope. Many
thanks
to Steve Abbot. |
 |
(66)
July 24, 2008
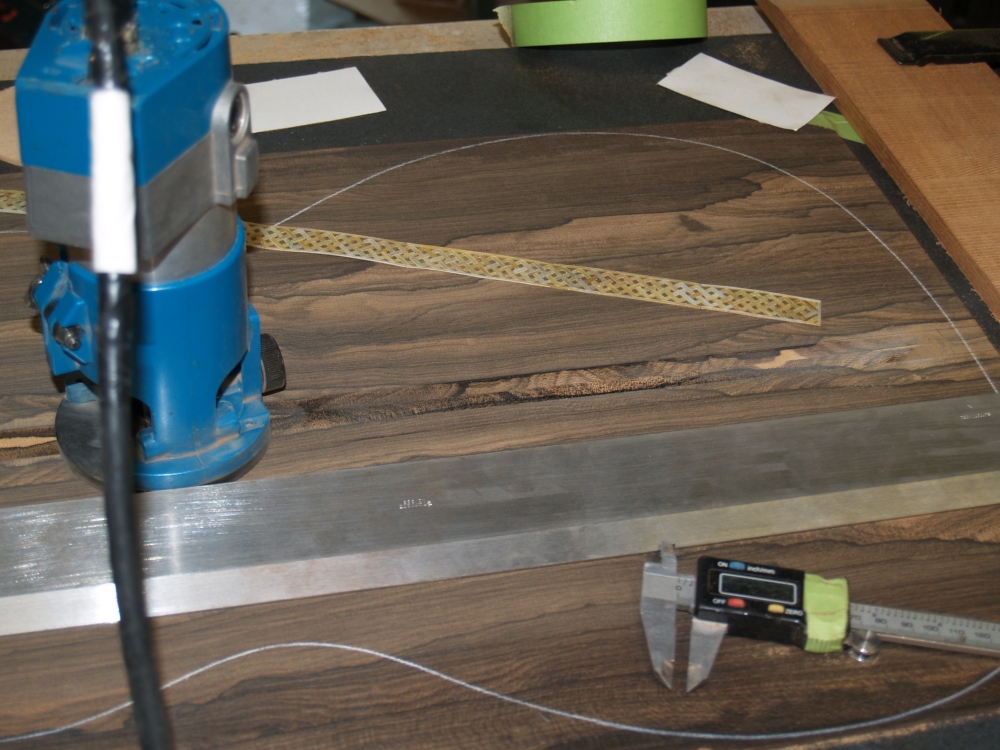
In this picture I am setting up a router to create a 3/4 inch wide
channel to accept the rope. |
 |
(67)
July 24, 2008
After I used the router I had to chisel out the square corners of the
channel. |
 |
(68)
July 24, 2008
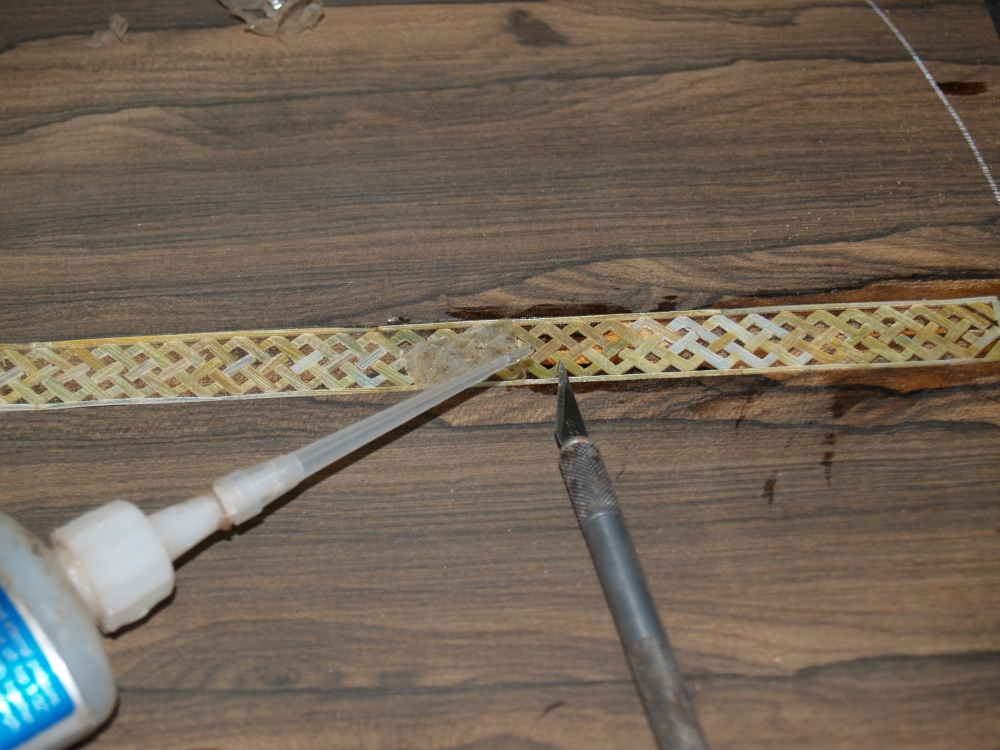
Here I am gluing the Mother of Pearl rope into the channel with
cyanoacrylate glue. I glue a small section in at a time
making
sure that all of the pieces are firmly set. |
 |
(69)
July 24, 2008
After the rope is glued in I use a black filler compound to fill in all
of the spaces in between the pieces. |
 |
(70)
July 24, 2008
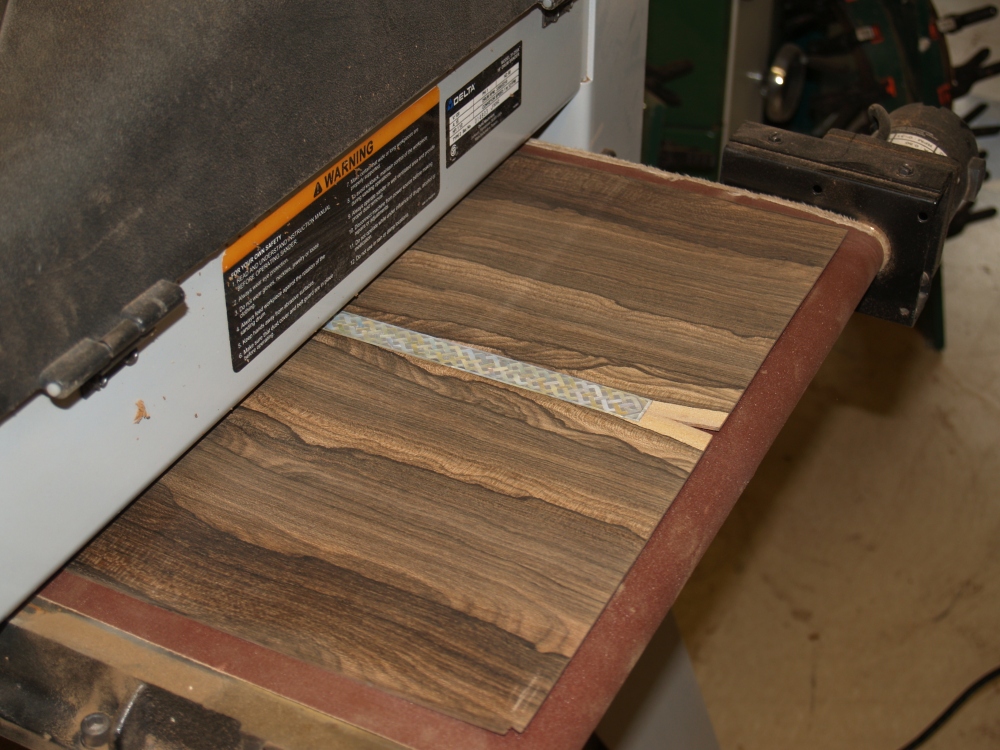
Once the filler is dry the back goes into the drum sander again to
level everything out. |
 |
(71)
July 24, 2008
The back is now about 87 mills thick. |
 |
(72)
July 24, 2008
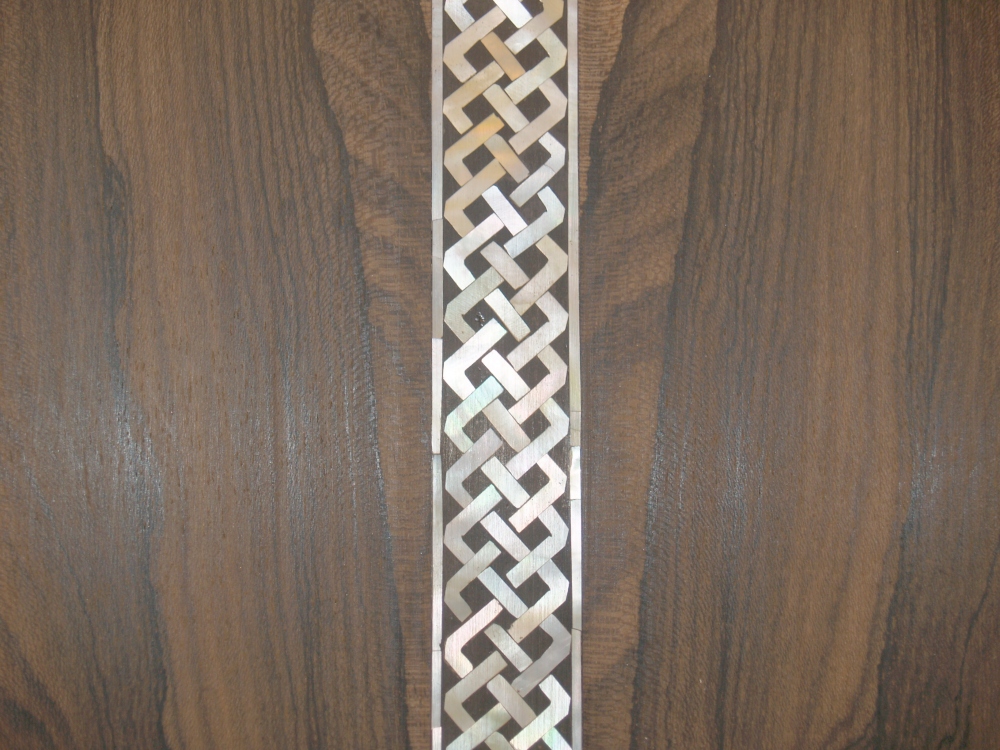
A close up view of the Celtic rope inlayed into the Zircote back. |
 |
(73)
July 24, 2008
Now I am using the band saw with a special platten to trim the sides of
the guitar. I over size the piece slightly at this stage.
|
 |
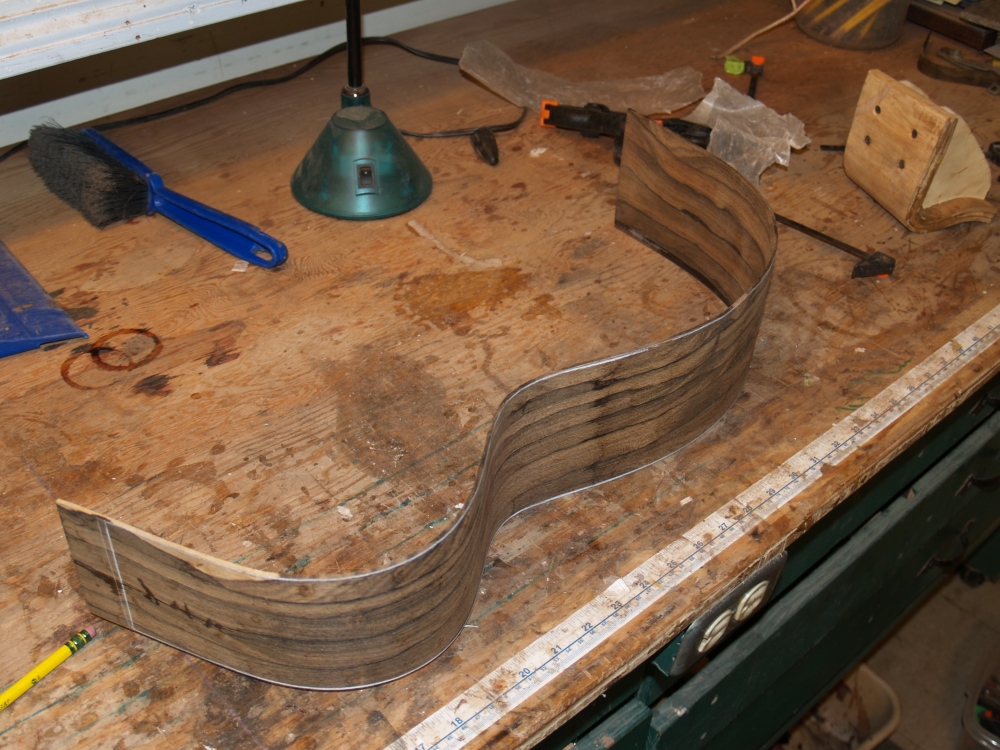
(74)
July 24, 2008
The other half being trimmed. |
 |
(75)
July 24, 2008
The right side after it has been trimmed. |
 |
(76)
July 24, 2008
The cutaway piece being trimmed. |
 |
(77)
July 24, 2008
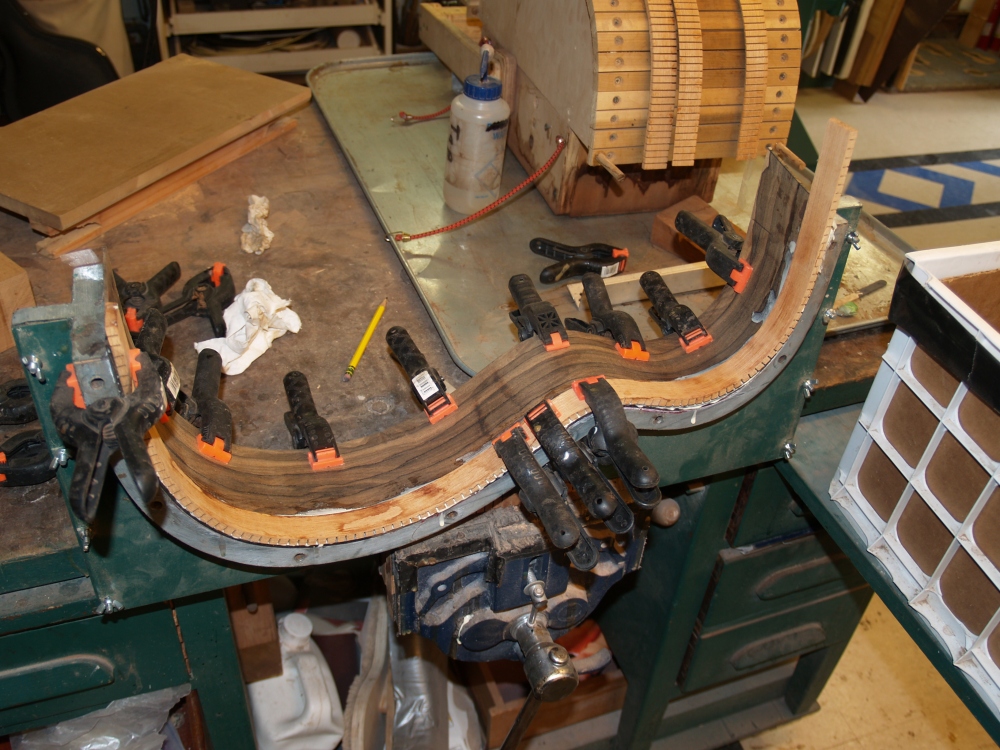
Now that the sides are trimmed, they go into the side forms and the
kerfing gets glued in. |
 |
(78)
July 24, 2008
This is the step in the process that establishes the ultimate shape of
the sides. I use a reversed kerfing system, so a continuous
strip
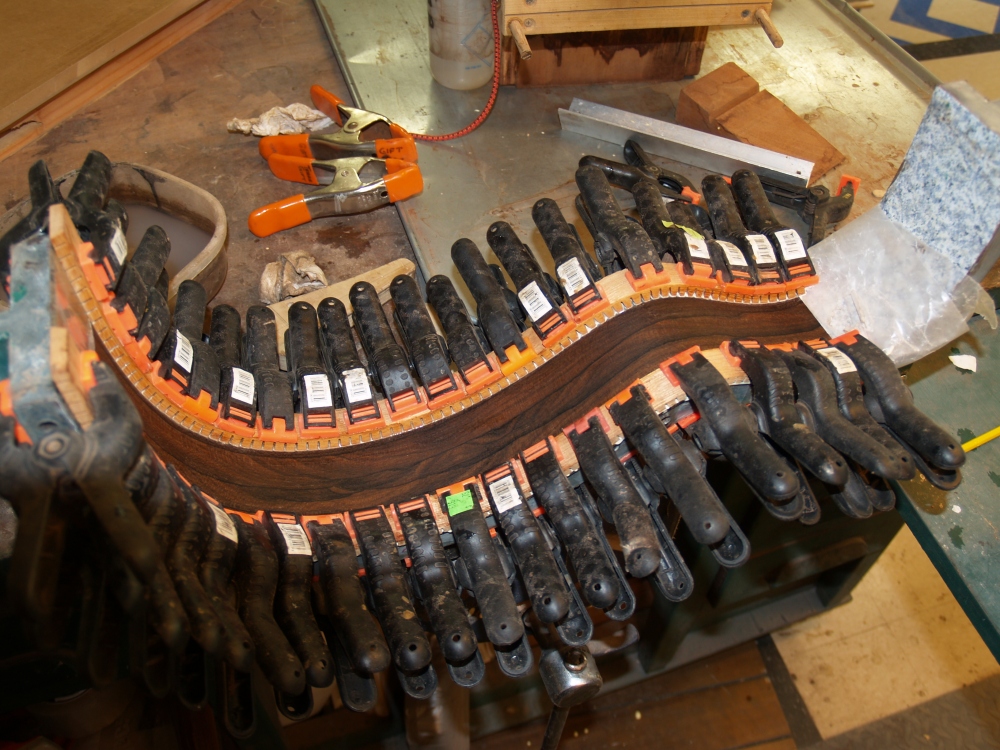
of wood is held off from the side by the kerfing. This is
similar
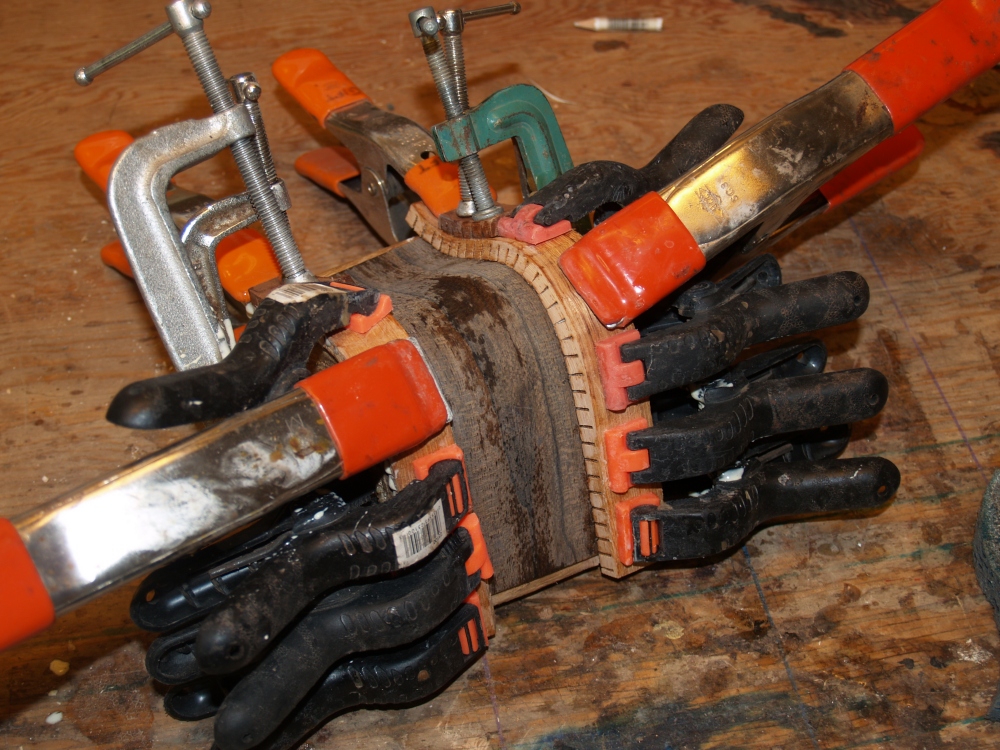
to a gunnel in a boat. |
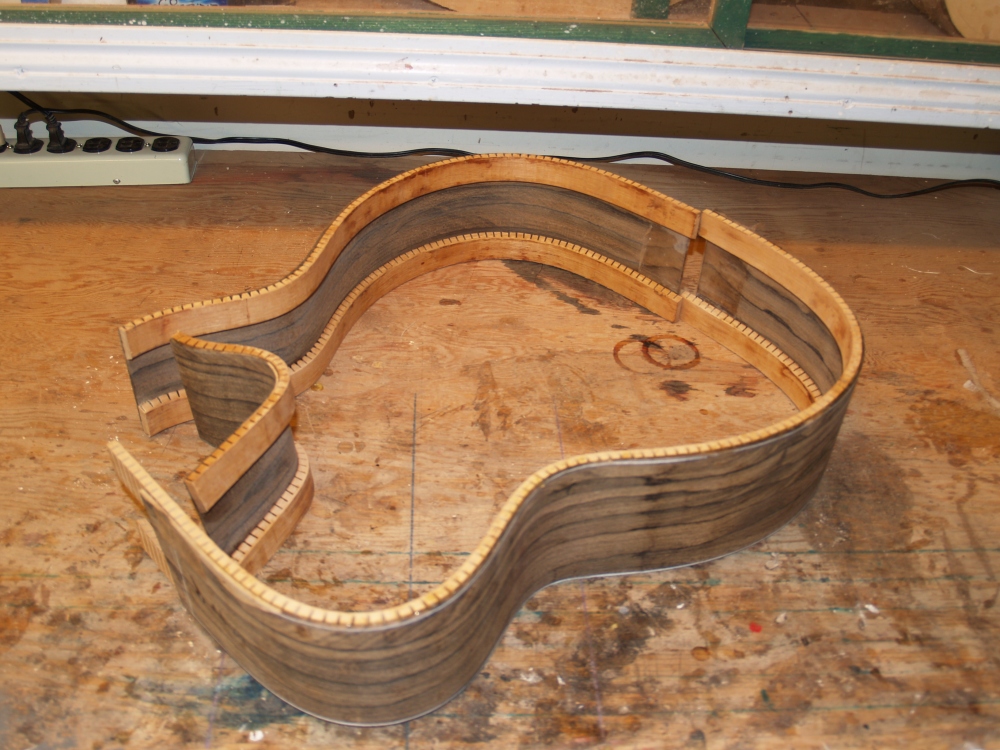
 |
(79)
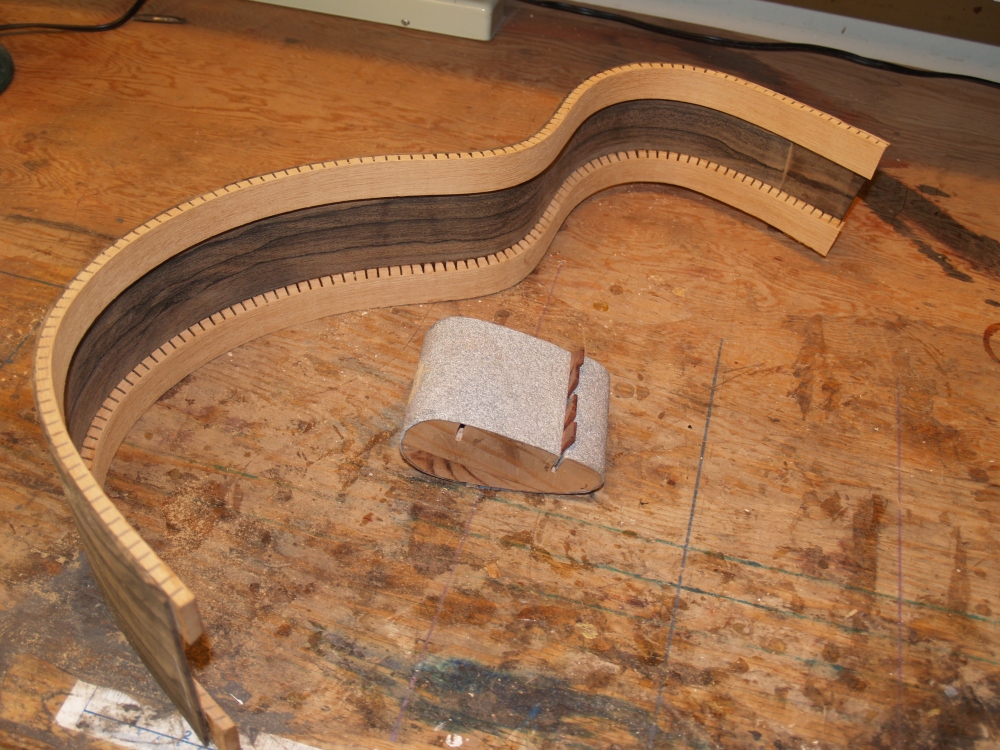
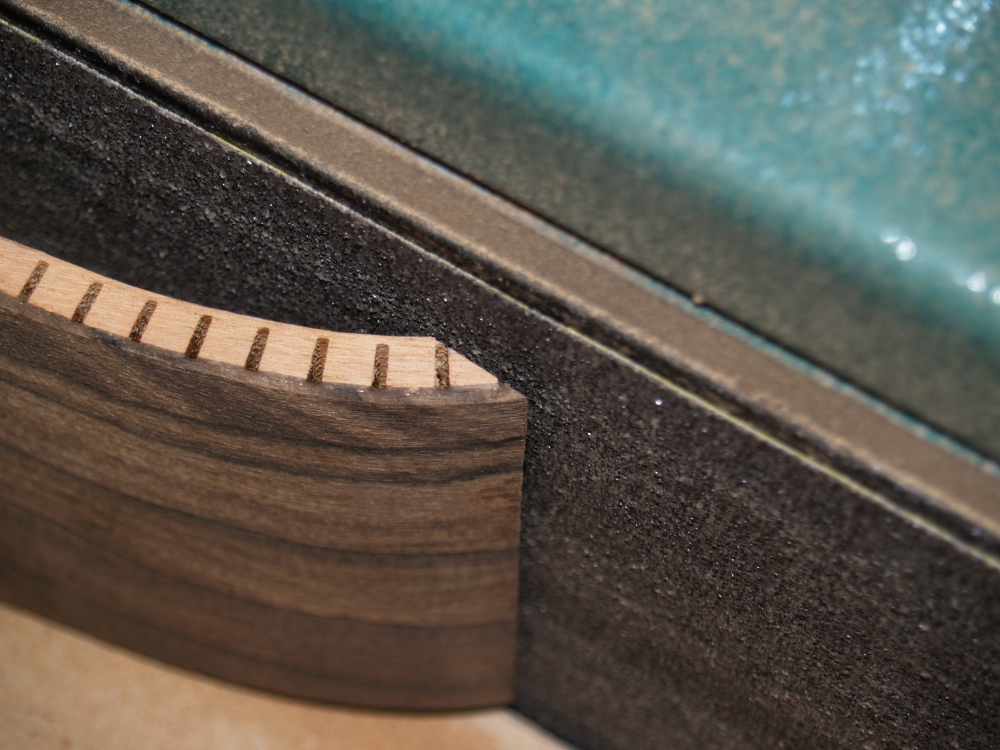
July 24, 2008
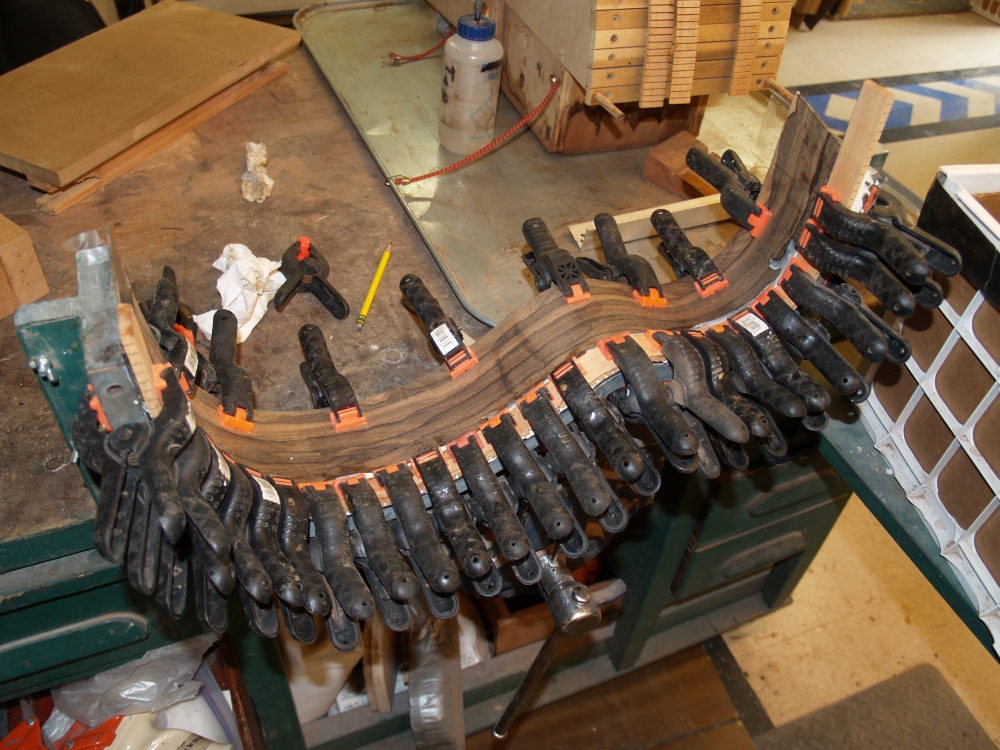
Here we see the second strip of kerfing being glued down. The
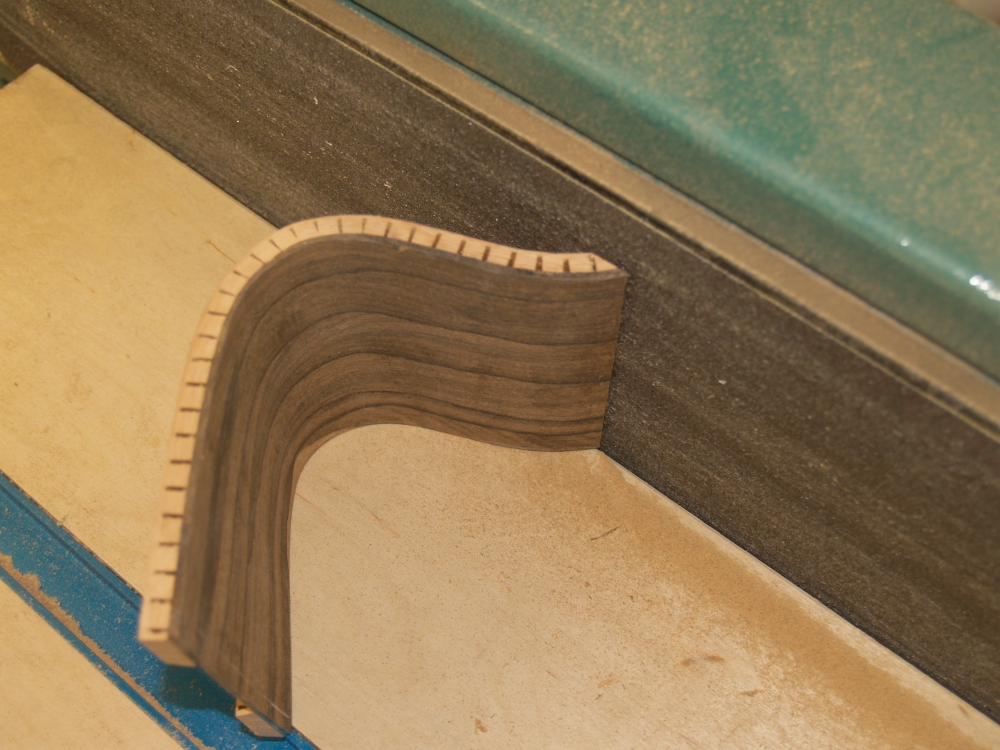
multitude of clamps firmly force the kerfing into the side and force
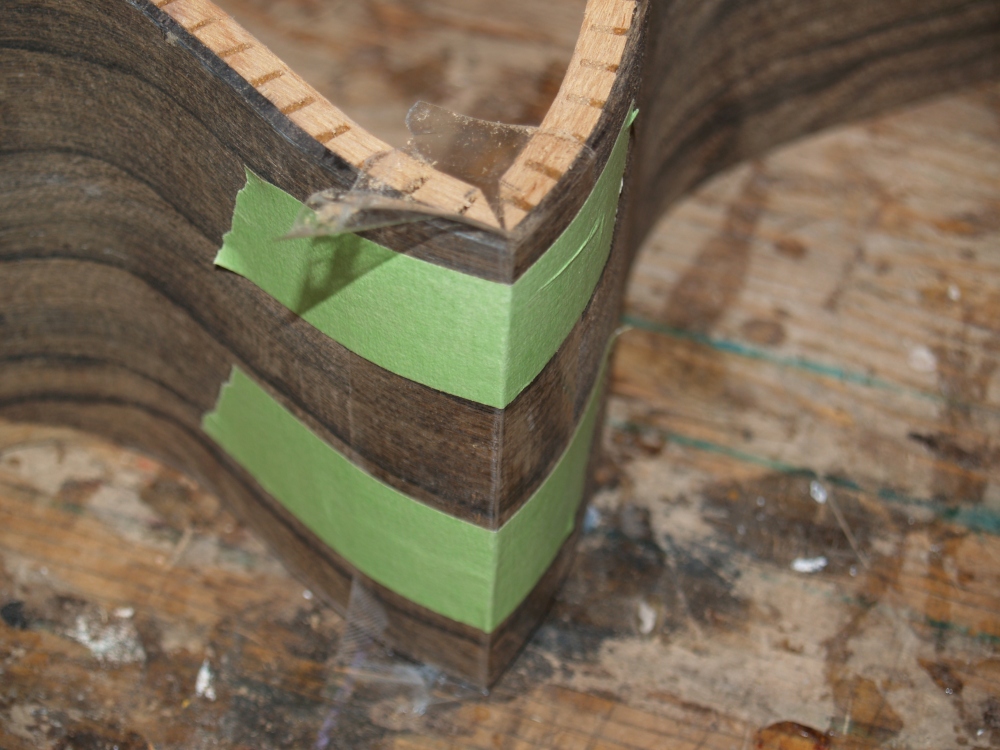
the side firmly into the form. I clean up the excess glue
before
it sets, and when the glue is dry the side is very strong and holds it
shape firmly. He with the most clamps wins!
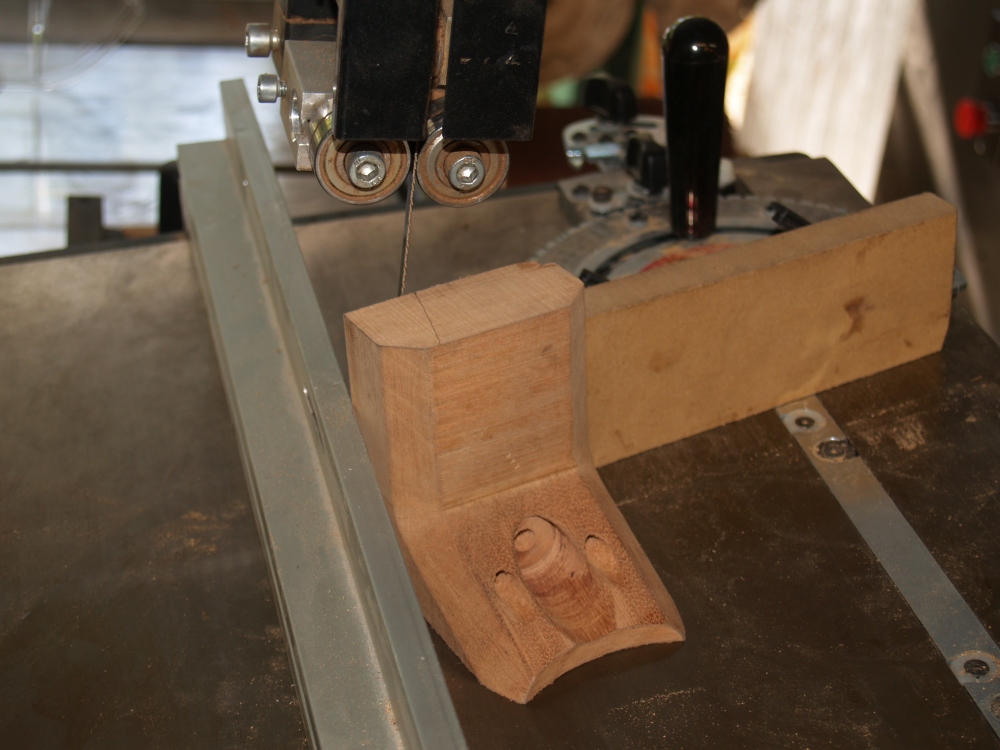
|
 |
(80)
July 24, 2008
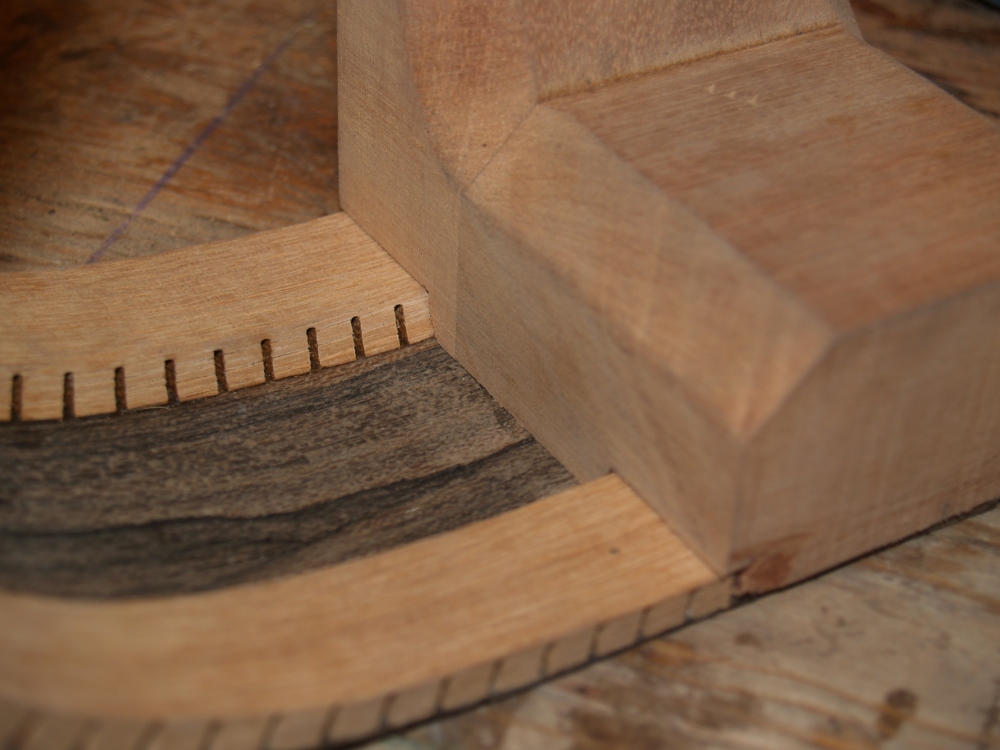
Here I am gluing the kerfing onto the cutaway side. |
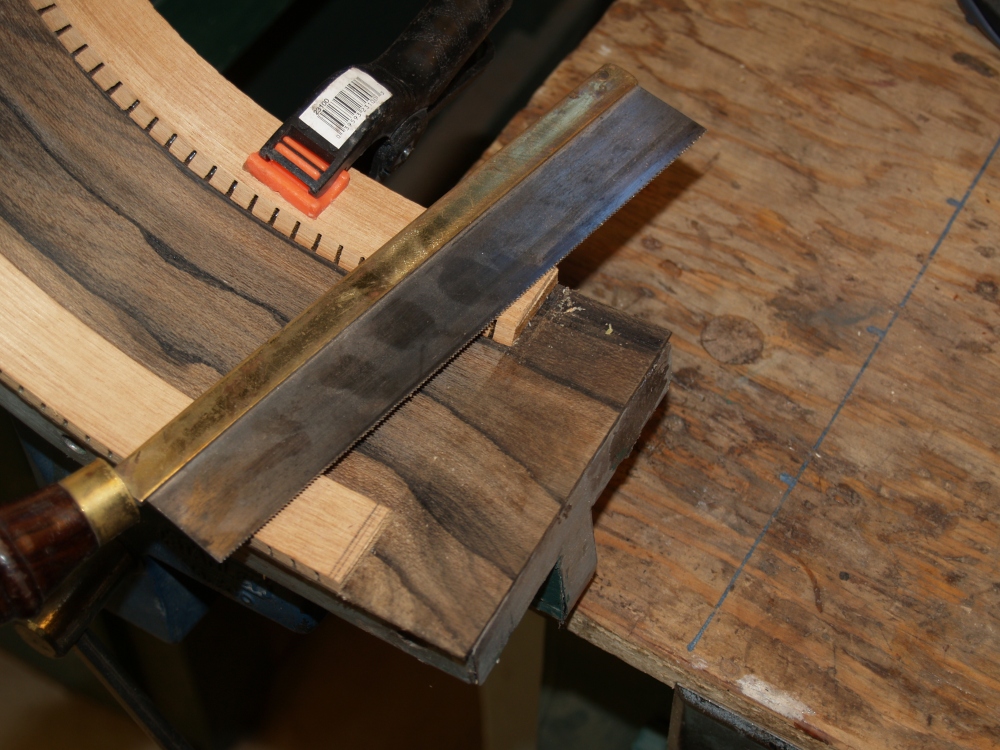
 |
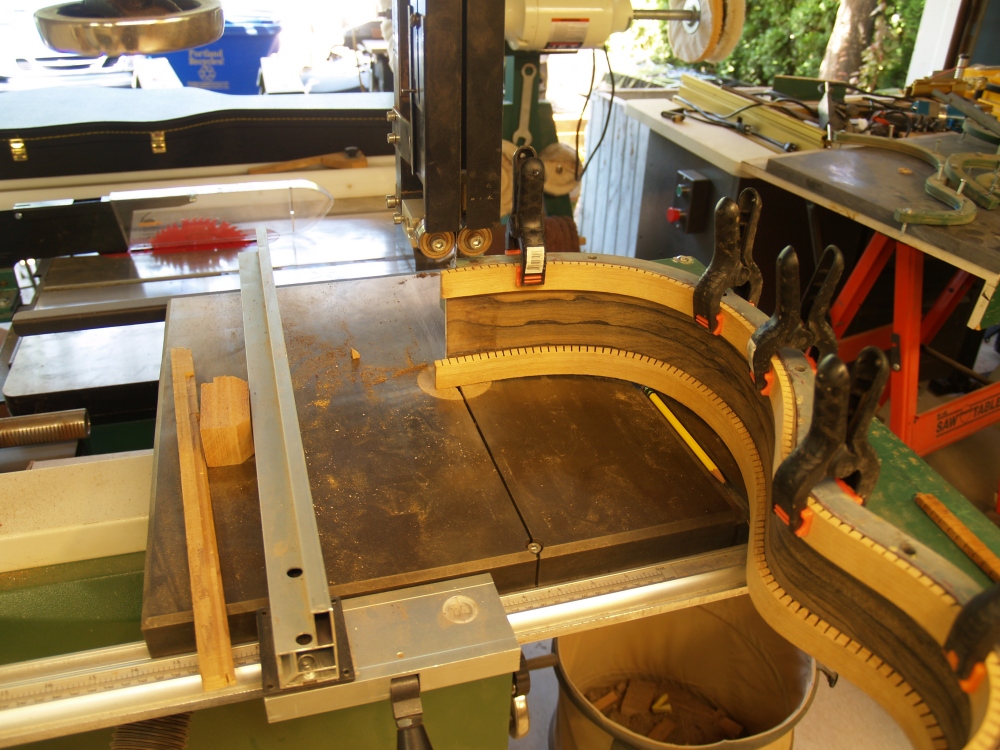
(81)
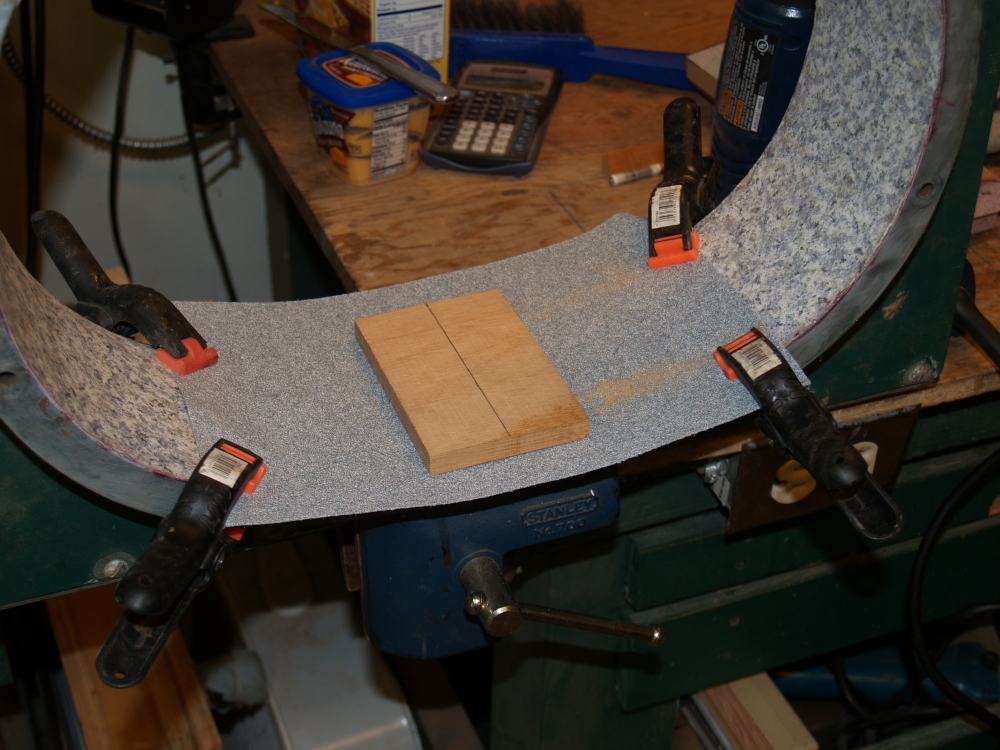
July 24, 2008
I use a steam iron to bend the kerfing for the cutaway section.
I
am using the same form that I used to bend the cutaway side section. |
 |
(82)
July 24, 2008
Here I am gluing the kerfing onto the cutaway side section. |
 |
(83)
July 24, 2008
After all the kerfing is dry and the pieces hold their shape. |
 |
(84)
July 24, 2008
Now I start to trim the kerfing to follow the contour of the edges of
the sides. The kerfing is a straight piece wood, and the
sides
follow the outline of a bowl sectioned by the shape of the sides.
This means that the contour of the sides follow a convoluted
line
which requires that a small amount of material that must be
trimmed from the kerfing. At this stage I also level out the
surface of the sides removing any bumps or waves that have developed
during the bending process. |
 |
(85)
July 24, 2008
The interior surface of the kerfing is also cleaned up. |
 |
(86)
July 24, 2008
Now I turn my attention to joining the two pieces of the cutaway side.
Here I am trimming the lower piece. |
 |
(87)
July 24, 2008
And here I am trimming the cutaway piece. Getting this angle
just
right and making sure the joint surfaces are flat will ensure we get a
joint line. |
 |
(88)
July 24, 2008
Here I have taped the two pieces together. |
 |
(89)
July 24, 2008
I fashion a reinforcing block to insert on the inside of the joint. |
 |
(90)
July 24, 2008
And here we see the finished joint. This joint turned out
pretty
good; there are no gaps in the joint and all of the figure in the wood
lines up. |
 |
(91)
July 24, 2008
Now I am trimming up the heel block. This piece of wood will
have
the two halves of the sides glued to it and will ultimately house all
of the hardware for the adjustable neck. |
 |
(92)
July 24, 2008
The cutaway section of the guitar has the most complicated set of
curves and bends that you can imagine, and the heel block has to match
these exactly for the side to be glued to it. Here I am
trimming
away the cutaway portion of the heel block. |
 |
(93)
July 24, 2008
At this stage I also carve out two channels in the heel block to accept
the kerfing. |
 |
(94)
July 24, 2008
Here I have trimmed the side to the shape of the heel of the neck, and
I have trimmed away the kerfing. |
 |
(95)
July 24, 2008
This picture shows how the kerfing and the heel block join up.
This system makes an attractive joint, and even though no one
will ever see it, I feel good knowing that it is there. |
 |
(96)
July 24, 2008
I trim off the excess from the end of the sides. |
 |
(97)
July 24, 2008
And trim the kerfing up. |
 |
(98)
July 24, 2008
The end of the guitar has a slight radius, so to match the contour of
the end block to the sides I use sandpaper in the side form and sand
the heel block in place. This technique is quick, effective,
and reliable. |
 |
(99)
July 24, 2008
Once the end block has the proper radius I carve out the kerfing
channels. |
 |
(100)
July 24, 2008
And here we can see how the heel block and the kerfing line
up. |
 |
(101) July 24, 2008
And here we can see all of the pieces of the sides laid out together.
Almost looks like a guitar! |


