 |
(111) August 11, 2008
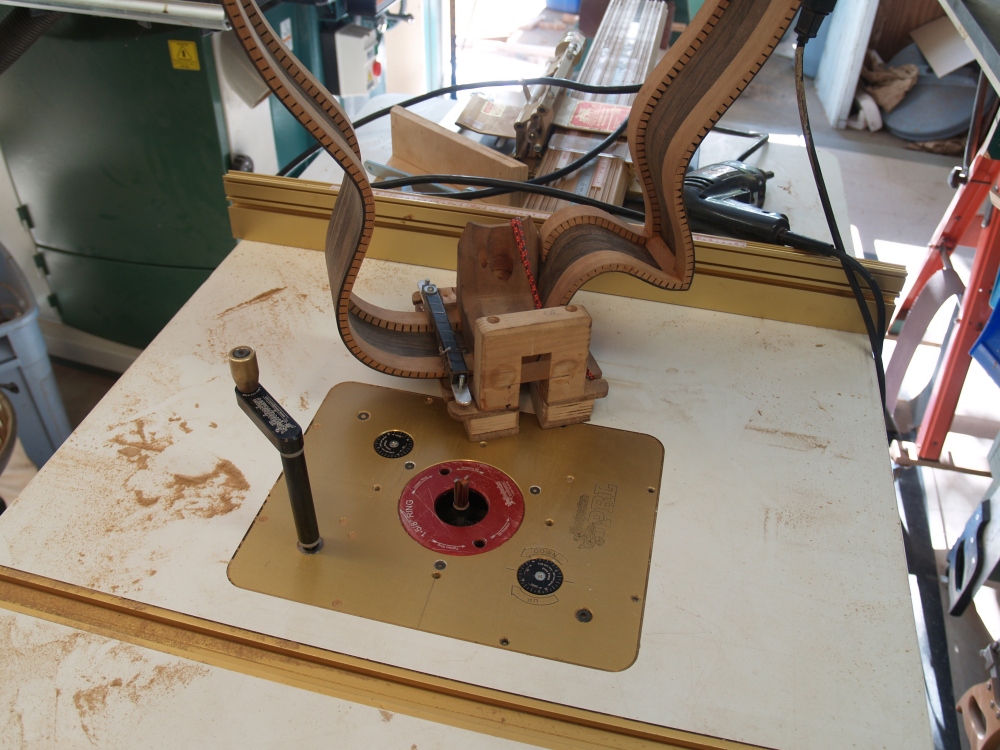
In this picture I have routed the guitar rim on a special jig and I am
routing out the neck channel. |
 |
(112) August 11, 2008
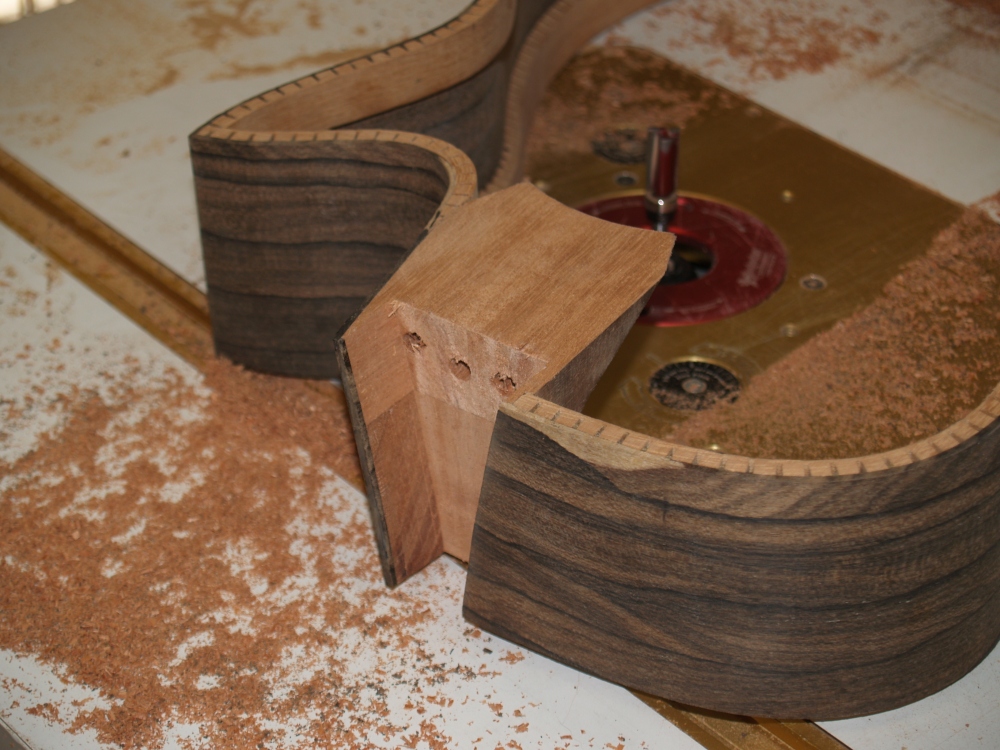
This channel hold all of the hardware that enables the adjustable
action neck. |
 |
(113) August 11, 2008
I also route out the channel for the end graft. |
 |
(114) August 11, 2008
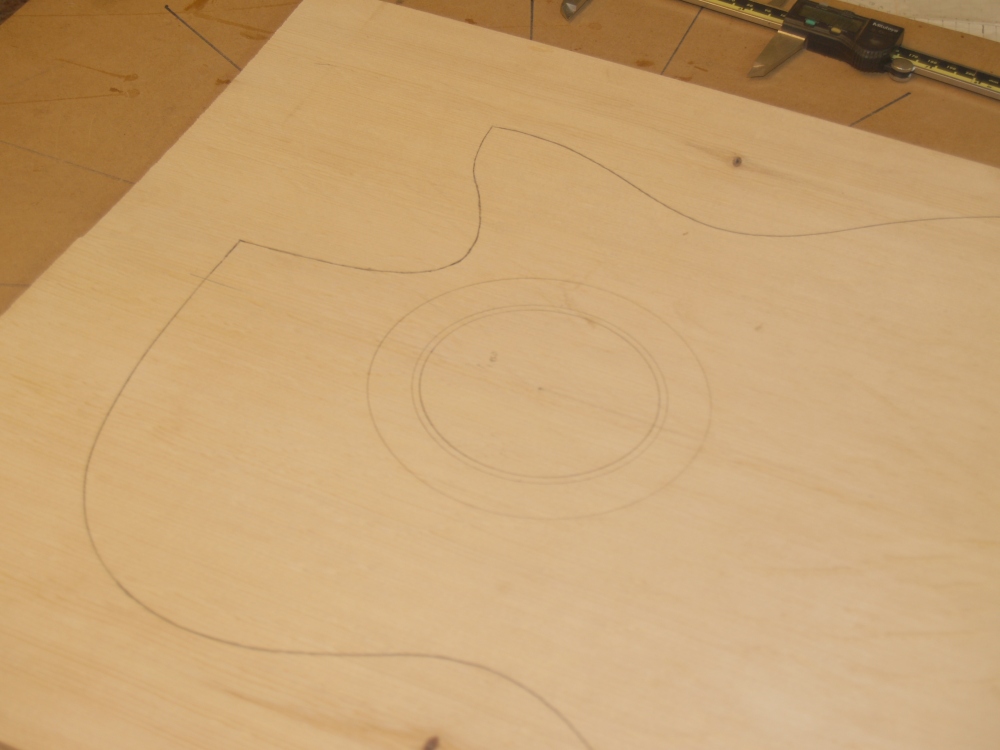
In this picture I have laid out the top getting ready to route out the
channel for the rosette. |
 |
(115) August 11, 2008
I use a circle cutting router tool to create the channel for the
rosette. |
 |
(116) August 11, 2008
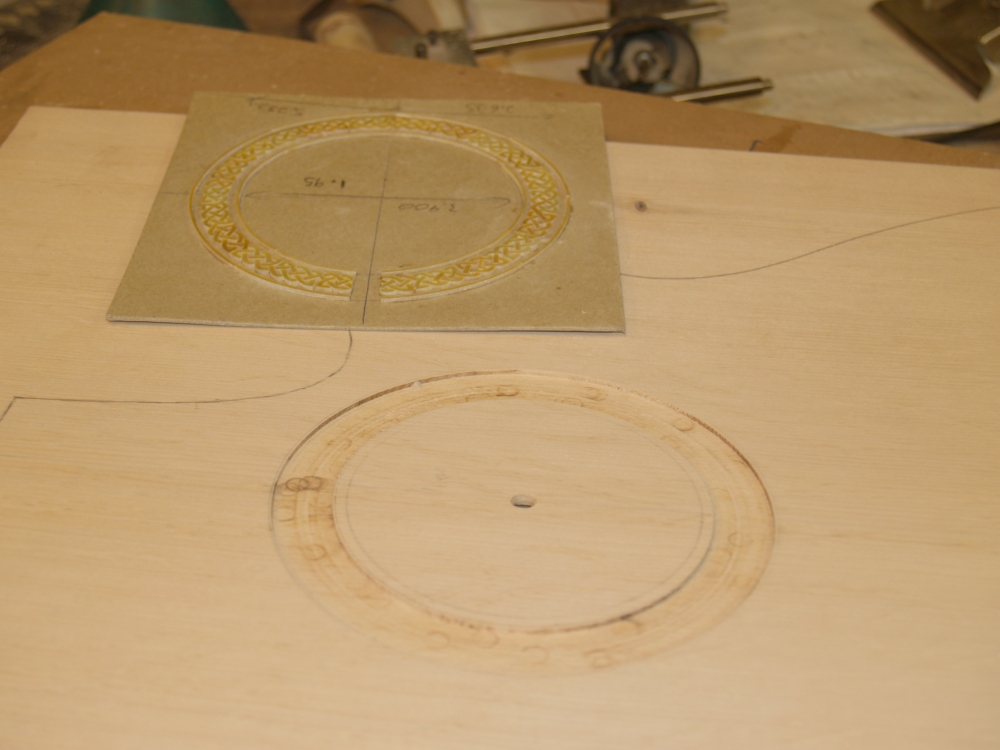
Here we can see the rosette ready to be glued into the channel I just
cut.. |
 |
(117) August 11, 2008
The rosette I have purchased comes glued onto a cardboard back.
I
have placed a clear plastic tape on top of the rosette to keep all of
the pieces in place. I wet the cardboard to loosen up the
glue
and then carefully pry the rosette up in one piece. |
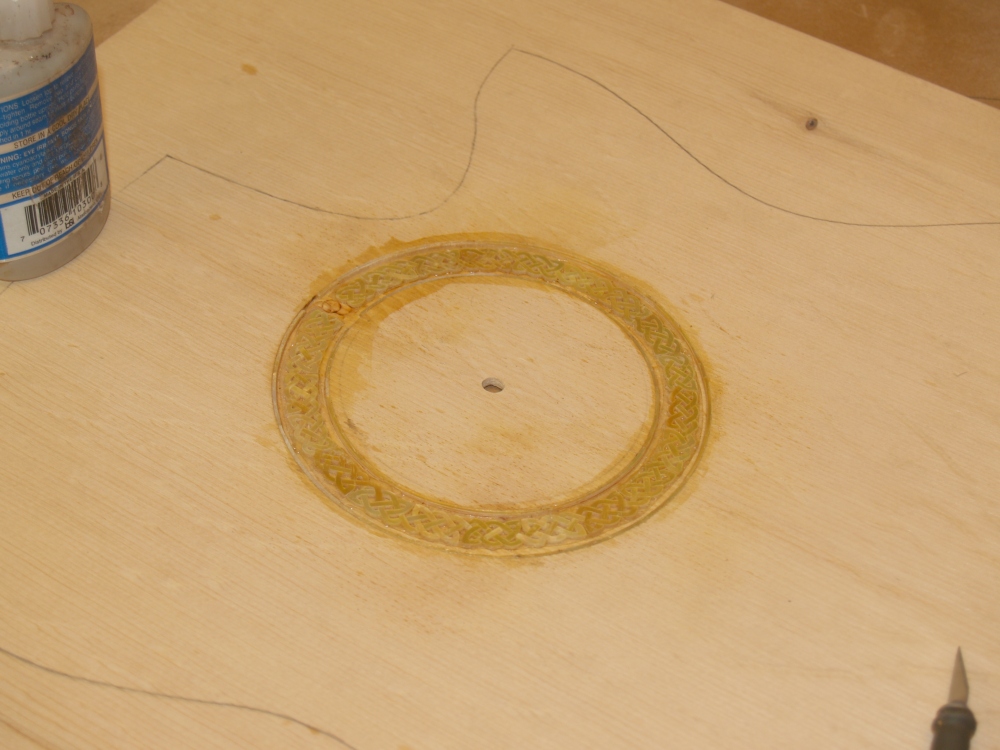 |
(118) August 11, 2008
I then carefully glue the rosette into the channel making sure all of
the pieces line up just right. |
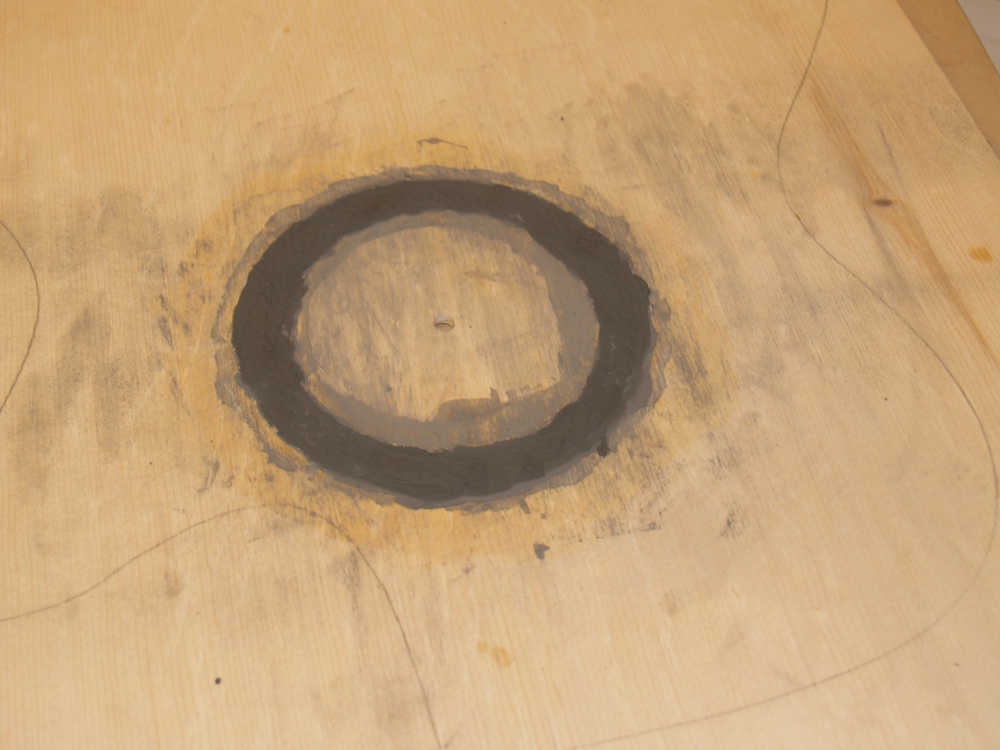 |
(119) August 11, 2008
I then fill in the spaces in the rosette with a black filler. |
 |
(120) August 11, 2008
When the filler is dry I sand the top off flat in the drum sander. |
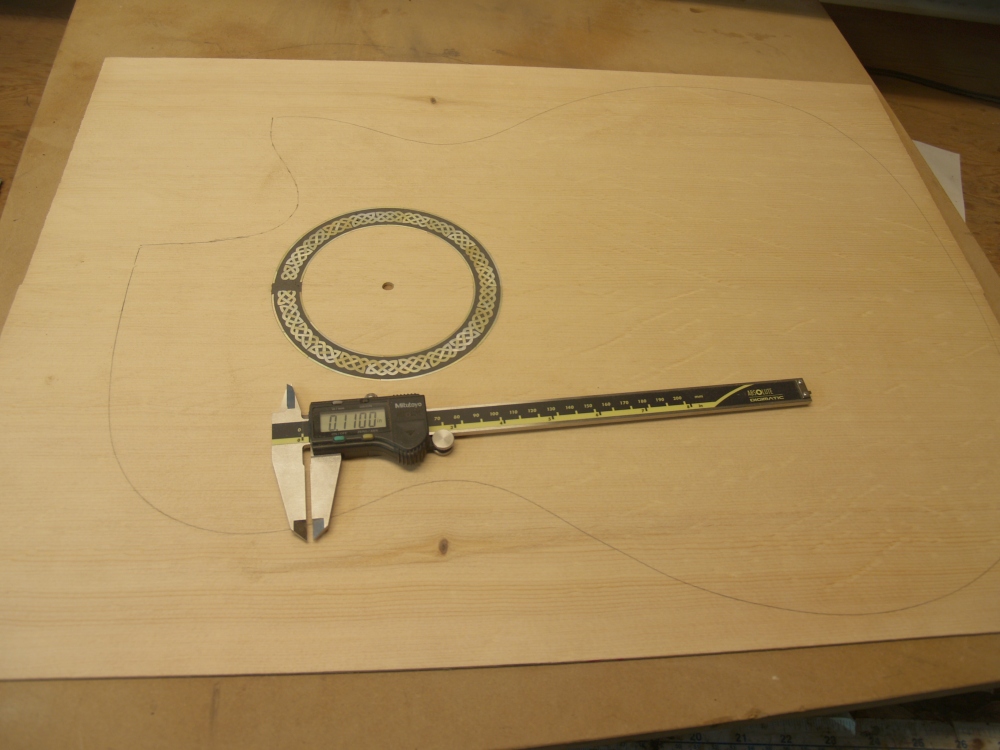 |
(121) August 11, 2008
And then I use the drum sander to dimension the top to about 110 mills.
The thickness of the top will be reduced somewhat during
subsequent steps in the build process. |
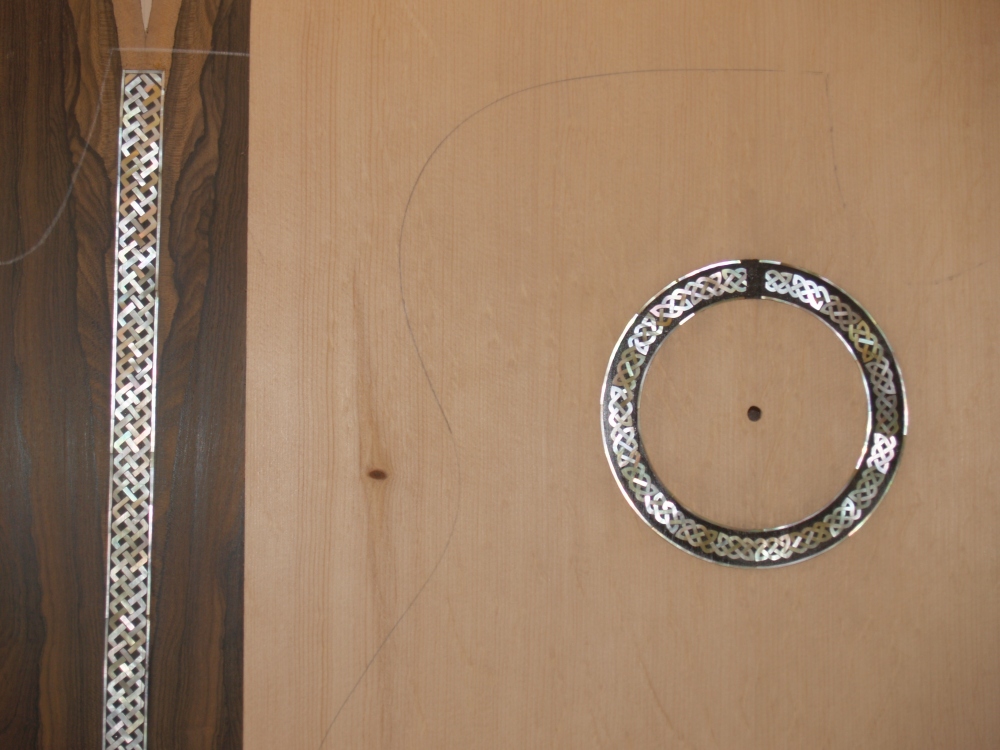 |
(122) August 11, 2008
And here we see the rosette and the back strip next to each other. |


