 |
(15) July 20, 2008
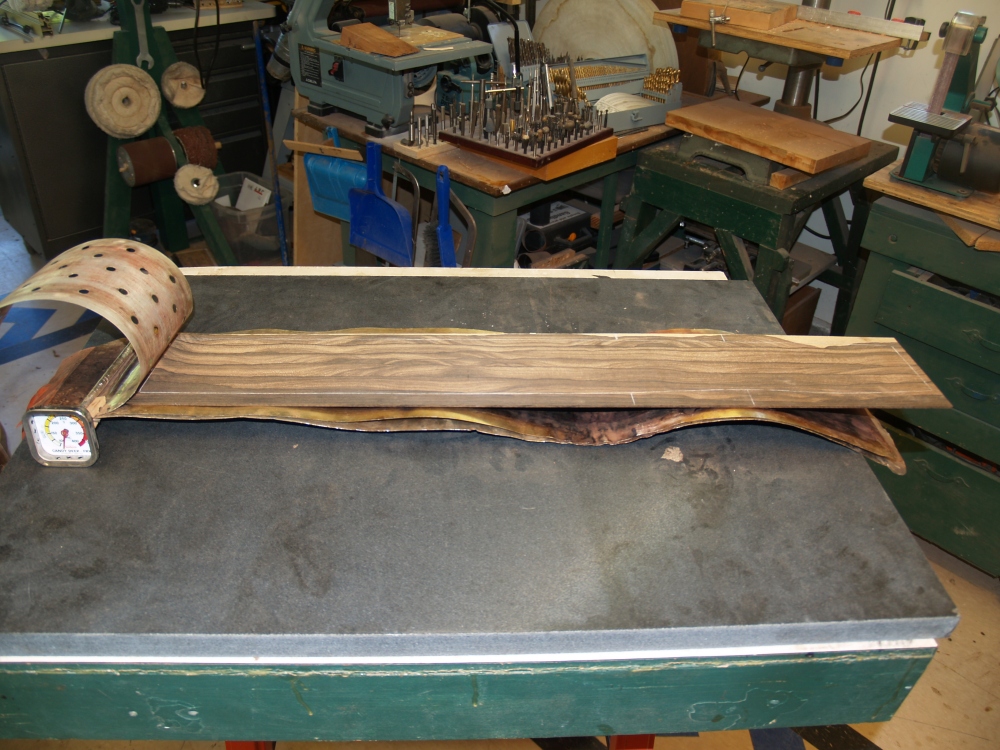
Now I am getting ready to bend the sides into shape. What we
see
here is a bending blanket that consists of an aluminum backing and an
orange heating blanket. |
 |
(16) July 20, 2008
On top of the heating blanket is another aluminum sheet. |
 |
(17) July 20, 2008
I then place the piece of wood to be bent. |
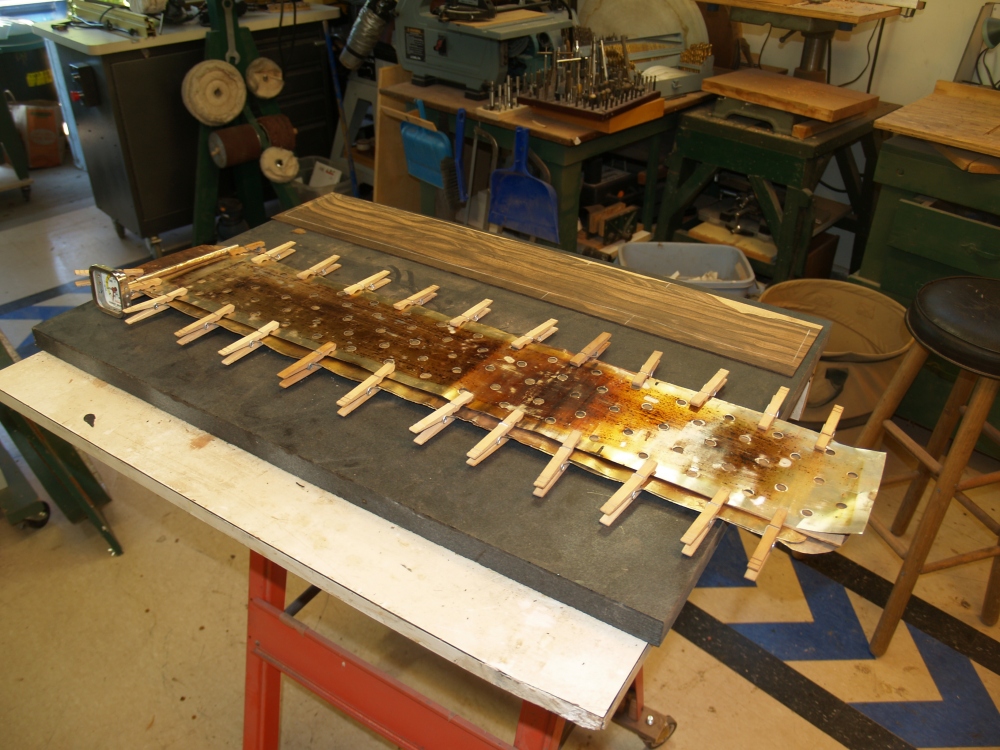 |
(18) July 20, 2008
And then comes a top sheet of aluminum with a matrix of holes punched
into it to that allows me to keep the wood wet while bending
it. I
use the clothespins to make sure the sandwich stays in good
contact.
The water prevents scorching and acts as a heat transfer
medium
while the aluminum sheets act as a stress and heat distributing medium.
In
all, this system prevents the wood from breaking during the
bending process. |
 |
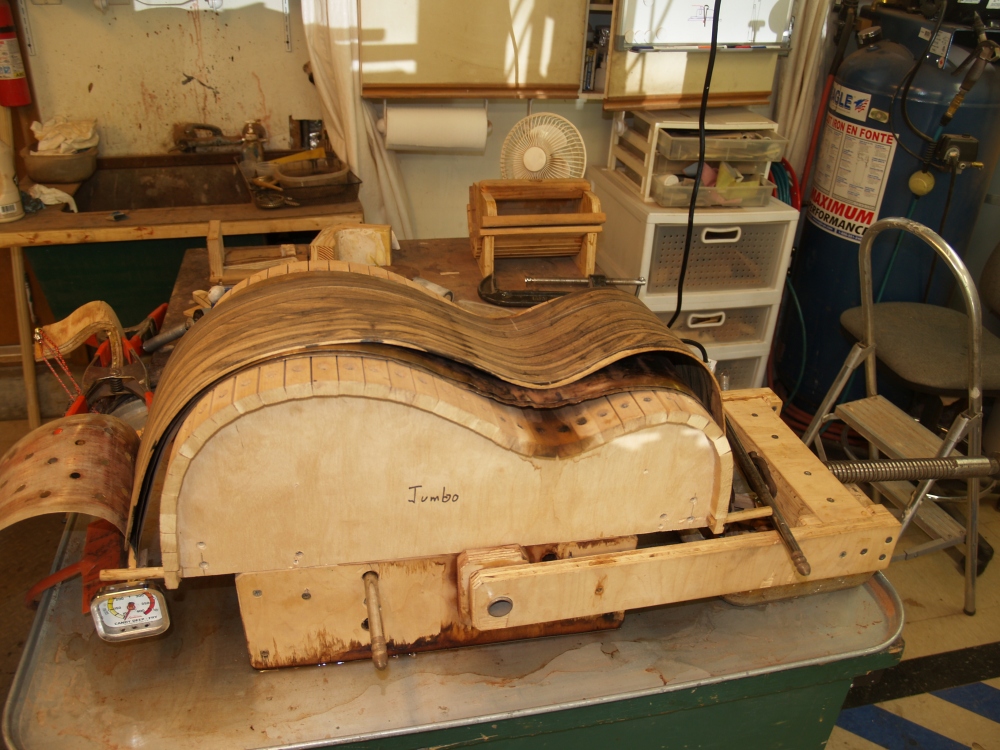
(19) July 20, 2008
I put the sandwich into the bending press and start to heat the system
up. I keep an eye on the temperature with the candy
thermometer
on the left. |
 |
(20) July 20, 2008
After the wood is heated up to about 200 deg. I first carefully press
the waist into the form. |
 |
(21) July 20, 2008
Then I attach the top bout roller. |
 |
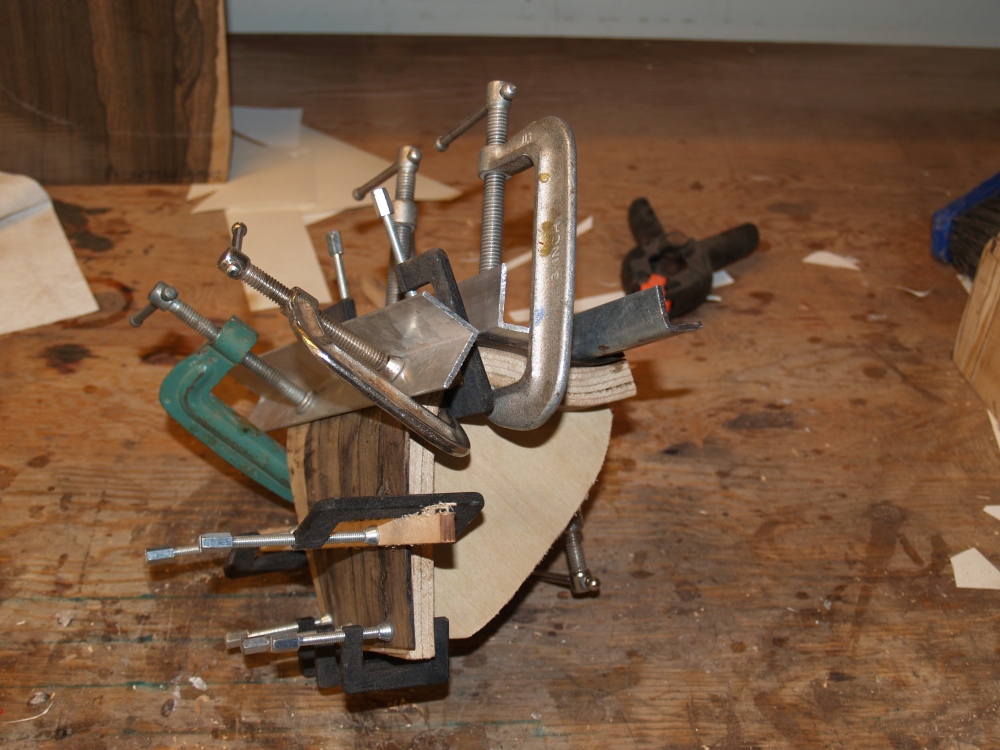
(22) July 20, 2008
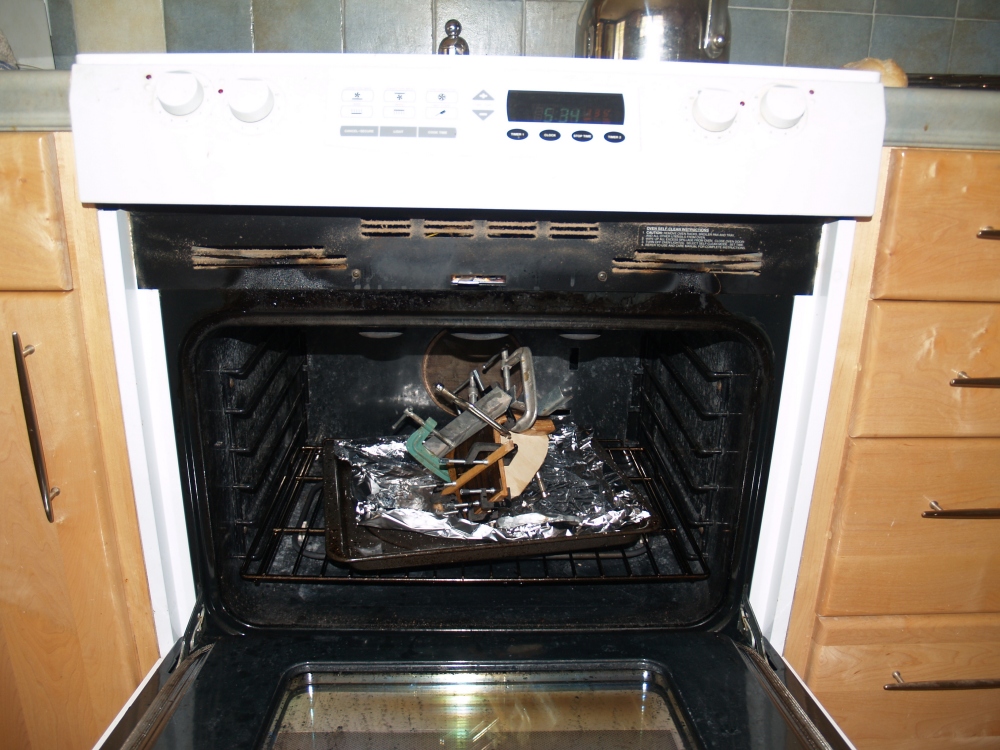
And carefully roll the top bout into shape. All the while I
am making sure the wood stays wet using the water bottle. |
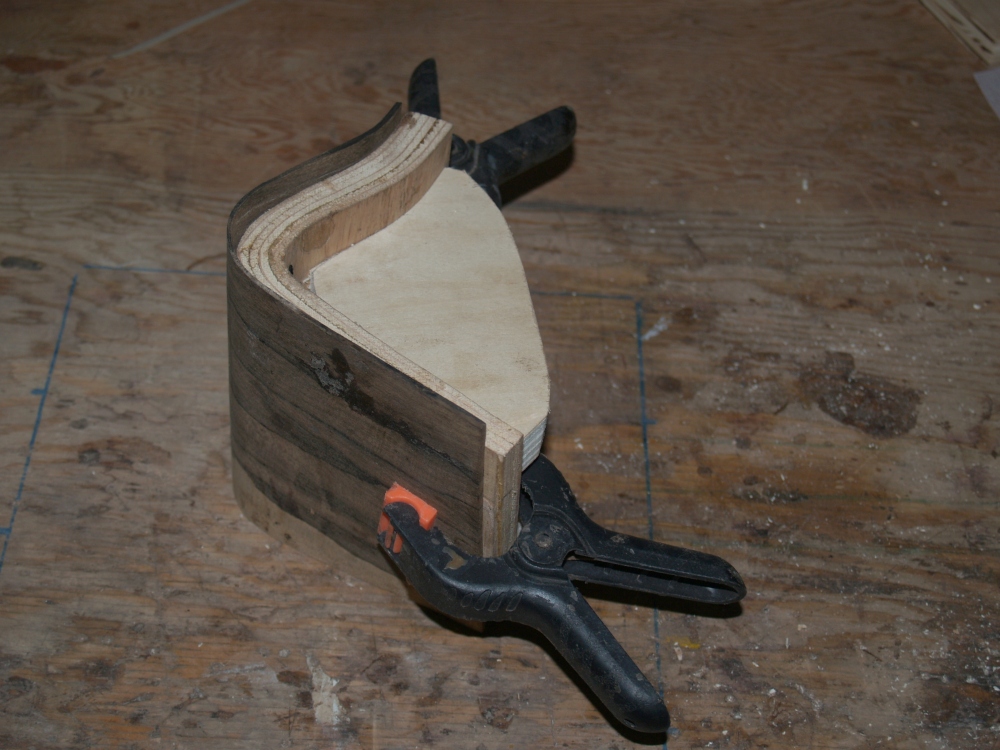
 |
(23) July 20, 2008
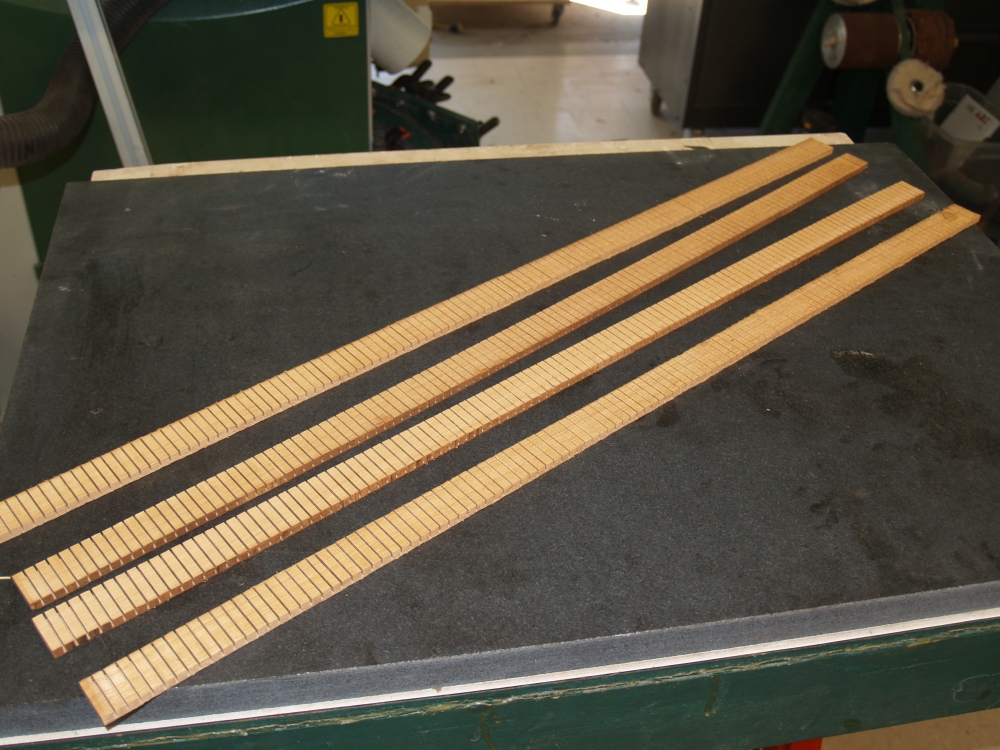
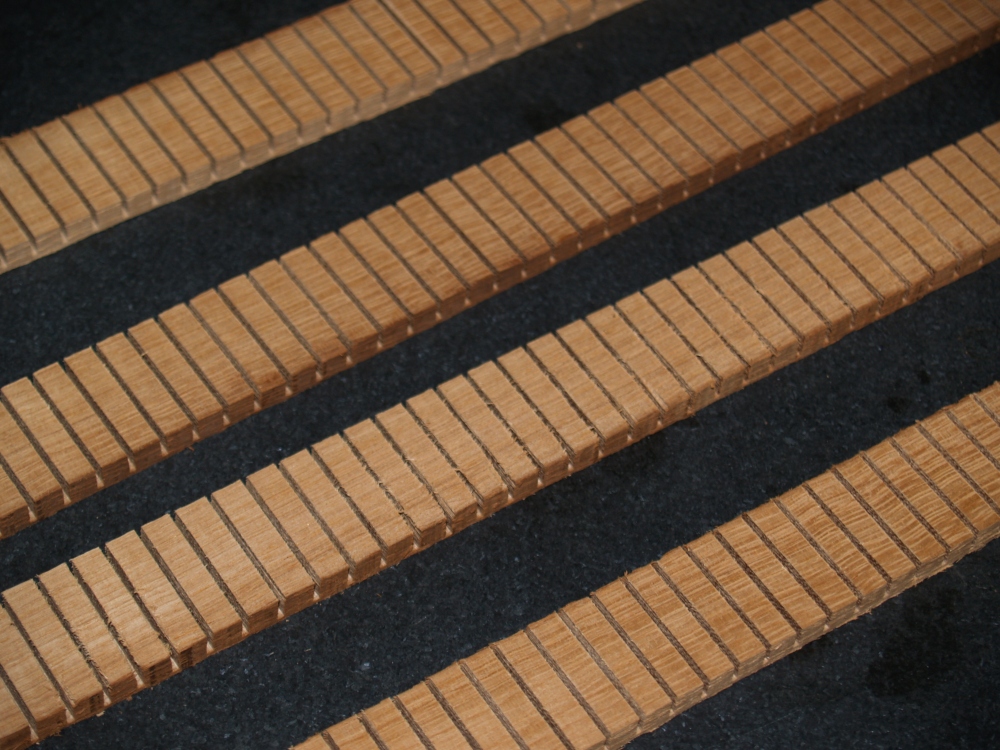
Next I attach the lower bout rolling pin.
|
 |
(24) July 20, 2008
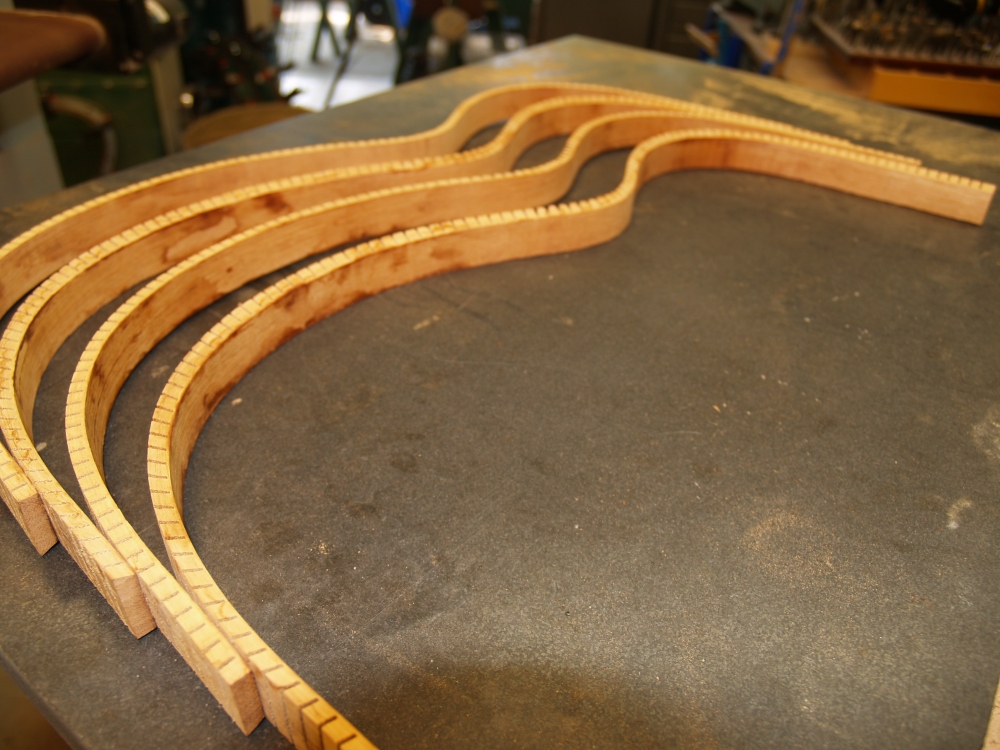
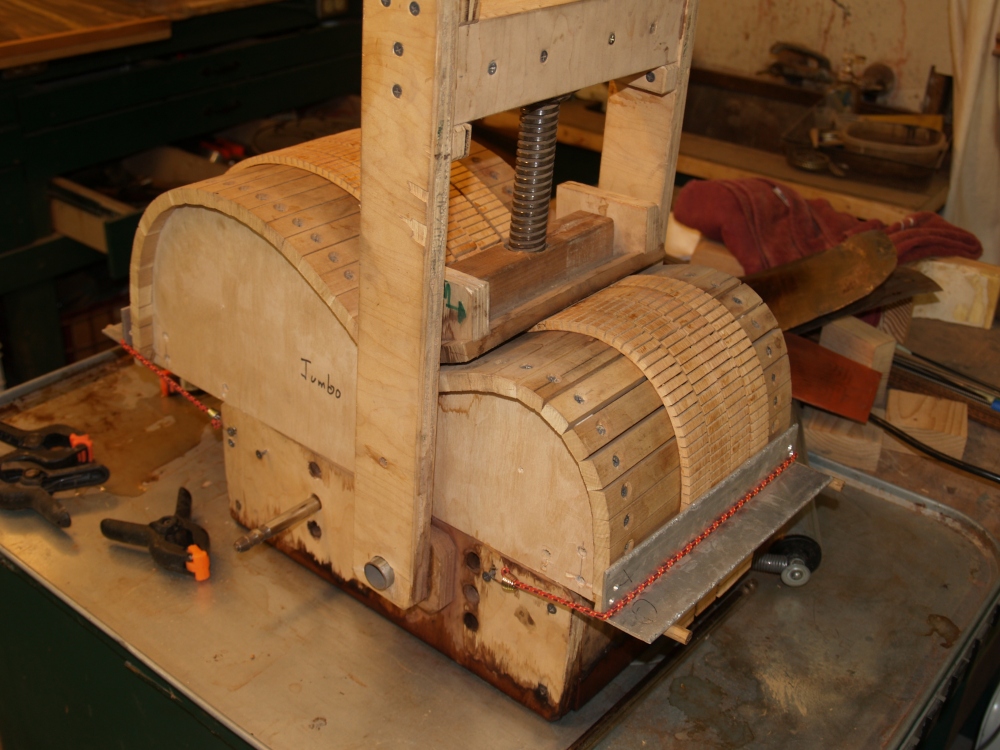
And then I roll out the lower bout. |
 |
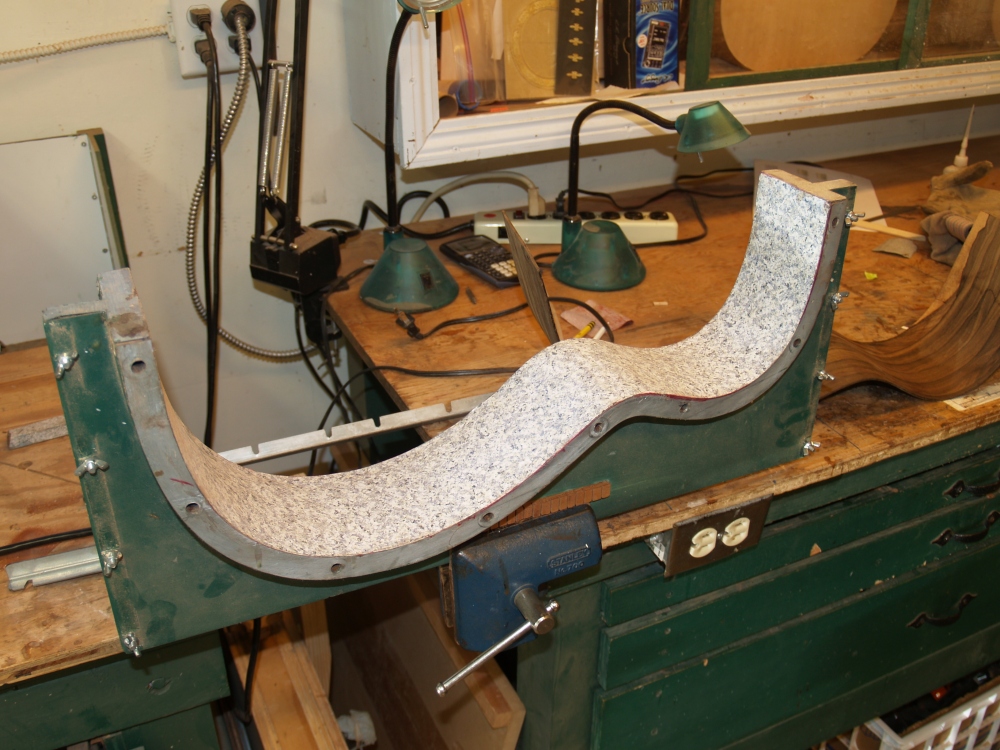
(25) July 20, 2008
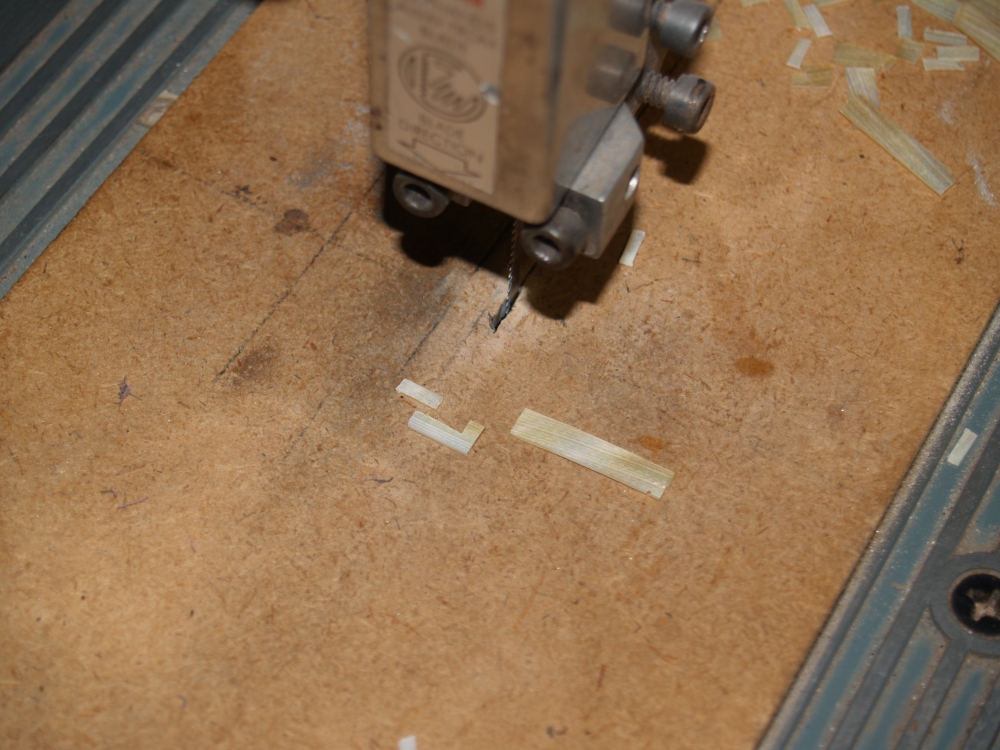
After I cook the sandwich for about and hour at 150 degs. F I pull the
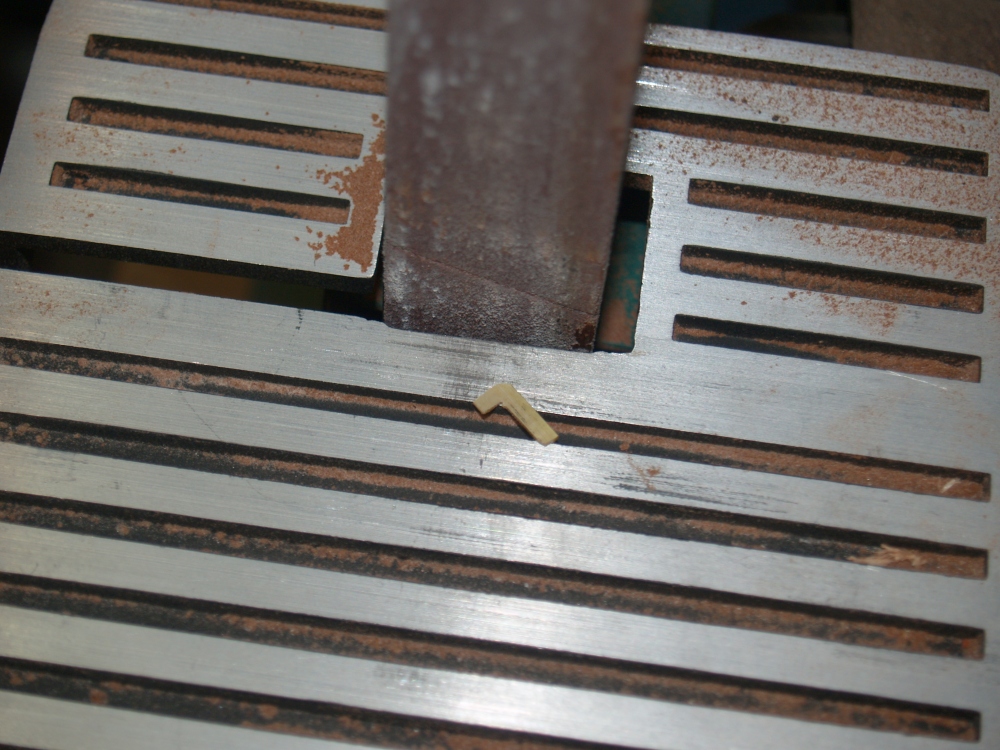
sandwich apart the the wood has taken shape. |
 |
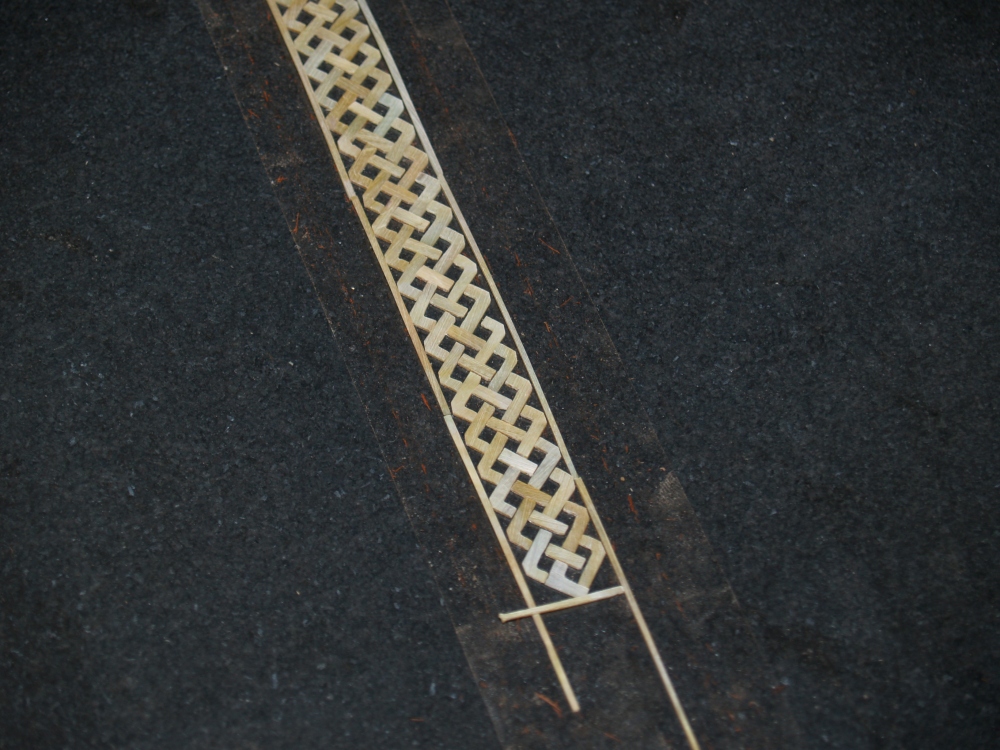
(26) July 20, 2008
I prepare the side form. |
 |
(27) July 20, 2008
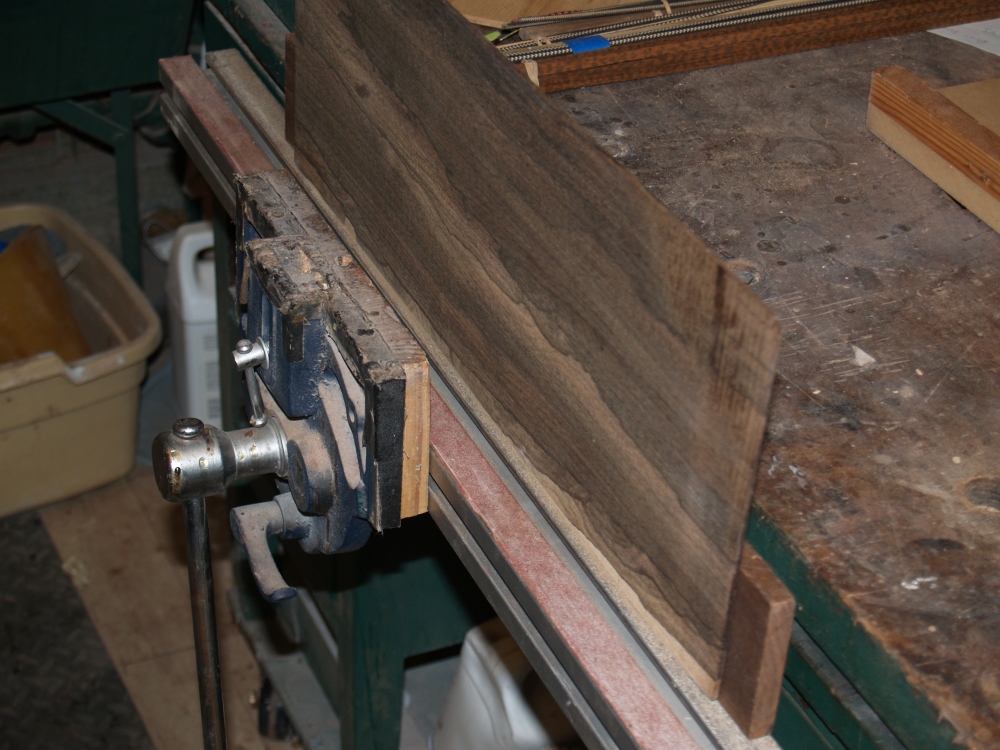
And I place the bent wood into the form and clamp it down into its
final
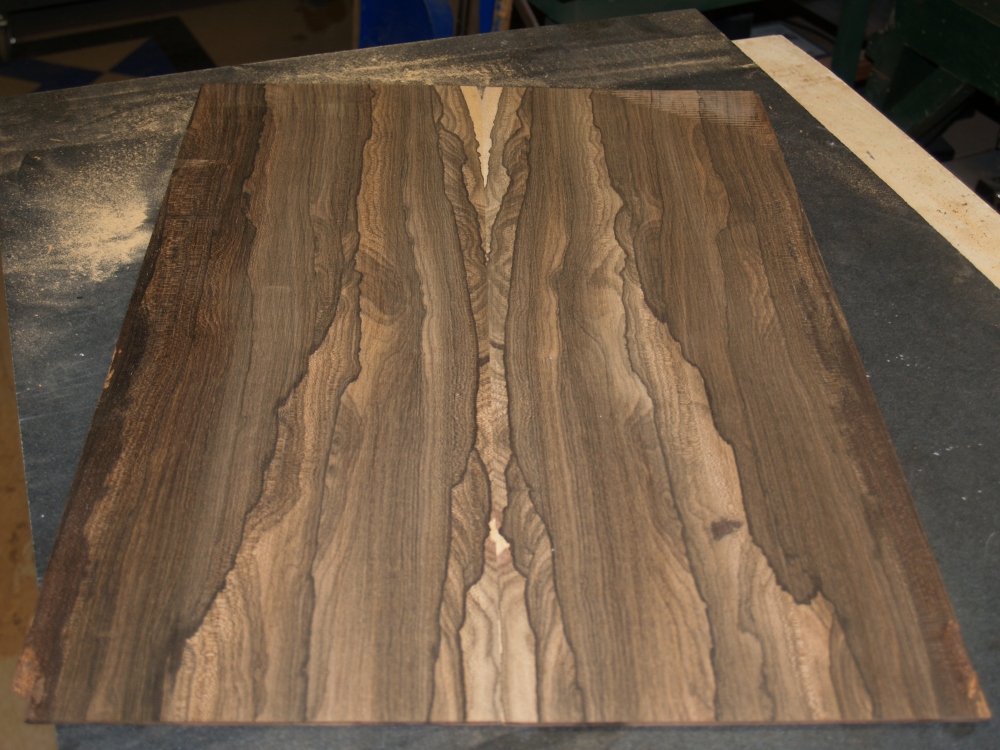
shape. The wood still has some spring back at this time so
the
form keeps it from relaxing. |
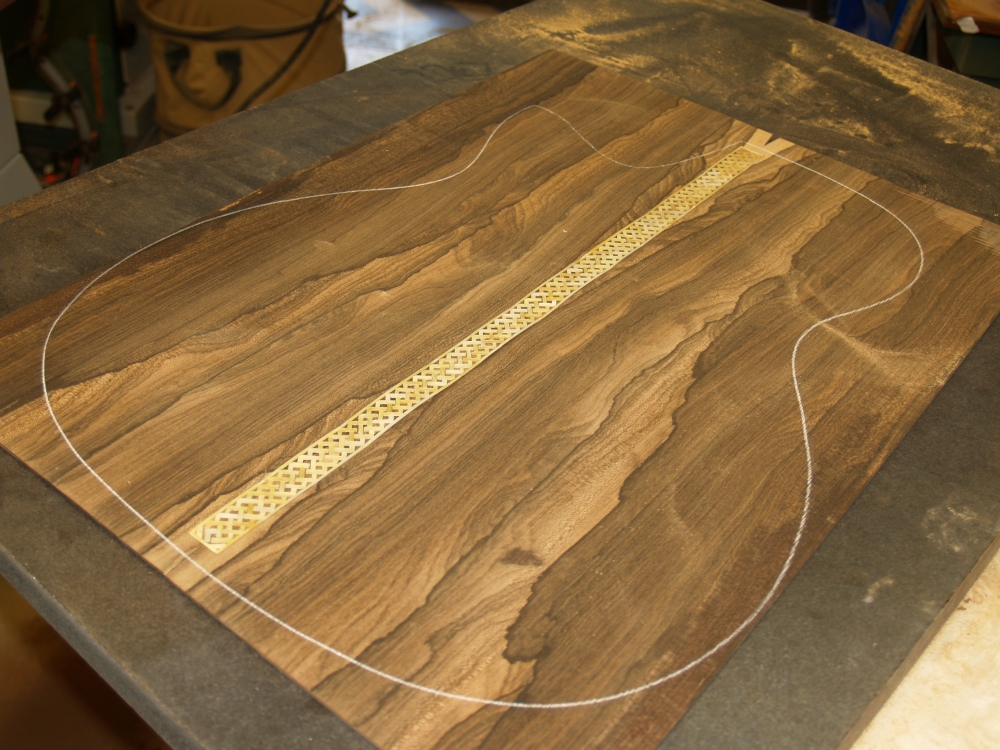
 |
(28) July 20, 2008
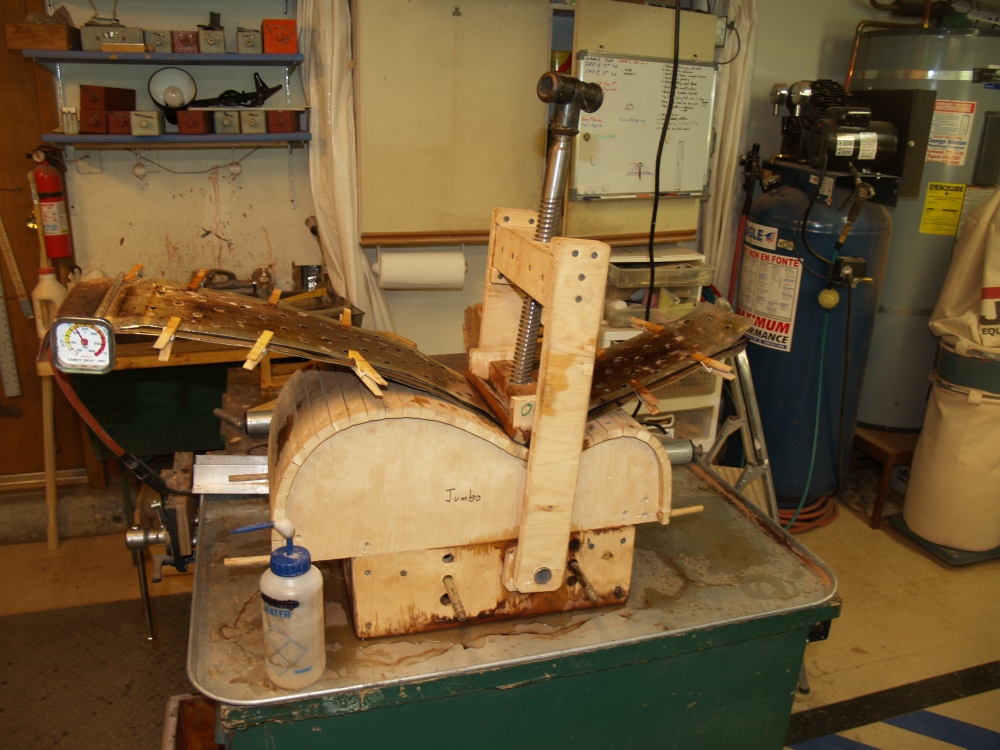
Next I prepare the cutaway side in the heating blanket sandwich. |
 |
(29) July 20, 2008
And the assembly goes into the bending machine. |
 |
(30) July 20, 2008
This time however, the front bout does not get bent all the way around,
but rather stops at the cutaway point. |
 |
(31) July 20, 2008
I next bend the lower bout and cook the assembly for an hour. |
 |
(32) July 20, 2008
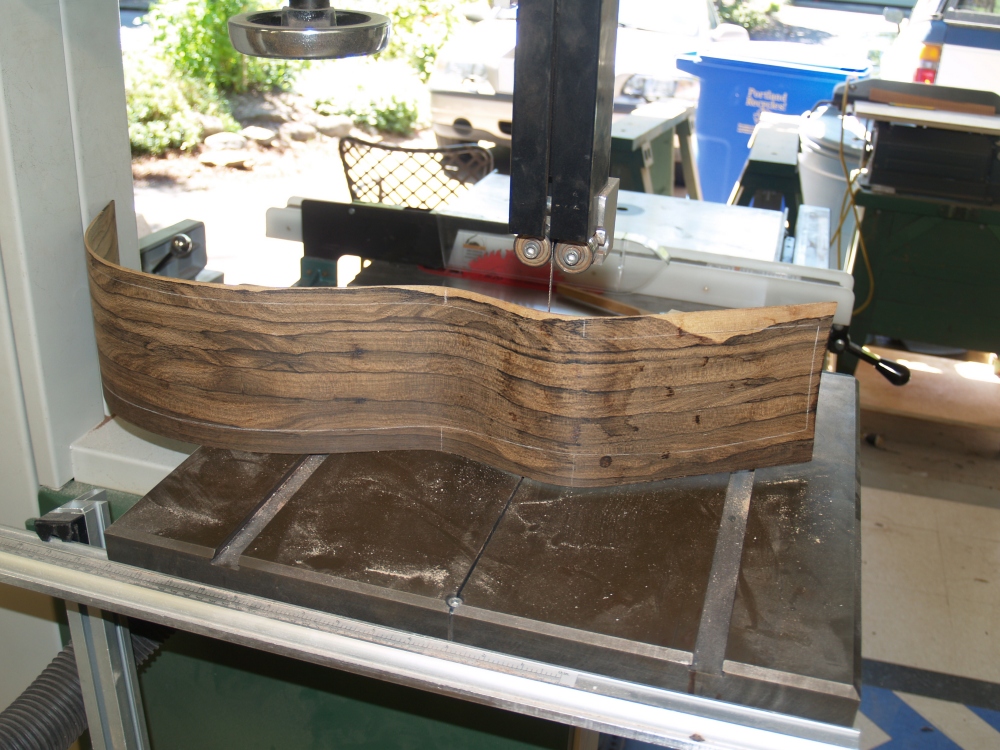
And the wood is bent into shape. |
 |
(33) July 20, 2008
Here come a scary part. I am going to cut the beautiful piece
of
wood in two. I have previously marked out the
cutaway point . |
 |
(34) July 20, 2008
And I carefully cut the piece. It is very important that the
cut be very straight. |
 |
(35) July 20, 2008
The bottom piece goes into the form.
|
 |
(36) July 20, 2008
The top piece gets thinned out to 65 mills in the area
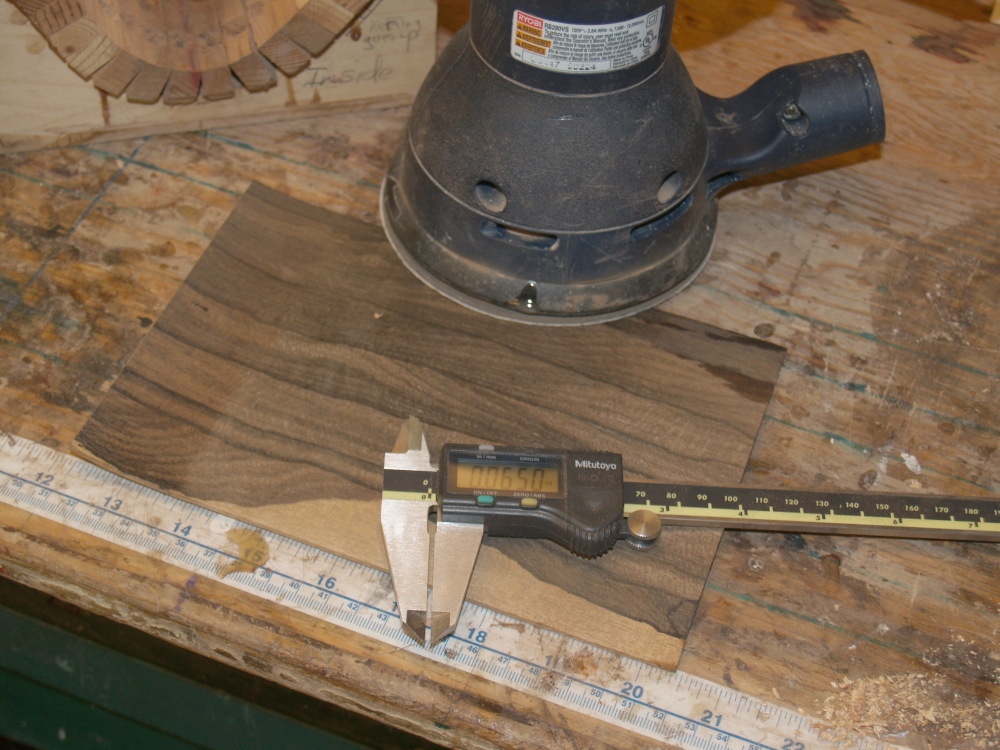
that will be bent into the cutaway waist. I reduce the
thickness
from 100 mils to 65 mils because this section is going to go through a
radical bend and I don't want it to break in the process. |
 |
(37) July 20, 2008
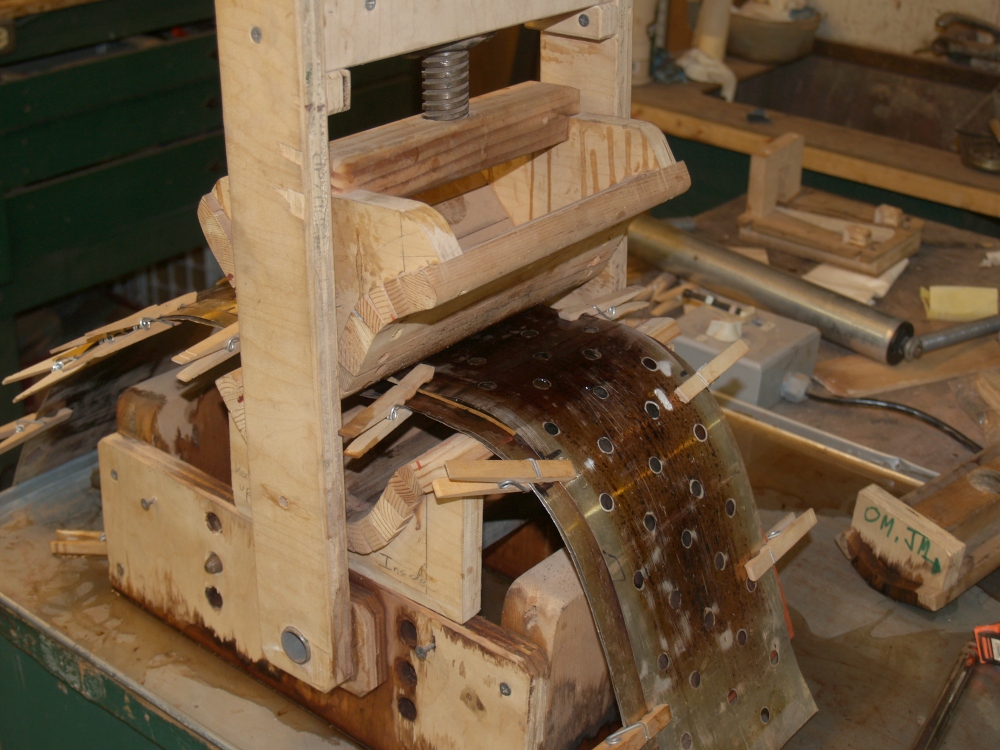
This piece goes back into the heating blanket and into the bending
machine again using a different bending form.. |
 |
(38) July 20, 2008
And the piece gets pressed into shape. I use an extension
handle on the press to really honk down on it. |
 |
(39) July 20, 2008
After cooking, the piece is bent into its preliminary shape. |
 |
(40) July 20, 2008
The cutaway system I employ uses a compound curve to feather the body
into the neck leaving a smooth transition. To accomplish this
the piece of wood is
placed into a form that has the final shape and is firmly clamped down. |
 |
(41) July 20, 2008
And then the whole assembly is placed into our nice convection oven and
cooked for an hour at 195 degs. F. |
 |
(42) July 20, 2008
In the end we get a very funny looking piece of wood. |
 |
(43) July 20, 2008
I place the piece back into its form until it is ready to be used. |
 |
(44) July 20, 2008
I next turn my attention to the kerfing that will be attached to the
top
and bottom of the bent sided. I have premanufactured these
pieces
of mahogany. |
 |
(45) July 20, 2008
These pieces of mahogany are about 1/4 inch thick 1 inch wide and have
slots cut most of the way through them every 1/4 inch. These
kerfing
strips are used to reinforce the sides and to provide a shelf
for
the top and back to be glued to the sides. |
 |
(46) July 20, 2008
I like to put a bevel into the kerfing to make it look a little tighter. |
 |
(47) July 20, 2008
This is purely an aesthetic detail, but I think it makes the inside of
the guitar look nicer. |
 |
(48) July 20, 2008
Next the kerfing goes into the bending machine. |
 |
(49) July 20, 2008
and it comes out in the shape of the sides. I will shape the
pieces for the cutaway section later. |
 |
(50) July 20, 2008
I put the kerfing back into the form for safe keeping. |
 |
(51) July 20, 2008
Next I am turning my attention to the back strip. As I have
mentioned, this guitar is going to have a Celtic theme to it, so to
match the rosette and fretboard inlay I have decided to construct a
Celtic rope back strip. I couldn't find anyone who sells what
I
am looking for, so never fearing a challenge, I decided to make it
myself. I happen to have some gold shell material on hand, so
here we go. |
 |
(52) July 20, 2008
First I cut a small 'L' shape and a rectangle out of the stock shell
piece. |
 |
(53) July 20, 2008
And then I carefully knock the corner off of the 'L'. |
 |
(54) July 20, 2008
I do this over and over, approximately 150 times and start to assemble
the rope. |
 |
(55) July 20, 2008
To make the whole thing come together and to echo the rosette, I am
adding edge pieces to the rope. |
 |
(56) July 20, 2008
I spent many hours adjusting the pieces so everything looks reasonably
even. |
 |
(57) July 20, 2008
I have laid the whole assembly out on a piece of clear tape so it won't
fall apart. |
 |
(58) July 20, 2008
Now to the back pieces. They need to be joined together in
the
same fashion as the top pieces. Here I am sanding the edges
straight. |
 |
(59) July 20, 2008
And then prepping the joint surface. |
 |
(60) July 20, 2008
The two halves go into the jointing press. |
 |
(61) July 20, 2008
And now we have a spectacular book-matched back set. |
 |
(62) July 20, 2008
Now I am going to sand the back set in my drum sander to 100 mils
thickness. |
 |
(63) July 20, 2008
After it has been sanded front and back and it is 100 mils thick I have
drawn the outline of the guitar on it. |
 |
(64) July 20, 2008
And here we see the rope and the back laid out for inspection.
The rope will be inlayed into the back, filled in with a
black
filler and sanded flush. The space at the top and the bottom
of
the rope is left to accommodate the binding and purfling that will
outline the edge of the guitar. |


