 |
(192) Oct 17, 2008
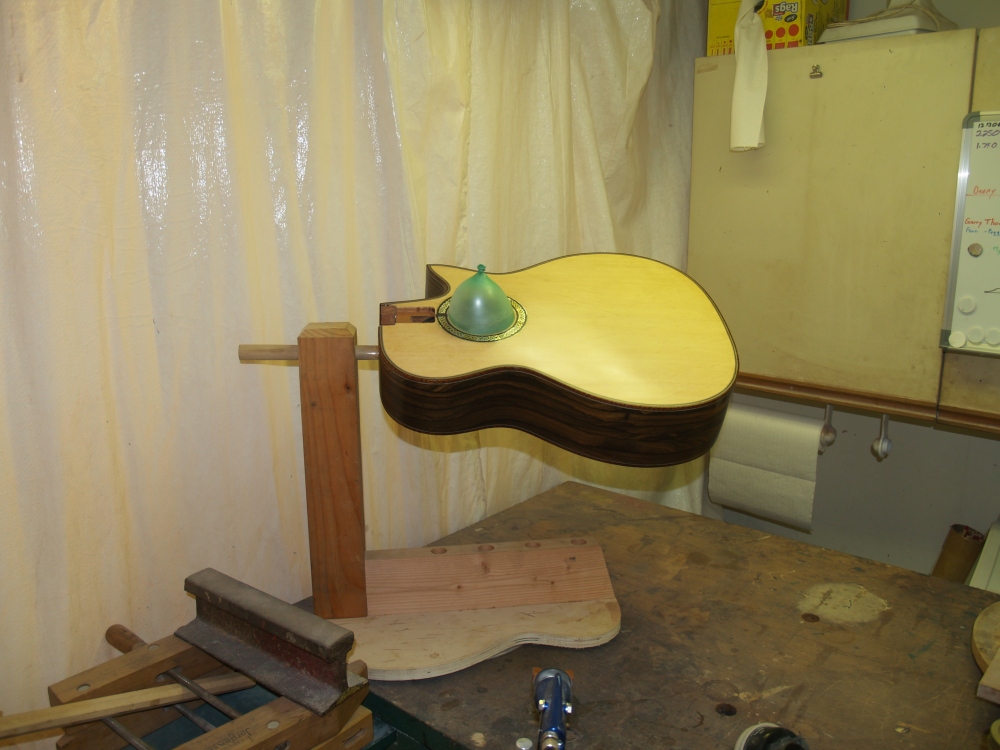
After I have filled the pores in the wood and detailed the instrument
looking for any defects that need to be corrected, I set up the paint
booth and start to apply the lacquer. The process involves
applying
several coats, and then sanding down all of the high spots and then
repeating the process. I put a balloon in the hole to keep the
spray from getting on the inside and I use a rotating stand so I can
easily get to all of the parts of the guitar.
|
 |
(193) Oct 17, 2008
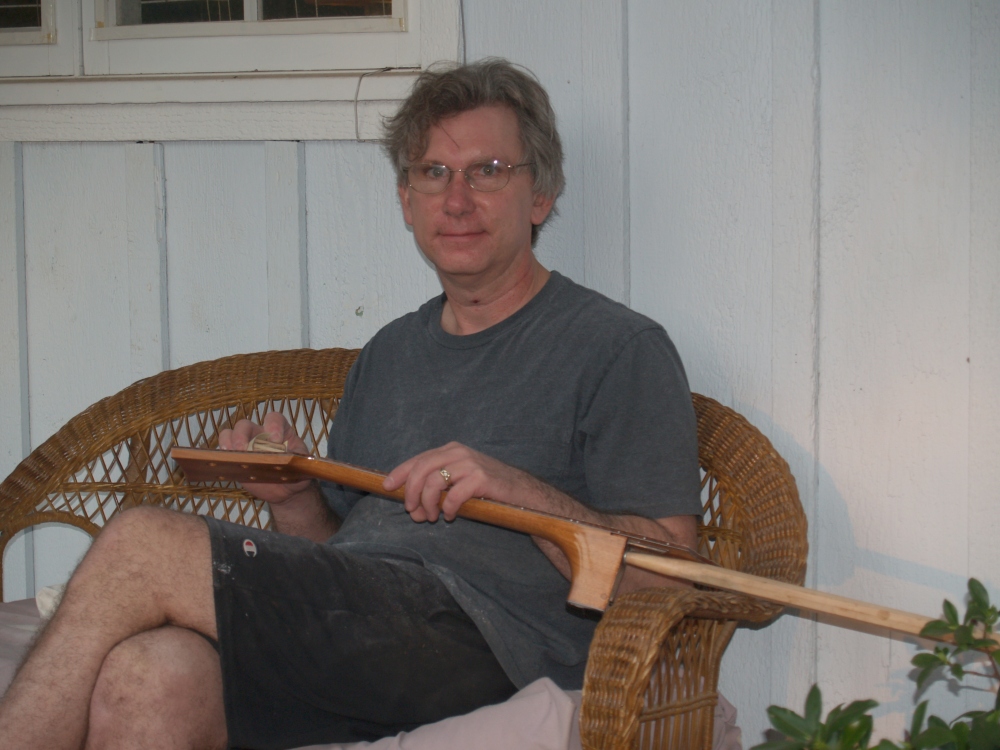
Here I am sitting outside on my new deck working on the neck.
Each layer of lacquer fills in the low spots and eventually the
surface becomes very smooth. This process is called leveling
because eventually the surface becomes leveled out. The number of
layers is somewhat indeterminate in that I am finished when the surface
is level. I work to keep the finish as thin as possible, but I
want enough so I don't sand through the finish as I am leveling
it. I will take a wild guess and say that after the leveling
process and the lacquer has cured that the finish may be 1 or 2 mills
thick. Only a guess though.
|
 |
(194) Oct 17, 2008
After the surface is leveled off to my satisfaction I begin the
polishing process. This involves using progressively finner grits
of sanding cloth until the size of the scratches is smaller than the
wavelength of light, approximately 400 nanometers. In the final
step I use a buffing wheel that removes the last bits of haze.
|
 |
(195) Oct 17, 2008
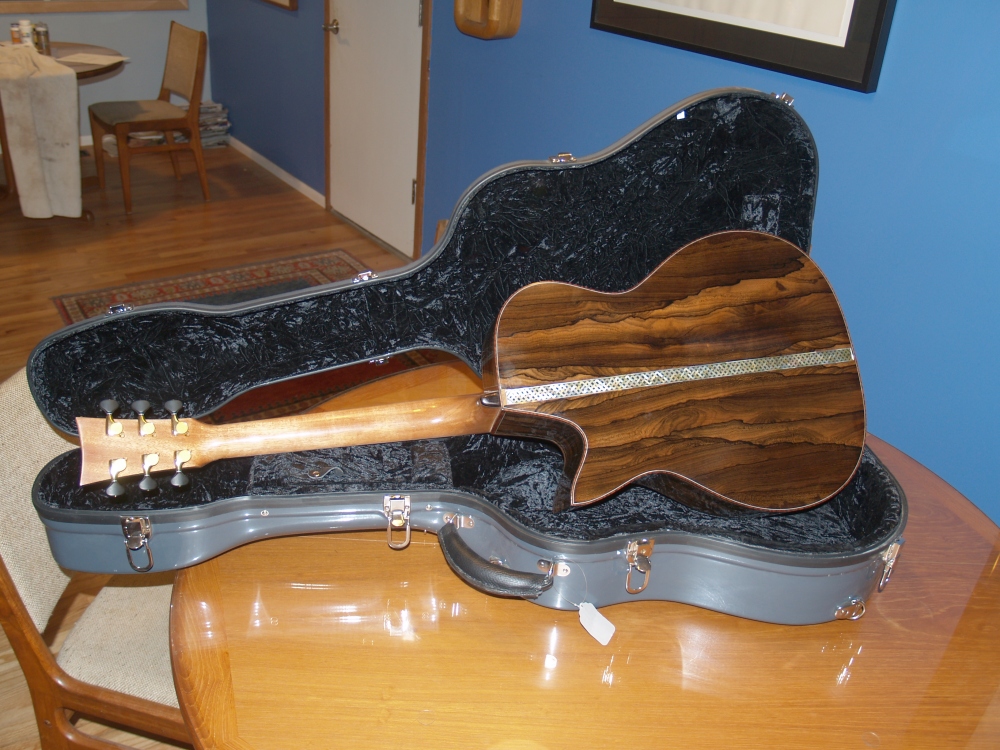
Here is a shot of the back of the guitar.
|
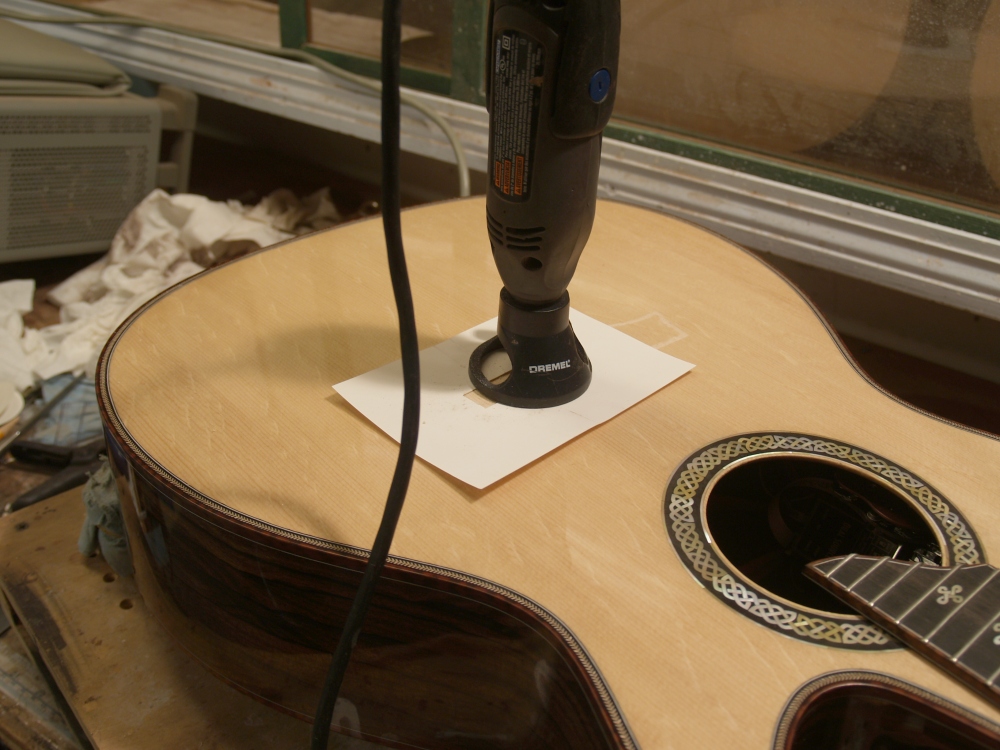 |
(196) Oct 17, 2008
Now I am preparing to remove the lacquer where the bridge will go.
This is a very delicate and precise process. I use Dremel
tool with a router bit to remove the very thin layer of lacquer and
then sand the surface to make sure there is a good gluing surface. |
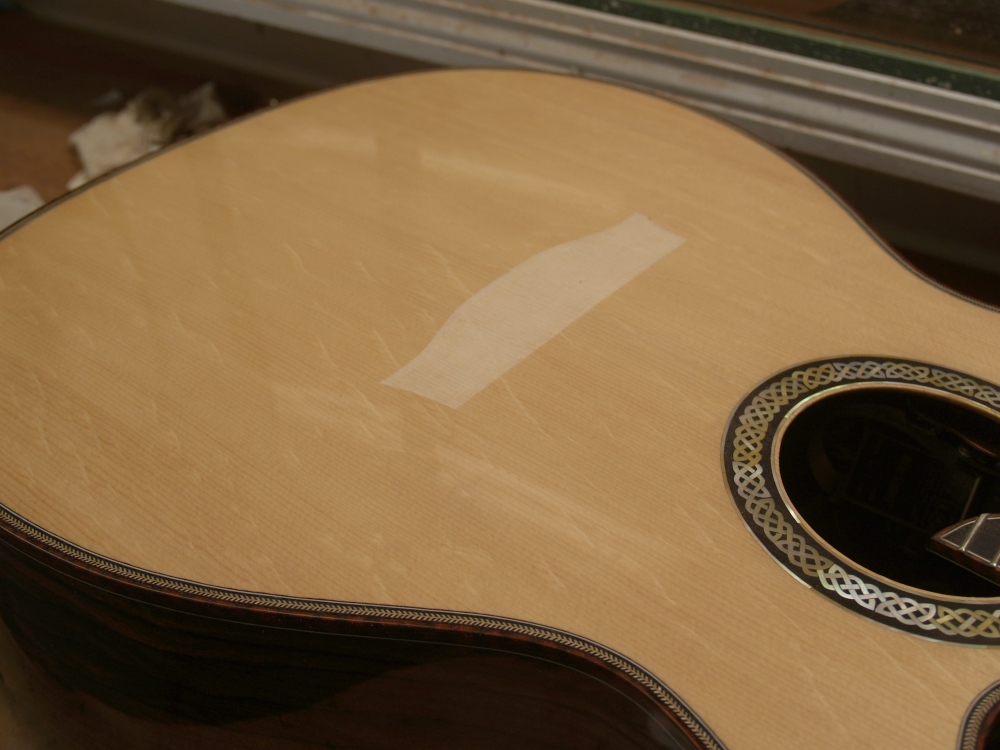 |
(197) Oct 17, 2008
Everything goes well and I have removed a footprint that exactly matches the bridge.
|
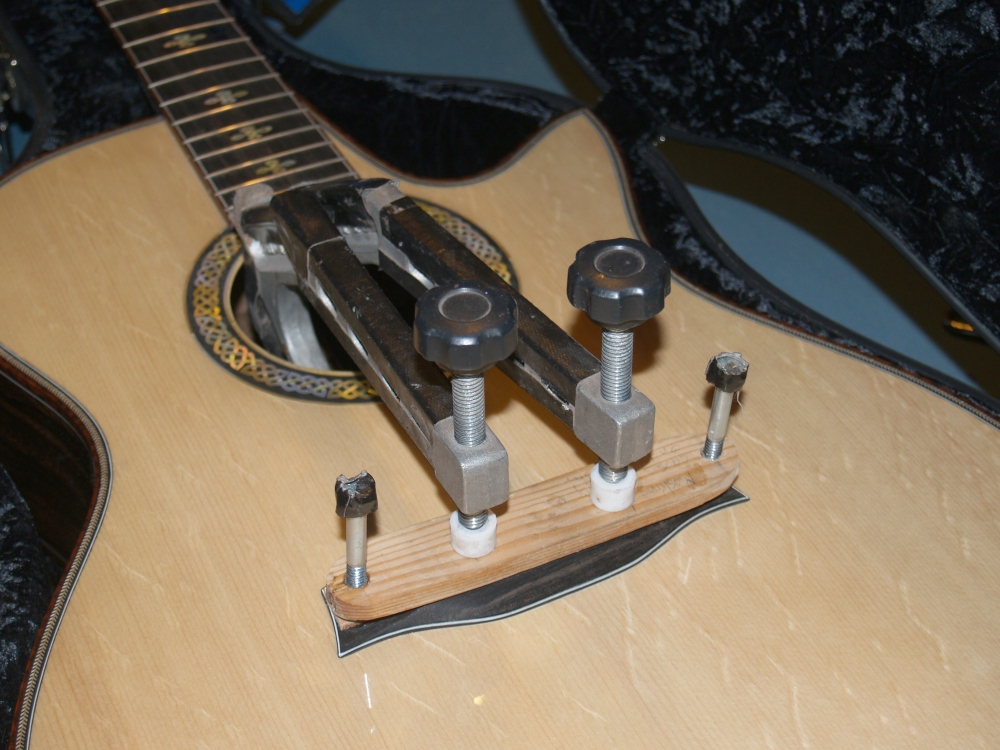 |
(198) Oct 17, 2008
Here I am gluing the bridge on to the top of the guitar. |
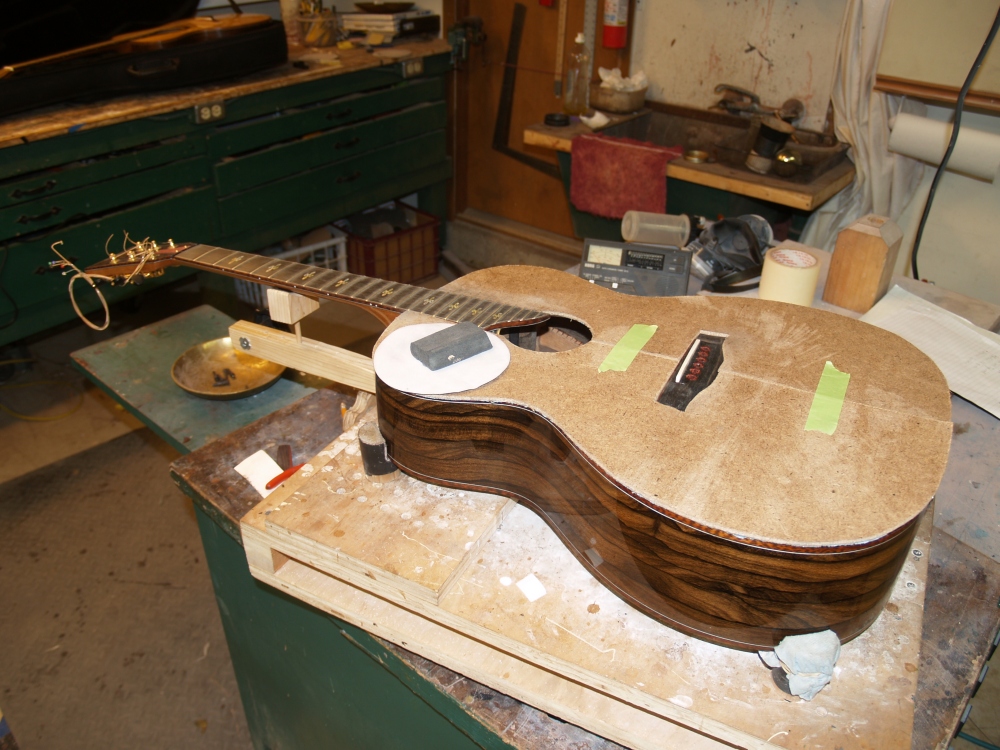 |
(199) Oct 17, 2008
The frets get a final dressing to make them level and shinny. I
put a protective cover on the guitar when doing this so I don't mar the
surface.
|
 |
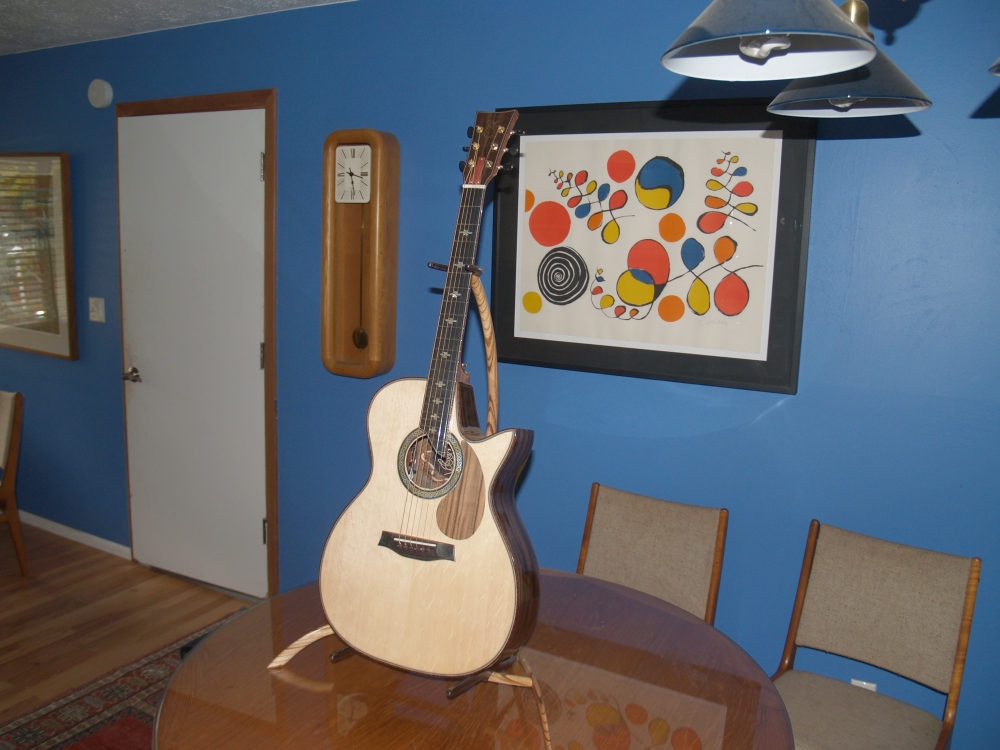
(200) Oct 17, 2008
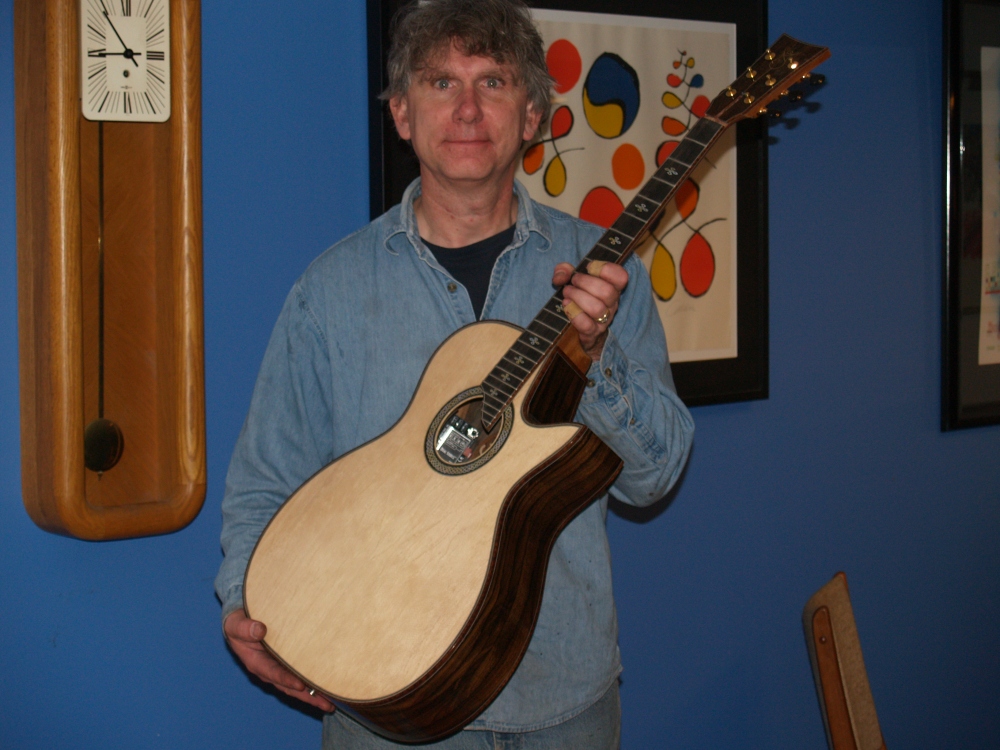
A picture of the finished guitar.
|
 |
(201) Oct 17, 2008
The back of the finished guitar.
|
 |
(202) Oct 17, 2008
The finished guitar.
|
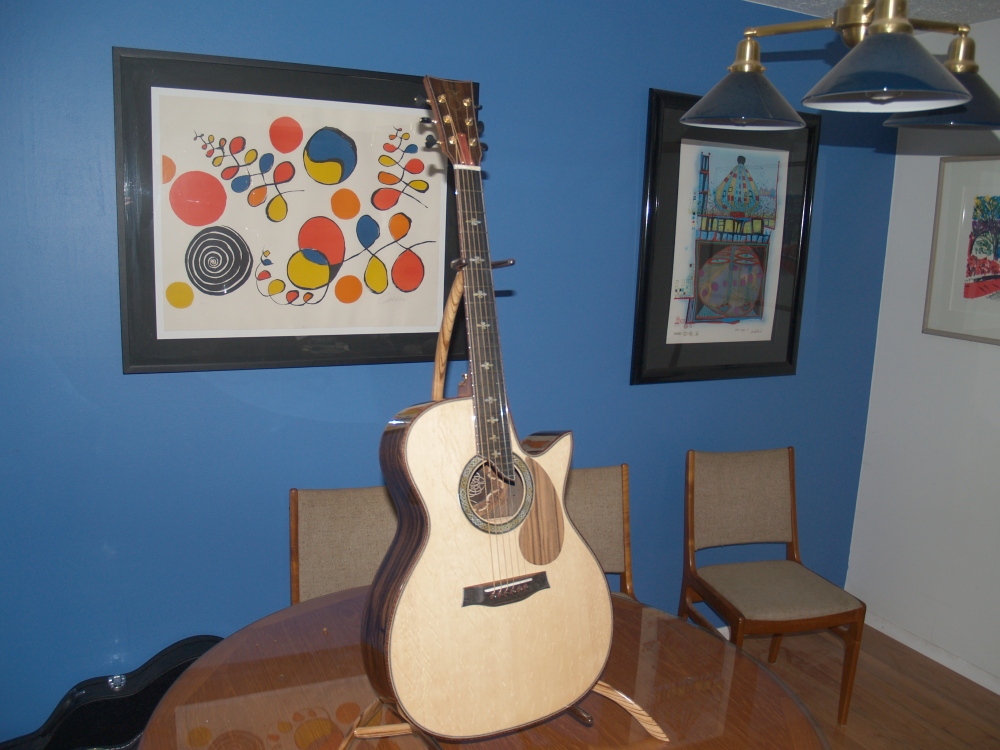 |
(203) Oct 17, 2008
The finished guitar. Now on to make a guitar stand. |
|