 |
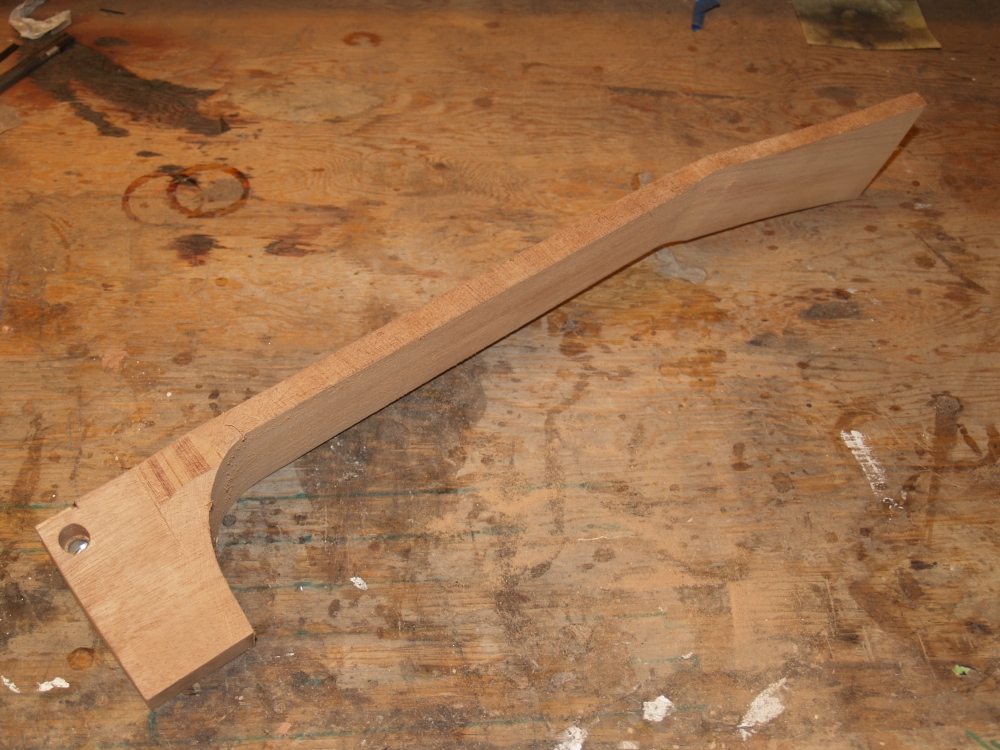
(169) Sept 29, 2008
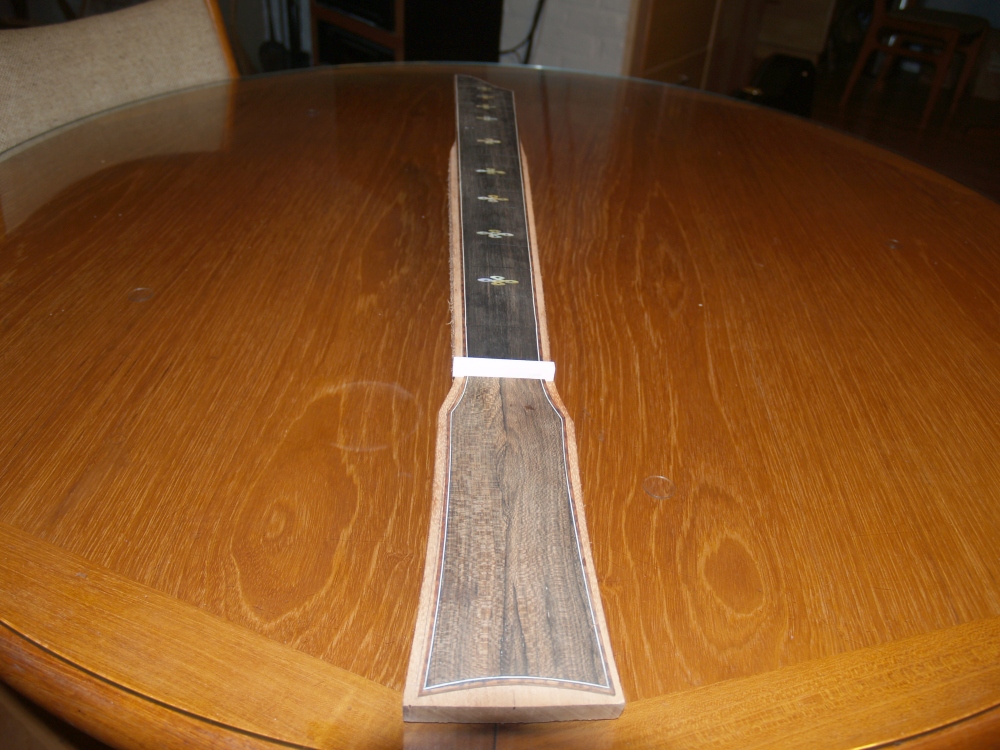
In this picture I have laid out the fretboard and the headstock on the neck blank to make sure everything fits.
|
 |
(170) Sept 29, 2008
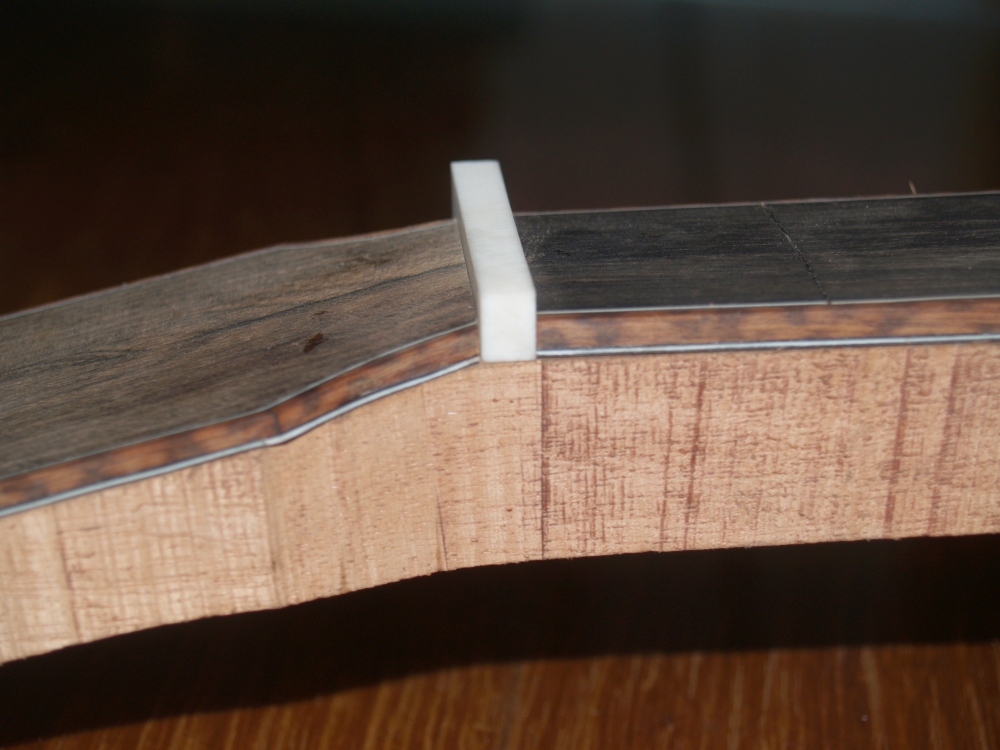
Here is a close up view of the nut and the binding detail. |
 |
(171) Sept 29, 2008
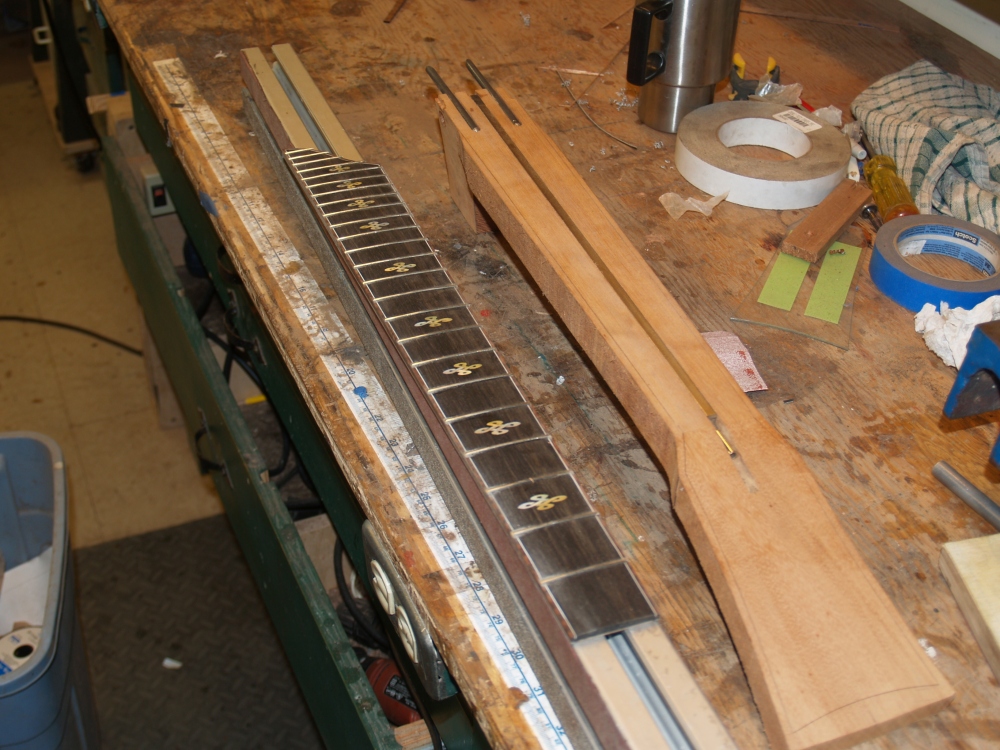
Here we see the fretboard with the frets installed and the neck hardware exposed. |
 |
(172) Sept 29, 2008
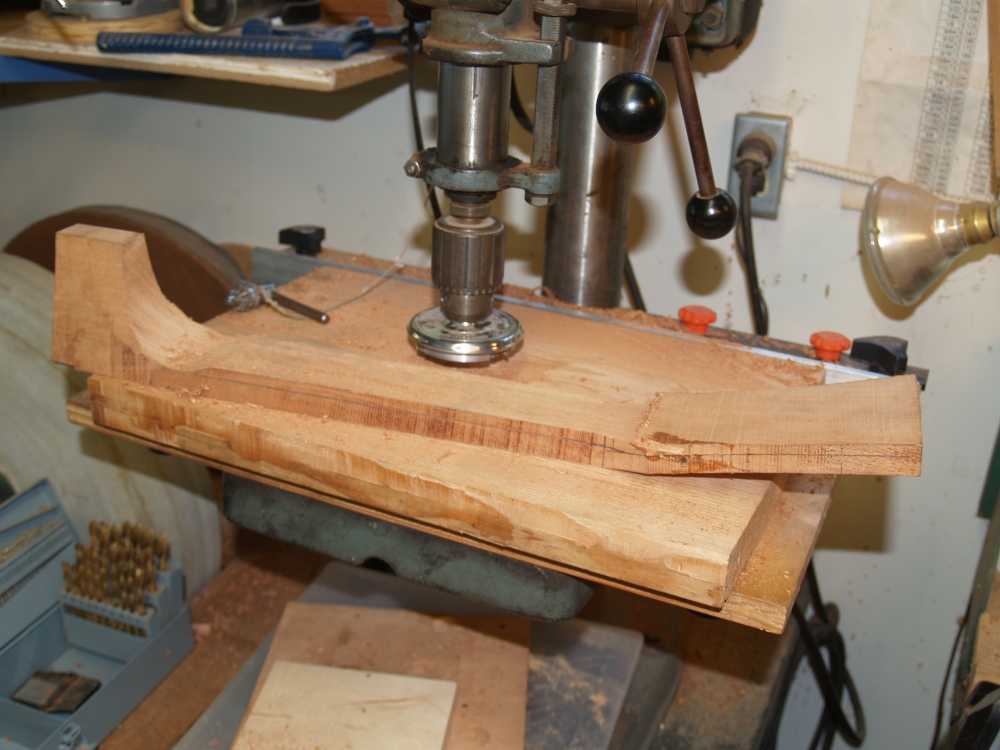
Now that I have all of the pieces assembled I start the process of
shaping the neck. The first thing I do is thin the neck to
dimension. |
 |
(173) Sept 29, 2008.
The neck reduced to dimension. |
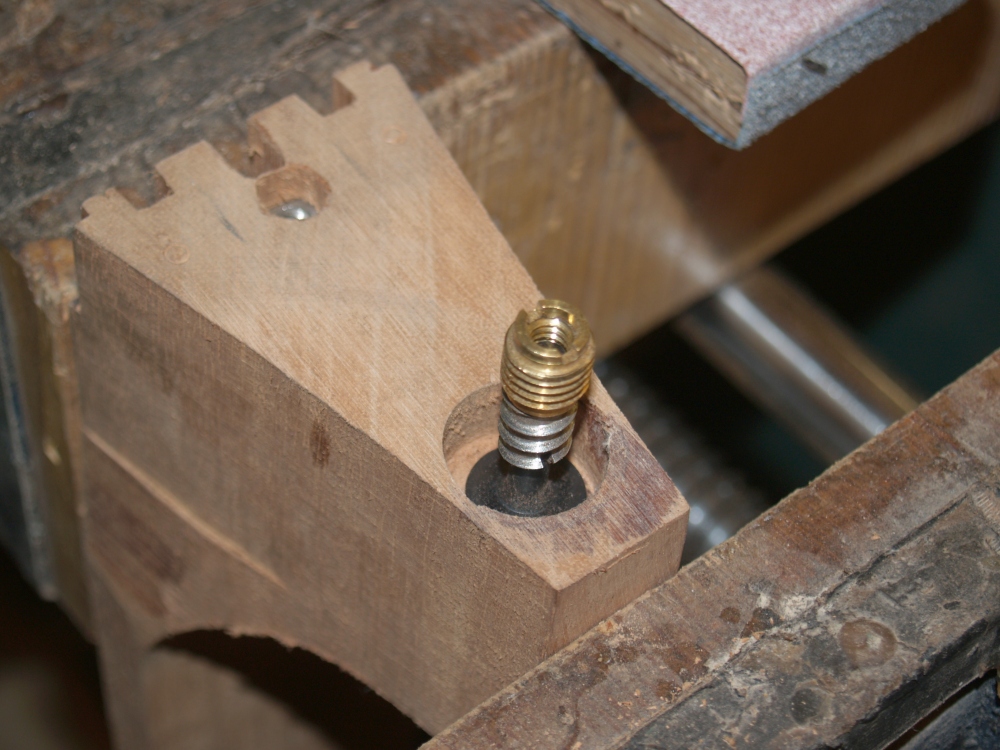 |
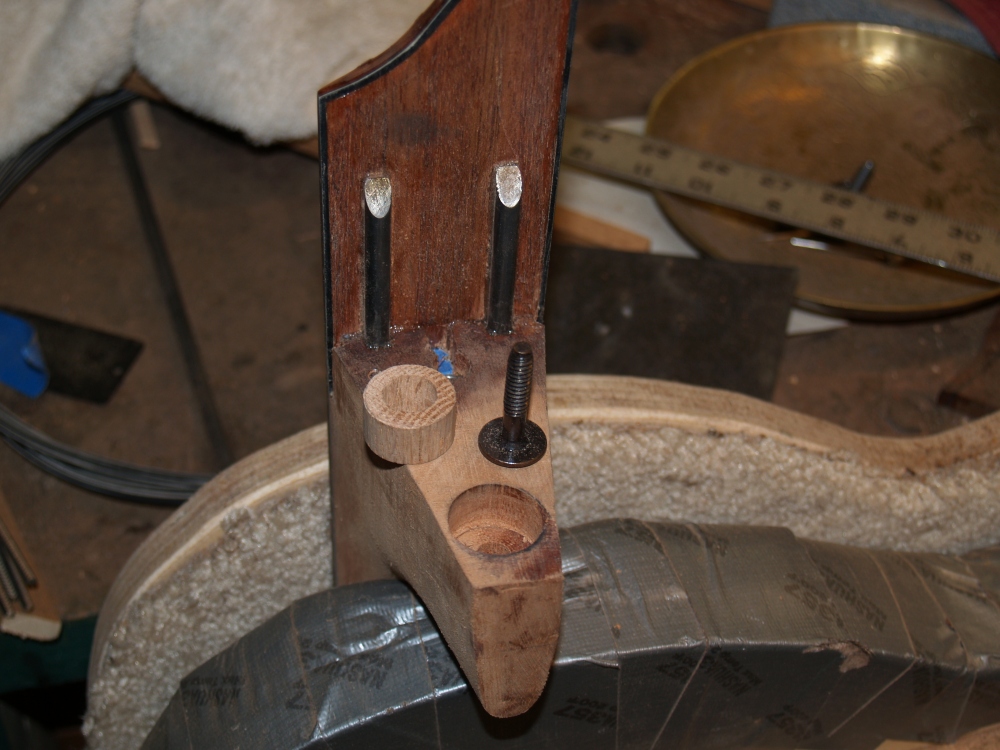
(174) Sept 29, 2008
This is a view of the heal hardware. This hardware is used to adjust the neck angle. |
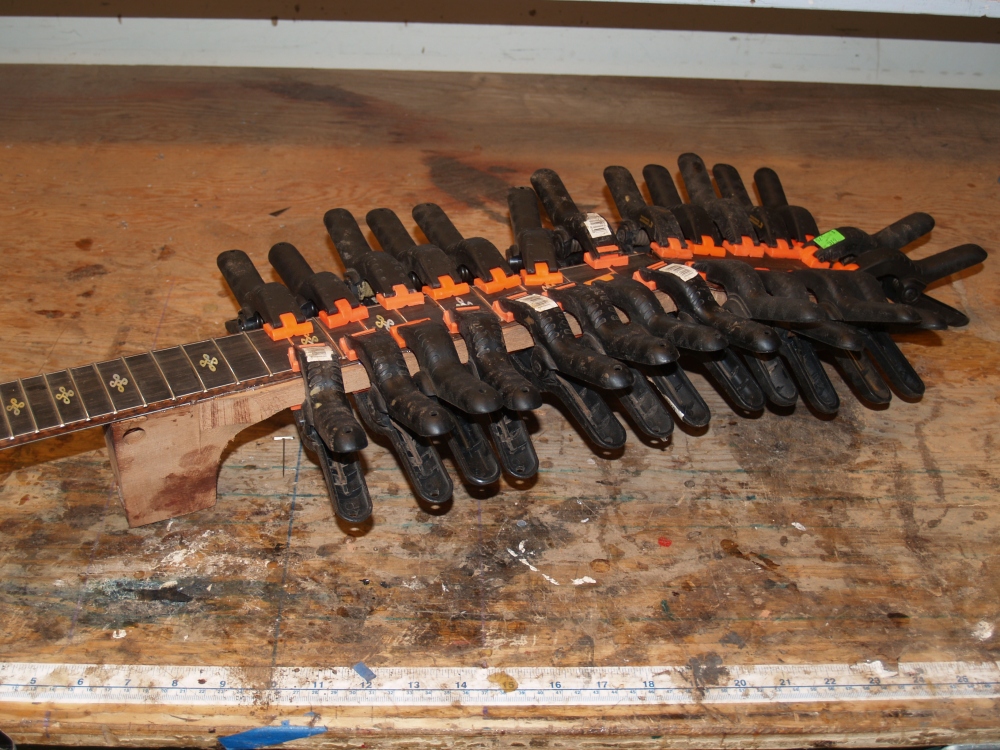 |
(175) Sept 29, 2008
Now I glue the fretboard to the neck blank. Lots of clamps. |
 |
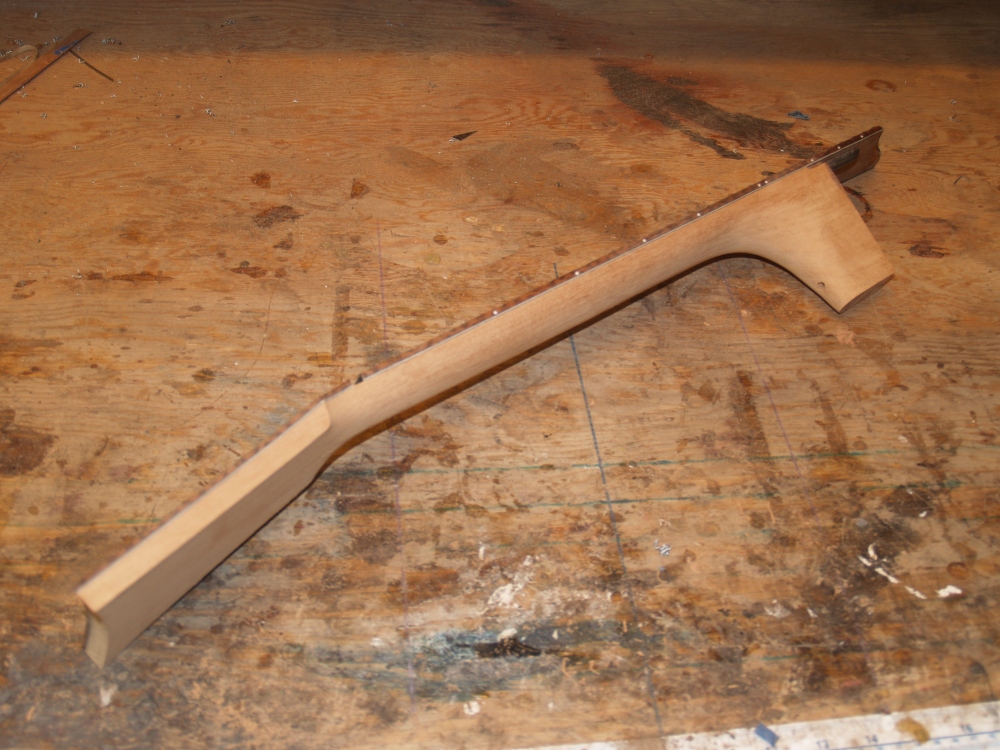
(176) Sept 29, 2008
A view of the fretboard and headstock glued to the neck blank. |
 |
(177) Sept 29, 2008
And after making a lot of sawdust the neck starts to take shape. |
 |
(178) Sept 29, 2008
A view of the shaped heal. |
 |
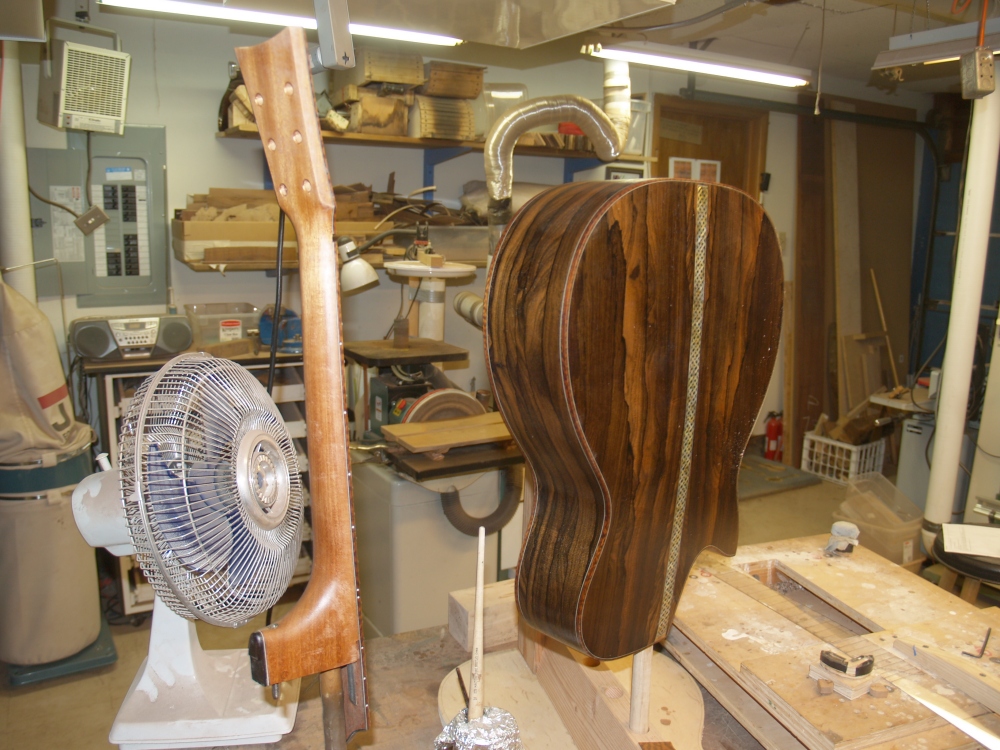
(179) Sept 29, 2008
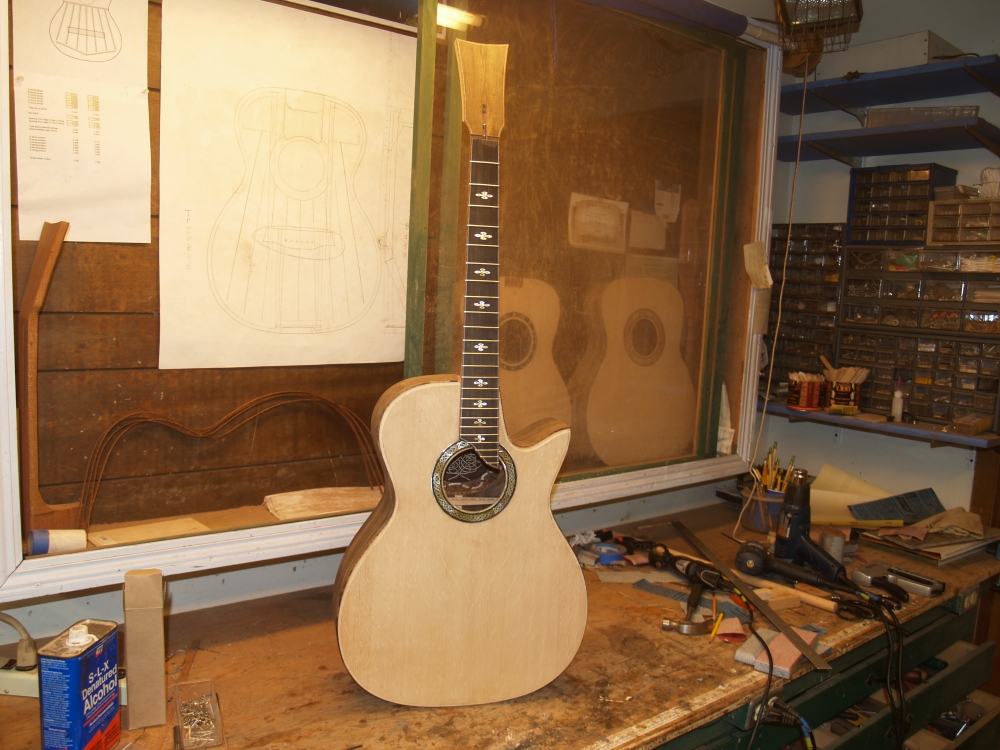
Its really starting to look like a guitar. |
 |
(180) Sept 29, 2008
Now that the neck is shaped I start to install the binding. This
is done one strip at a time to make sure that they create a very tight
fit. |
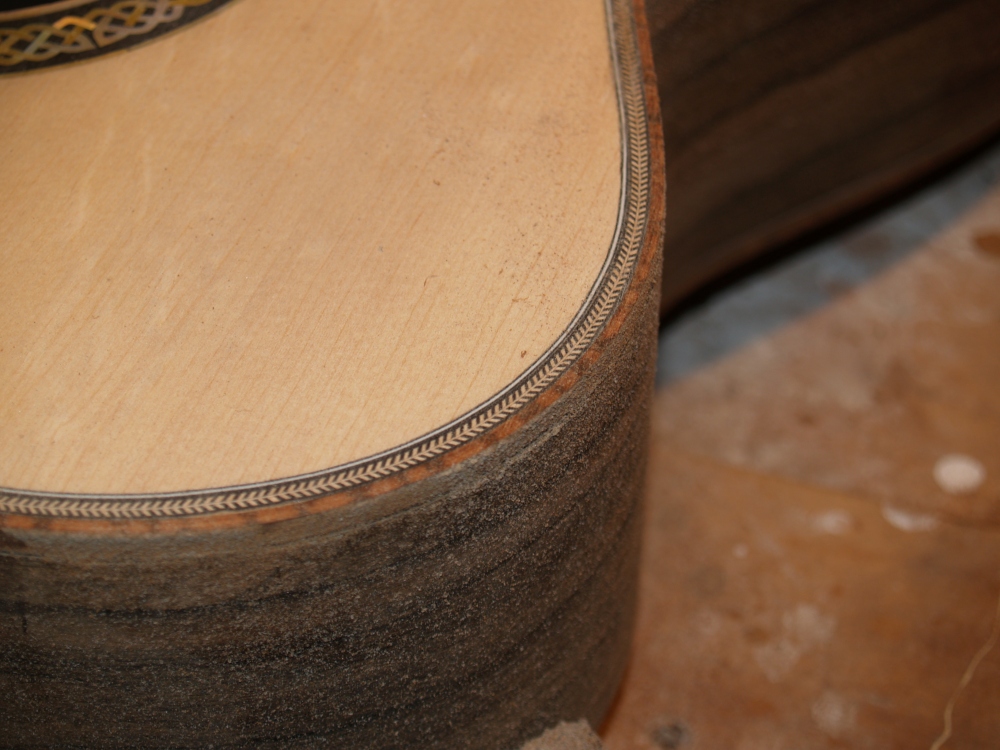 |
(181) Sept 29, 2008
A view of the installed binding. |
 |
(182) Sept 29, 2008
The reason that I wait to install the binding until after I have shaped
the neck is that I want the fit between the heal and the heal channel
binding to be as tight I can make it. |
 |
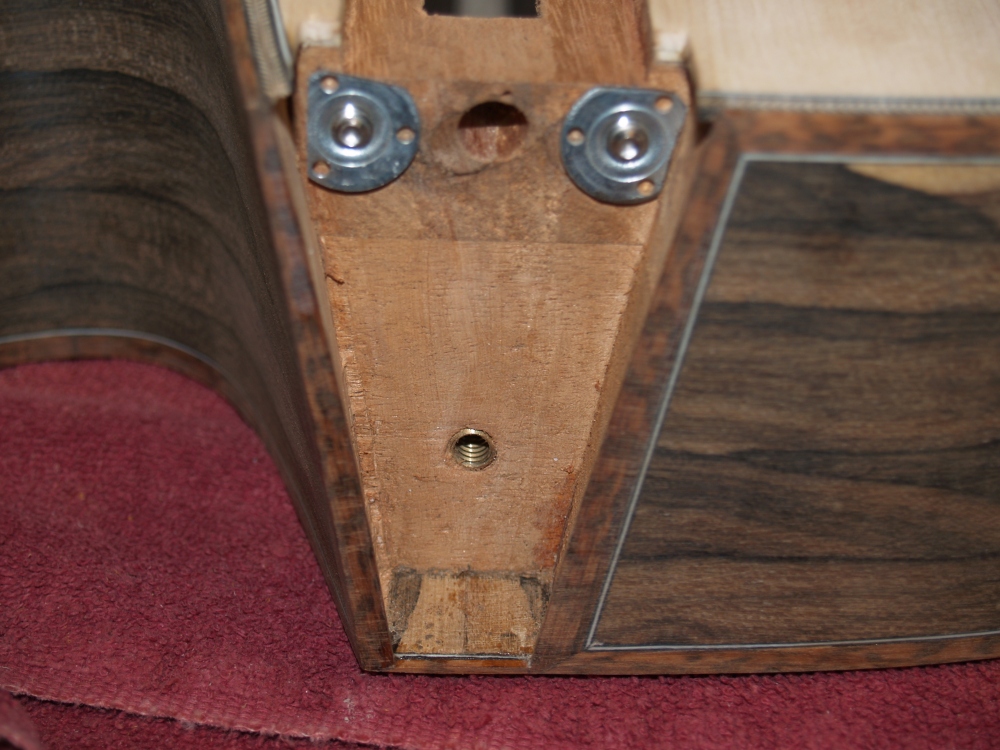
(183) Sept 29, 2008
Here I am getting ready to install the heal hardware. |
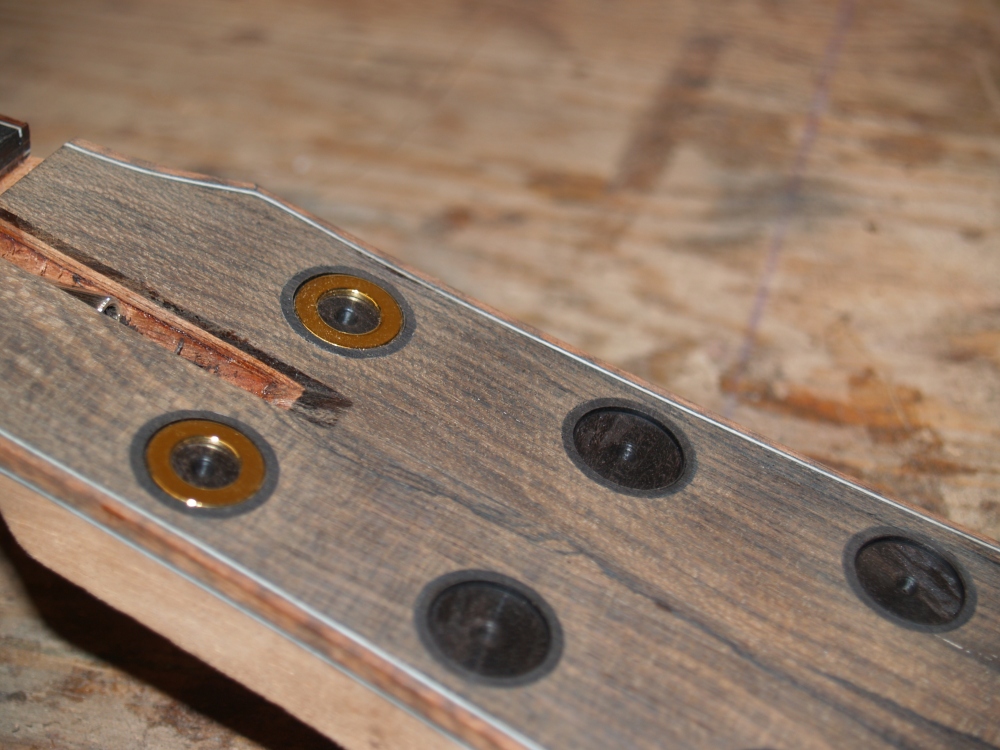 |
(184) Sept 29, 2008
I return my attention tho the headstock at this point. I inset
the machine washers for effect and function, and for this guitar I
include an inset washer outline in ebony. |
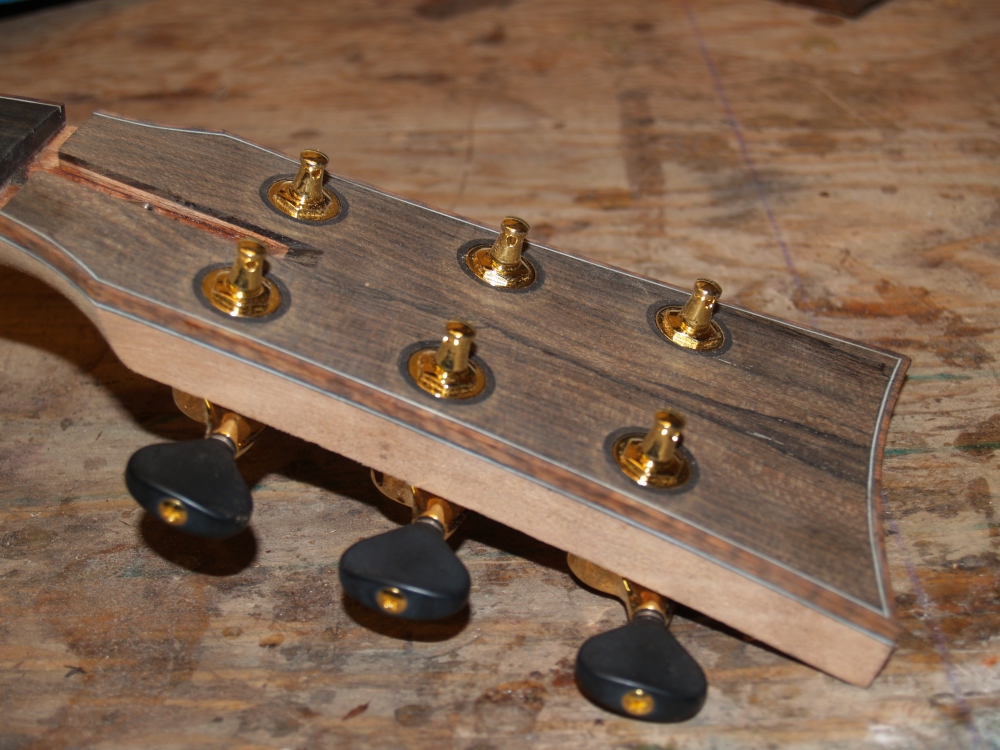 |
(185) Sept 29, 2008
Here we see the hardware installed on the headstock. |
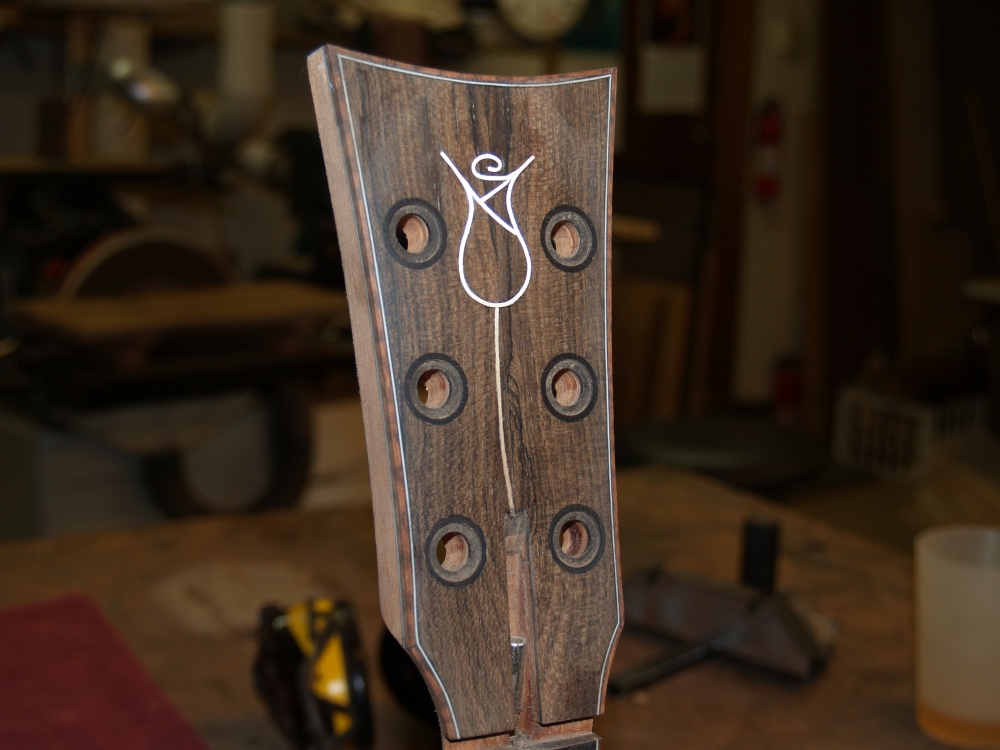 |
(186) Sept 29, 2008
And finally I set the Portland Rose. |
 |
(187) Sept 29, 2008
Now on to the Bridge. Here I am using a router and a guide to create a channel for the saddle. |
 |
(188) Sept 29, 2008
The bridge must make intimate contact with the shape of the top so I
use a piece of sandpaper placed on the top to shape the bottom of the
bridge. |
 |
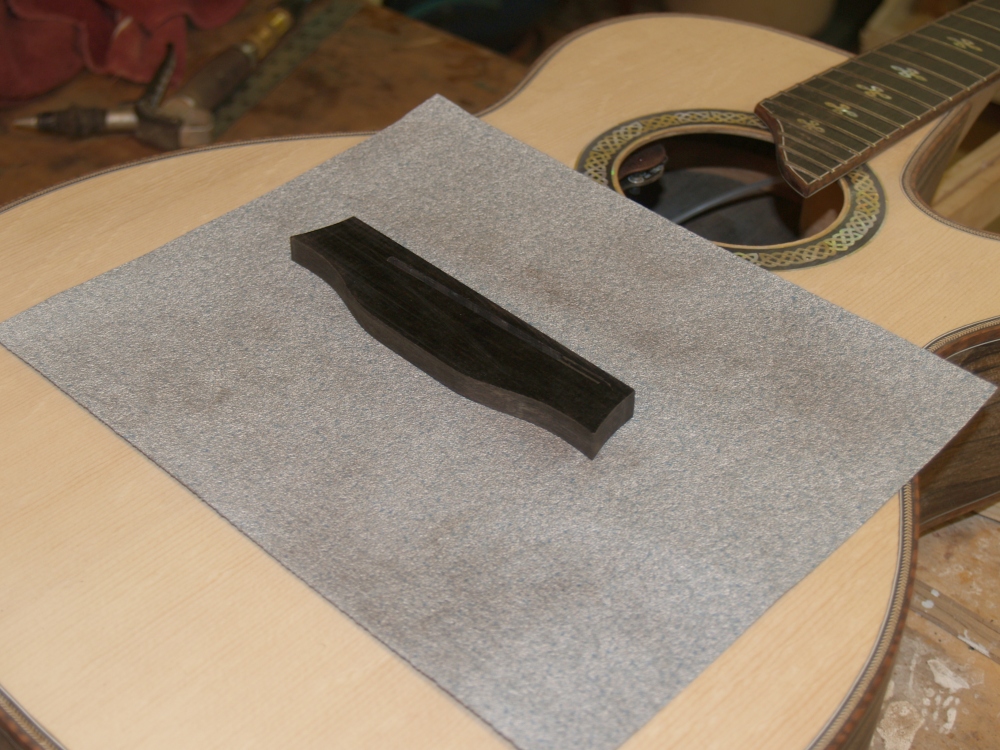
(189) Sept 29, 2008
After making a lot of black sawdust I attach some detail binding to the bridge. |
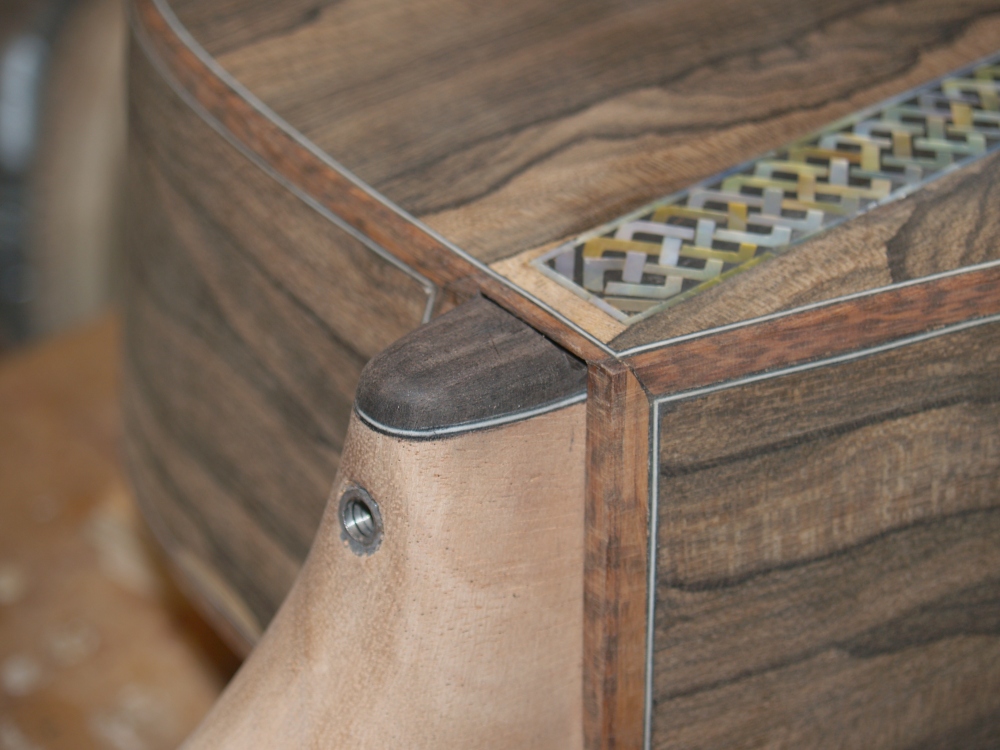 |
(190) Sept 29, 2008
And a view of the heal cap. |
 |
(191) Sept 29, 2008
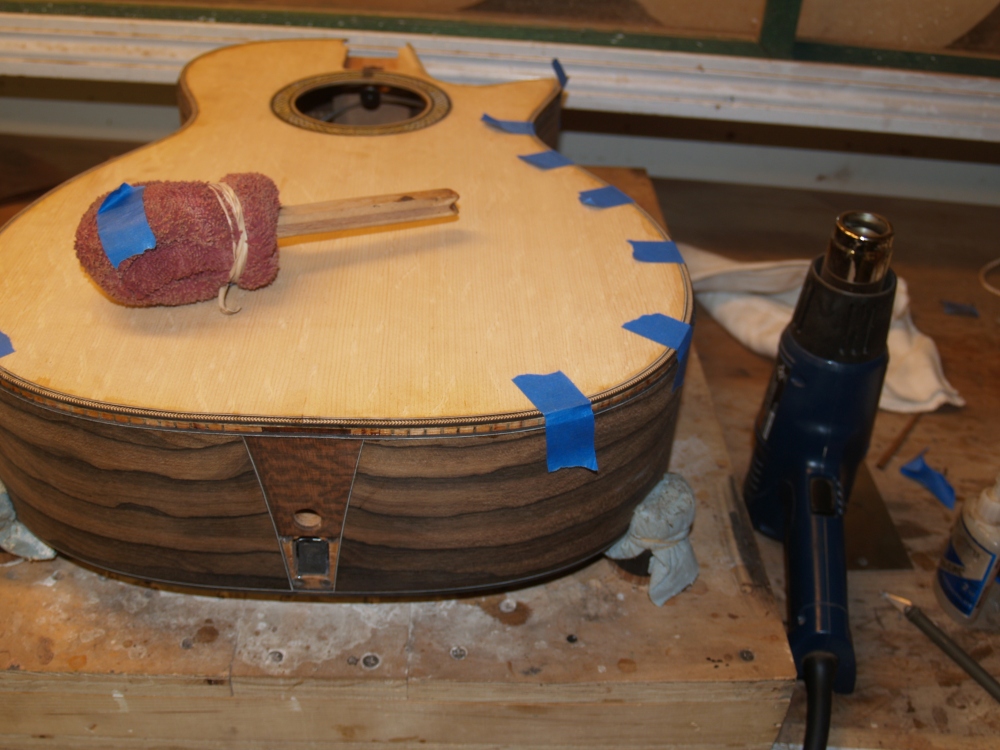
And now I am in the process of filling the pores in the wood, filling
any voids, and detailing the instrument preparing it for the finishing
process. |
|