Portland Guitar Co. | Portland Oregon | Contact Jay Dickinson-503.245.3276 | jay@portlandguitar.com
Portland Guitar Pretty Good Intonation (PGPG) System
Finished Build
Nylon String Orchestral Model
Serial # OMX 1.2.51
- Body: Indian Rosewood
- Top: Adirondack Spruce
- Neck: Mahogany
- Binding : Koa
- Fretboard and Bridge: Ebony
- Nut and Saddle: Bone
Page 8
 ( 277 ) 27-Mar-2012
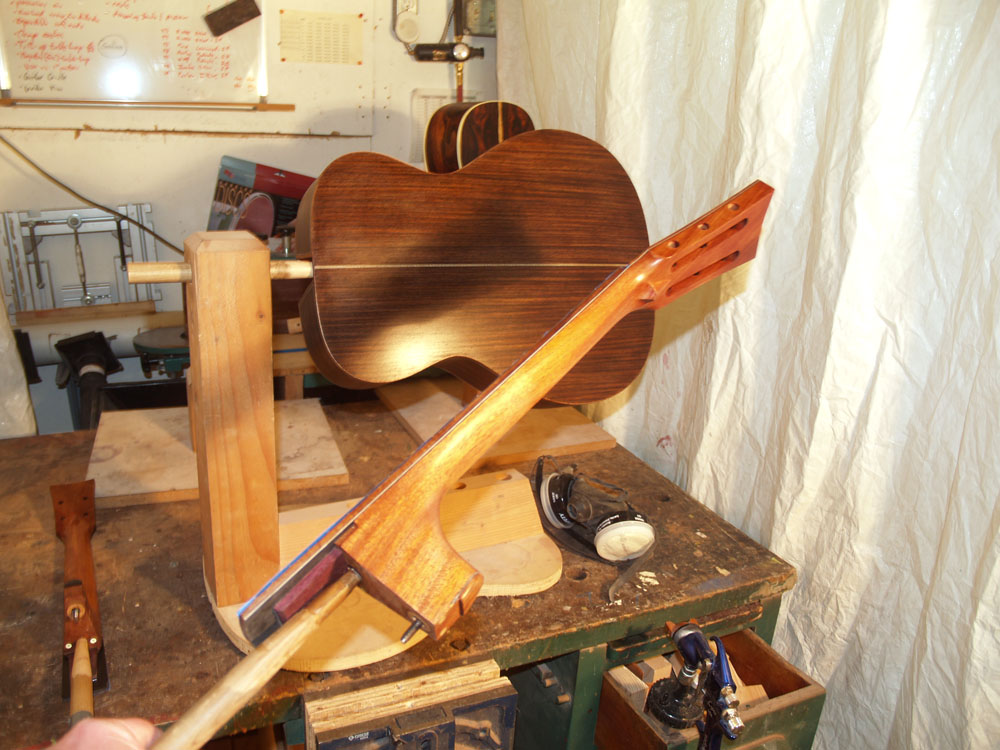
I have set up my spray booth and here you can see the body of the guitar in a special fixture that lets me hold and rotate it as I spray on the lacquer. I use the balloon in the sound hole to prevent the overspray from getting inside the guitar.
 ( 278 ) 27-Mar-2012
I use the neck attachment inserts to mount the neck and body on a couple of "popsicle" sticks.
 ( 279 ) 27-Mar-2012
The finishing process involves spraying on a few layers to fill in the low spots, and then sanding everything down to remove the high spots. I will repeat this process many times over two or three days until everything is smooth and I have enough lacquer to protect the wood. In the end, after polishing, the lacquer will be about 4 mils thick.
 ( 280 ) 27-Mar-2012
I let the lacquer cure for about a week, then I buff the surface with a 1500 grit sanding pad.
 ( 281 ) 27-Mar-2012
I use a three step buffing process to get the finish to shine.
 ( 282 ) 27-Mar-2012
I have to carefully hold the guitar to get into all of the nooks and crannies.
 ( 283 ) 27-Mar-2012
Here I am standing in front of the buffing wheel.
 ( 284 ) 27-Mar-2012
And after a bit of work the surface has a glass smooth finish.
 ( 285 ) 27-Mar-2012
The neck gets the same treatment as the body. Here is a shot of the head stock with the tuning machines installed.
 ( 286 ) 27-Mar-2012
With the finish polished to a high shine, I assemble the body and neck.
 ( 287 ) 27-Mar-2012
Here I am working on the bridge. The bottom of the bridge has to match the curve of the top of the guitar. I use this special sanding block that has the same shape as the top. I hold down a piece of sandpaper and work the bridge blank until the bottom is fully sanded to shape.
 ( 288 ) 27-Mar-2012
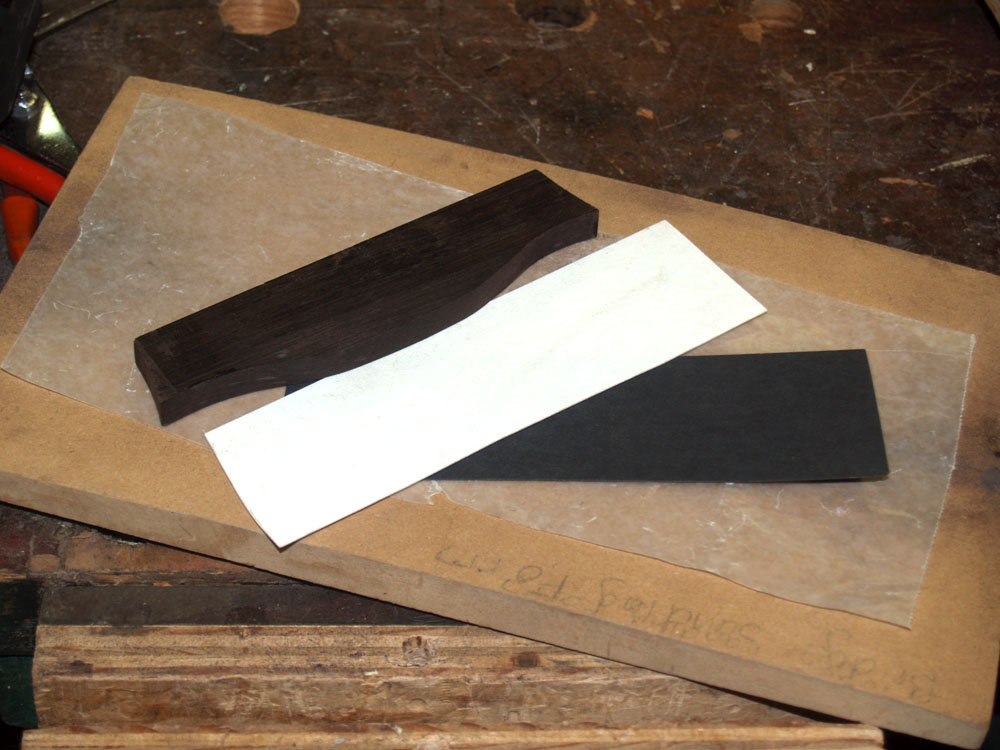
To get a black/white pin stripe on the base of the bridge I glue two fiber sheets to the bottom of the bridge blank.
 ( 289 ) 27-Mar-2012
Here I am routing out the slot for the bone saddle.
 ( 290 ) 27-Mar-2012
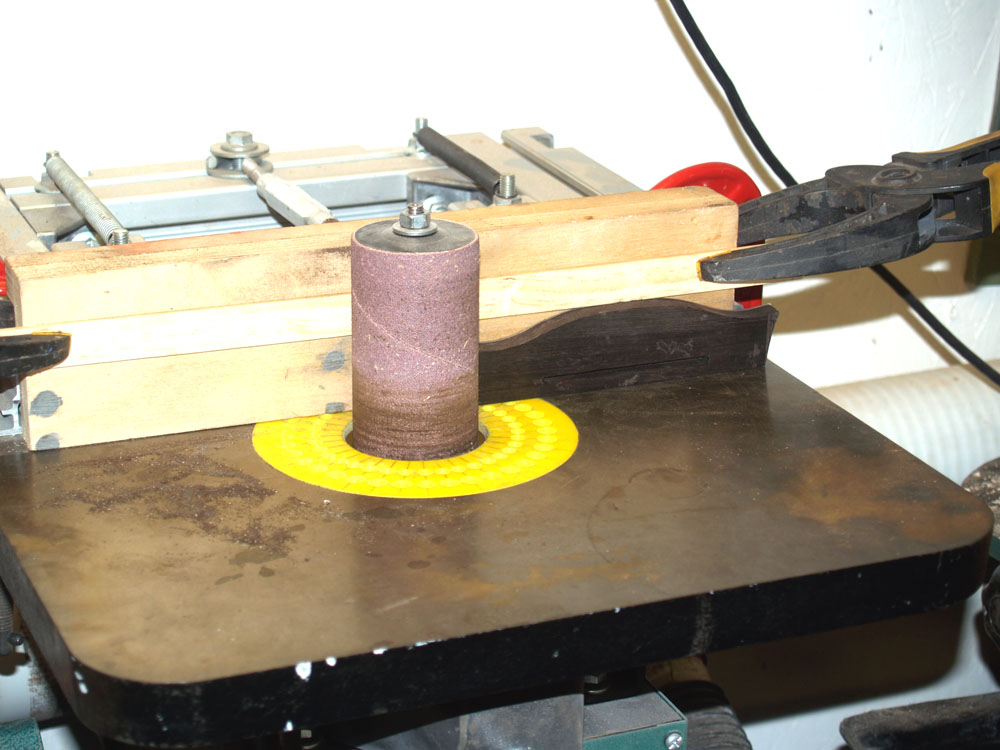
I use my oscillating sander to sand wings into the bridge blank.
 ( 291 ) 27-Mar-2012
And then the milling machine is used to shape the tie end block.
 ( 292 ) 27-Mar-2012
The rough shaped bridge.
 ( 293 ) 27-Mar-2012
After carefully marking the spots I drill six holes in the tie end block for the strings.
 ( 294 ) 27-Mar-2012
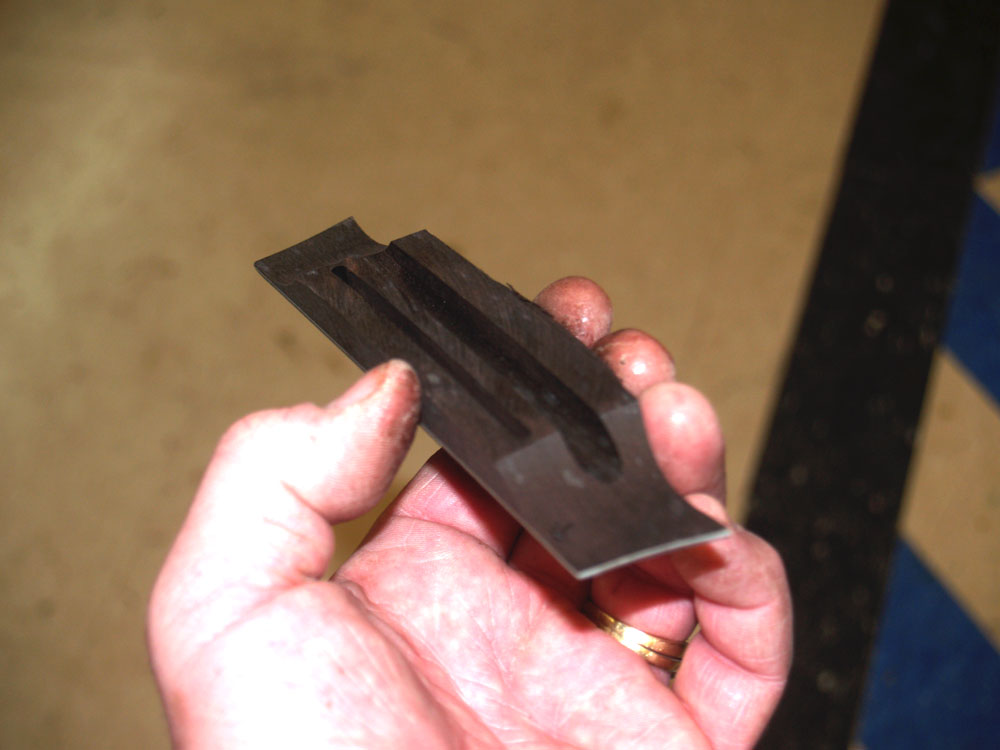
And here is a look at the finished bridge.
 ( 295 ) 27-Mar-2012
To find the proper position for the bridge I use a tail piece to temporarily string up the guitar. I move the bridge back and forth until I find the position where the intonation is correct. This is the position of the bridge where the pitch of the first overtone is the same as the note played at the twelfth fret.
 ( 296 ) 27-Mar-2012
Once I am happy with the intonation, I clamp the bridge down with a long throat C-clamp. Then using a new blade I scribe the outline of the bridge through the finish into the top of the guitar.
 ( 297 ) 27-Mar-2012
I use a sharp chisel to start removing the finish where the bridge will be glued down. I don't want to glue the bridge to the lacquer finish because it would be a weak glue joint. I want to glue directly to the wood.
 ( 298 ) 27-Mar-2012
After removing the lacquer around the perimeter I will sand out the interior.
 ( 299 ) 27-Mar-2012
Since glue is a bit slippery before it sets up, I use four corner blocks to hold the bridge steady.
 ( 300 ) 27-Mar-2012
A bit of glue gets applied to the bottom of the bridge and then it gets pressed into place with two C-clamps. The wings get pressed down with a couple of wing bolts.
 ( 301 ) 27-Mar-2012
After curing over night I string up the guitar.
 ( 302 ) 27-Mar-2012
A few more details and the guitar will be finished.