Portland Guitar Co. | Portland Oregon | Contact Jay Dickinson-503.245.3276 | jay@portlandguitar.com
Portland Guitar Pretty Good Intonation (PGPG) System
Finished Build
Nylon String Orchestral Model
Serial # OMX 1.2.51
- Body: Indian Rosewood
- Top: Adirondack Spruce
- Neck: Mahogany
- Binding : Koa
- Fretboard and Bridge: Ebony
- Nut and Saddle: Bone
Page 1
 ( 1 ) August 30, 2011
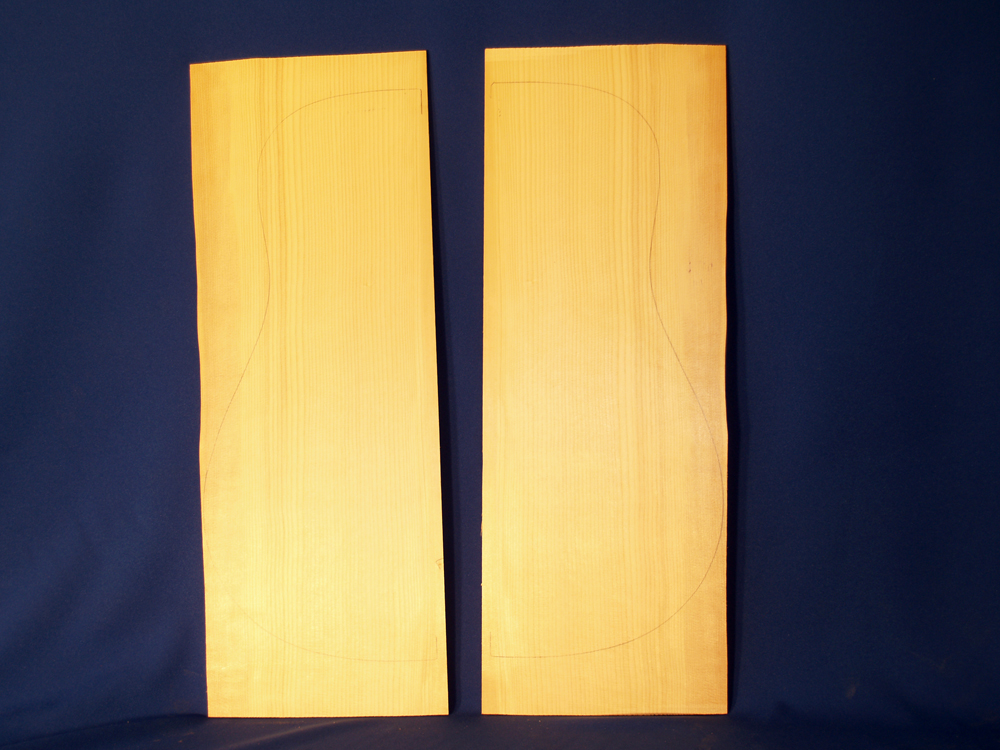
Here are the two halves of the Adirondack Spruce Top we are going to use on this guitar. These pieces are a bookmatched set, meaning that they were the successive pieces cut from a log. When they are opened up like the pages of a book they are symmetric around the center line.
 ( 2 ) August 30, 2011
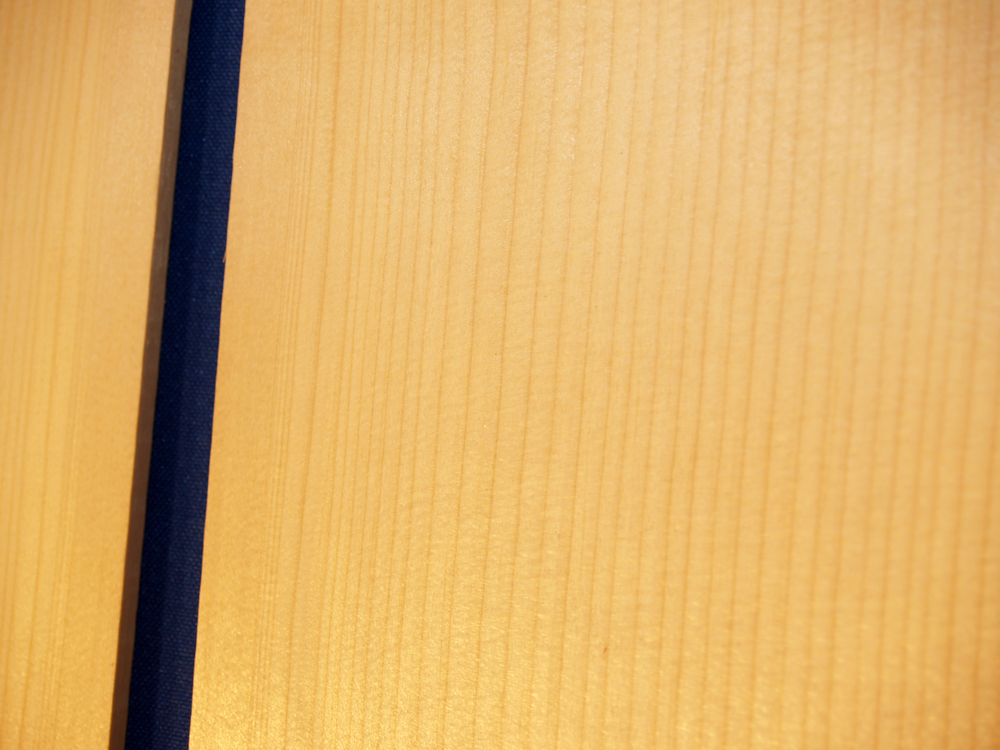
Here is a close up of the top. Adirondack spruce is a marvelous material. It is stiff and light and has a wonderful growth ring pattern. These pieces are quarter sawn (not shown), meaning that as the grain goes through the piece from front to back it is perpendicular to the surface. We like to use quarter sawn wood because it is stable and has an even visual presentation.
 ( 3 ) August 30, 2011
The Indian Rosewood back and sides. This set has nice straight grain and is also quarter sawn.
 ( 4 ) August 30, 2011
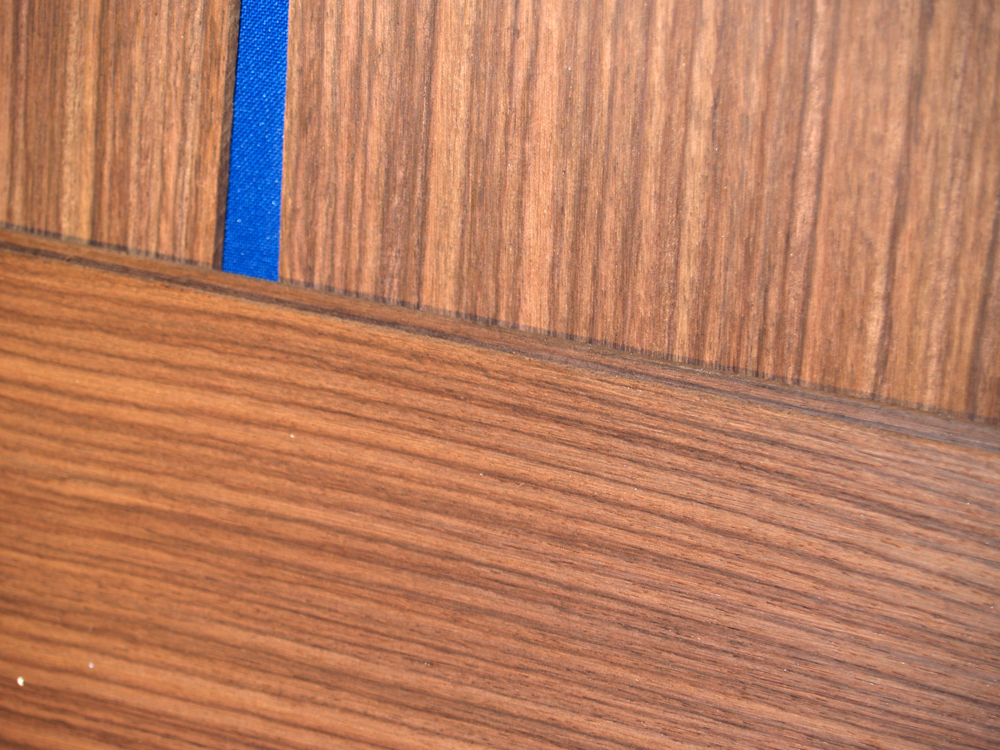
A close up of the back and sides.
 ( 5 ) September 2, 2011
This is an inside view of my drum sander. I use this tool to sand wood to a prescribed thickness and to make the front and back surfaces parallel to each other. The platen has a conveyor belt that moves the wood underneath the rotating drum, and I can precisely set the height of the platen.
 ( 6 ) September 2, 2011
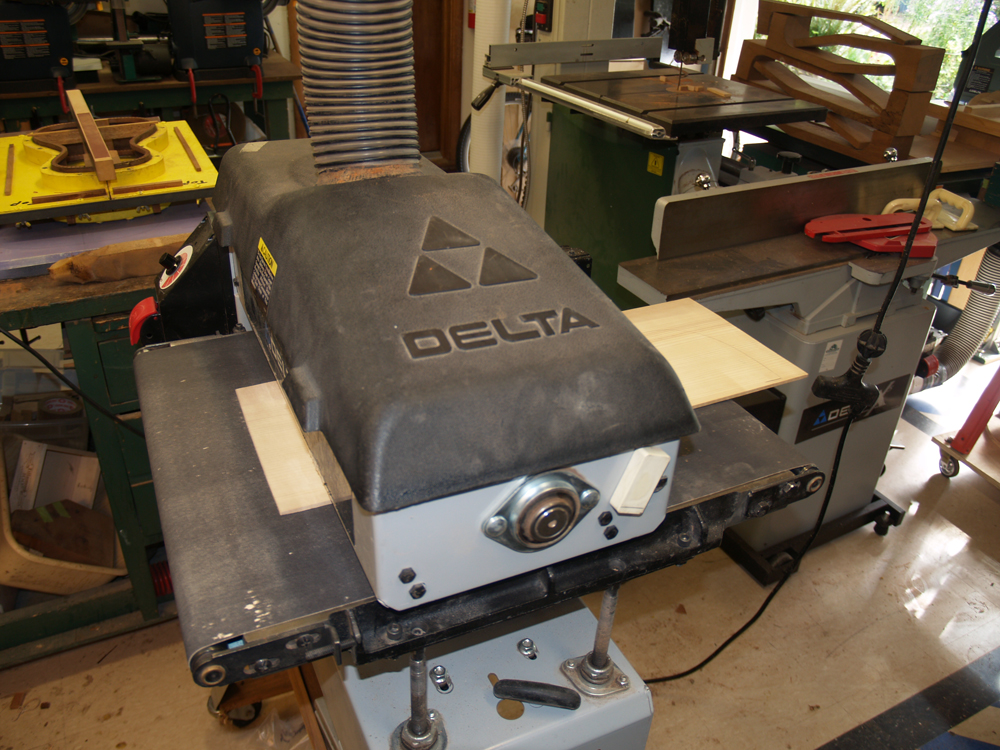
I am starting out by sanding the two halves of the Adirondack Spruce top plates to the same thickness.
 ( 7 ) September 2, 2011
In this picture I am trimming the top plates to equal widths using the table saw.
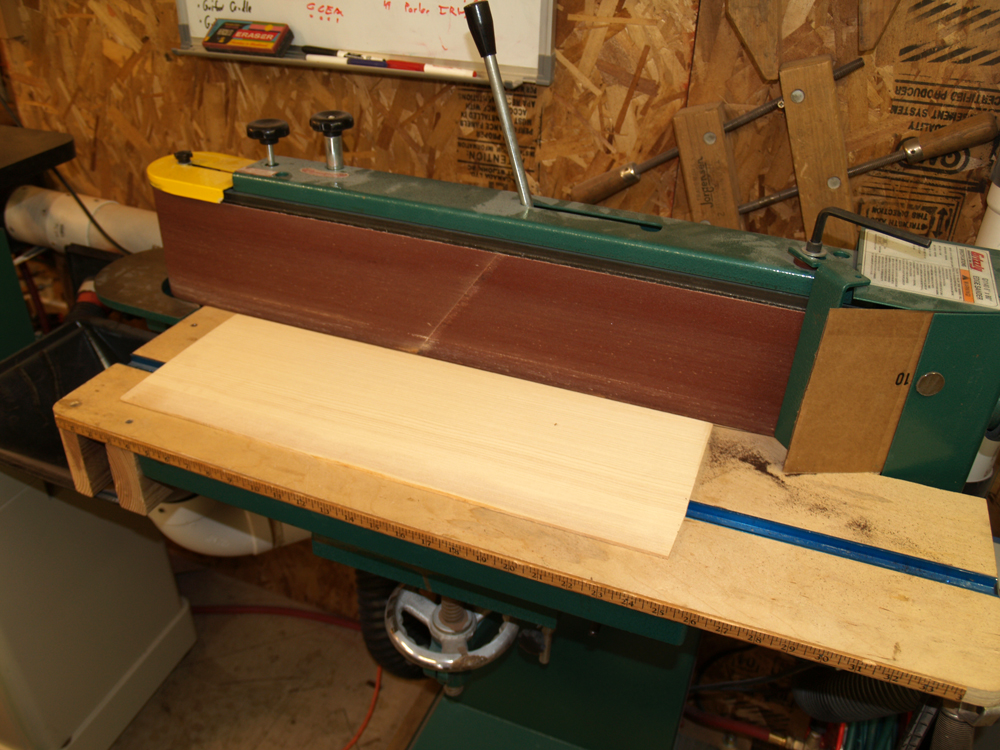 ( 8 ) September 2, 2011
And next I use the belt sander to flatten out the joining edge of each top piece.
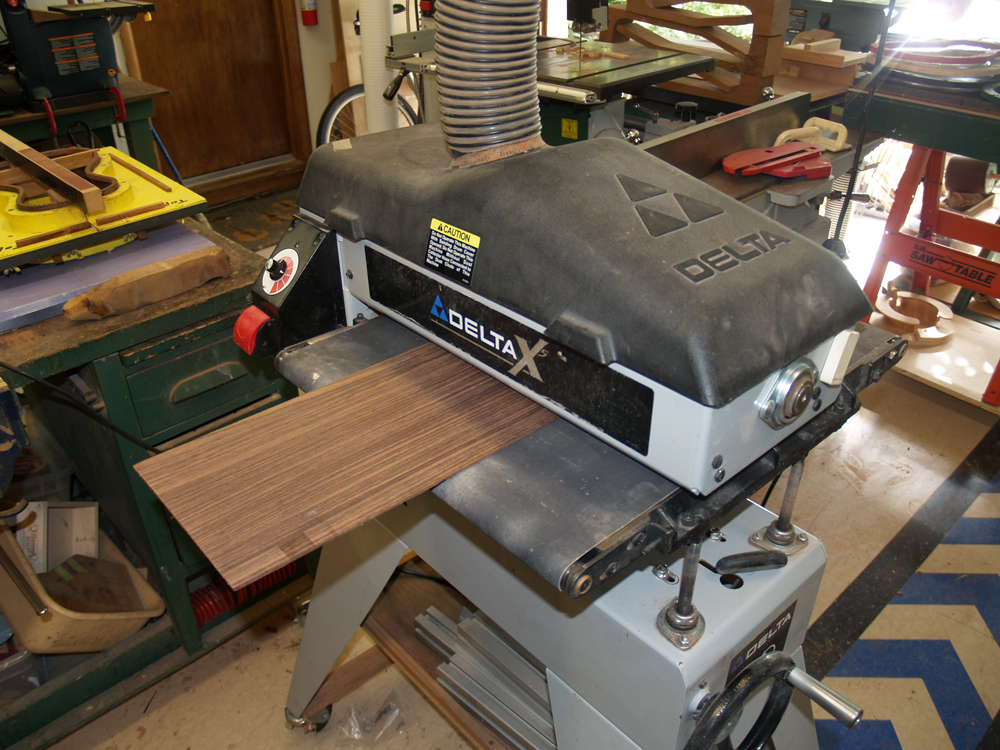 ( 9 ) September 2, 2011
I am sanding the back plates to equal thickness in this picture.
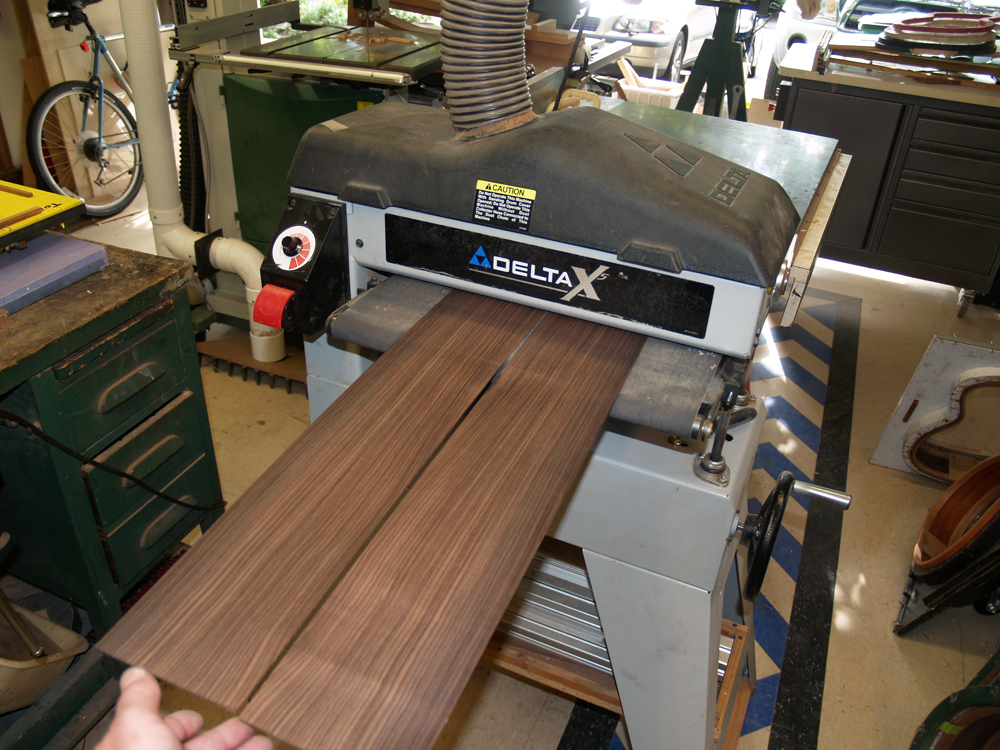 ( 10 ) September 2, 2011
And in this picture I am sanding the side pieces to 100 mils thickness. 1 mil is 1/1000 of an inch. The sides are going to be bent using heat and a form, and I need to make them thin enough so that they bend easily, but I want to leave them thick enough that I can sand the surfaces smooth. Eventually, the sides will end up being about 90 mils thick.
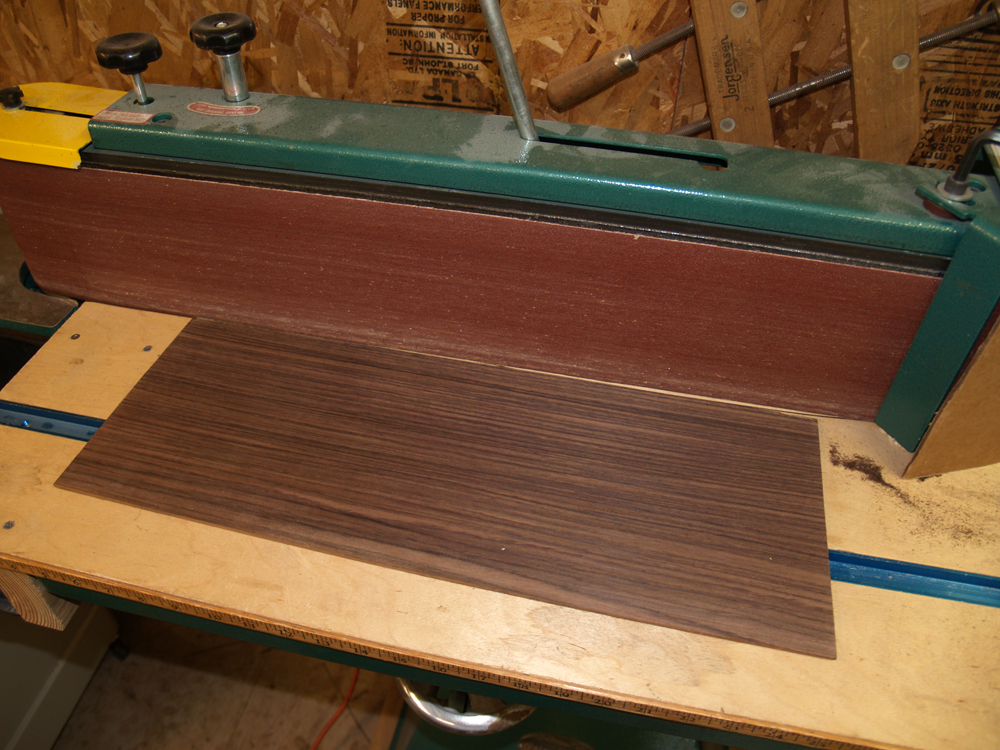 ( 11 ) September 2, 2011
Hear I am sanding the joining edges of the back pieces straight.
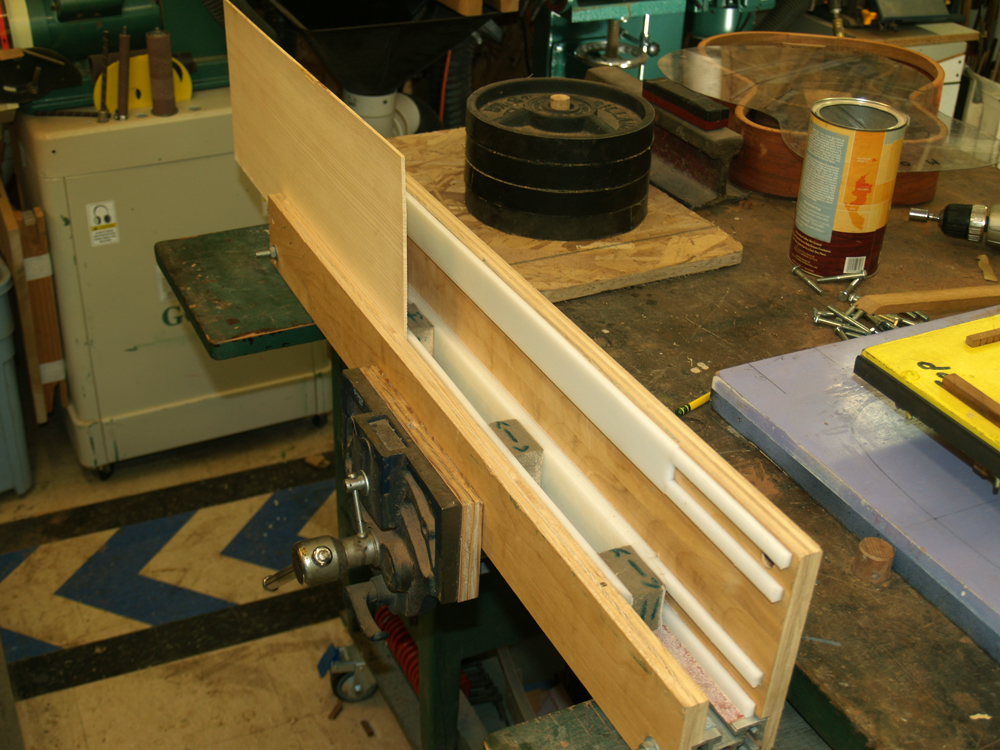 ( 12 ) September 2, 2011
My objective is to glue the two halves of the top and back sets together so that the joining line is as unnoticeable as possible. To do this the two edges to be joined need to be perfectly straight and perpendicular to the top surface. I have built this tool to hold the pieces vertical while I pass them over a piece of sand paper that is attached to a piece of very flat Aluminum. I will keep working the edges of both pieces until I am happy with the fit.
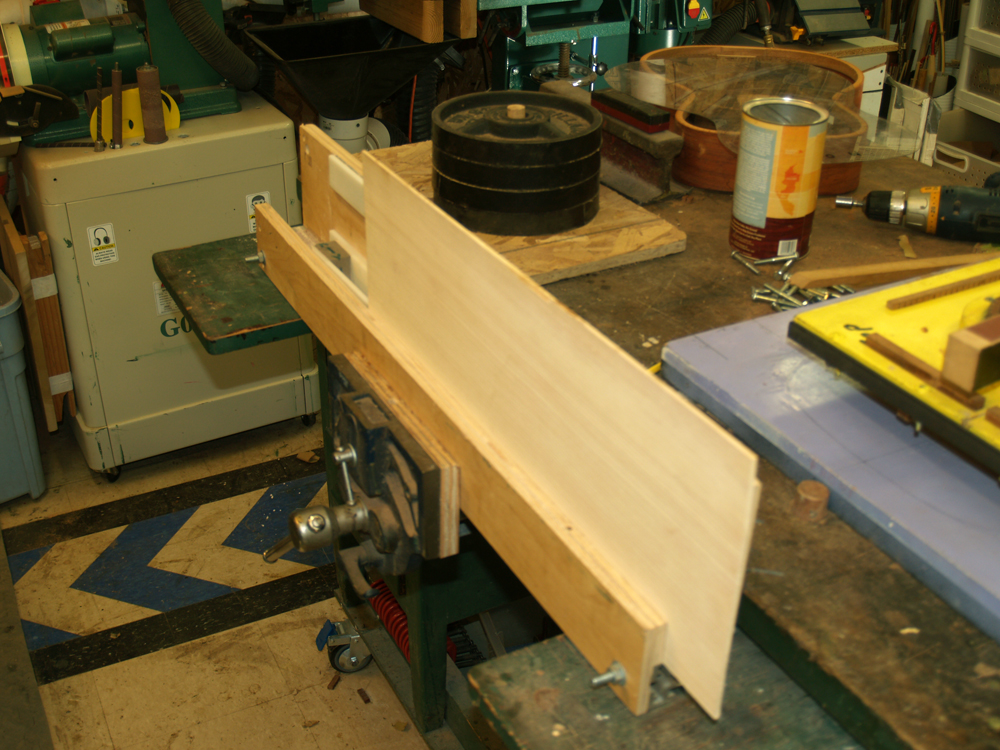 ( 13 ) September 2, 2011
Here I am sanding the top pieces.
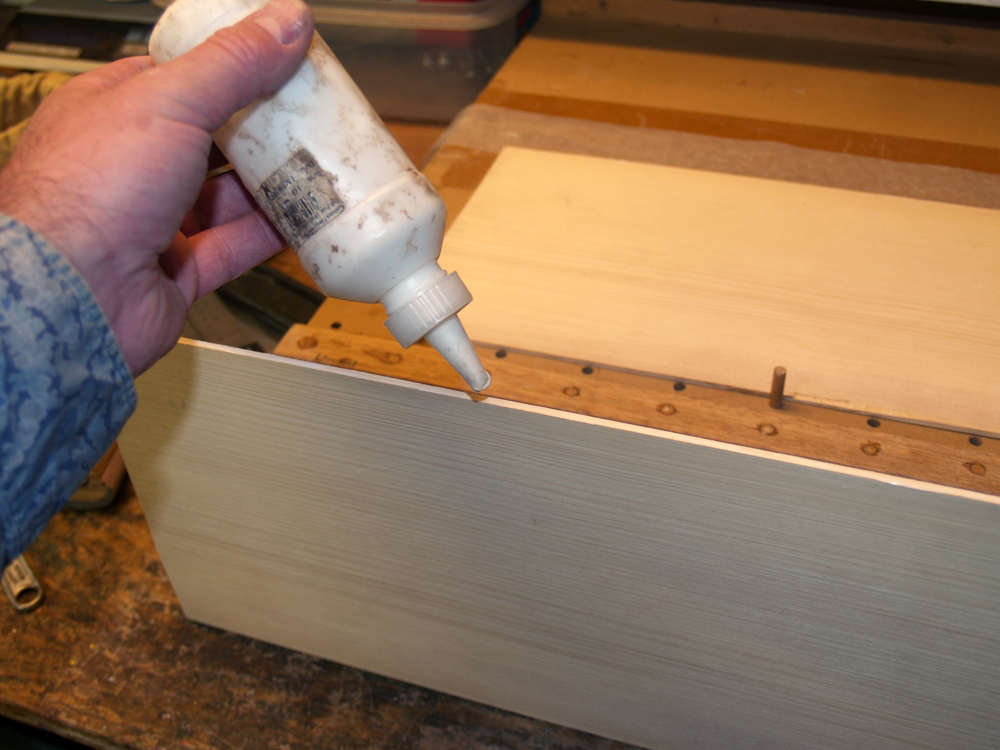 ( 14 ) September 2, 2011
I use a special luthier's glue to glue the two halves f the top together. This glue dries very hard and clear.
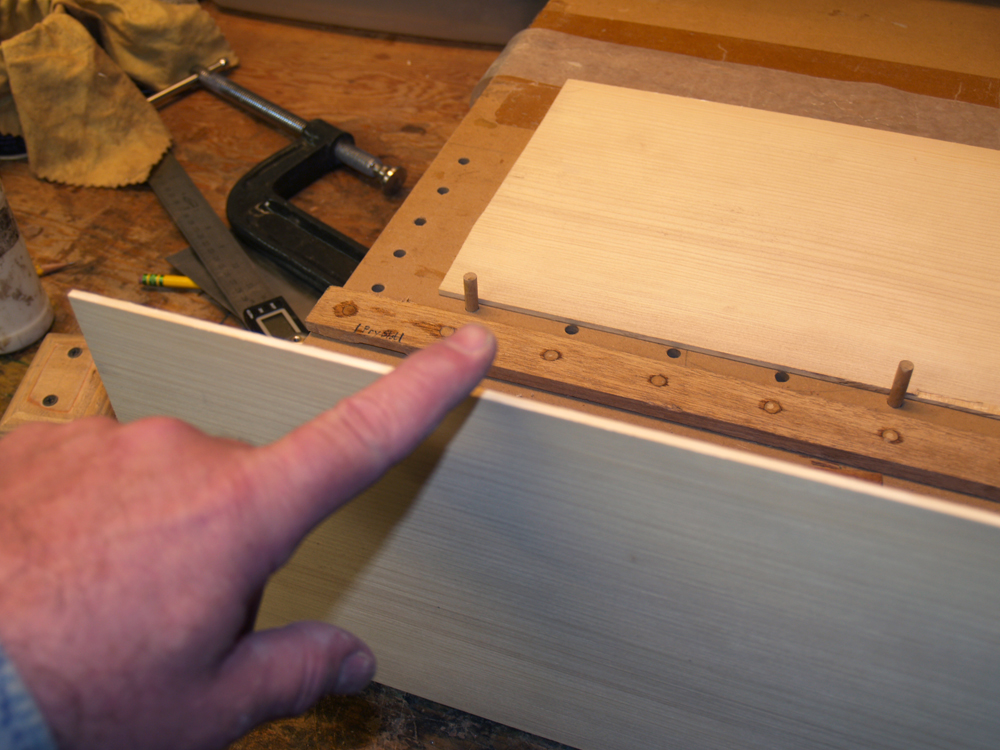 ( 15 ) September 2, 2011
I spread the glue out with my finger tip to make sure the glue is evenly dispersed. I never count on the glue to spread out evenly when the parts are pushed together.
 ( 16 ) September 2, 2011
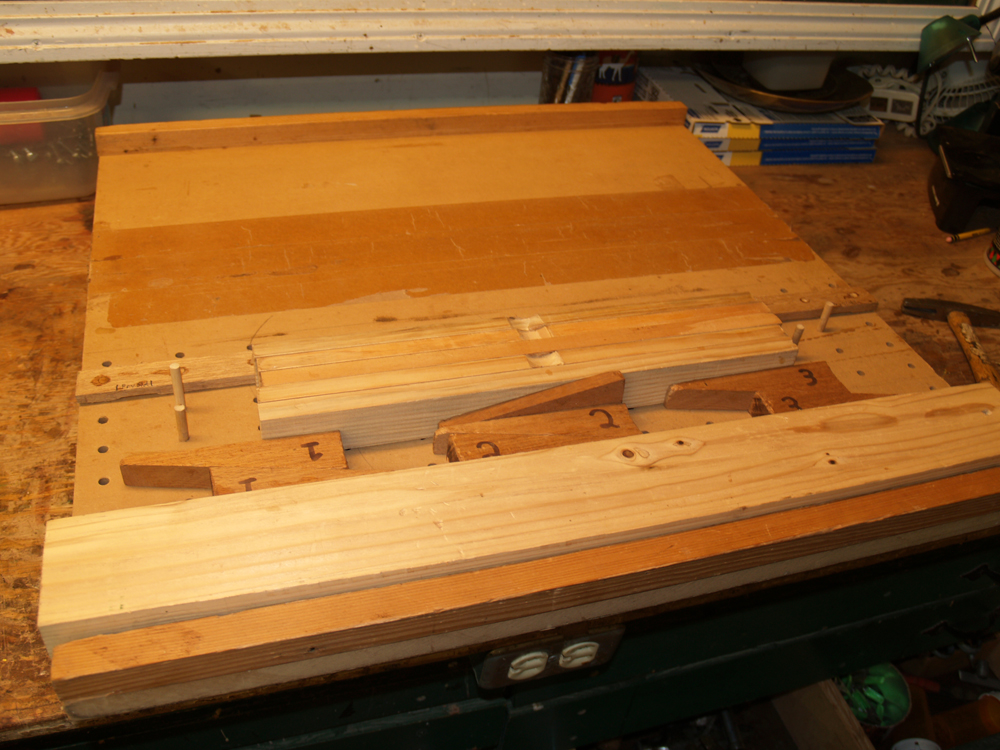
I built this tool to glue the two halves of the top and bottom together, This tool holds the pieces flat and uses several wedges to push the pieces together.
 ( 17 ) September 2, 2011
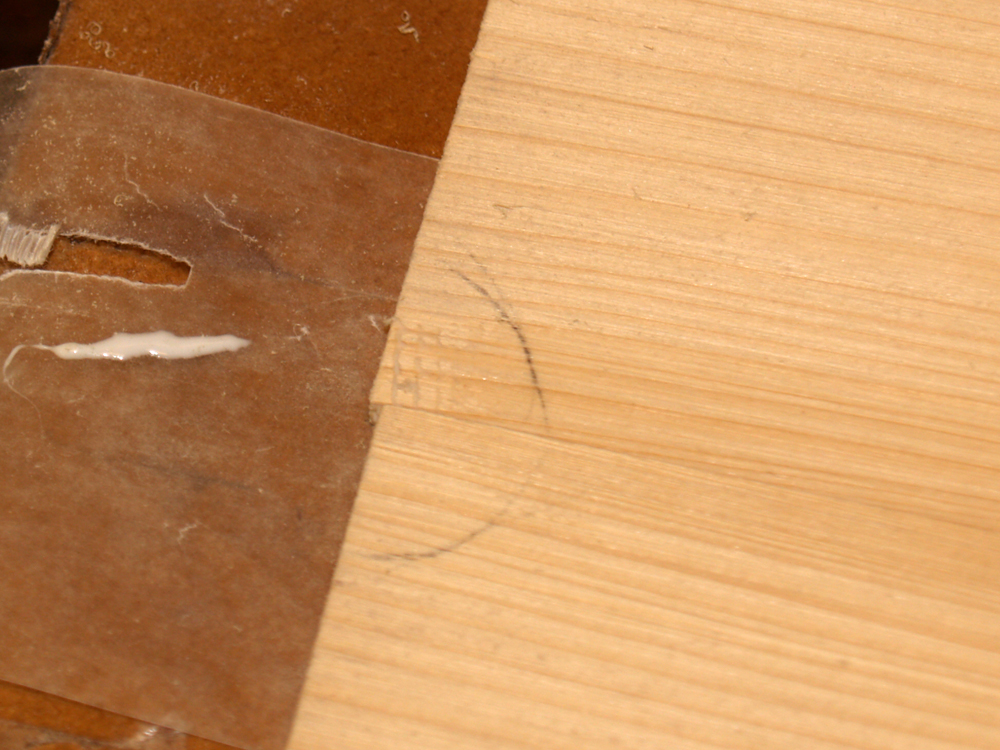
When I glue the two halves together I leave them slightly offset so I can find the center line. Sometimes the halves are so perfectly matched that it is impossible to see the joint.
 ( 18 ) September 2, 2011
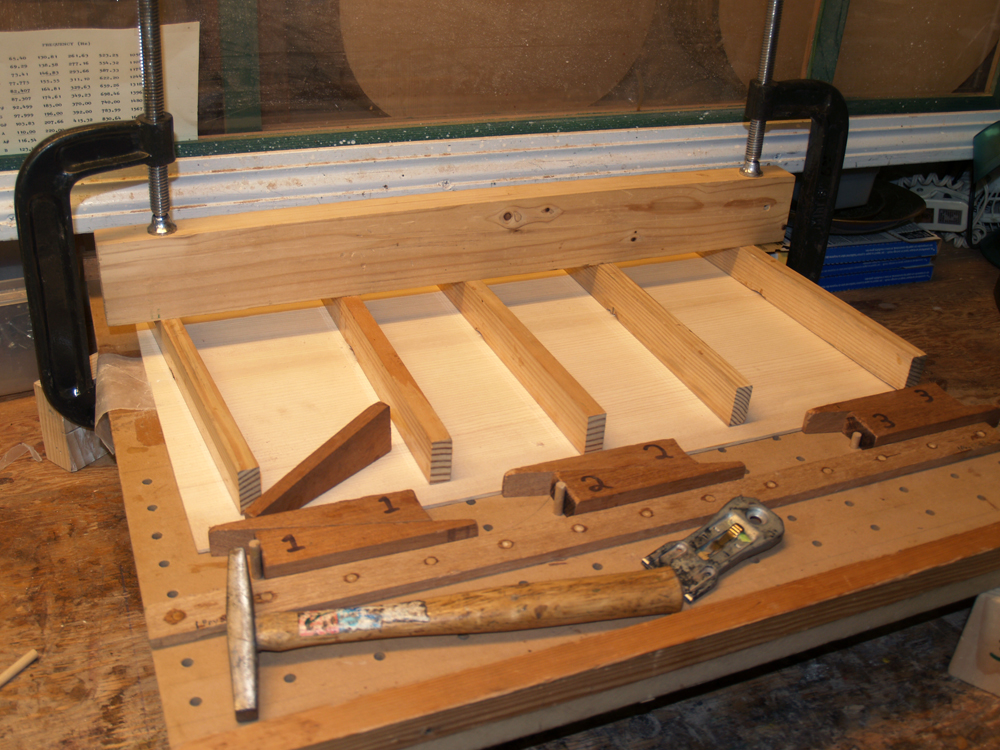
Here the two halves of the top are being joined together. The slats running across the top prevent it from buckling as they are squeezed together.
 ( 19 ) September 2, 2011
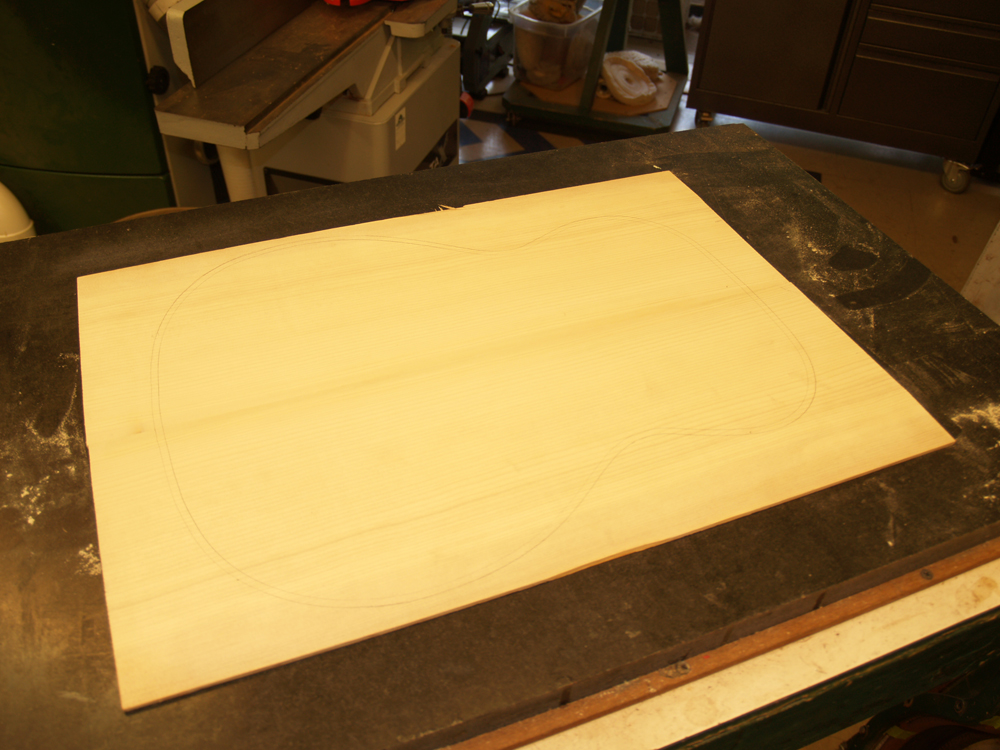
After the glue sets up the joined top comes out of the tool.
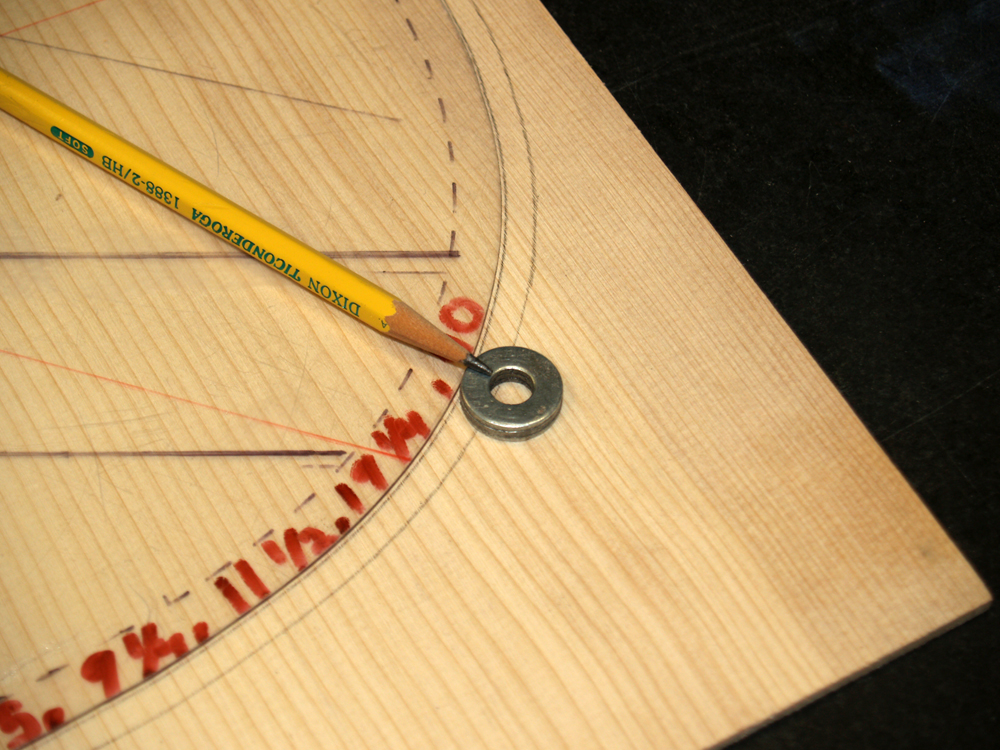 ( 20 ) September 2, 2011
Here I am using a template to draw the outline of the top. I use the washer to give about 1/4 inch of excess. This will allow a little wiggle room when the top is glued to the sides. The excess will be trimmed off after the top is glued on to the sides.
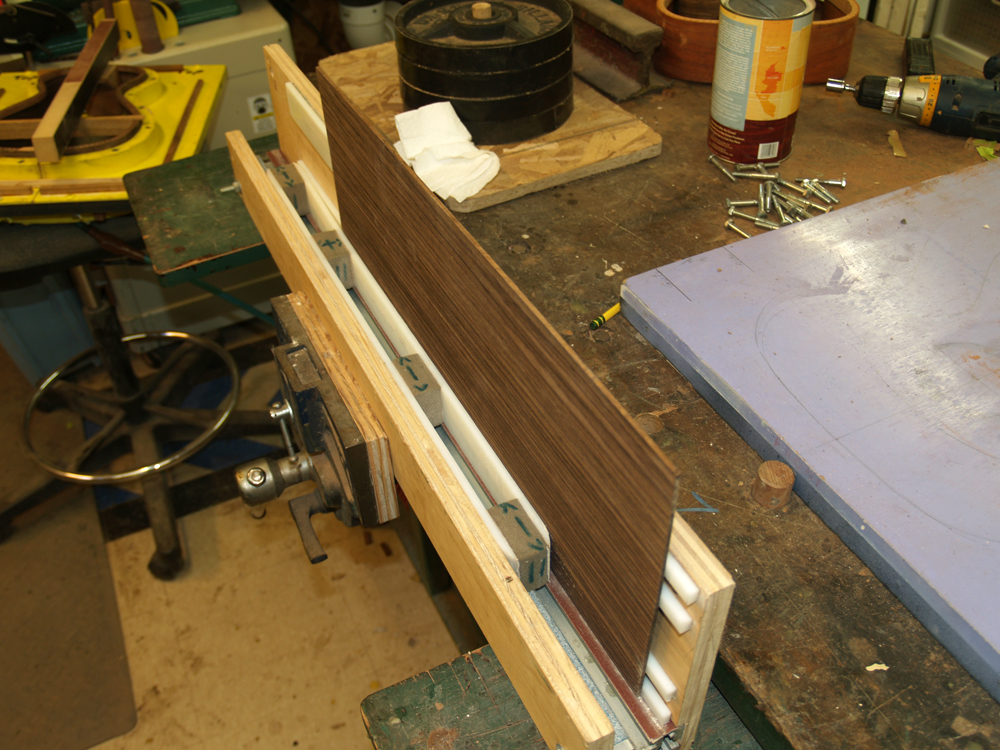 ( 21 ) September 2, 2011
The same process is applied to the back pieces.
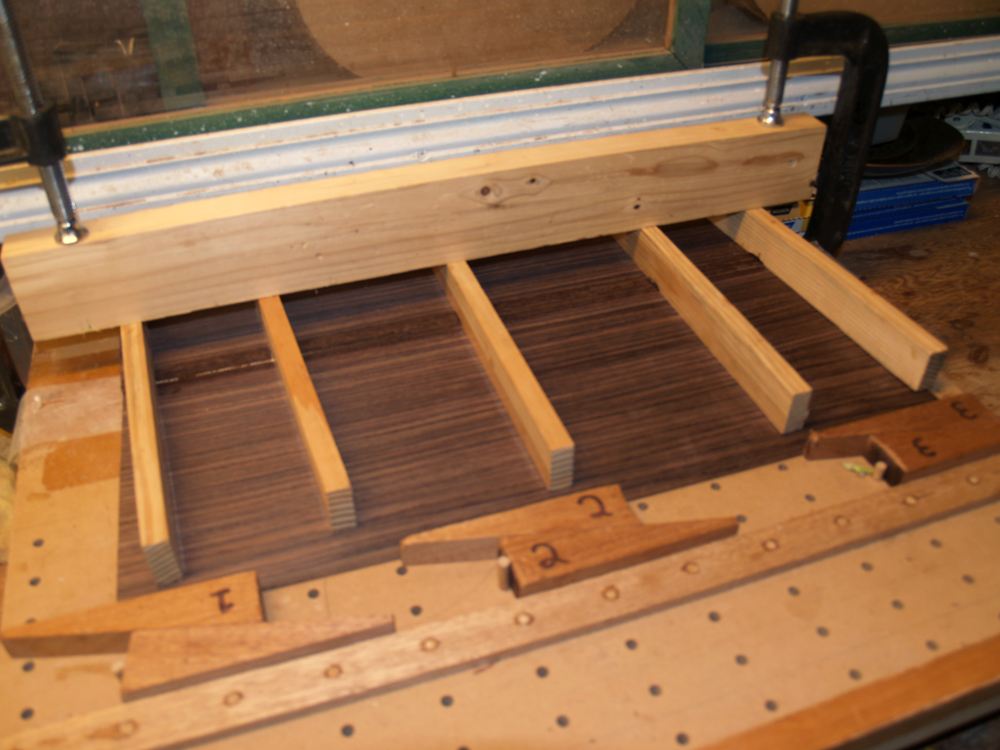 ( 22 ) September 2, 2011
Here the back pieces are being glued together in the joining tool.
 ( 23 ) September 2, 2011
And the finished result.
 ( 1 ) August 30, 2011
 ( 2 ) August 30, 2011
 ( 3 ) August 30, 2011
 ( 4 ) August 30, 2011
 ( 5 ) September 2, 2011
 ( 6 ) September 2, 2011
 ( 7 ) September 2, 2011
 ( 8 ) September 2, 2011
 ( 9 ) September 2, 2011
 ( 10 ) September 2, 2011
 ( 11 ) September 2, 2011
 ( 12 ) September 2, 2011
 ( 13 ) September 2, 2011
 ( 14 ) September 2, 2011
 ( 15 ) September 2, 2011
 ( 16 ) September 2, 2011
 ( 17 ) September 2, 2011
 ( 18 ) September 2, 2011
 ( 19 ) September 2, 2011
 ( 20 ) September 2, 2011
 ( 21 ) September 2, 2011
 ( 22 ) September 2, 2011
 ( 23 ) September 2, 2011