 ( 124 ) 31-Dec-2011
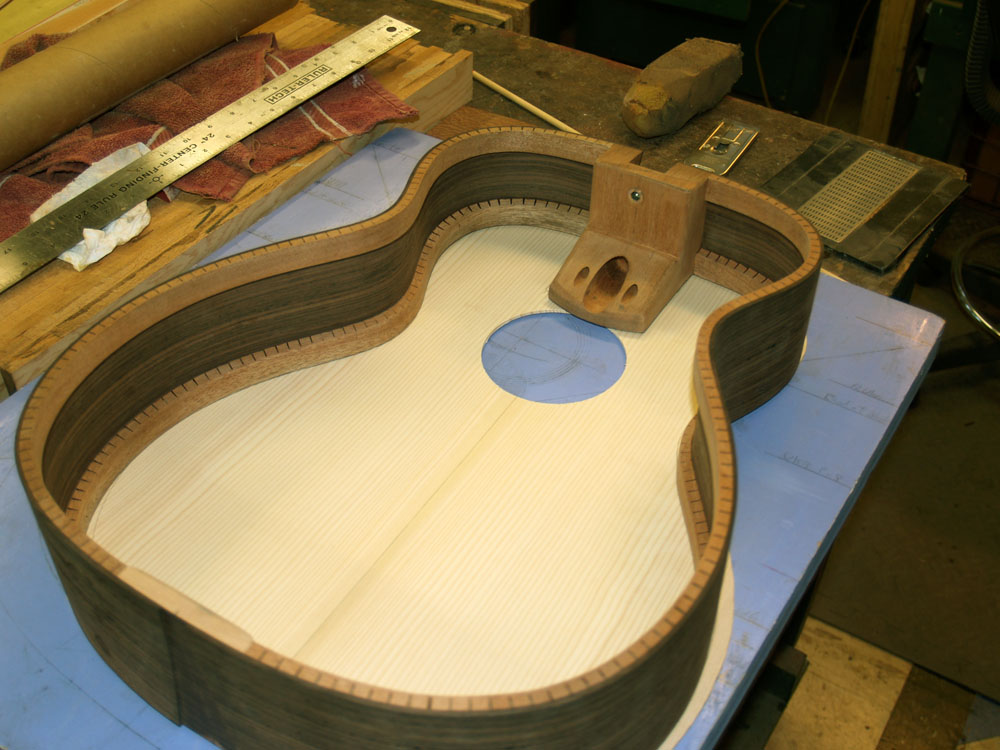
In preparation to make the braces I lay out the outline of the rim om the top plate.
( 124 ) 31-Dec-2011
In preparation to make the braces I lay out the outline of the rim om the top plate.
 ( 125 ) 31-Dec-2011
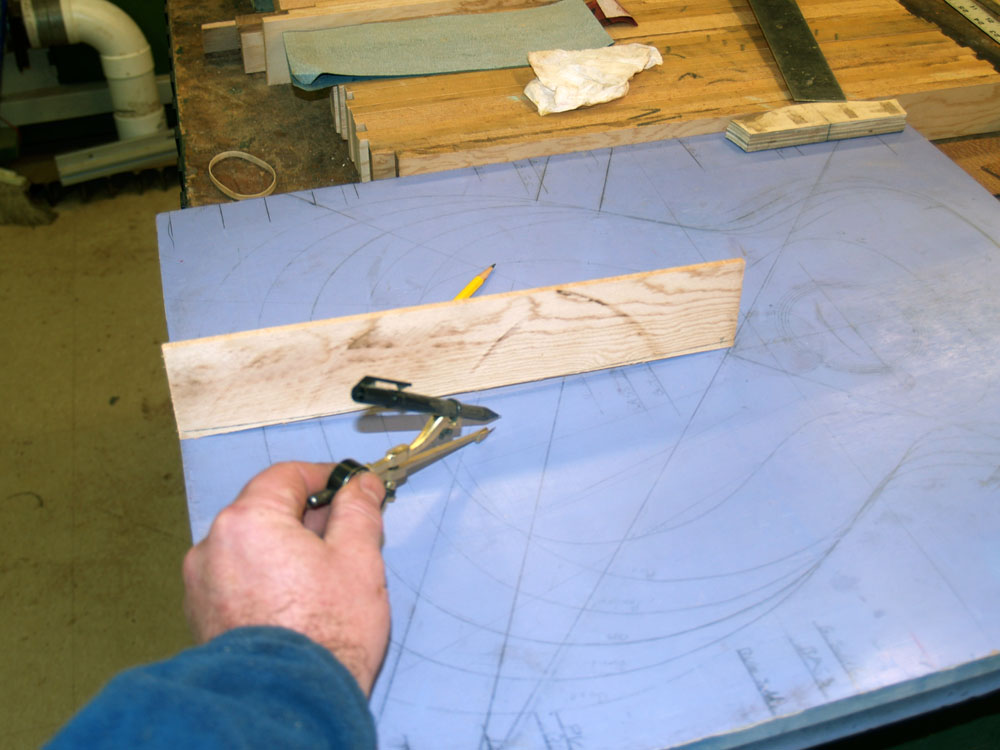
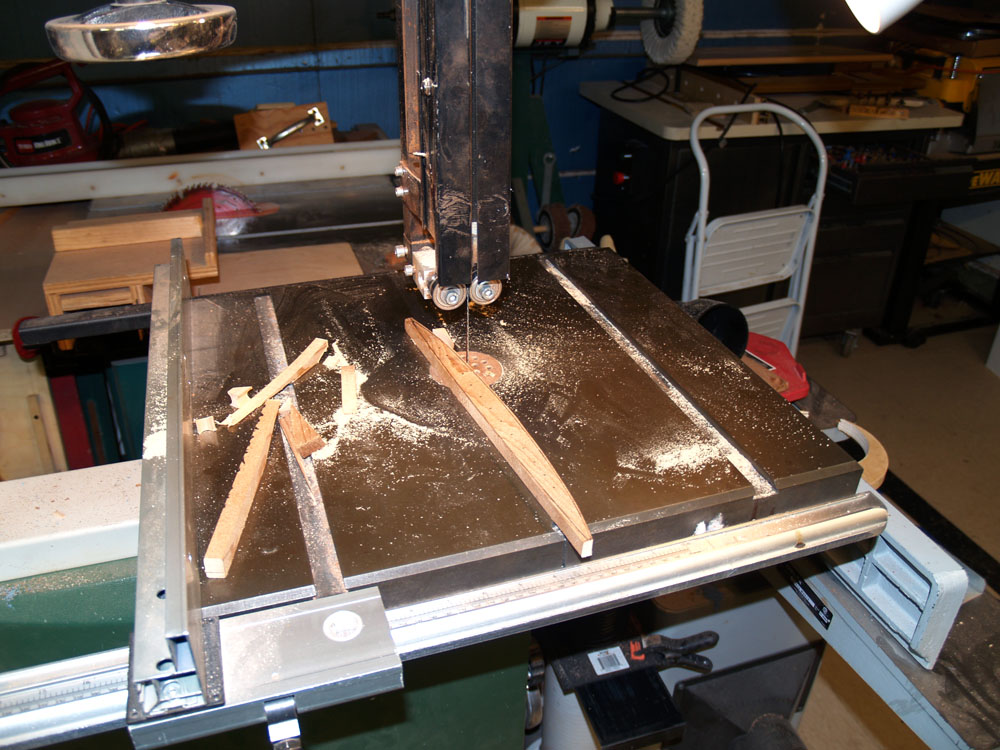
I draw the profile of the top plate onto brace blank.
 ( 126 ) 31-Dec-2011
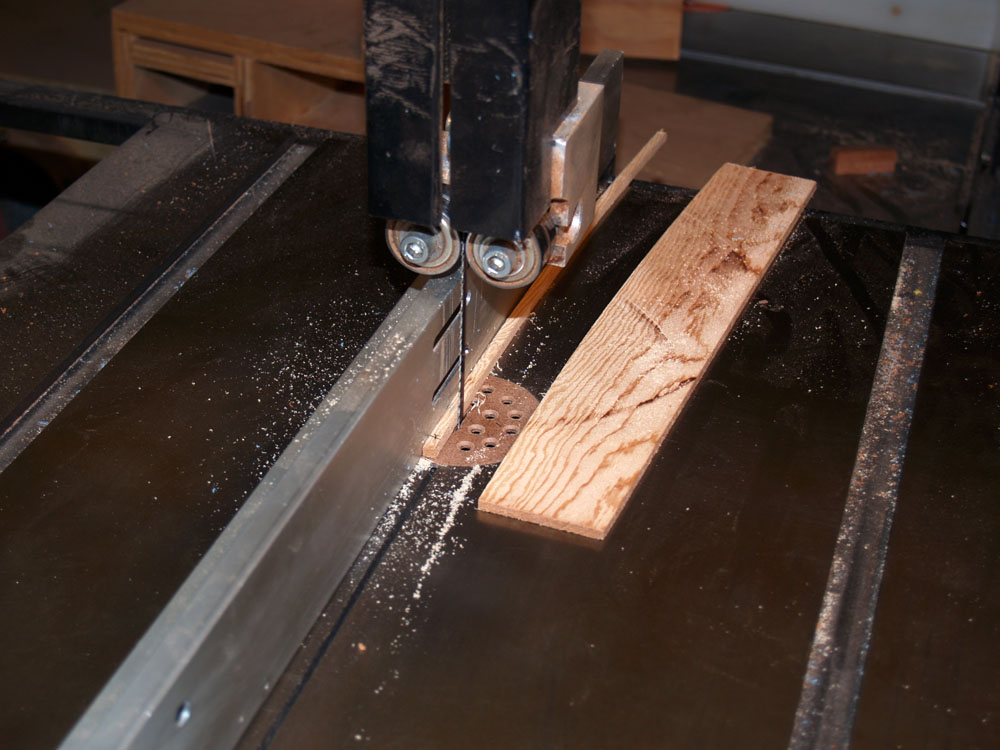
And use the bandsaw to cut the braces out.
 ( 127 ) 31-Dec-2011
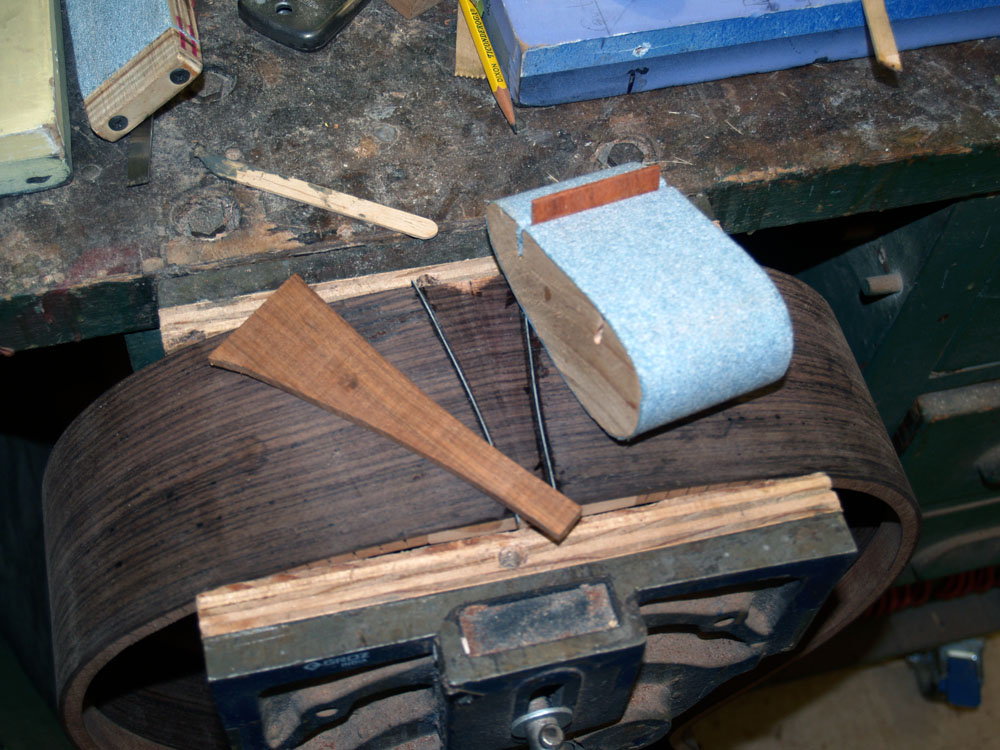
I use a piece of sandpaper on the top bowl to make sure the brace profile is an exact match.
 ( 128 ) 31-Dec-2011
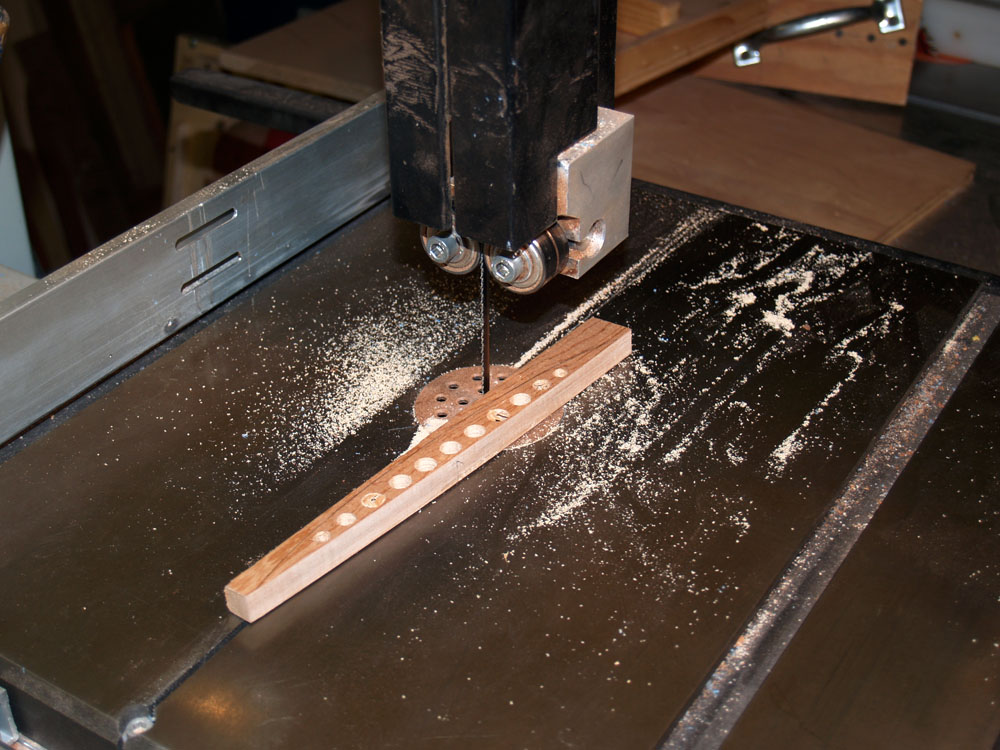
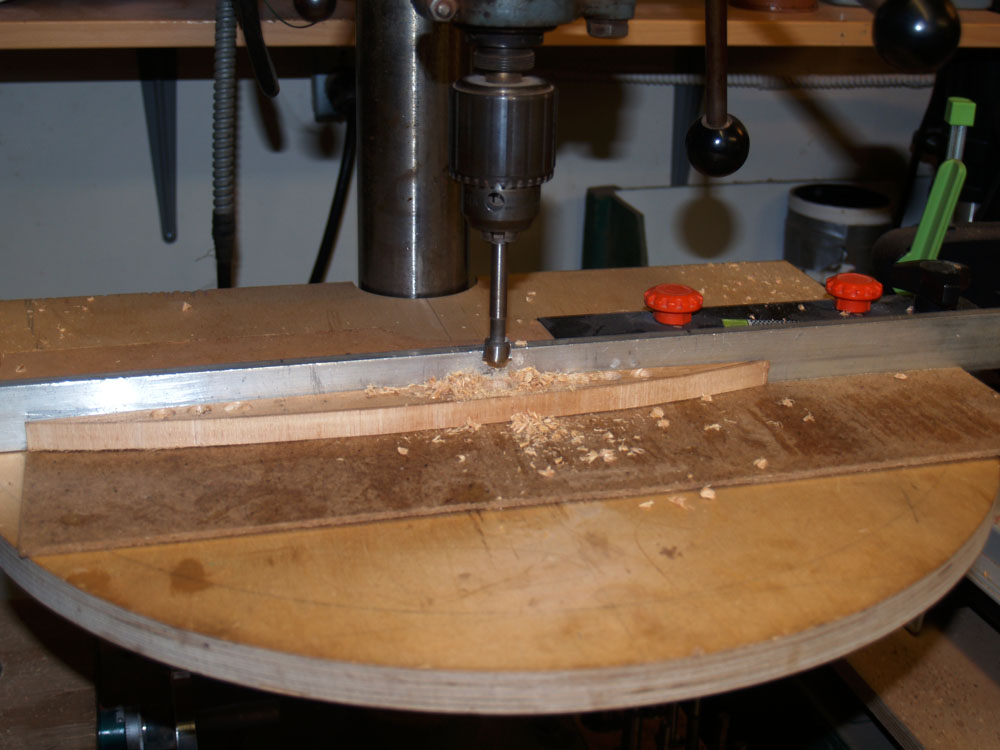
Making the main cross brace for the top I drill out the holes.
 ( 129 ) 31-Dec-2011
And the bandsaw is used to cut out the basic shape.
 ( 130 ) 31-Dec-2011
The disk sander finishes up the profile.
 ( 131 ) 31-Dec-2011
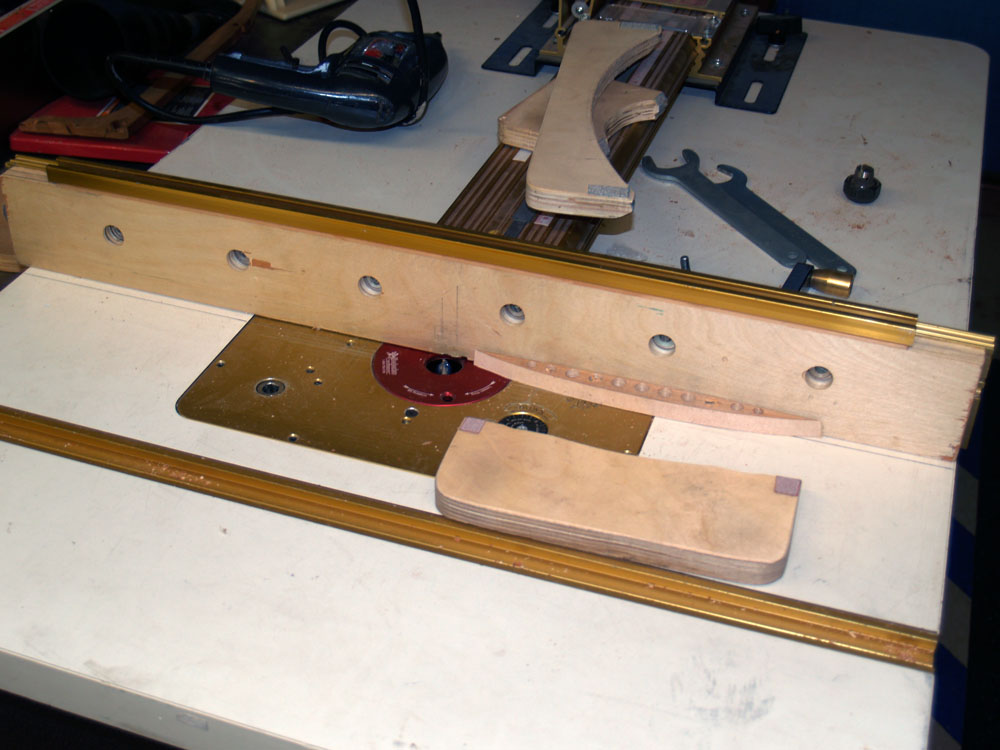
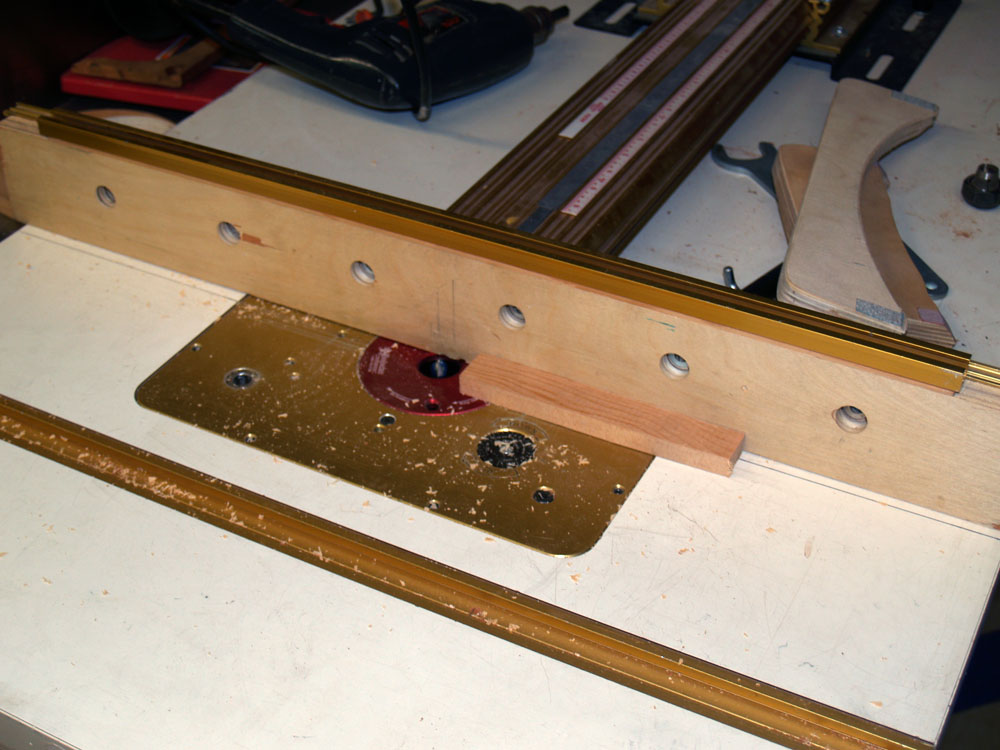
I use the router table to cut the channel into the brace blank to yield the I beam profile.
 ( 132 ) 31-Dec-2011
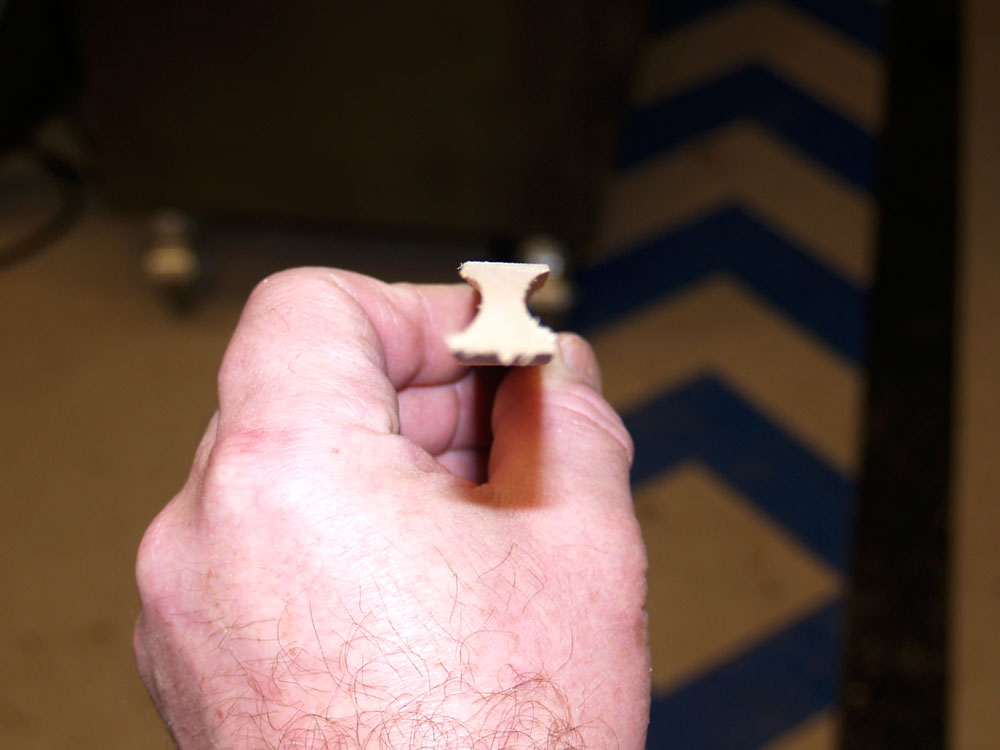
The cross section of the main cross brace.
 ( 133 ) 31-Dec-2011
And finally I use the disk sander to put a taper on the brace. I strive to give the braces sleek and sophisticated shape while embedding all of the structural and acoustic properties required of them.
 ( 134 ) 31-Dec-2011
One last operation is to sand the inside of each hole.
 ( 135 ) 31-Dec-2011
I am creating the bridge plate out of a piece of Indian Rosewood.
 ( 136 ) 31-Dec-2011
My small disk sander is used to put a bevel on the bridge plate.
 ( 137 ) 31-Dec-2011
I use the leftover pieces of the top blank to create the sound hole reinforcing ring. I try not to waste any material if I can.
 ( 138 ) 31-Dec-2011
I lay out the sound hole reinforcing ring to find out the areas I need to trim away.
 ( 139 ) 31-Dec-2011
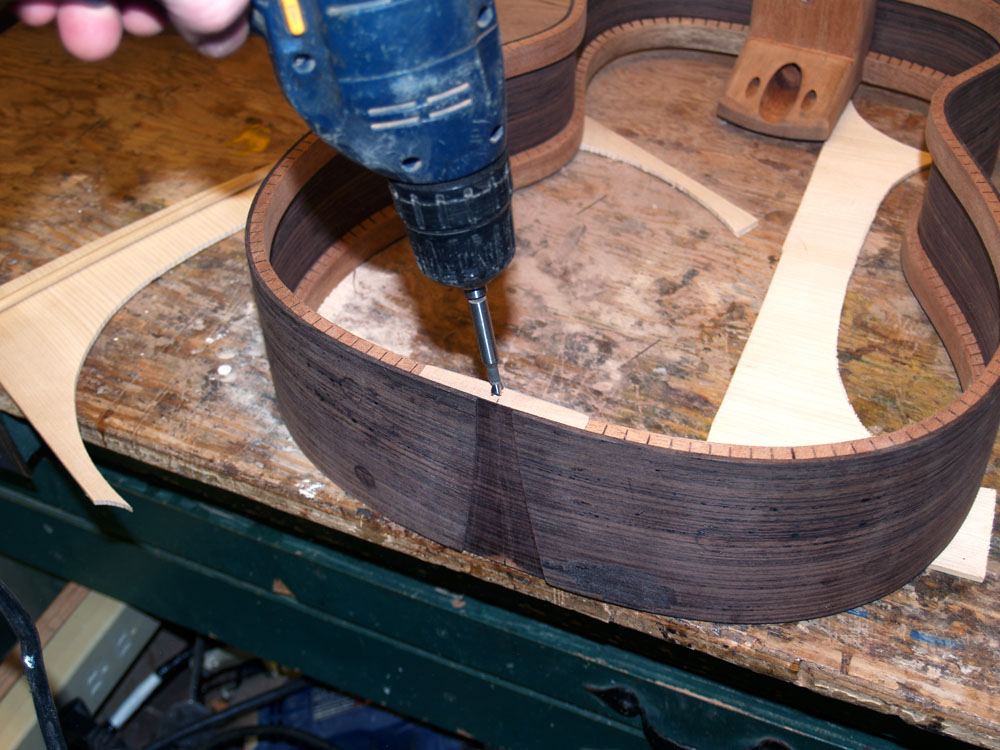
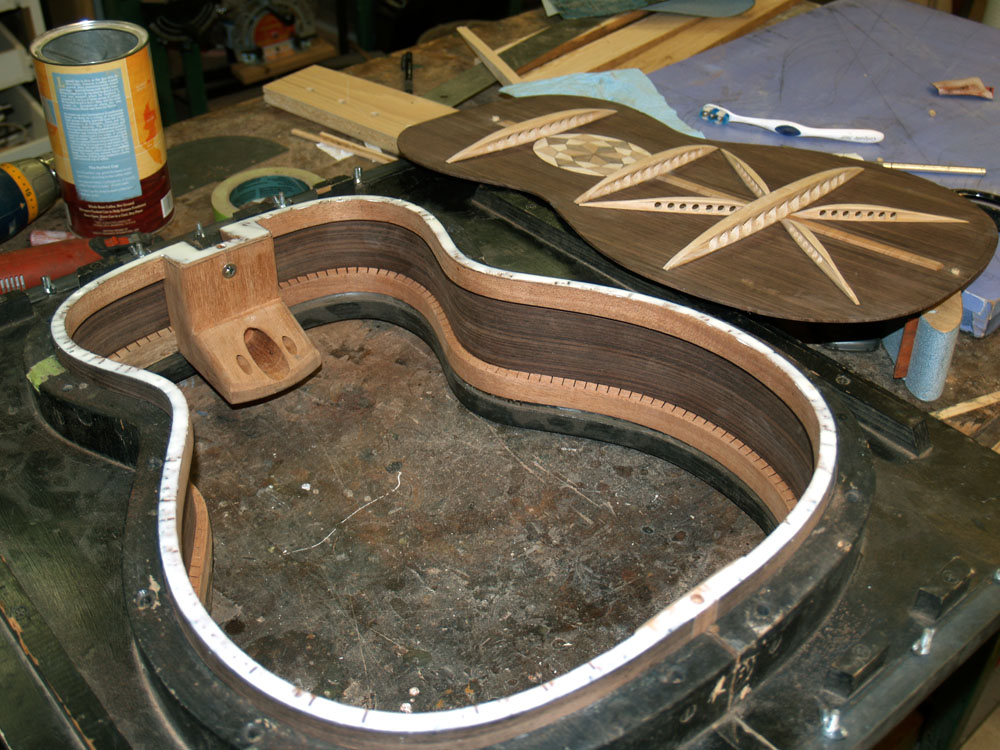
In the processes of assembling the guitar I will need to align the top and the sides exactly several times. To do this I install a couple fiducial buttons and holes. Here I am drill the fiducial holes in the rim.
 ( 140 ) 31-Dec-2011
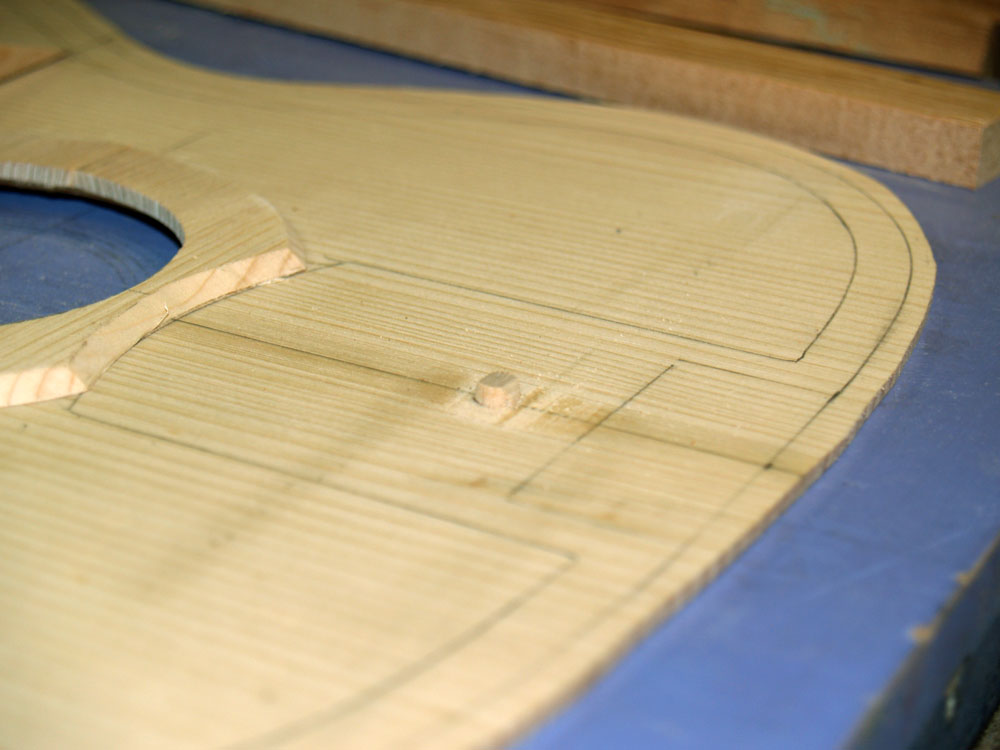
I place a small plug into the hole and then place a small drop of glue on the top of the plug.
 ( 141 ) 31-Dec-2011
When I place the rim on the top exactly where I want it, the plug gets glued to the top and I now have a fiducial button. By lining up the hole and the button I can now repeatedly place the rim on the top in to the exact same position.
 ( 142 ) 31-Dec-2011
I use the router again to create the main A braces.
 ( 143 ) 31-Dec-2011
And cut them out on the band saw.
 ( 144 ) 31-Dec-2011
I lay the A braces out on the top and place the rim over them so I can draw a line where I will cut them. I want these braces to fit flush up against the rim.
 ( 145 ) 31-Dec-2011
I use the oscillating sander to trim the braces.
 ( 146 ) 31-Dec-2011
And then all of the braces get laid out before they are glued in place.
 ( 147 ) 31-Dec-2011
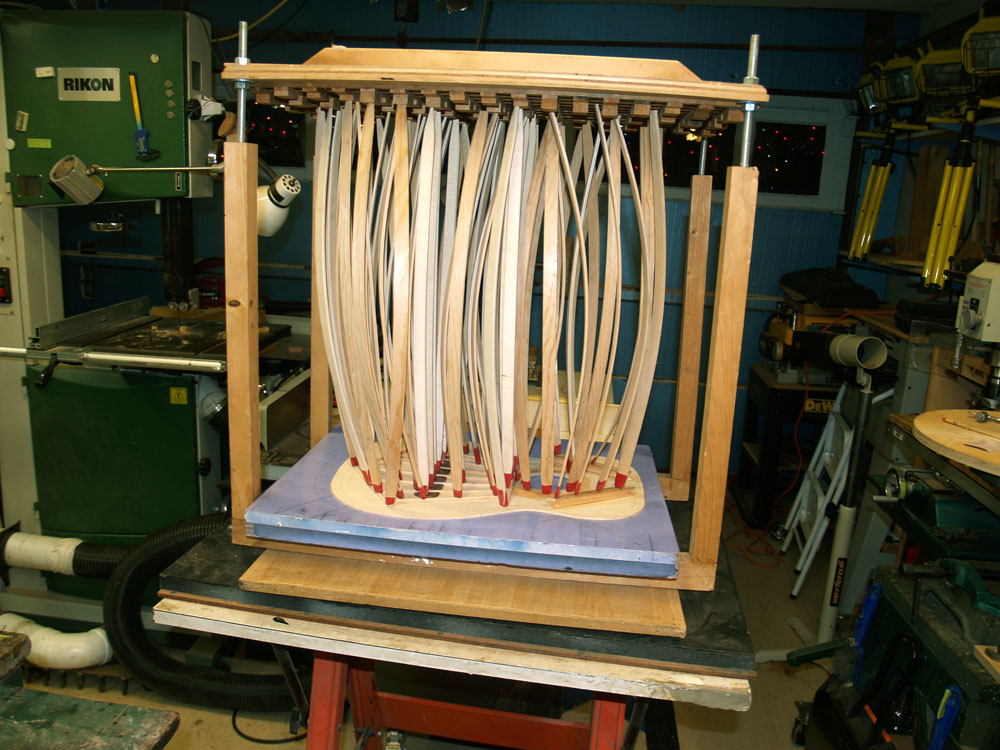
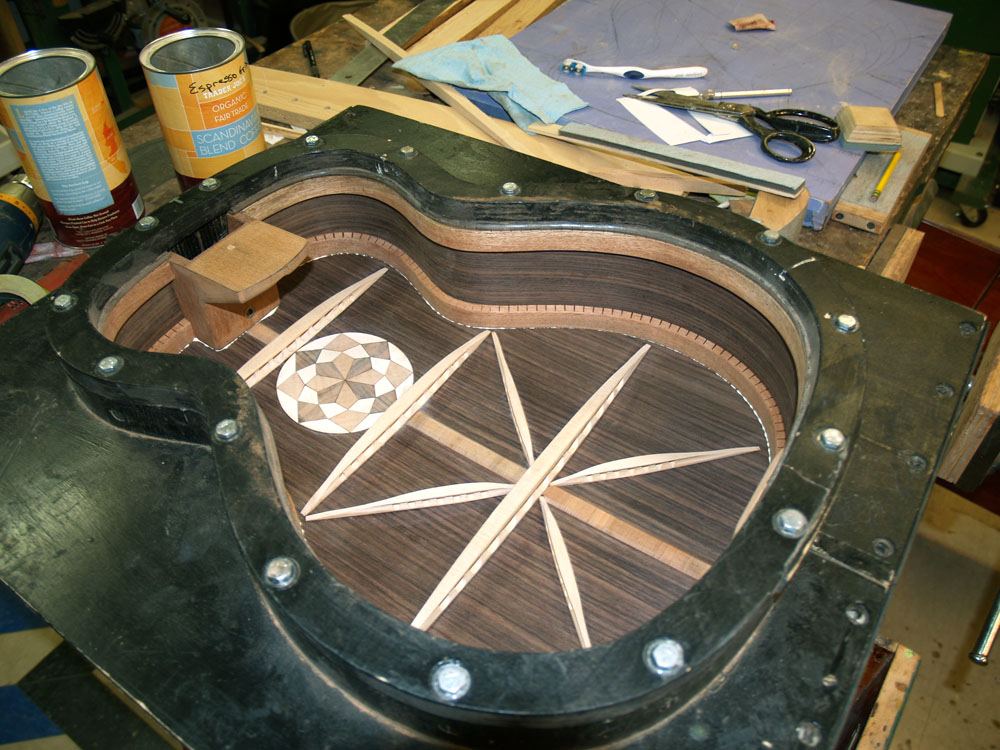
I lay the top plate in the go-box on the top form. All of the braces have the same shape as the form, so when I am finished the top will have the same shape as the form.
 ( 148 ) 31-Dec-2011
Then lots of go-sticks are used to press the braces into place.
 ( 149 ) 31-Dec-2011
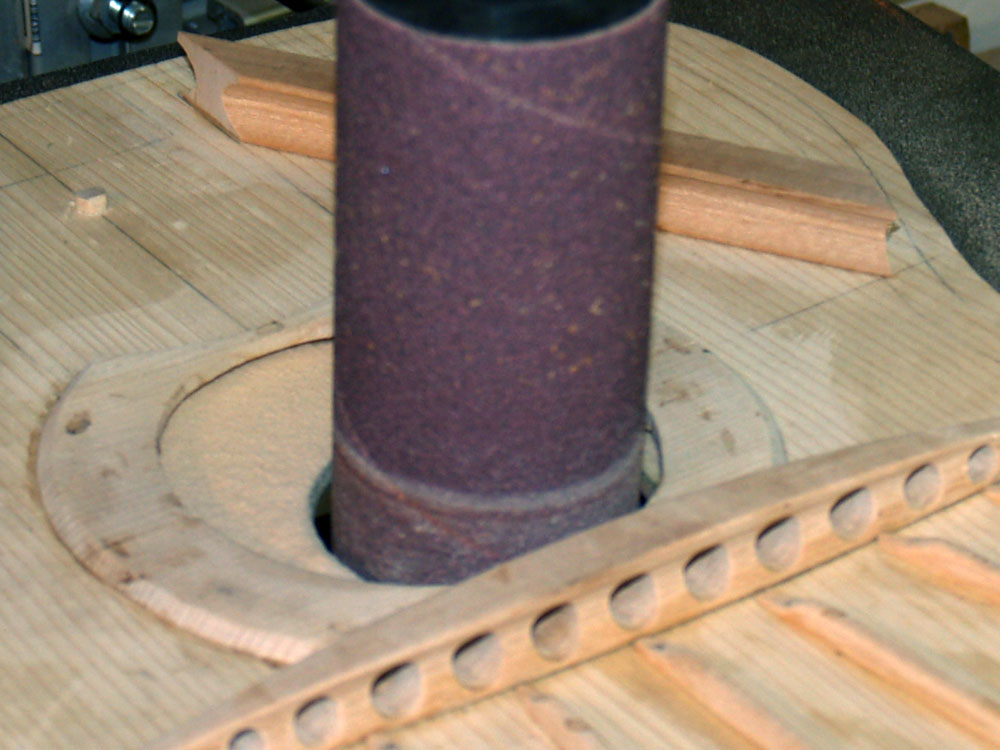
When the top comes out of the box I sand the inside edge of the sound hole.
 ( 150 ) 31-Dec-2011
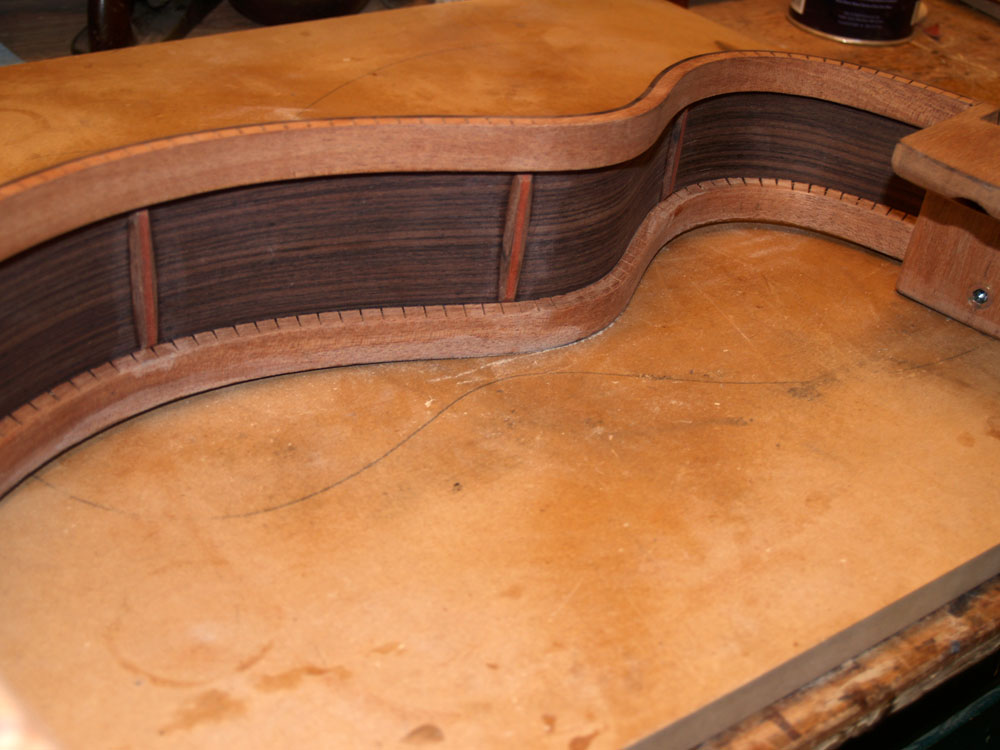
And in the end all of the braces glued in place. The large trapezoidal braces are structural in nature, transferring the stress if the strings to the rim, while the fan braces are acoustical in nature, allowing the top to resonate with the strings. (Or so the theory goes.) A guitar is a compromise between the structural need to hold the strings taut with ~83 lbs, 34 kgs of tension while keeping the structure stable, and allowing the top and back to vibrate freely. It is often said that a guitar is in the process of slow motion self destruction, and a good guitar exquisitely balance the needs of the structure on the very edge of failure. I.e., the structure is no bigger than it absolutely needs to be.
 ( 151 ) 31-Dec-2011
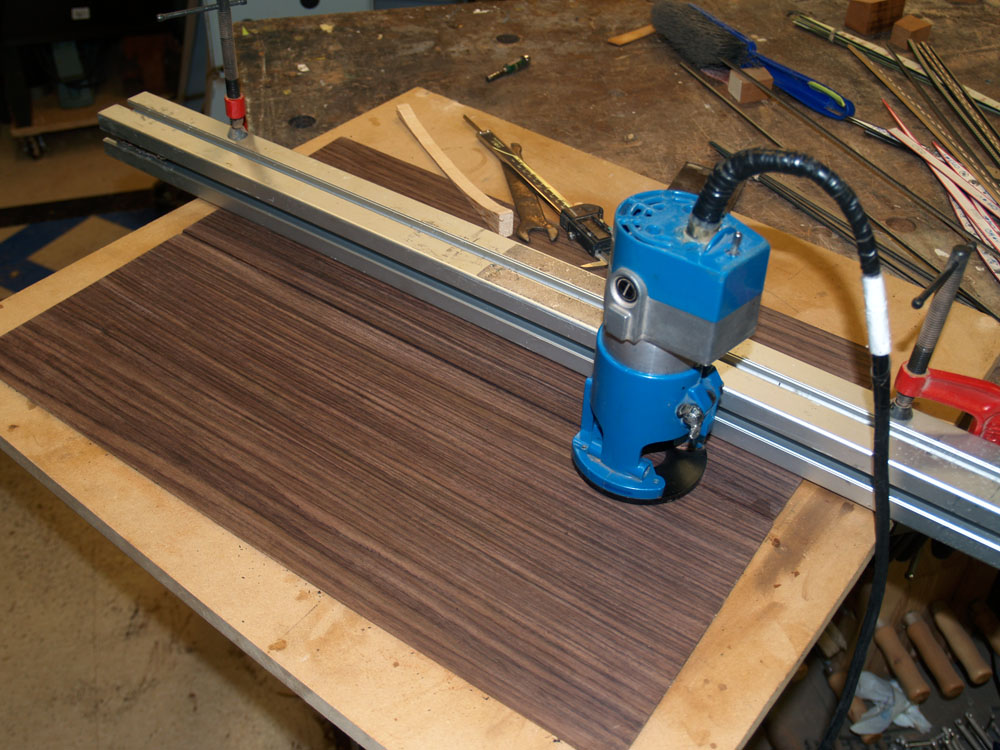
I have decided to install a decorative back strip. I use this small router to route out a channel.
 ( 152 ) 31-Dec-2011
And then glue in this zipper pattern back strip.
 ( 153 ) 31-Dec-2011
Now I lay out the back brace patterns on the brace blanks.
 ( 154 ) 31-Dec-2011
And use the bandsaw to cut them out.
 ( 155 ) 31-Dec-2011
A piece of sandpaper on the back form matches the bottom of the braces to the form.
 ( 156 ) 31-Dec-2011
And I drill out the holes.
 ( 157 ) 31-Dec-2011
And the router table to create the I beam profile.
 ( 158 ) 31-Dec-2011
To check for positioning I lay out the back braces on the back plate.
 ( 159 ) 31-Dec-2011
After drawing the outline of the rim on the back plate I cut it out with the band saw.
 ( 160 ) 31-Dec-2011
And the go-box is used to glue the braces in place.
 ( 161 ) 31-Dec-2011
I will use this reinforcing strip to straddle the center line of the back plate.
 ( 162 ) 31-Dec-2011
And glue it and the contra-rosette in the go-box.
 ( 163 ) 31-Dec-2011
The back plate with its braces glued in place. I will go over the whole thing with sandpaper before assembling the box.
 ( 164 ) 31-Dec-2011
But first I need to install the tail graft. Here I am installing a couple pieces of pin-striping.
 ( 165 ) 31-Dec-2011
I have decided to use Koa for the binding, so I am installing a Koa tail graft to match.
 ( 166 ) 31-Dec-2011
After it is glued in place I use the belt sander to sand everything flush.
 ( 167 ) 31-Dec-2011
I install these vertical reinforcing braces on the sides to help prevent the side from splitting.
 ( 168 ) 31-Dec-2011
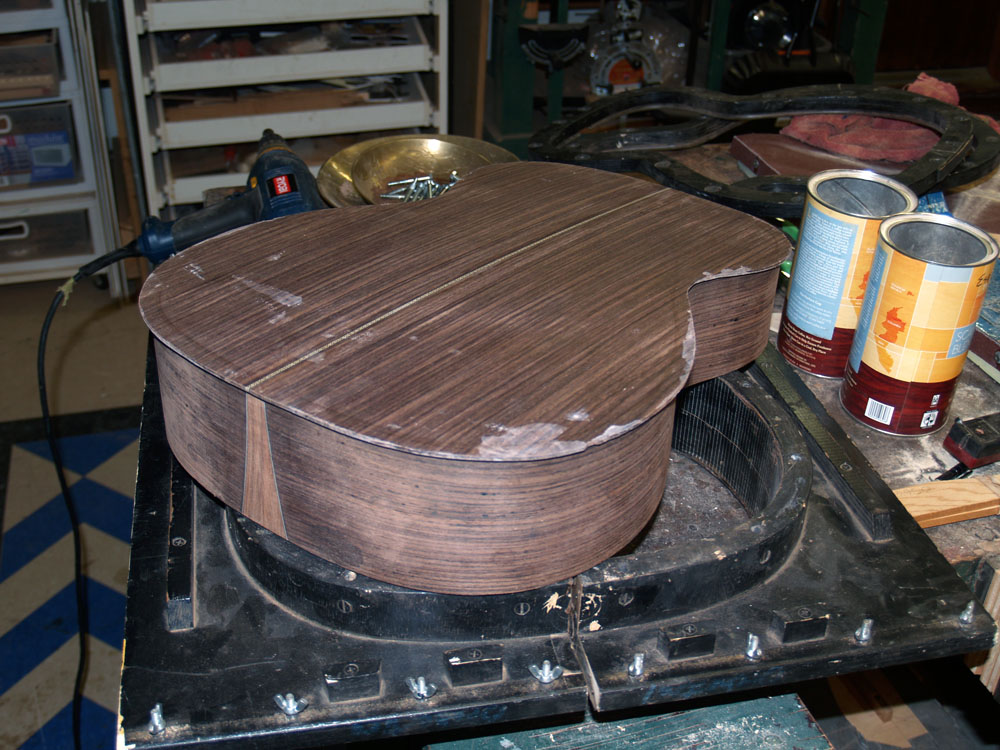
Now I am ready to glue the back onto the rim. I mount the rim in the side form and lay down a bead of glue on the rim's edge.
 ( 169 ) 31-Dec-2011
The back gets put in place and is pressed home with this compression flange.
 ( 170 ) 31-Dec-2011
Turning the assembly over there is a small amount glue squeeze out that I clean up before it drys.
 ( 171 ) 31-Dec-2011
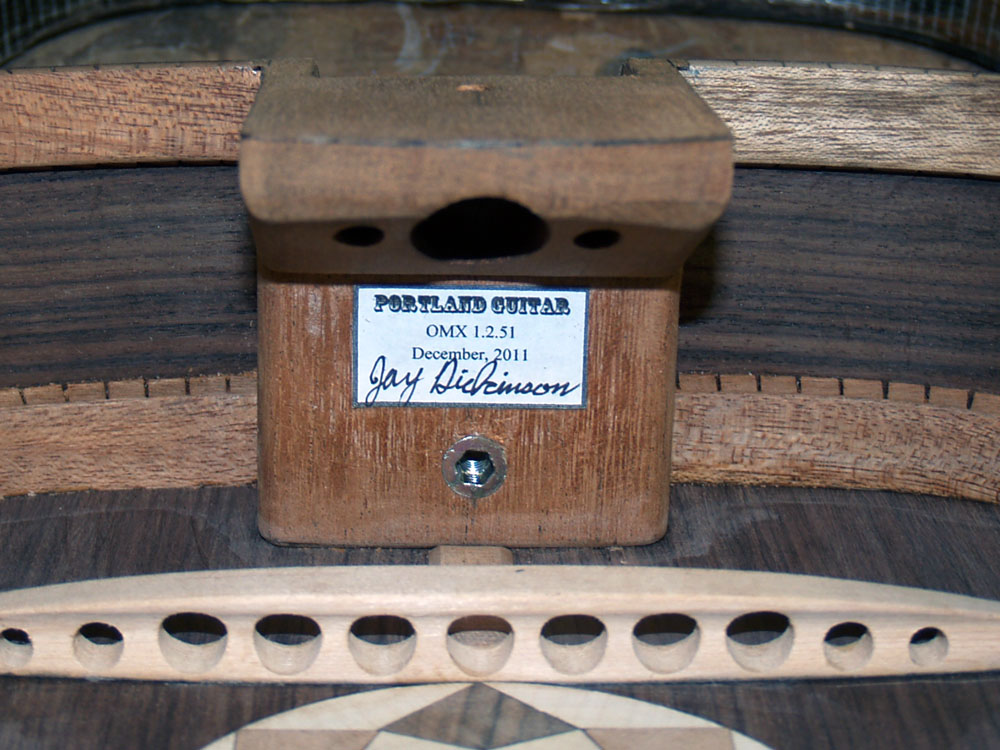
While the glue dries I install a small label to identify the guitar. I place the label in place that can be seen, but is not intrusive to the art of the guitar. You don't need me to advertise to you through the sound hole.
 ( 172 ) 31-Dec-2011
When the assembly dries and comes out of the form there is a small lip that needs to get routed off.
 ( 173 ) 31-Dec-2011
I use a small router to remove the lip.
 ( 174 ) 31-Dec-2011
Now I run a bead of glue on the top edge of the rim.
 ( 175 ) 31-Dec-2011
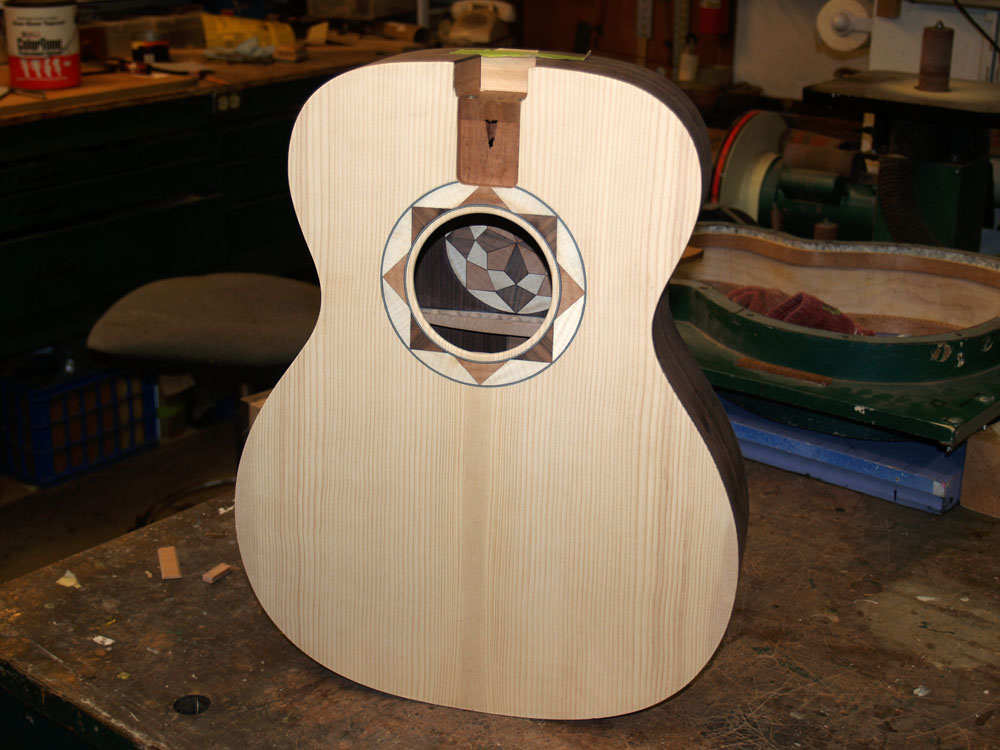
And press the top plate into place.
 ( 176 ) 31-Dec-2011
It comes out of the form with a small lip.
 ( 177 ) 31-Dec-2011
And I use the router again to trim up the over hang.
 ( 178 ) 31-Dec-2011
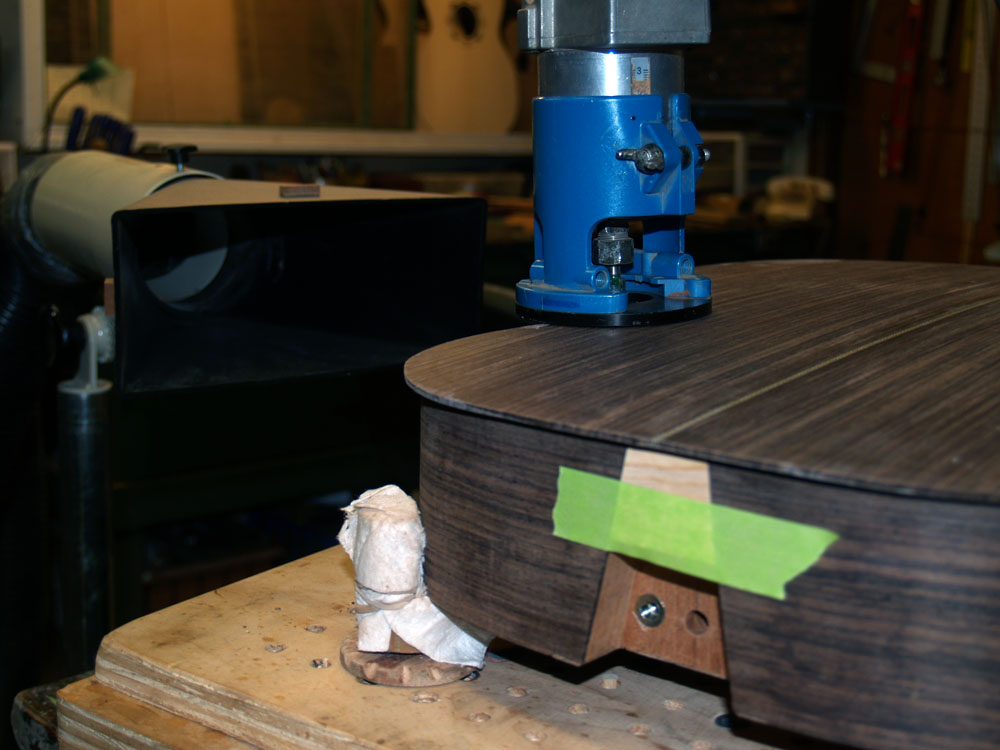
I have this special fixture set up to help guide the router in making the cantilever channel.
 ( 179 ) 31-Dec-2011
The channel is necessary to allow space for the fretboard support plate. More on this later.
 ( 180 ) 31-Dec-2011
And the box is ready for the binding.