 ( 103 ) 15-Dec-2011
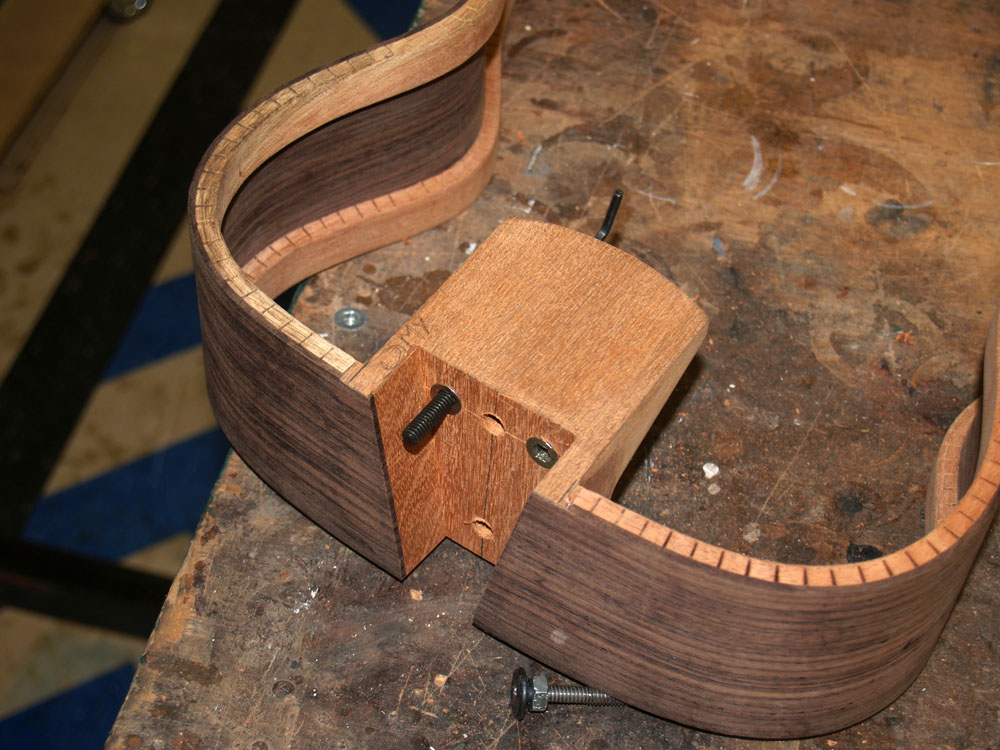
The heal of the neck will slip into this channel and will be supported by two set screws and an adjustment bolt. Here I am using my drill press to drill the holes for the mounting hardware.
( 103 ) 15-Dec-2011
The heal of the neck will slip into this channel and will be supported by two set screws and an adjustment bolt. Here I am using my drill press to drill the holes for the mounting hardware.
 ( 104 ) 15-Dec-2011
A view of the hole pattern. The center hole is for the bolt that holds the neck in place.
 ( 105 ) 15-Dec-2011
I use long set screws to make sure the system is stable.
 ( 106 ) 15-Dec-2011
Here I am installing the wood insert that is used for the adjustment bolt.
 ( 107 ) 15-Dec-2011
And the final set up. This system provides three very well defined points of contact for the neck attachment. This results in a stable yet adjustable neck.
 ( 108 ) 15-Dec-2011
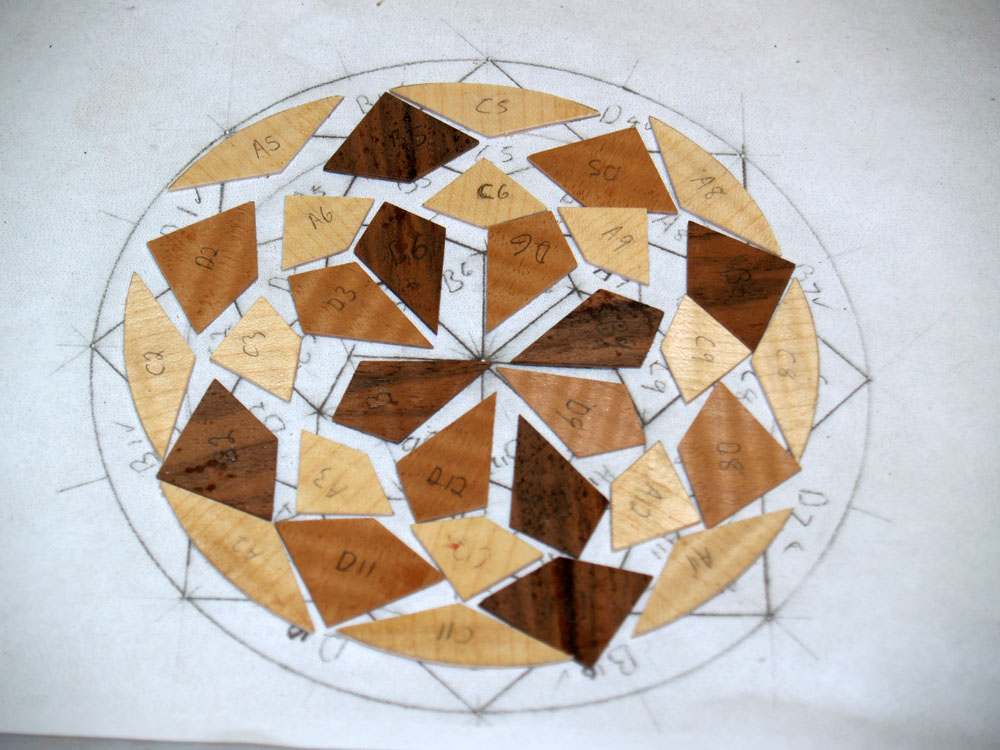
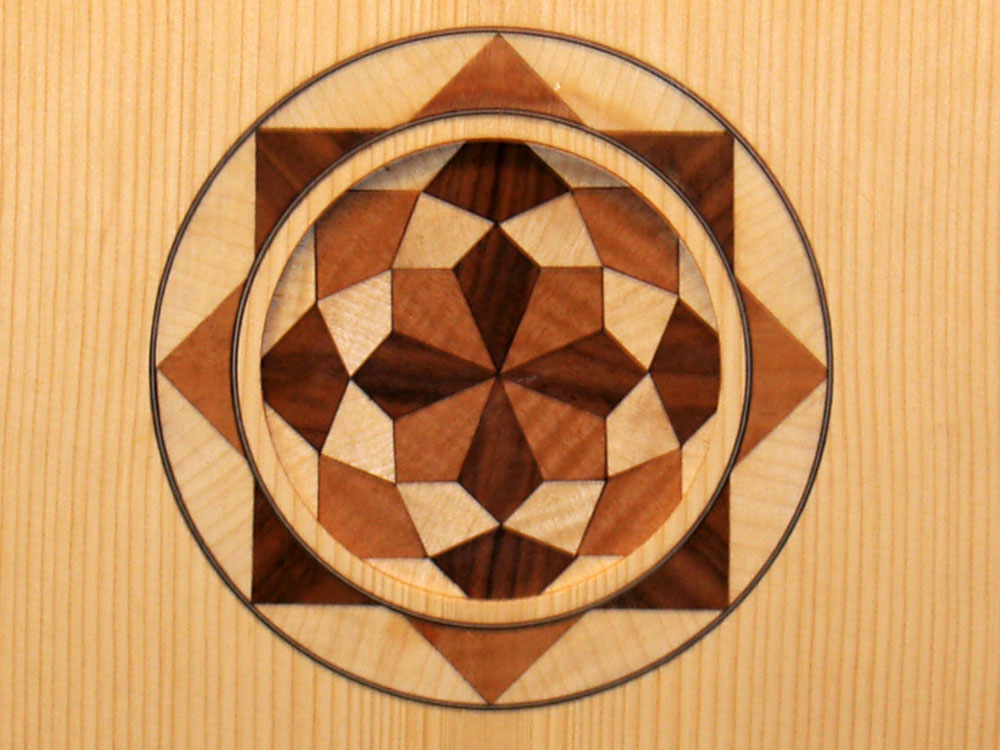
I next turn my attention to creating the rosette and contra-rosette. Finding inspiration in Islamic art, I have designed an eight pointed star for the rosette. Here I am using some of the tools of the trade to lay out the design.
 ( 109 ) 15-Dec-2011
I start out by creating a cartoon template to help in the lay out.
 ( 110 ) 15-Dec-2011
I carefully trace out each individual piece onto a piece of veneer using an exacto knife as a scribe. The exacto blade scores the surface with a line that is about 1/4 of the thickness of a pencil lead. This is very precise work where the variation of each piece from the ideal quickly adds up. I have to fit each piece individually, adding a little here, taking a little there, to get a satisfactory whole.
 ( 111 ) 15-Dec-2011
I rough out each piece with one of my band saws,
 ( 112 ) 15-Dec-2011
And then use the sanding disk to trim the piece to its final shape.
 ( 113 ) 15-Dec-2011
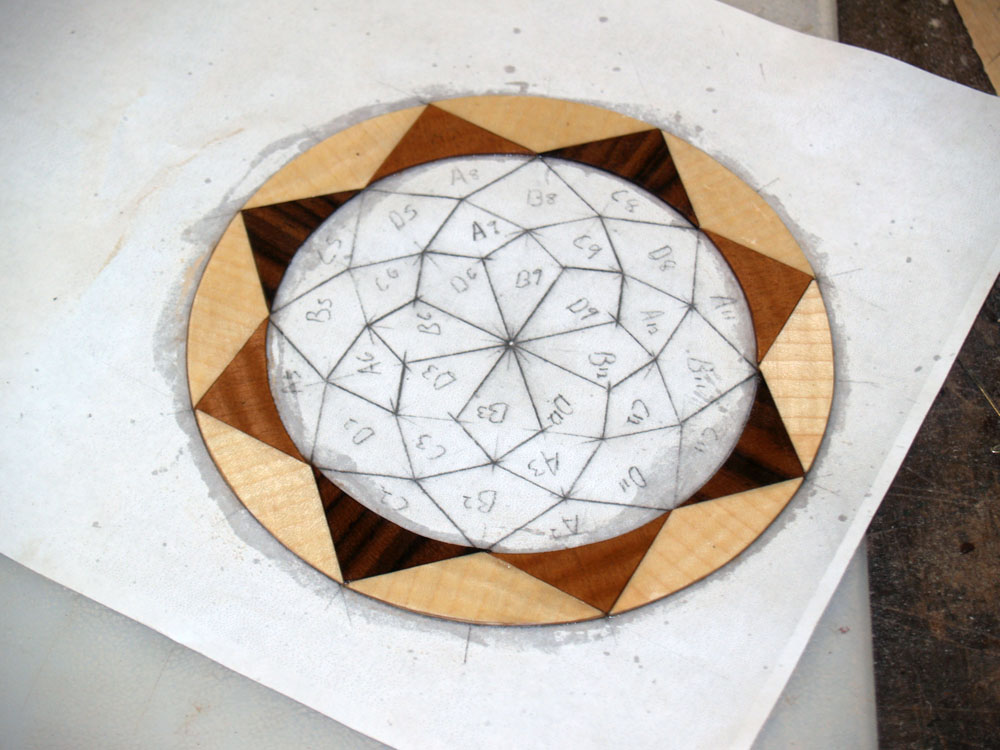
I make a copy of the template and lay out all of the pieces before gluing anything down.
 ( 114 ) 15-Dec-2011
I glue the pieces right onto the paper template.
 ( 115 ) 15-Dec-2011
I use one template for the rosette, and one for the contra-rosette. Each piece is individually marked trimmed to fit together with its neighbors.
 ( 116 ) 15-Dec-2011
After they are glued up I sand everything flush and smooth and then cut out the completed sets.
 ( 117 ) 15-Dec-2011
A view of the rosettes.
 ( 118 ) 15-Dec-2011
Now that I have the rosette set completed I need to route out a channel in the top plate. Here I am laying out the position of the rosette and sound hole on the top plate.
 ( 119 ) 15-Dec-2011
I use my milling machine to create the rosette channel.
 ( 120 ) 15-Dec-2011
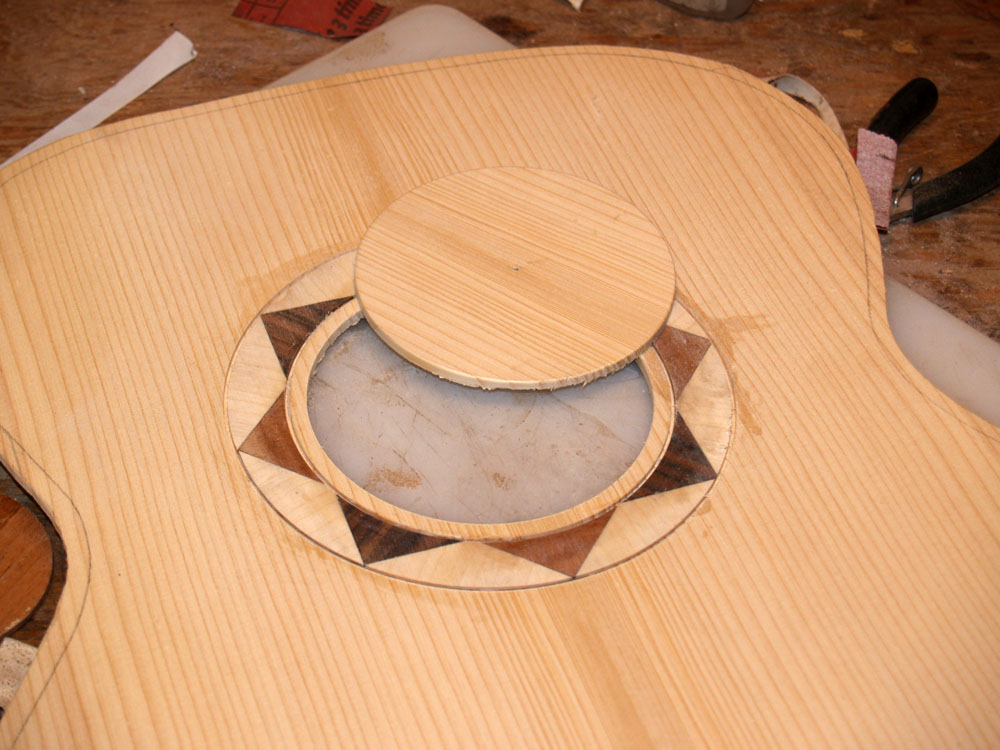
With a little care the rosette drops right into the channel. To create an outlining border for the rosette I route out a channel for a strip of black/white/black pin stripping.
 ( 121 ) 15-Dec-2011
And then I cut out the sound hole .
 ( 122 ) 15-Dec-2011
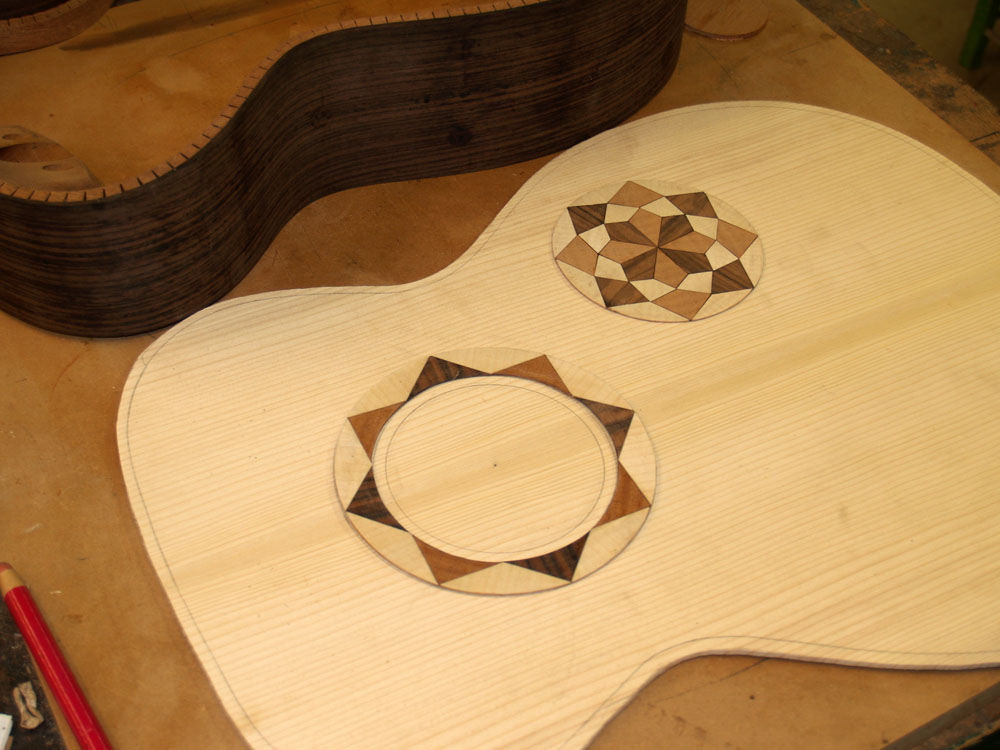
And here is a view of the rosette and contra-rosette pair.
 ( 123 ) 15-Dec-2011
And a look at the top plate with the rosettes. In the back ground you can see the faint image of a guitar and a ukulele I am working on.