 ( 57 ) 15-Nov-2011
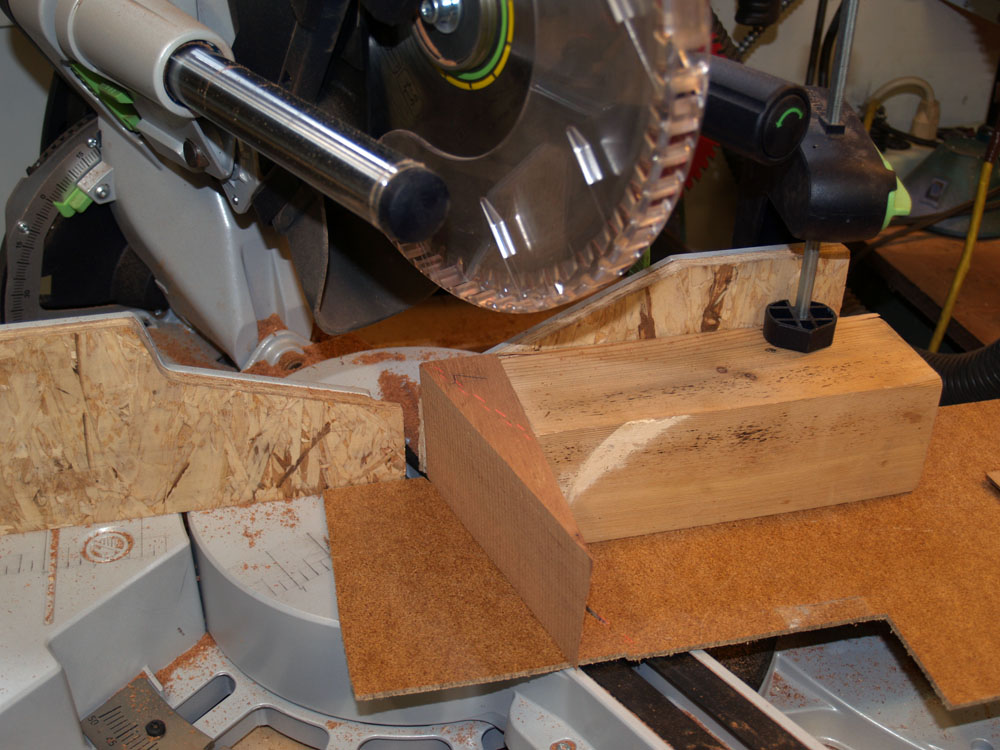
To glue the two halves of the sides together I need a heel block and a tail block. In this picture I am cutting one of the pieces that I will use for the heel block.
( 57 ) 15-Nov-2011
To glue the two halves of the sides together I need a heel block and a tail block. In this picture I am cutting one of the pieces that I will use for the heel block.
 ( 58 ) 15-Nov-2011
And here I am trimming another piece using my table saw.
 ( 59 ) 15-Nov-2011
The heel blocks I use allow the neck to be adjusted to change the action of the neck. When I make one, I like to make a lot at once to save time in setting up the cuts.
 ( 60 ) 15-Nov-2011
Back to the miter saw to trim another piece.
 ( 61 ) 15-Nov-2011
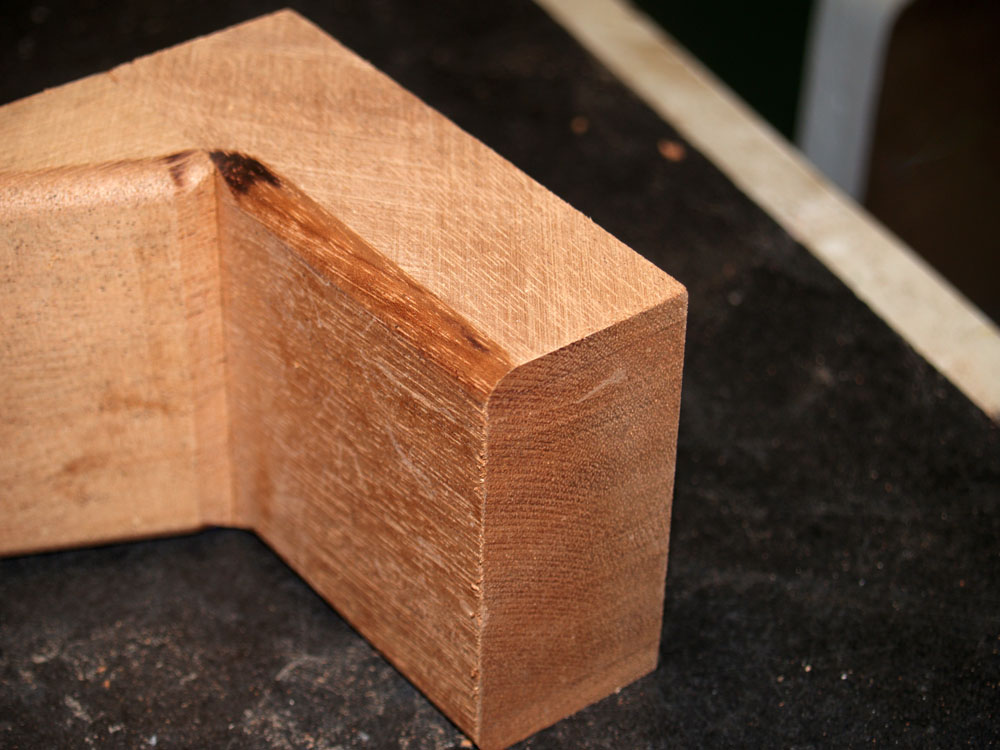
Now the heel block is starting to take shape.
 ( 62 ) 15-Nov-2011
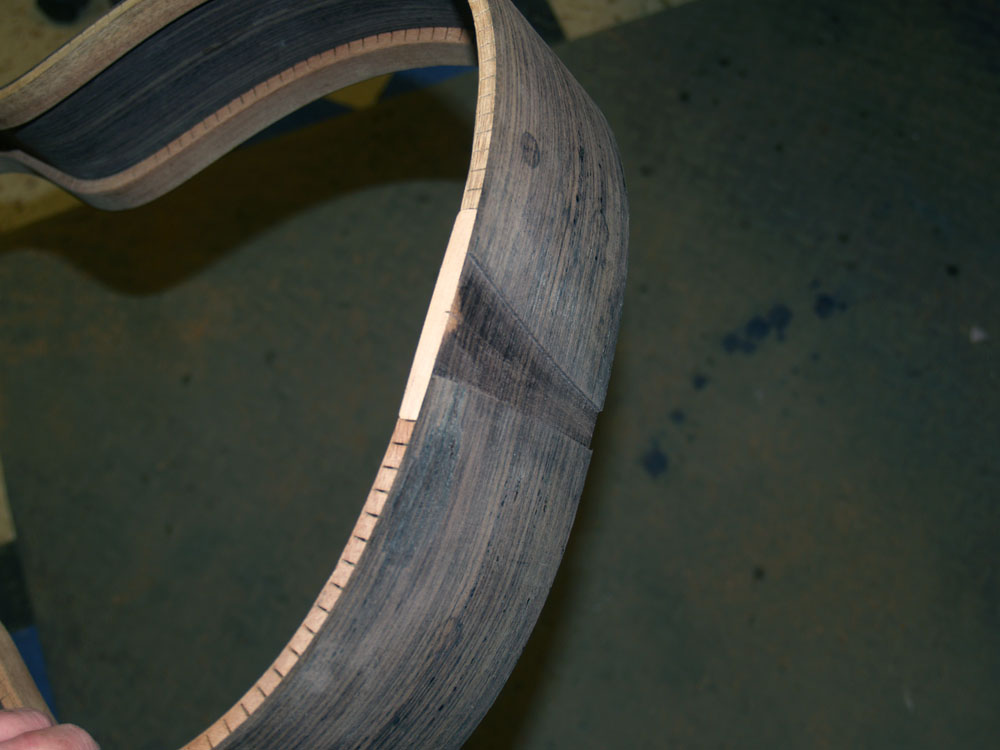
I use the belt sander to trim the sides after they are glued together.
 ( 63 ) 15-Nov-2011
I use the router table to round off the edges.
 ( 64 ) 15-Nov-2011
After the router table operation.
 ( 65 ) 15-Nov-2011
In this picture I am using my milling machine to drill the hole that will be used to bolt the neck to the body.
 ( 66 ) 15-Nov-2011
The main bolt hole in several heel blocks.
 ( 67 ) 15-Nov-2011
Again I use the milling machine to drill the holes for the set screw holes.
 ( 68 ) 15-Nov-2011
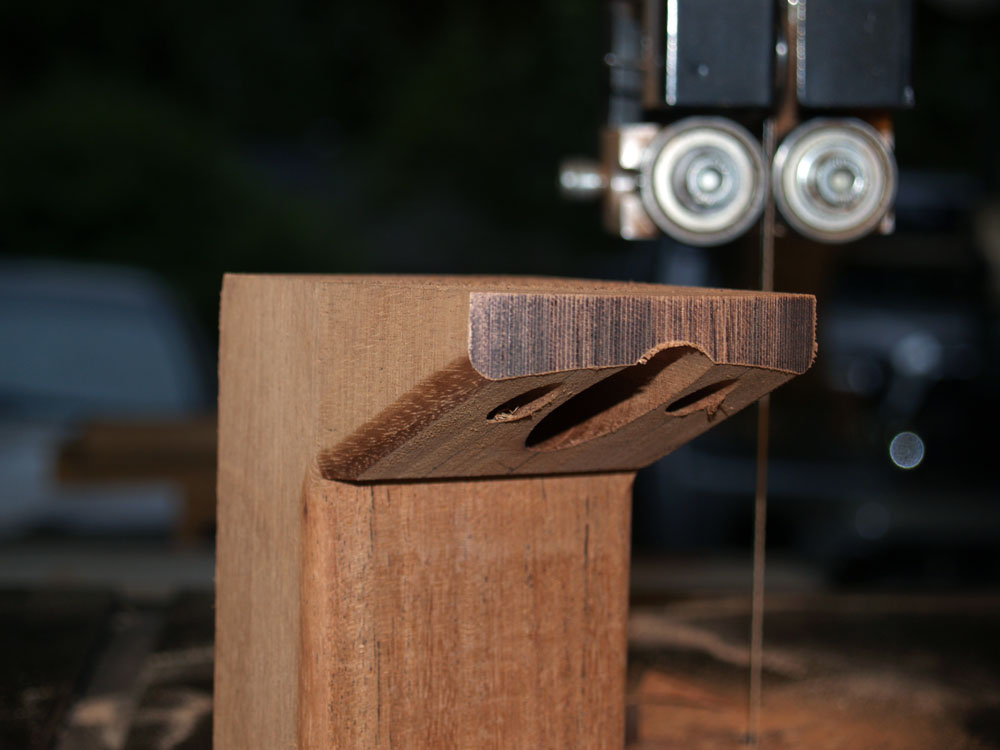
And the band saw trims the end into an arc.
 ( 69 ) 15-Nov-2011
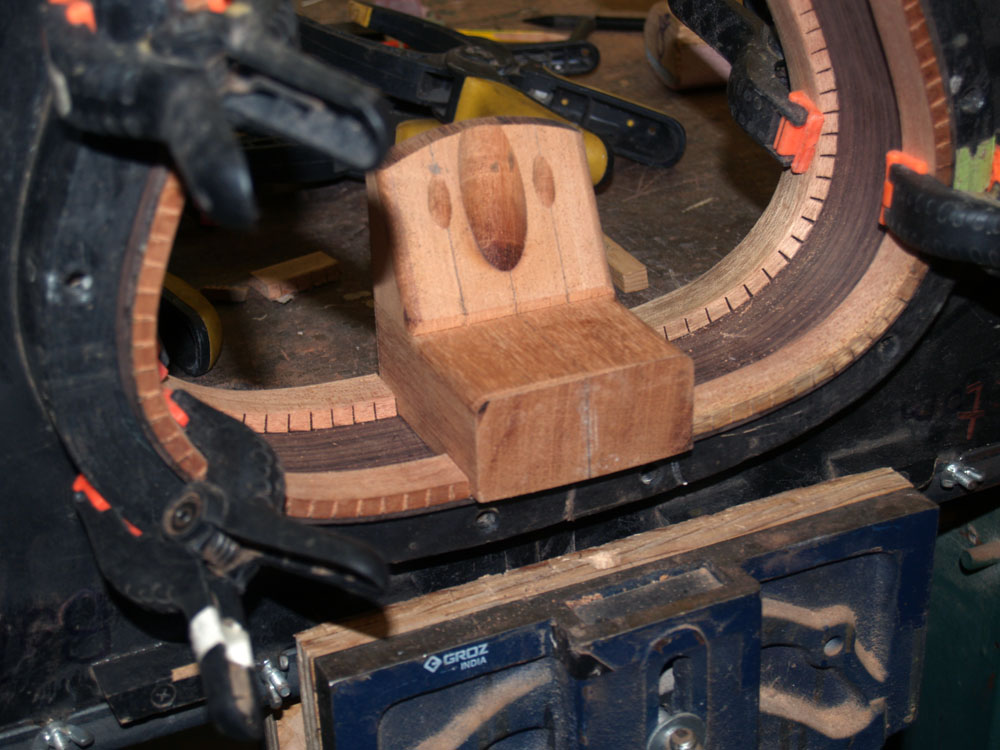
A look at a finished heel block.
 ( 70 ) 15-Nov-2011
Now I am turning my attention to the sides again. Here I am sand the kerfing.
 ( 71 ) 15-Nov-2011
And I use a Dremel tool to sand the kerfing shelf.
 ( 72 ) 15-Nov-2011
And finally a little hand sanding to finish up the job. I want everything inside the guitar to look as nice as the outside.
 ( 73 ) 15-Nov-2011
Back to the heel block. Here I am using a special jig to sand the front face to match the contour of the sides.
 ( 74 ) 15-Nov-2011
And the tail block gets its contour also.
 ( 75 ) 15-Nov-2011
After mounting the sides into their forms I saw off the excess.
 ( 76 ) 15-Nov-2011
And then I can put the two halves of the form together with the sides in place.
 ( 77 ) 15-Nov-2011
To mount the heel block and the tail block I need to remove the kerfing were they will go.
 ( 78 ) 15-Nov-2011
I use the guide blocks to make sure the saw cuts are precise.
 ( 79 ) 15-Nov-2011
The kerfing channel where the heel block will go.
 ( 80 ) 15-Nov-2011
The heel block fits perfectly.
 ( 81 ) 15-Nov-2011
The same process is used to make room for the tail block.
 ( 82 ) 15-Nov-2011
Perfect.
 ( 83 ) 15-Nov-2011
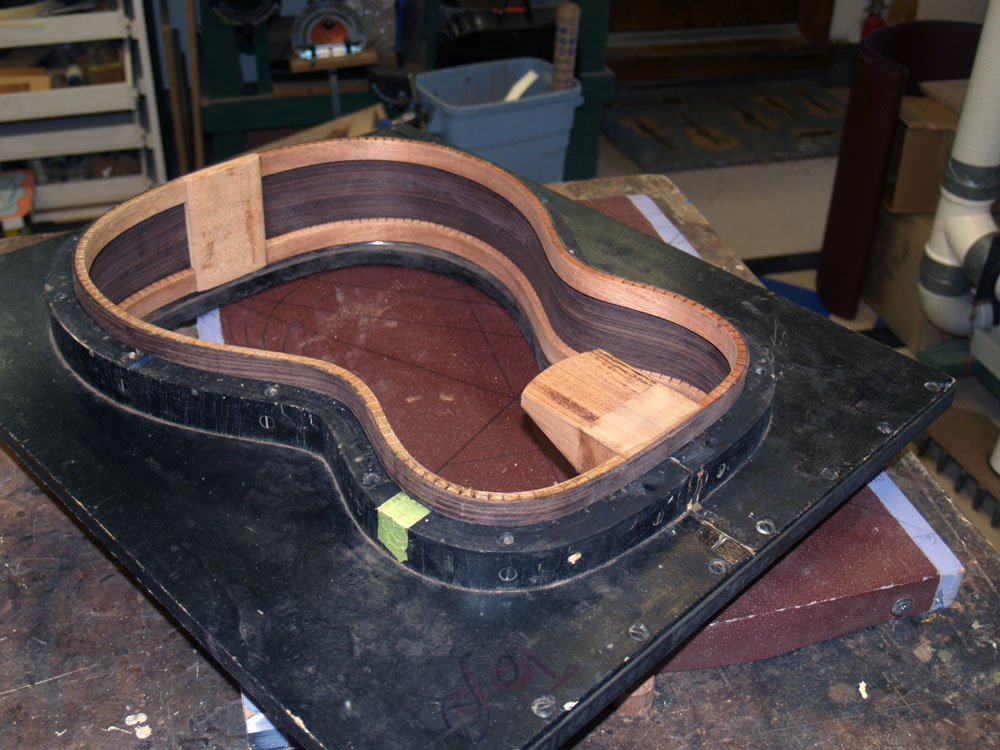
Before gluing the sides together I dry fit everything to make sure I will be happy with the outcome.
 ( 84 ) 15-Nov-2011
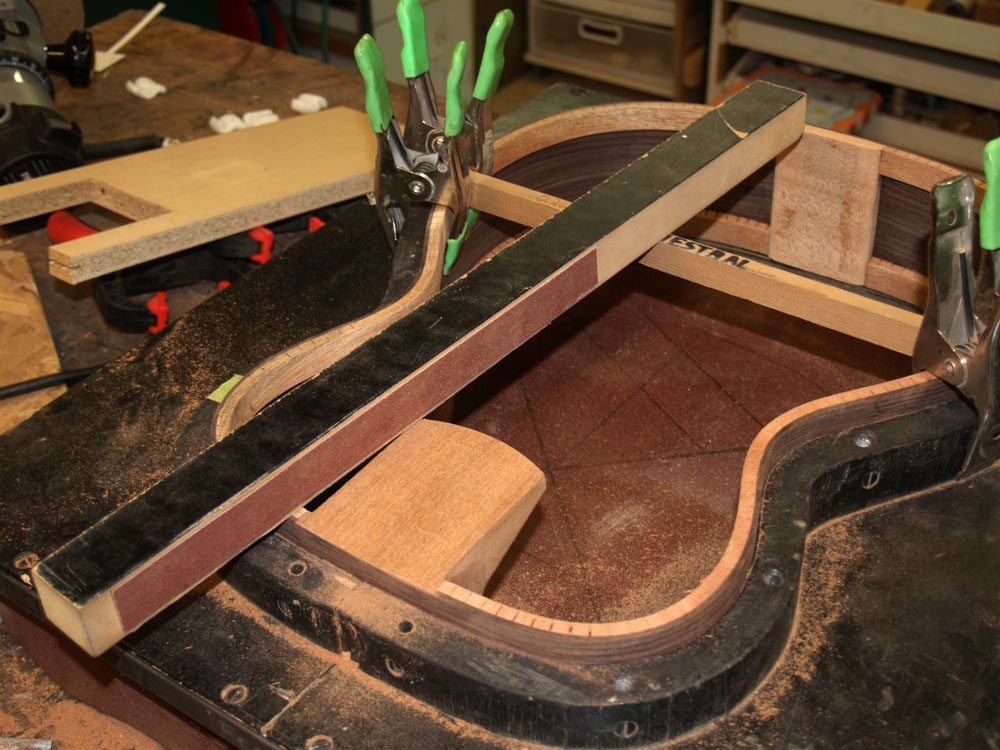
I bevel the edges of the tail block to match the kefing height. It just looks right even though no one will ever see it.
 ( 85 ) 15-Nov-2011
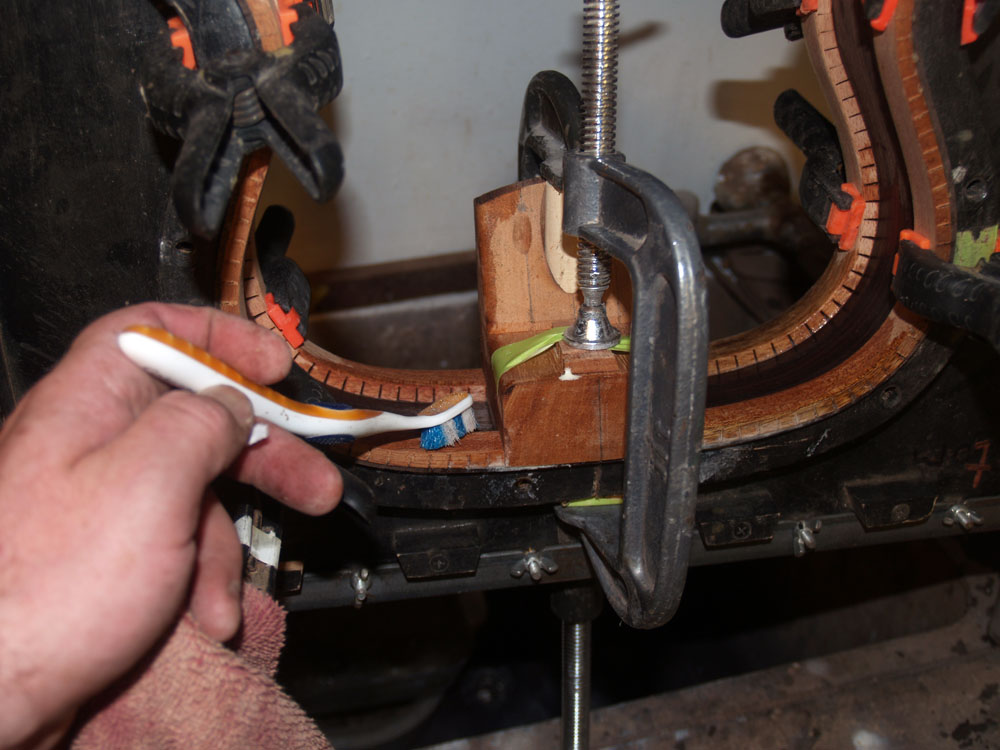
A bit of glue.
 ( 86 ) 15-Nov-2011
And the heel and tail block get glued in place.
 ( 87 ) 15-Nov-2011
While the glue is still wet I clean up the excess.
 ( 88 ) 15-Nov-2011
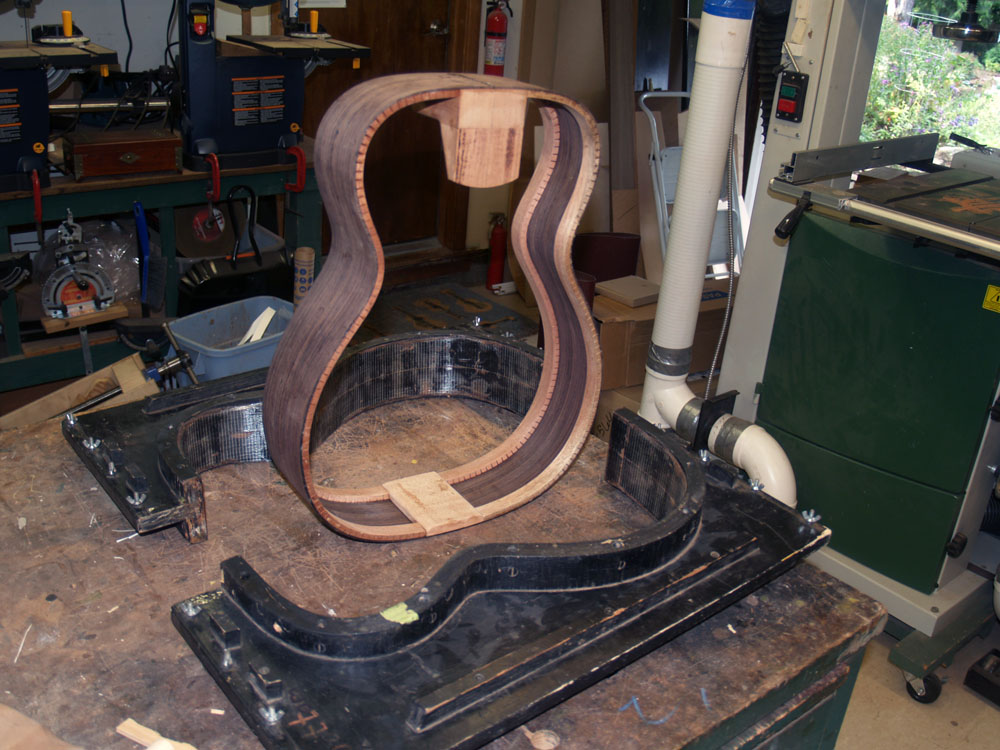
And after the glue has dried over night I pull the sides out of the form. It is starting to look like a guitar.
 ( 89 ) 15-Nov-2011
Back into the form to sand the top and bottom surfaces to shape.
 ( 90 ) 15-Nov-2011
The first thing I do is trim the heel block to the correct angle.
 ( 91 ) 15-Nov-2011
And then I mark all the surfaces. When all the marks are gone I know I am finished.
 ( 92 ) 15-Nov-2011
I use a few weight to evenly press the sides into the sanding form. The sanding forms have the shapes of the top and bottom. By passing the sides over the forms with sandpaper between them, the sides will take on the shape of the form and thus the shape of the top and back respectively.
 ( 93 ) 15-Nov-2011
I use this fixture to ensure the heel block has the right angle.
 ( 94 ) 15-Nov-2011
And I bevel the tail block to the height of the kerfing.
 ( 95 ) 15-Nov-2011
A little bit of hand sanding to clean thing up.
 ( 96 ) 15-Nov-2011
And the sides are almost finished at this stage.
 ( 97 ) 15-Nov-2011
I am going to rout out the channel for the neck attachment. In this image I am measuring the perpendicular and center line.
 ( 98 ) 15-Nov-2011
I attach the rim to a special fixture I have created that helps in the routing process.
 ( 99 ) 15-Nov-2011
I use this vertical router bit to follow the template and rout out a channel for the neck.
 ( 100 ) 15-Nov-2011
A very nice clean cut channel in the heal block.
 ( 101 ) 15-Nov-2011
I use the same fixture for the tail graft.
 ( 102 ) 15-Nov-2011
And here is the finished tail graft channel.