 ( 24 ) 12-Sept-2011
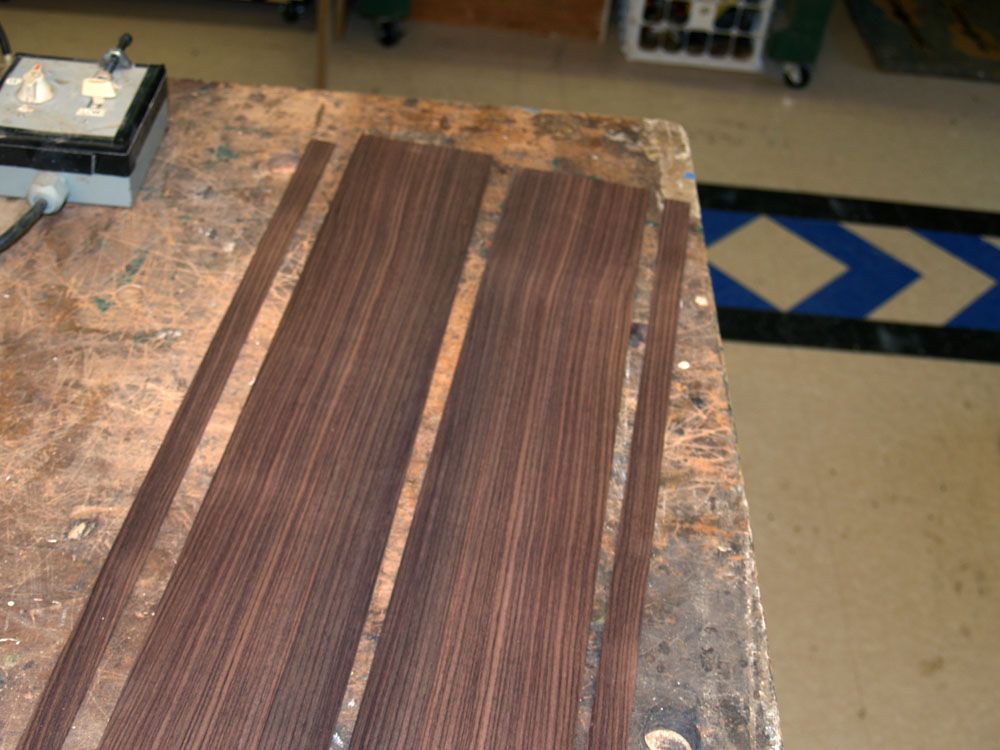
I start working on the sides by trimming off about 3/4 of an inch from each side piece. I will use the trimmed pieces for the binding on another guitar.
( 24 ) 12-Sept-2011
I start working on the sides by trimming off about 3/4 of an inch from each side piece. I will use the trimmed pieces for the binding on another guitar.
 ( 25 ) 12-Sept-2011
Here I am using a template to help orient the two side pieces.
 ( 26 ) 12-Sept-2011
Here you can see the heating blanket I use to heat the side pieces. When wood is heated the lignins that bind the cells of the wood together becomes soft and pliable.
 ( 27 ) 12-Sept-2011
I use a few pieces of aluminum flashing to sandwich the wood together with the heating blanket. The holes in the top piece of flashing let me squirt water onto the wood as it is being heated. The water helps to make the wood pliable and prevent the wood from being scorched.
 ( 28 ) 12-Sept-2011
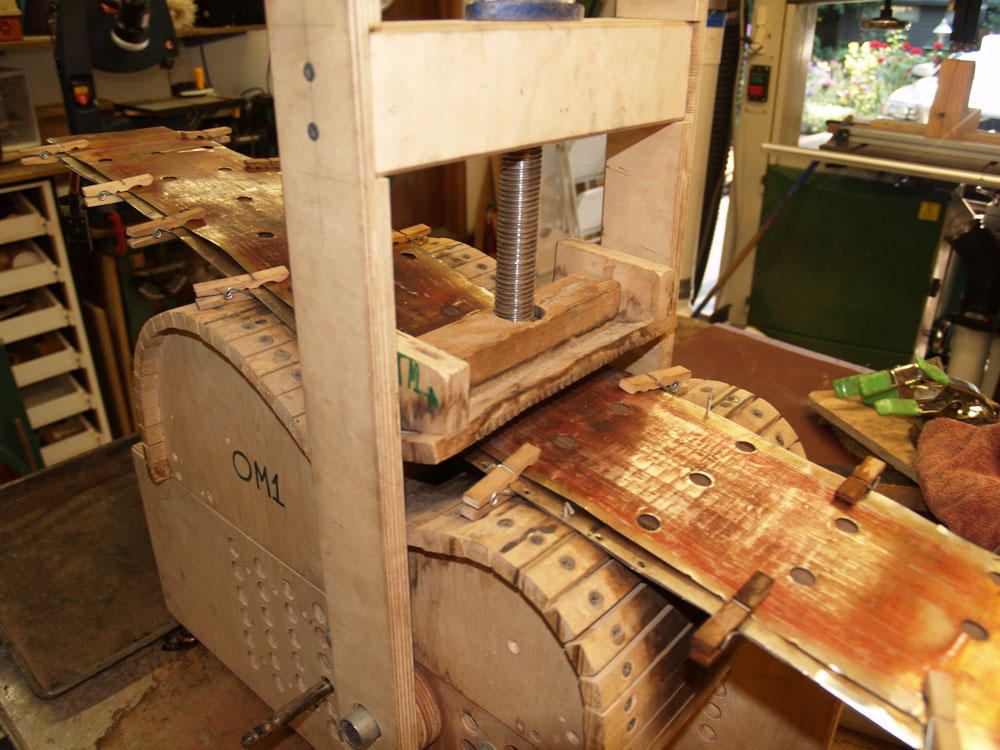
I place the heating blanket sandwich into the bending machine and place the bending shoe into the waist position.
 ( 29 ) 12-Sept-2011
I turn the heater on and let the wood cook for a while. The water keeps the wood from exceeding 212 degrees. You can see that the wood is already becoming pliable as its own weight bends it over the form. The candy thermometer gives me a quick check on the temperature.
 ( 30 ) 12-Sept-2011
After the wood has become soft I press the bending shoe into the waist.
 ( 31 ) 12-Sept-2011
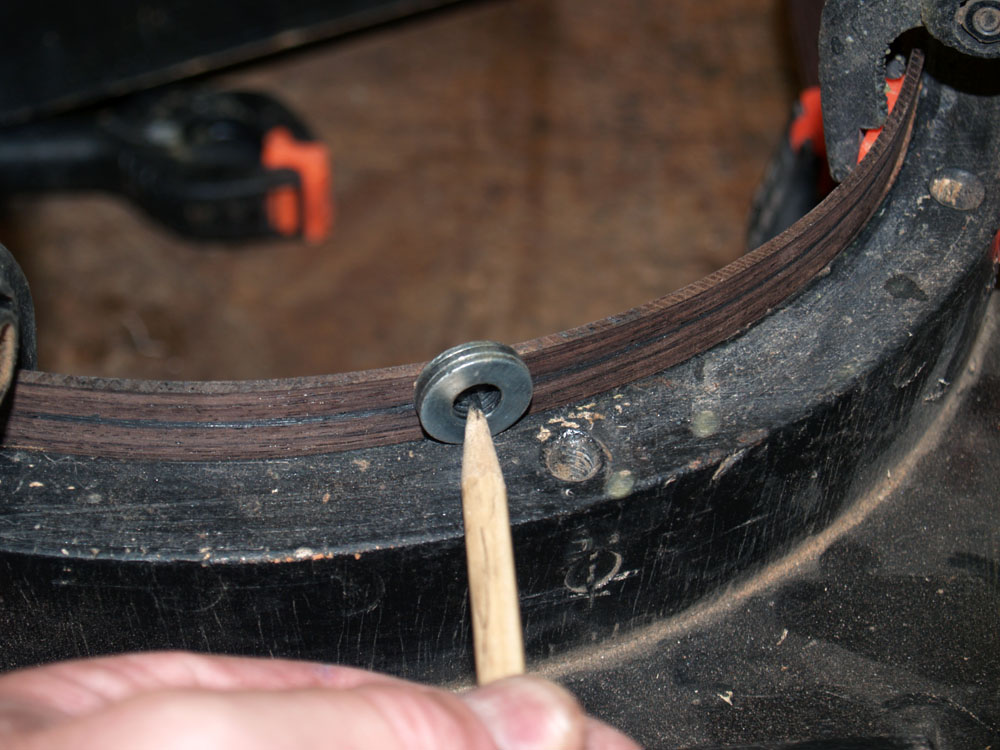
Then I put the upper bout roller in place. The springs pull the roller into the form.
 ( 32 ) 12-Sept-2011
I carefully pull the roller over the form, working the wood into shape. If everything works according to plan I won't hear any cracking sounds. Cracking sounds are very bad!
 ( 33 ) 12-Sept-2011
I pull the roller completely over the upper bout.
 ( 34 ) 12-Sept-2011
After the upper bout I do the same thing for the lower bout. Here you can see me squirting water onto the wood.
 ( 35 ) 12-Sept-2011
Forcing the wood into shape.
 ( 36 ) 12-Sept-2011
And the lower bout takes shape.
 ( 37 ) 12-Sept-2011
After the wood has taken shape I remove the top piece of flashing to allow the wood to dry out. I will cook the wood at a moderate temperature for about an hour until it has completely dried out and has set into shape.
 ( 38 ) 12-Sept-2011
When I take the wood out of the form it holds it shape.
 ( 39 ) 12-Sept-2011
I put the bent wood into its side form and repeat the bending process for the second side.
 ( 40 ) 12-Sept-2011
I use the side form as a guide to mark the outline of the side onto the bent piece of wood. In this picture I am using rolling spacer to add a little extra width to the side.
 ( 41 ) 12-Sept-2011
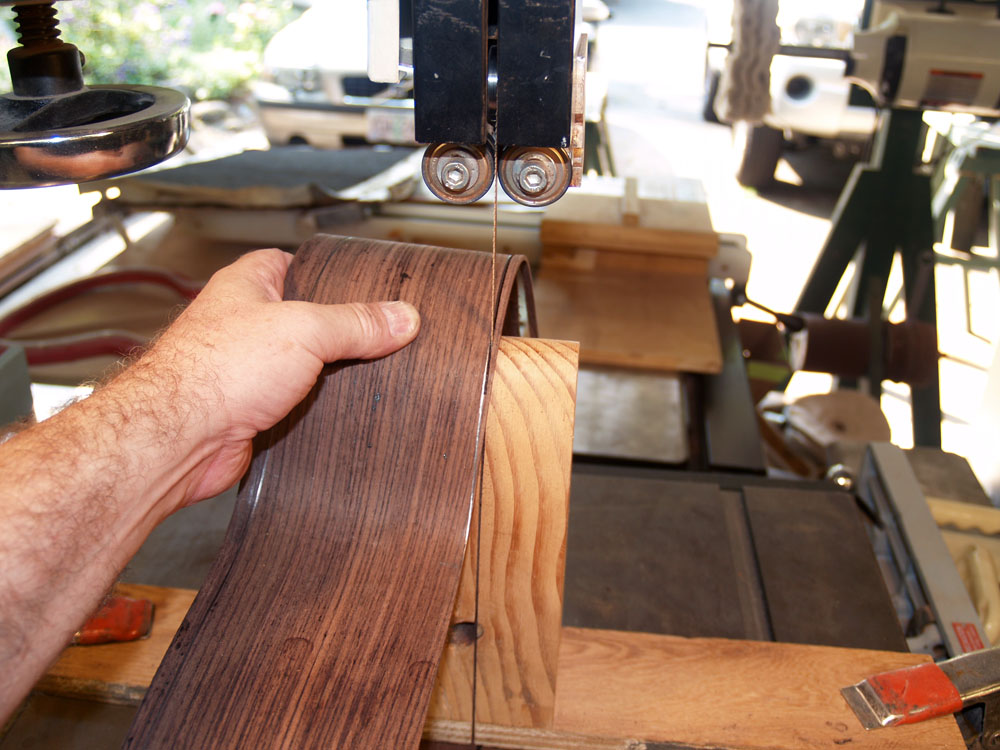
After I have very carefully outlined the side onto the bent pieces of wood I trim off the excess using my bandsaw ( I love my bandsaw). The elevated anvil helps support the wood as I cut this very funny shaped piece of wood.
 ( 42 ) 12-Sept-2011
After trimming both side pieces to shape I sand the inside surfaces.
 ( 43 ) 12-Sept-2011
The trimmed side pieces then go back into the side forms and I mark off where the edges of the heel and tail blocks will fall.
 ( 44 ) 12-Sept-2011
I mask off the area for the heal and tail blocks. When I glue the kerfing into place the masking tape will make it easy to remove the kerfing in these areas.
 ( 45 ) 12-Sept-2011
I bend the kerfing using the same process that I used for the side pieces.
 ( 46 ) 12-Sept-2011
I use a glue roller to spread the glue on the inside surface of the kerfing.
 ( 47 ) 12-Sept-2011
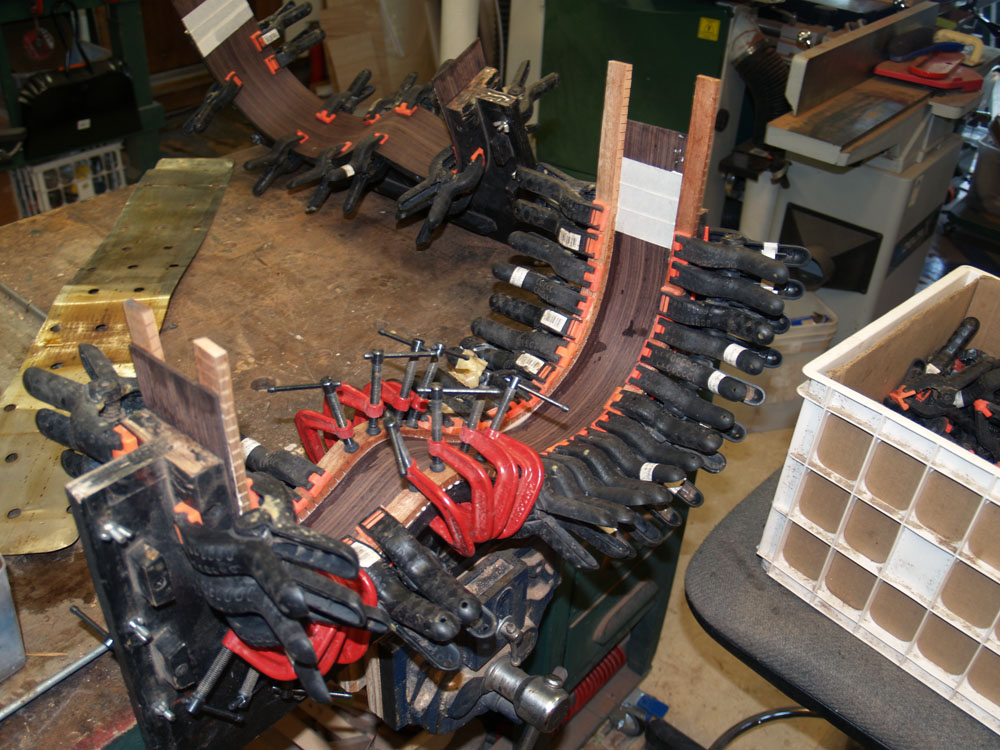
I then install the kerfing onto the side piece using lots of clamps. The C-clamps allowing me to apply a bit of extra pressure to help assure the kerfing makes good contact with the sides. Since the kerfing is made from a straight piece of mahogany and the edges of the side pieces are anything but straight, I have to bend the kerfing a bit to make it follow the outline of the sides.
 ( 48 ) 12-Sept-2011
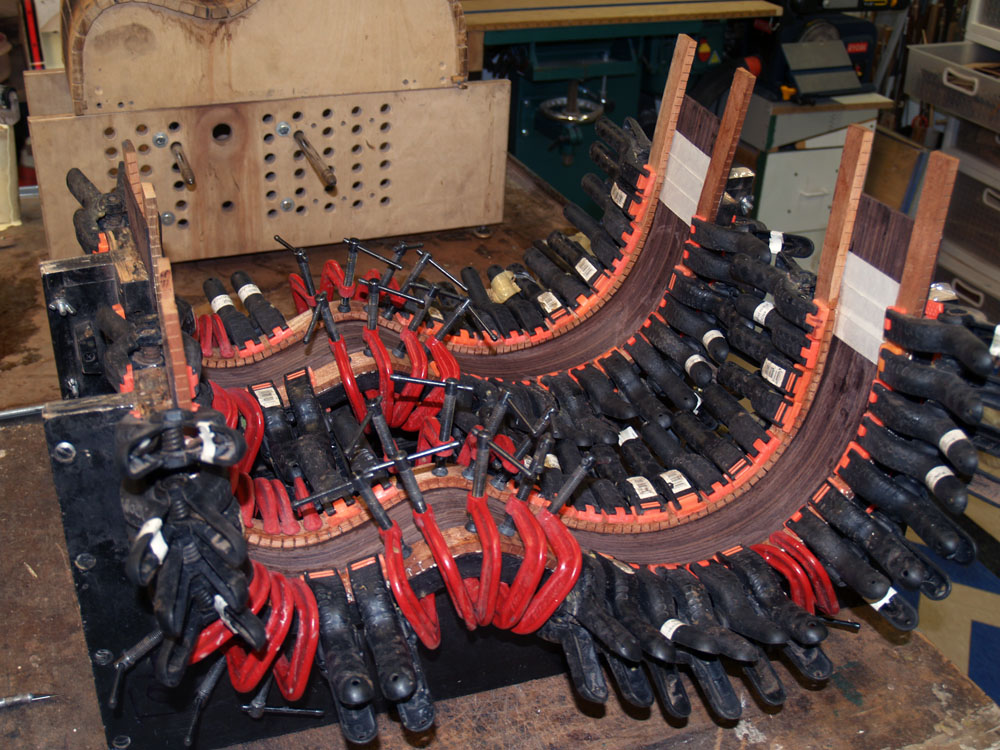
I do the same thing for the second piece of kerfing. I have lots and lots of clamps.
 ( 49 ) 12-Sept-2011
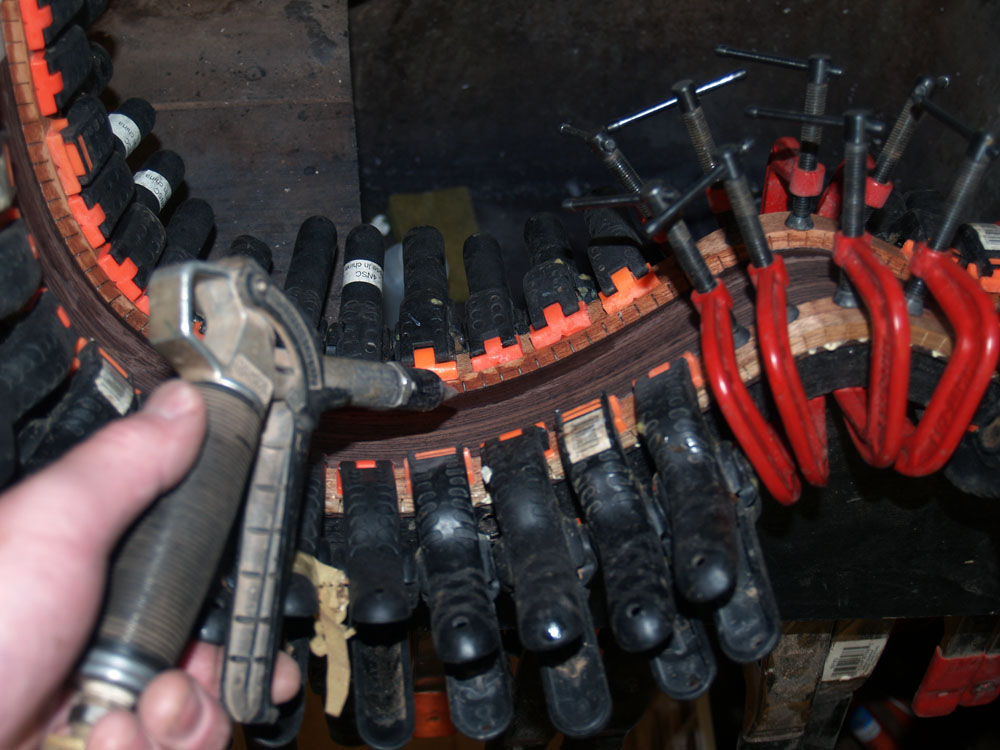
As the kerfing is pressed into place the excess glue gets squeezed out, so I use a toothbrush to clean it up.
 ( 50 ) 12-Sept-2011
Finally I use my air gun to blow out the excess glue from in between the kerfing blocks.
 ( 51 ) 12-Sept-2011
I repeat the process for the second side and then let the assemblies dry over night.
 ( 52 ) 12-Sept-2011
And in the morning I remove all of the clamps and pop the sides out of their forms.
 ( 53 ) 12-Sept-2011
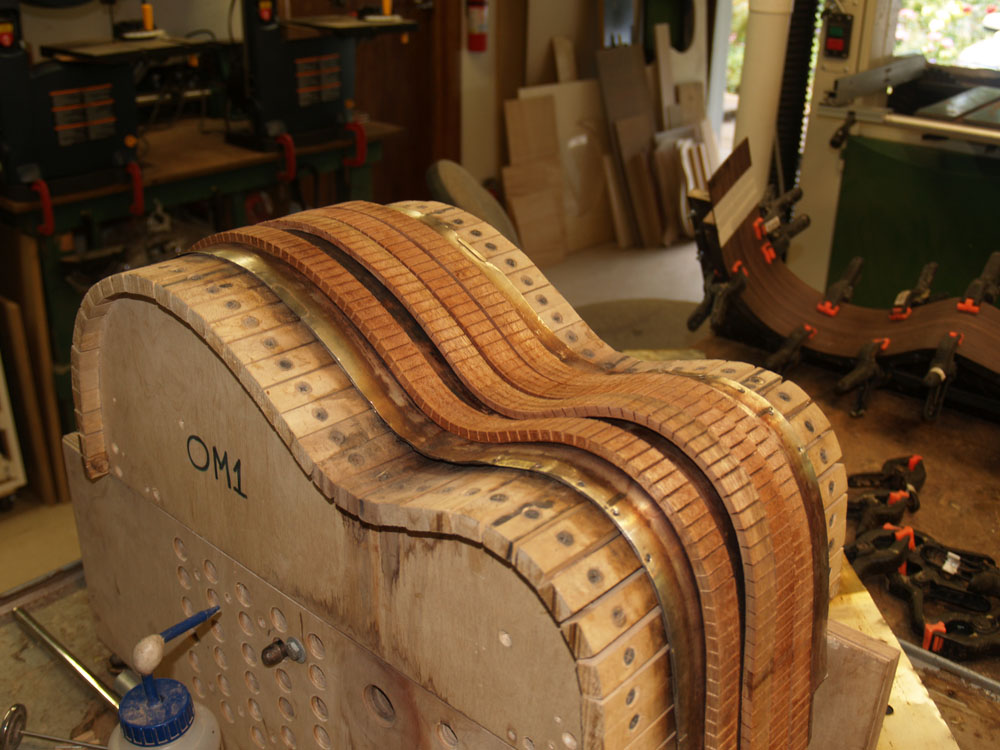
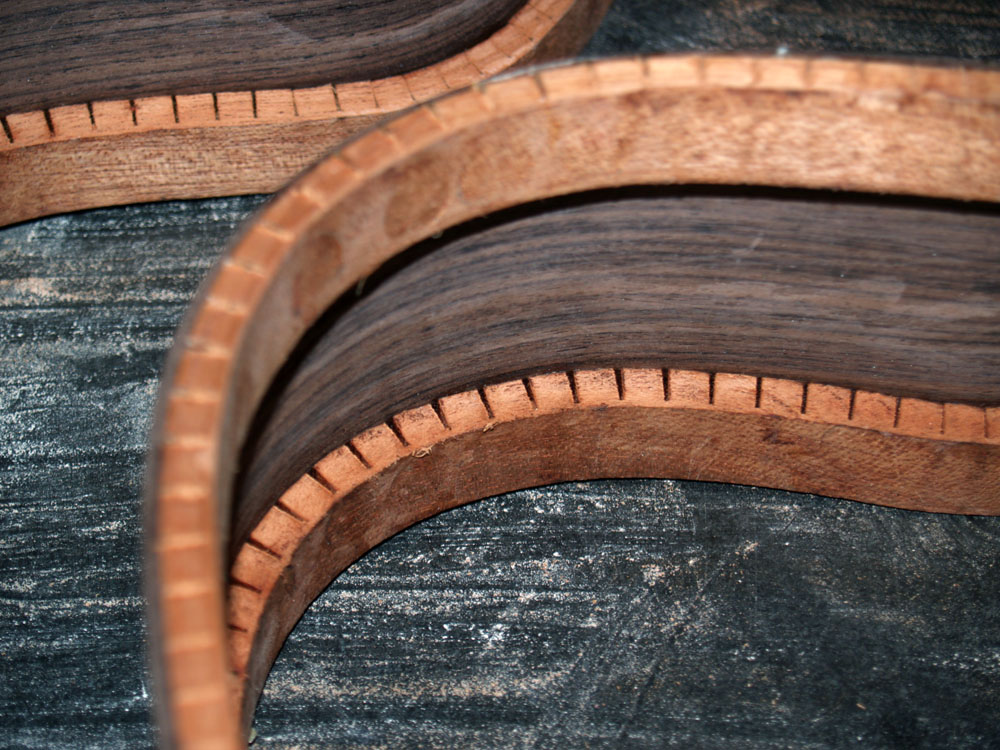
Here is a close up view of the installed kerfing. I use a reverse kerfing in my guitars. This means that a solid piece of wood is situated on the outer side of the kerfing blocks. This creates a gunnel structure that results in a very strong and stiff side piece.
 ( 54 ) 12-Sept-2011
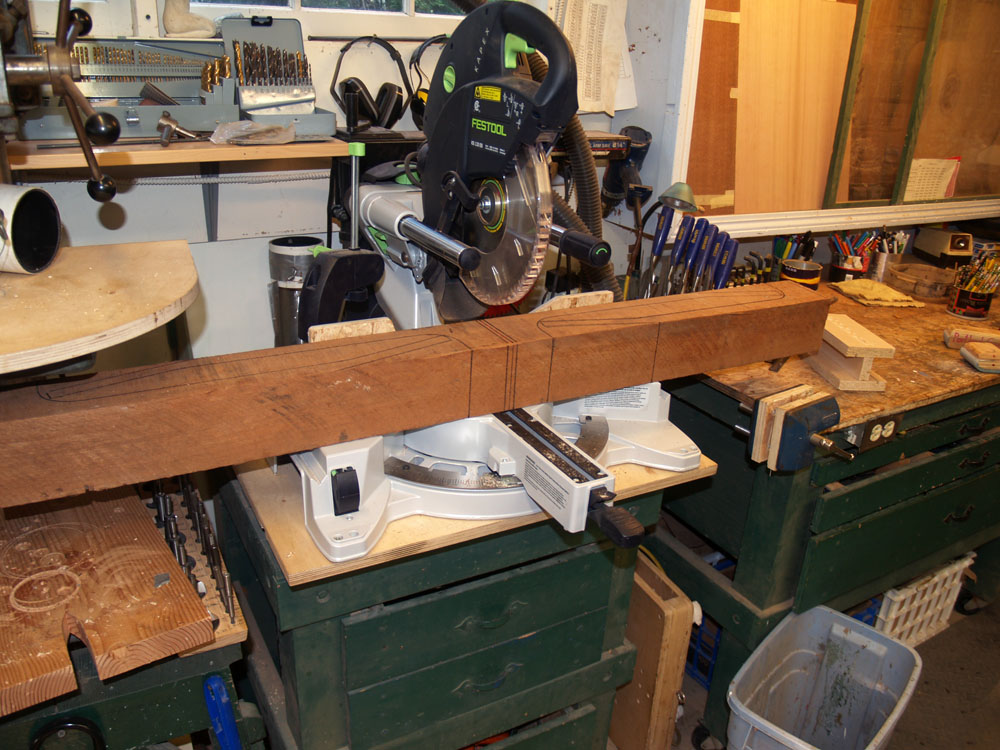
Changing directions, I turn my attention to making a neck blank. I like to make the neck blank long before I will need it so that the wood will have a chance to set. I make my necks from a solid piece of mahogany. Even though the wood is well dried, there may be internal stresses in the stock piece from which the blank is cut. When the neck blank is cut to shape from the raw stock, the internal stresses my cause it to warp. I want to let all the warping to happen before I carve the neck from the neck blank. Here I am using my miter saw to cut the raw block to length.
 ( 55 ) 12-Sept-2011
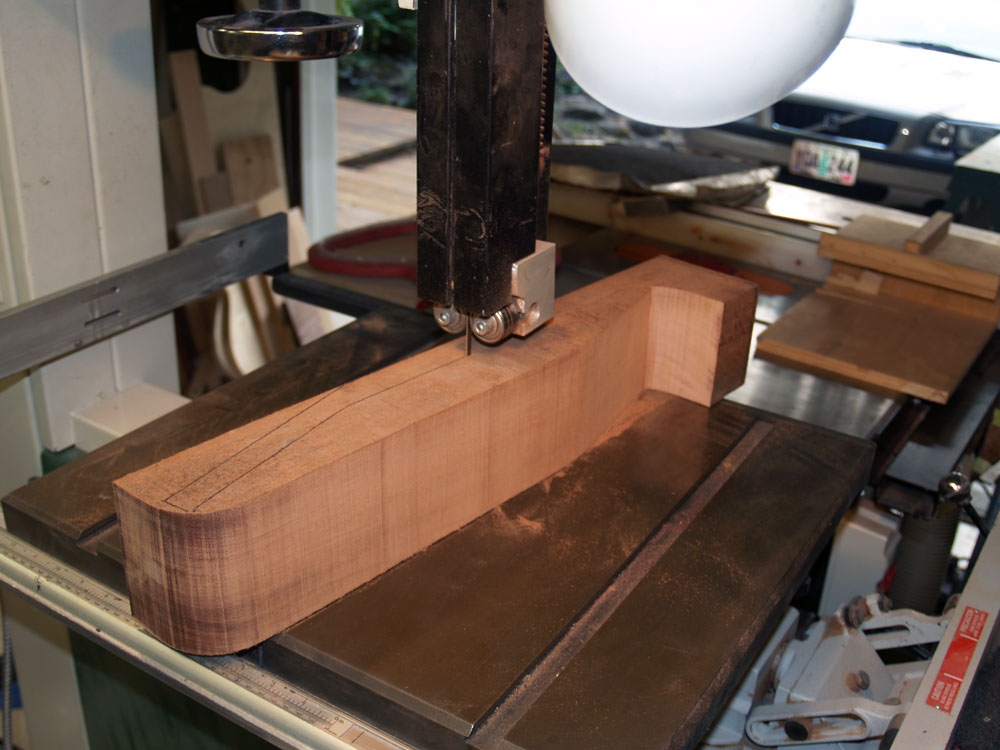
I use my bandsaw (did I mention that I love my bandsaw) to cut out the neck blank from the raw block. By nesting the pieces, I get two neck blanks from each raw block. I will use the excess wood to make the heel blocks. I try to never waste any wood if I can help it. I feel that I have a duty to respect the wood and the forests that it come from by using every piece possible.
 ( 56 ) 12-Sept-2011
And finally I end up with a piece of mahogany that is in the rough shape of a neck. This will be set aside to allow it to anneal.