 ( 260 ) 9-June-2012
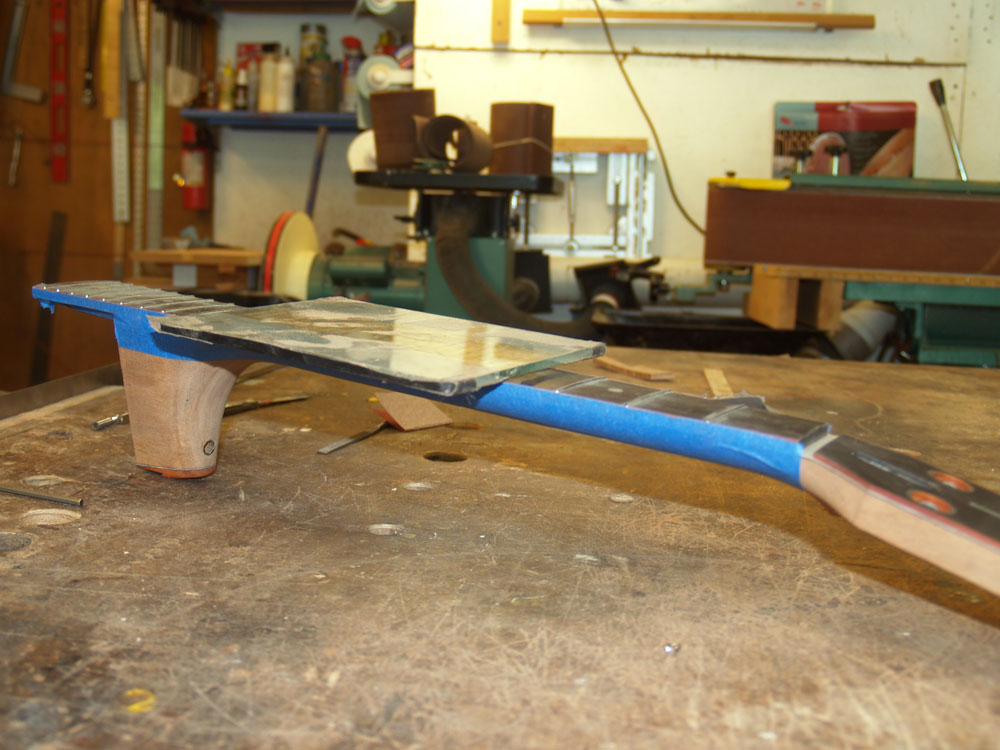
In this picture I am using a diamond honing plate mounted on glass to level the frets.
( 260 ) 9-June-2012
In this picture I am using a diamond honing plate mounted on glass to level the frets.
 ( 261 ) 9-June-2012
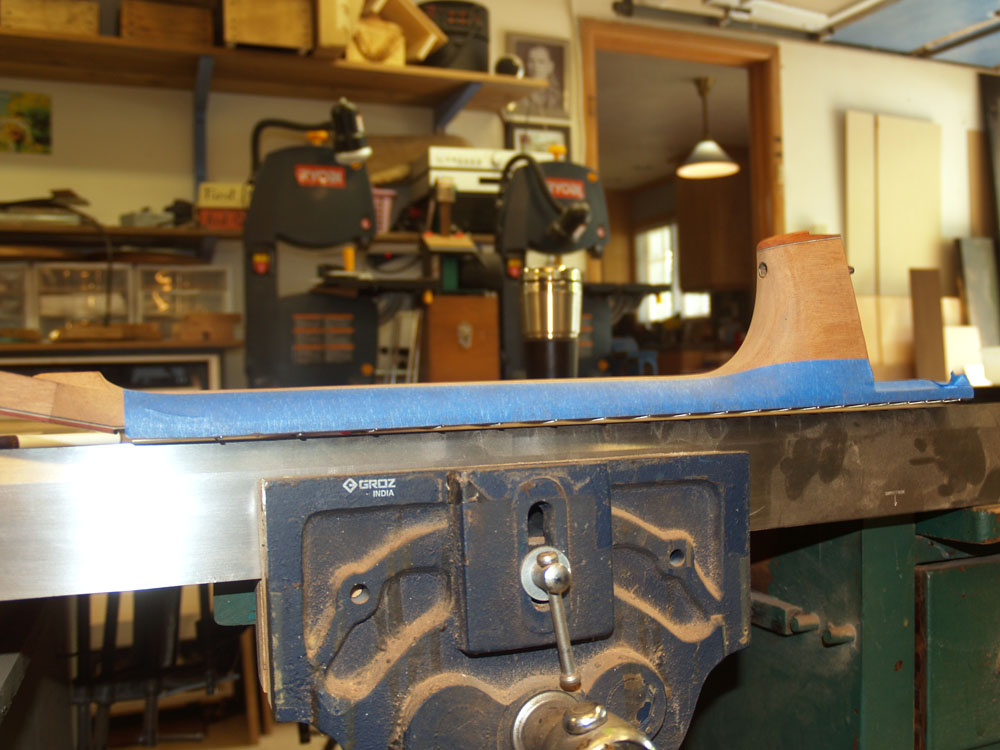
I use my straight edge to check how level the frets are.
 ( 262 ) 9-June-2012
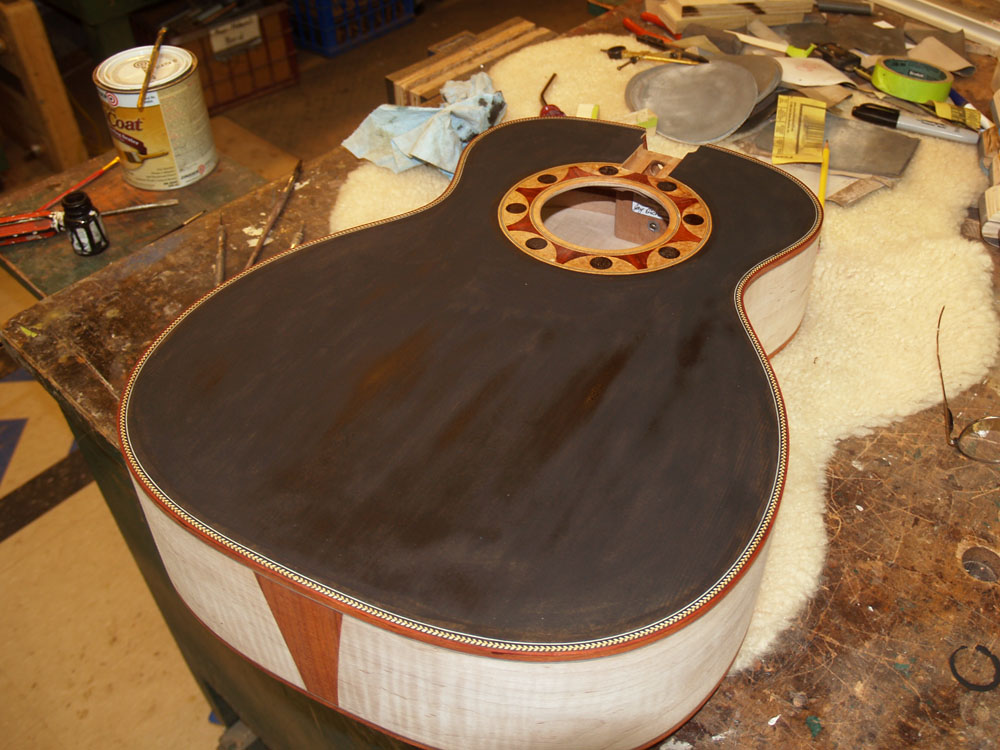
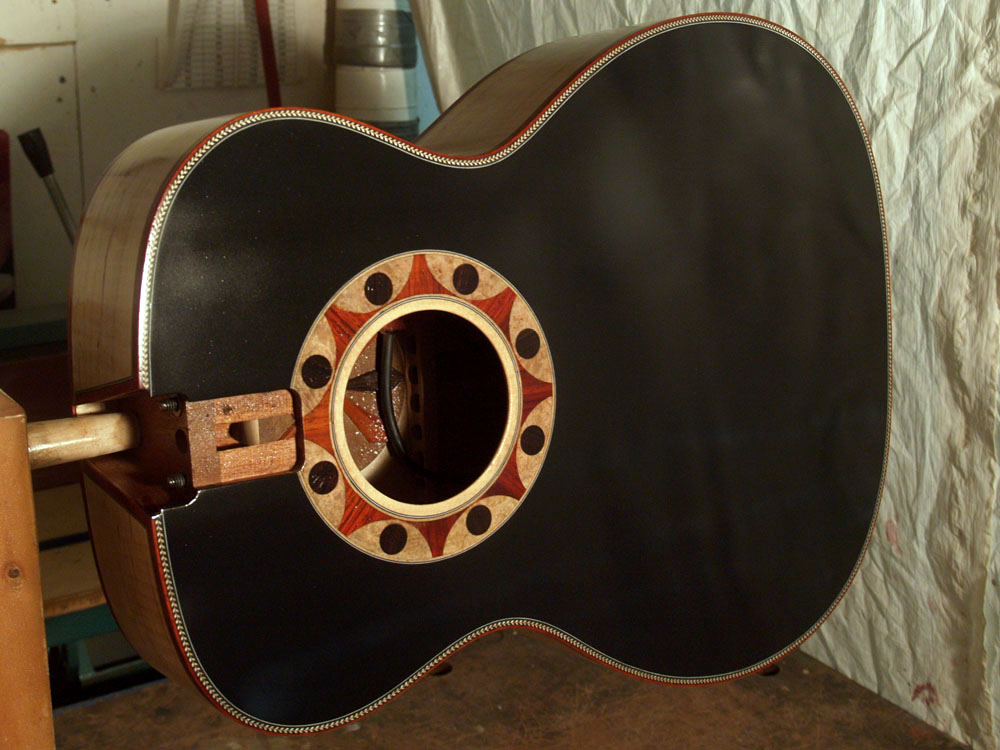
To paint the top black I masked off the purfling and sprayed the top black.
 ( 263 ) 9-June-2012
Here I am setting up my spray booth to apply the lacquer.
 ( 264 ) 9-June-2012
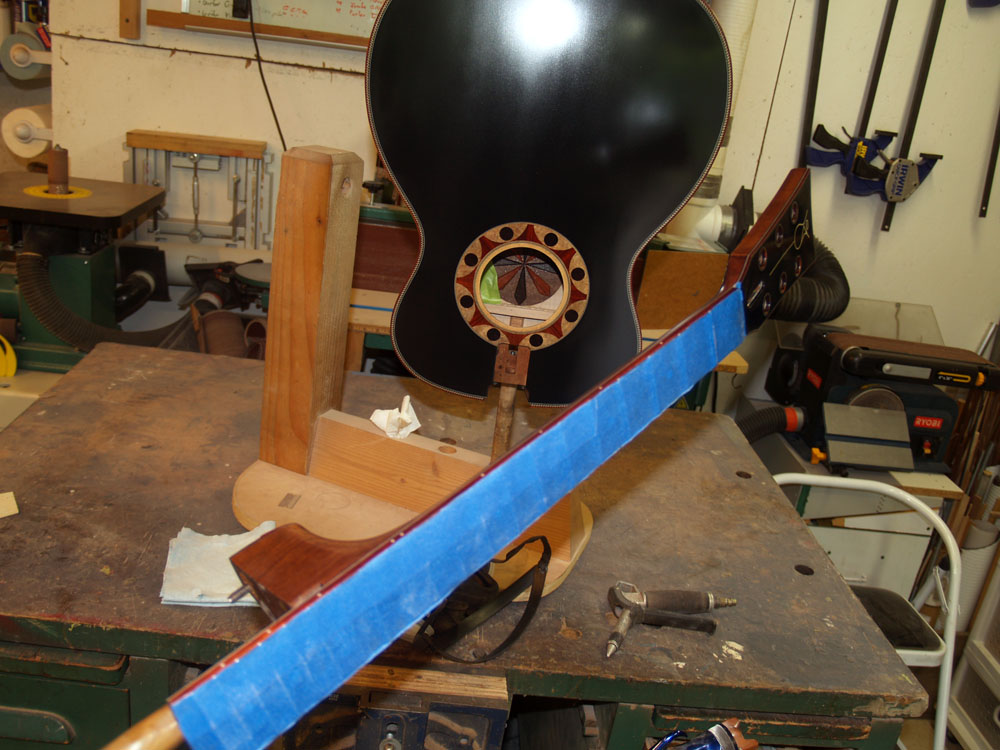
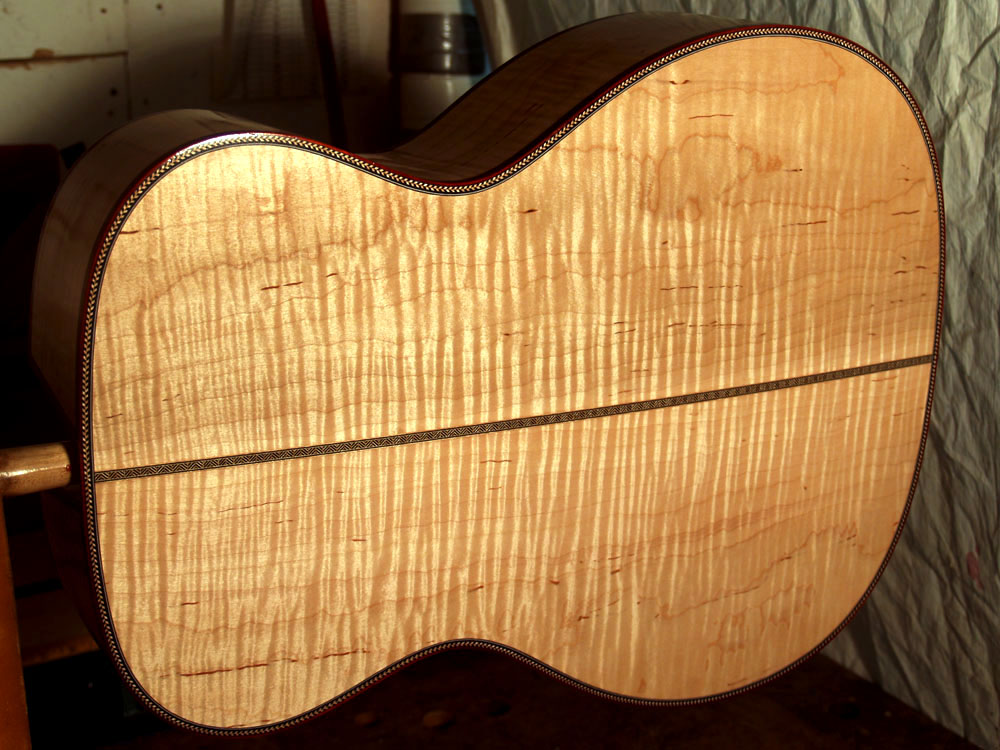
The flame on the back really pops out when the lacquer is applied.
 ( 265 ) 9-June-2012
I mount the body on a special fixture that lets me rotate it for easy access.
 ( 266 ) 9-June-2012
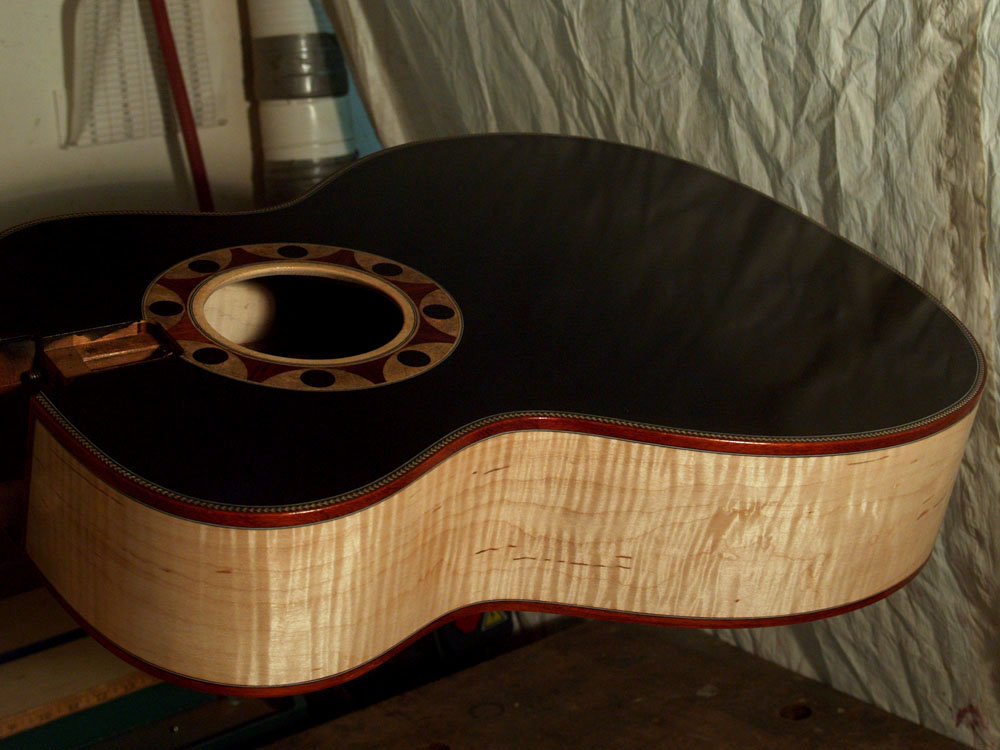
The side gets a nice pop too.
 ( 267 ) 9-June-2012
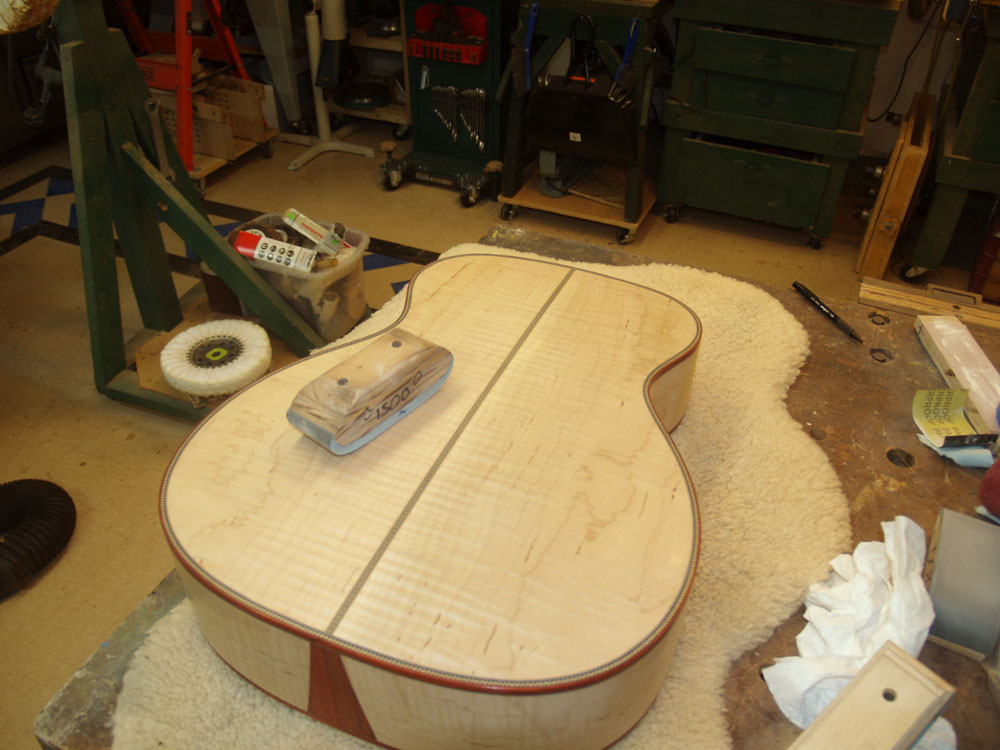
Once the lacquer is applied I let it cure for a week or so. In the mean time I make the bridge.
 ( 268 ) 9-June-2012
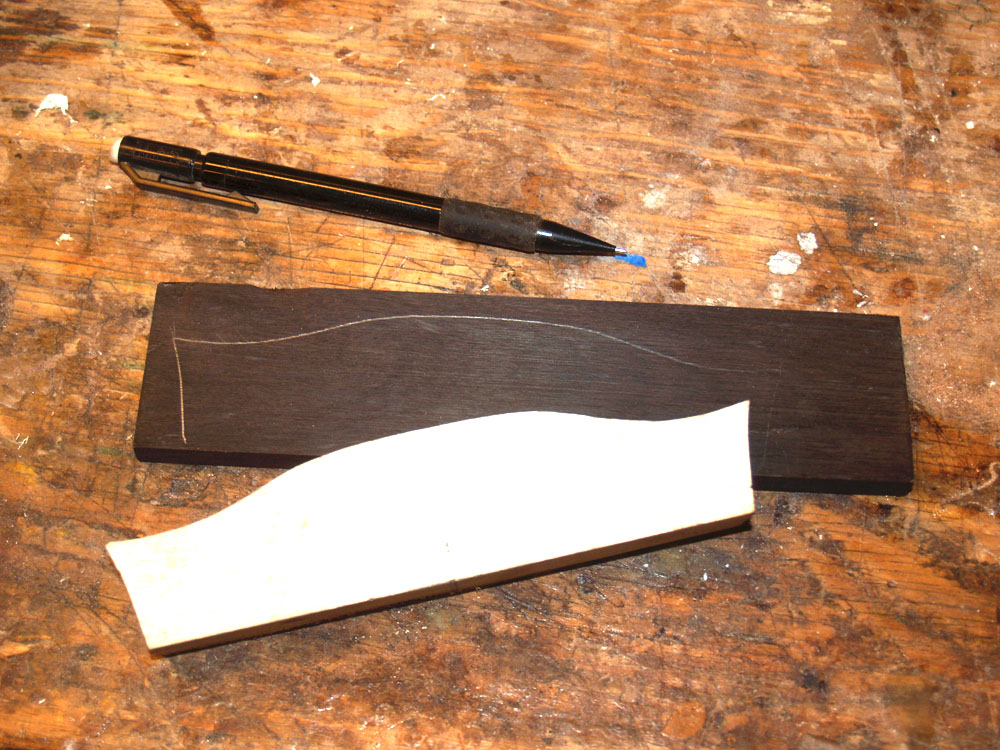
I use the bandsaw to cut it out of the bridge blank.
 ( 269 ) 9-June-2012
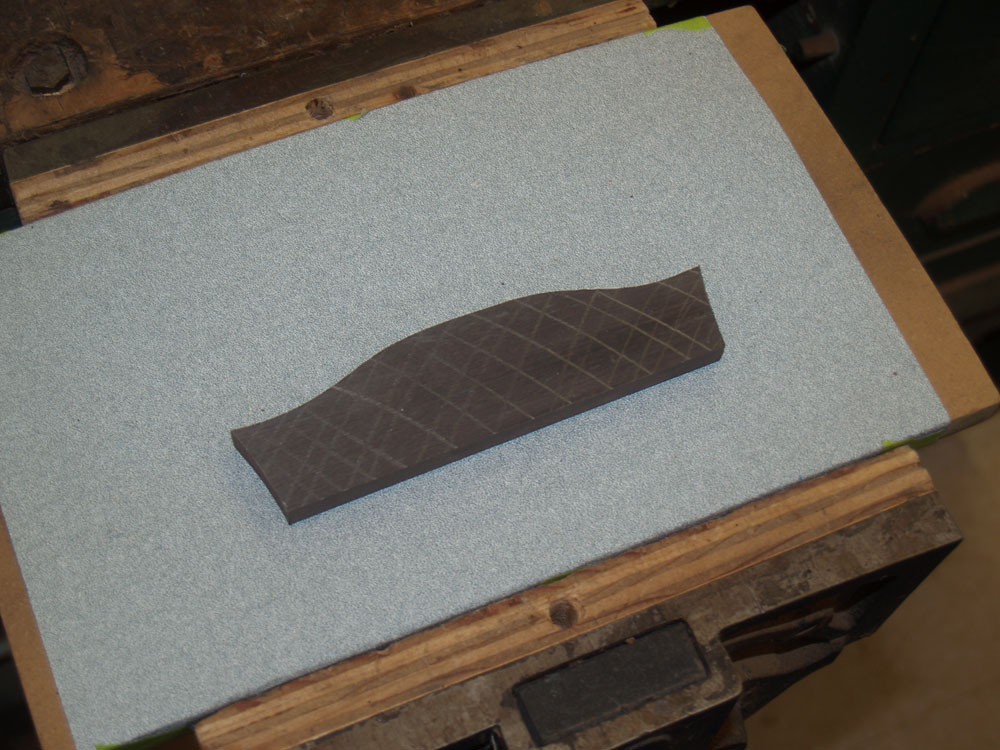
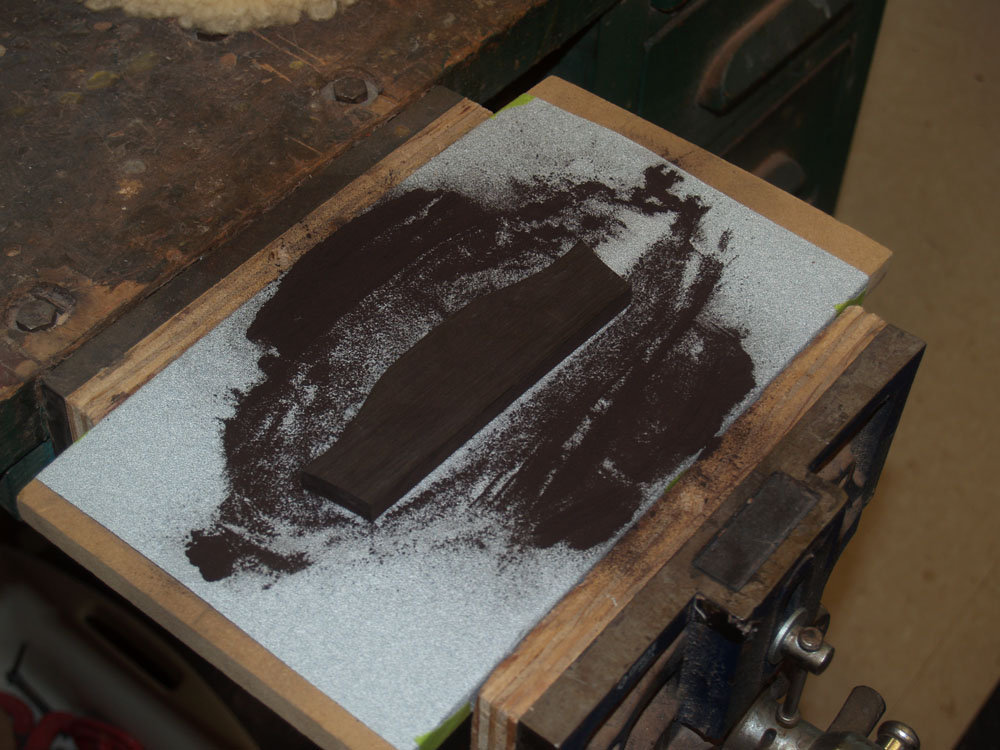
The back of the bridge has to match the curve of the top. I use this form with a piece of sandpaper mounted on it to sand the bottom of the bridge. I mark the bottom with pencil, and when the pencil is all sanded away I know I have a good fit.
 ( 270 ) 9-June-2012
It takes a bit of work and I make a lot of sawdust.
 ( 271 ) 9-June-2012
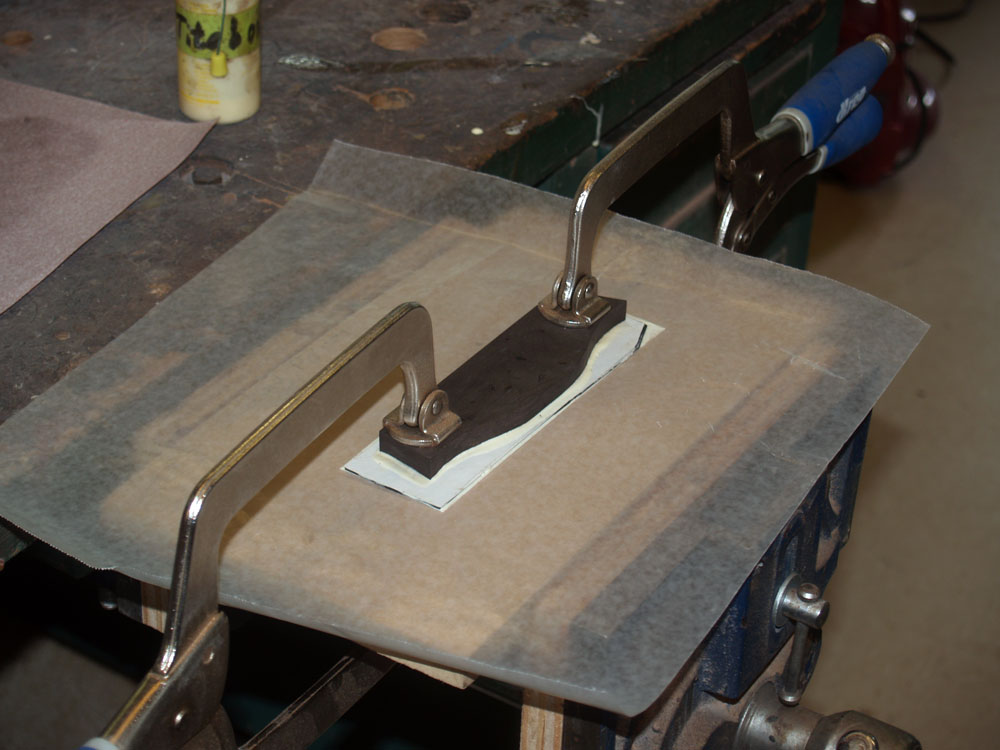
To create the pinstripe on the bottom of the bridge I glue three layers of fiber board to the bottom.
 ( 272 ) 9-June-2012
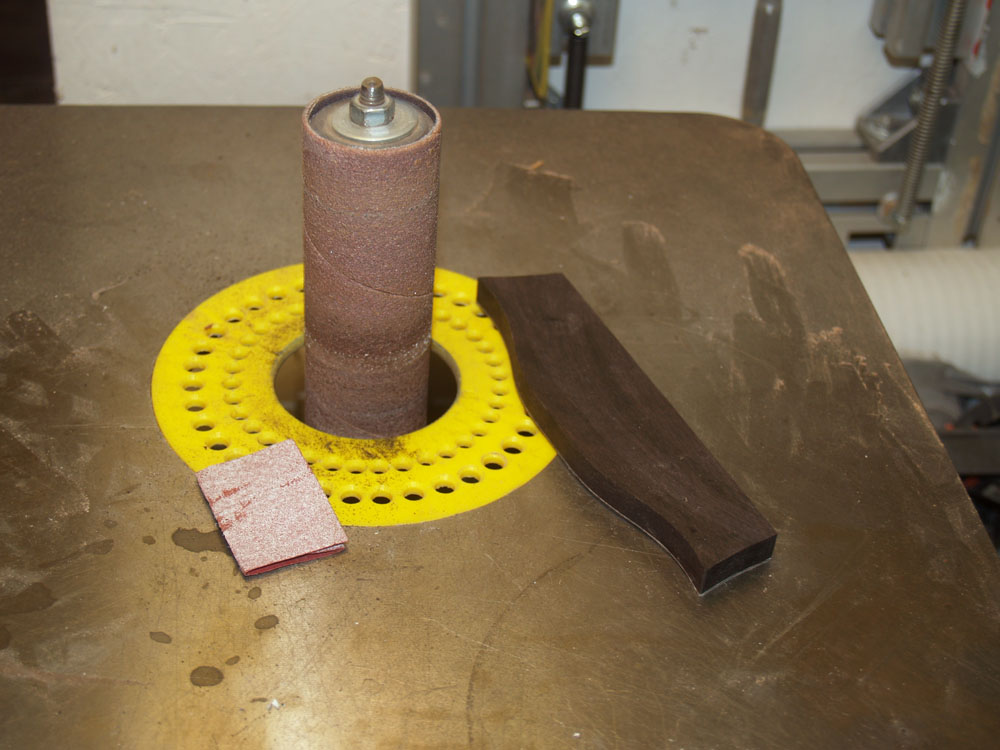
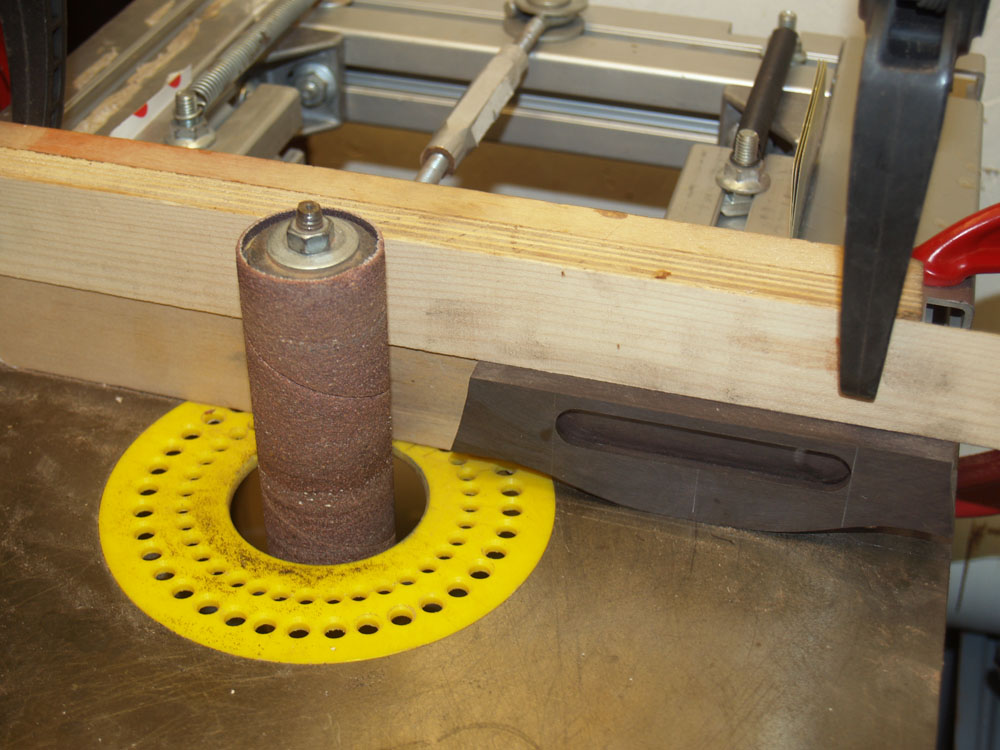
My oscillating sander trims up the sides.
 ( 273 ) 9-June-2012
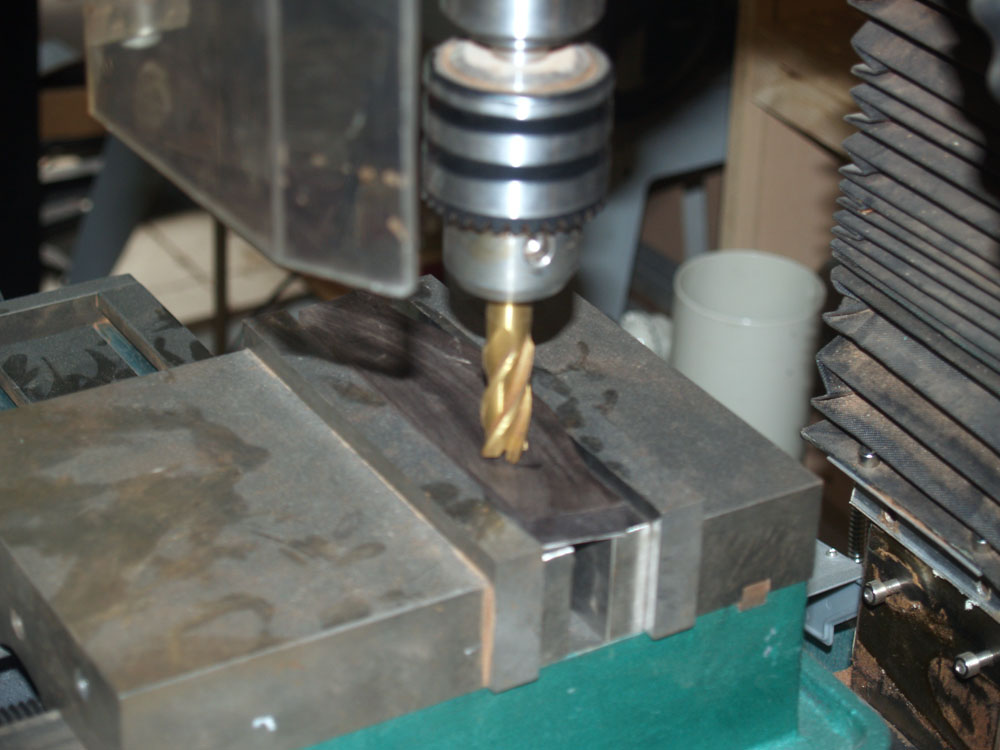
I use the milling machine to route out the saddle channel.
 ( 274 ) 9-June-2012
The oscillating sander is used again to create the wings.
 ( 275 ) 9-June-2012
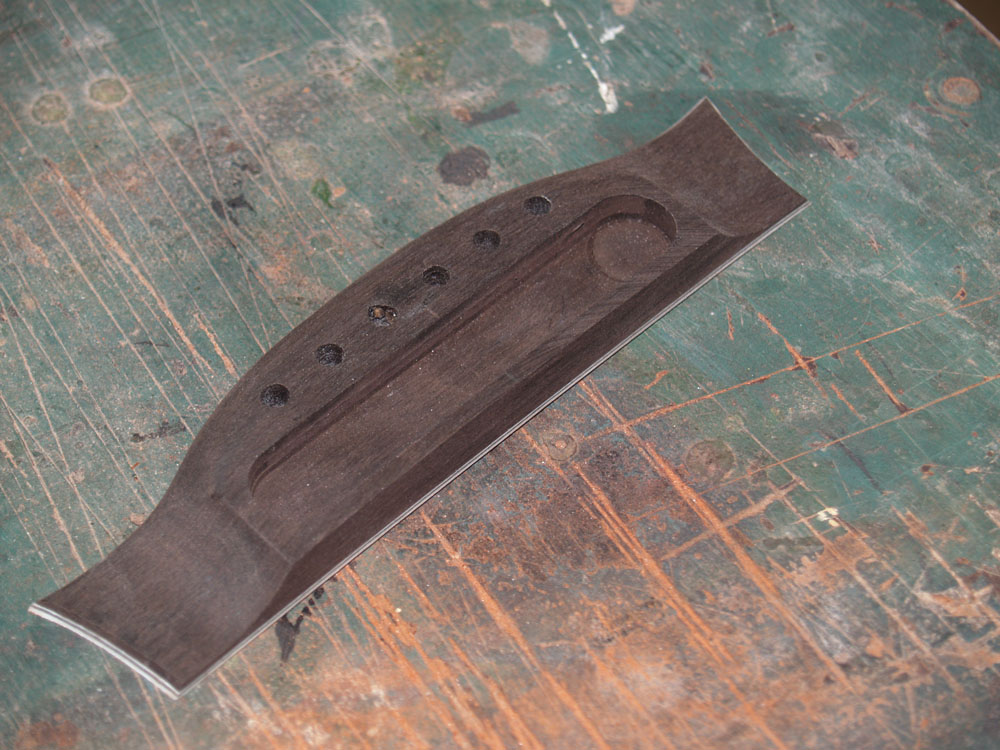
And finally I drill the holes for the bridge pins.
 ( 276 ) 9-June-2012
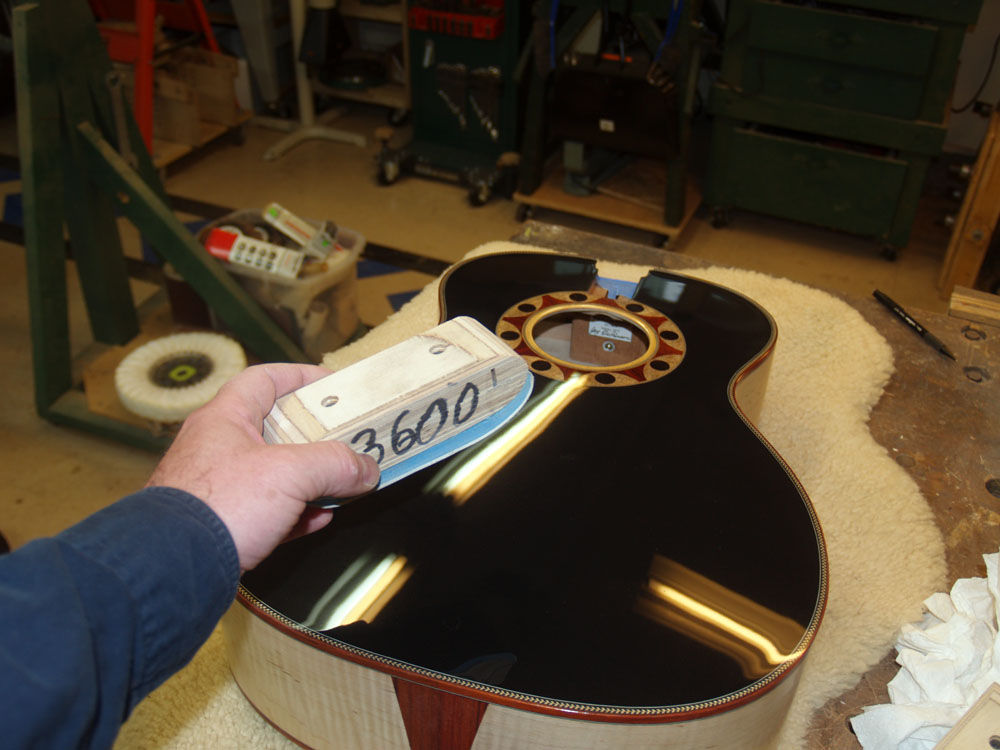
A week has passed and I put some elbow grease into bringing out the shine.
 ( 277 ) 9-June-2012
I use a progressive set of sanding blocks to get to the shine.
 ( 278 ) 9-June-2012
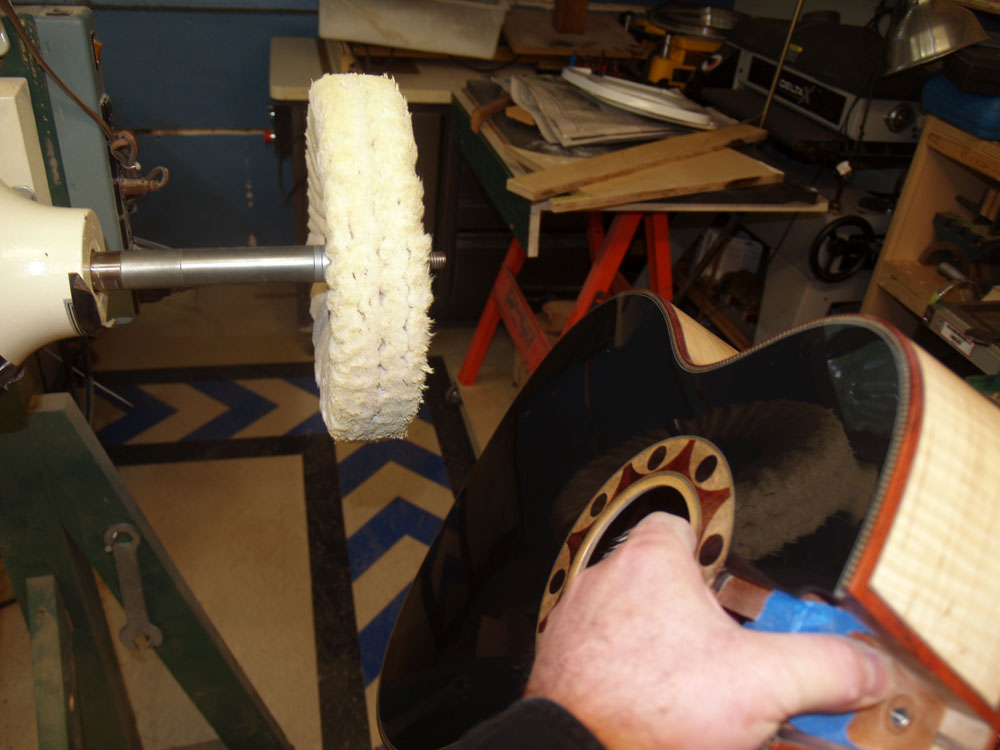
Finally I use the buffing machine to finish up.
 ( 279 ) 9-June-2012
The neck has lots of curves.
 ( 280 ) 9-June-2012
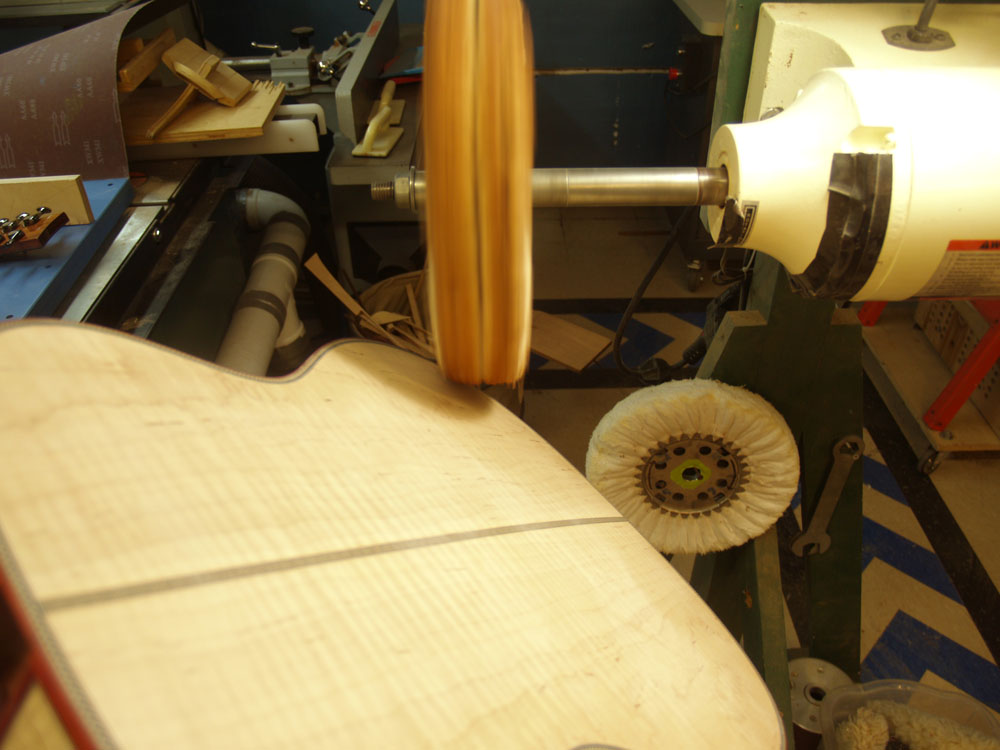
The buffing wheel makes easy work of the final steps.
 ( 281 ) 9-June-2012
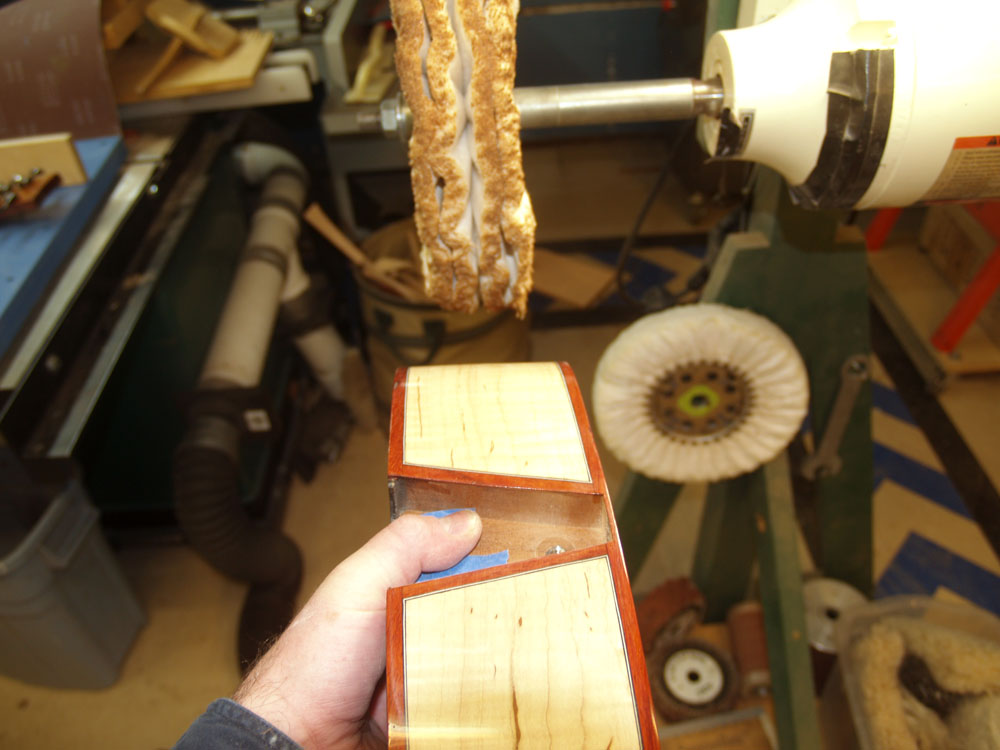
The sides take special care.
 ( 282 ) 9-June-2012
In this picture I have positioned the bridge in its proper place.
 ( 283 ) 9-June-2012
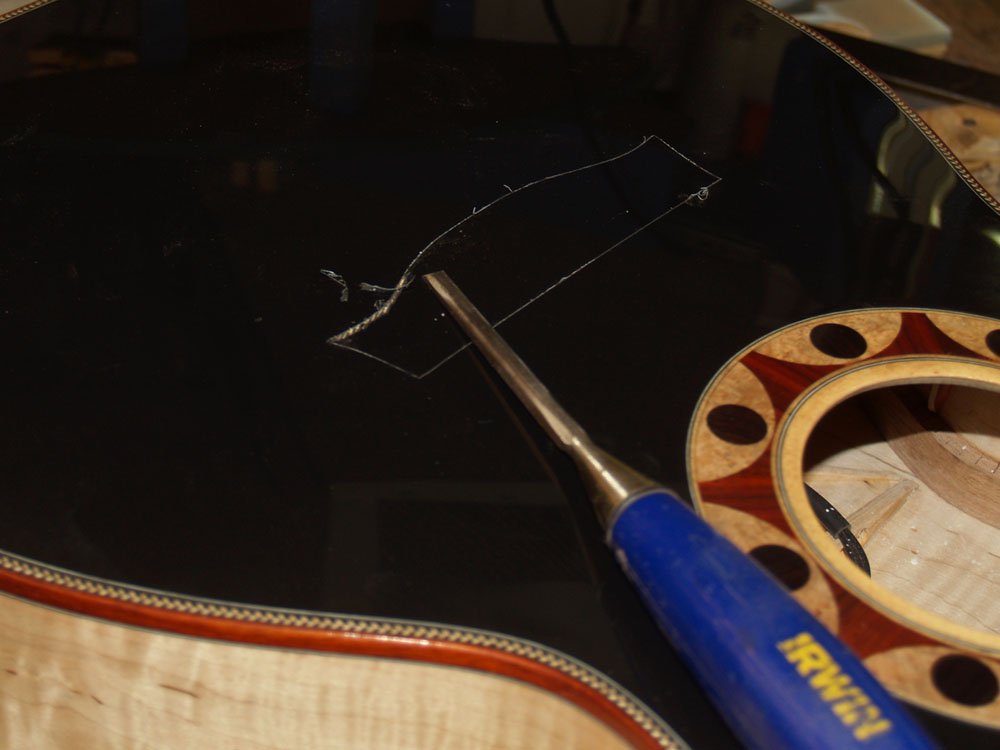
I use a sharp Exacto blade to score the outline of the bridge into the top.
 ( 284 ) 9-June-2012
And then I use a chisel to remove the lacquer.
 ( 285 ) 9-June-2012
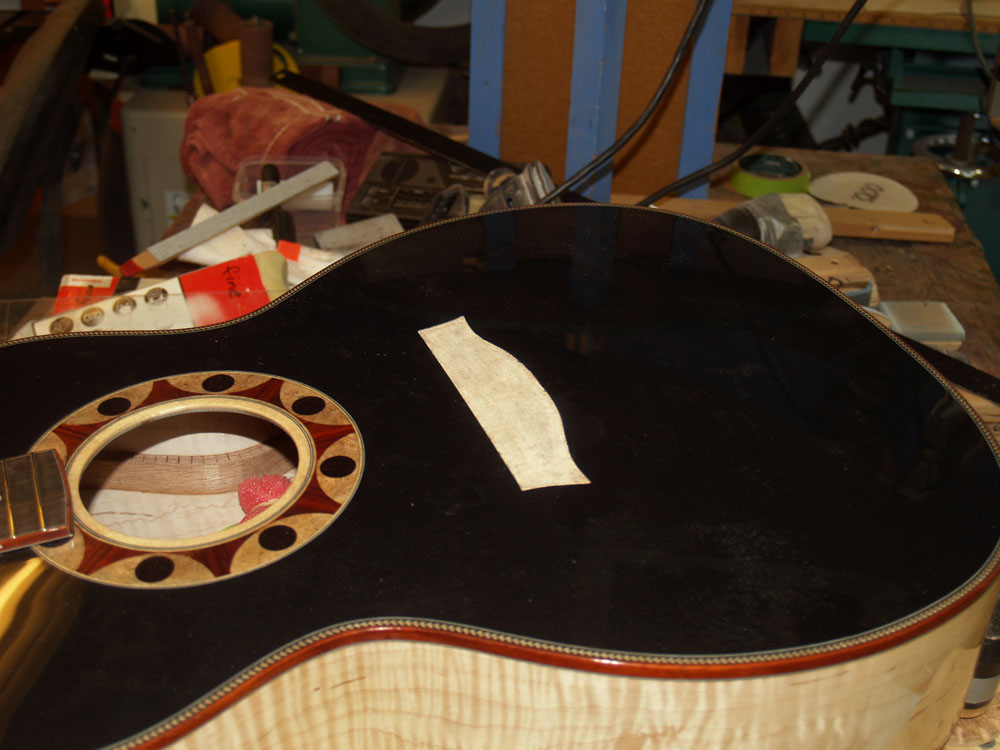
I end up with a bare spot for the bridge to be glued to the top.
 ( 286 ) 9-June-2012
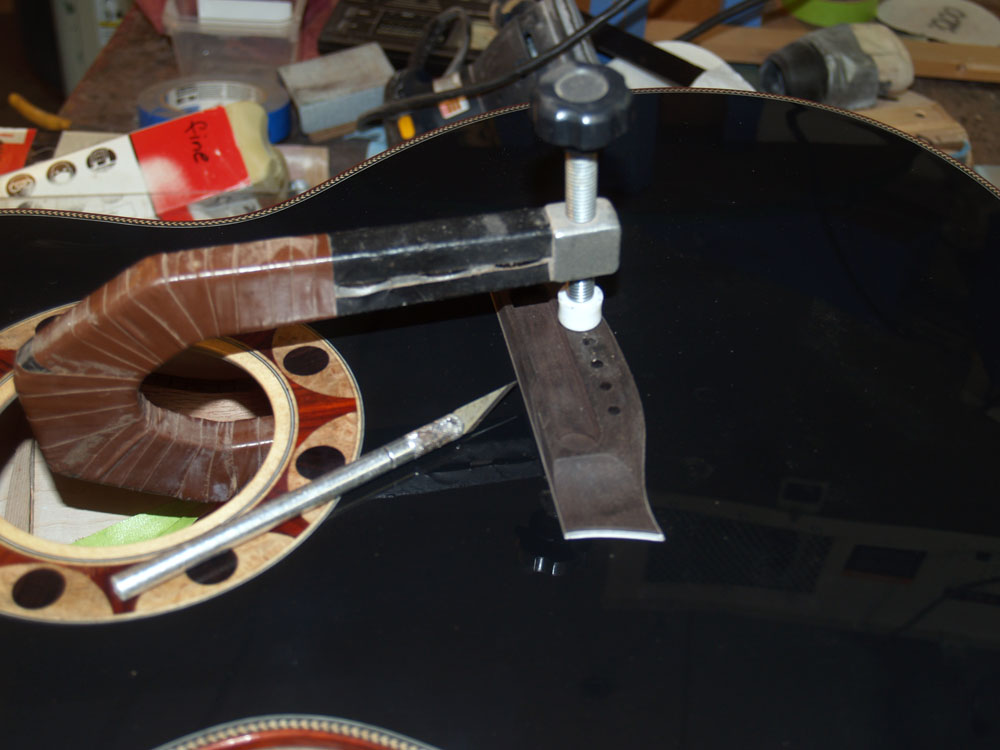
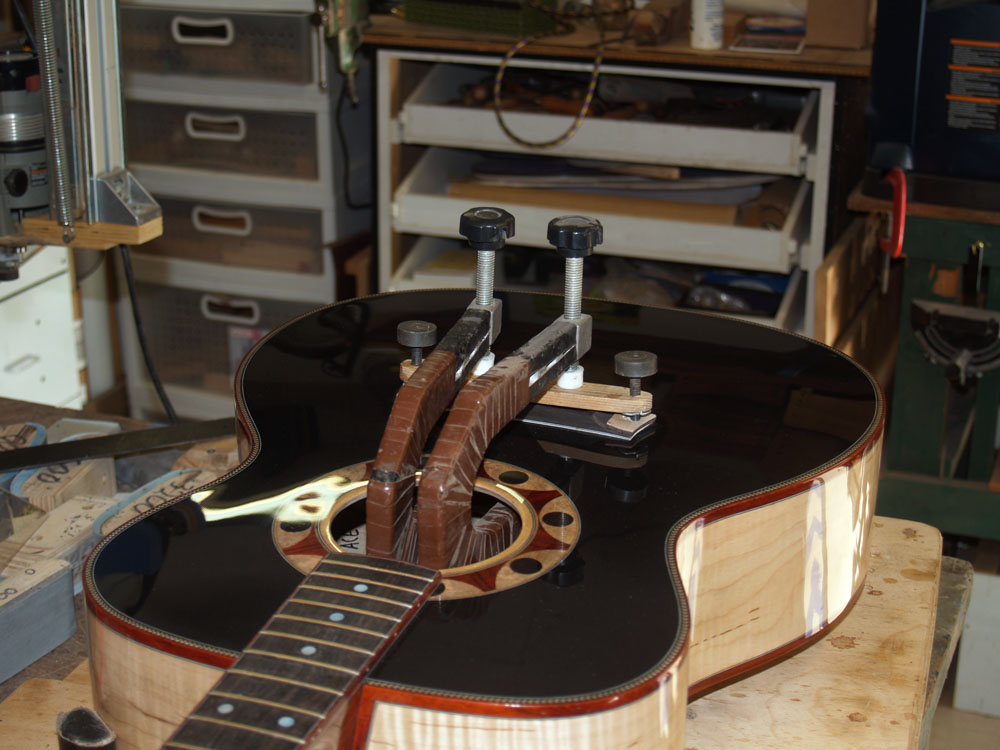
A couple of c-clamps and a wing clamp helps to make a good joint between the bridge and the top.
 ( 287 ) 9-June-2012
The bridge glued on to the top.
 ( 288 ) 9-June-2012
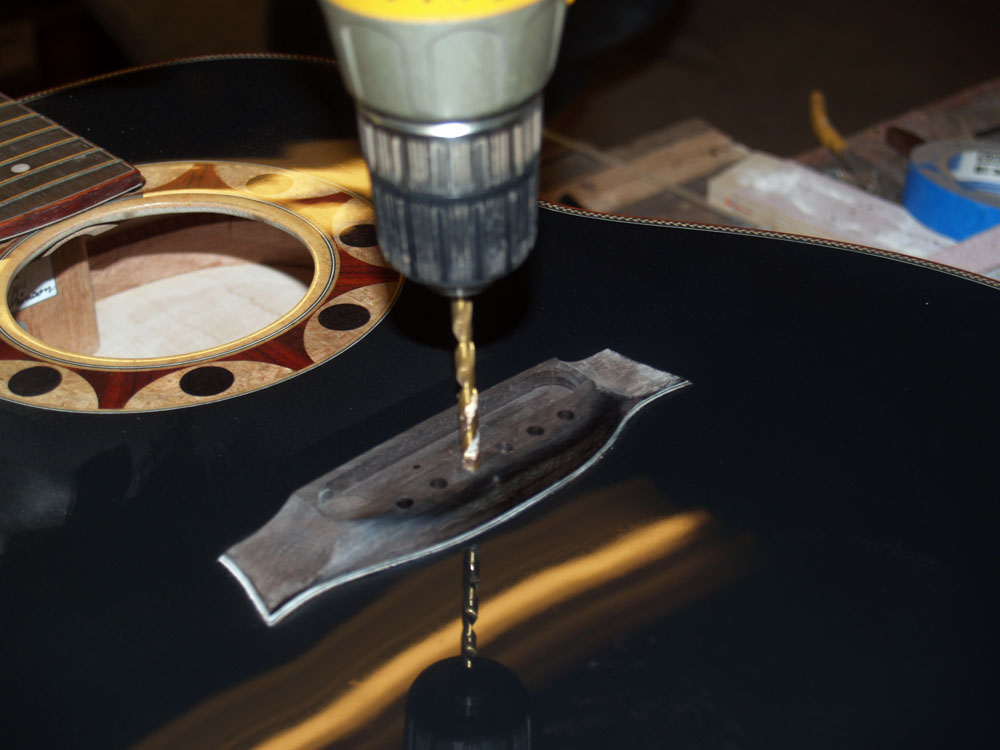
Now I drill the bridge pin holes through the top.
 ( 289 ) 9-June-2012
And then I use a reamer to finish up the bridge pin holes.
 ( 290 ) 9-June-2012
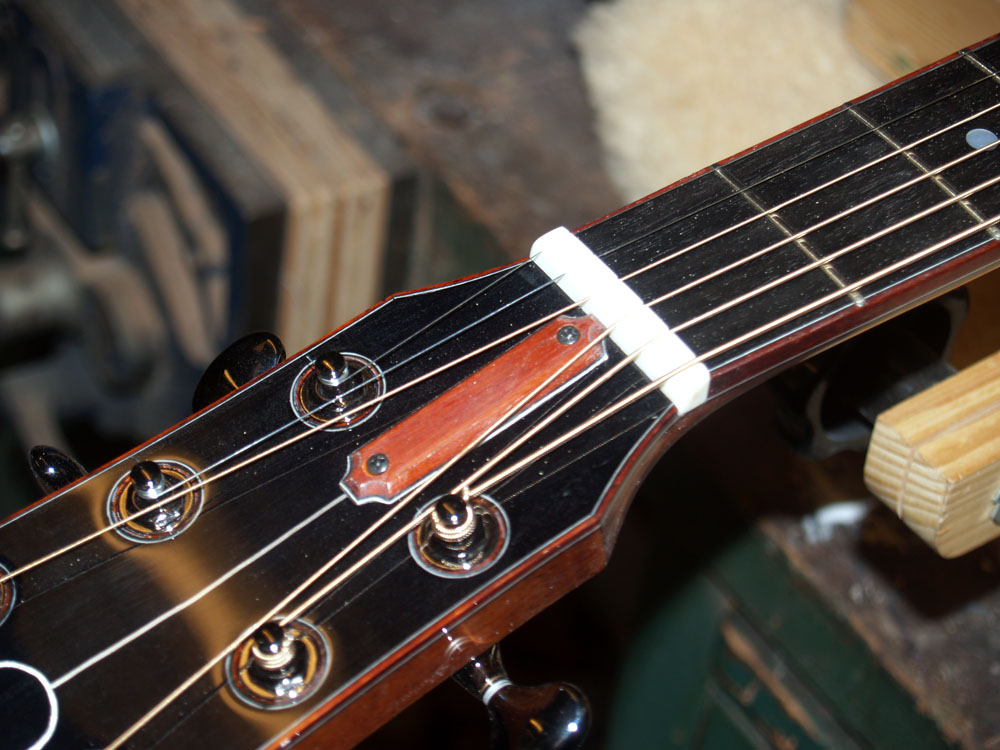
A few final steps to make the nut and the truss rod cover.
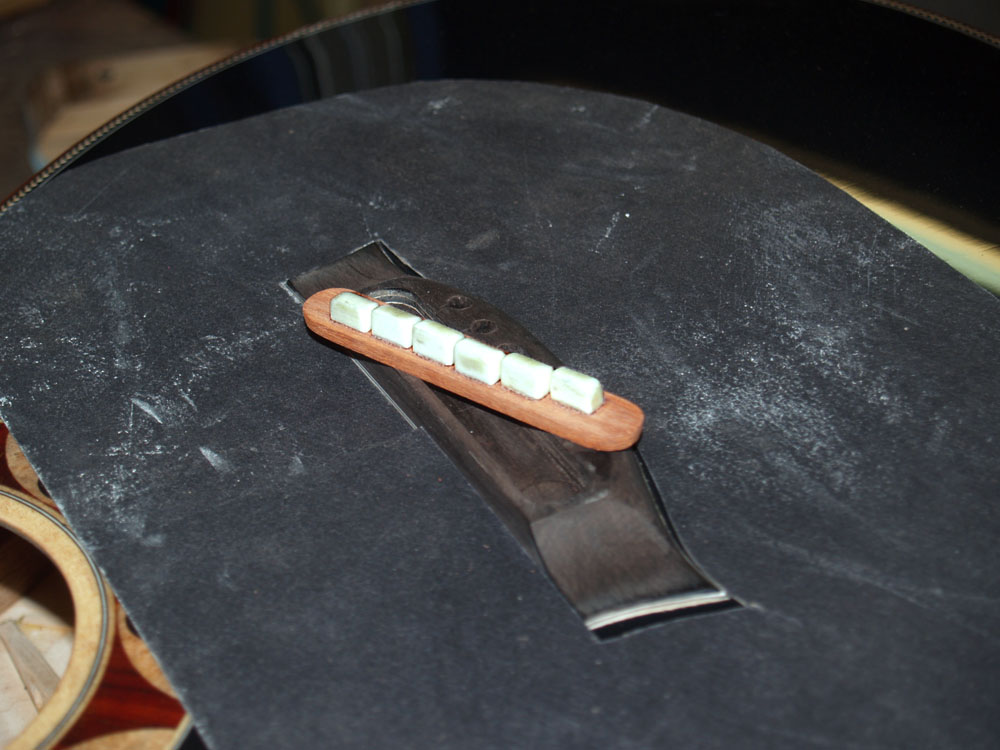
 The split saddle.
 ( 292 ) 9-June-2012
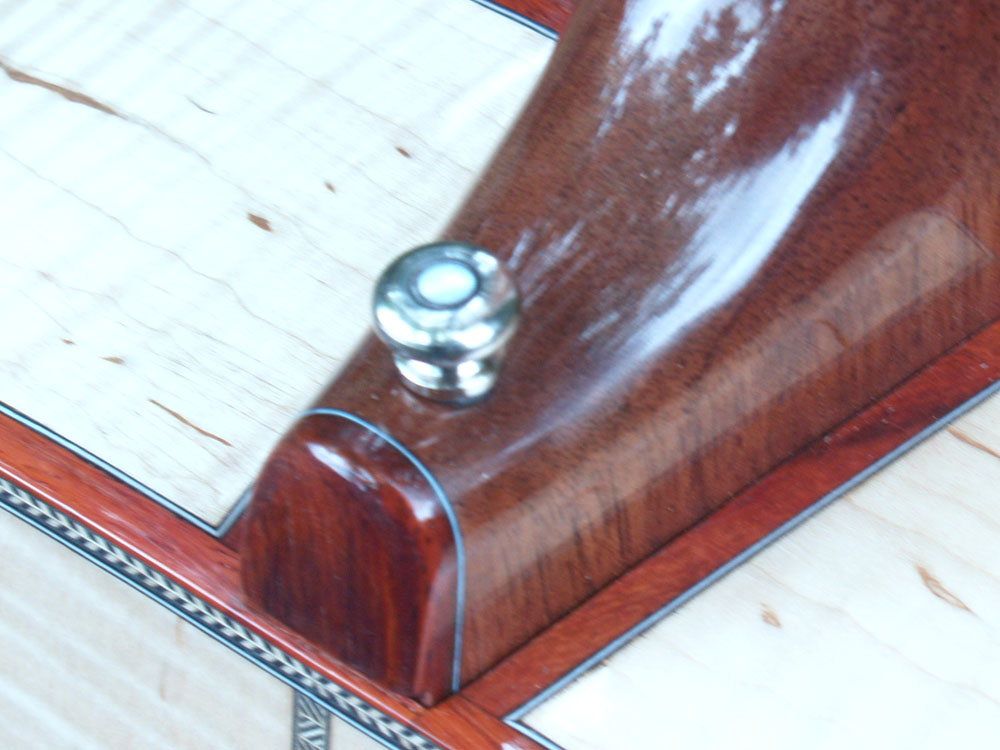
And finally the the strap pin.
 ( 293 ) 9-June-2012
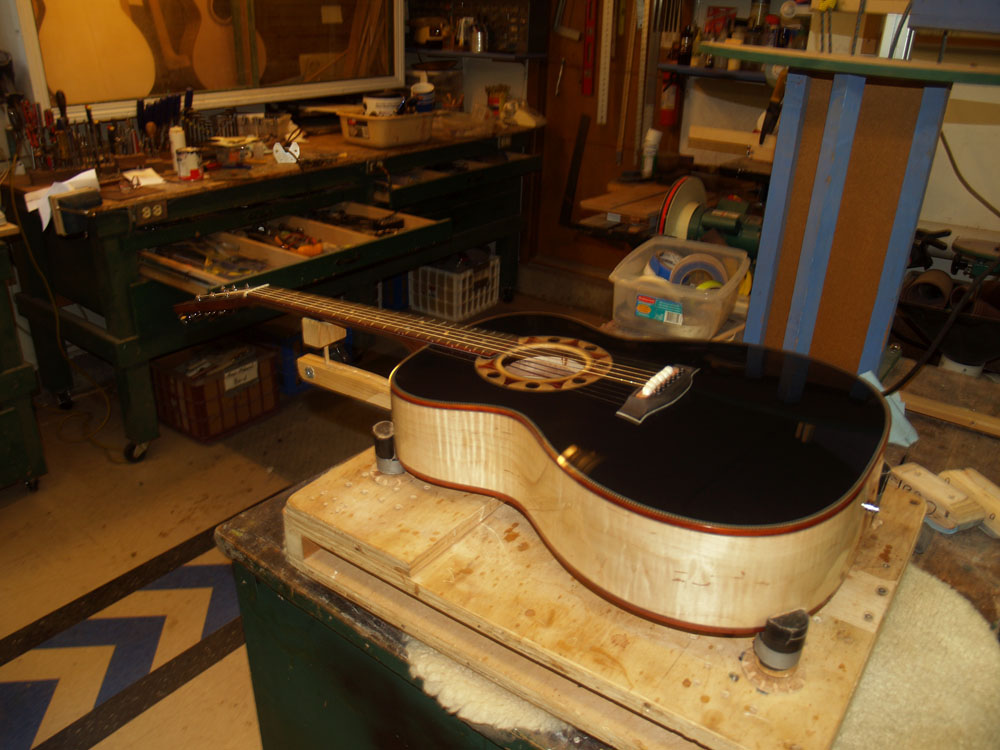
The guitar sets strung up for the first time.
 ( 294 ) 9-June-2012
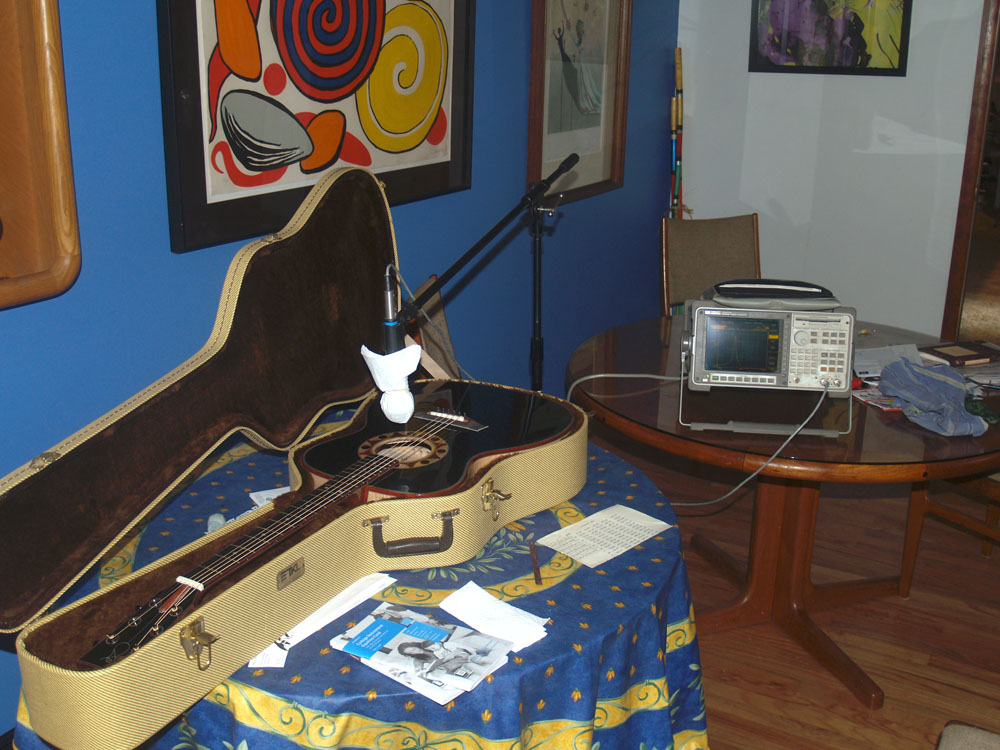
To set the intonation on the adjustable split saddle bridge I use a spectrum analyzer to measure the frequency of each string at the first natural overtone and the fretted note at the twelfth fret. I adjust the position of the saddle until these two notes are the same.
 ( 295 ) 9-June-2012
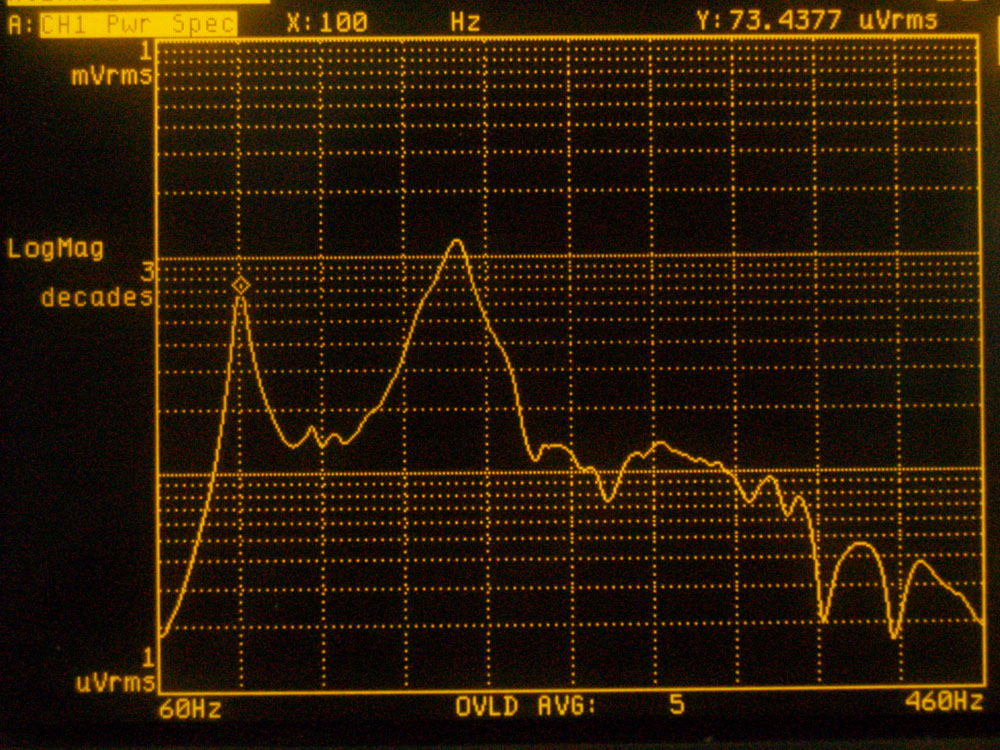
This is a picture of the frequency response function of the guitar. This is found by tapping the top and listening to how it rings down.
 ( 296 ) 9-June-2012
Once the split saddles are positioned I glue them in place so they don't wander when the strings are changed.
 ( 297 ) 9-June-2012
Ta Da!