 ( 73 ) 1-Jan-2012
I this picture I am using a scraper to level the center strip in the back plate.
 ( 73 ) 1-Jan-2012
I this picture I am using a scraper to level the center strip in the back plate.
 ( 74 ) 1-Jan-2012
I lay out the bracing pattern on the top plate before making the braces.
 ( 75 ) 1-Jan-2012
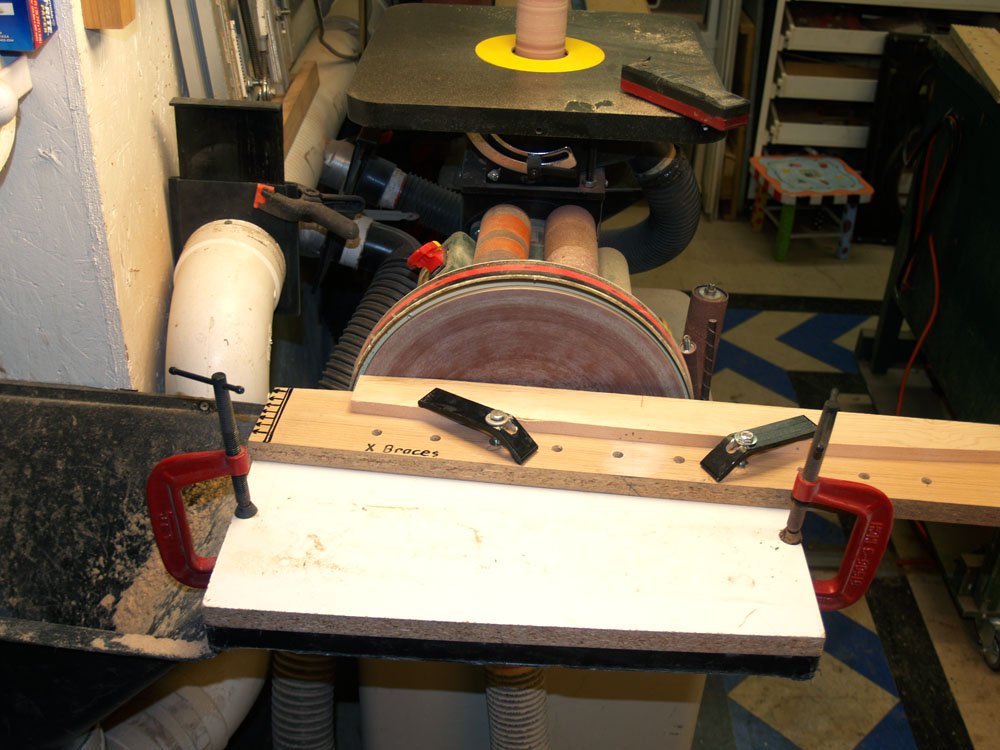
I have a set of templates that guide the shaping of the top braces.
 ( 76 ) 1-Jan-2012
I use my band saw to cut out the brace blanks.
 ( 77 ) 1-Jan-2012
And I use a bit of sand paper on the top bowl to insure a good match.
 ( 78 ) 1-Jan-2012
Here I am laying out the basic bracing pattern.
 ( 79 ) 1-Jan-2012
I use my router to create the I-beam shape of the braces.
 ( 80 ) 1-Jan-2012
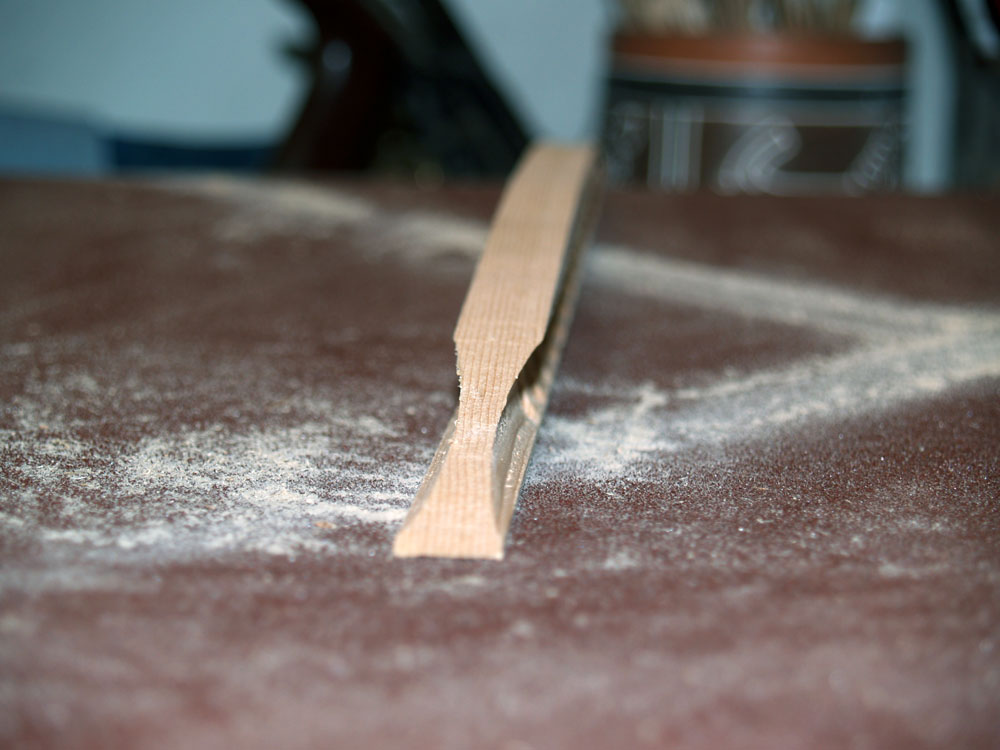
Here is a look at the bracing profile.
 ( 81 ) 1-Jan-2012
On the tone bars I drill a set of holes to further lighten the braces.
 ( 82 ) 1-Jan-2012
Another look at one of the braces.
 ( 83 ) 1-Jan-2012
One of my tricks of the trade is to create a set of fiducial button that allow me to return the rim to the same place on the top and back plates. Here I have drilled a hole and inserted a plug. I place a small dab of glue on the top of the plug.
 ( 84 ) 1-Jan-2012
When I turn the rim over and press it into place on the back plate the plug gets glued into place, and when I remove the rim the plug remains behind. After sanding it down I have a fiducial button.
 ( 85 ) 1-Jan-2012
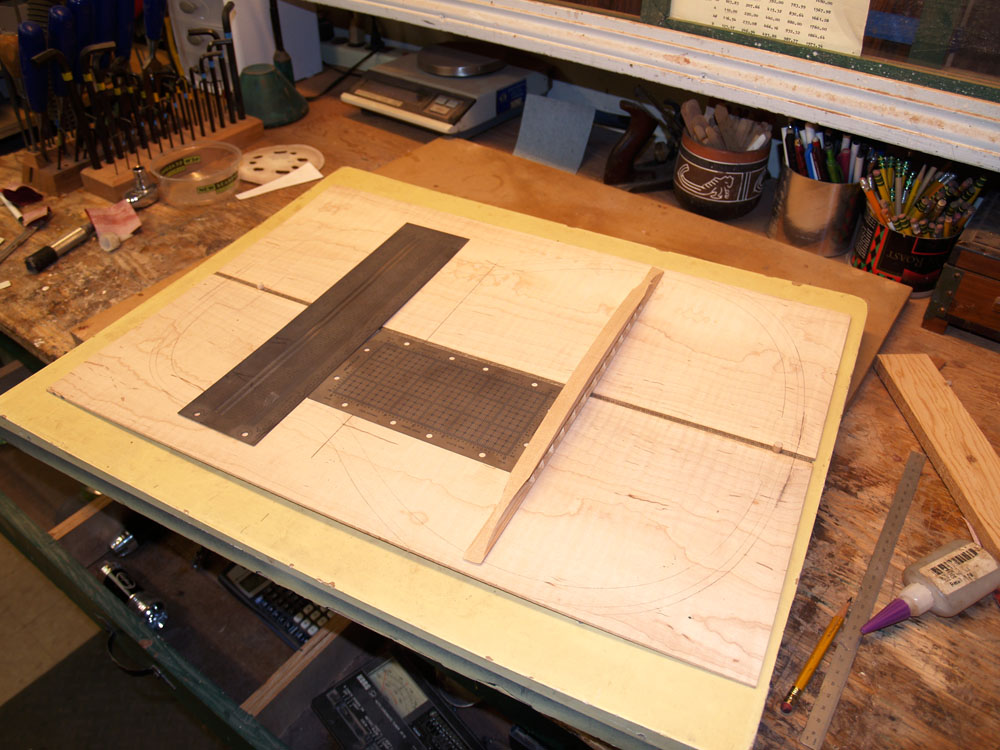
Here I am laying out the braces on the back plate.
 ( 86 ) 1-Jan-2012
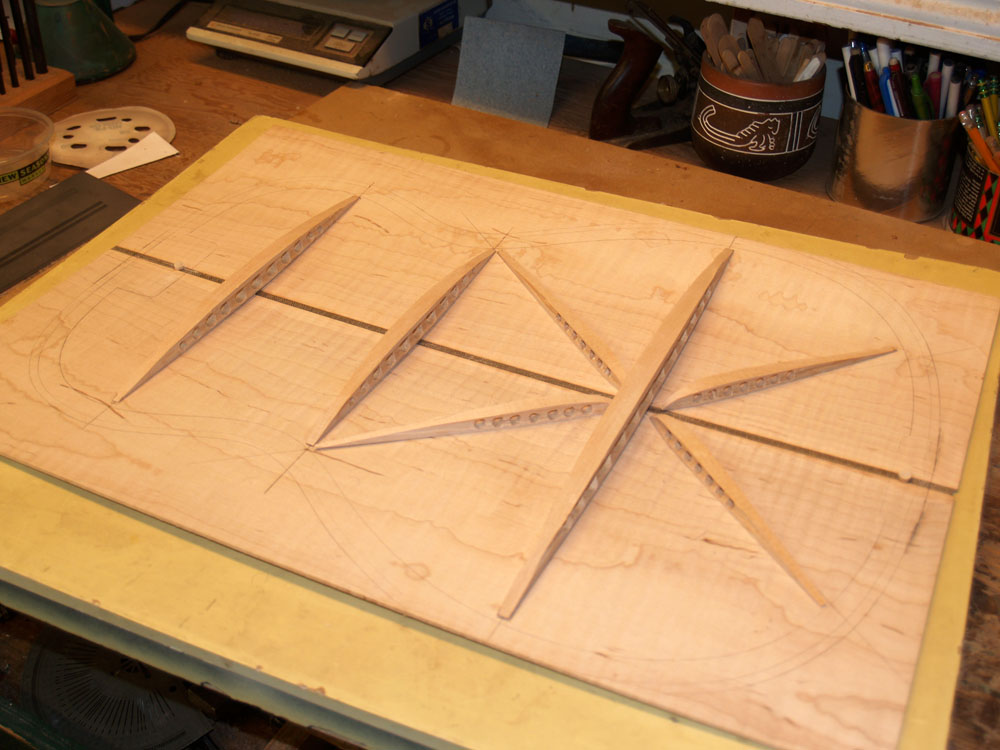
Everything is laid out and fits.
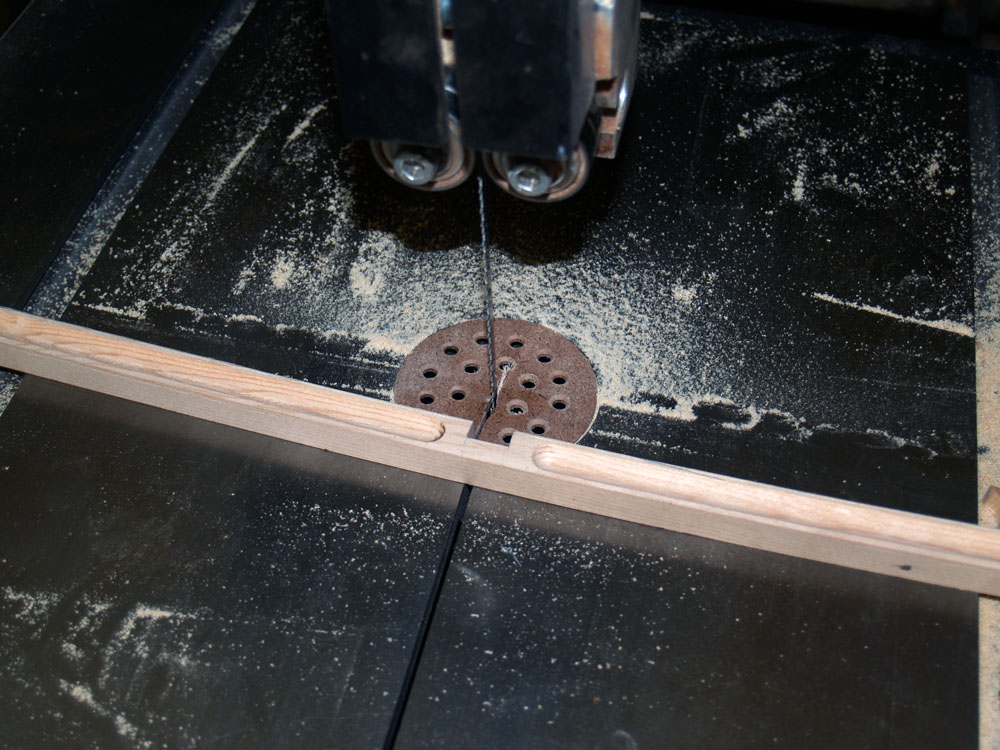 ( 87 ) 1-Jan-2012
Returning to the top braces I cut out the interlocking channels for the main X-brace.
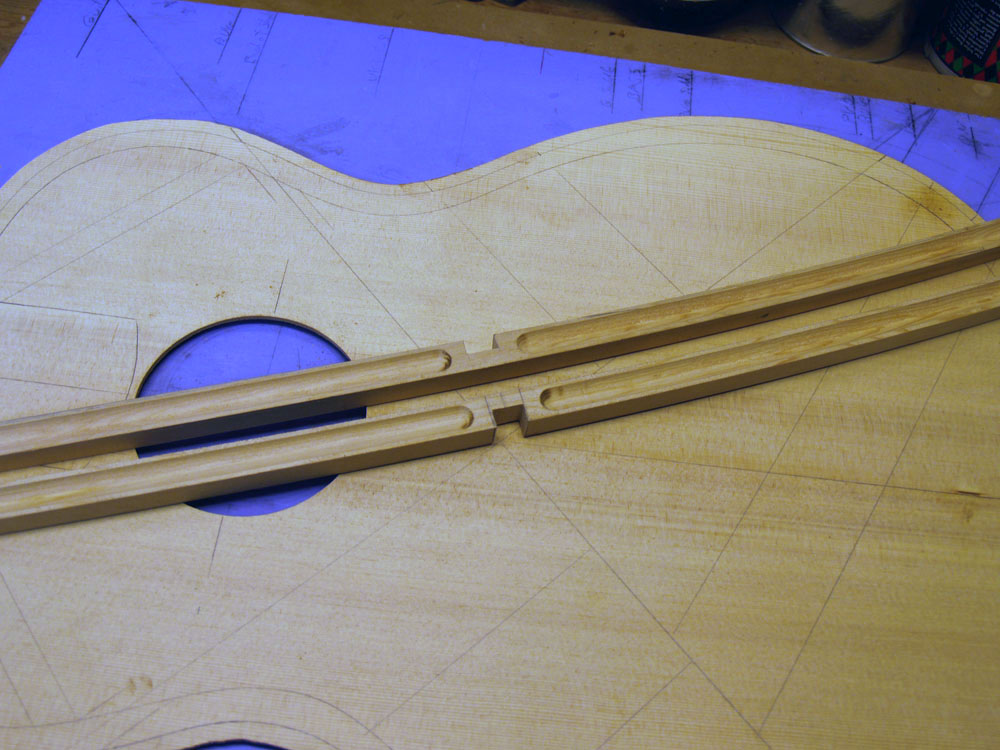 ( 88 ) 1-Jan-2012
One channel goes in each leg.
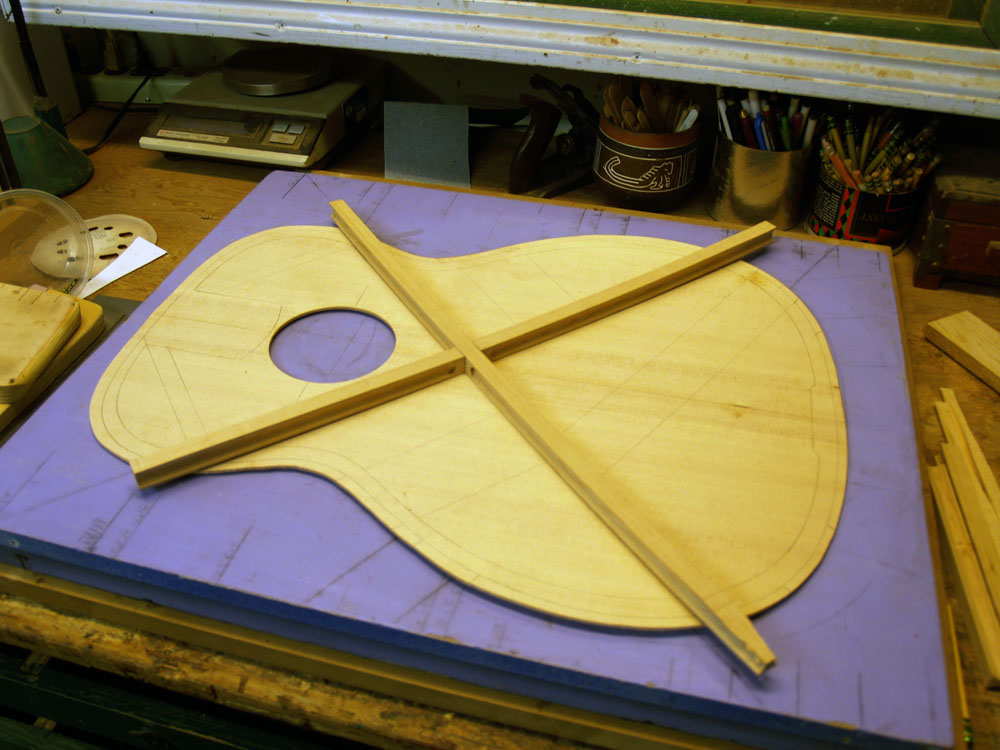 ( 89 ) 1-Jan-2012
And when they are assembled they fit perfectly.
 ( 90 ) 1-Jan-2012
Now I can use my sander to shape the braces
 ( 91 ) 1-Jan-2012
Each leg has its own shape.
 ( 92 ) 1-Jan-2012
Once again I lay out the braces making sure everything fits.
 ( 93 ) 1-Jan-2012
Before I glue the braces on the back I use my band saw to cut out the back plate.
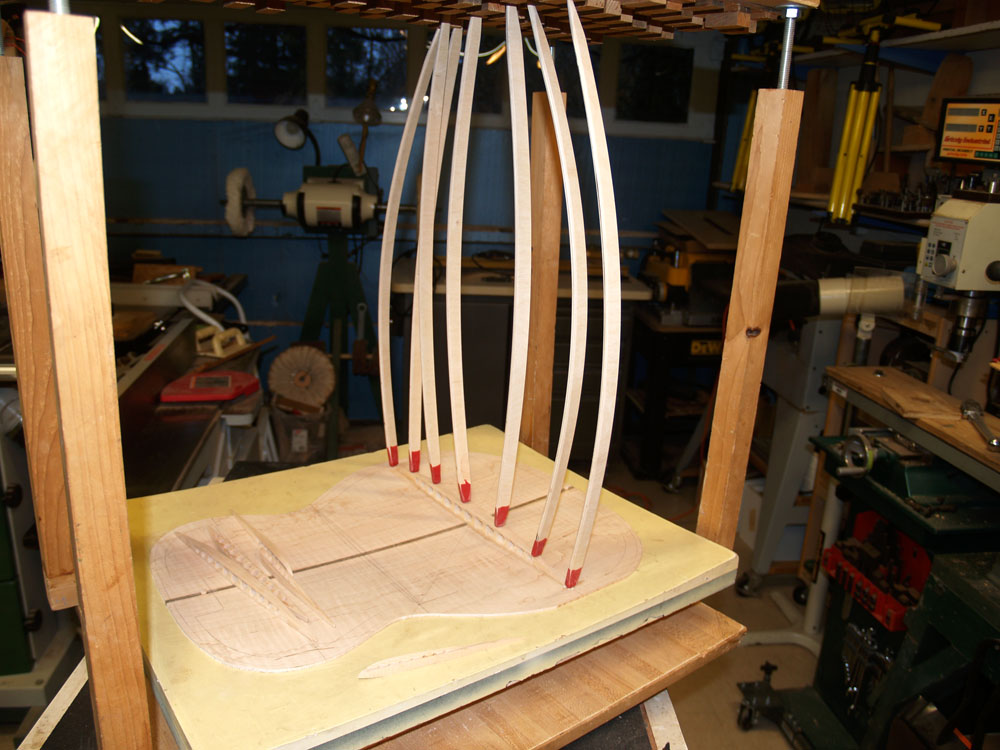 ( 94 ) 1-Jan-2012
And then I use my go-box to start gluing in the braces.
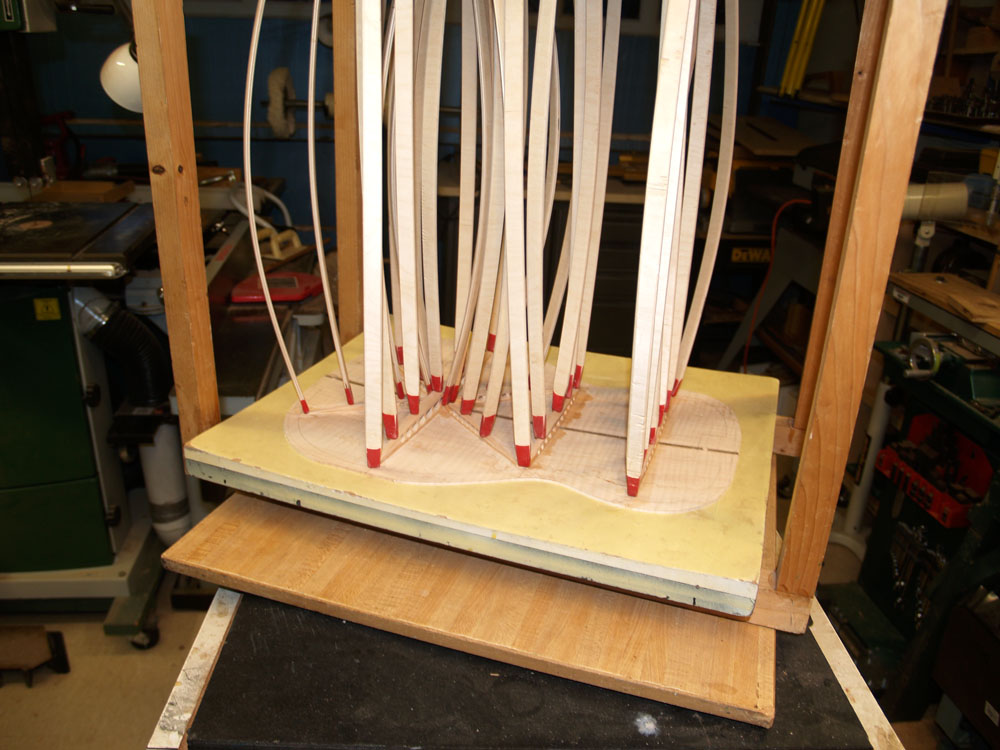 ( 95 ) 1-Jan-2012
I use lots of go-sticks to get an even pressure over the braces.
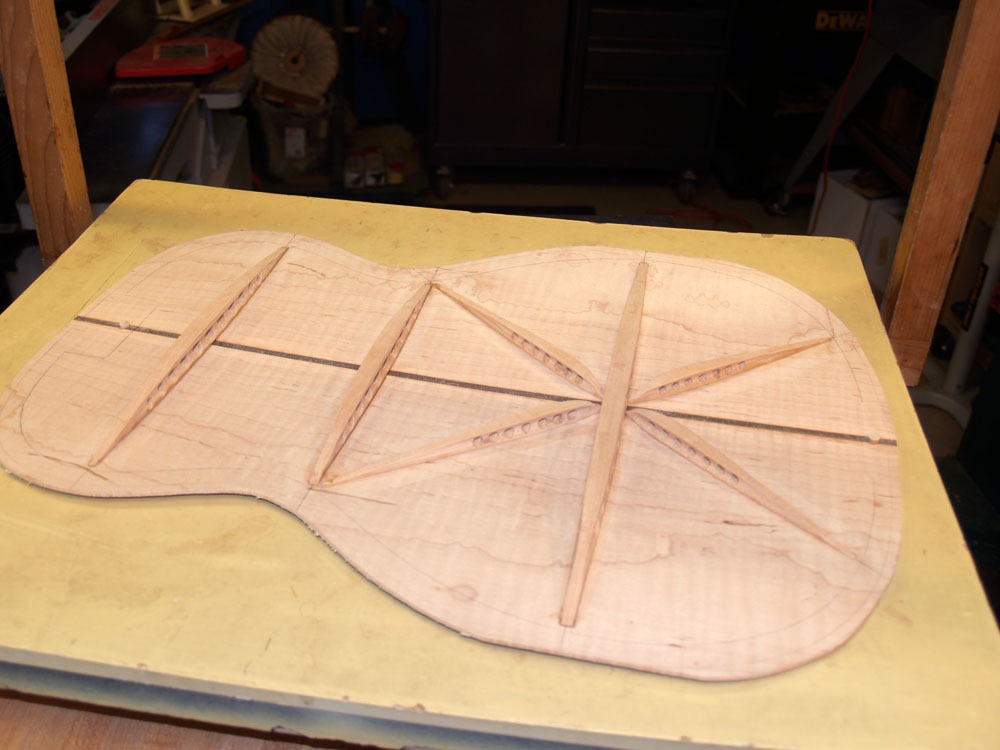 ( 96 ) 1-Jan-2012
And here is a look at the back when it comes out of the go-box.
 ( 97 ) 1-Jan-2012
I use my belt sander to shape the bridge plate.
 ( 98 ) 1-Jan-2012
And using some of the leftover wood from the top plate I create the sound hole reinforcing ring.
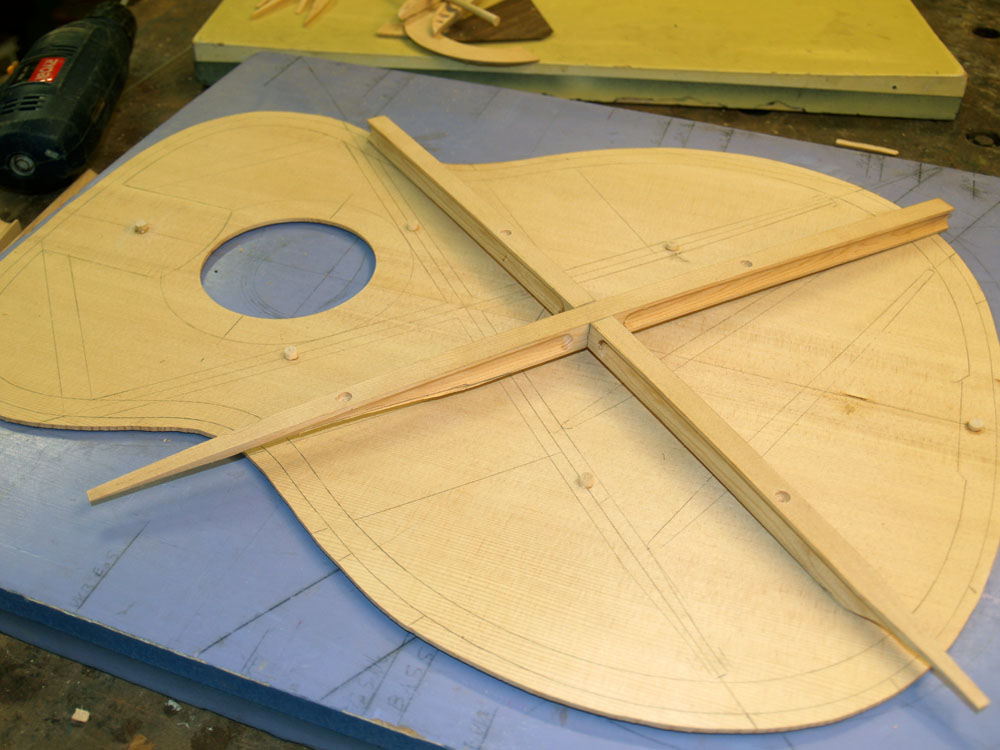 ( 99 ) 1-Jan-2012
To trim the X-brace to match the rim I create a set of fiducial buttons so I can accurately place the brace.
 ( 100 ) 1-Jan-2012
After laying the rim in place I carefully mark the X-brace where I will cut it off.
 ( 101 ) 1-Jan-2012
And I use the go-box again to glue the braces in place.
 ( 102 ) 1-Jan-2012
I lose track of how many sticks I use.
 ( 103 ) 1-Jan-2012
And here we see the braces all glued in place.
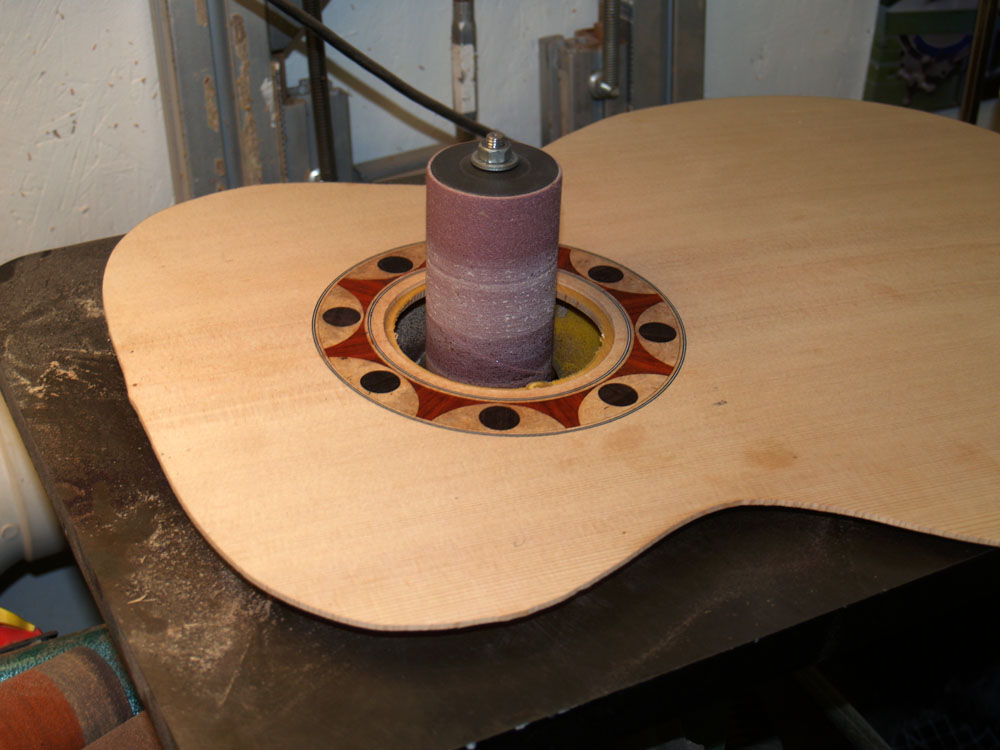 ( 104 ) 1-Jan-2012
And I use my sander to clean up the sound hole ring.
 ( 105 ) 1-Jan-2012
Returning to the back plate I create a center line reinforcing strip.
 ( 106 ) 1-Jan-2012
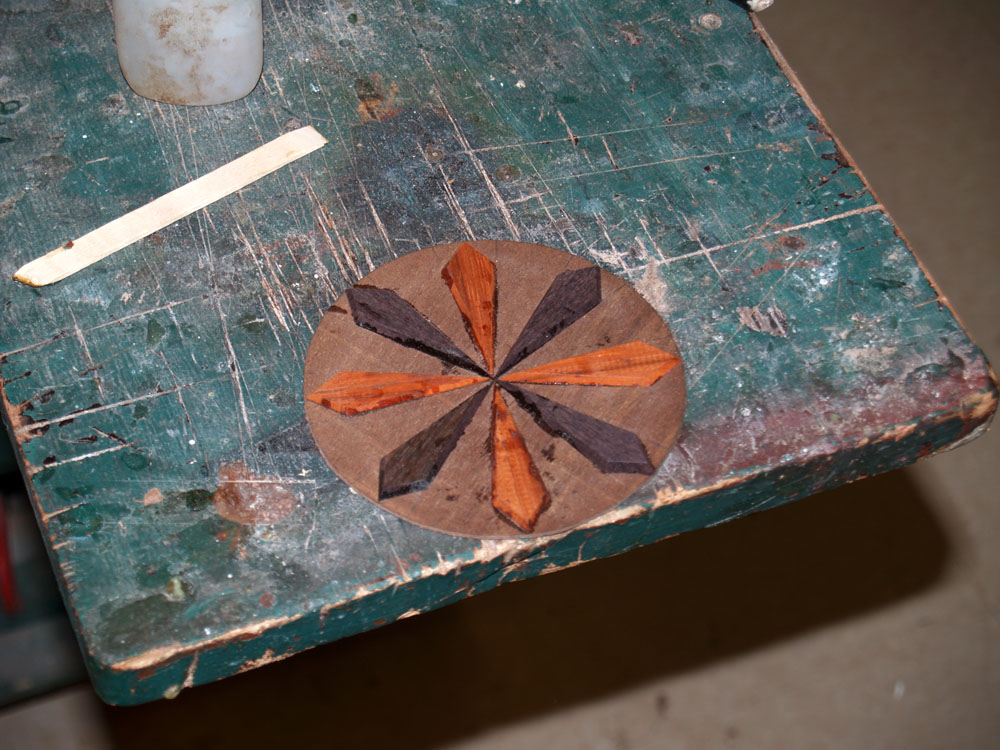
A quick side step to create the contra-rosette.
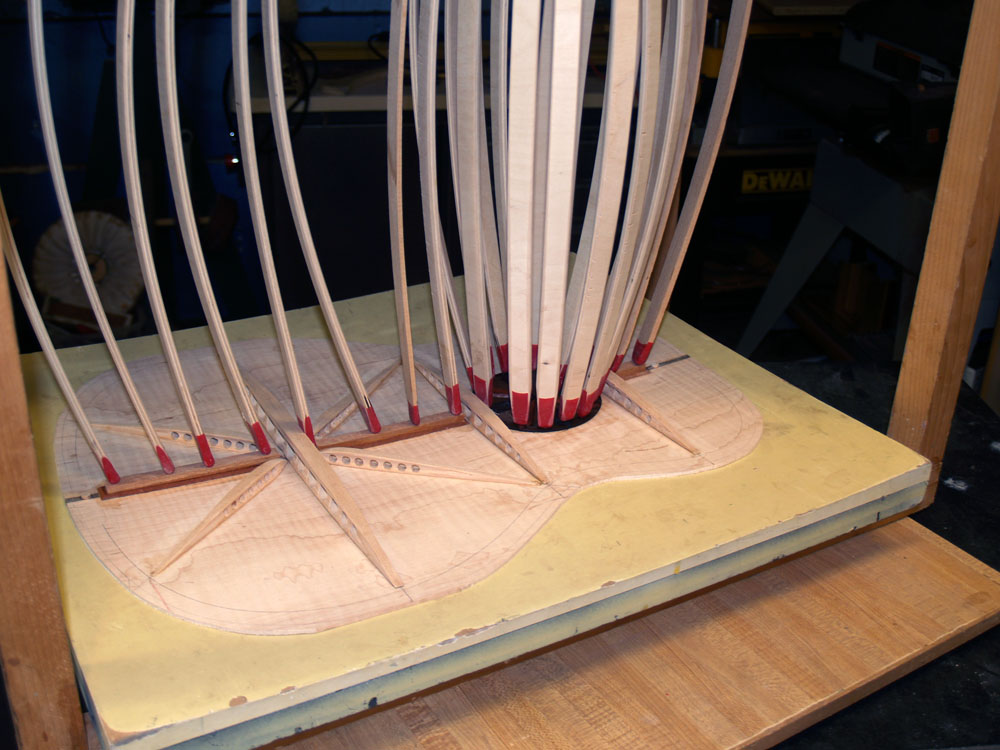 ( 107 ) 1-Jan-2012
And then everything gets glued in place.
 ( 108 ) 1-Jan-2012
While the back is drying I make the tail graft out of a piece of padauk.
 ( 109 ) 1-Jan-2012
And using a few clamps I glue it in place. When it is dry I will sand is flush.
 ( 110 ) 1-Jan-2012
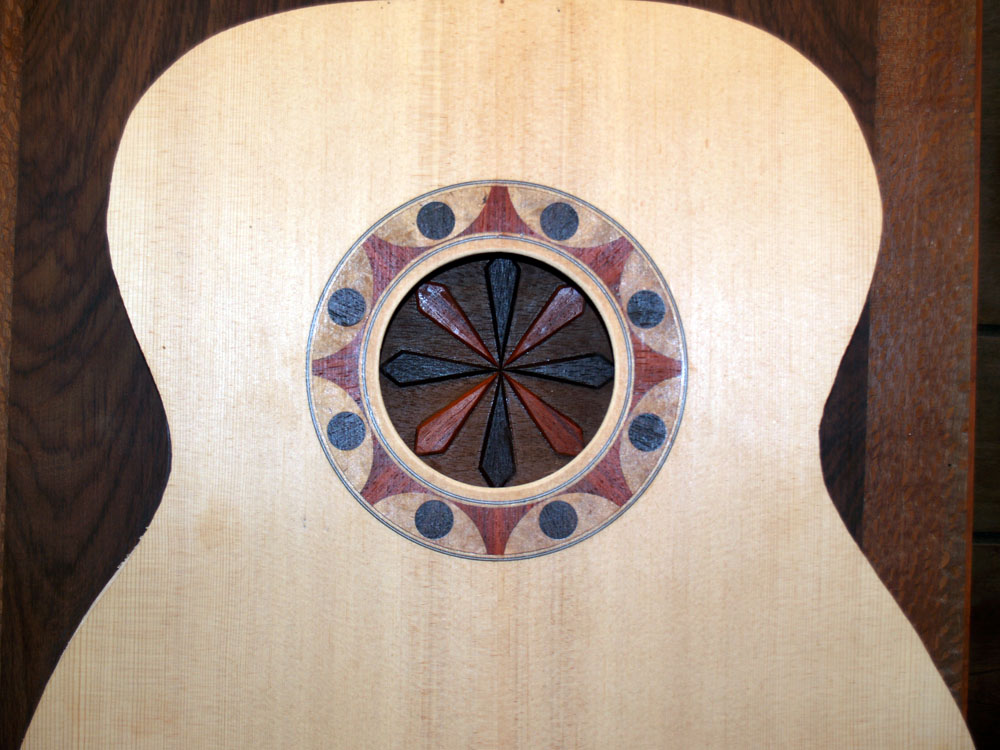
And this is a look at the back plate after it comes out of the go-box.
 ( 111 ) 1-Jan-2012
To get an idea of the final look I lay the top plate and the back plate together.
 ( 112 ) 1-Jan-2012
And a little Photo-Shop magic again.
 ( 113 ) 1-Jan-2012
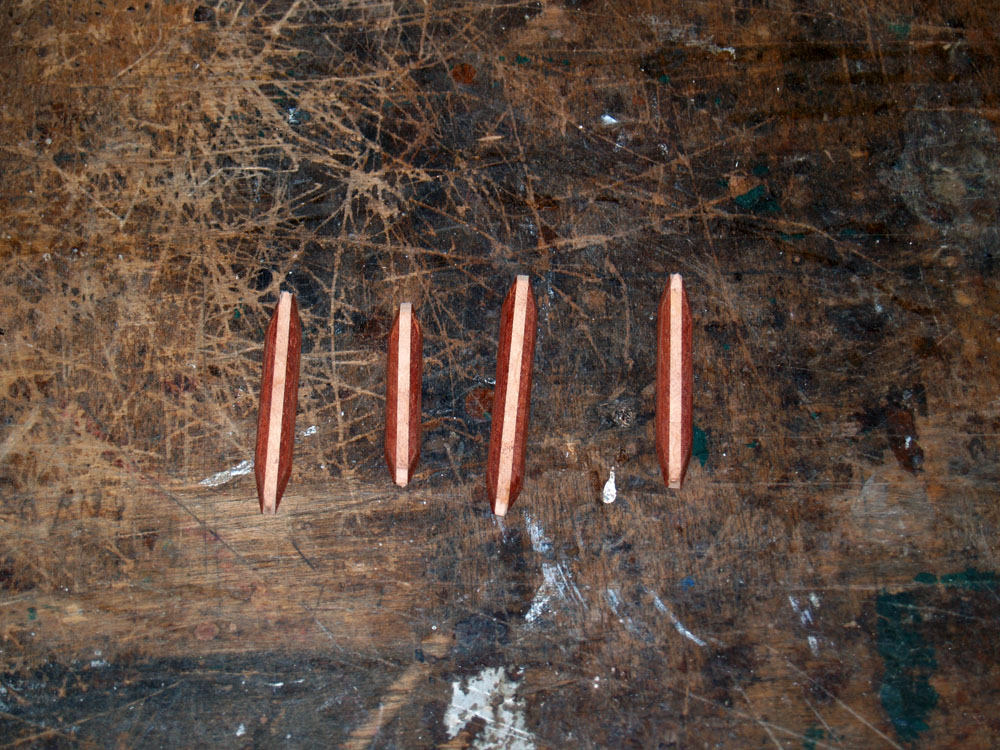
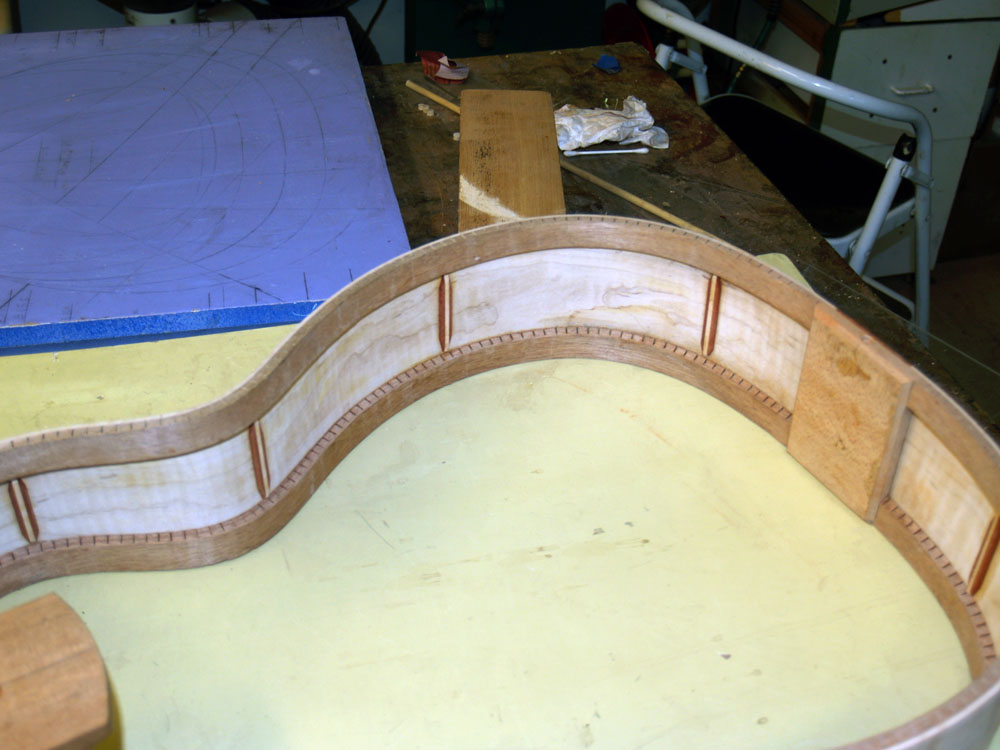
Before I can glue the top and back on I have a few details to take care of. Here I have made a set of side reinforcing bars.
 ( 114 ) 1-Jan-2012
They get glued to the sides to help prevent the sides from splitting.
 ( 115 ) 1-Jan-2012
And a look at the bands in place.