 ( 36 ) 14-Dec-2011
Now that the sides are glued together I have to sand the edges of the rim so that they have the same shape that the top and the back will have.
 ( 36 ) 14-Dec-2011
Now that the sides are glued together I have to sand the edges of the rim so that they have the same shape that the top and the back will have.
 ( 37 ) 14-Dec-2011
I mount the rim back into the side form and mark the edges of the rim with black magic marker.
 ( 38 ) 14-Dec-2011
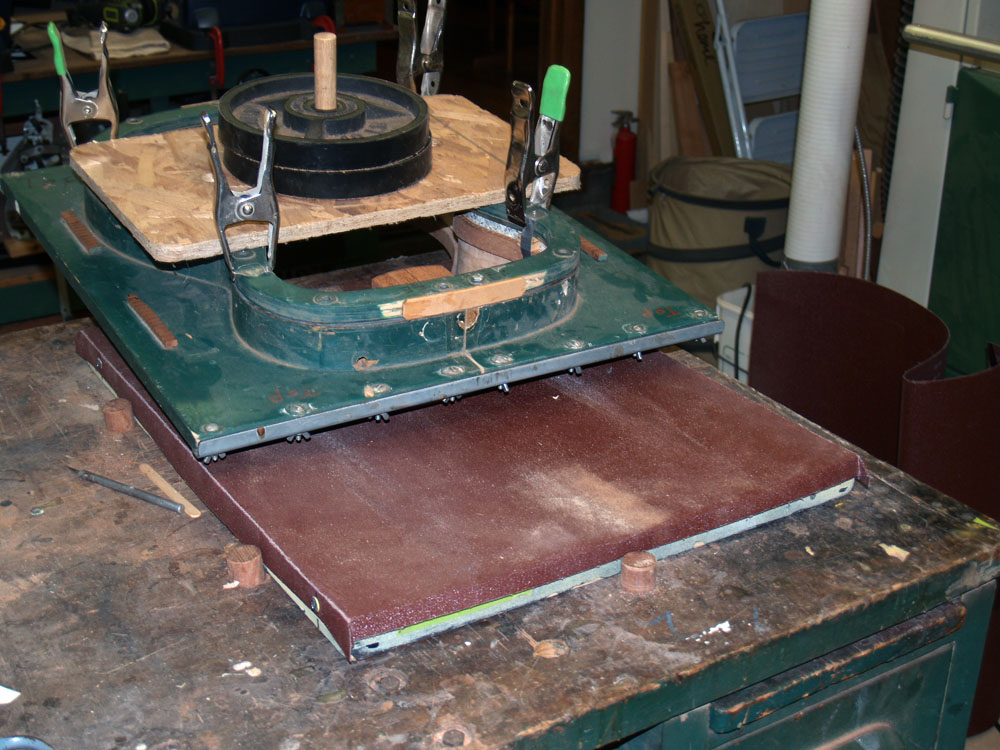
I mount a piece of sand paper on the top form. Using a few weights to press the sides into the top form and applying the proper amount of elbow grease the edges of the sides are sanded down until they match the shape of the top form. When all of the magic marker is gone I know that sides are fitted to the top.
 ( 39 ) 14-Dec-2011
A look at the edge of the sides after they have been sanded to shape.
 ( 40 ) 14-Dec-2011
The cantilever section of the heal block requires a bit of special attention. I want the heal block to point in a straight line to the bottom of the bridge, I use this special fixture to help me route the heal block to shape.
 ( 41 ) 14-Dec-2011
The guide plate is lined up with the bottom of the bridge and the router will follow in this plane.
 ( 42 ) 14-Dec-2011
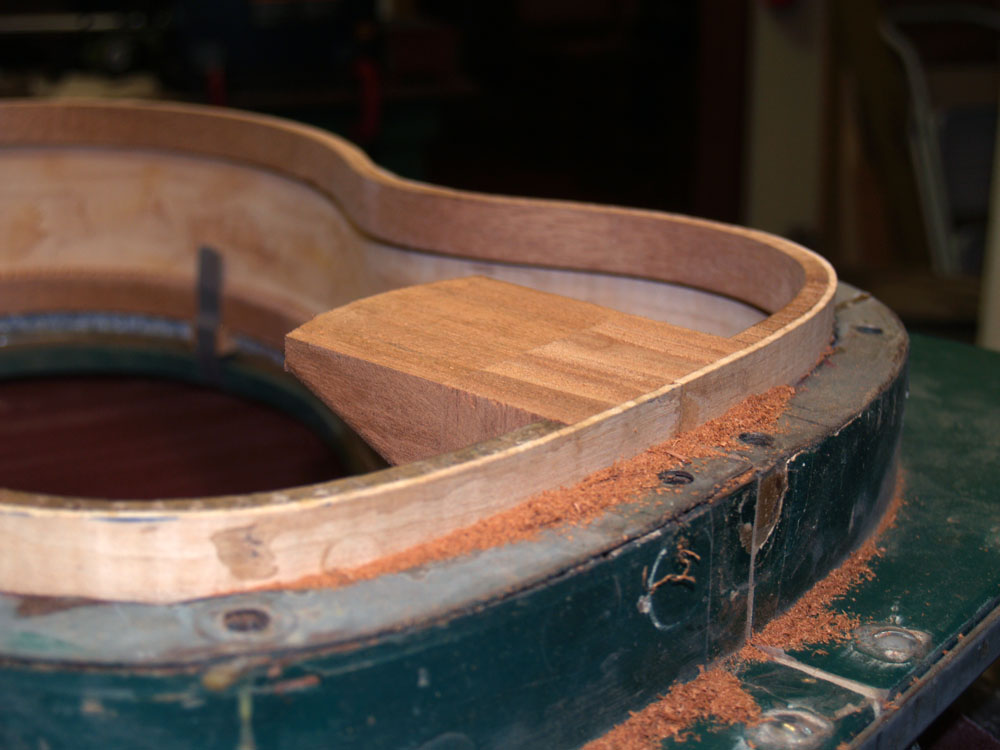
When I am done, the cantilever section of the heal block is right in line with the bottom of the bridge.
 ( 43 ) 14-Dec-2011
I use a sanding block to round the cantilever off just a little bit.
 ( 44 ) 14-Dec-2011
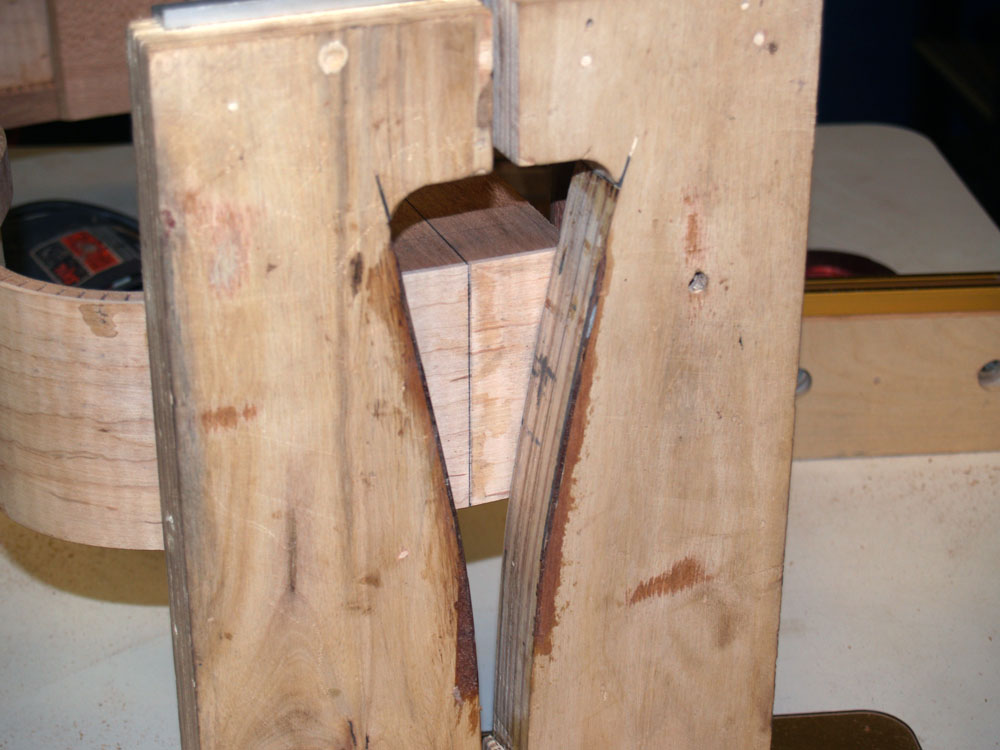
Now I am going to route a channel into the heal block where the neck will be attached to the body. I use this template to guide the router.
 ( 45 ) 14-Dec-2011
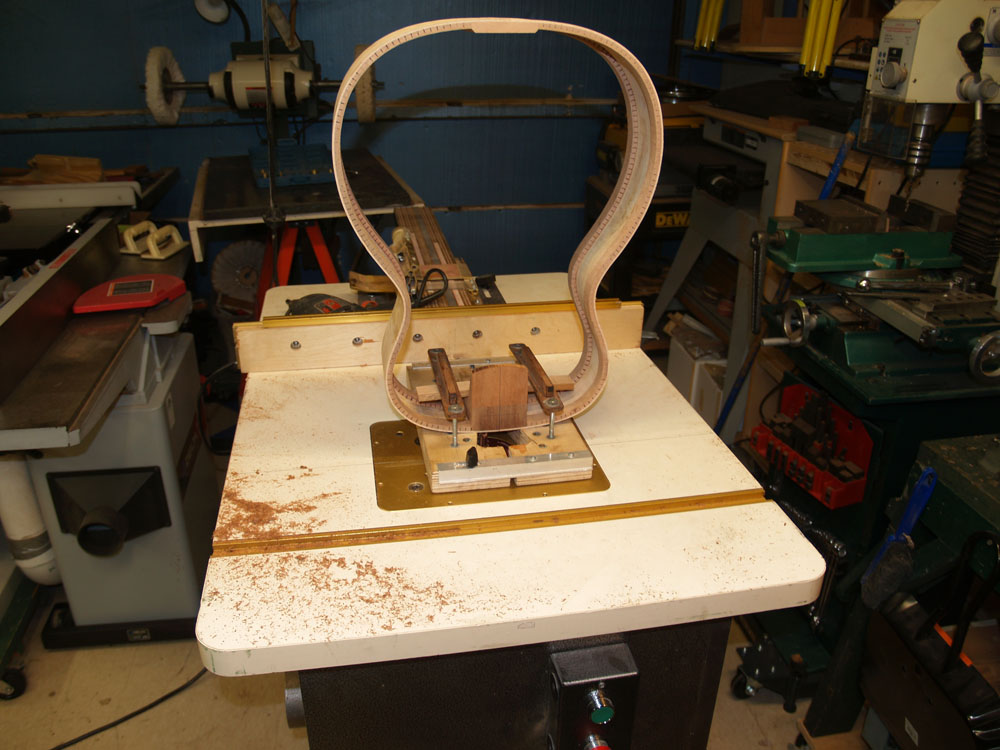
I mount the rim into a special fixture that will guide the rim on the router table.
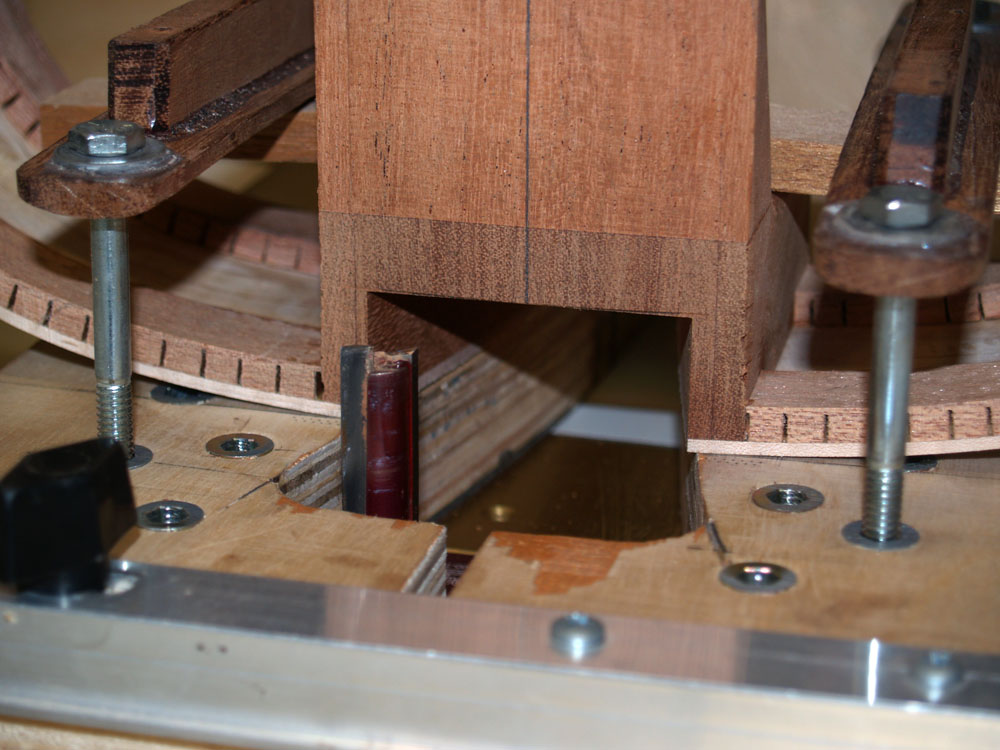 ( 46 ) 14-Dec-2011
You can see the router bit in this picture as it routes out the heal channel.
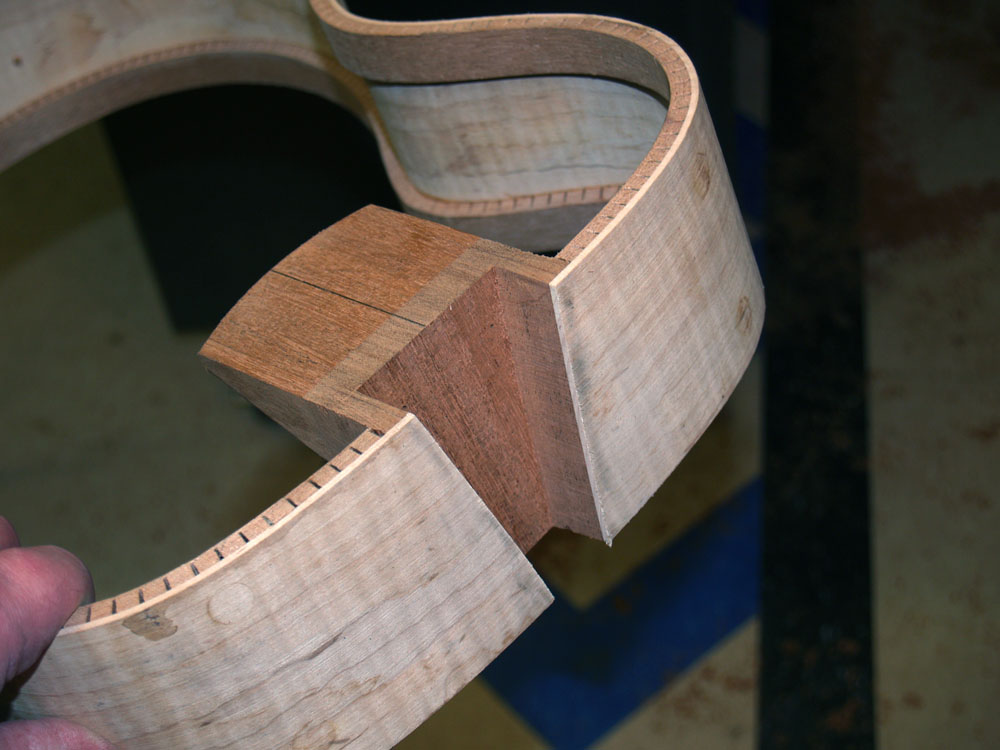 ( 47 ) 14-Dec-2011
When I am finished I have a channel that will hold the mounting hardware and matches the shape of the neck.
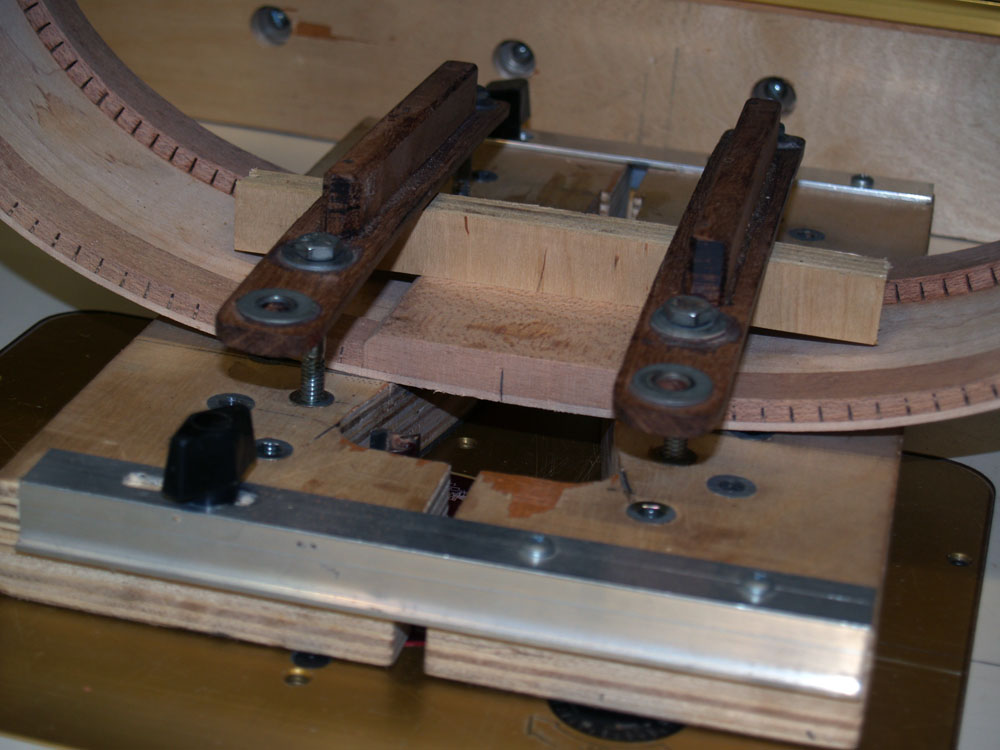 ( 48 ) 14-Dec-2011
I use the same router fixture to route a channel for the tail graft.
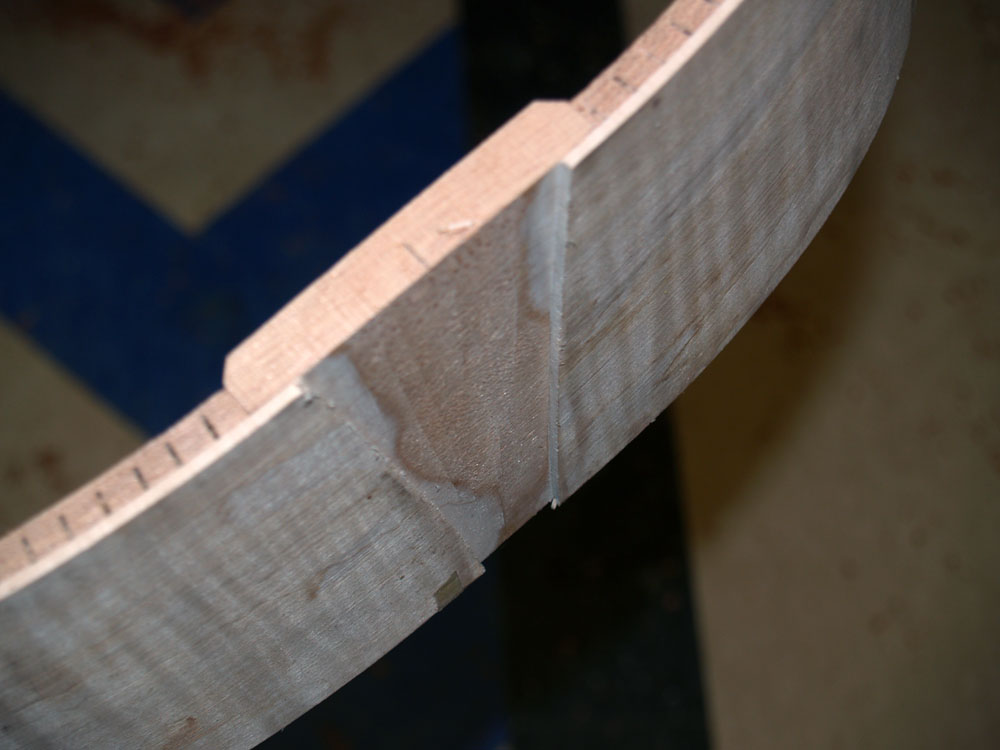 ( 49 ) 14-Dec-2011
I will inlay a tail graft into this channel.
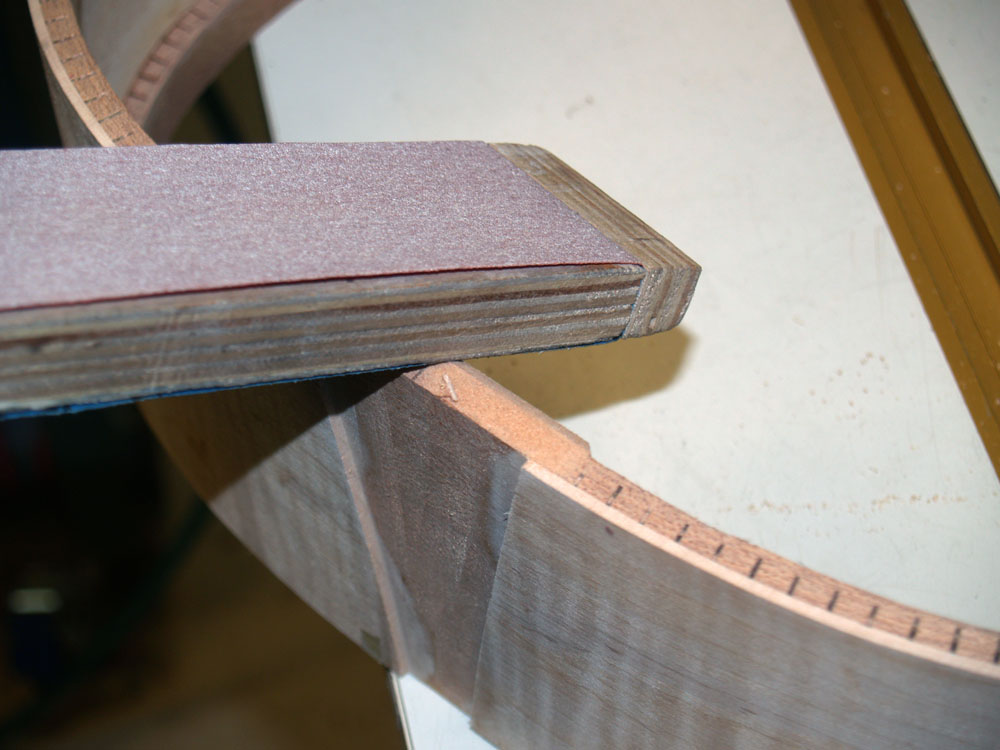 ( 50 ) 14-Dec-2011
And finally I sand a bevel into the tail block so there is a continuous line from the kerfing across the tail block.
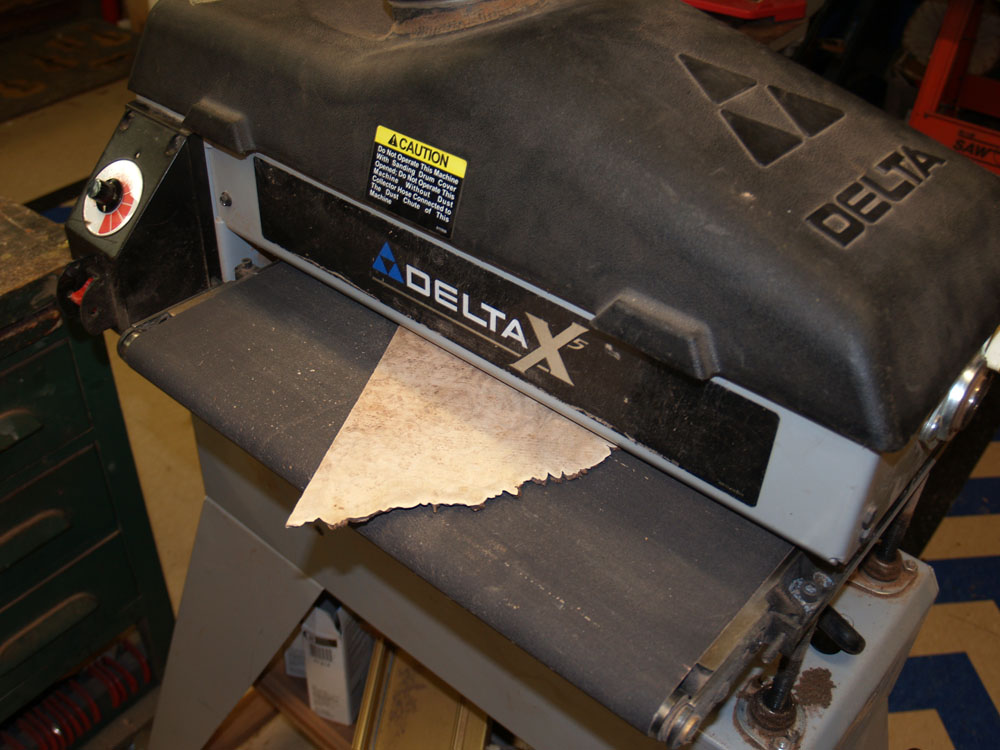 ( 51 ) 14-Dec-2011
Now I am going to make a rosette for the top plate. I start out by sanding a piece burled maple to about 100 mils thickness.
 ( 52 ) 14-Dec-2011
I use a few tools of the trade to lay out the rosette. Joel said that a rosette and contra-rosette with a Buddhist theme would be a good idea. I am laying out my interpretation of an eight pointed Dharmachakra.
 Here I am cutting out eight small disks from a piece of Indian Rosewood.
 ( 54 ) 14-Dec-2011
The disks laid out on the maple substrate.
 ( 55 ) 14-Dec-2011
I use a Forstner bit to drill out holes for the disk to sit in.
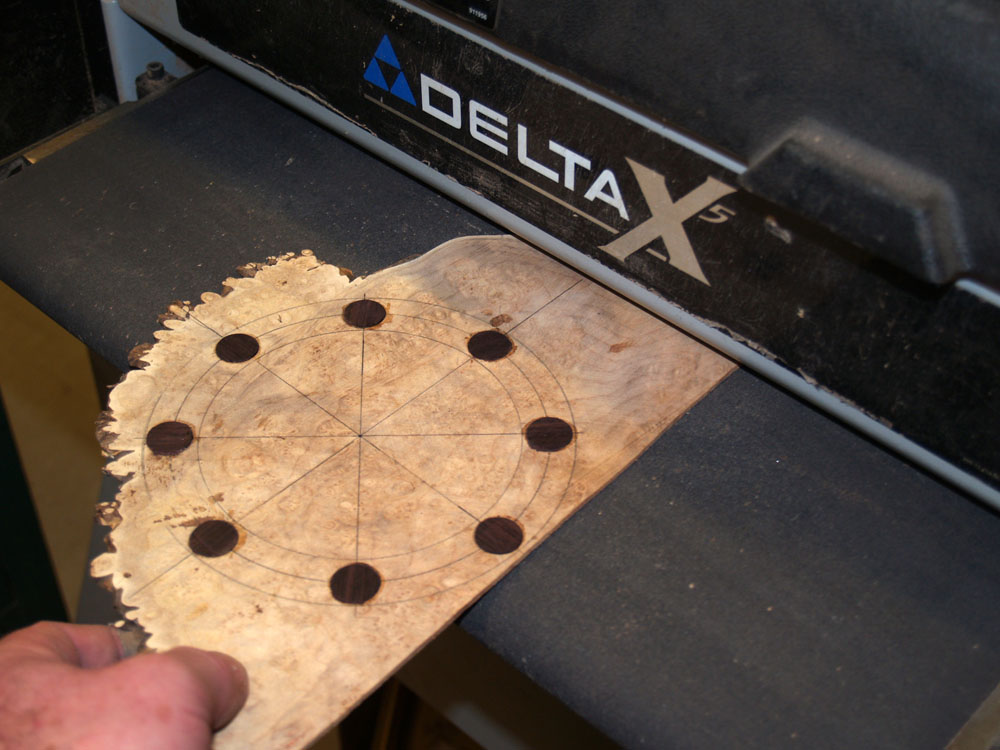 ( 56 ) 14-Dec-2011
The disks sit proud of the surface so I use the drum sander to sand everything flush.
 ( 57 ) 14-Dec-2011
And then I use my milling machine to cut out a perfect circle.
 ( 58 ) 14-Dec-2011
Here is the rosette and the center cut out. I will use the center cut out for the contra-rosette.
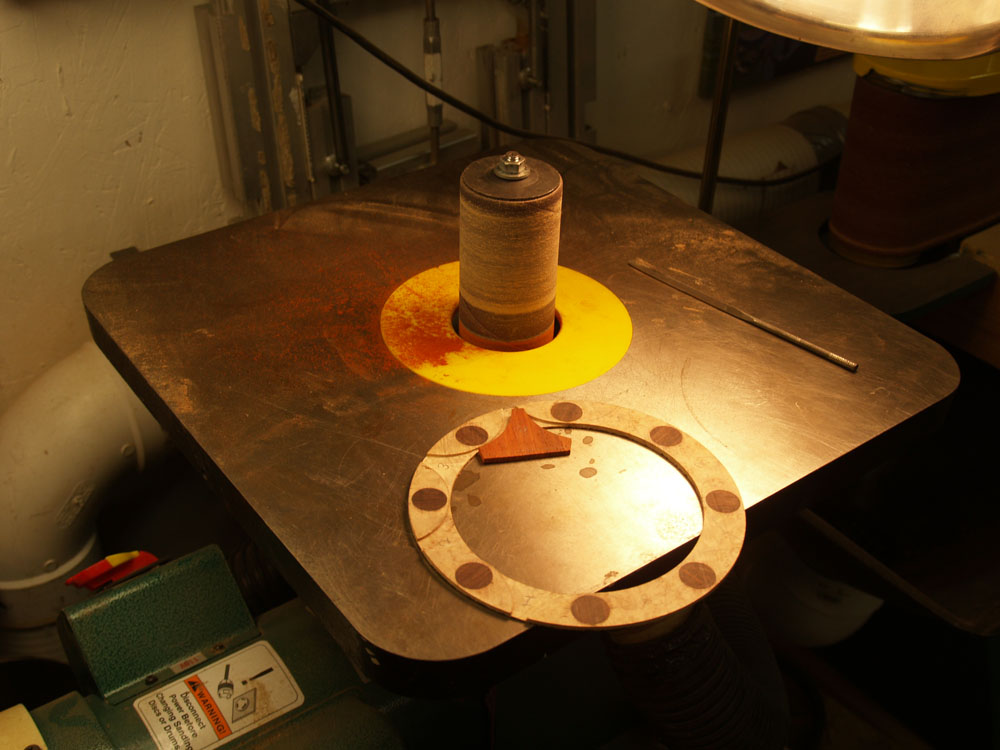 ( 59 ) 14-Dec-2011
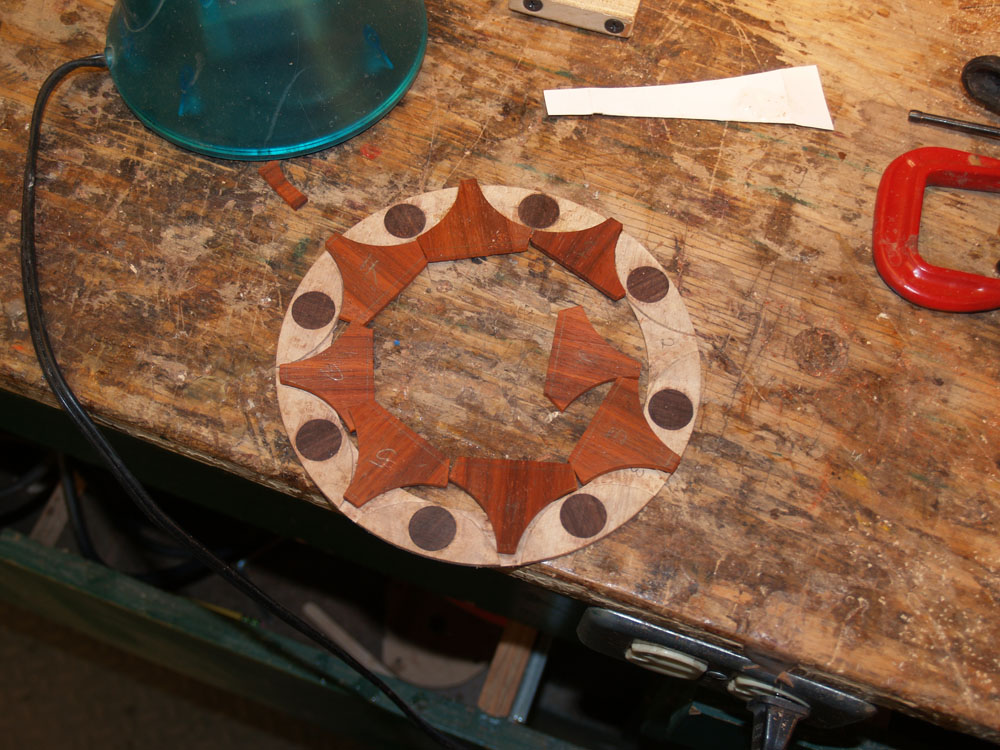
I decided to inlay eight padouk points into the rosette. Here I am fitting the inserts to the ring.
 ( 60 ) 14-Dec-2011
The padouk inserts in the rough.
 ( 61 ) 14-Dec-2011
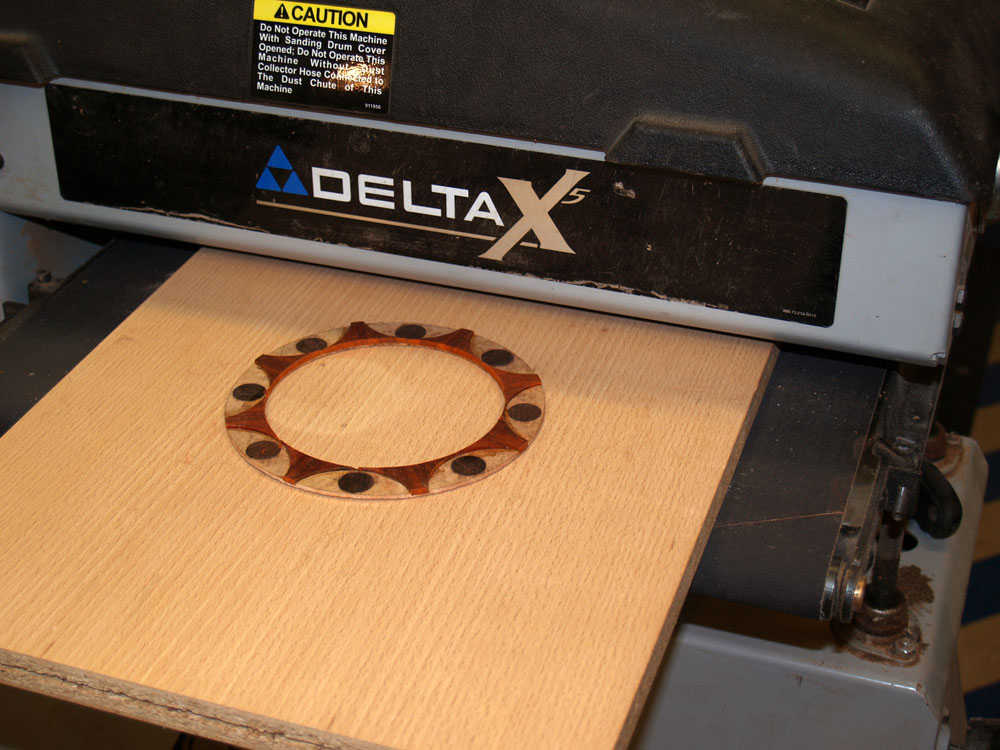
After everything is fitted and glued in place I sand the ring to shape.
 ( 62 ) 14-Dec-2011
And when I am finished... tada.
 ( 63 ) 14-Dec-2011
I have mounted the rough ring on this board so I can pass it through the drum sander to bring everything flush.
 ( 64 ) 14-Dec-2011
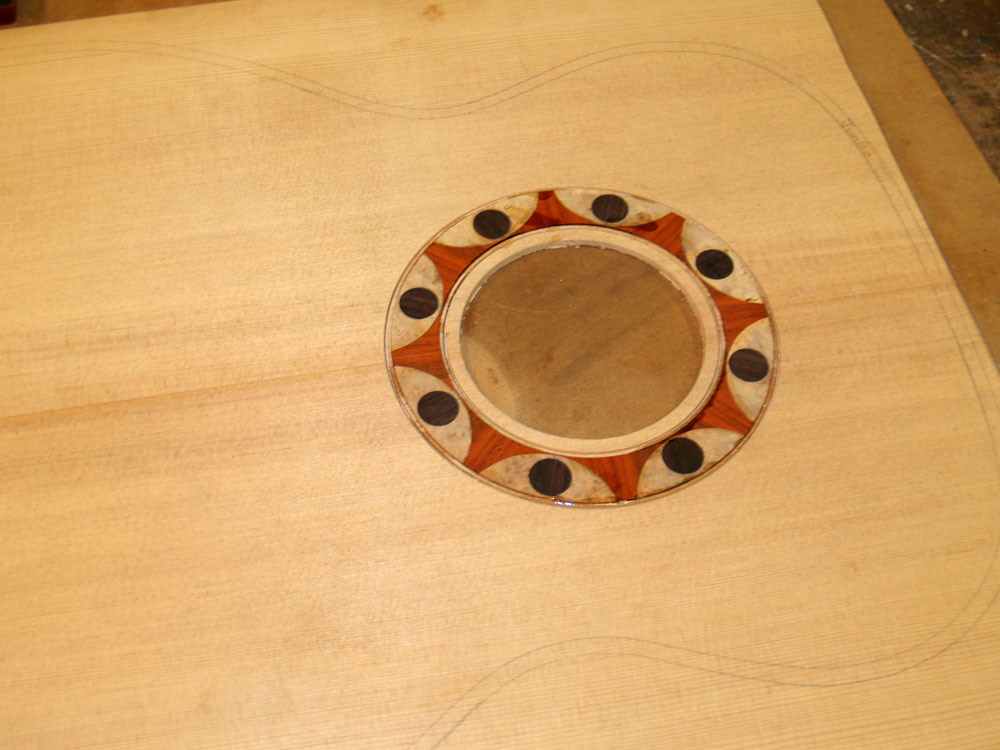
Here I am using my milling machine again to route out the channel in the top plate for the rosette.
 ( 65 ) 14-Dec-2011
The rosette drops right into the channel.
 ( 66 ) 14-Dec-2011
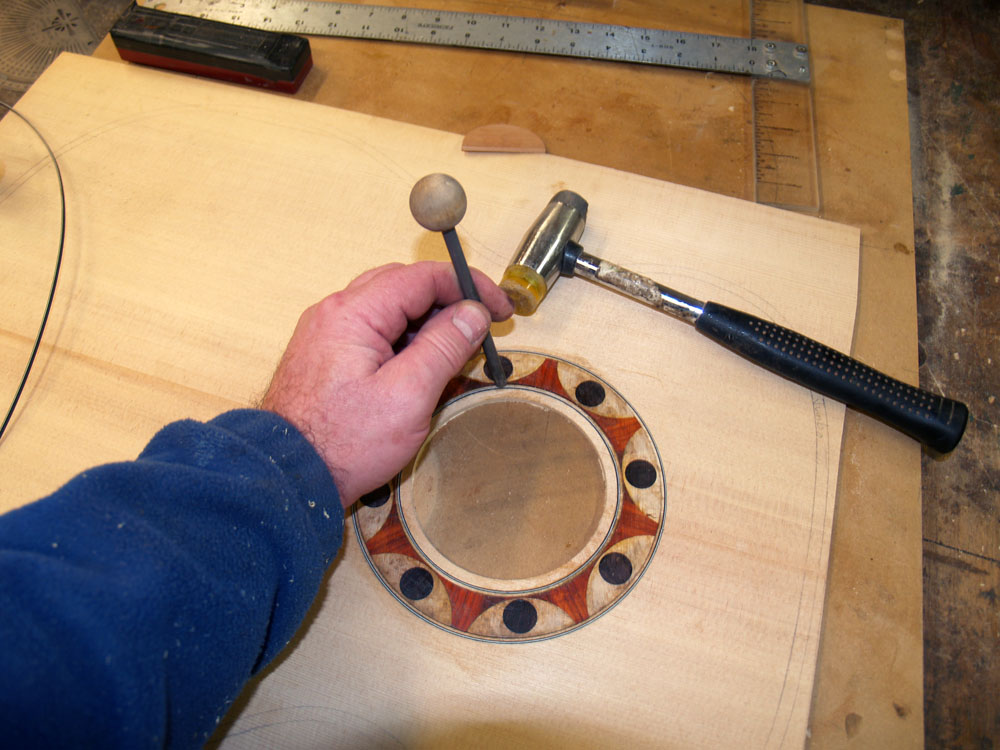
And then I install some pin striping to create an outline for the rosette.
 ( 67 ) 14-Dec-2011
A few more tools of the trade insure a good fit. Do you like oit when I hammer on your guitar?
 ( 68 ) 14-Dec-2011
I use a little cyanoacrylate to glue the pin stripping in place.
 ( 69 ) 14-Dec-2011
Before sanding the rosette flush with the top I cut the top out of the top plate
 ( 70 ) 14-Dec-2011
And into the drum sander to sand the rosette flush with the top.
 ( 71 ) 14-Dec-2011
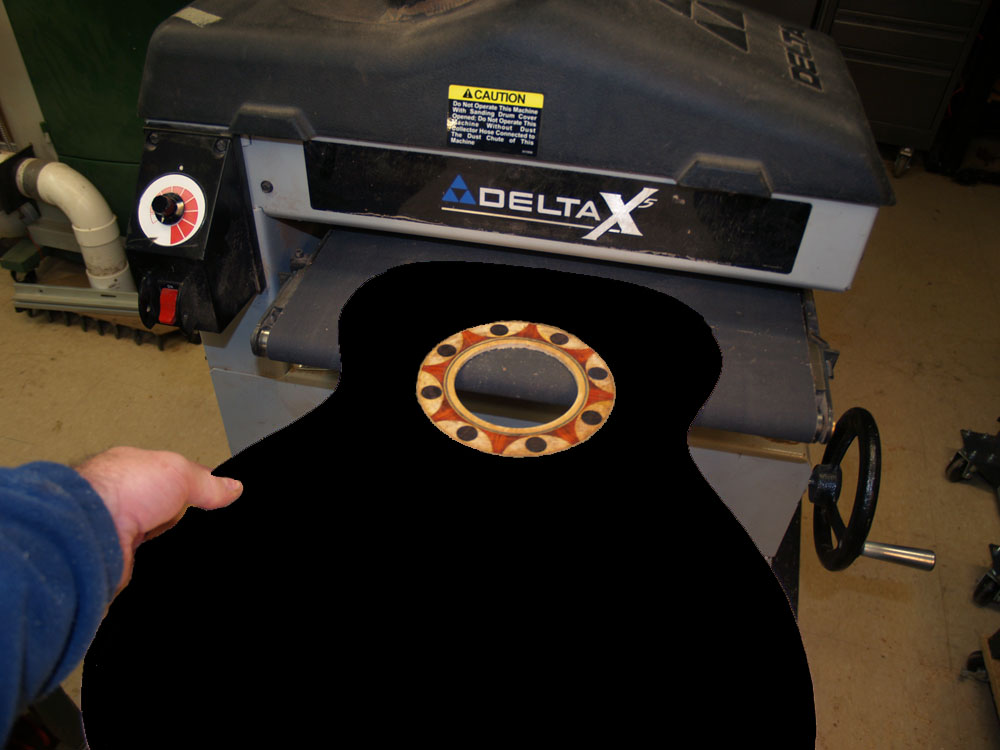
A little bit of magic with PhotoShop gives us an idea of what the rosette will look like when we paint the top black.
 ( 72 ) 14-Dec-2011
And a close up of the rosette with a black top.