 ( 169 ) 5-May-2012
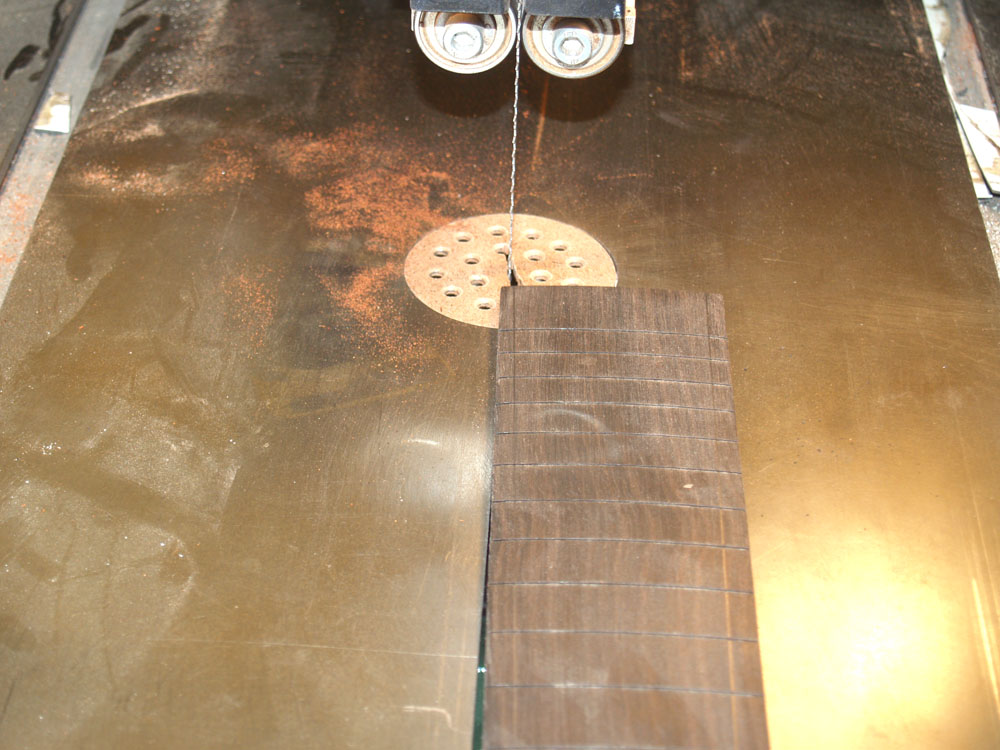
I am now turning my attention toward the fretboard. I have already shaped and slotted the ebony blank, so in this picture I am using the bandsaw to trim the blank to its rough shape.
 ( 169 ) 5-May-2012
I am now turning my attention toward the fretboard. I have already shaped and slotted the ebony blank, so in this picture I am using the bandsaw to trim the blank to its rough shape.
 ( 170 ) 5-May-2012
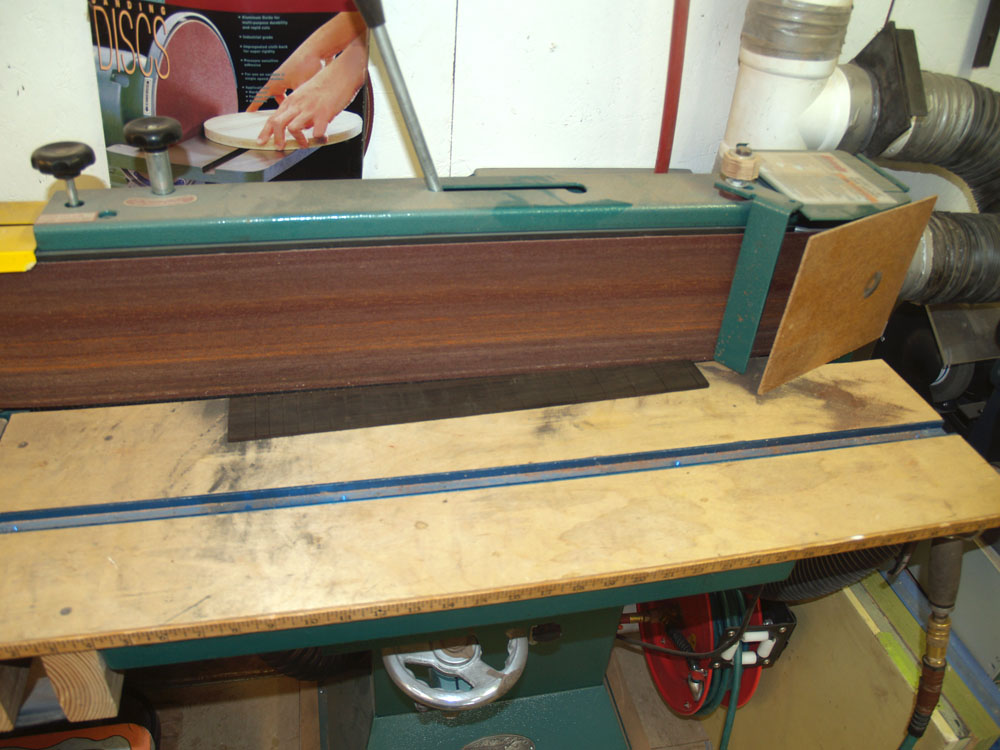
A bit of work with the belt sander brings the board closer to its final shape.
 ( 171 ) 5-May-2012
We are going to trick the fretboard out with lots of pinstriping and binding. Here I am preparing the binding by adding the pinstriping to the Padauk binding.
 ( 172 ) 5-May-2012
I have already dimensioned the headstock ebony veneer. In this picture I am cutting out the headstock shape.
 ( 173 ) 5-May-2012
A bit of work with the oscillating sander finishes up the veneer.
 ( 174 ) 5-May-2012
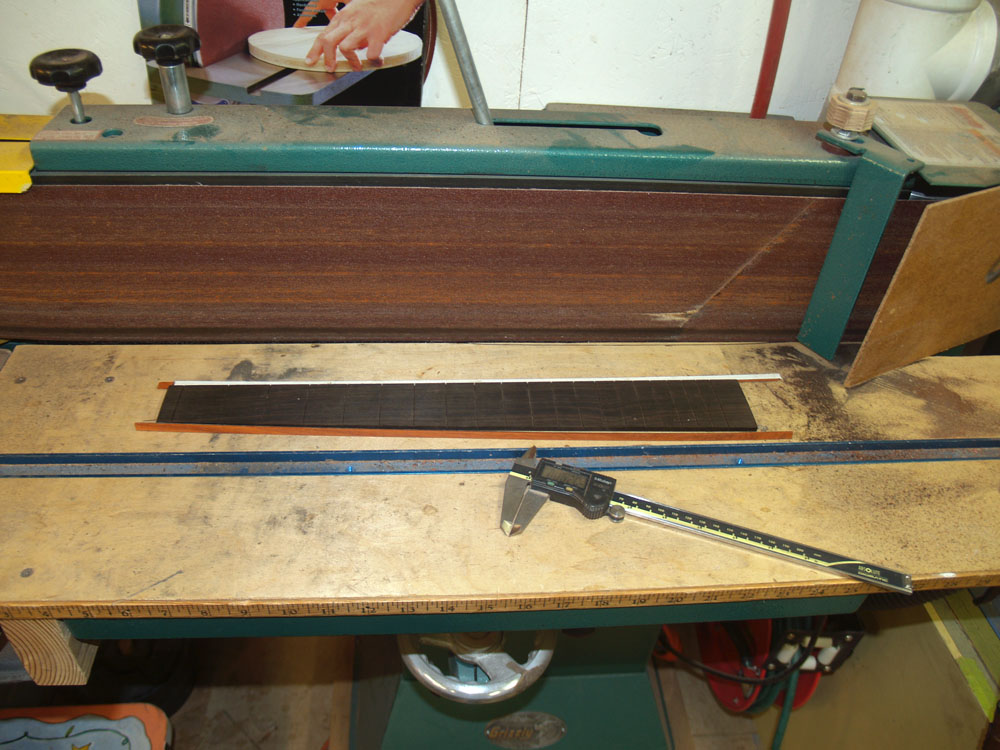
Now I use the belt sander again to trim the fretboard to its final width. I have two dimensions I am shooting for, the nut will be 1.75 inches wide including the binding, and the width at the 14th fret will be 2.25 inches. I have to slowly sneak up on these dimensions making sure I don't over shoot and make the fretboard too narrow.
 ( 175 ) 5-May-2012
Here I am trimming the end of the fretboard.
 ( 176 ) 5-May-2012
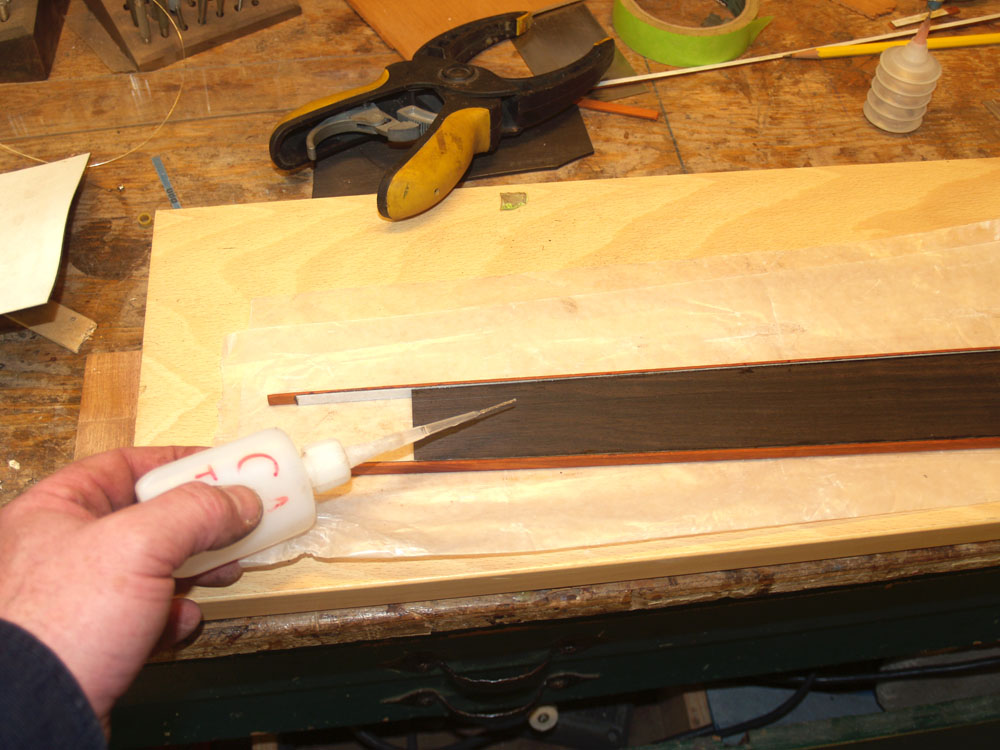
Now with all the pieces prepared I glue the binding to the edges of the fretboard.
 ( 177 ) 5-May-2012
I am careful to make sure the binding fits without and gaps.
 ( 178 ) 5-May-2012
When the glue has set I use the belt sander to clean up the edges.
 ( 179 ) 5-May-2012
A bit of hand sanding and scraping levels the top surface.
 ( 180 ) 5-May-2012
Here I am drawing a line down the middle of the fretboard.
 ( 181 ) 5-May-2012
Making sure I am dead on center I drill the holes for the mother of pearl fretboard dots.
 ( 182 ) 5-May-2012
A bit of CA glue will hold the dots firmly in place.
 ( 183 ) 5-May-2012
And then I sand the dots flush with the surface. A bit of work with 3600 grit polishing cloth brings out a beautiful luster from the dots.
 ( 184 ) 5-May-2012
A quick trip to the bandsaw trims off the fretboard at the nut.
 ( 185 ) 5-May-2012
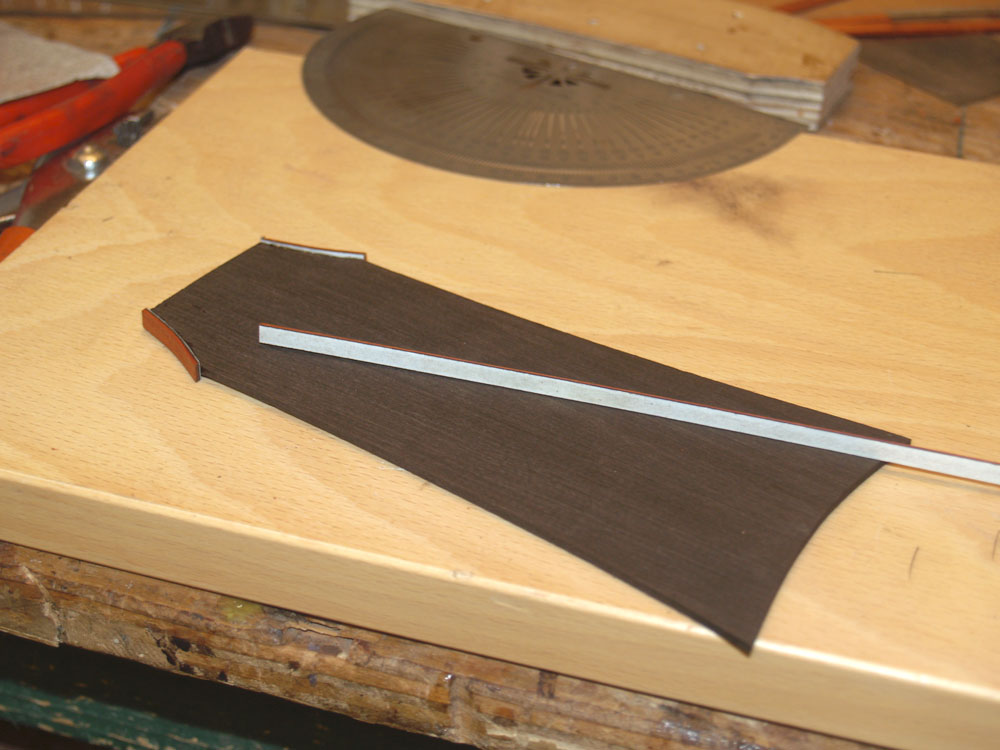
Now I am going to add binding to the headstock veneer. I pay careful attention the the bevels between each piece of binding to make sure all of the pinstriping lines up without any gaps.
 ( 186 ) 5-May-2012
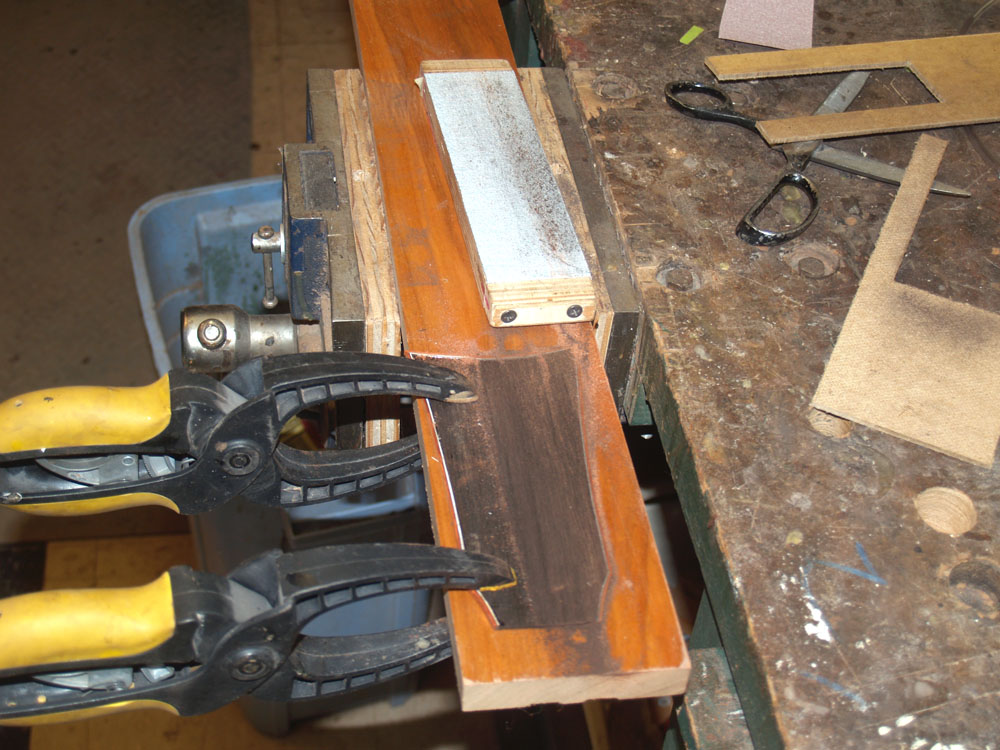
I initially attach the binding strips so they stand proud of the surface, and then I sand and scrape everything flush.
 ( 187 ) 5-May-2012
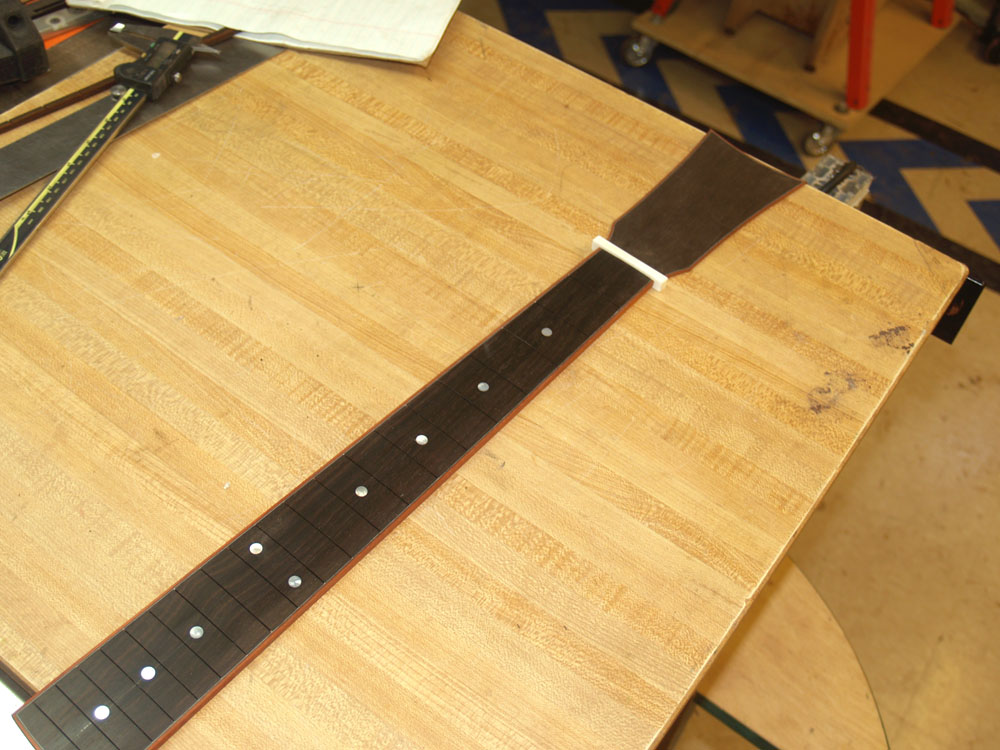
Here I have laid out all of the finished pieces.
 ( 188 ) 5-May-2012
This is the fretwire I use.
 ( 189 ) 5-May-2012
I carefully cut a piece of fretwire for each fret slot making sure each piece is a bit wider than the fretboard. Since the fretboard has binding, the tang on the fretwire doesn't extend to the edge of the fretboard, but rather stops at the inside edge of the binding. However, the crown on the fretwire does extend to the edge of the fretboard. This means that I have to remove the tang where it overlaps the binding. I carefully mark each piece of fretwire where I will trim away the tang.
 ( 190 ) 5-May-2012
I use my small belt sander and a special jig to hold the fretwire at just the right angle to trim away the tang.
 ( 191 ) 5-May-2012
Here you can see a close-up of the fretwire with the tang removed.
 ( 192 ) 5-May-2012
I carefully hammer each piece of fretwire into place making sure that it fully seats to the surface of the fretboard. This is critically important because if there are any high spots on the fretwire we'll end up with a buzzing fret.
 ( 193 ) 5-May-2012
Here is a look at the fretwire installed before I have trimmed off the excess overhang.
 ( 194 ) 5-May-2012
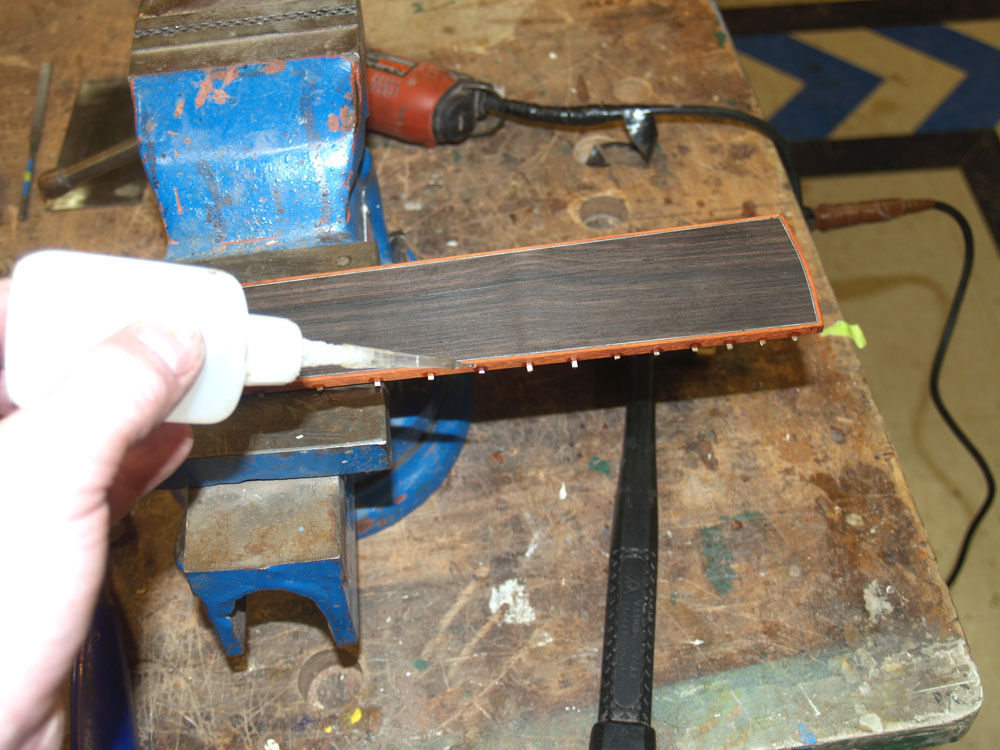
I use a single drop of CA glue on the end of each fret to make sure the ends remain flat against the fretboard and the fretwire doesn't wiggle free.
 ( 195 ) 5-May-2012
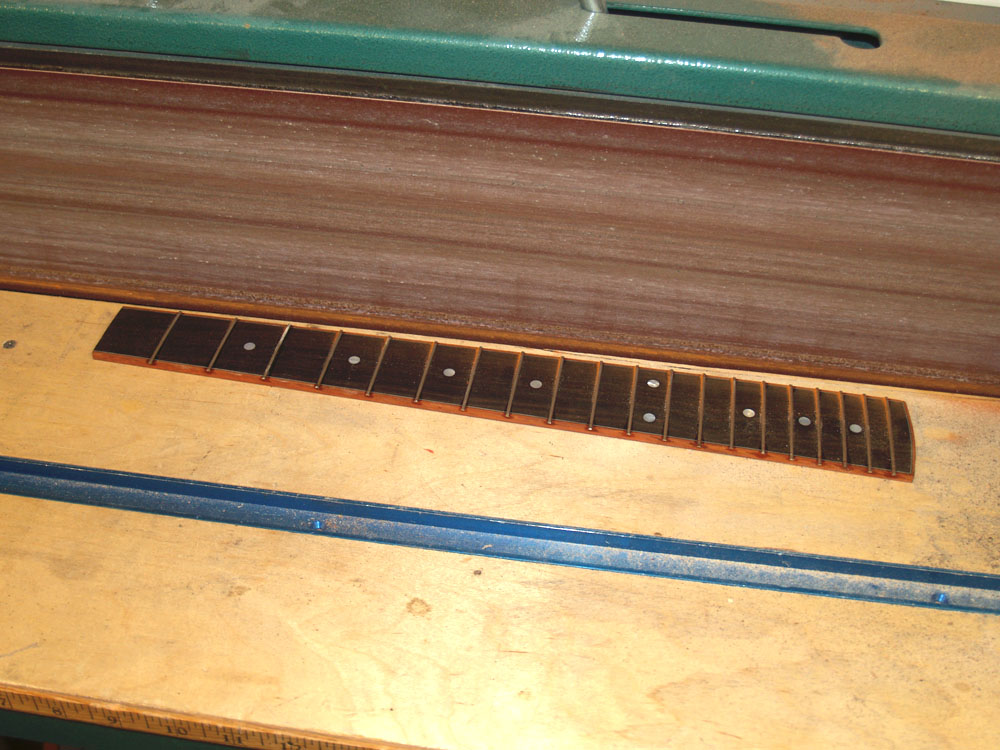
The belt sander trims the ends of the fretwire flush with the side of the fretboard.
 ( 196 ) 5-May-2012
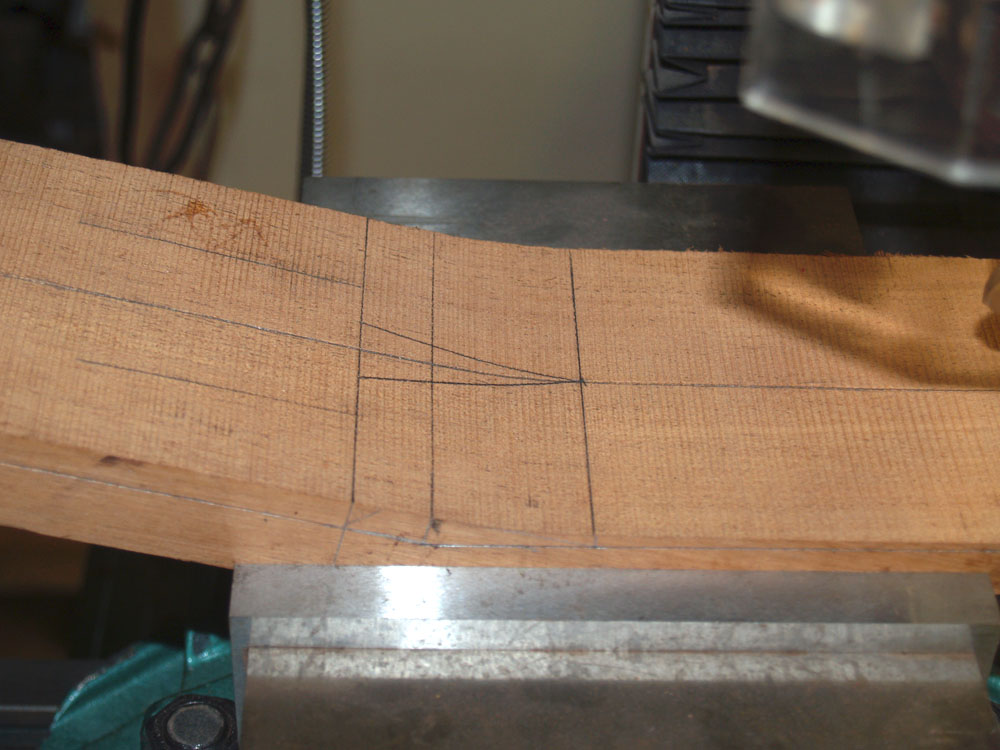
Now I turn my attention back to the neck blank. Here I have laid out all of the important lines on the blank.
 ( 197 ) 5-May-2012
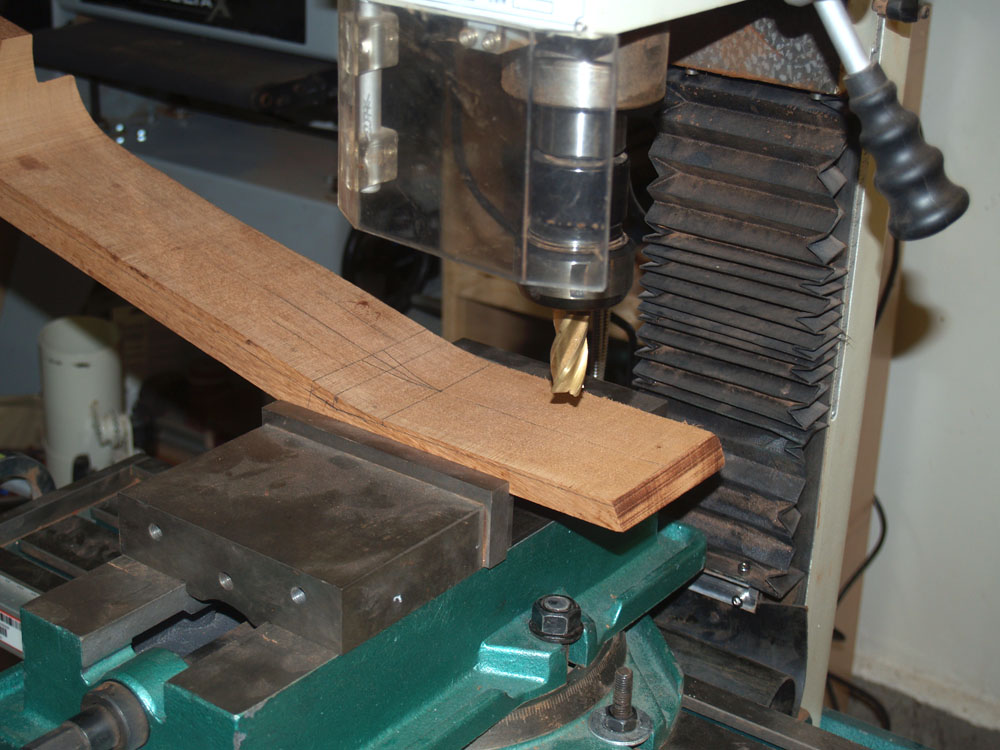
I use my milling machine to start the shaping process.
 ( 198 ) 5-May-2012
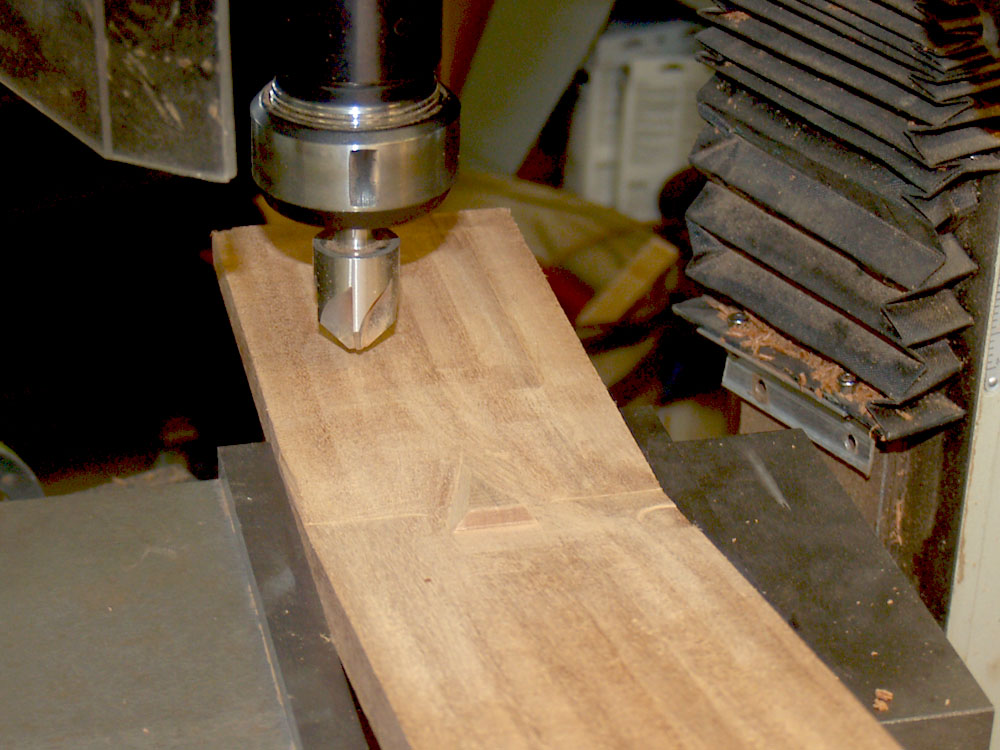
I use this counter bore tool bit to shape part of the volute.
 ( 199 ) 5-May-2012
Back to a bit of work on the fretboard. The neck is going to have a set of pinstriping along the sides. To create this I have glued up a set of black and white fiber sheets that I glue to the bottom of the fretboard. You can see the slot for the truss rod adjustment access. I have started to use these solid sheets of b/w fiber sheets rather than thins strips of pinstriping because it yields a more even, crisp and consistent result.
 ( 200 ) 5-May-2012
The bandsaw trims away the excess.
 ( 201 ) 5-May-2012
When I glue the fretboard to the neck blank I want to ensure that it is located in the exact right position. To do this I use a set of fiducial buttons and holes that will locate the fretboard on the neck blank. This system lets me dry fit everything together and measure for correctness before I get involved with the messy glue.
 ( 202 ) 5-May-2012
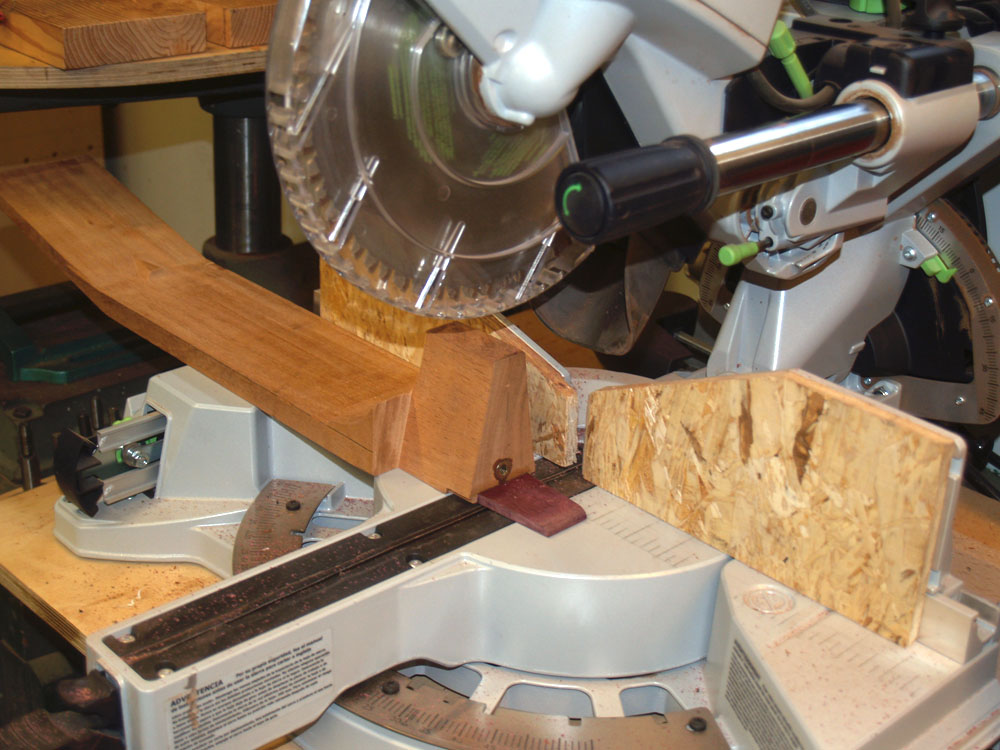
A quick trip to the miter saw trims the end of the neck blank to a 3 degree bevel. This will allow unobstructed movement of the heel in the heel channel as it is adjusted for action.
 ( 203 ) 5-May-2012
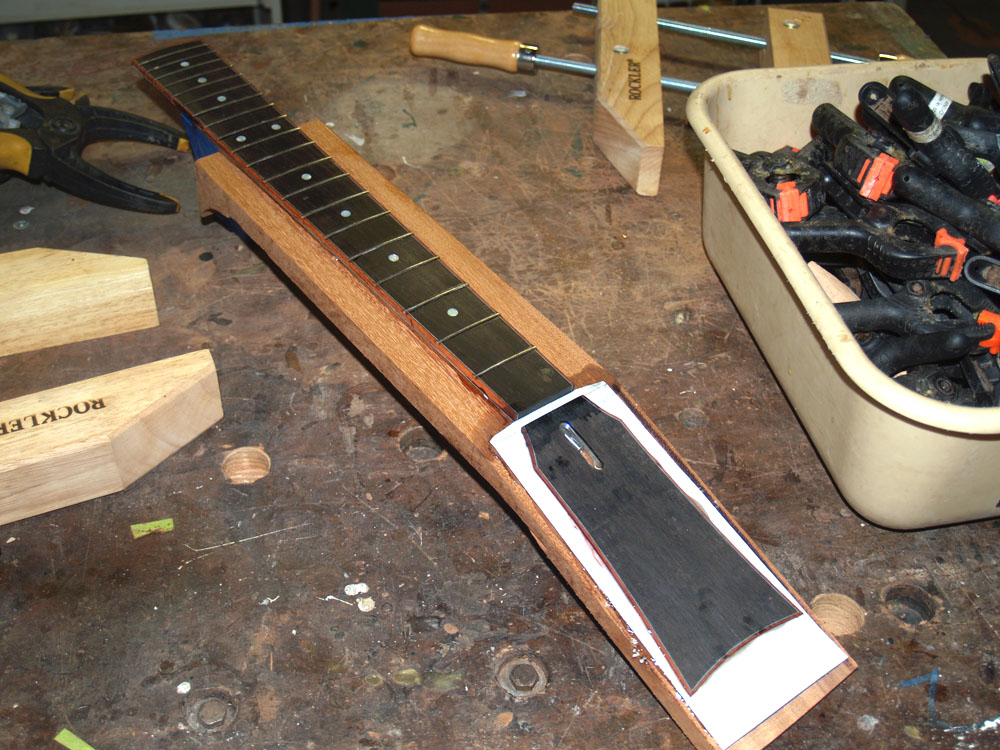
Now with all of the pieces ready I am glue the fretboard and the headstock veneer to the neck blank. I use epoxy to avoid swelling the wood, and lots and lots of clamps to make sure the joint is tight and even.
 ( 204 ) 5-May-2012
After the glue cures overnight I pull off all of the clamps. I try to use just the right amount of glue so there isn't an excessive amount of squeez-out.
 ( 205 ) 5-May-2012
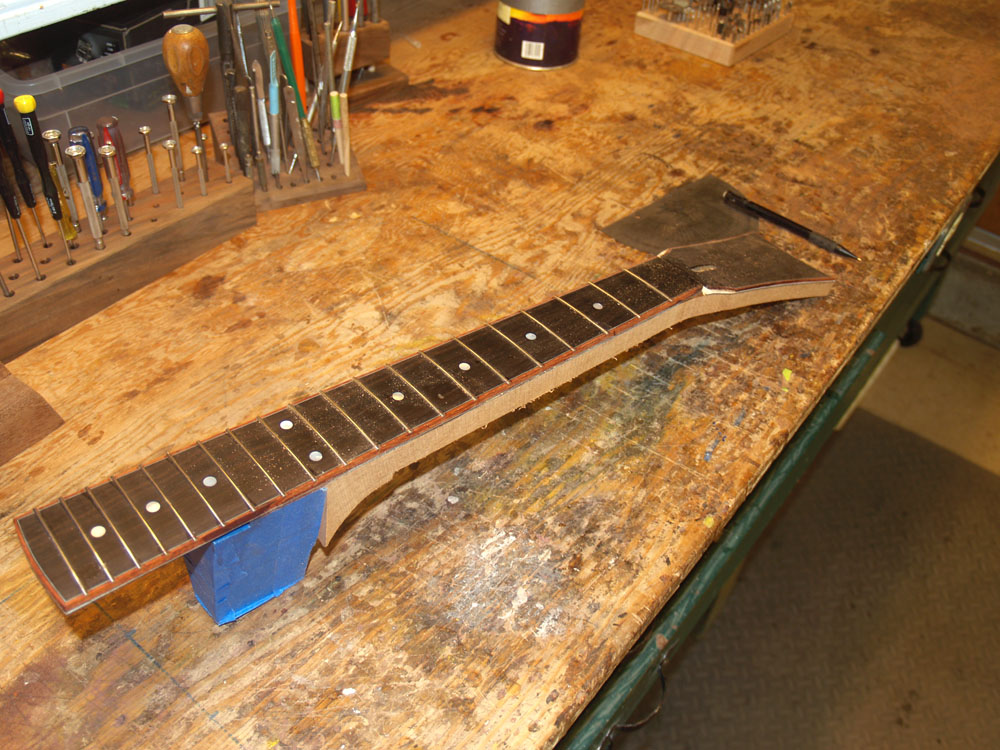
Then I trim off the excess wood.
 ( 206 ) 5-May-2012
It is starting to look like a neck. This process is literally one of gluing a few pieces of wood together and then whittling away everything that doesn't look like a neck.
 ( 207 ) 5-May-2012
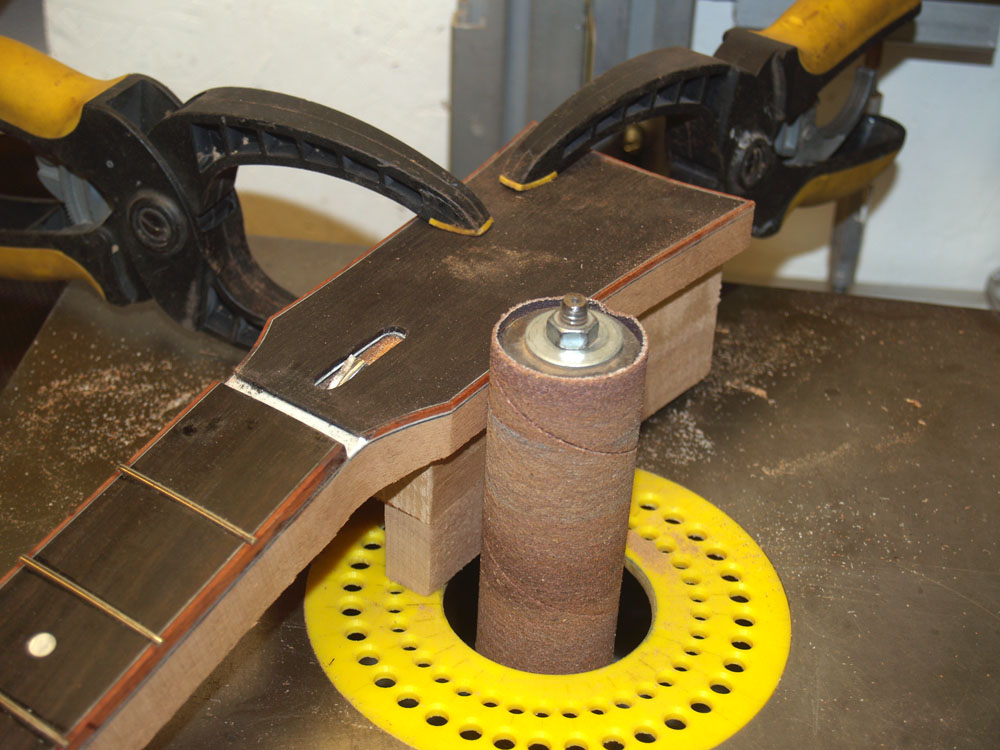
I mount the headstock on a special block and use the oscillating sander to trim the neck blank wood down to the binding.
 ( 208 ) 5-May-2012
A bit of hand sanding and scraping is appropriate.
 ( 209 ) 5-May-2012
I use the idler pulley on the belt sander to rough out the shape of the neck. I have masked off all the areas on the neck that I don't want to sand.
 ( 210 ) 5-May-2012
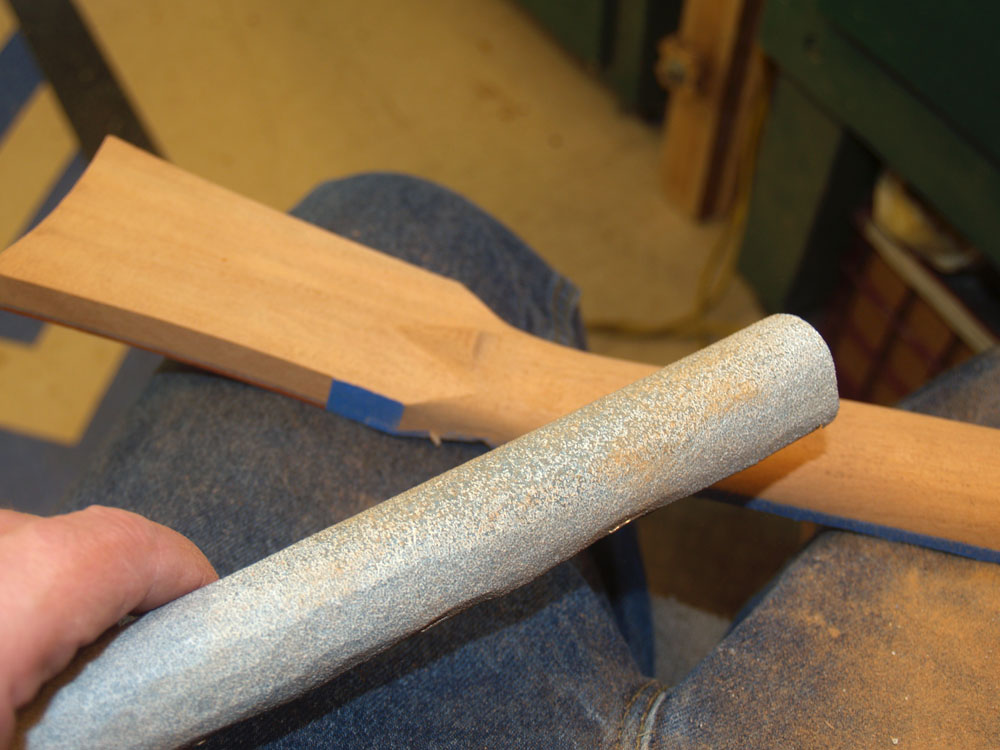
I have lots of specialty sanding blocks I use to shape the different parts of the neck.
 ( 211 ) 5-May-2012
After several hours of work the neck takes shape.
 ( 212 ) 5-May-2012
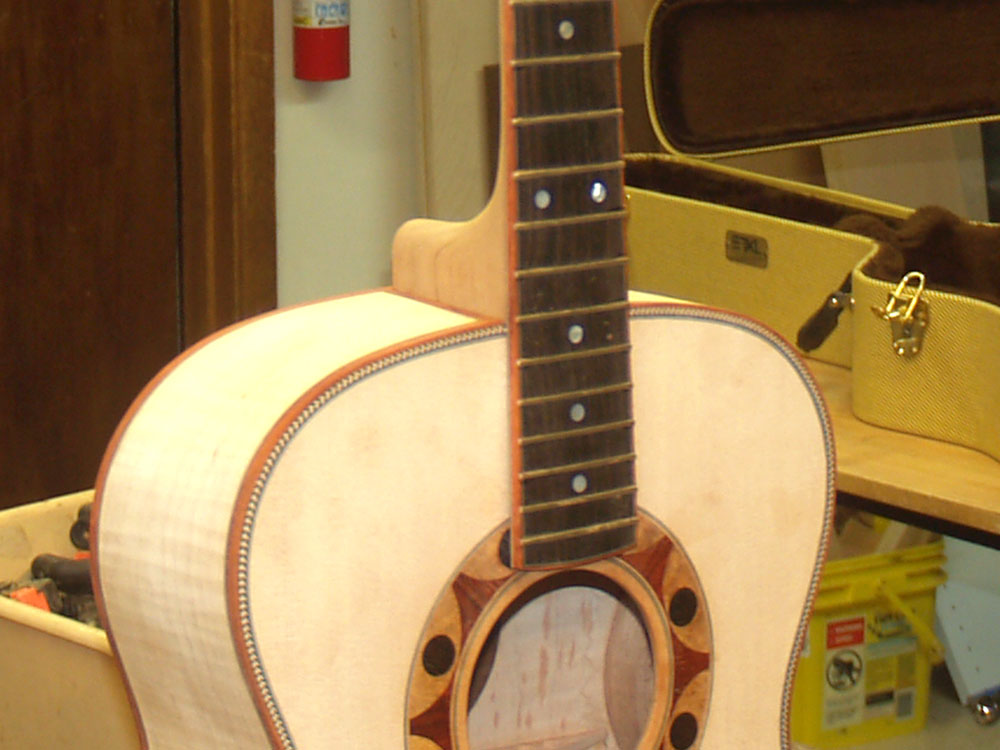
Here I am trimming the binding on the body so I can mount the neck.
 ( 213 ) 5-May-2012
A perfect fit.
 ( 214 ) 5-May-2012
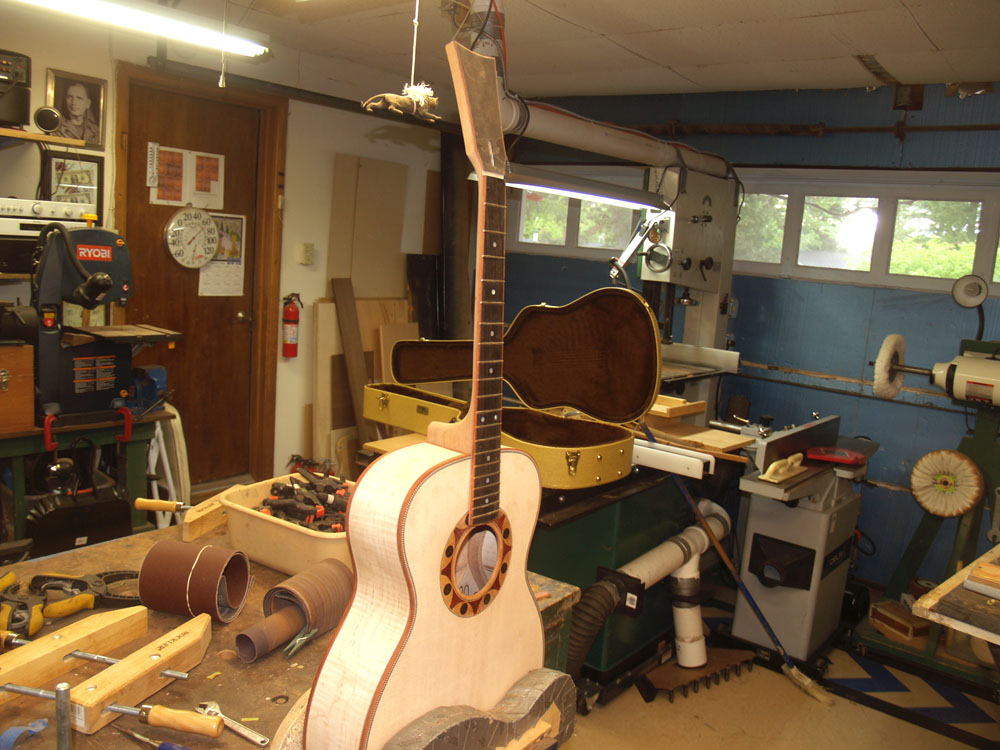
Looking like a guitar.