 ( 116 ) 28-Mar-2012
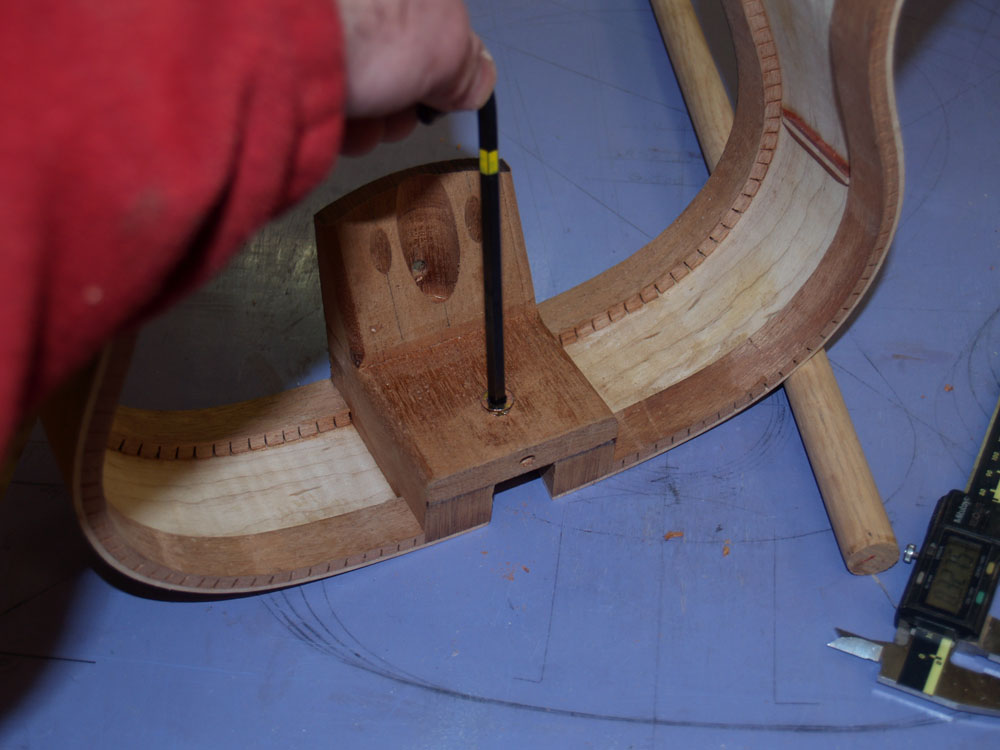
In this picture I am drilling holes in the heel block for the neck attachment hardware.
 ( 116 ) 28-Mar-2012
In this picture I am drilling holes in the heel block for the neck attachment hardware.
 ( 117 ) 28-Mar-2012
These two inserts will have set screws that will act as the fulcrum for the Tilt Action Neck.
 ( 118 ) 28-Mar-2012
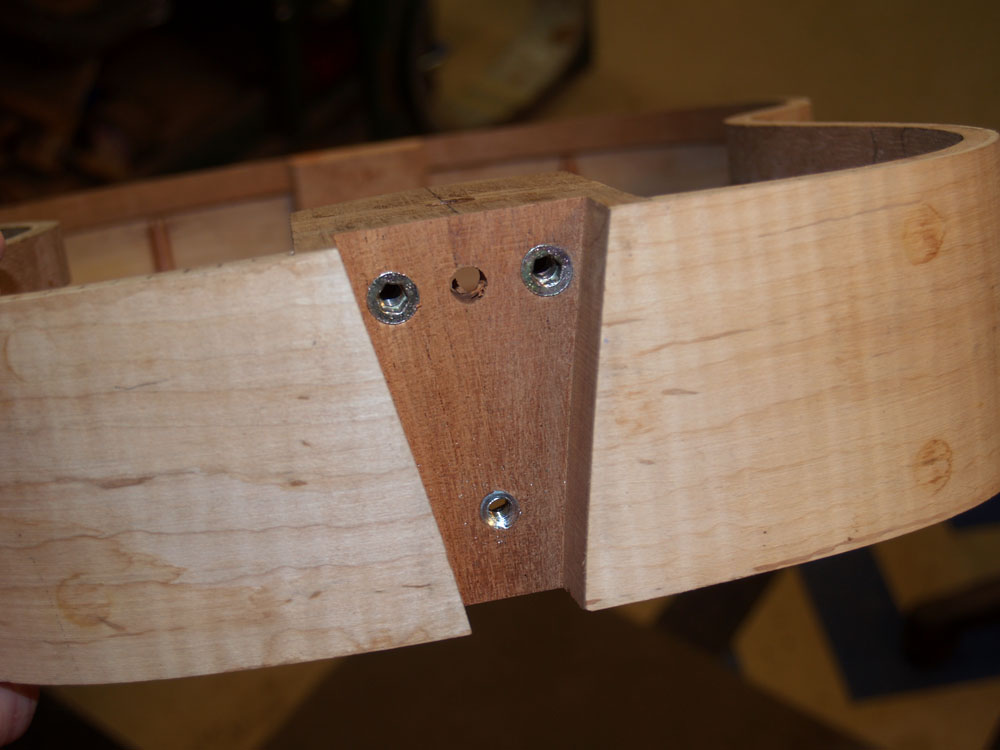
This insert comes in from the back of the heel block and will be for the adjustment bolt.
 ( 120 ) 28-Mar-2012
The neck is mounted on a tripod of bolts. This is a very stable yet adjustable set up.
 ( 121 ) 28-Mar-2012
Before I glue the top and back on I clean up the interior surface of the sides.
 ( 122 ) 28-Mar-2012
And a I sand down the outside surface.
 ( 123 ) 28-Mar-2012
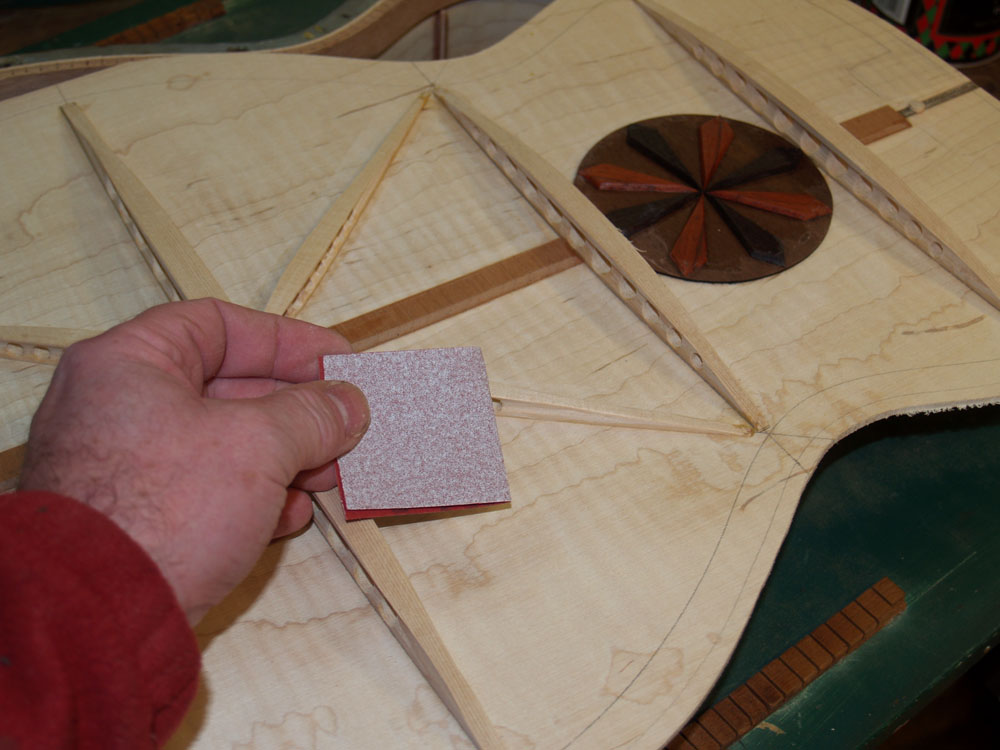
And then the back and top get cleaned up with a bit of sandpaper.
 ( 124 ) 28-Mar-2012
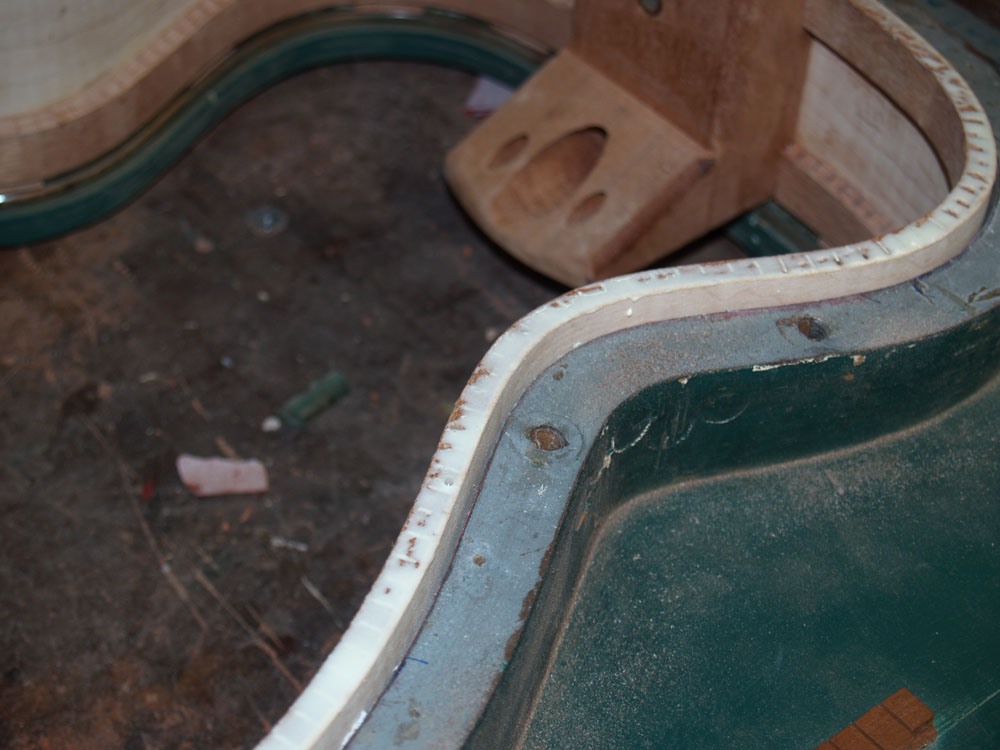
I attach the back first. Here I have mounted the rim in the side form.
 ( 125 ) 28-Mar-2012
I run a bead of glue around the perimeter of the rim.
 ( 126 ) 28-Mar-2012
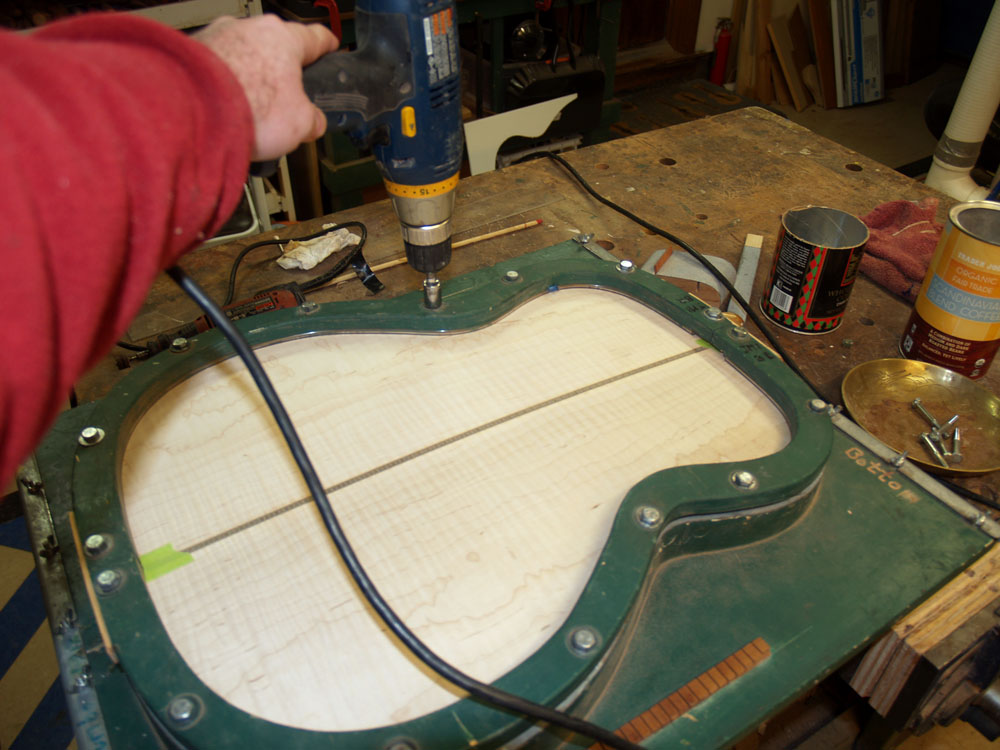
And then I glue the back in place using the back flange.
 ( 127 ) 28-Mar-2012
I flip the form over and use a bit of water and a tooth brush to clean up the glue that squeezes out.
 ( 128 ) 28-Mar-2012
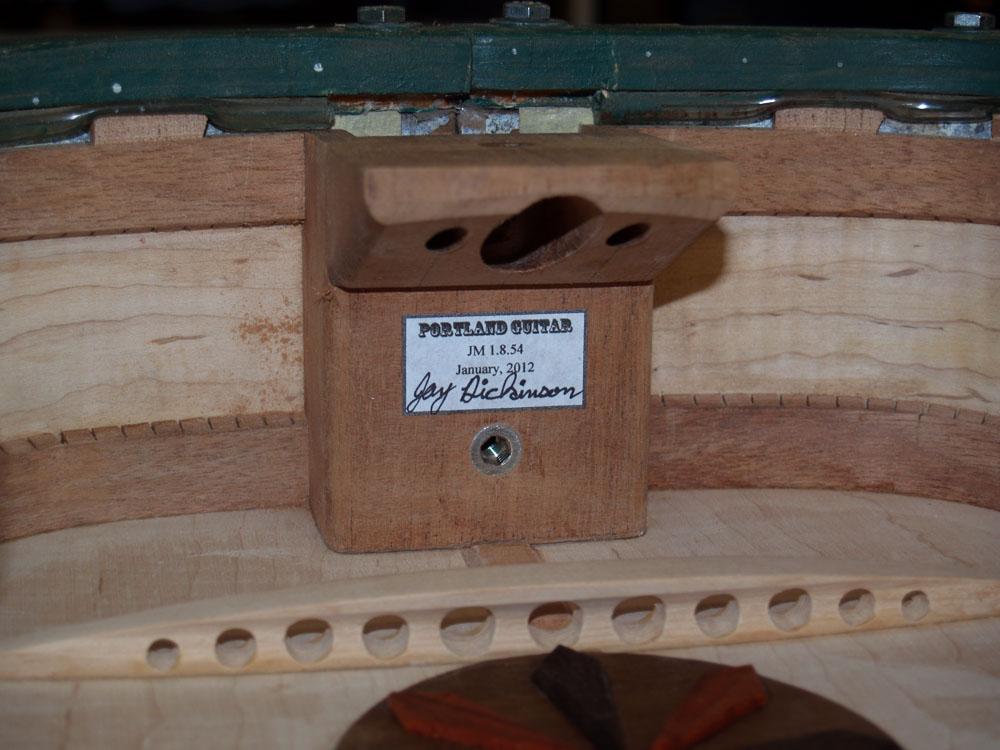
Before I glue the top on I install a label with my signature and model number.
 ( 128 ) 28-Mar-2012
After the glue has dried the rim comes out of the form with the back glued in place.
 ( 129 ) 28-Mar-2012
I use a small router to trim off the over hang from the back.
 ( 130 ) 28-Mar-2012
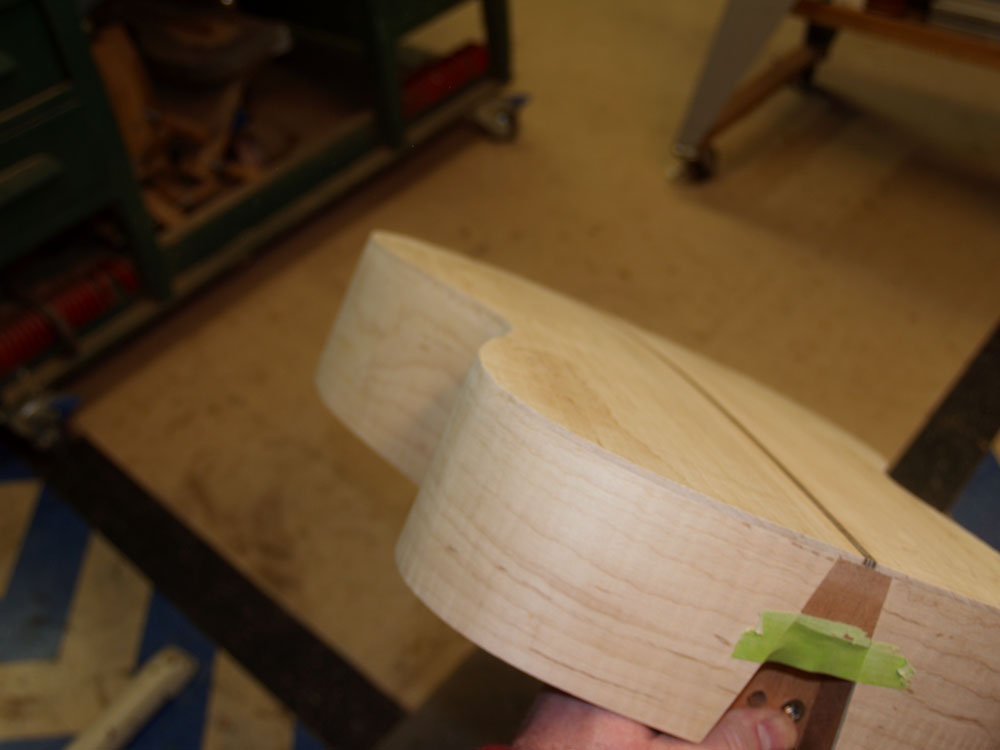
A look at the rim with the back glued on.
 ( 131 ) 28-Mar-2012
Joel wants to be able to plug his guitar into an amp, so we are installing this piezoelectric pickup on the bottom of the bridge plate.
 ( 132 ) 28-Mar-2012
Joel is taking this opportunity to put put a few comments and hand prints on the inside of the body.
 ( 133 ) 28-Mar-2012
Joel had his sons outline their hands.
 ( 134) 28-Mar-2012
A guitar for the ages.
 ( 135 ) 28-Mar-2012
After the top gets glued onto the rim the over hang gets trimmed off.
 ( 136 ) 28-Mar-2012
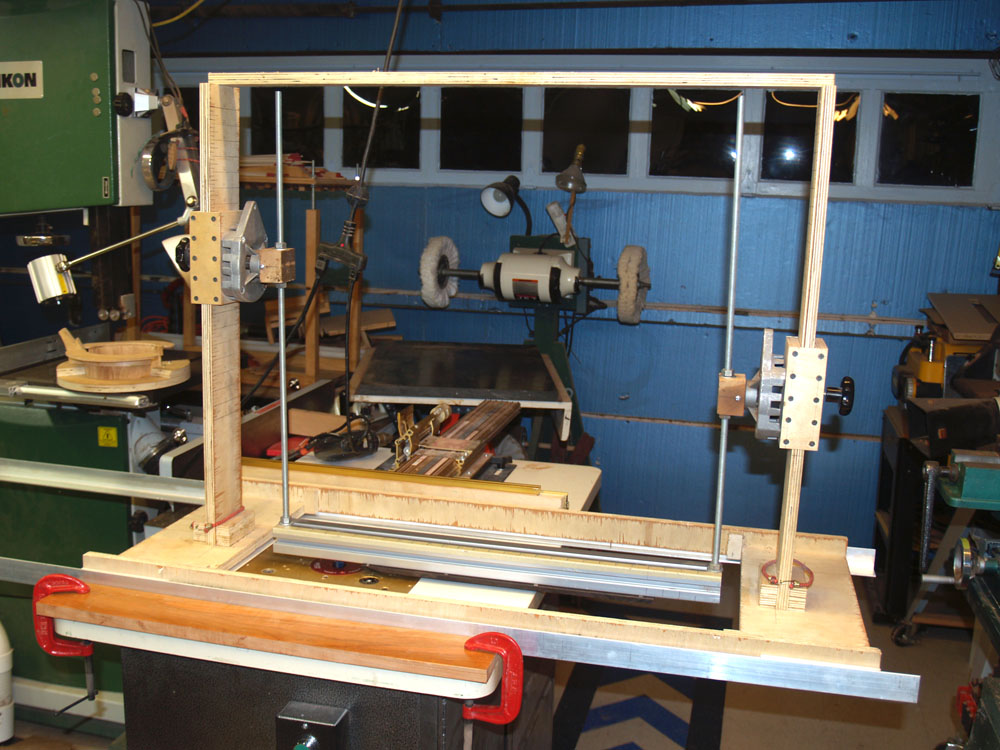
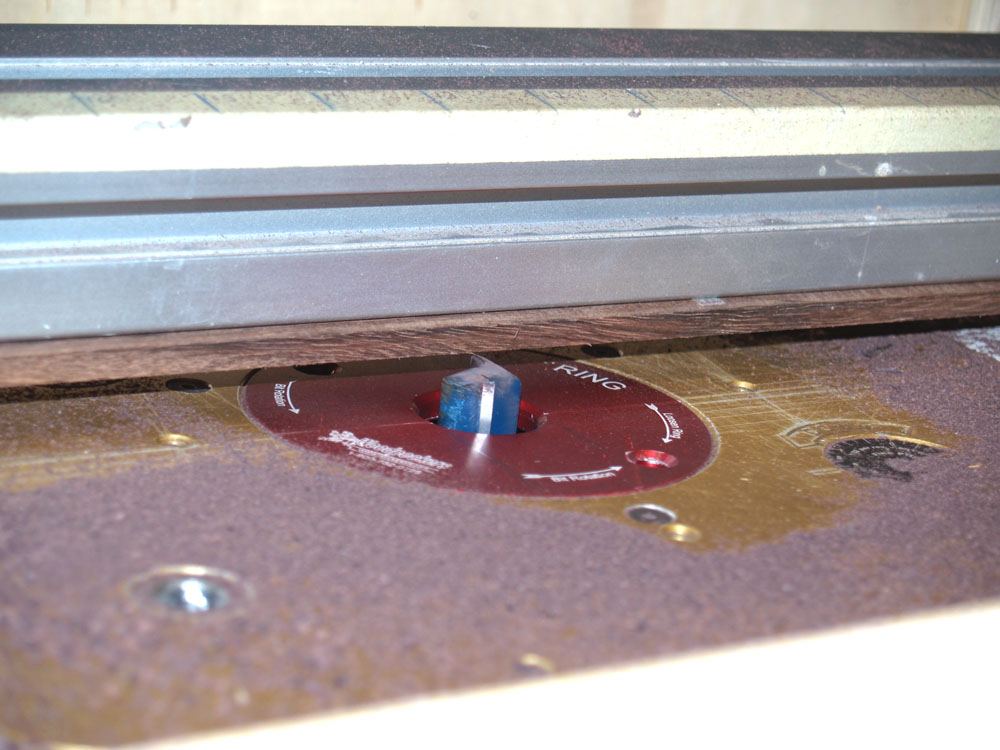
A bit of a change in direction here. I have attached the fretboard blank to the bottom of my Universal Radiusator. This tool lets me route a compound radius of any dimension onto the fretboard.
 ( 137 ) 28-Mar-2012
This tool is essentially a swing with two arms of different length mounted on a slide.
 ( 138 ) 28-Mar-2012
As the cross bar swings back and forth and the sled slides along, the router bit cuts an arc onto the bottom of the fretboard blank.
 ( 139 ) 28-Mar-2012
A little hand sanding removes the milling marks.
 ( 140 ) 28-Mar-2012
And a quick trip through the drum sander brings the thickness of the fretboard to its final dimension.
 ( 141 ) 28-Mar-2012
Here is a look at the radius on the fretboard.
 ( 142 ) 28-Mar-2012
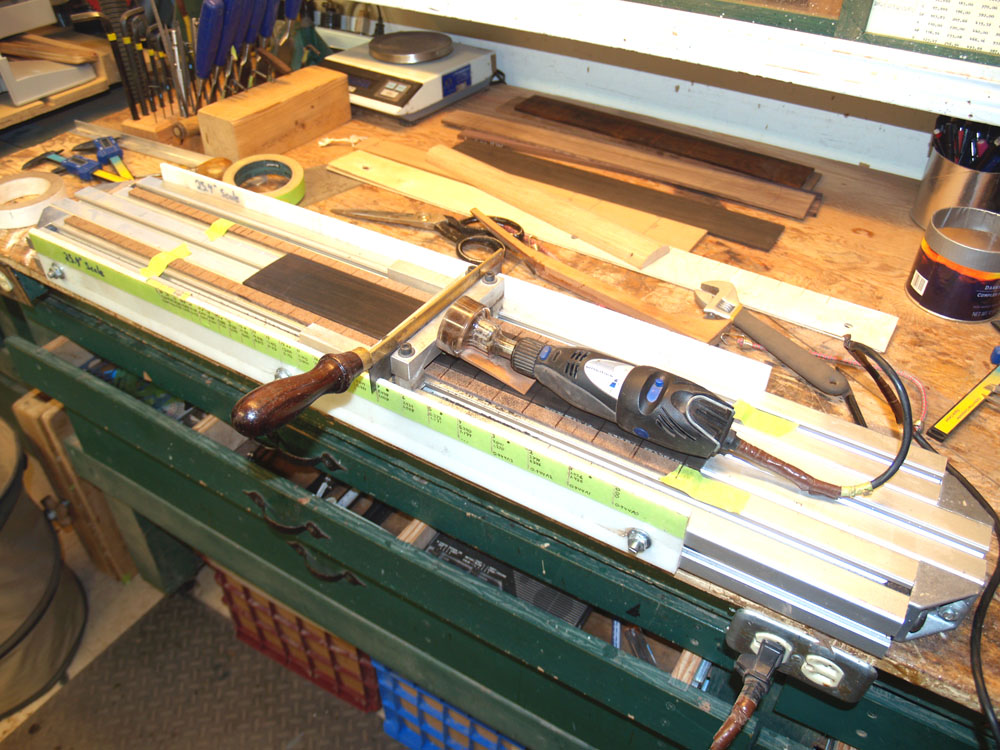
The next process cuts the fretwire slots into the fretboard. This tool uses a set of templates to index the position of a small circular saw that cuts the fret slots.
 ( 143 ) 28-Mar-2012
I check each slot to make sure the fretwire will fit flat to the surface.
 ( 144 ) 28-Mar-2012
Now I am preparing the neck blank. I start by sanding the fretboard surface flat.
 ( 145 ) 28-Mar-2012
And then I route a slot for the truss rod.
 ( 146 ) 28-Mar-2012
And then I trim the end off.
 ( 147 ) 28-Mar-2012
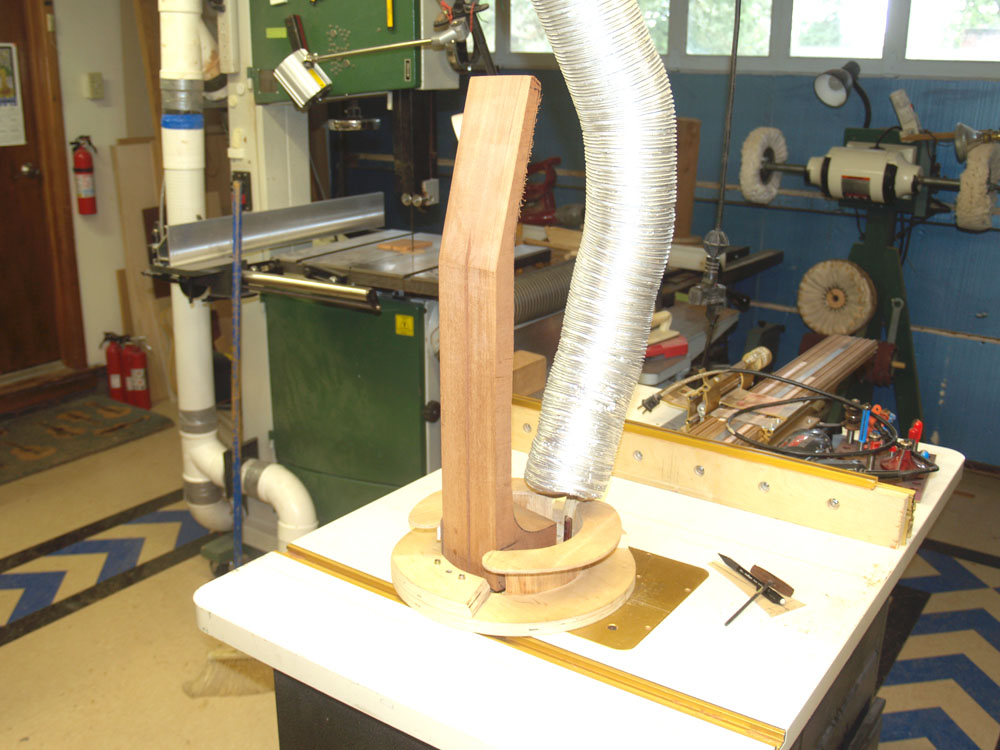
I attach the neck blank to this special fixture that will guide the shaping of the heel.
 ( 148 ) 28-Mar-2012
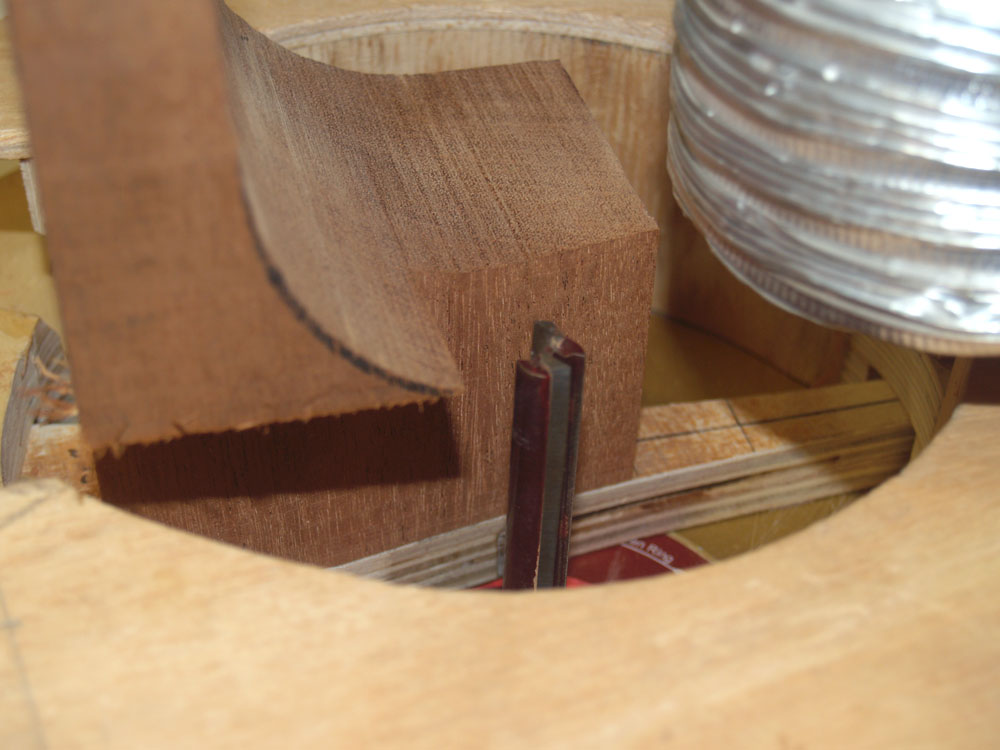
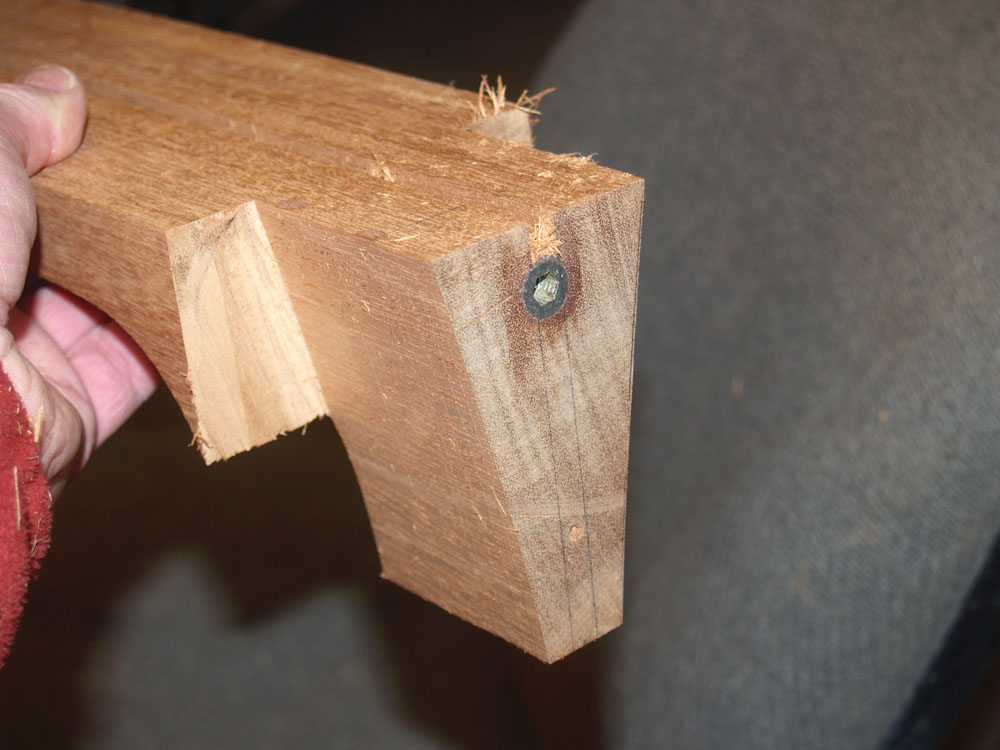
I use this very big and scary router bit to route away the heel of the neck.
 ( 149 ) 28-Mar-2012
A look at the shape of the heel.
 ( 150 ) 28-Mar-2012
I then use my milling machine to route out some of the details in the end of the neck blank.
 ( 151 ) 28-Mar-2012
These details will hold the fretboard cantilever brace and the hidey wings.
 ( 152 ) 28-Mar-2012
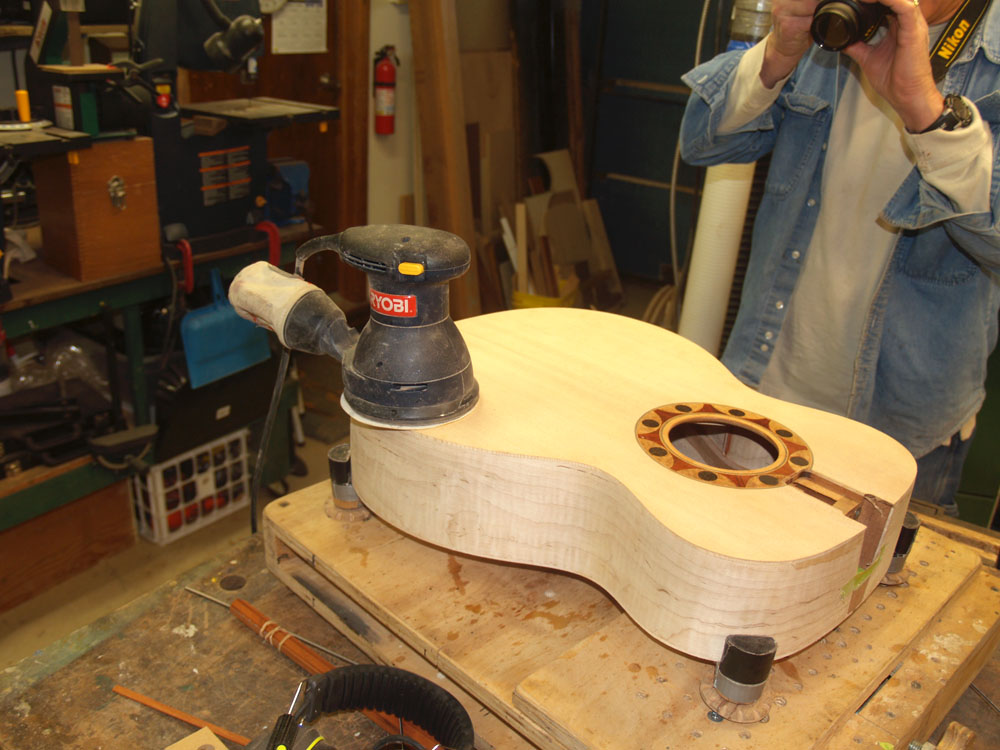
Before I route the channels for the binding I sand down the perimeter of the top to allow it to vibrate a bit easier.
 ( 153 ) 28-Mar-2012
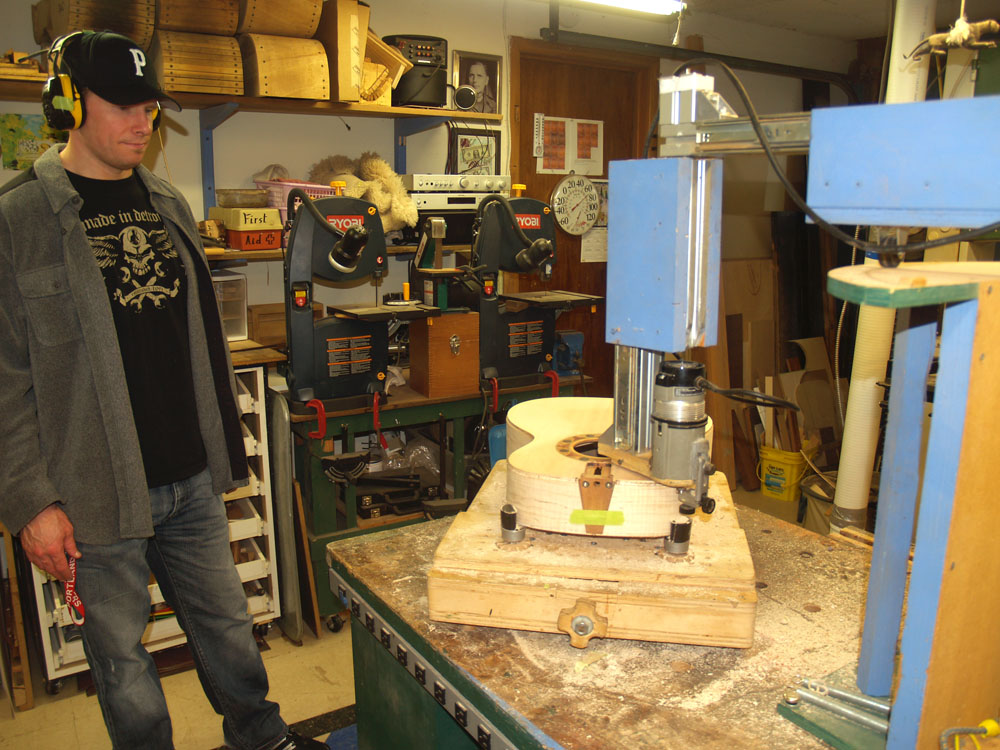
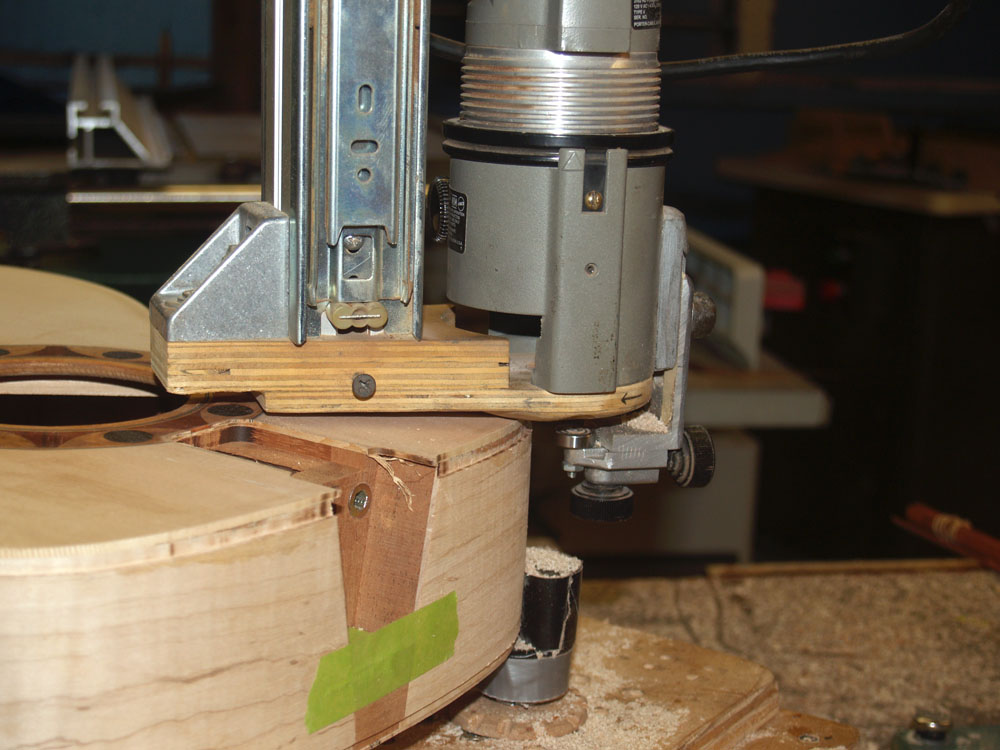
We set up the body of the guitar in the Universal Bindalator. This tool hold the router parallel to the sides while allowing router to freely move around the perimeter.
 ( 154 ) 28-Mar-2012
I can adjust the depth of the cut with the guide wheel.
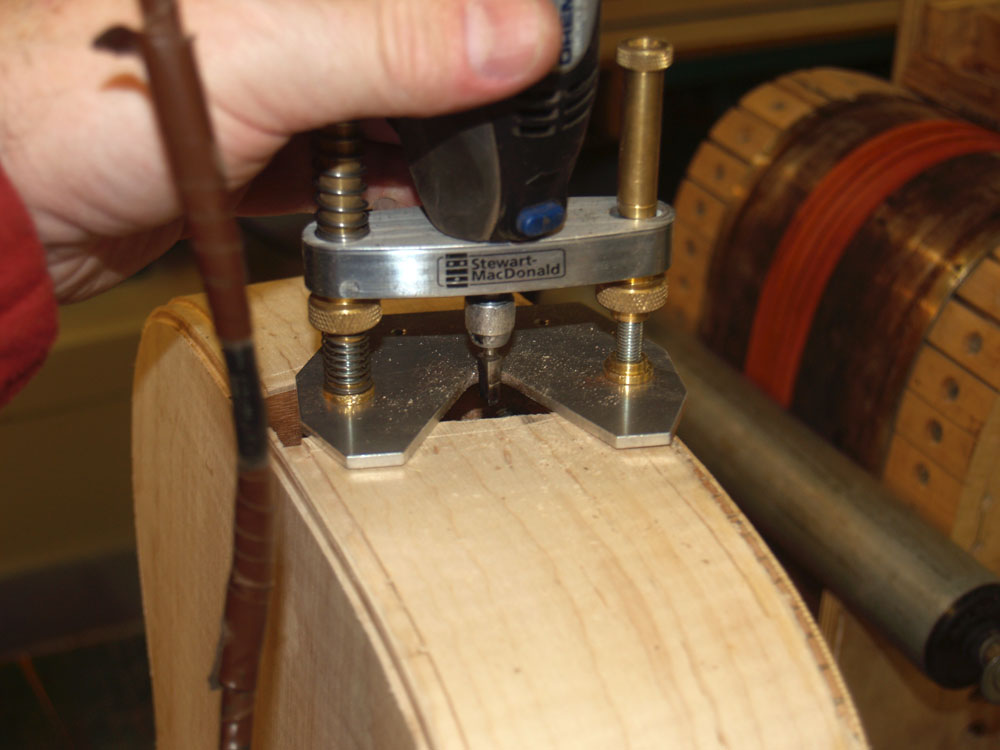 ( 155 ) 28-Mar-2012
The channels for the heel frame gets cut with this small router.
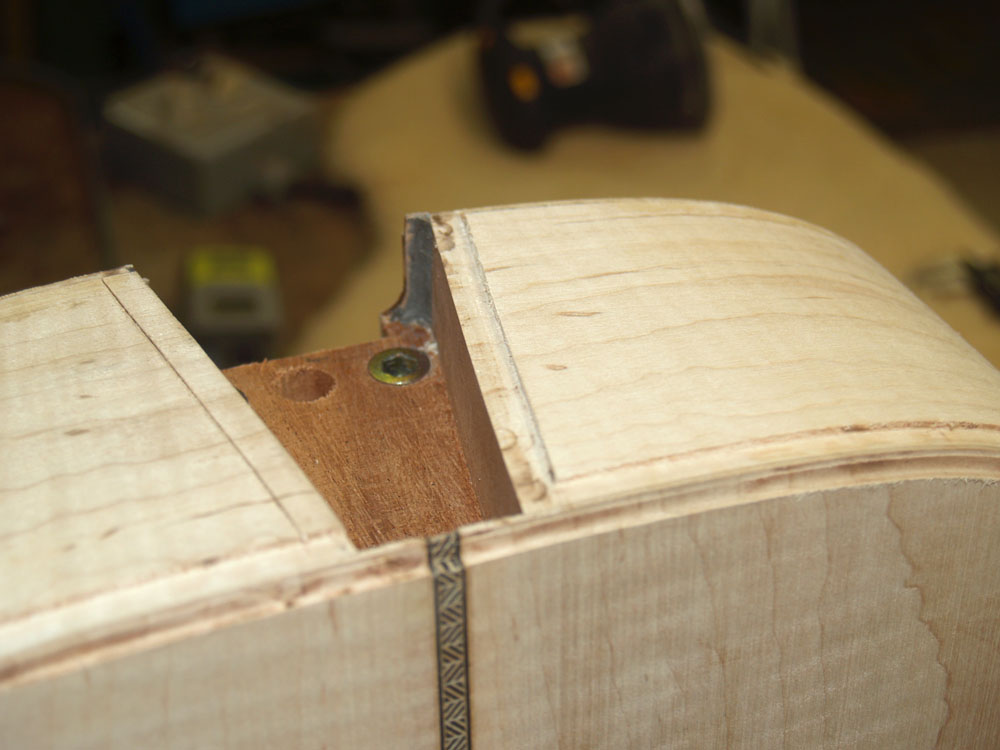 ( 156 ) 28-Mar-2012
And here is a look at the results of all this router work.
 ( 157 ) 28-Mar-2012
I start installing the purfling first, working from the inside to the outside. I like to install one strip of purfling at a tine to ensure that everything is fitting perfectly.
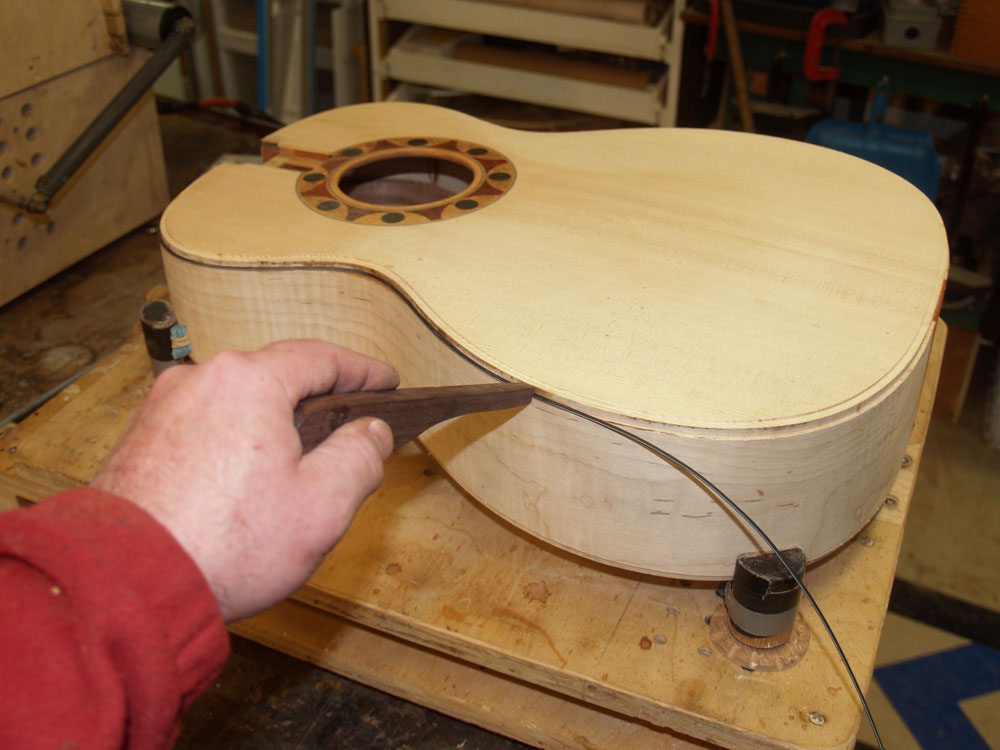 ( 158 ) 28-Mar-2012
Here I am installing the b/w/b pinstriping.
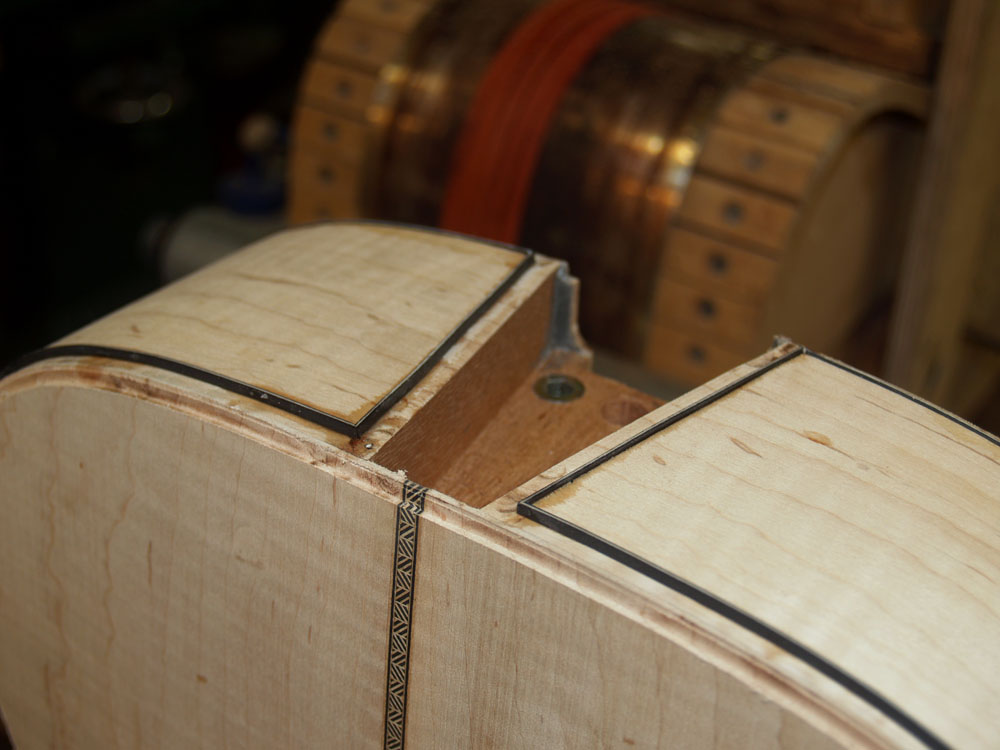 ( 159 ) 28-Mar-2012
Here is a look at the pinstriping in place.
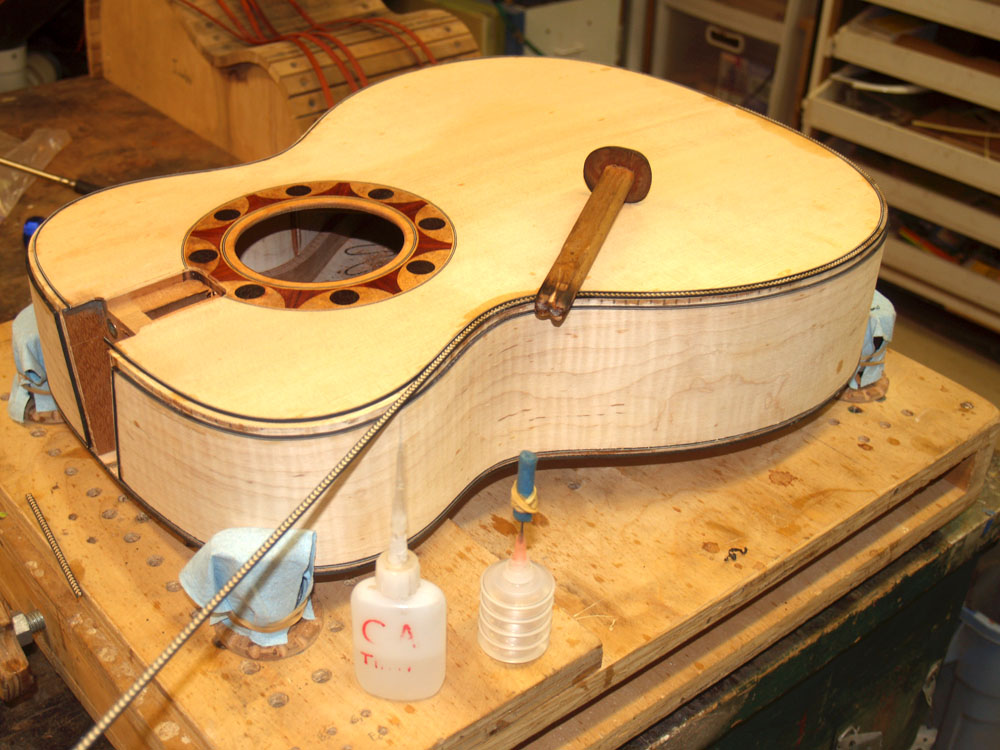 ( 160 ) 28-Mar-2012
Next I install the herringbone purfling.
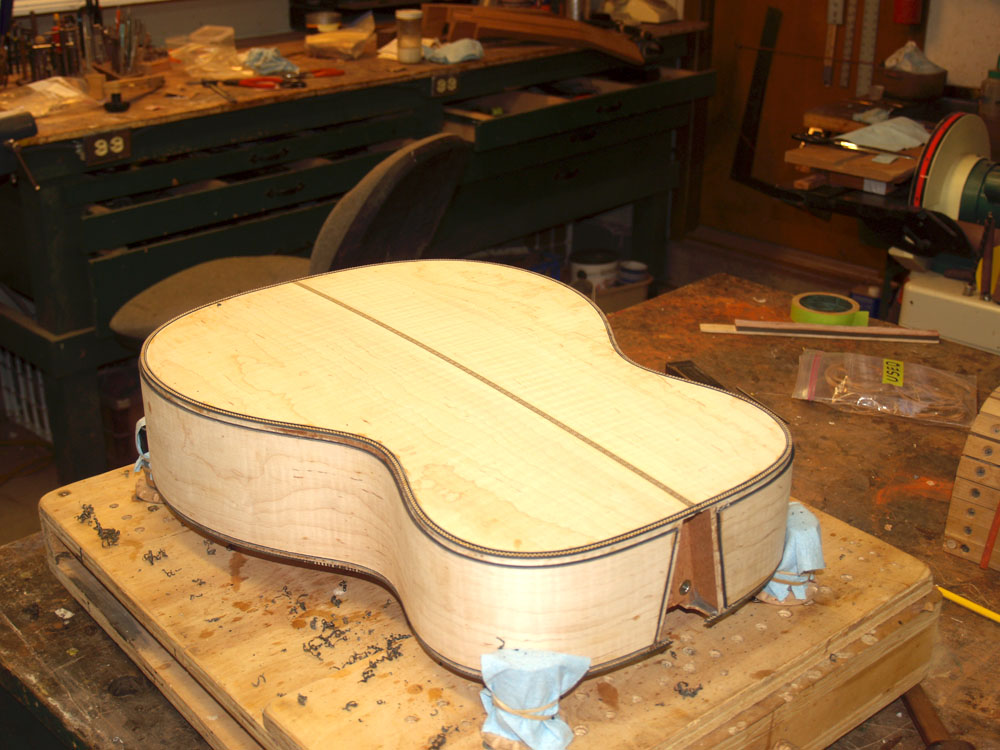 ( 161 ) 28-Mar-2012
We are installing the herringbone on the top and the back.
 ( 162 ) 28-Mar-2012
I mount the neck into its channel to make sure the framing fits perfectly.
 ( 163 ) 28-Mar-2012
And here I am installing the Padouk binding.
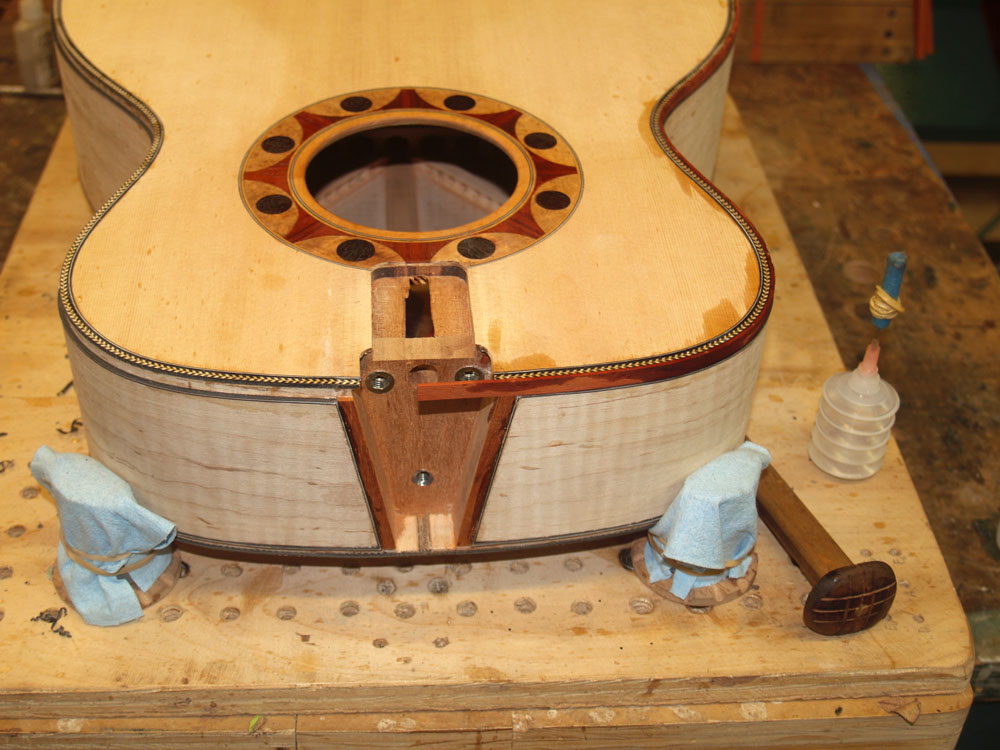 ( 164 ) 28-Mar-2012
A look at one strip of the binding in place.
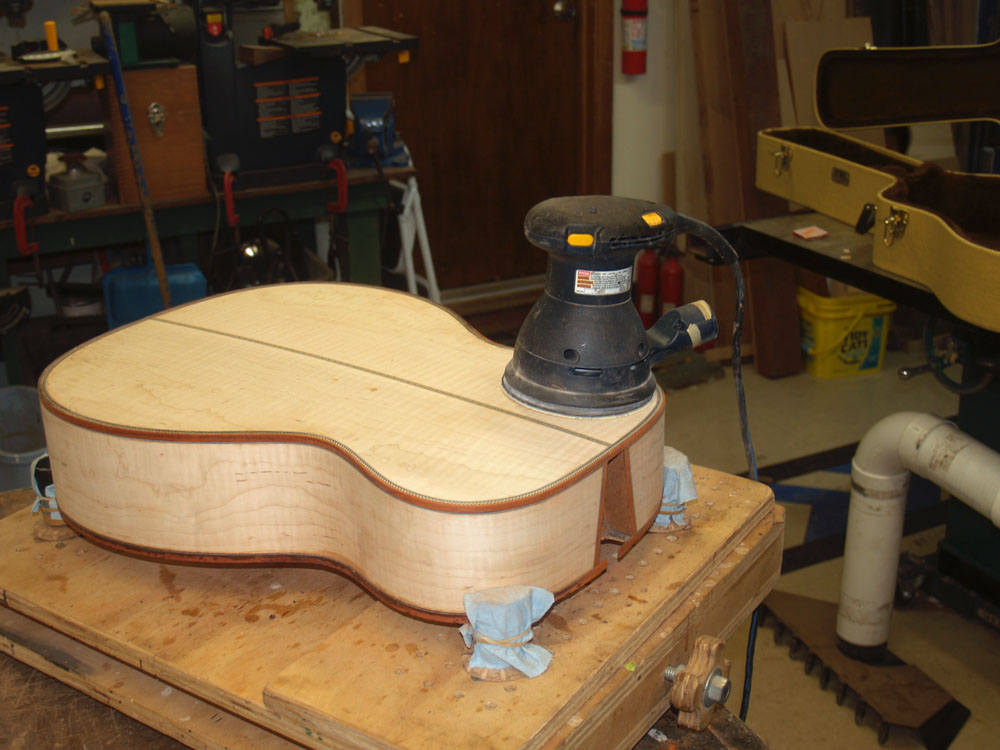 ( 165 ) 28-Mar-2012
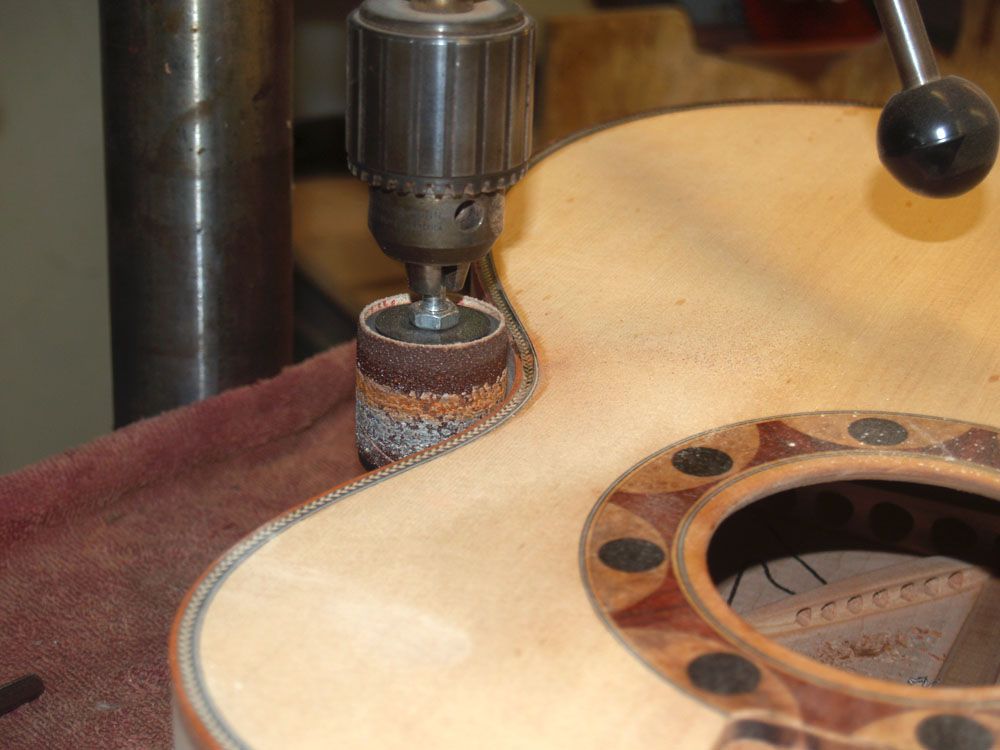
After all of the binding and purfling is glued in place, I sand everything flush.
 ( 166 ) 28-Mar-2012
I use a drum sander and a few other tools to get the edges to line up.
 ( 167 ) 28-Mar-2012
And here is a look at the results with a bit of PhotoShop magic.
 ( 168 ) 28-Mar-2012
Another look with a little magic.