 ( 1 ) 16-Nov-2011
Here's Joel holding the pieces of flamed maple he has chosen for the back and sides of his guitar.
 ( 1 ) 16-Nov-2011
Here's Joel holding the pieces of flamed maple he has chosen for the back and sides of his guitar.
 ( 2 ) 16-Nov-2011
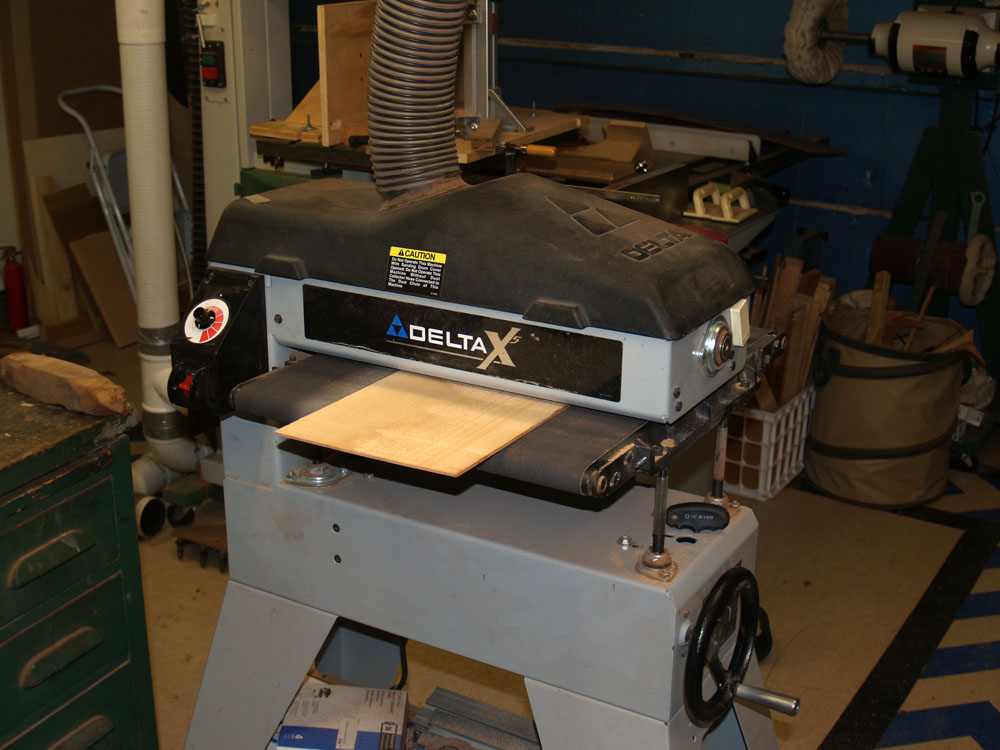
The first thing we do is reduce the thickness of the backs to about 100 mils (1mil = 1/1000 inch) thick using my drum sander.
 ( 3 ) 16-Nov-2011
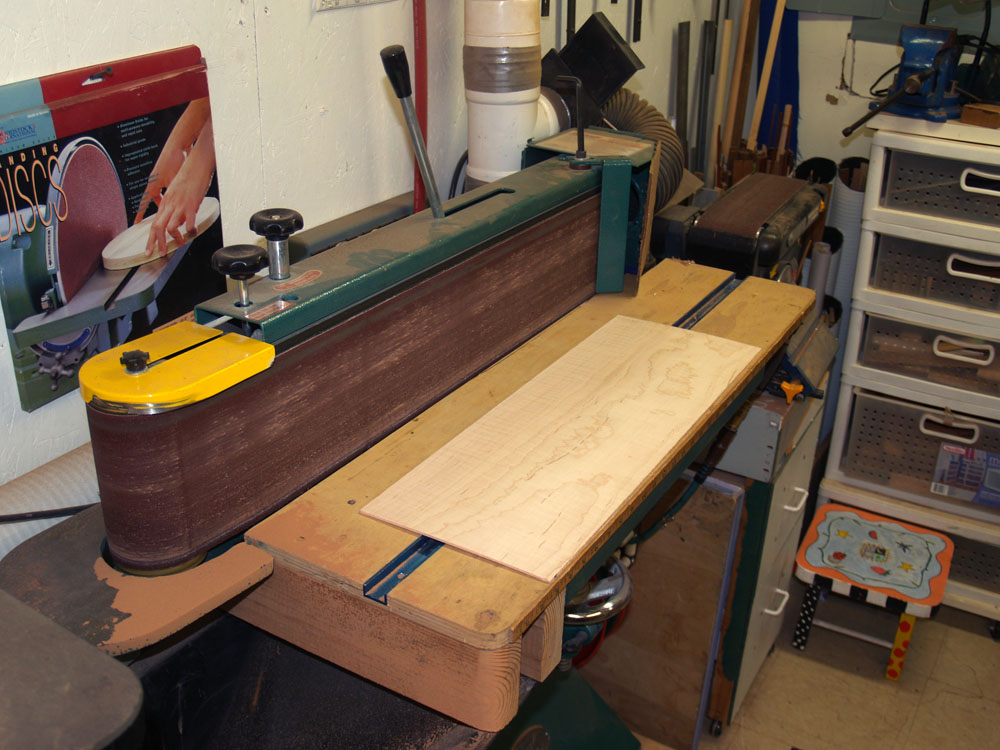
Then I use the belt sander to trim the edges that will be glued together nice and straight.
 ( 4 ) 16-Nov-2011
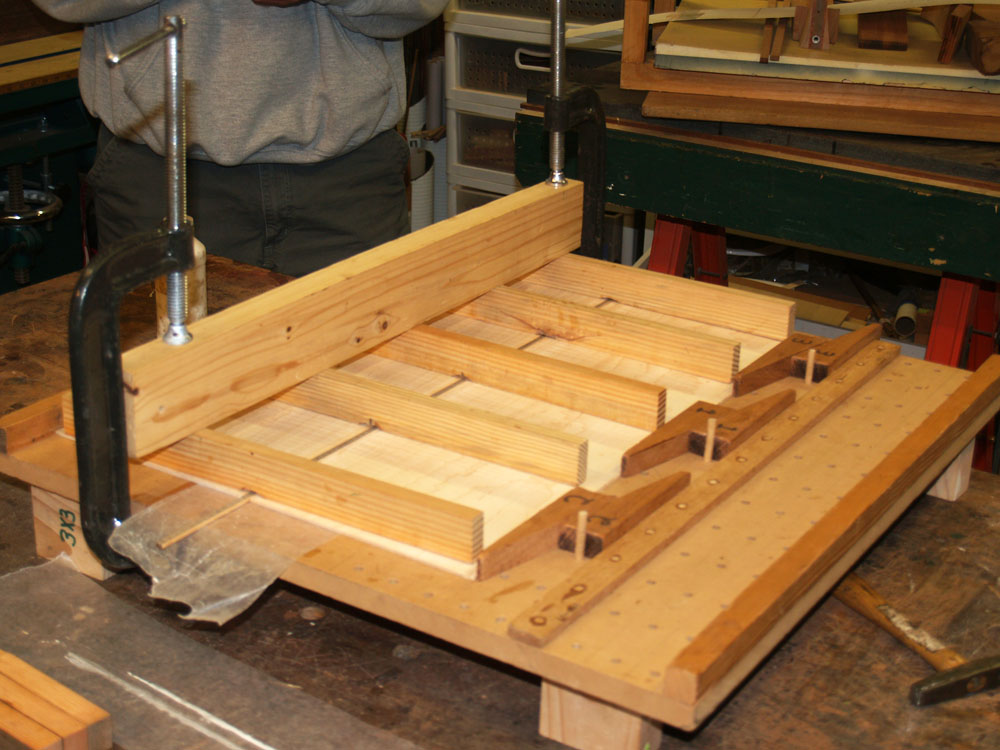
We use this joining table I have created to press the two halves of the back and the center strip together. The horizontal slats keep the back from buckling while it is being compressed by the wedges.
 ( 5 ) 16-Nov-2011
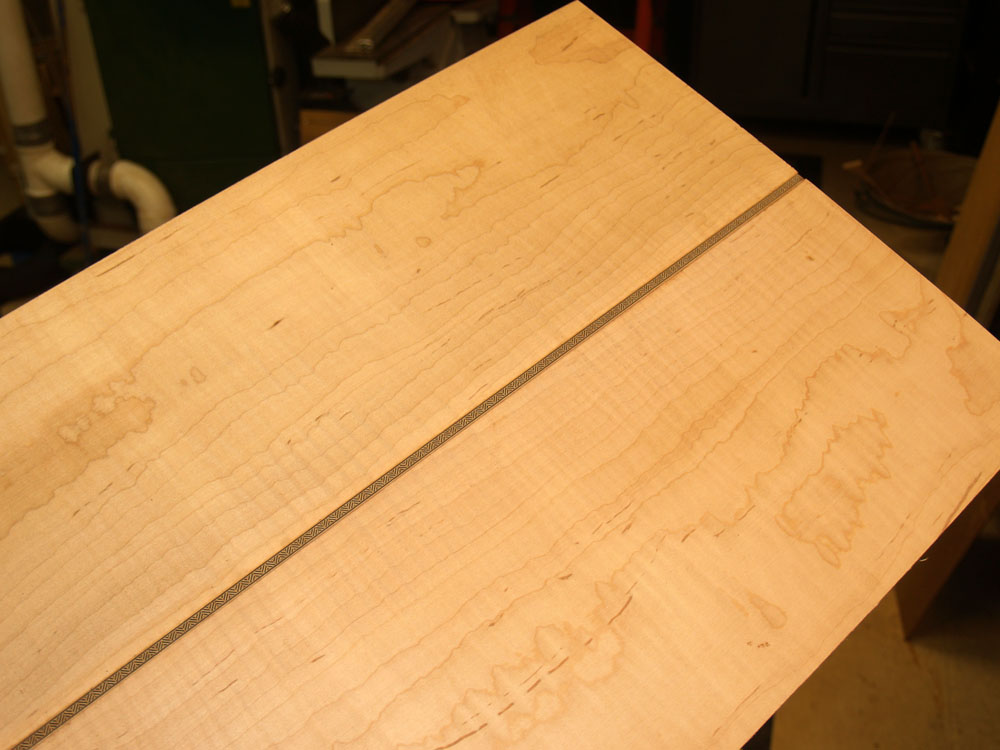
After a nights dry time the back comes out of the press.
 ( 6 ) 16-Nov-2011
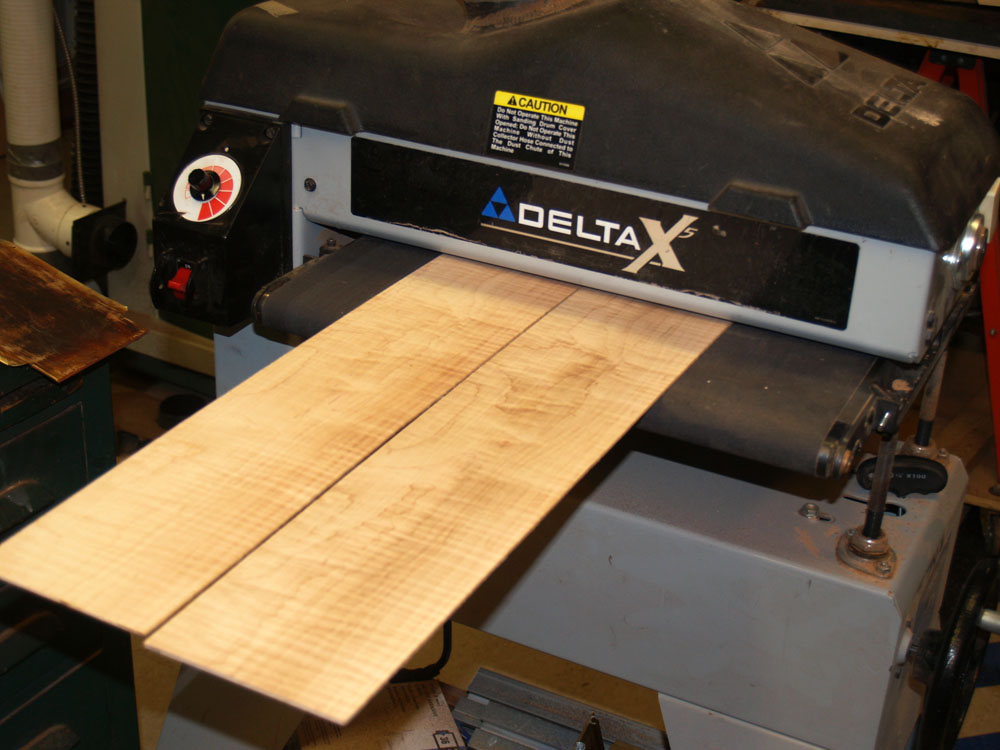
I use the drum sander again to reduce the thickness of the sides to about 100 mils.
 ( 7 ) 16-Nov-2011
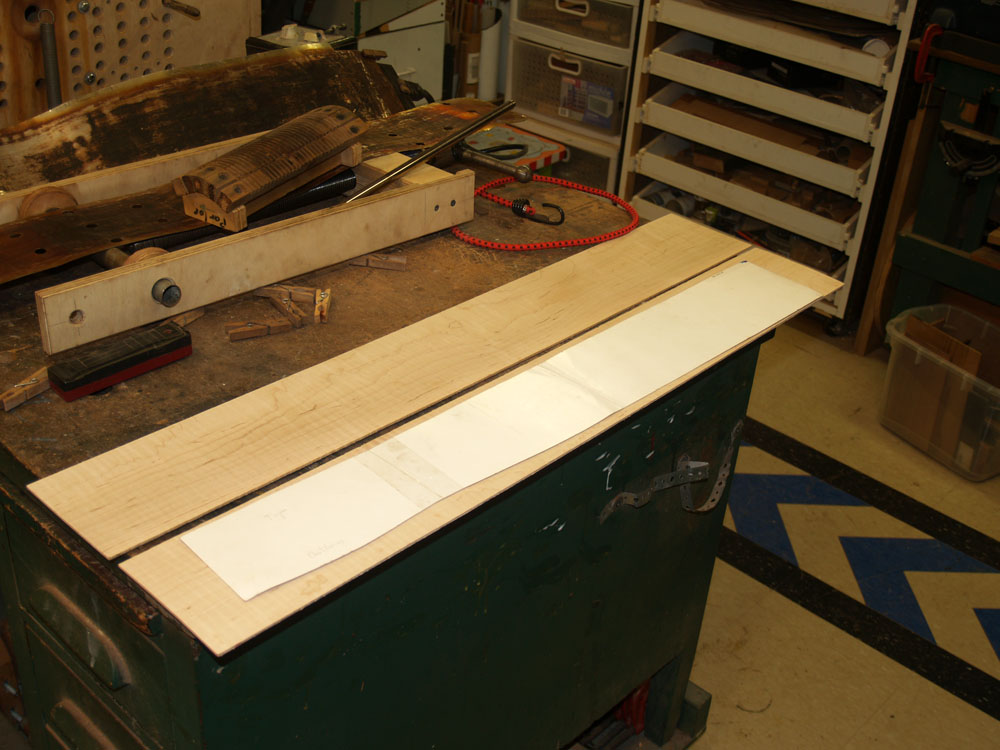
In this picture I am laying out the side template on the two pieces of wood. This makes sure I orient everything properly when I go to bend the sides.
 ( 8 ) 16-Nov-2011
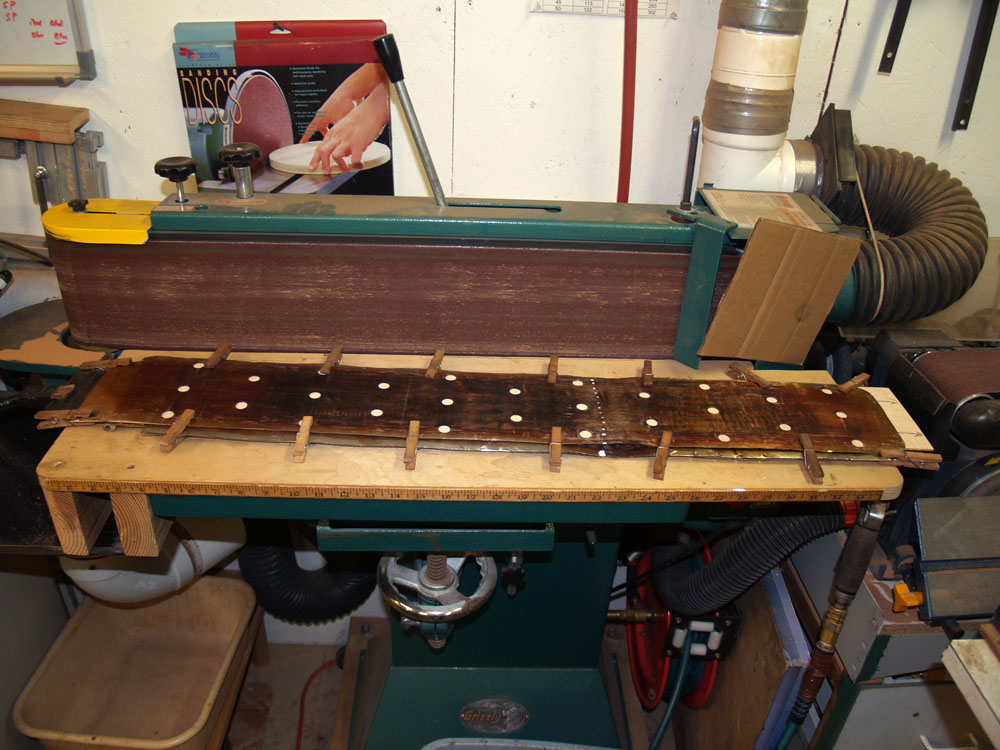
I lay a side piece inside this heating blanket. The clothes pins makes sure that the heating blanket is in good contact with the wood.
 ( 9 ) 16-Nov-2011
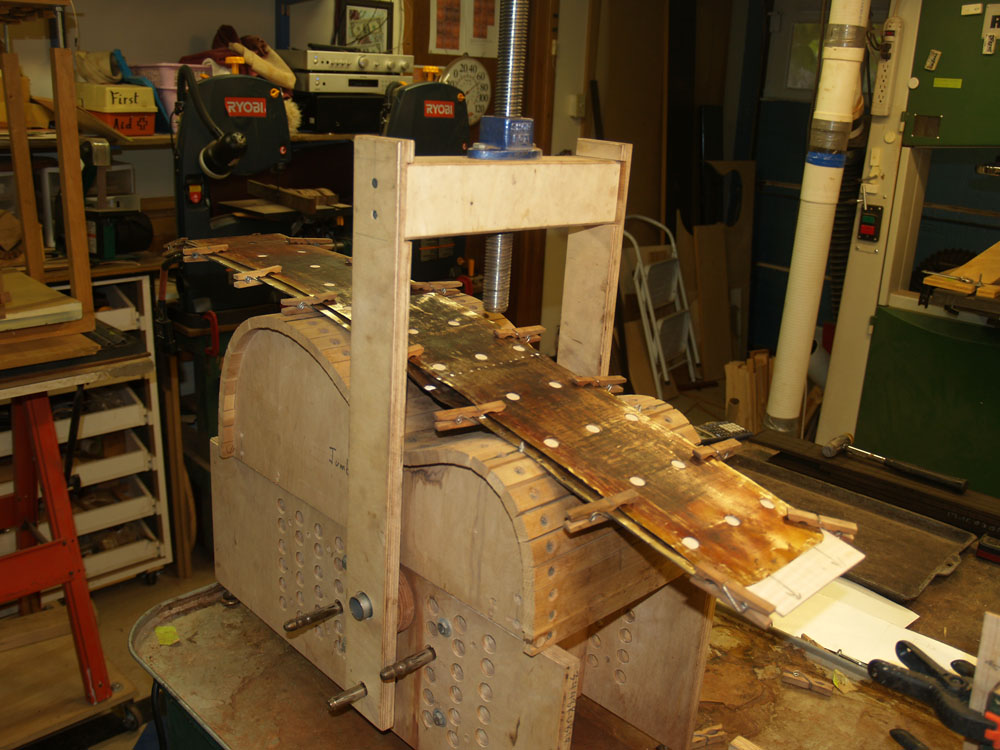
Then the assembly goes into the bending press.
 ( 10 ) 16-Nov-2011
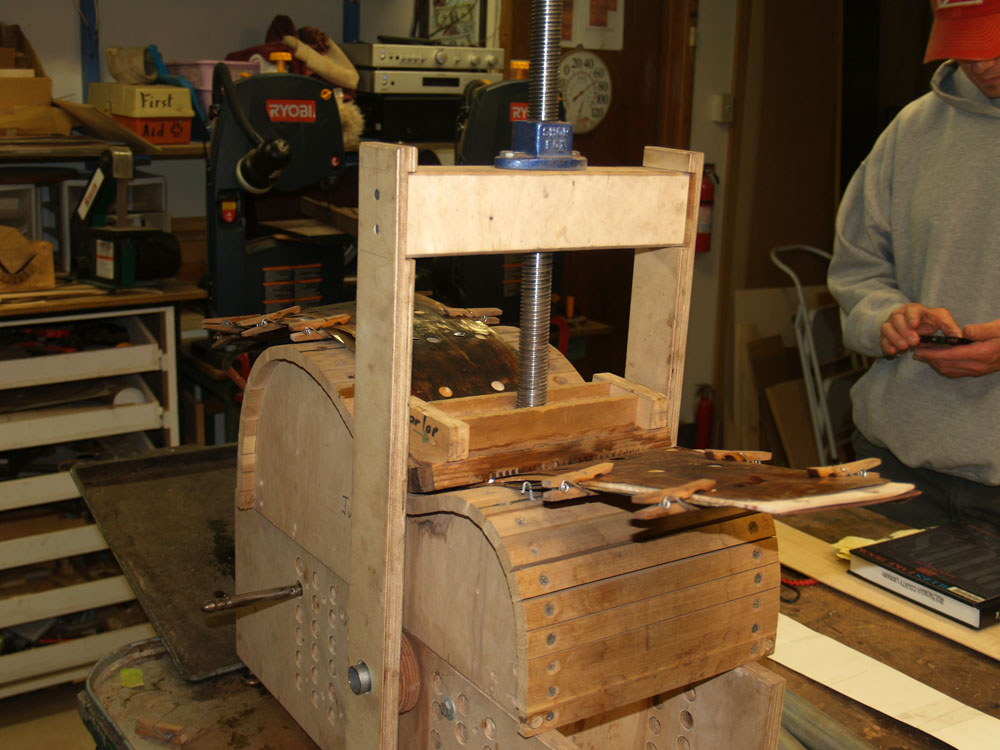
I first press the waist into to shape after the wood has had a chance to get hot and pliable. The cells of wood are held together by a material called lignin that gets soft when it gets hot. This allows me to bend the wood and when it cools down it will more or less hold its shape.
 ( 11 ) 16-Nov-2011
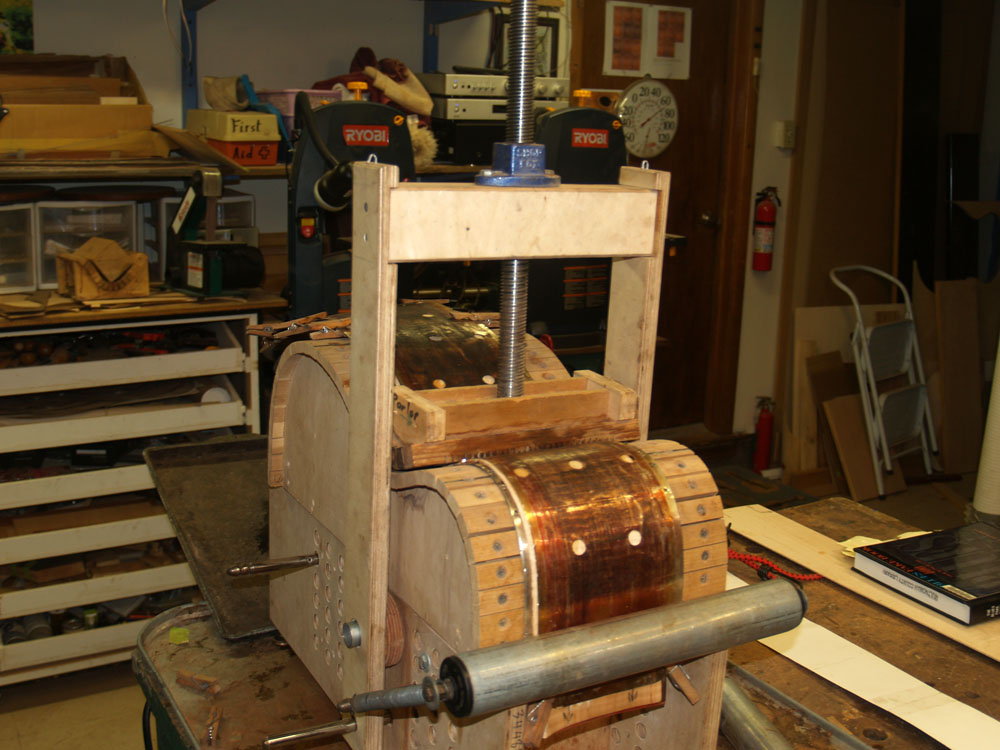
Next I roll the top bout into shape.
 ( 12 ) 16-Nov-2011
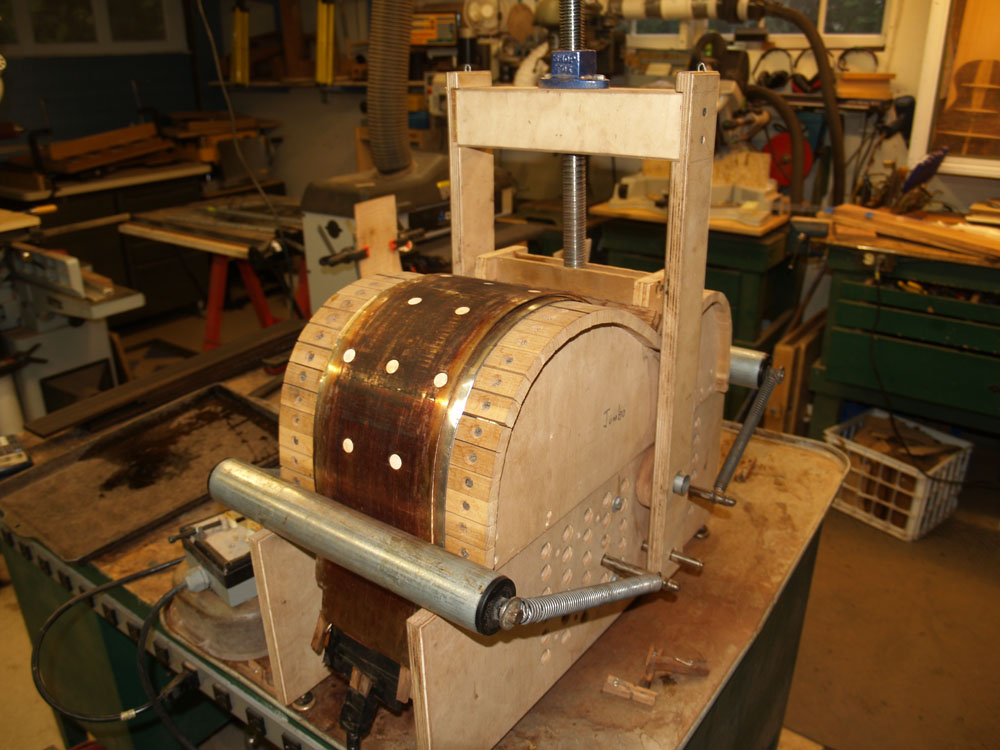
And then the bottom bout gets rolled into shape.
 ( 13 ) 16-Nov-2011
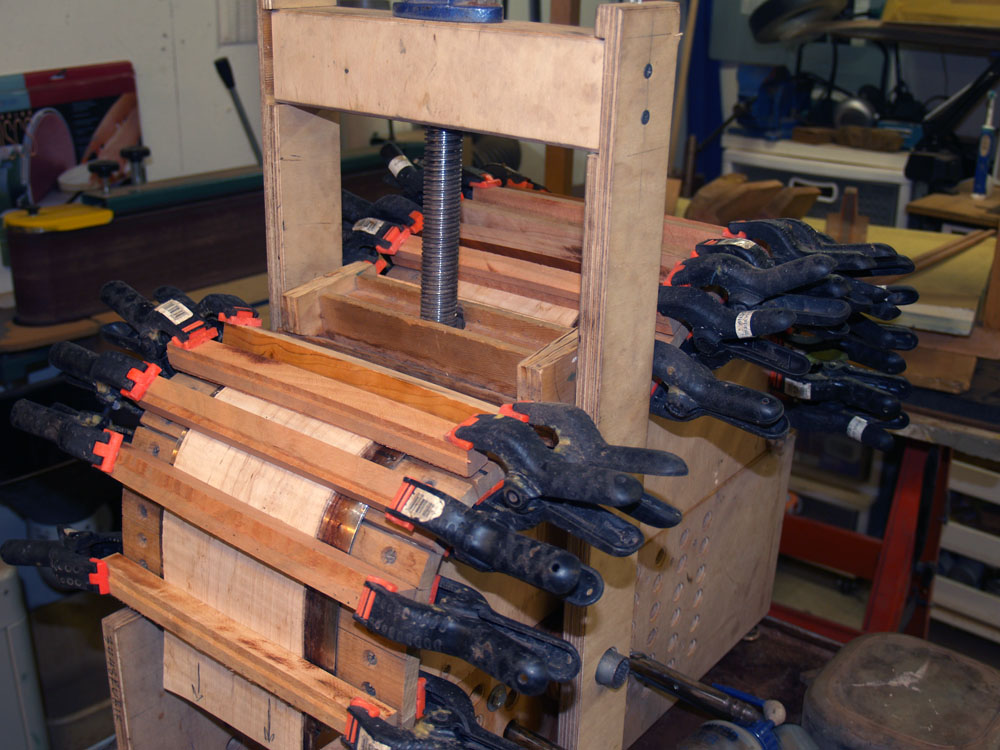
Finally I lay these slats across the wood to help hold it flat while is cools down.
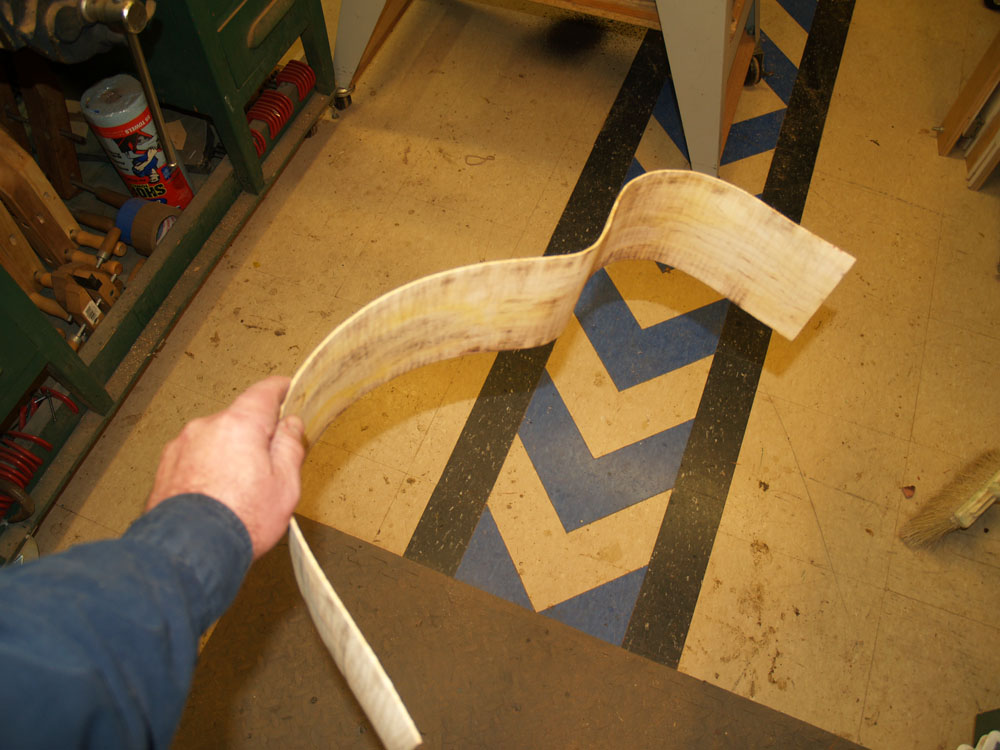 ( 14 ) 16-Nov-2011
After the wood has cooled down I pull it out of the press and we have a nicely bent piece of wood.
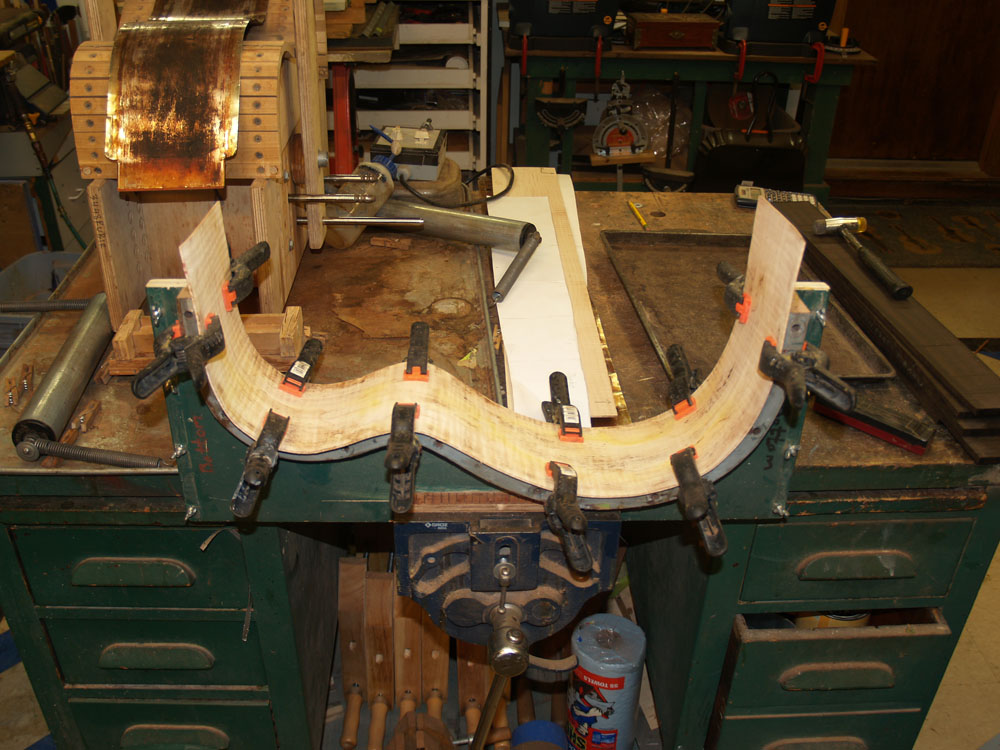 ( 15 ) 16-Nov-2011
I place the bent side in their form while I go on to the next task.
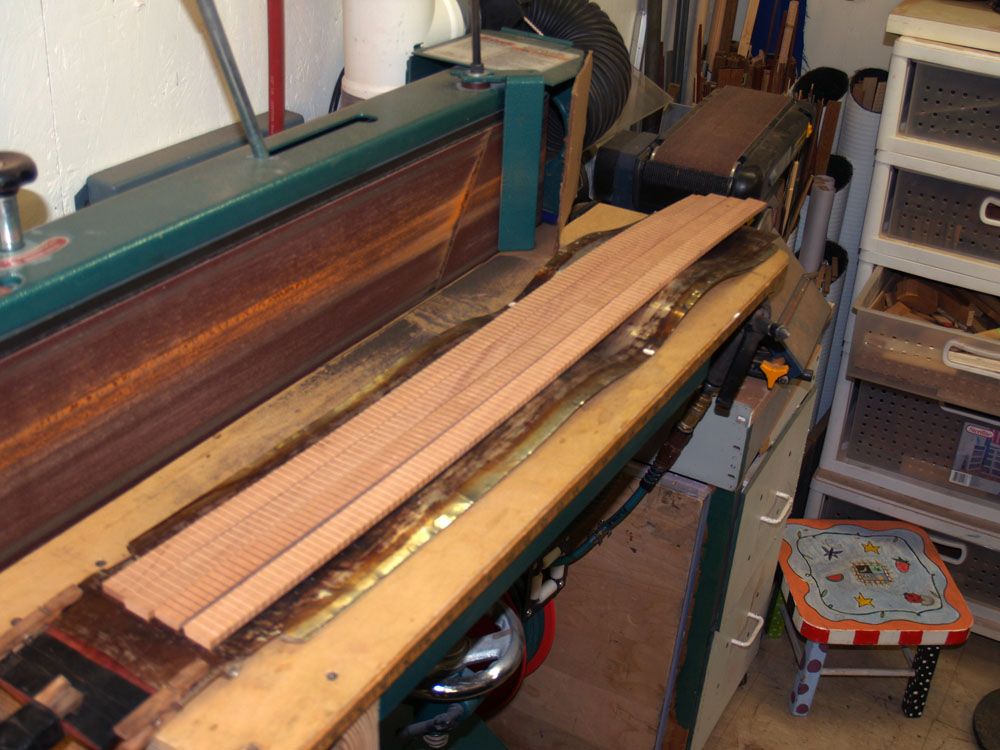 ( 16 ) 16-Nov-2011
These are some pre made kerfing strips that will be bent into the same shape as the sides and then glued on. The kerfing helps the side hold its shape and provides a shelf for the top and bottom to be glued onto the sides.
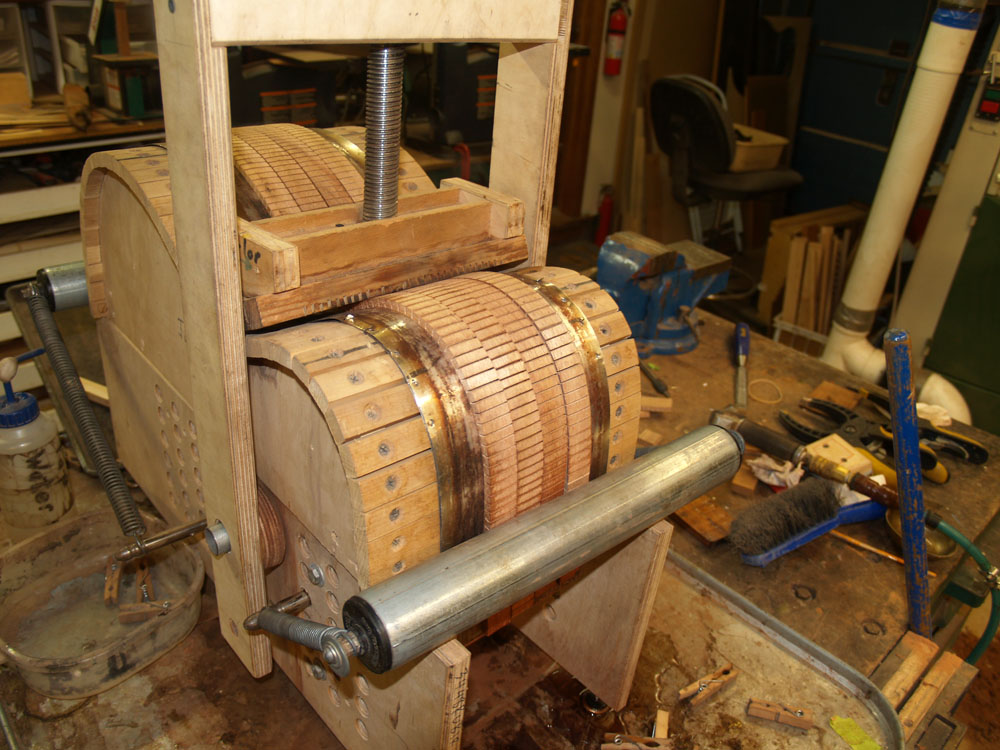 ( 17 ) 16-Nov-2011
Into the bending press.
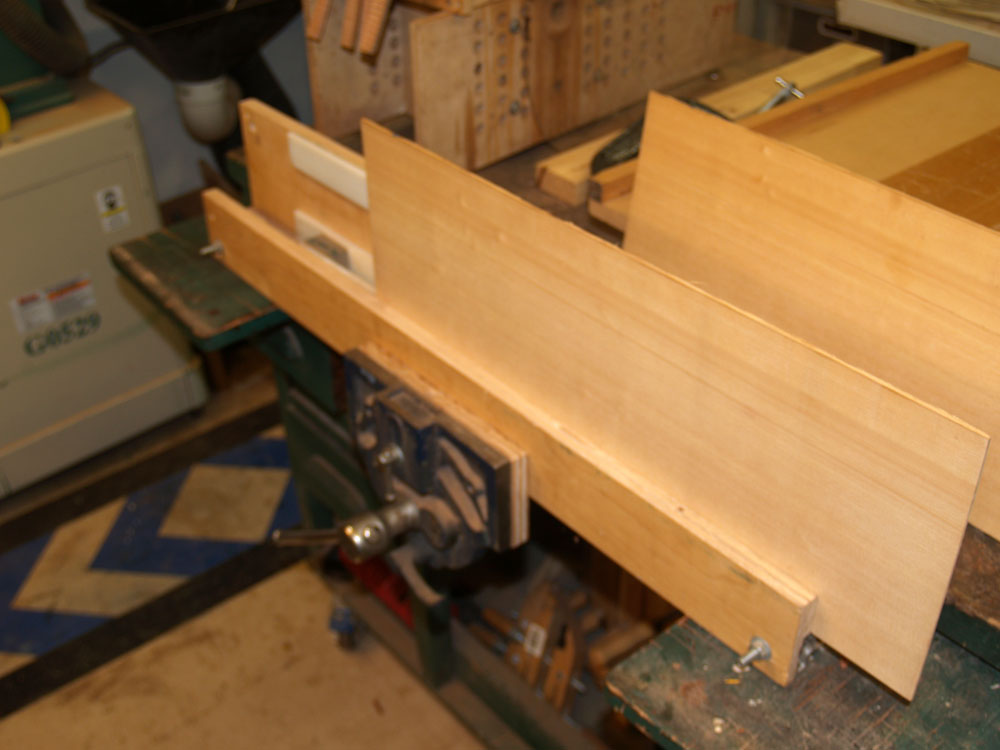 ( 18 ) 16-Nov-2011
A bit of a detour here. I am using this special sanding jig to sand the edges of the top pieces of wood very flat and perpendicular. This is necessary because I want the two pieces of the top to fit together so perfectly that you will not be able to see the joining line.
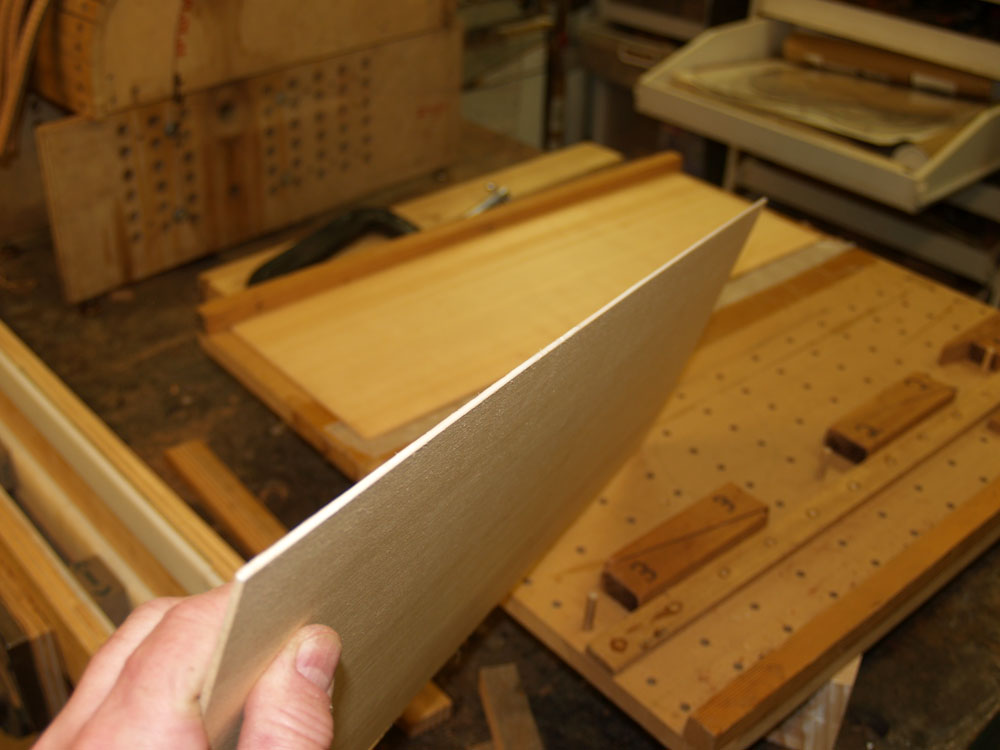 ( 19 ) 16-Nov-2011
A bit of glue on the edge.
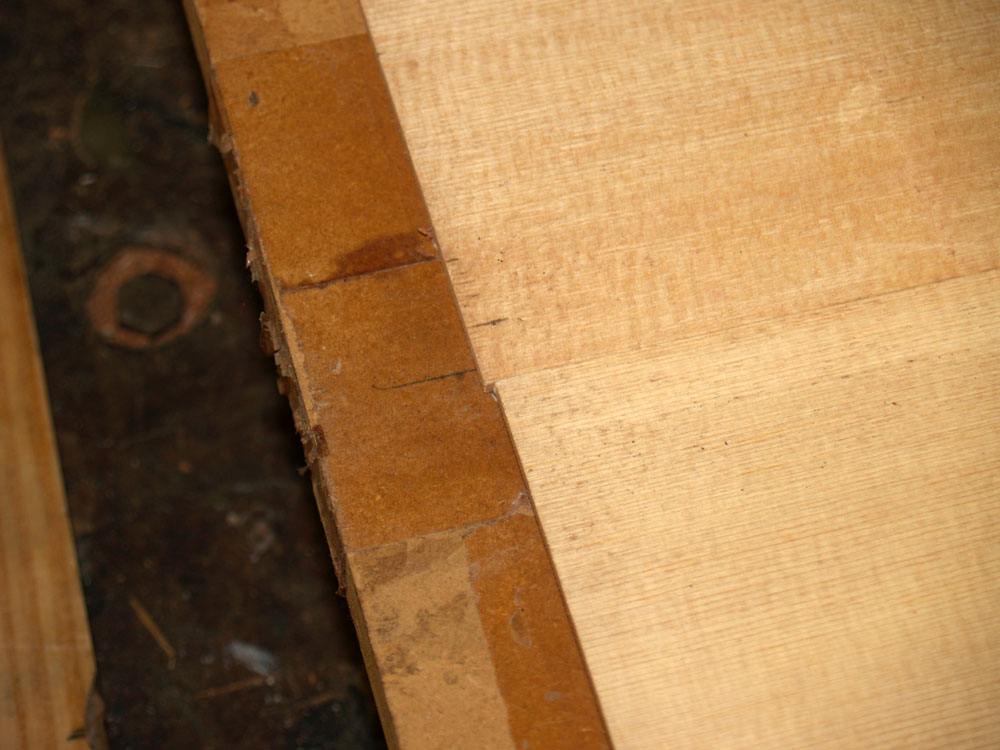 ( 20 ) 16-Nov-2011
And I lay the two pieces of the top together slightly off set. This will make it easier to find the joining line when I am finished.
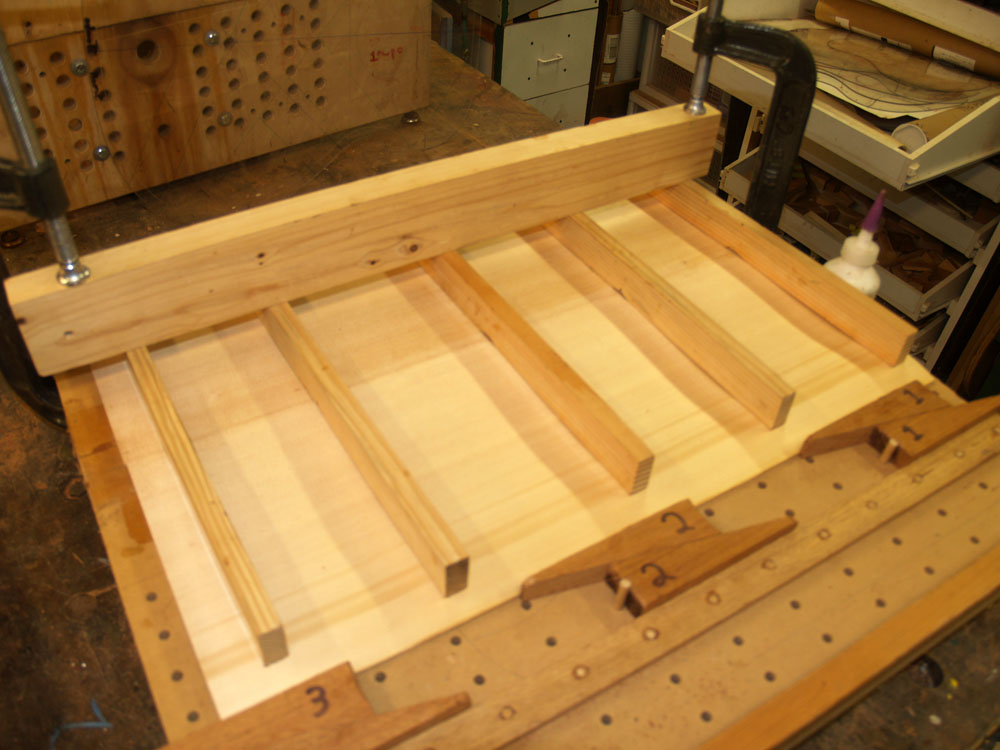 ( 21 ) 16-Nov-2011
Into the joining press and tomorrow when it has dried it will be put aside for a while until I am ready to set the rosette.
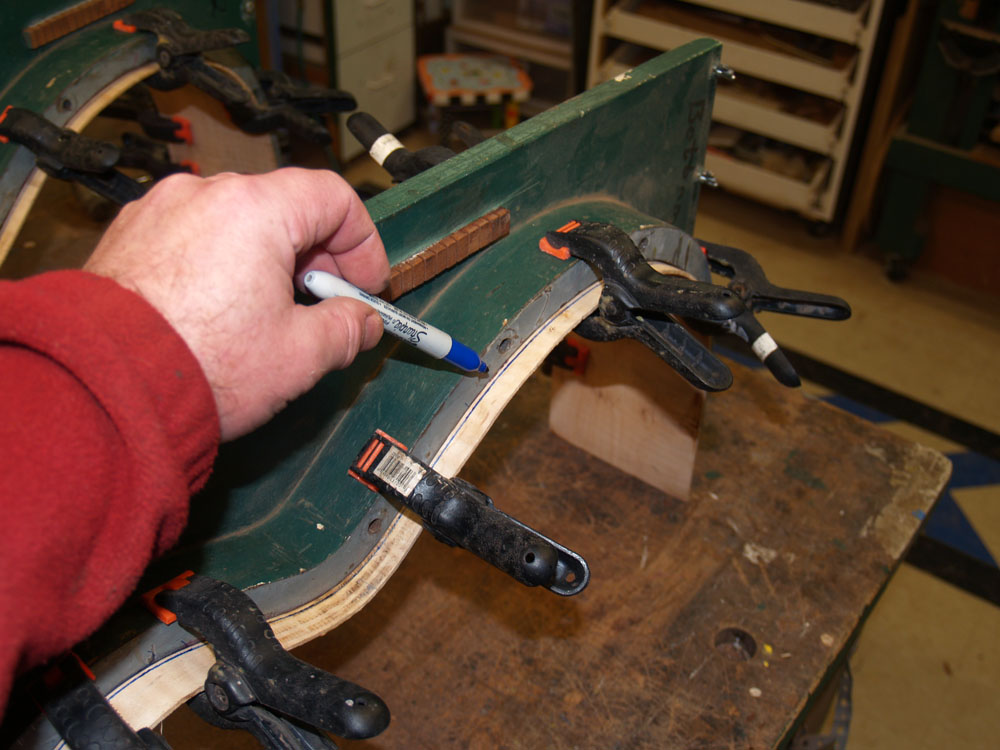 ( 22 ) 16-Nov-2011
Back to working on the sides. Here I am carefully drawing the outline of the sides using the form as a template.
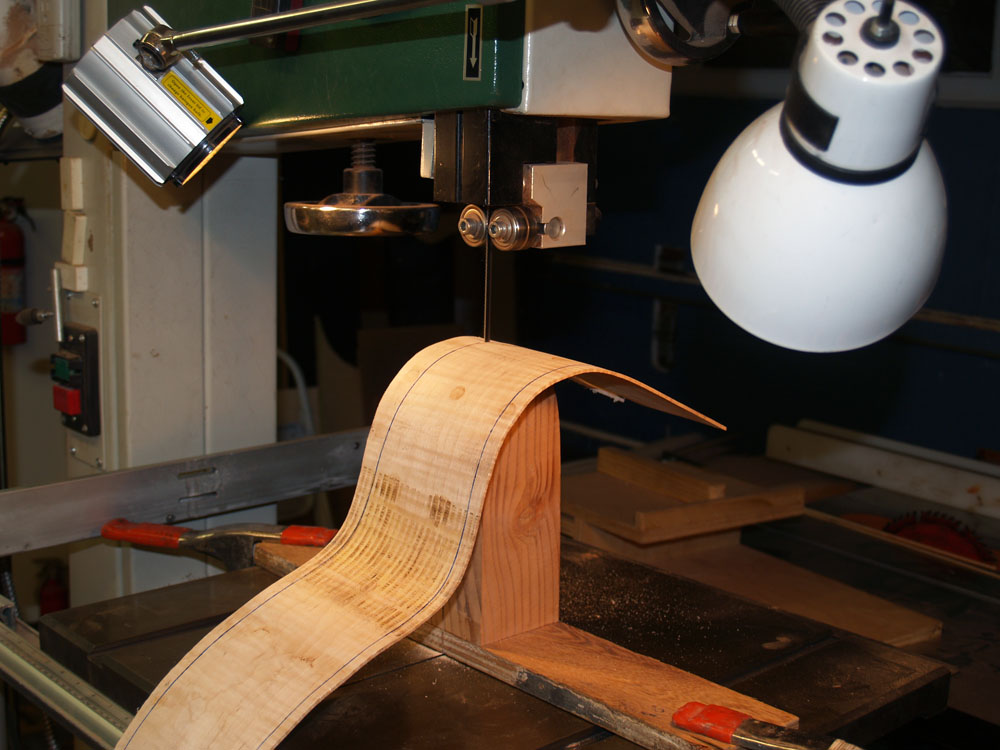 ( 23 ) 16-Nov-2011
I use my bandsaw and this special platen to trim the excess off the sides.
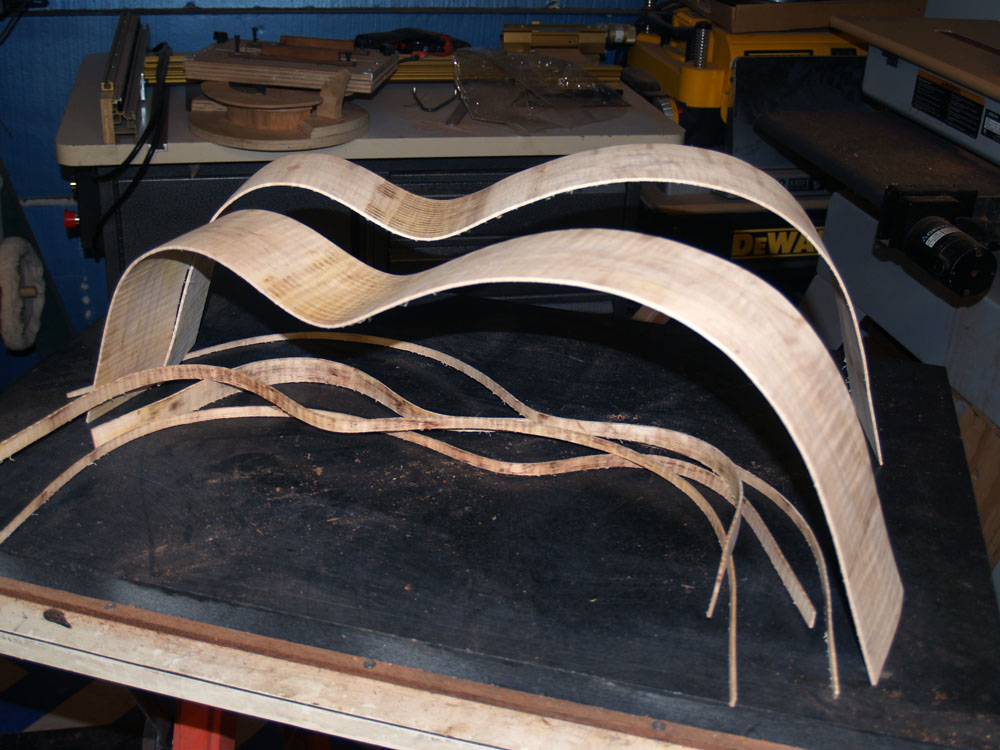 ( 24 ) 16-Nov-2011
The two sides trimmed and ready for the kerfing.
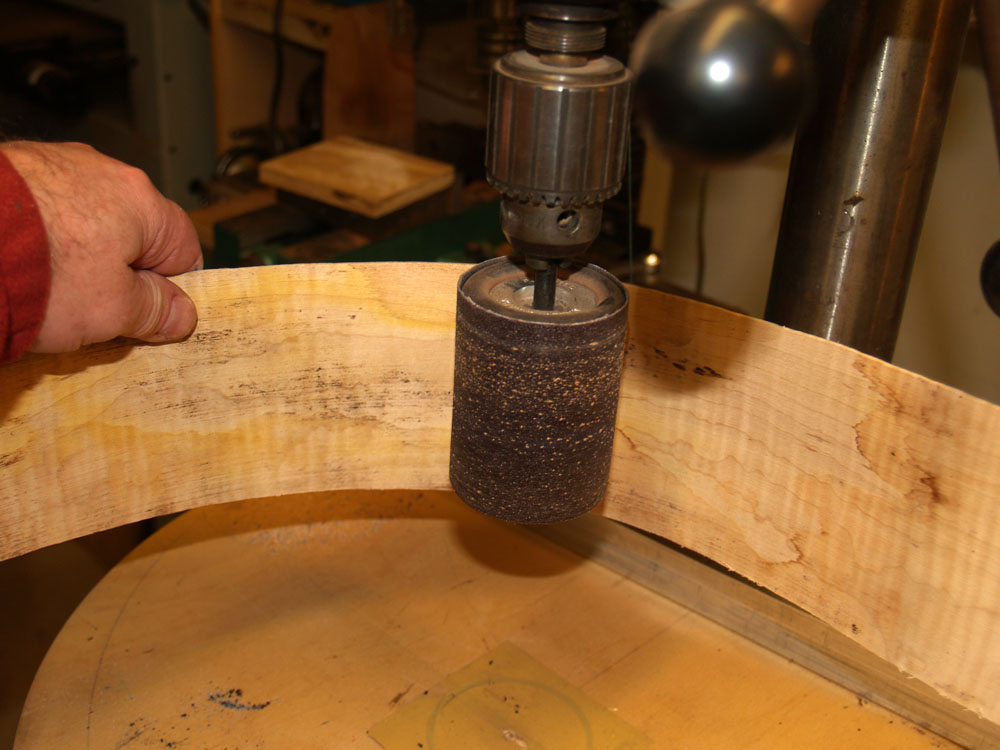 ( 25 ) 16-Nov-2011
But first I sand the inside of the sides to make them look a bit nicer.
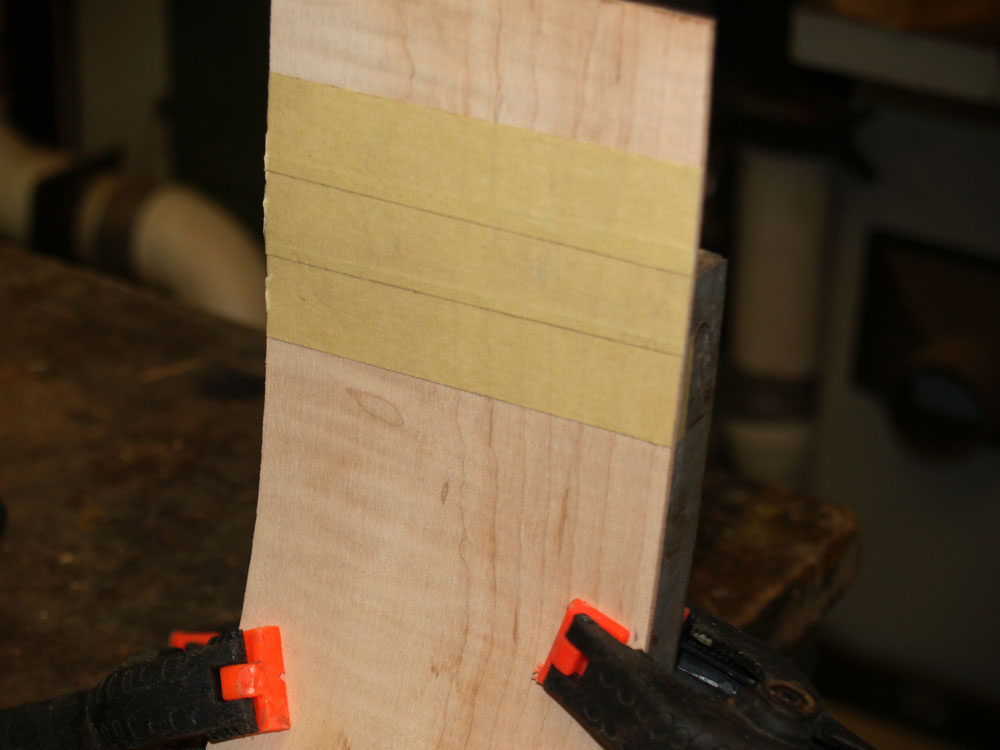 ( 26 ) 16-Nov-2011
Before I glue the kerfing in place I mask off the area where the heal and tail block will go.
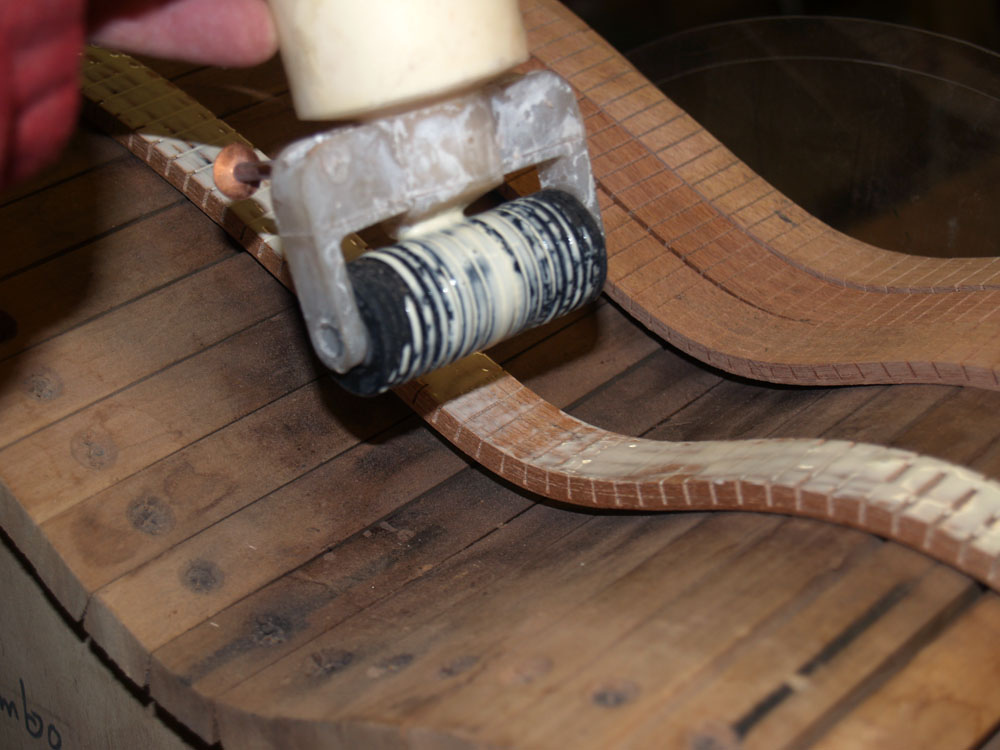 ( 27 ) 16-Nov-2011
The kerfing gets a layer of glue.
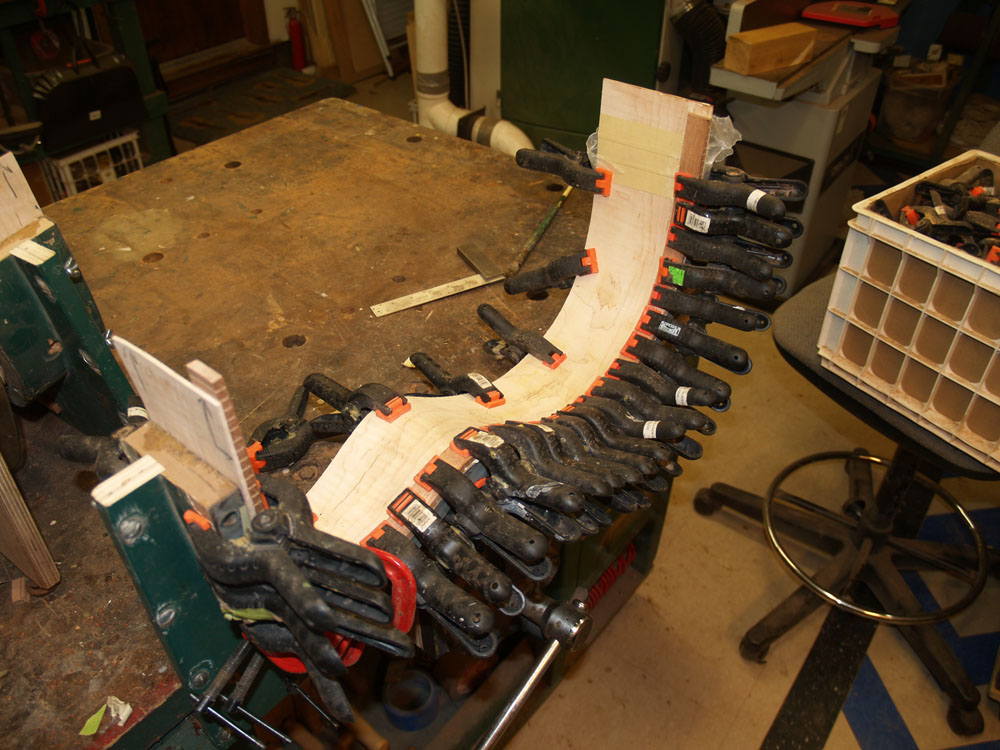 ( 28 ) 16-Nov-2011
And then I use lots of clamps tho glue the kerfing into place.
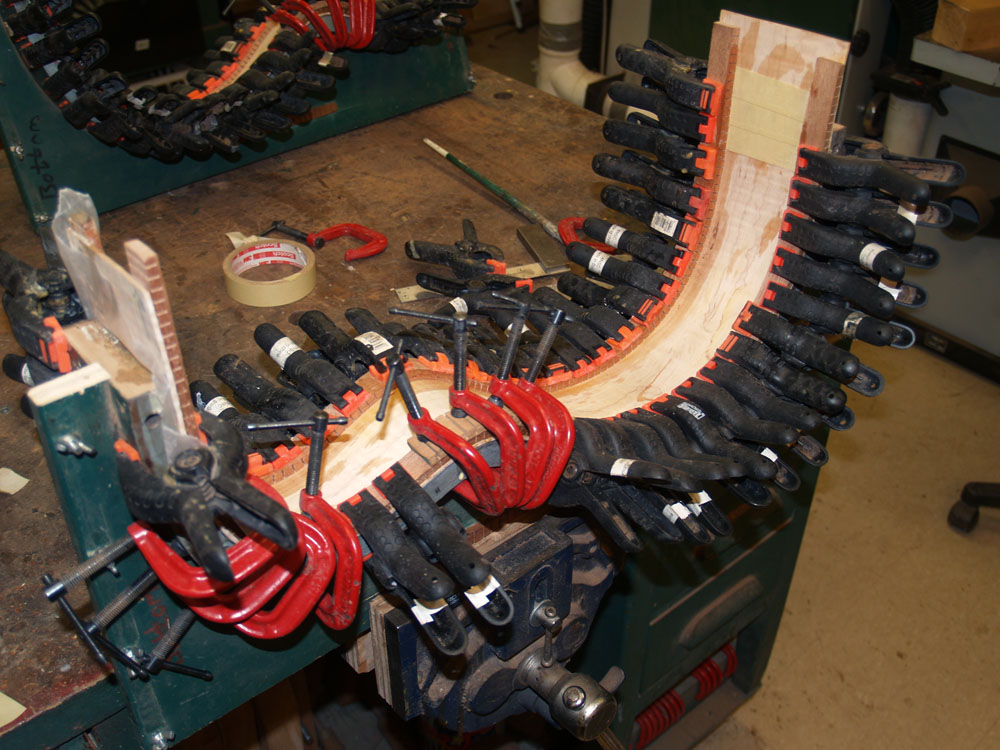 ( 29 ) 16-Nov-2011
Lots and lots of clamps.
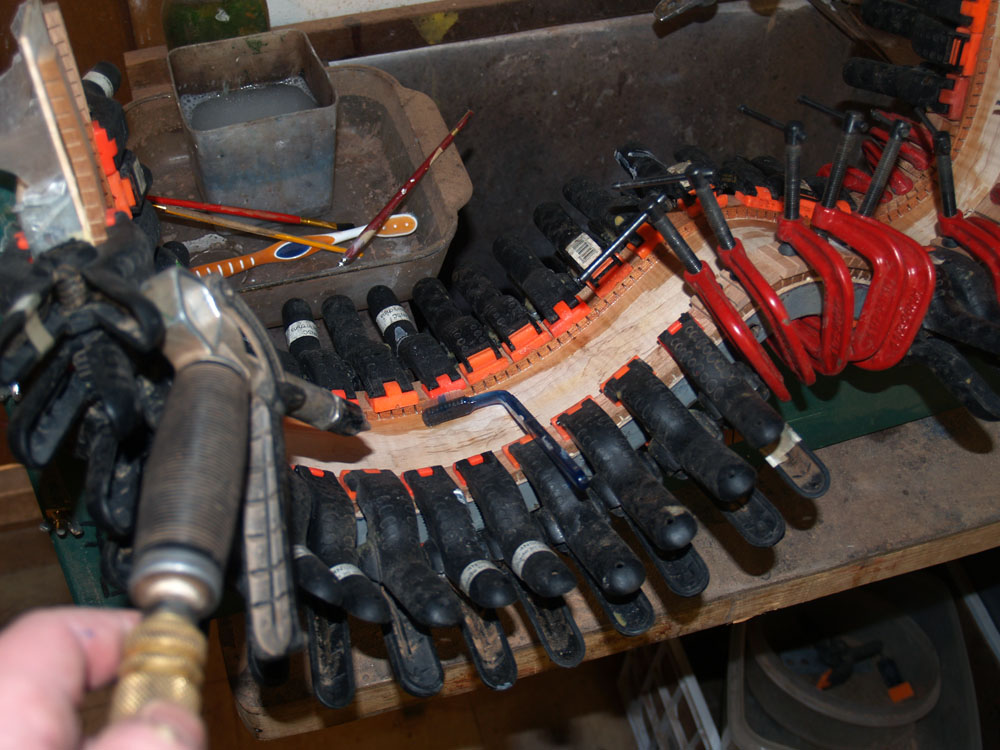 ( 30 ) 16-Nov-2011
Before the glue starts to dry I clean up the squeeze out with a toothbrush and a bit of compressed air.
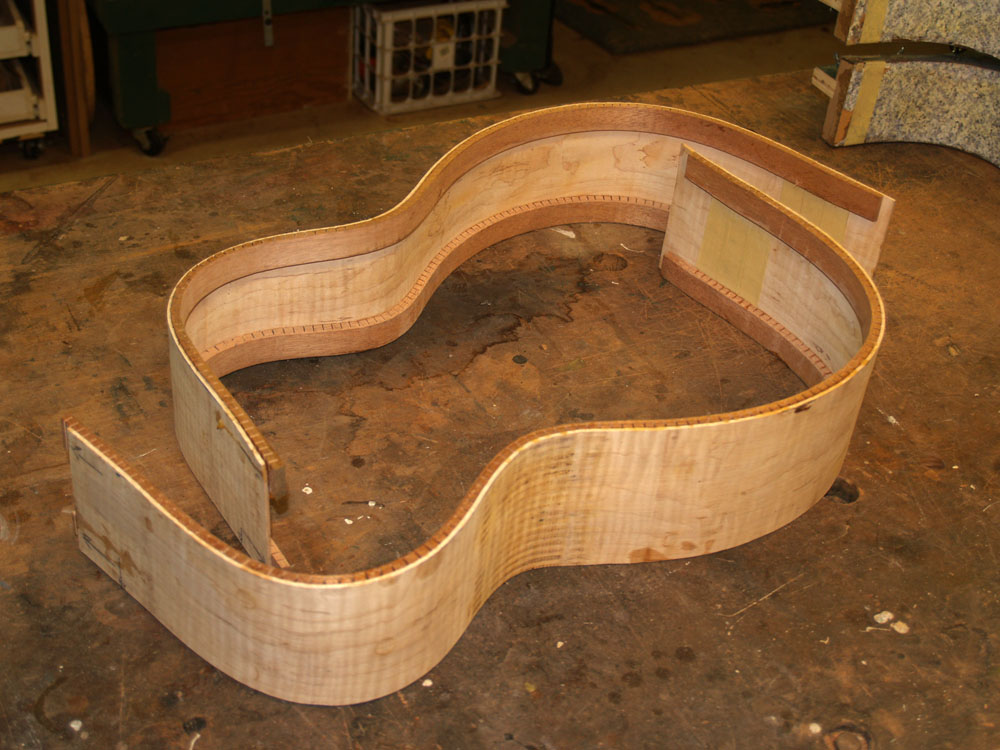 ( 31 ) 16-Nov-2011
After setting up over night the sides come out of the form and I sand the kerfing to clean it up.
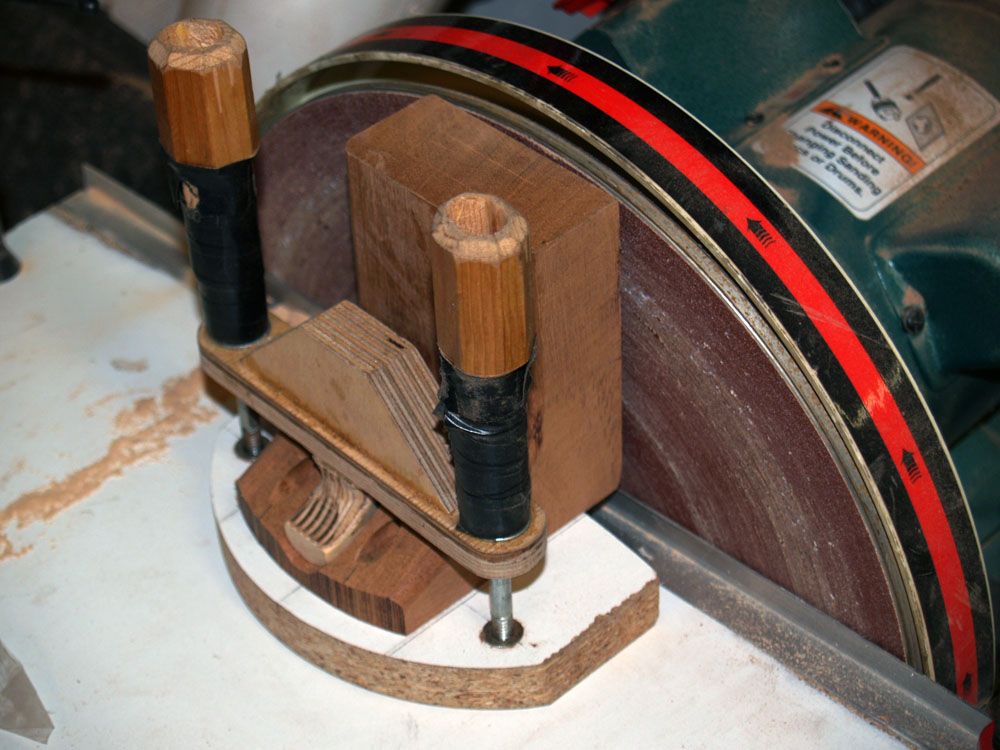 ( 32 ) 16-Nov-2011
To glue the two halves of the side together I use a heal block and a tail block. Since the sides are curved I need to match the curve on the heal block. I have built a special fixture that lets me easily sand the face of the heal block to just the right shape.
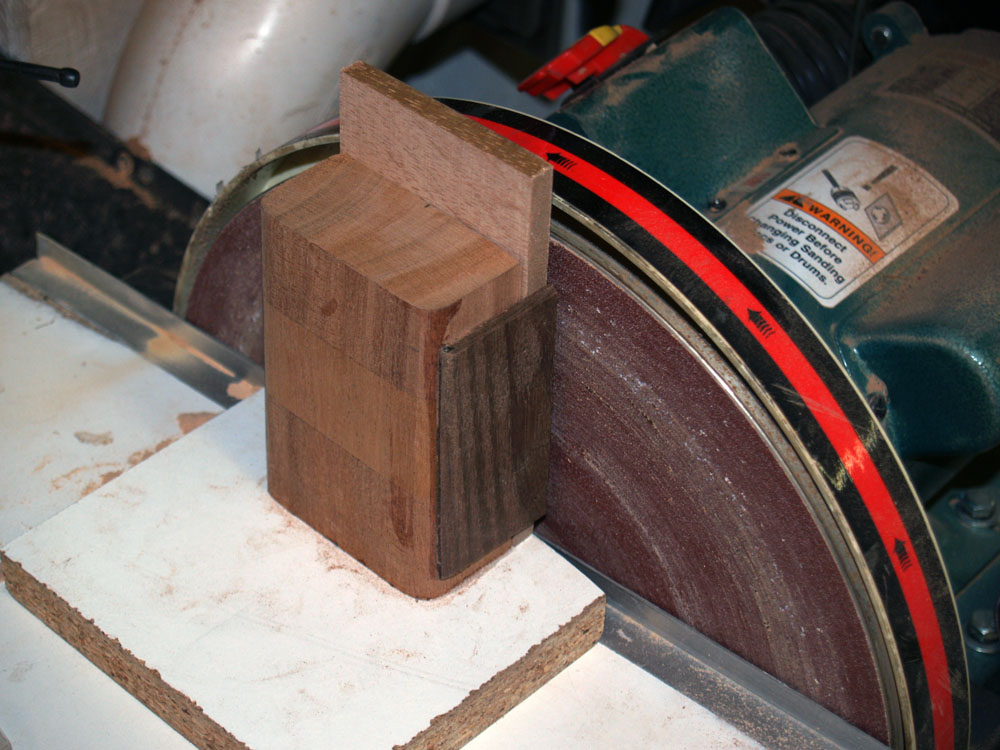 ( 33 ) 16-Nov-2011
And the tail block gets the same treatment.
 ( 34 ) 16-Nov-2011
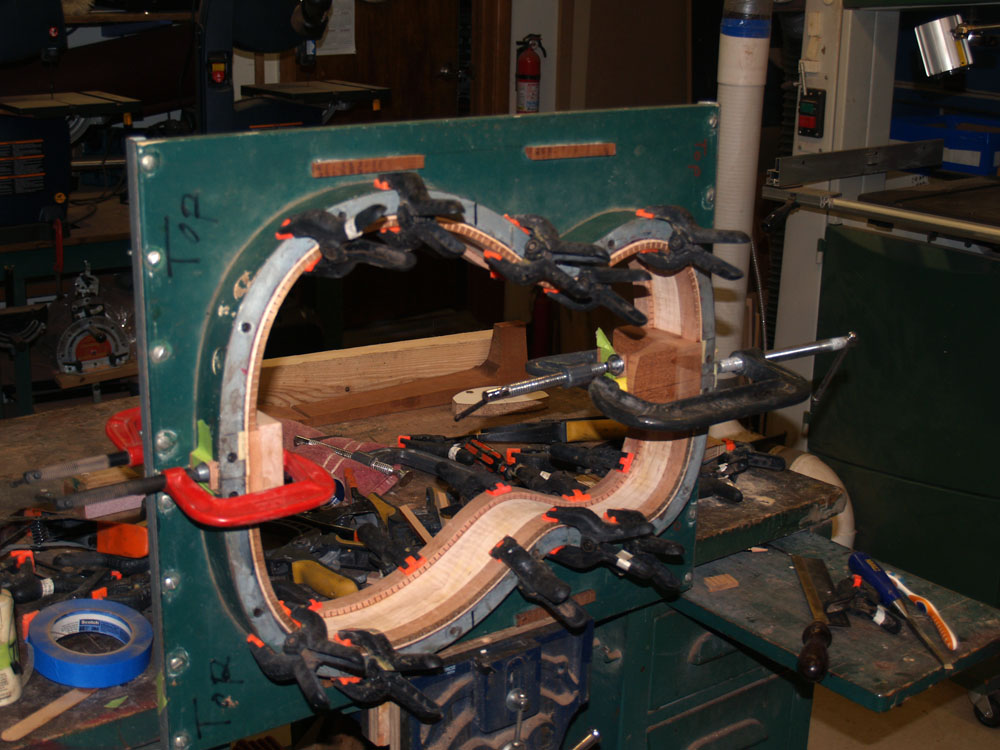
After removing the kerfing in the spot where the blocks go, the two sides get glued together in the form. More clamps!
 ( 35 ) 16-Nov-2011
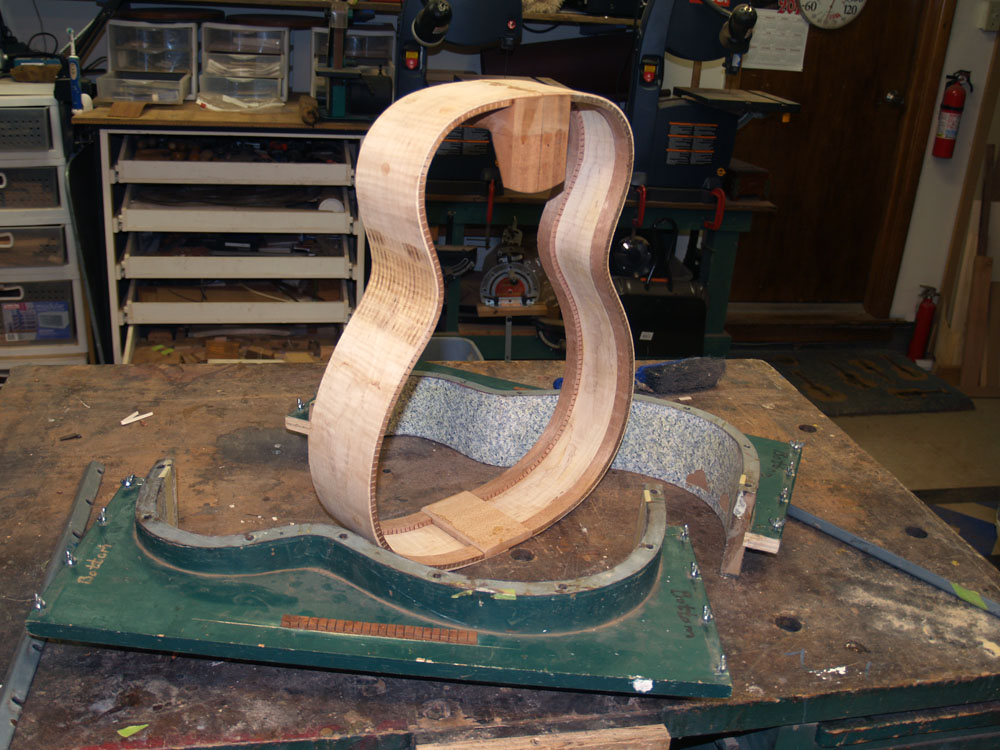
And after drying over night I crack the form open and you can almost hear that first G chord.