 ( 215 ) 14-May-2012
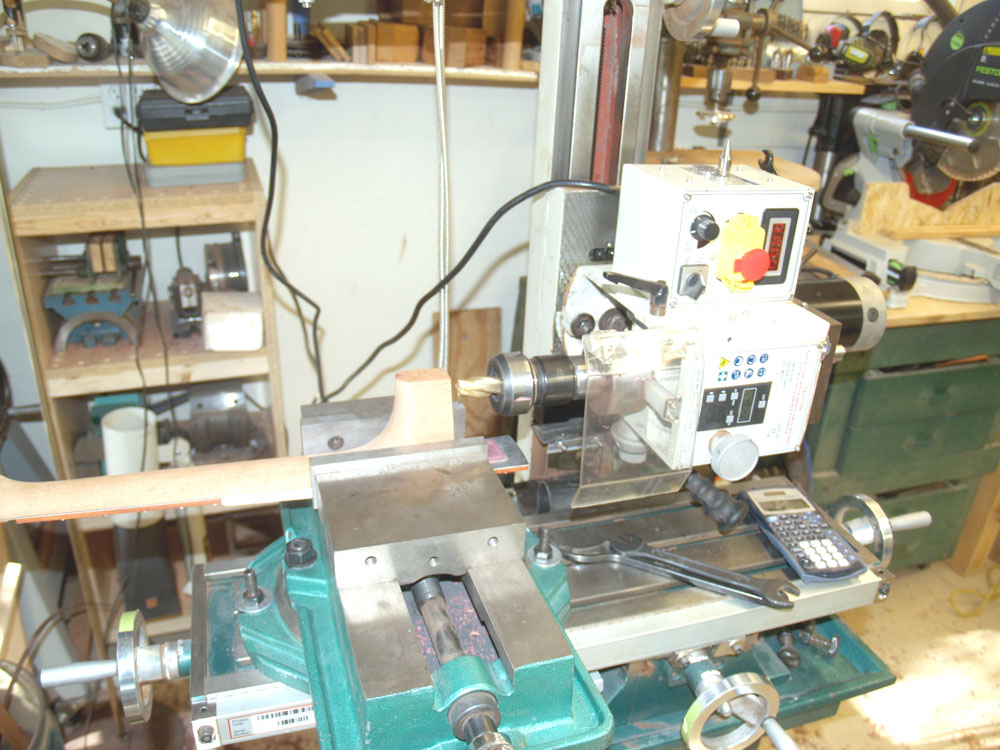
I have set up my milling machine towork on the horizontal. This will allow me to make very accurate holes for the neck attachment hardware.
( 215 ) 14-May-2012
I have set up my milling machine towork on the horizontal. This will allow me to make very accurate holes for the neck attachment hardware.
 ( 216 ) 14-May-2012
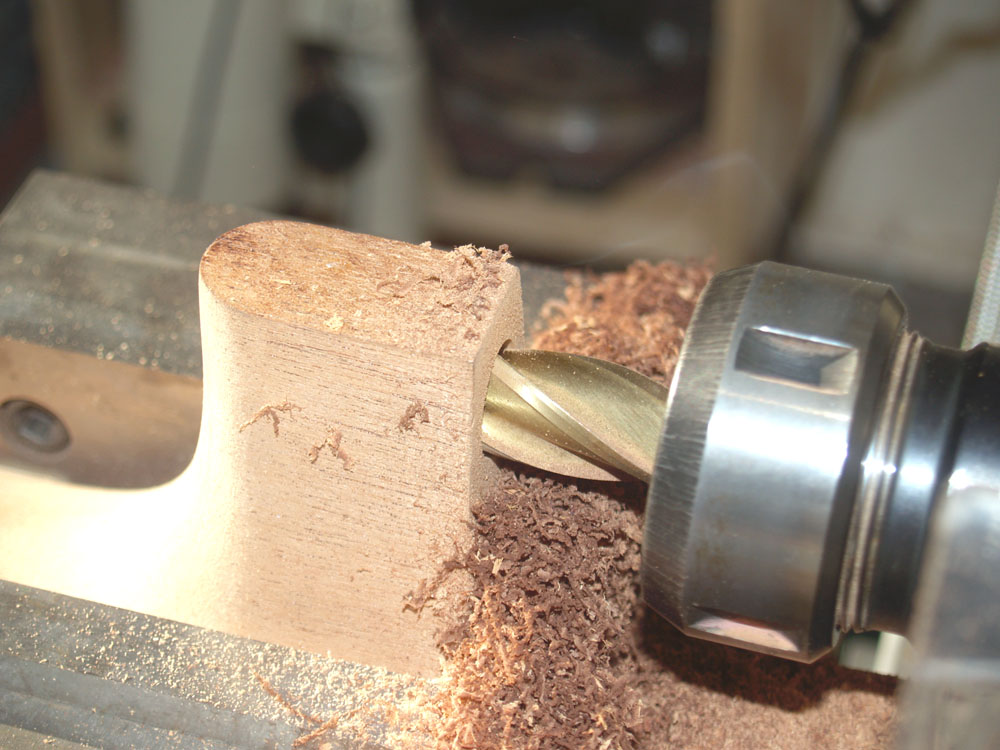
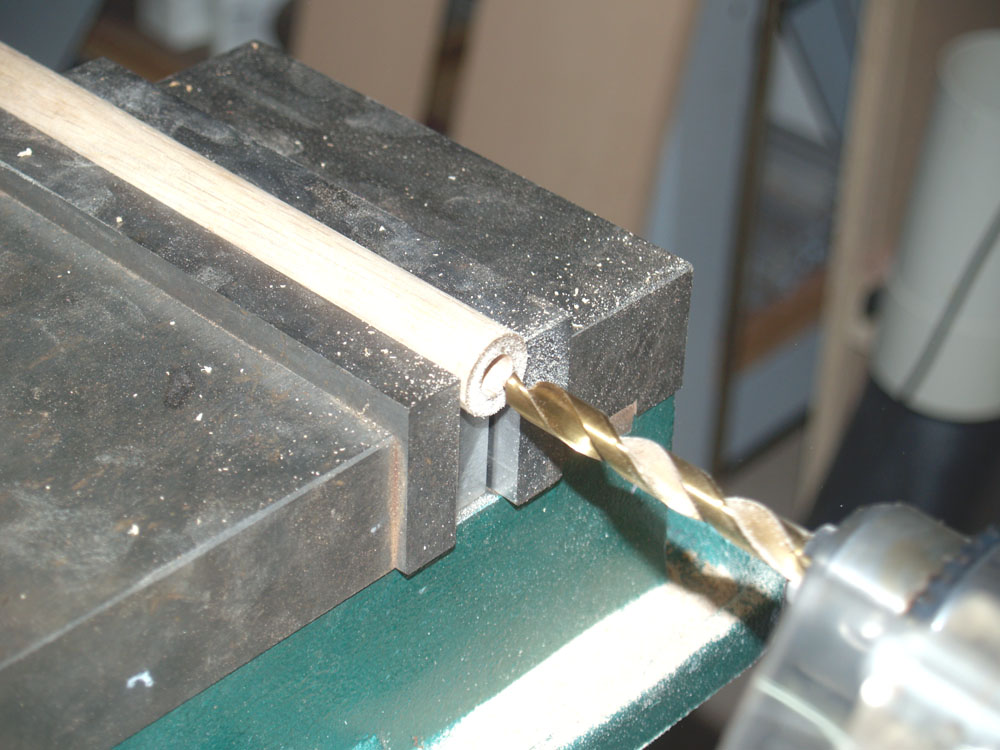
Here you can see I am using a 3/4inch end milling tool to drill the hole for the neck adjustment bolt.
 ( 217 ) 14-May-2012
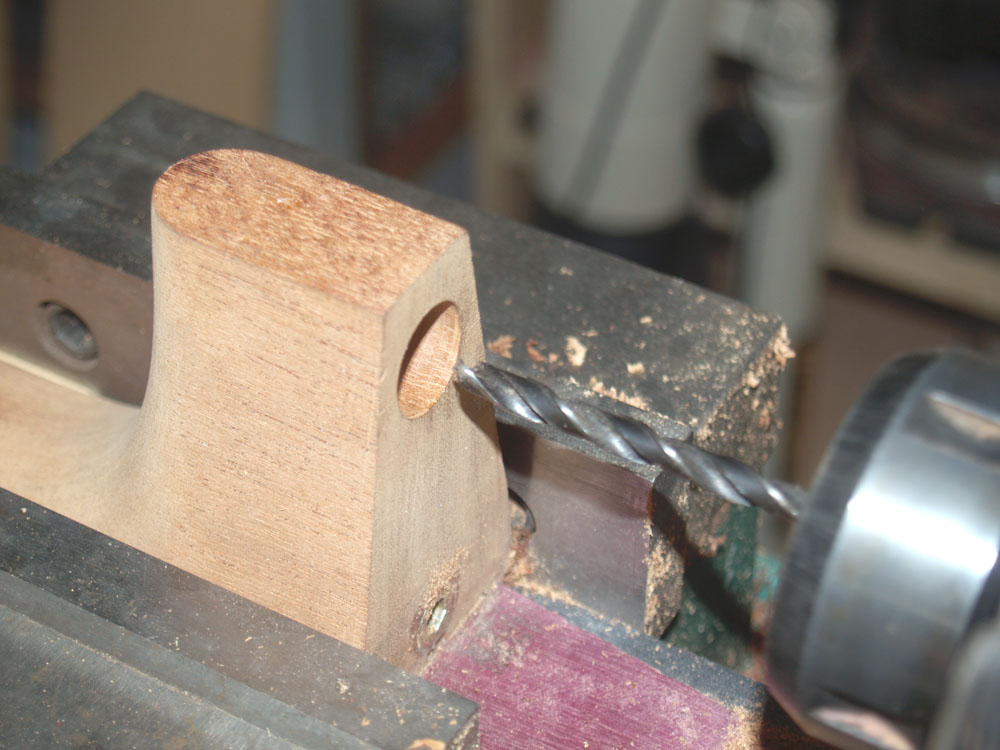
Without moving anything I replace the milling tool with a drill bit to drill the the adjustment bolt access hole.
 ( 218 ) 14-May-2012
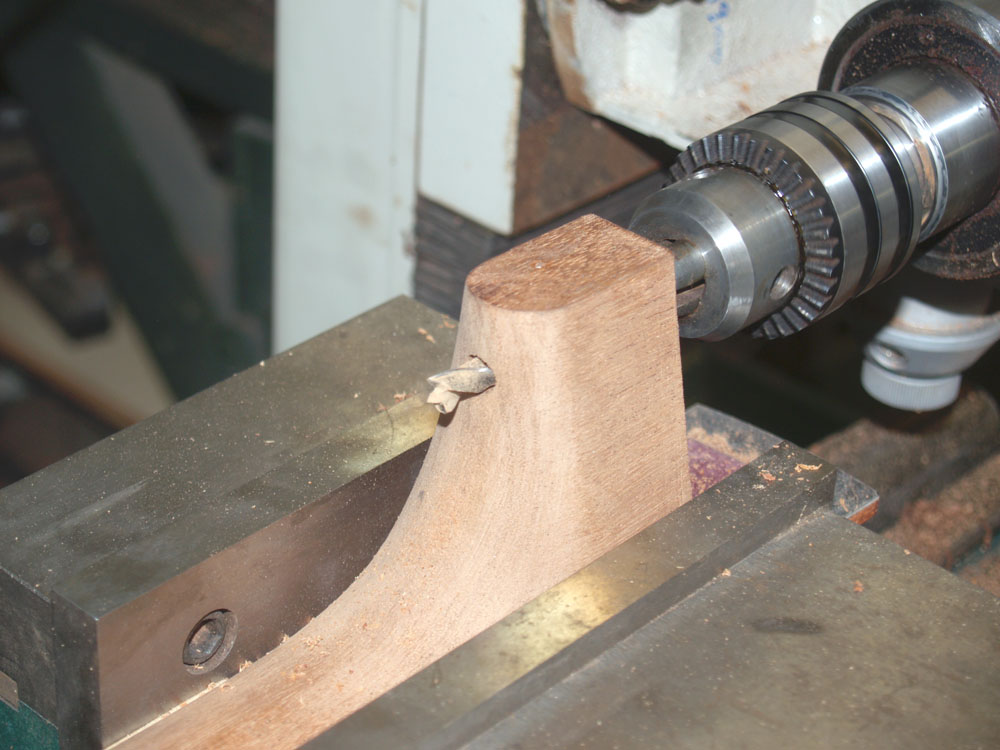
I want the adjustment access hole to come out right in the center of the shoulder of the neck. (Please note that I call the neck's heal a shoulder because a shoulder goes with a neck and a heal doesn't.)
 ( 219 ) 14-May-2012
I use 3/4 inch oak dowel for the retaining flange. Here I am drilling out a hole in the center of the dowel.
 ( 220 ) 14-May-2012
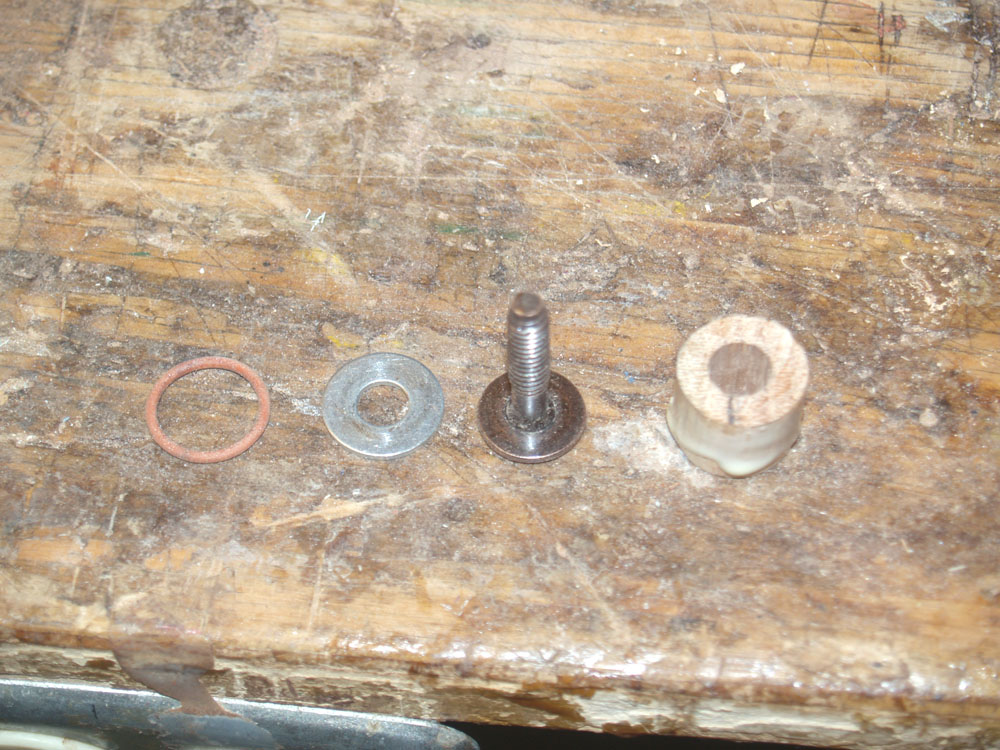
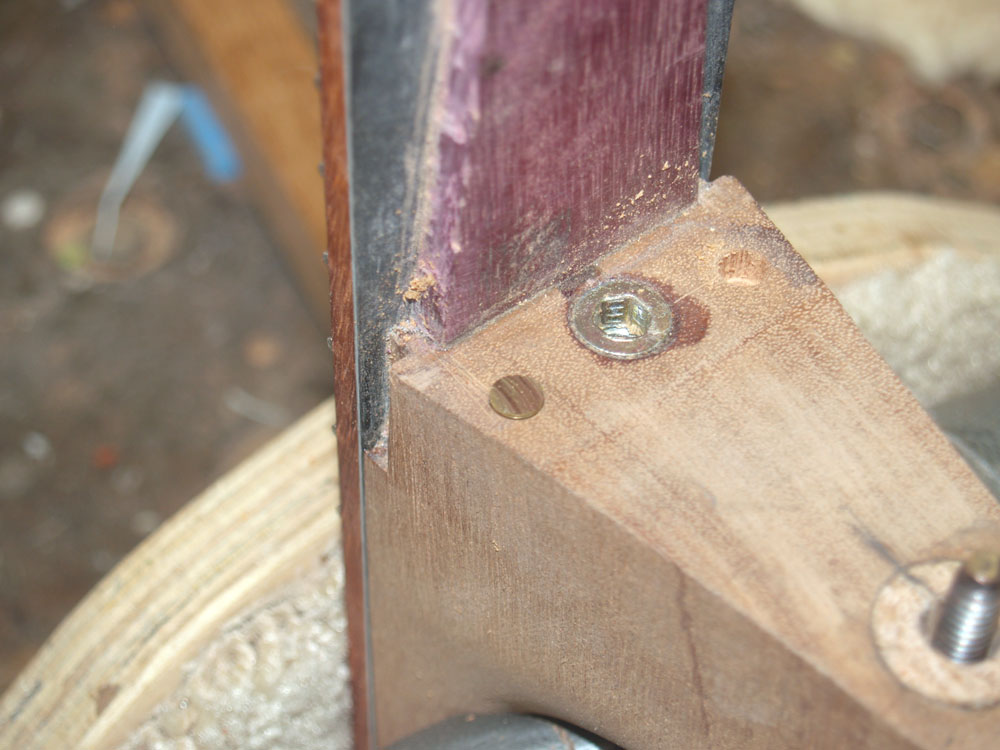
This is the hardware I use for the adjustment mechanism. The orange O-ring is used to allow a little bit of compression in the hardware. This will prevent any slop or rattle when the neck is not under tension. The washer goes between the O-ring and the bottom of the bolt. The bolt goes in next, and then the oak flange holds everything in place.
 ( 221 ) 14-May-2012
The O-ring.
 ( 222 ) 14-May-2012
The washer.
 ( 223 ) 14-May-2012
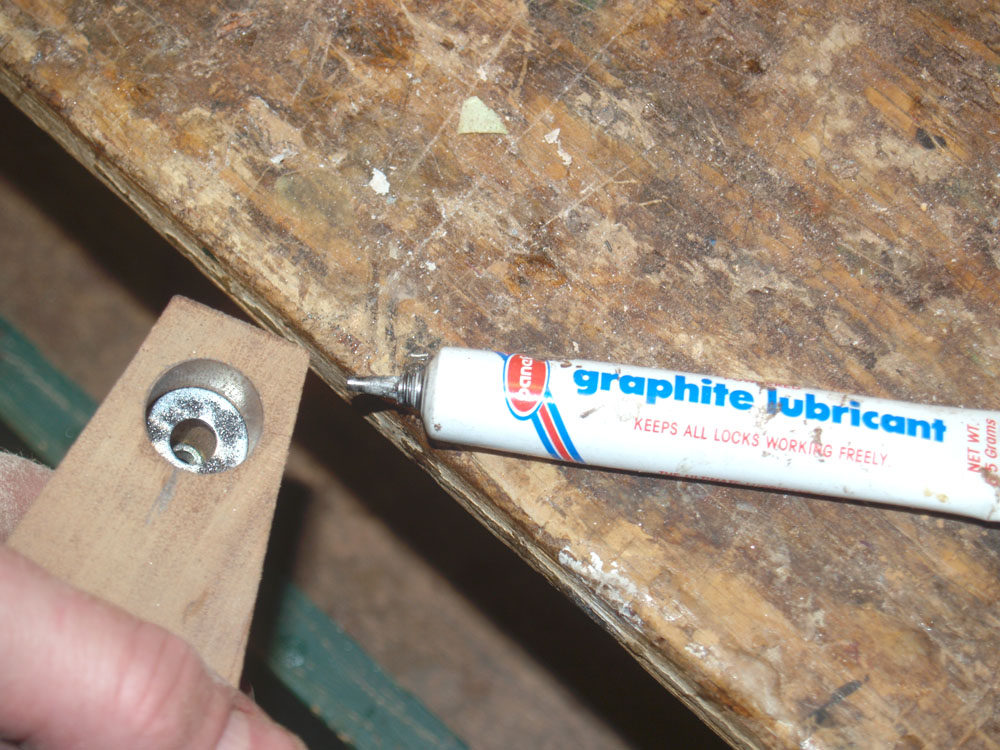
A bit of graphite to make sure the bolt turns easily.
 ( 224 ) 14-May-2012
The bolt.
 ( 225 ) 14-May-2012
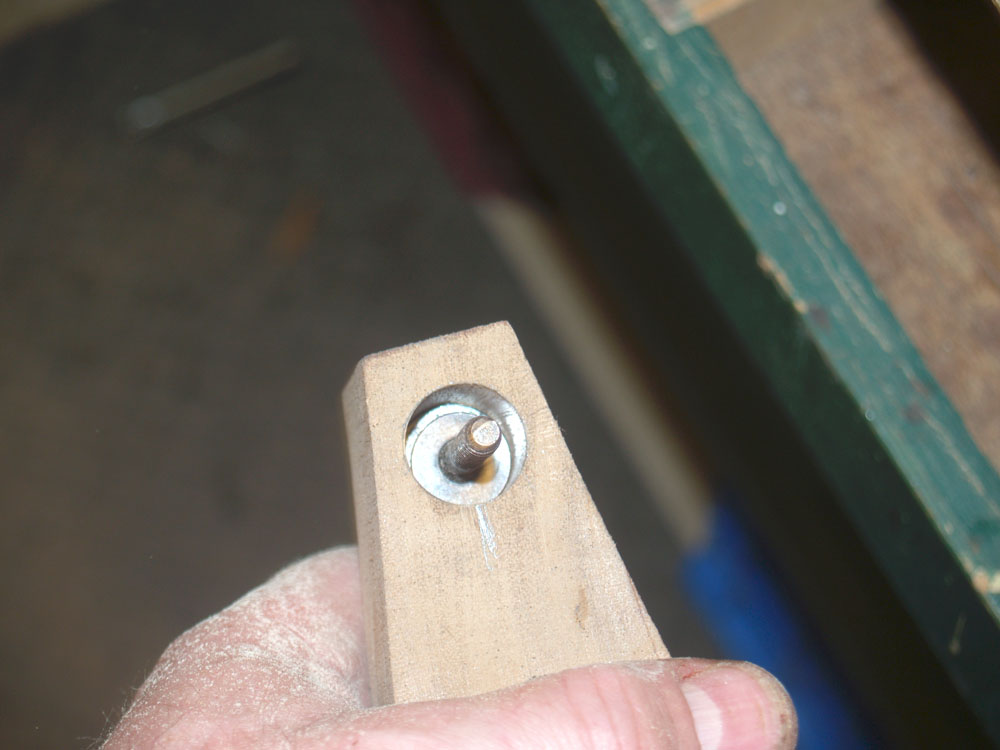
And then the flange.
 ( 226 ) 14-May-2012
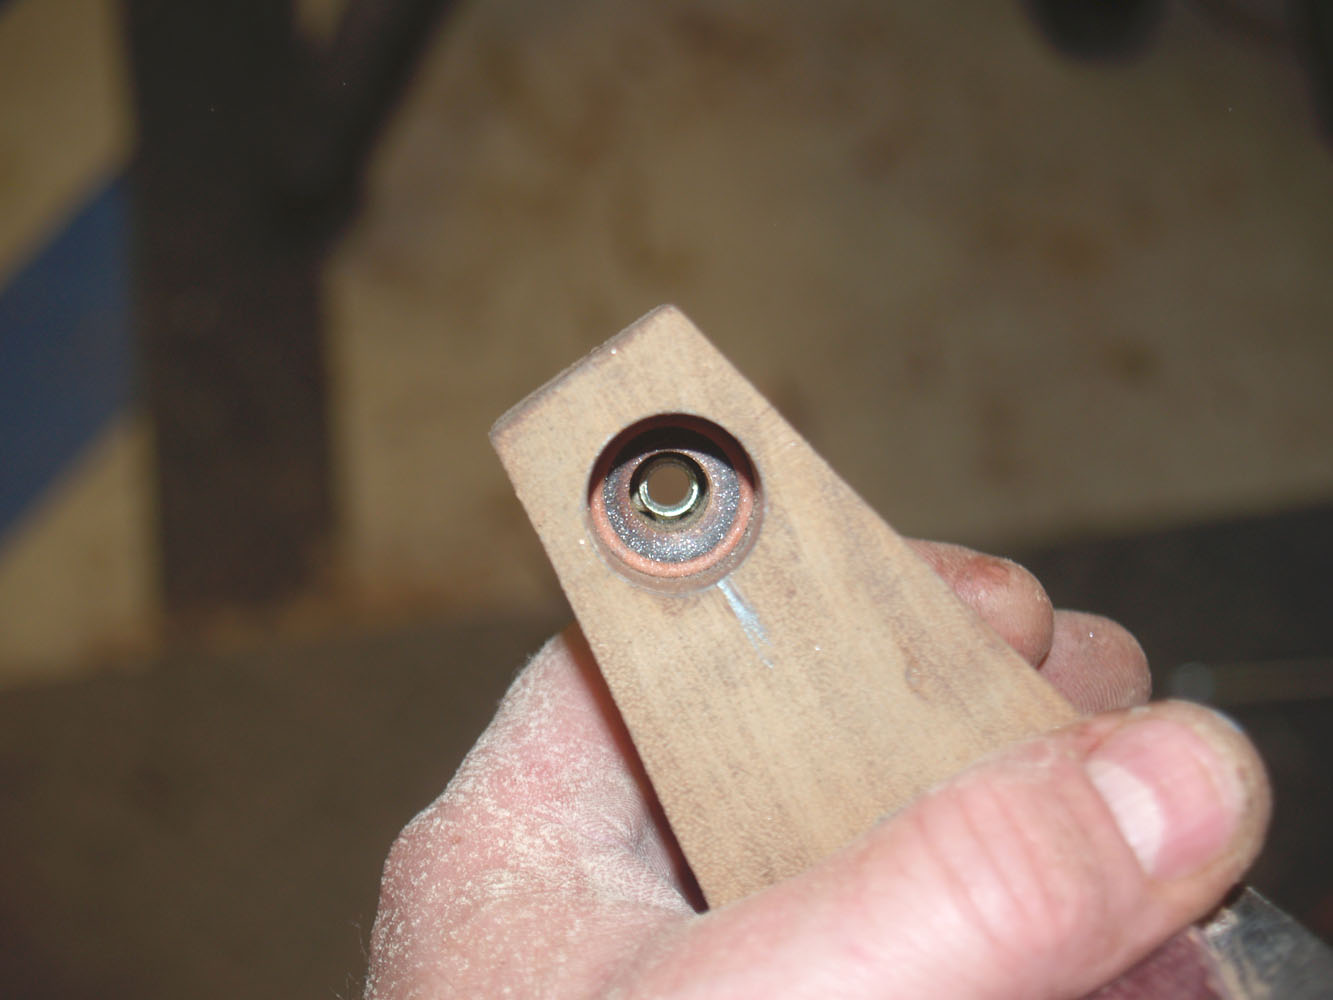
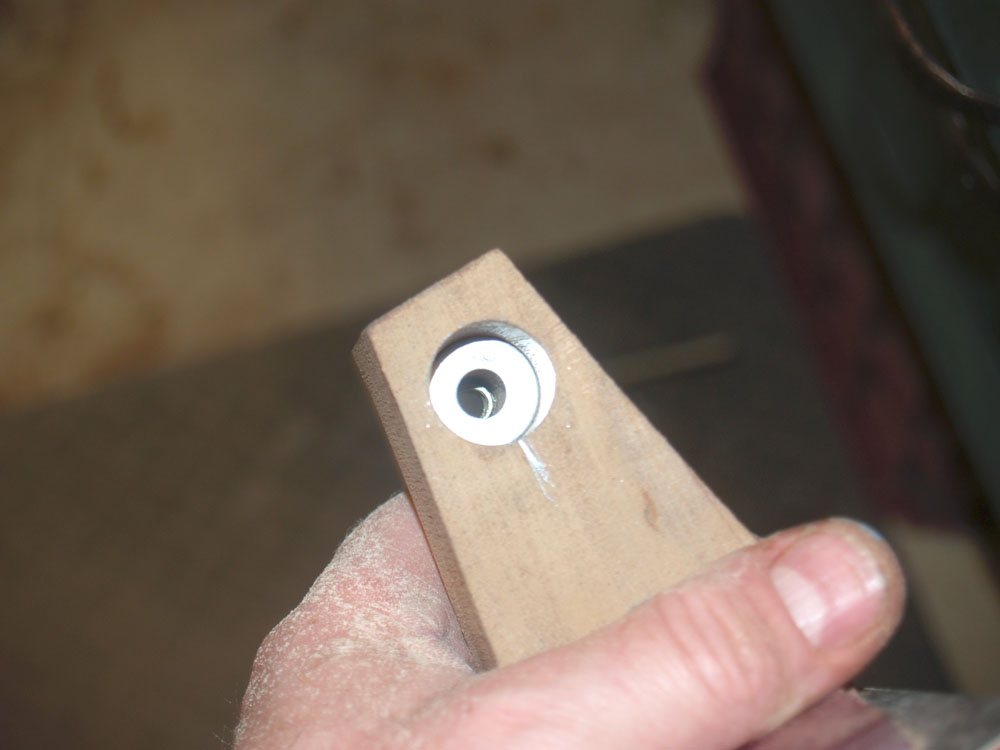
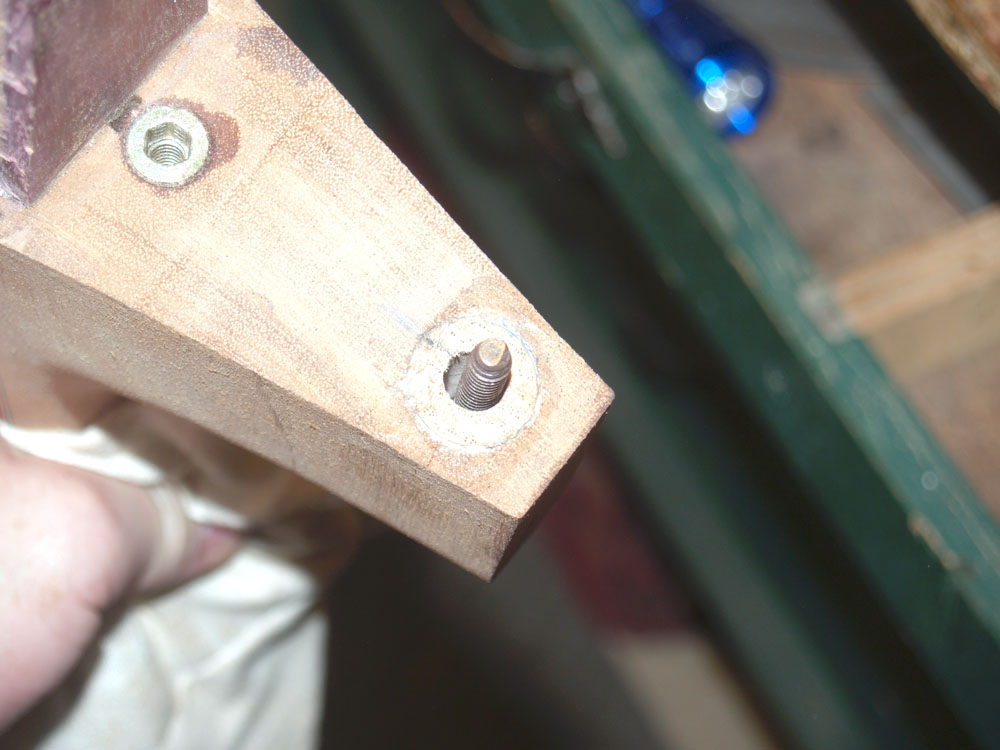
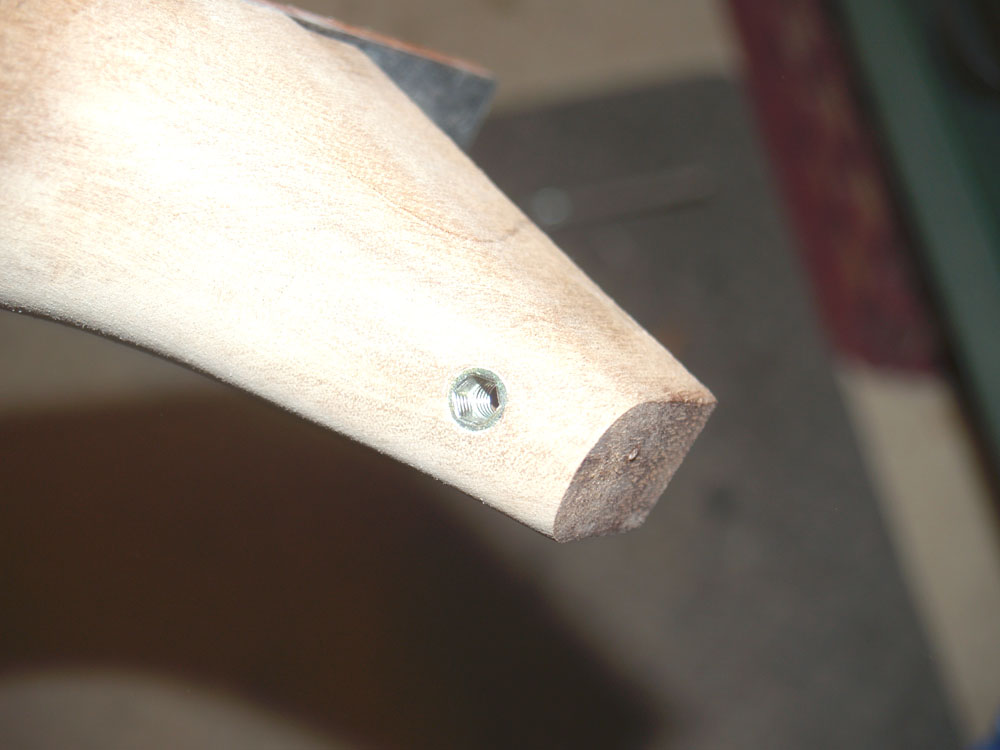
I install a 1/4-20 wood insert into the access hole for the neck strap to screw in to.
 ( 227 ) 14-May-2012
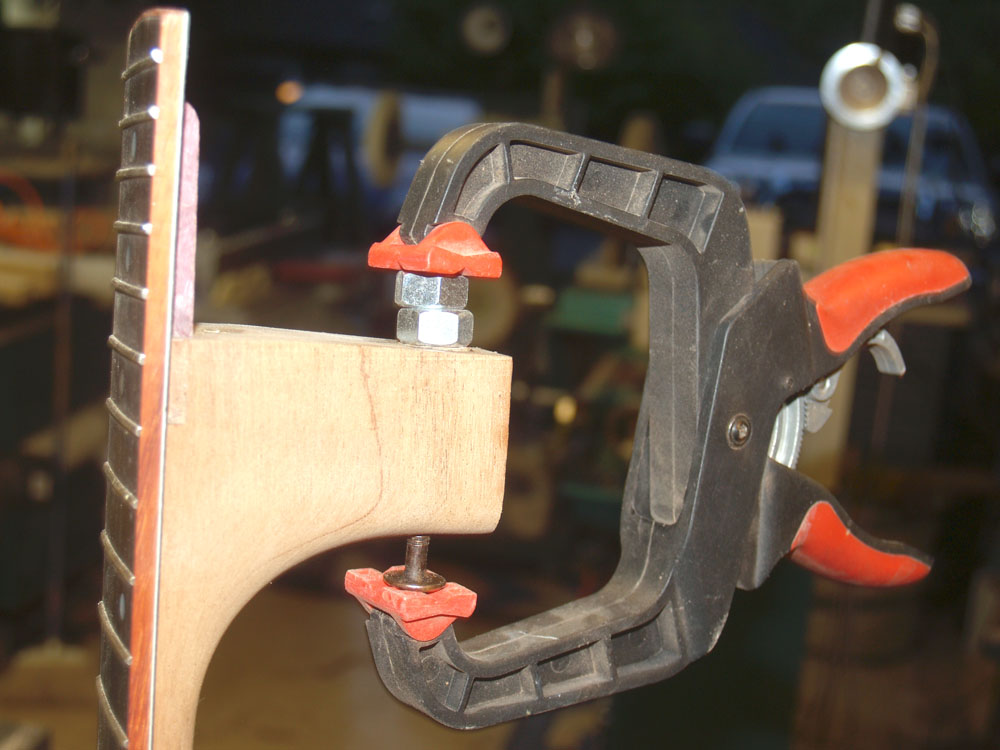
And then I compress the assembly while it is drying to ensure a good fit.
 ( 228 ) 14-May-2012
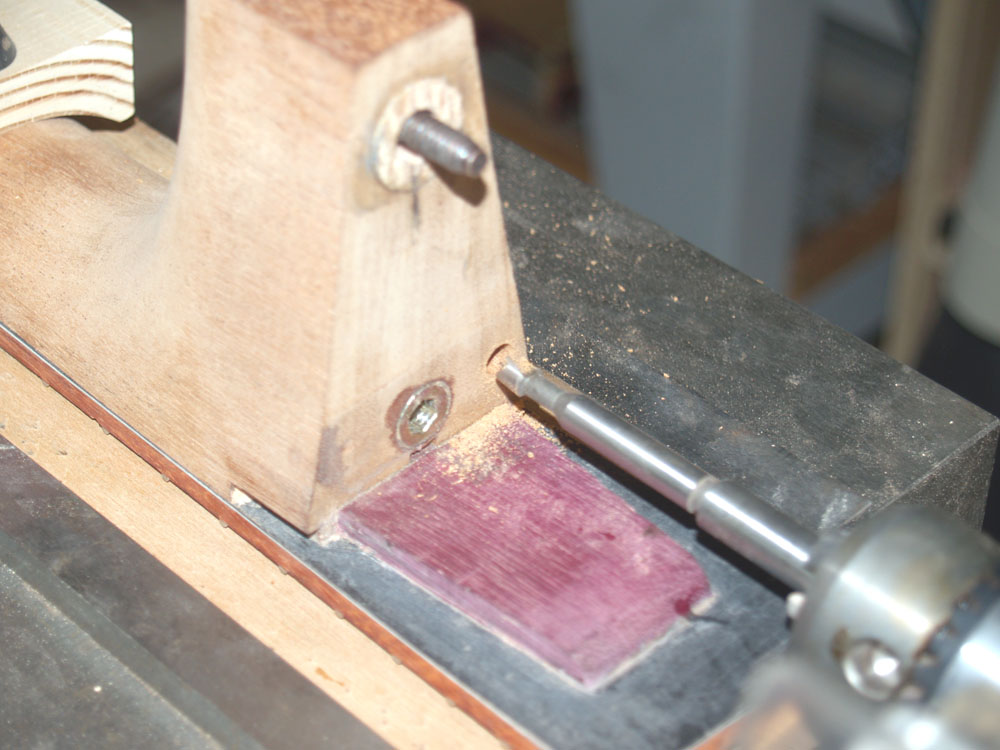
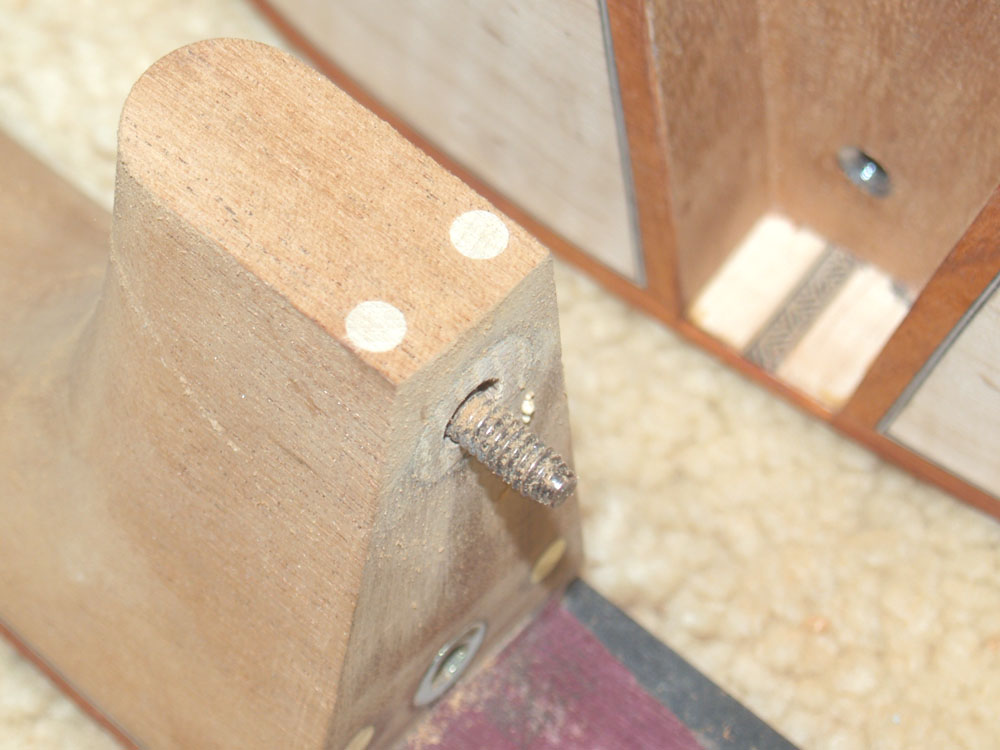
Here I am rounding off the end of the set screws where they will make contact with the shoulder of the neck.
 ( 229 ) 14-May-2012
The set screws go into the wood inserts in the shoulder channel.
 ( 230 ) 14-May-2012
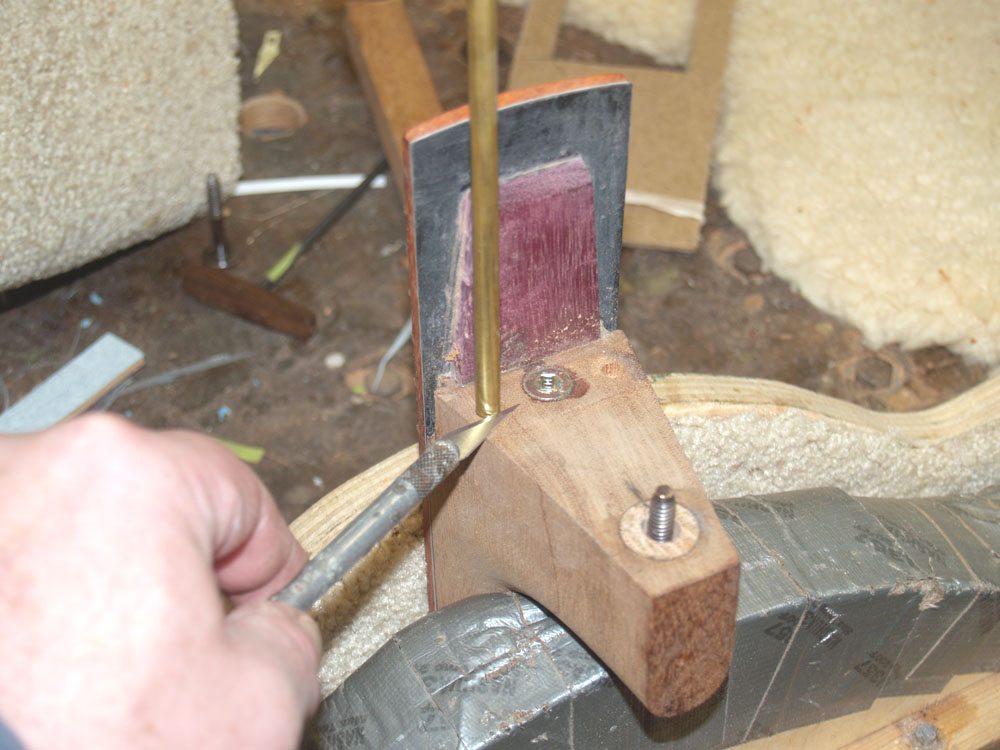
I mark the position where the set screws make contact and drill holes for the brass fulcrum plugs.
 ( 231 ) 14-May-2012
I mark the depth of the hole on the brass bar stock.
 ( 232 ) 14-May-2012
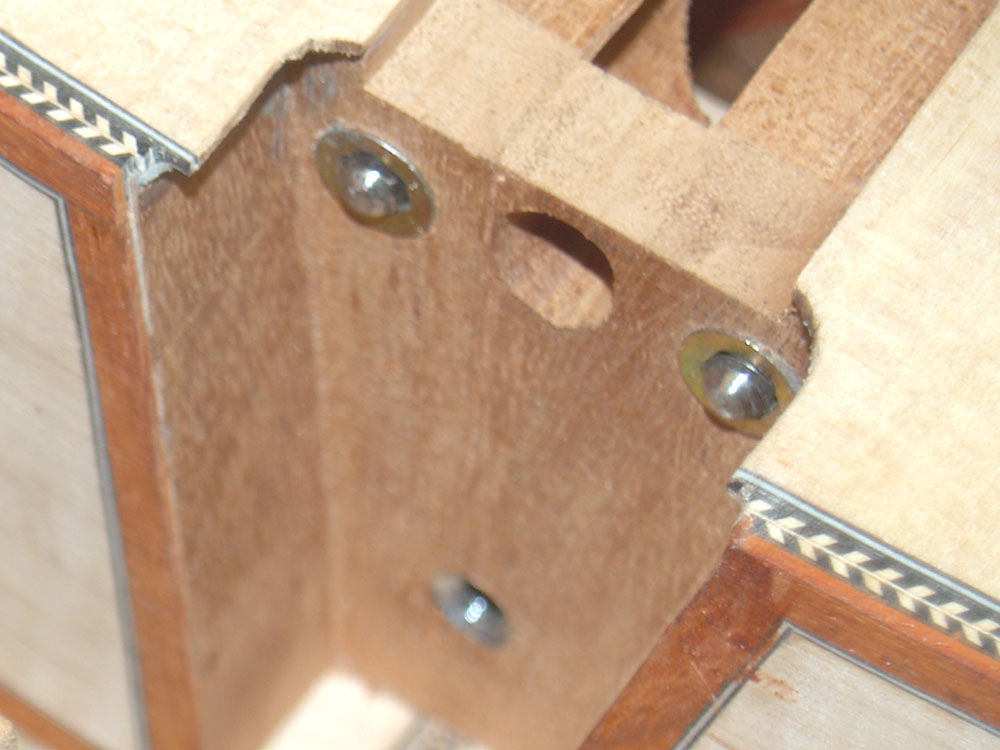
And glue the brass plug into the hole. These brass plugs provide a firm yet slightly compliant contact point between the body of the guitar and the neck.
 ( 233 ) 14-May-2012
To ensure that the oak retaining flange does not work its way free under the tension of the neck I insert two retaining dowels through the flange.
 ( 234 ) 14-May-2012
I mark the depth of the hole.
 ( 235 ) 14-May-2012
And then glue the dowels in place.
 ( 236 ) 14-May-2012
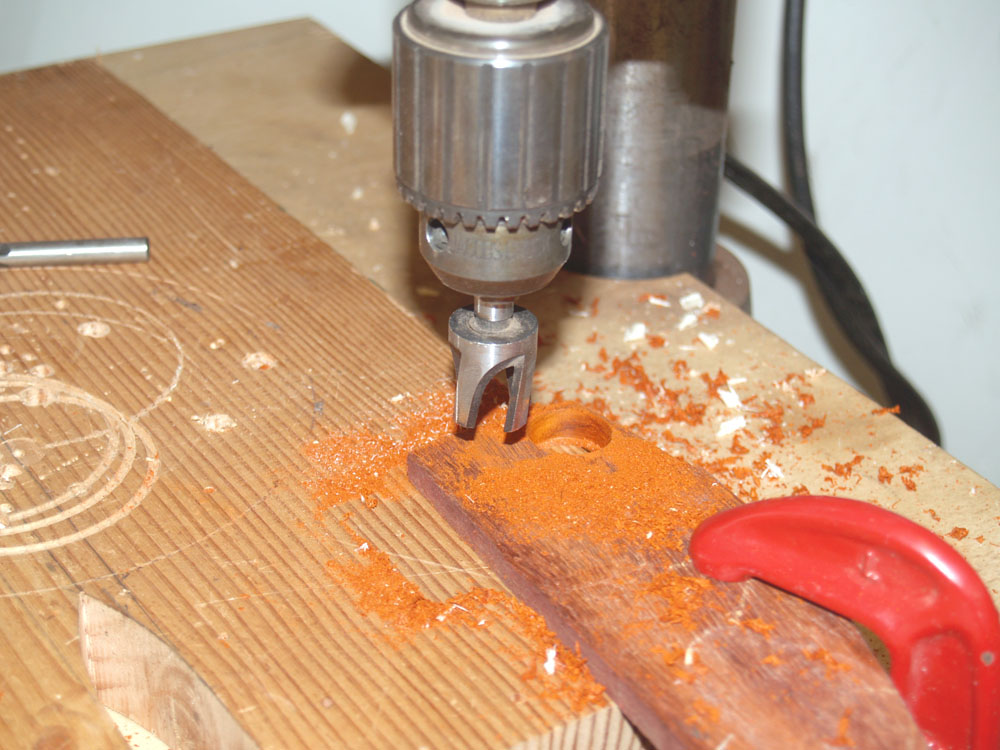
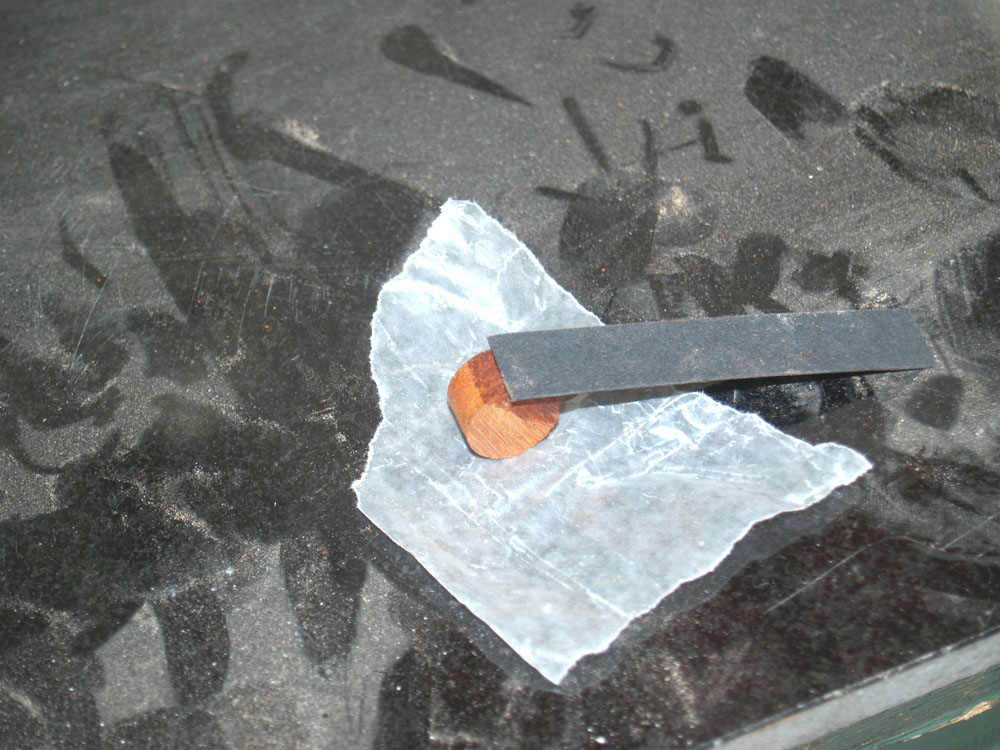
I am going to counter sink the tuning machines into the headstock and outline the washer with a b/w pinstripe circle. Here I am cutting out a Padauk plug for the base of the countersink.
 ( 237 ) 14-May-2012
Next I glue on a layer of black fiber stock.
 ( 238 ) 14-May-2012
And then a layer of white fiber stock.
 ( 239 ) 14-May-2012
And then I split the assembly into three plugs.
 ( 240 ) 14-May-2012
I drill a hole for each tuning machine.
 ( 241 ) 14-May-2012
And insert the plug assembly into the hole.
 ( 242 ) 14-May-2012
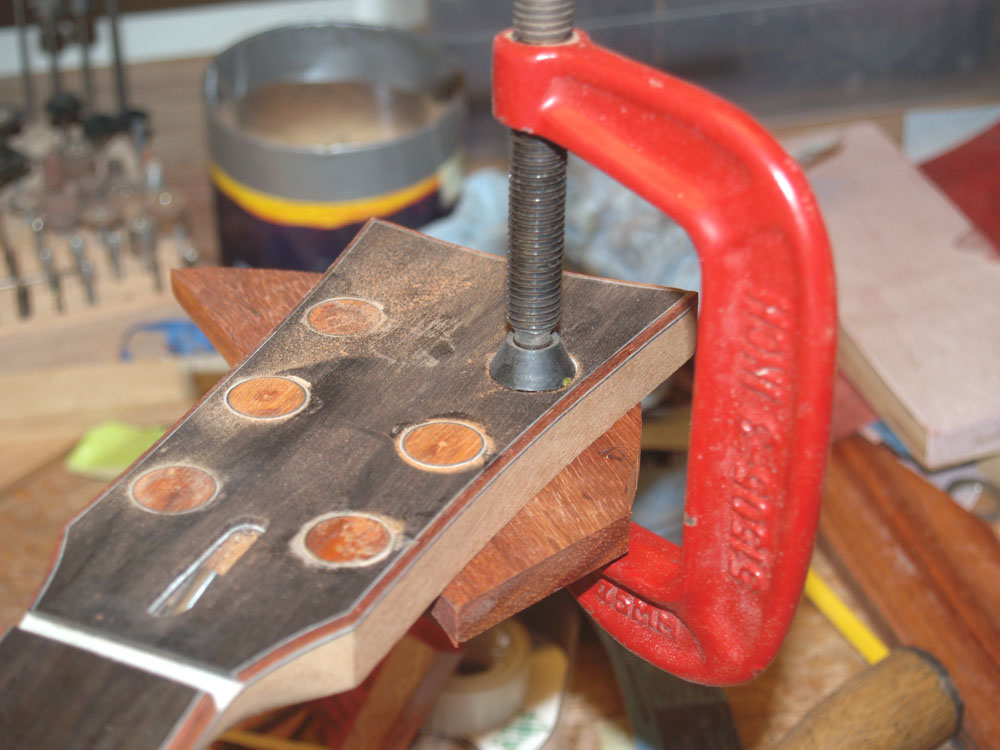
I use a C-clamp to press the plugs firmly in place.
 ( 243 ) 14-May-2012
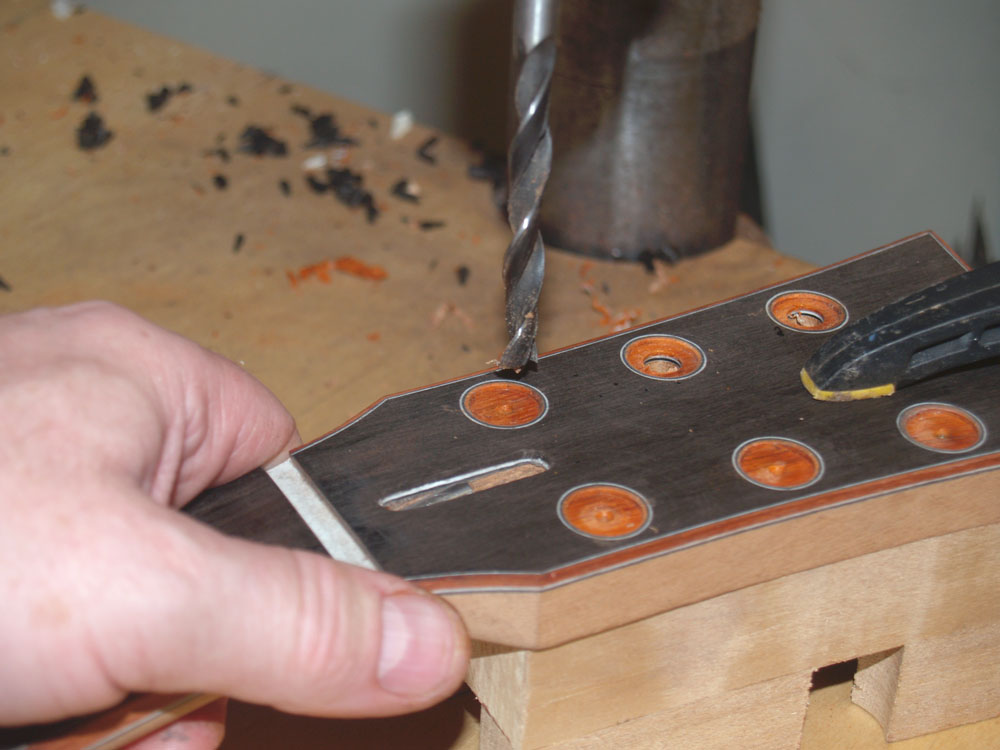
After drilling the countersink hole in each plug I drill a hole through the head stock for each tuning machine.
 ( 244 ) 14-May-2012
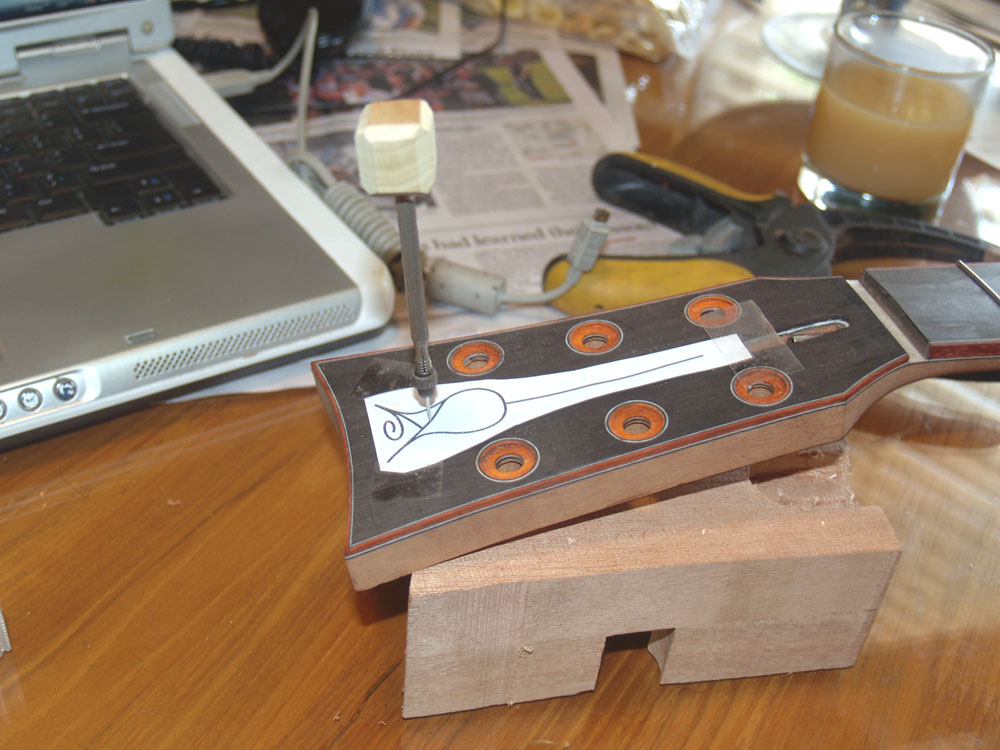
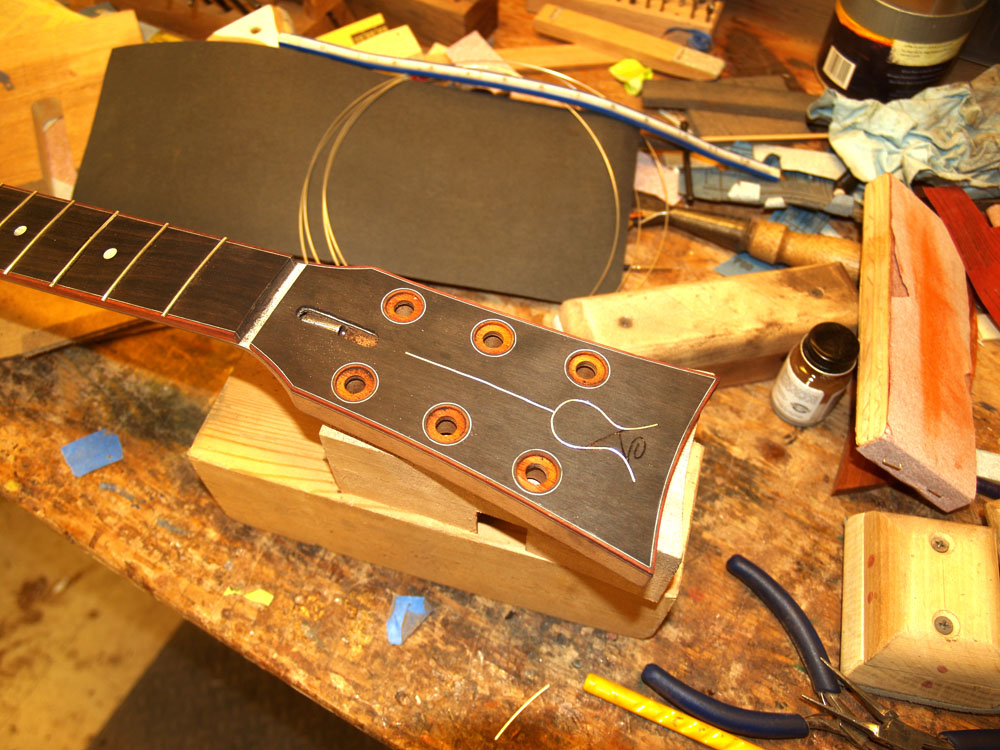
This is where I install the Portland Guitar Jasmine Rose. My daughter's name is Jasmine Rose and she designed this icon for me.
 ( 245 ) 14-May-2012
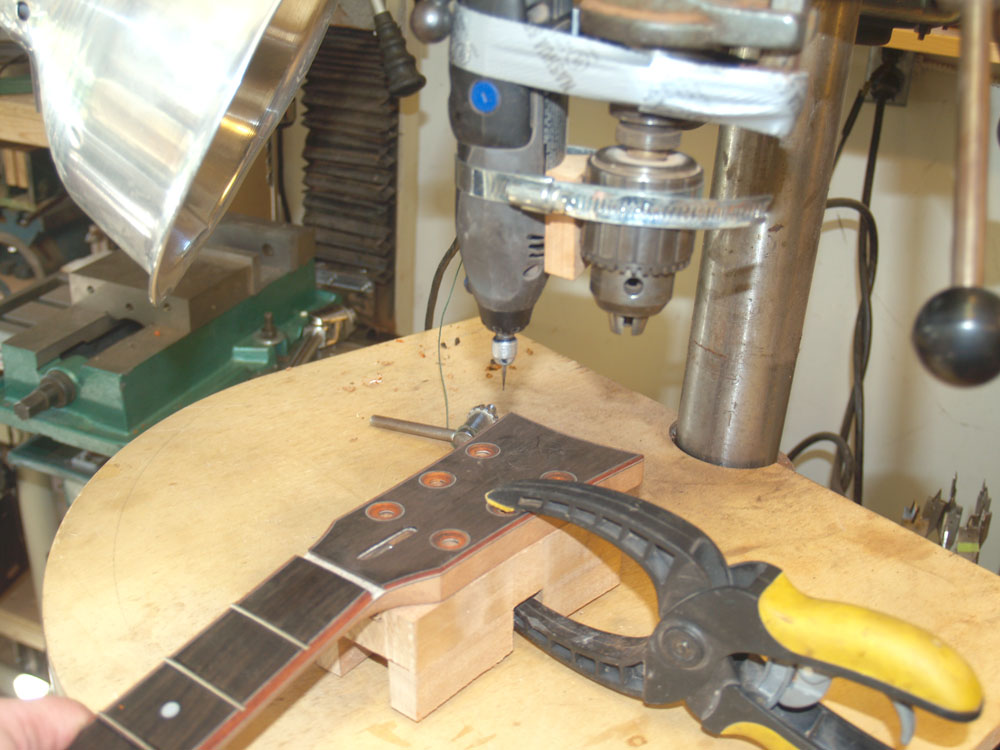
I use a Dremel tool to route out the channel for the silver wire I use to make the rose.
 ( 246 ) 14-May-2012
With a bit of bending and filing I press the wire into place.
 ( 247 ) 14-May-2012
The wire stands proud of the surface.
 ( 248 ) 14-May-2012
And I level everything off to finish up.
 ( 249 ) 14-May-2012
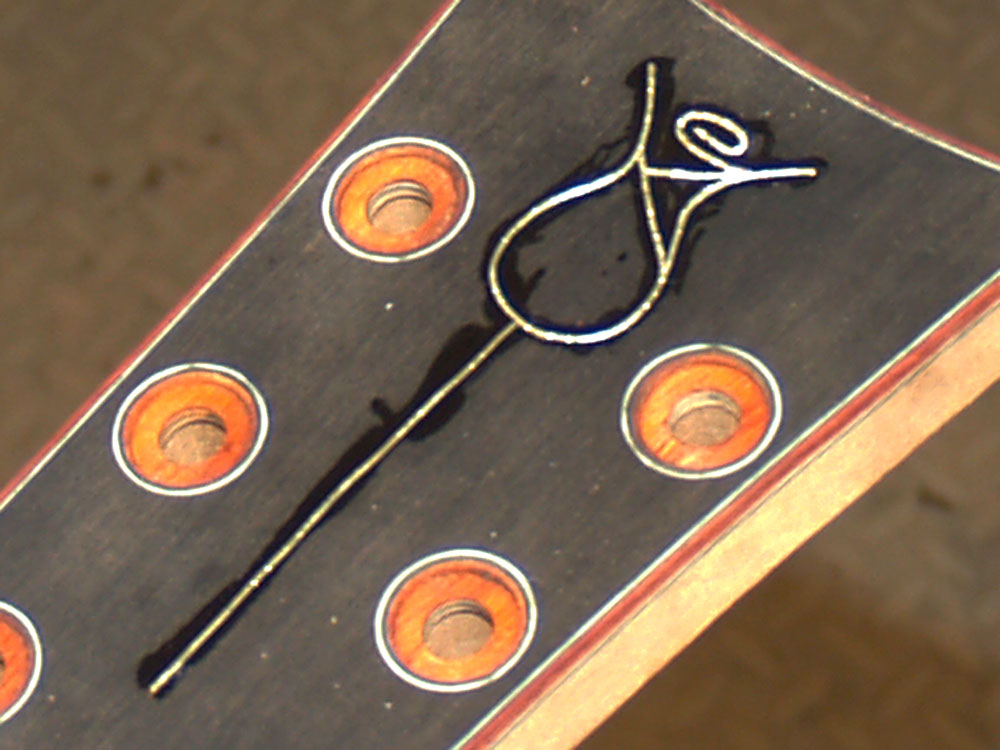
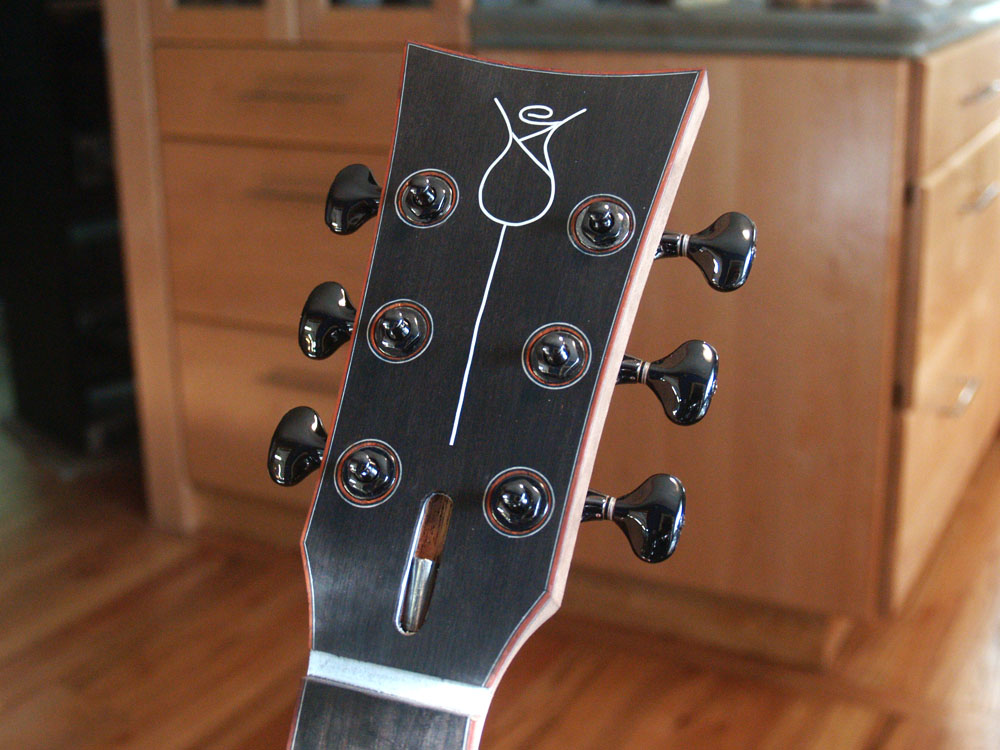
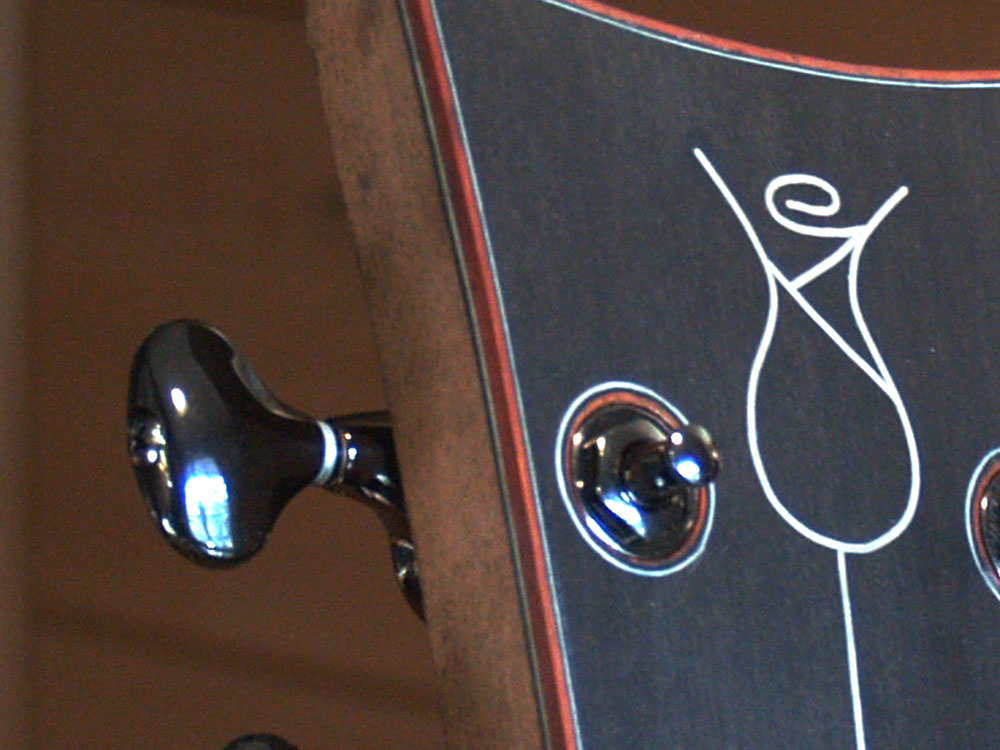
Here is a close up look at the rose, and the tuning machine counter sink with the pinstriping outline.
 ( 250 ) 14-May-2012
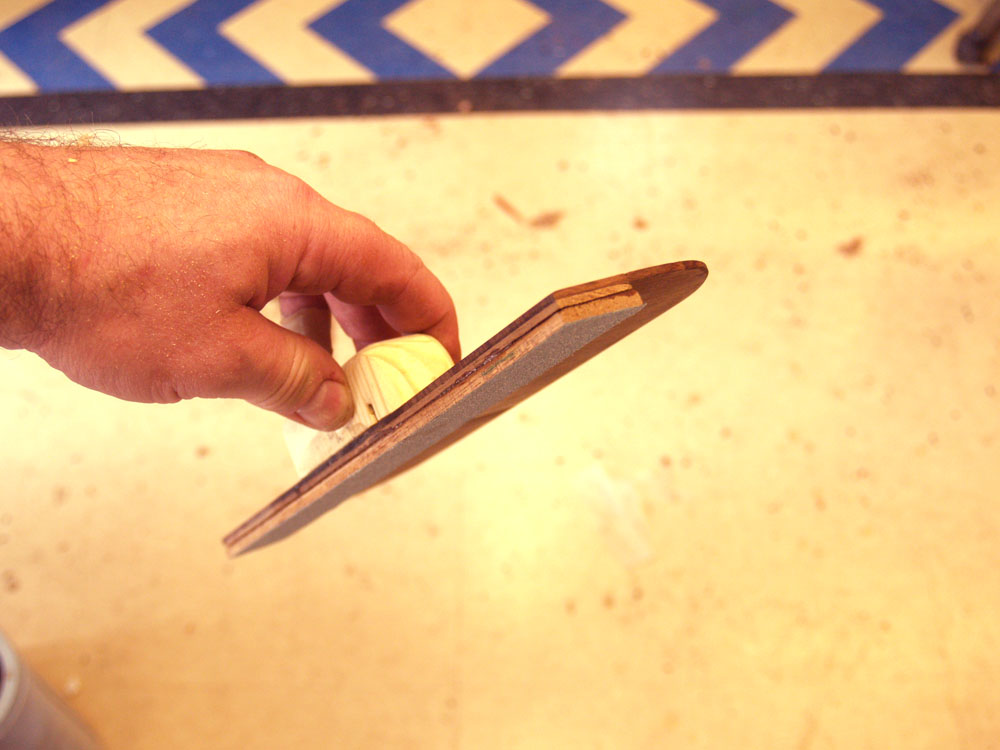
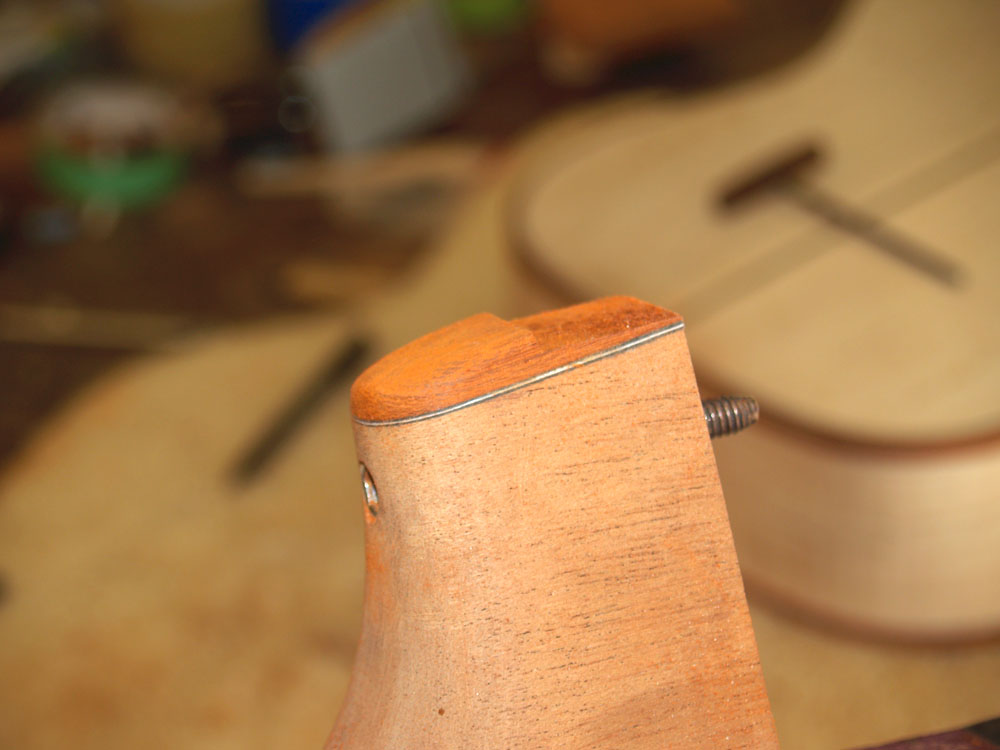
I have made this special sanding tool to level the shoulder cap on the neck at the right angle.
 ( 251 ) 14-May-2012
I want the shoulder cap to be the same width as the binding and to extend the contour of the back.
 ( 252 ) 14-May-2012
This tool forces the sandpaper to the right depth and angle.
 ( 253 ) 14-May-2012
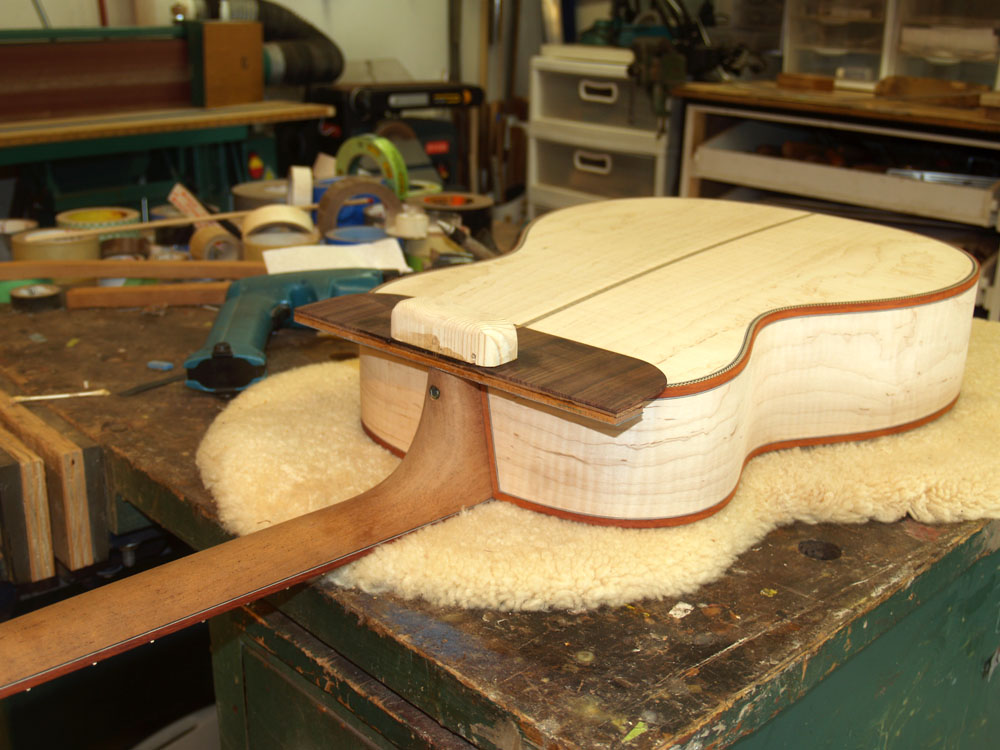
With the shoulder cap sanded down I glue on a plate of b/w/b fiber stock.
 ( 254 ) 14-May-2012
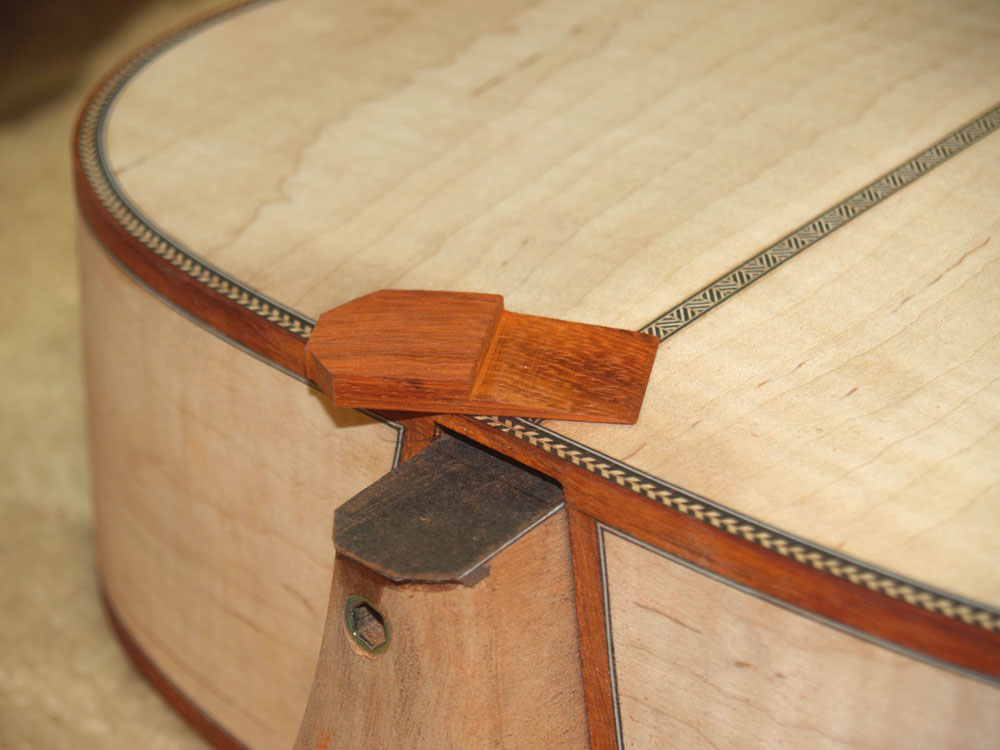
And then fashion the shoulder cap to extend onto the shoulder channel.
 ( 255 ) 14-May-2012
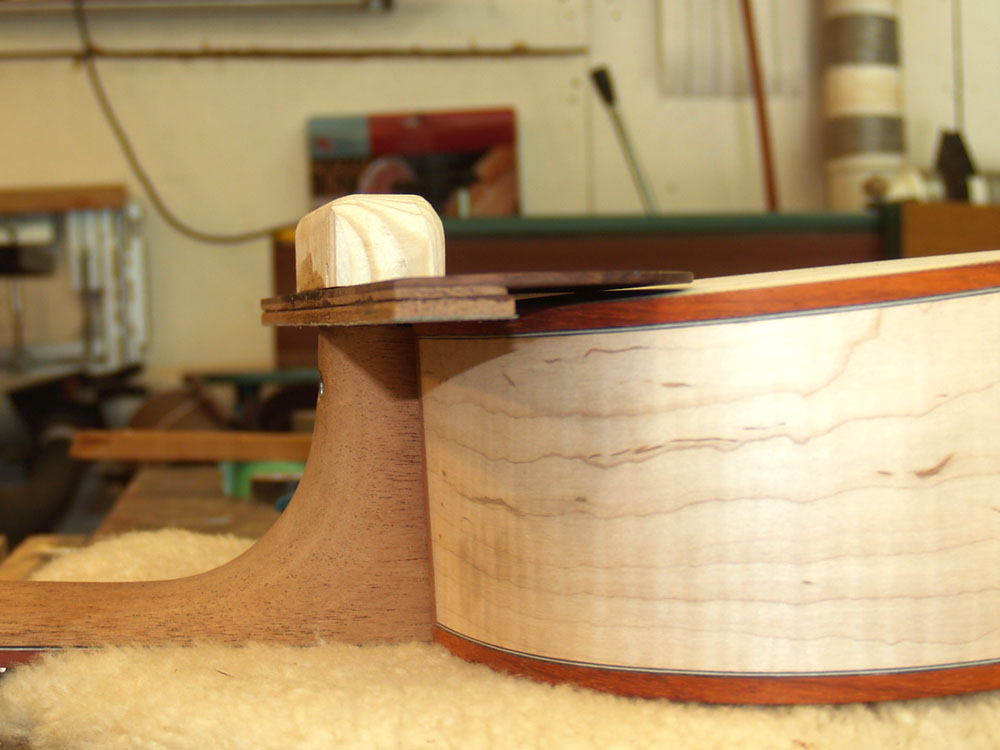
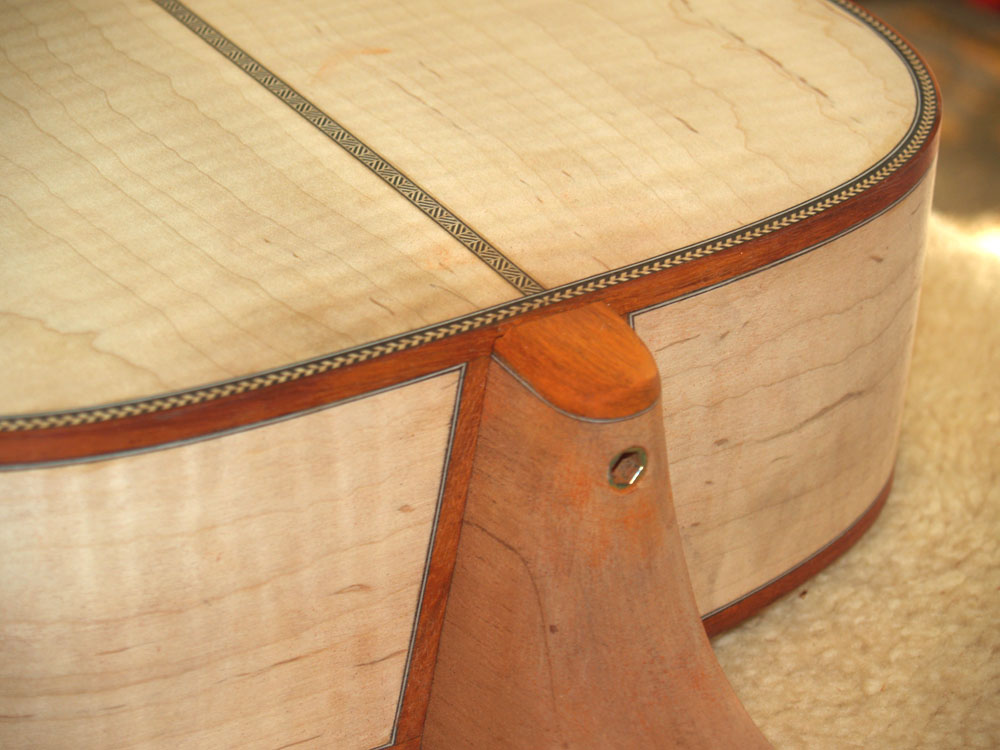
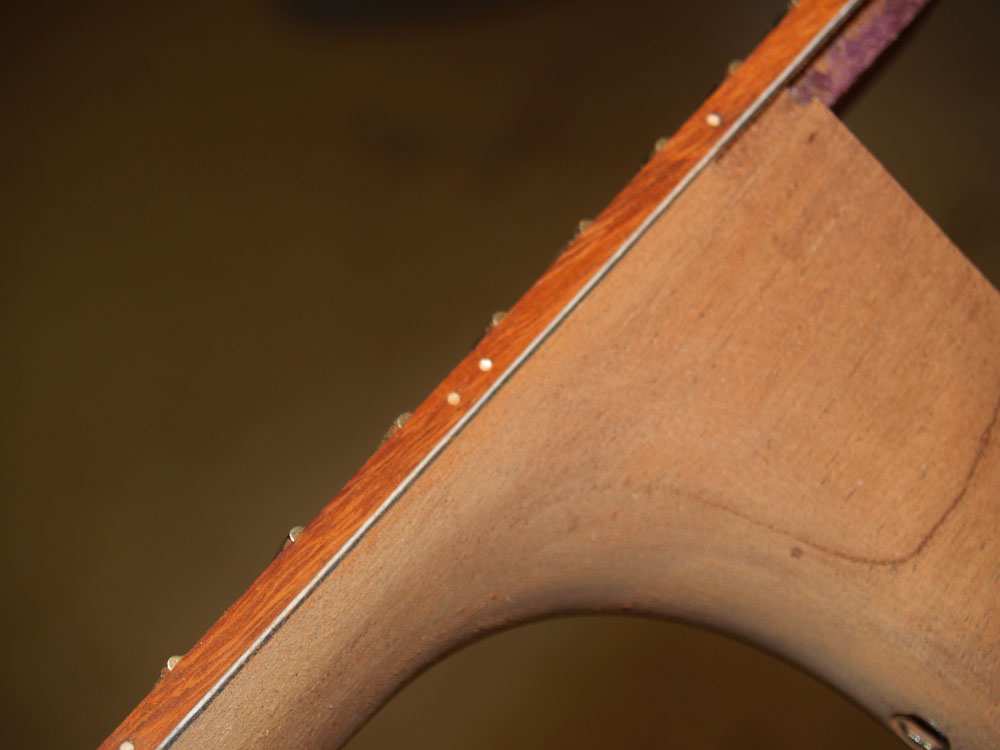
Here is a look at the shoulder cap sanded to the contour of the shoulder.
 ( 256 ) 14-May-2012
The shoulder cap fits into the shoulder channel with only a small gap showing.
 ( 257 ) 14-May-2012
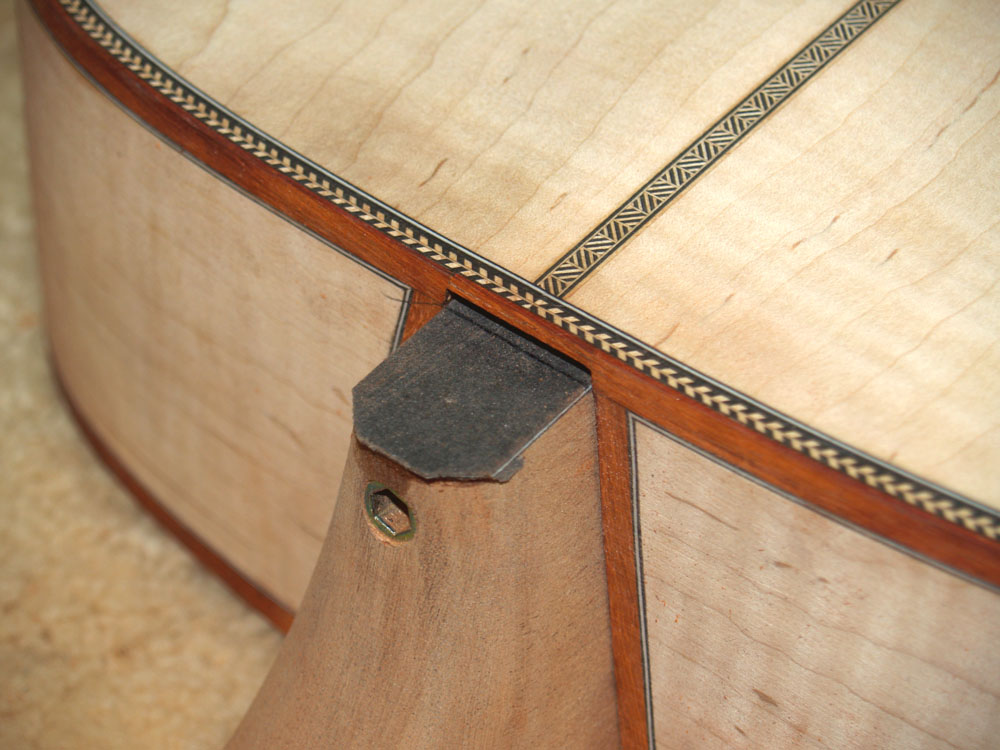
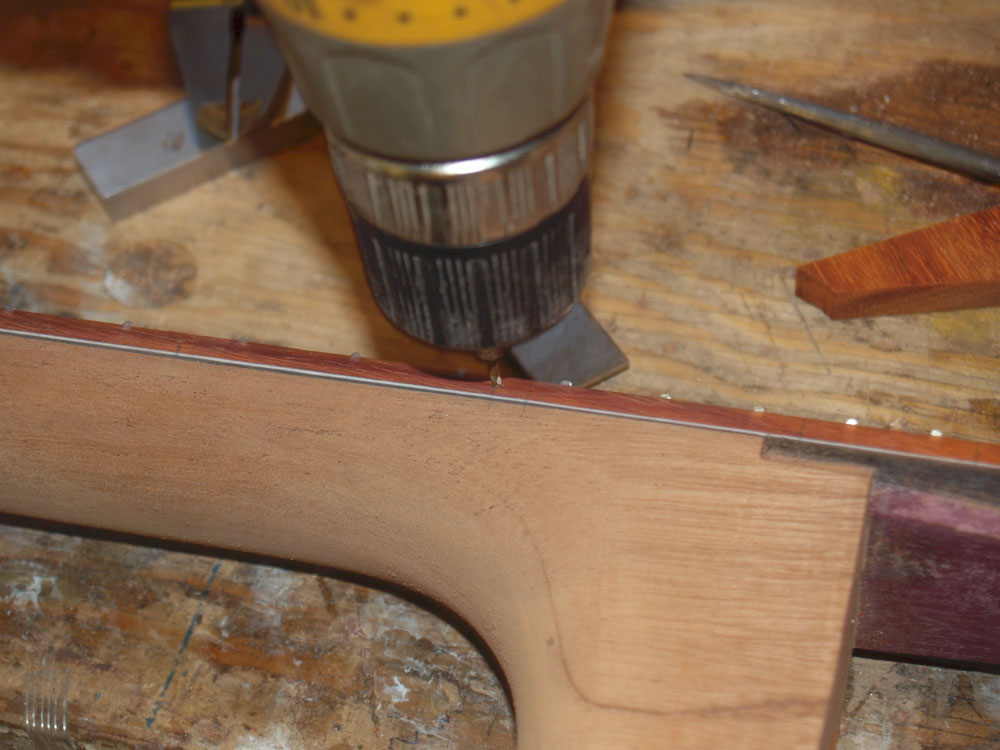
To finish up the neck I install white markers in the binding.
 ( 258 ) 14-May-2012
The markers get sanded flush with the binding.
 ( 259 ) 14-May-2012
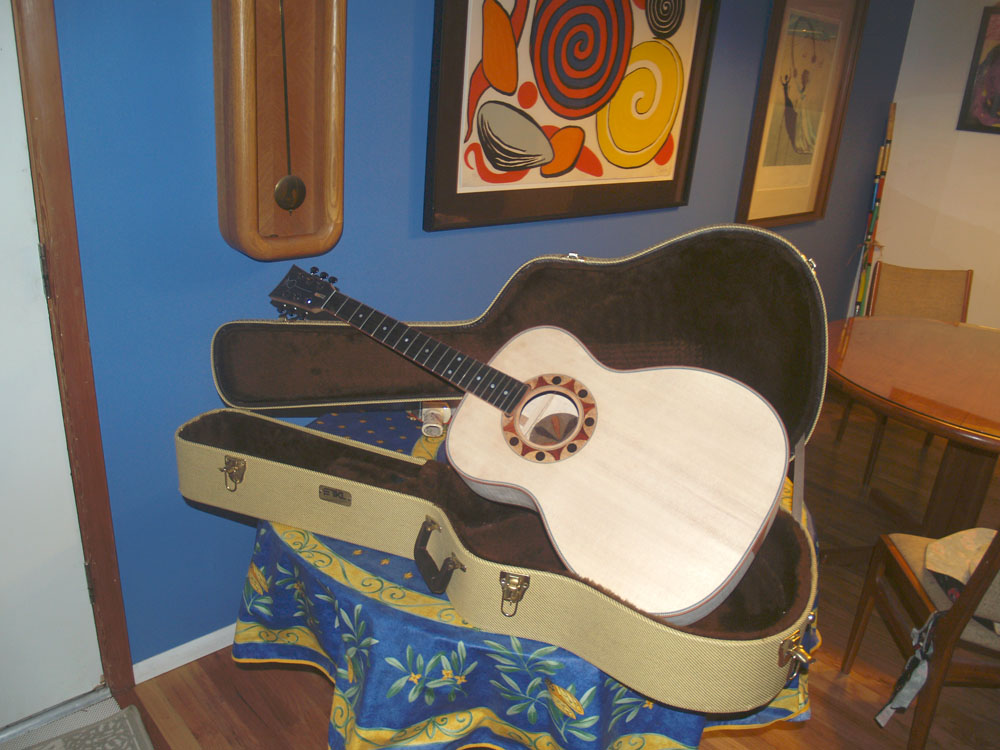
Next up is to paint the top black, apply the finish and make the bridge.