 |
(248) 29-July-2010
Now the guitar goes
into the spray booth where I will apply the water borne lacquer I use
in an iterative process of 'spray it on, fix the revealed
defects, sand off the high spots, spray it on...' I will repeat
this process until I am happy that the finish is as perfect as I can
make it. |
 |
(249) 29-July-2010
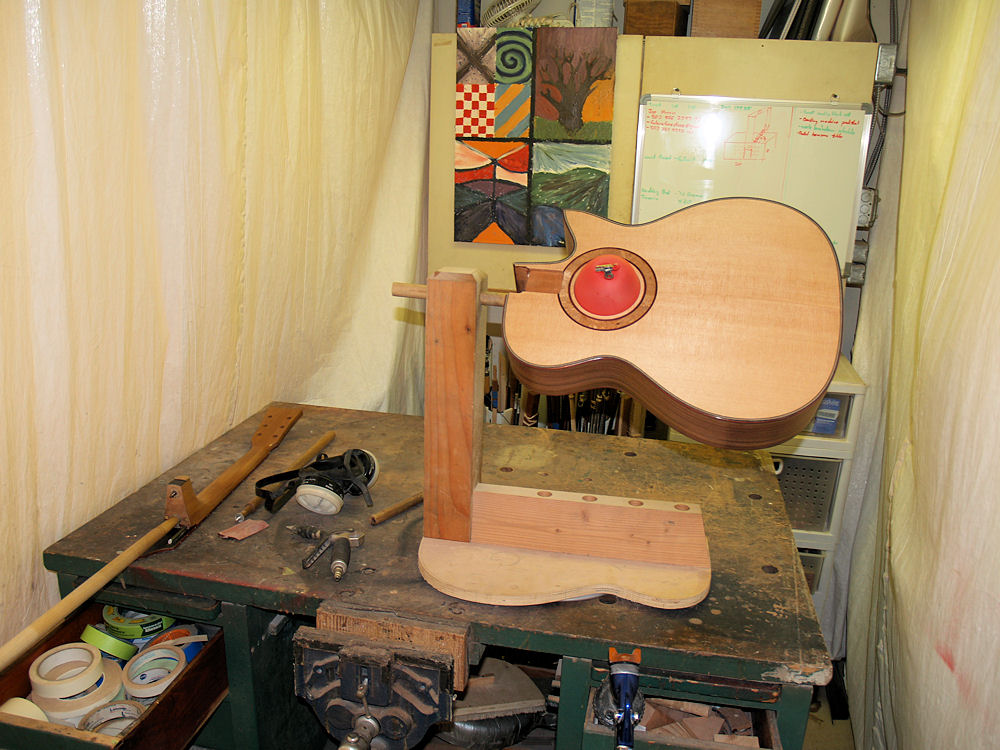
I mount the guitar on a big 'popsicle stick' and use a rotating stand
to give me easy access to all of the parts of the guitar. The
balloon keeps the lacquer out of the sound hole. |
 |
(250) 29-July-2010
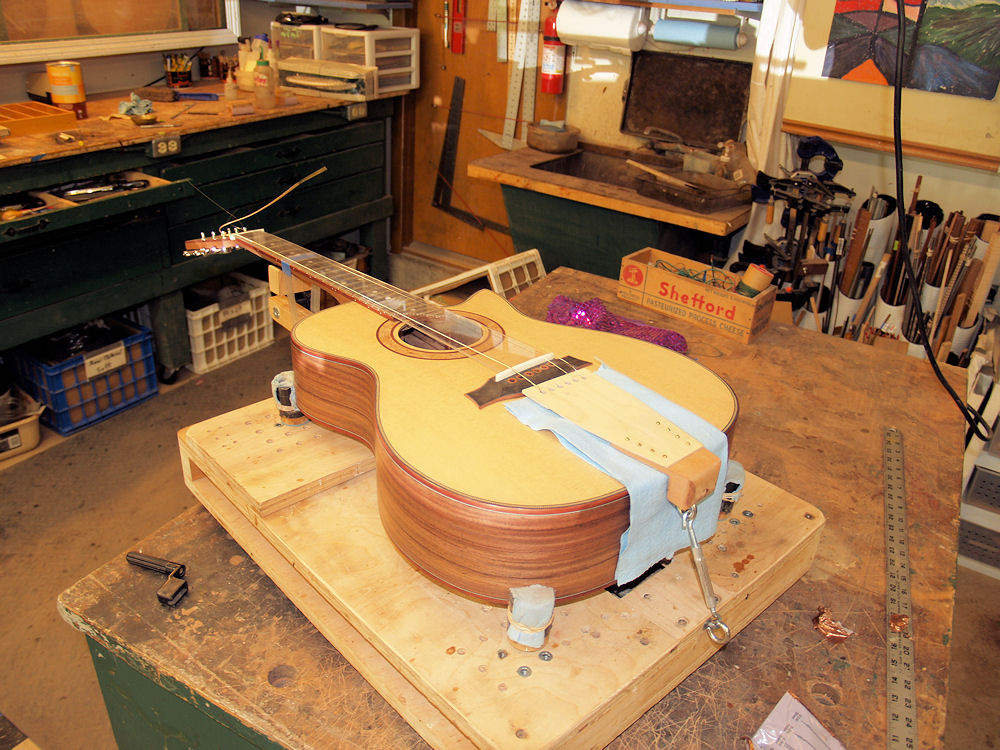
When the lacquer has
cured for about a week I use a tail fixture that allows me to string
the guitar up without gluing the bridge in place. This
allows me to find the optimal position for the saddle to insure proper
intonation. |
 |
(251) 29-July-2010
I make a first pass at the nut using individual dimensioned files to creat the slots for each string. |
 |
(252) 29-July-2010
Using a tuner to
measure the fundamental and the 12th fret frequency I adjust the
position of the bridge until I am satisfied that the intonation is
as close to correct as possible. |
 |
(253) 29-July-2010
I then clamp the bridge in place and using a very sharp blade I scribe around the perimeter of the bridge. |
 |
(254) 29-July-2010
I then very carefully remove the lacquer around the inside perimeter of the scribe line. |
 |
(255) 29-July-2010
I finally use my small router to remove the remainder of the lacquer from the footprint of the bridge. |
 |
(256) 29-July-2010
With the lacquer removed the bridge will be able to make a good bond to the top of the guitar. |
 |
(257) 29-July-2010
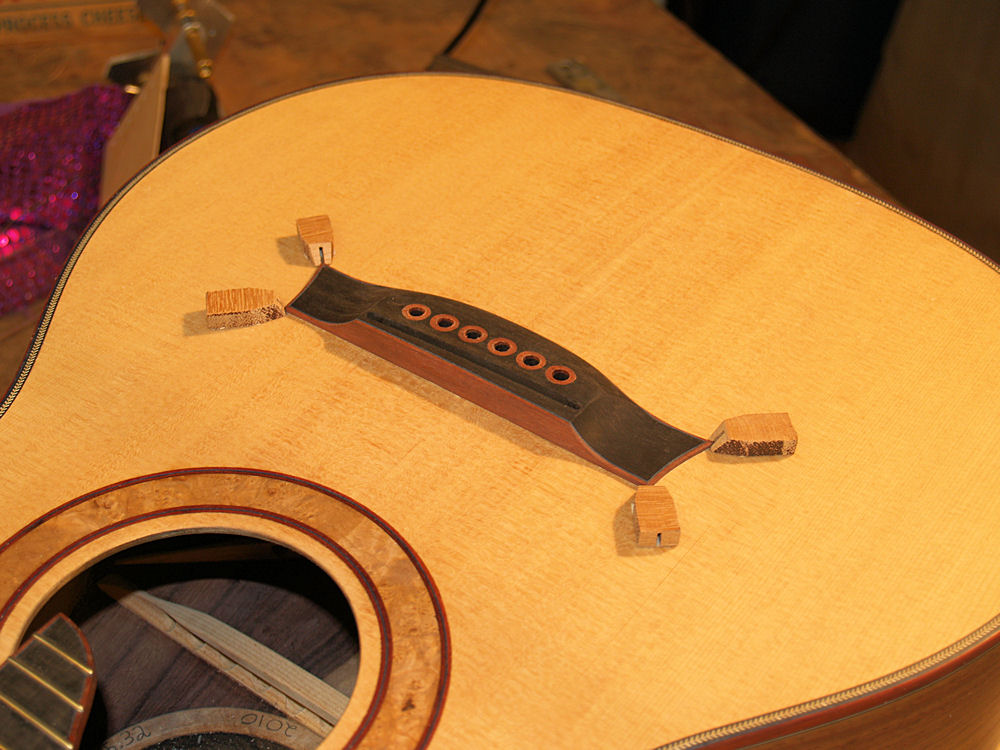
I use a set of corner
stays to insure the bridge will not move around when I am gluing it in
place. I want to make sure the bridge remains precisely
positioned when it is glued in place. |
 |
(258) 29-July-2010
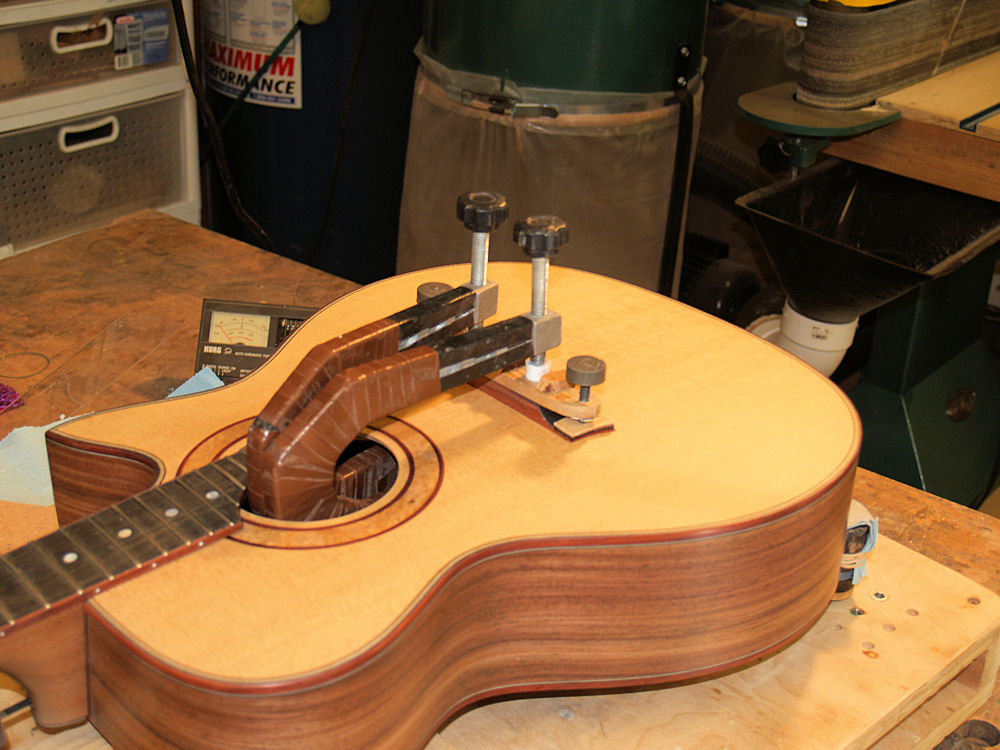
I have a special set of clamps and a wing press to glue the bridge in place. |
 |
(259) 29-July-2010
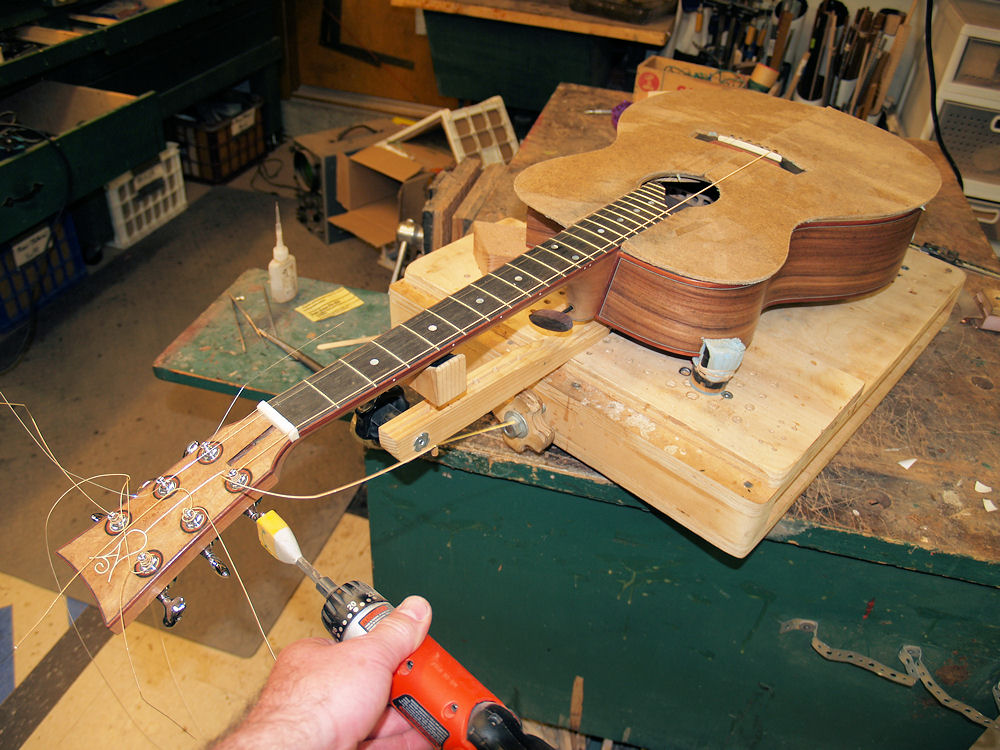
After the glue has set and dried I drill out the bridge pin holes. |
 |
(260) 29-July-2010
And then I string up the guitar and set about making all of the fine tuning adjustments that a new guitar requires. |
 |
(261) 29-July-2010
A few details include making a truss rod cover. |
 |
(262) 29-July-2010
And the strap pin that
covers the Tilt Action Neck adjustment hole. The strap pin can be
screwed out and a hex nut inserted nto the hole to adjust the neck
angle. |
 |
(263) 29-July-2010
And an ebony tail pin finishes the guitar. |
 |
(264) 29-July-2010
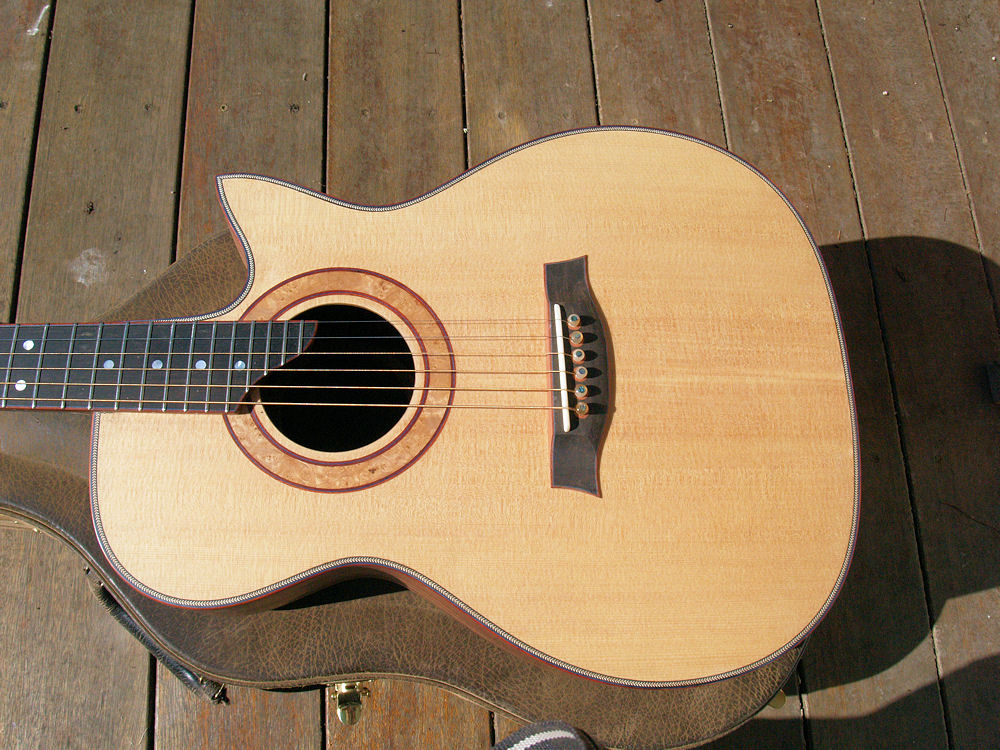
Dan asked for a set of buffalo horn bridge pins... very attractive. |
 |
(265) 29-July-2010
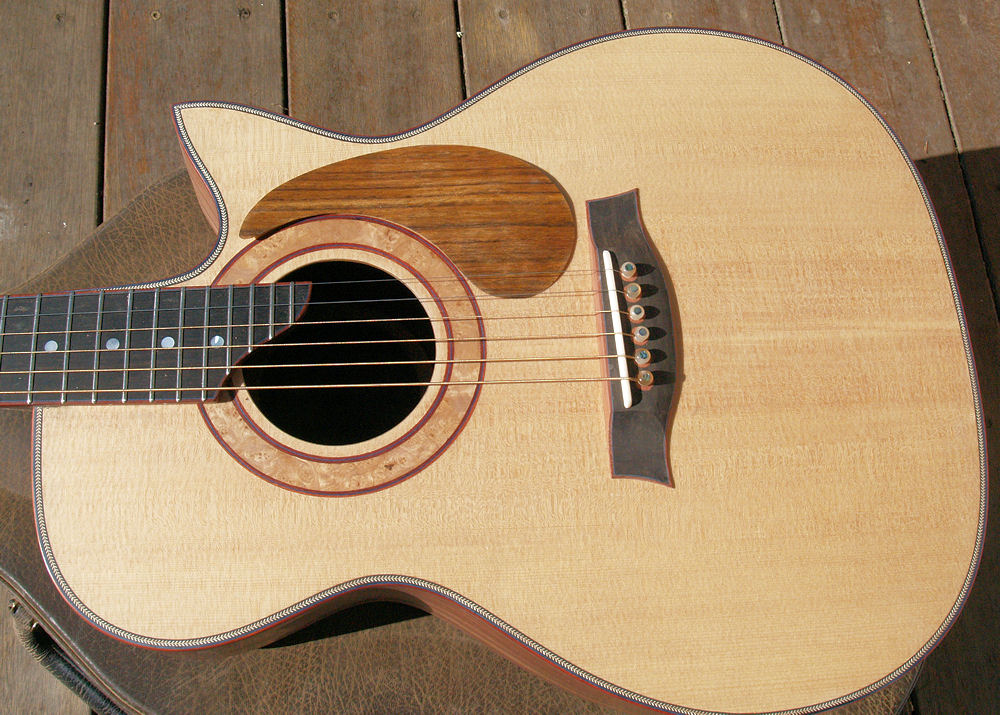
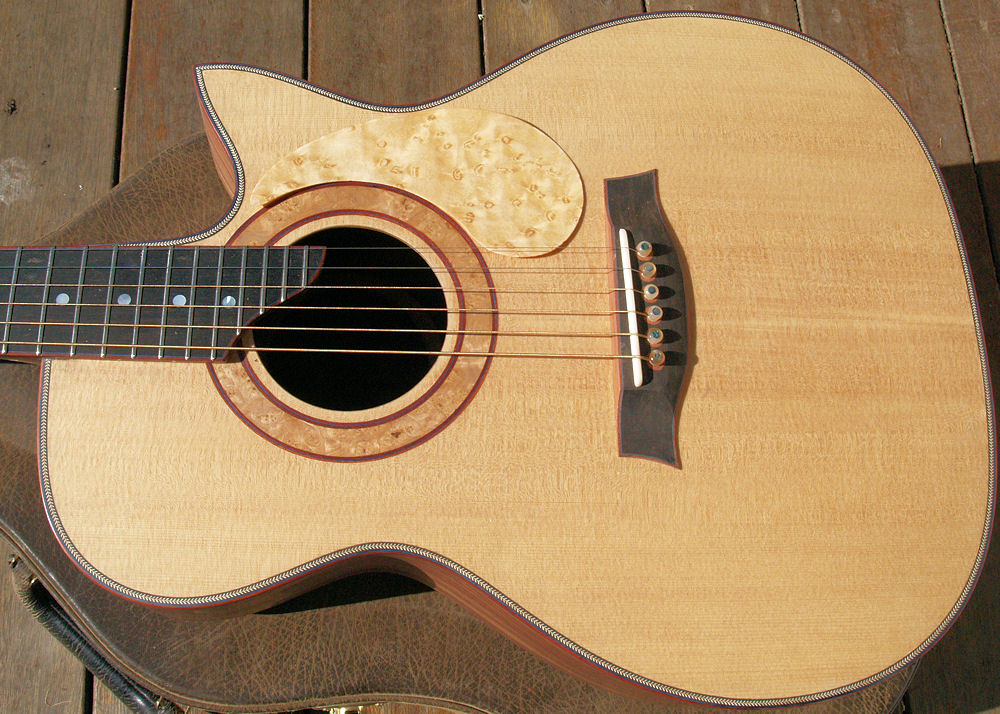
Finally Dan asked for a
wood pick guard. I have several types of wood to choose from.
In this picture the guitar gas no pick guard. Pictures 266
to 271 show the variety of woods he will get to choose from. |
 |
(266) 29-July-2010
Mozambique Ebony... I think. |
 |
(267) 29-July-2010
Birdseye Maple |
 |
(268) 29-July-2010
Brazilian Rosewood |
 |
(269) 29-July-2010
I have lost track of what this wood is called. It has a very attractive flame to it though. |
 |
(270) 29-July-2010
Figured Sapele |
 |
(271) 29-July-2010
Cereje Ira |
 |
(272) 29-July-2010
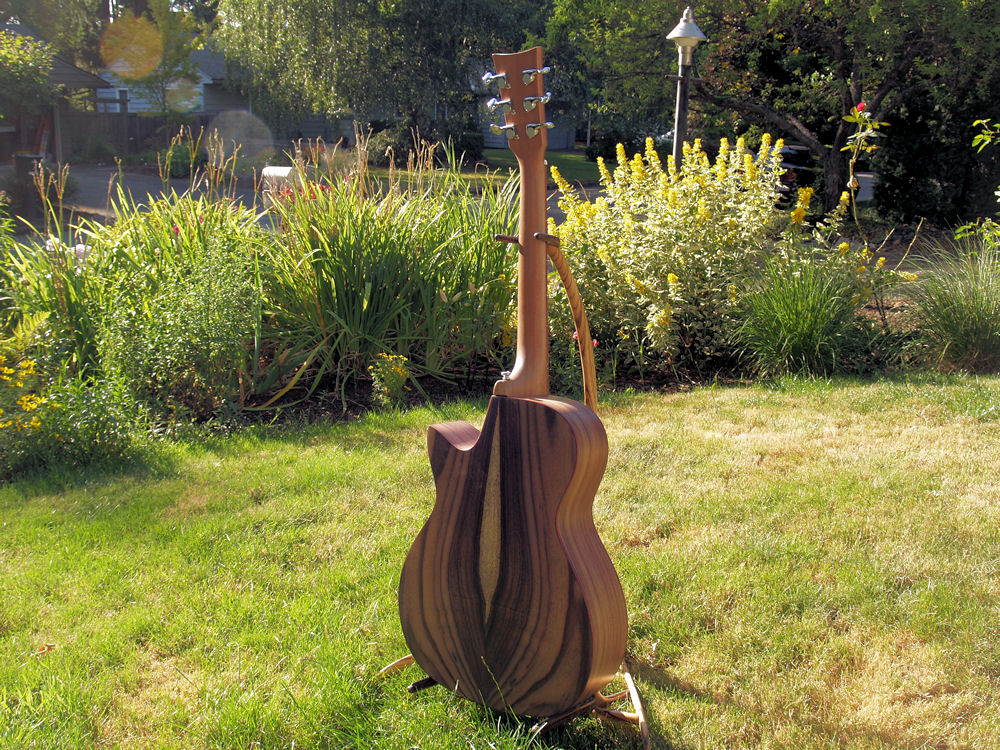
A few quick pictures of the guitar... left side view. |
 |
(273) 29-July-2010
The back |
 |
(274) 29-July-2010
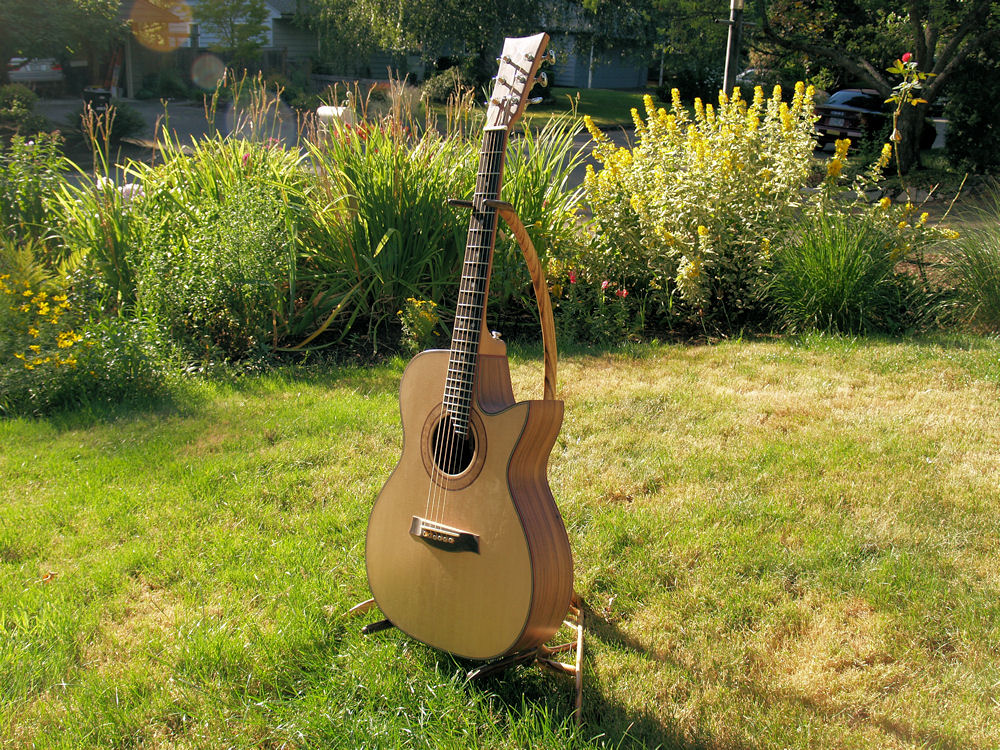
Front left |
 |
(275) 29-July-2010
Front right. |


