 |
(136) 15-June-2010
A quick pass with a sanding block
removes the minor tool
marks left on the surface when
the fretboard comes out of the Universal Radilator. |
 |
(137) 15-June-2010
Here I am marking the outline of the fretboard on the ebony blank. |
 |
(138) 15-June-2010
I
have built a sled and rail system and a set of templates that set the
position of the saw for each slot. The saw blade that sits in
the
sled fixes the position of the sled to the templates on either side.
I have a different set of templates for each unique scale
length.
This system ensures the sled remains square and is accurately
positioned. I use a small circular saw to cut each
slot.
The saw slides across the front of the sled and has been
adjusted
so it remains parallel to the sled and normal to the fretboard. |
 |
(139) 15-June-2010
A shot of the slotted fretboard blank. |
 |
(140) 15-June-2010
A closeup of the extended end of the slotted fretboard blank. |
 |
(141) 15-June-2010
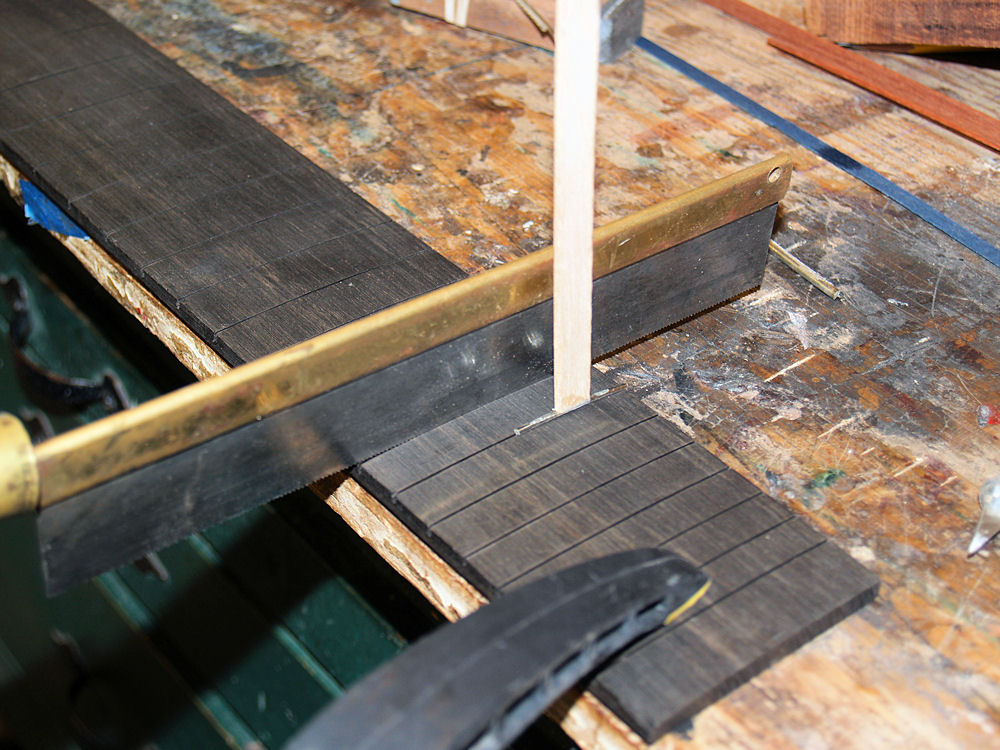
I
use this handsaw to open up the slots so that only the barbs on the
tangs of the
fretwire engage the wood. If the slots are too narrow the
tangs
on fretwire push the slots apart and the fretboard takes on convex
warp. The objective is to make the slots just wide enough so
the
barbes engage the wood while the tangs do not. |
 |
(142) 15-June-2010
I
use a piece of fretwire with the barbs on the tangs removed to check
each slot to ensure that the fretwire will firmly seat against the
fretboard. |
 |
(143) 15-June-2010
Once
the slots are set I trim the excess edges off of the blank in the
bandsaw and sand
the fretboard to its final dimensions with the edge sander. |
 |
(144) 15-June-2010
I cut off the fretboard extension in the bandsaw. |
 |
(145) 15-June-2010
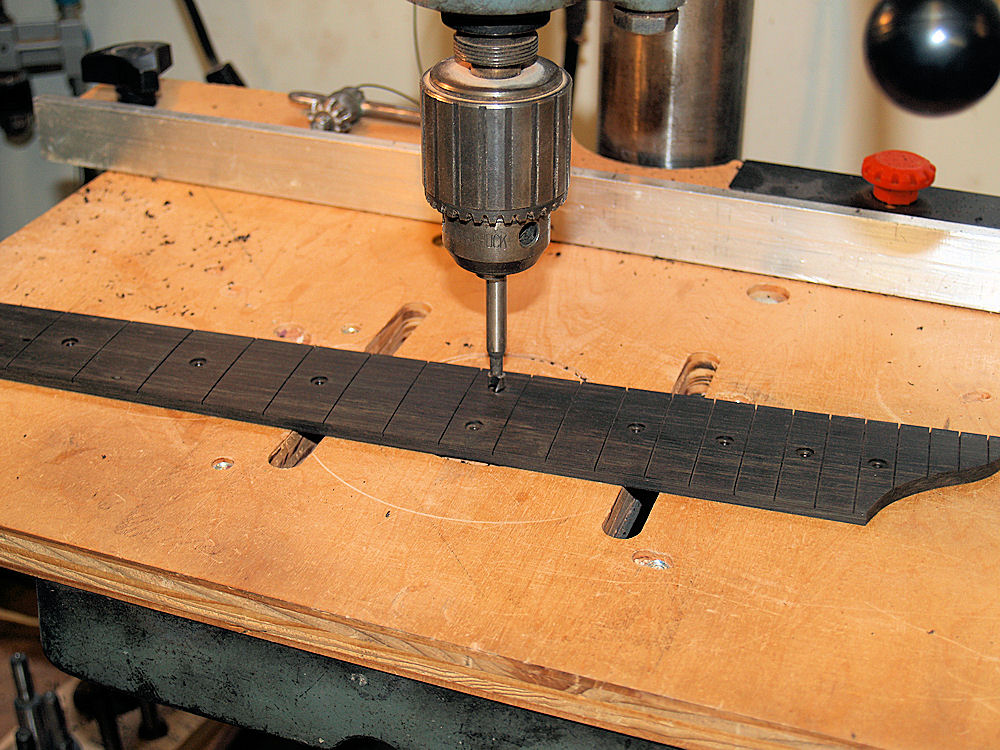
Here I am marking the position for the fretboard dots. |
 |
(146) 15-June-2010
I use a 1/4 inch Forstner bit to drill the hole for the MOP dots. |
 |
(147) 15-June-2010
I use cyanoacrylate to glue the dots in place leaving then slightly
proud of the surface. I then sand the dots flush. |
 |
(148) 15-June-2010
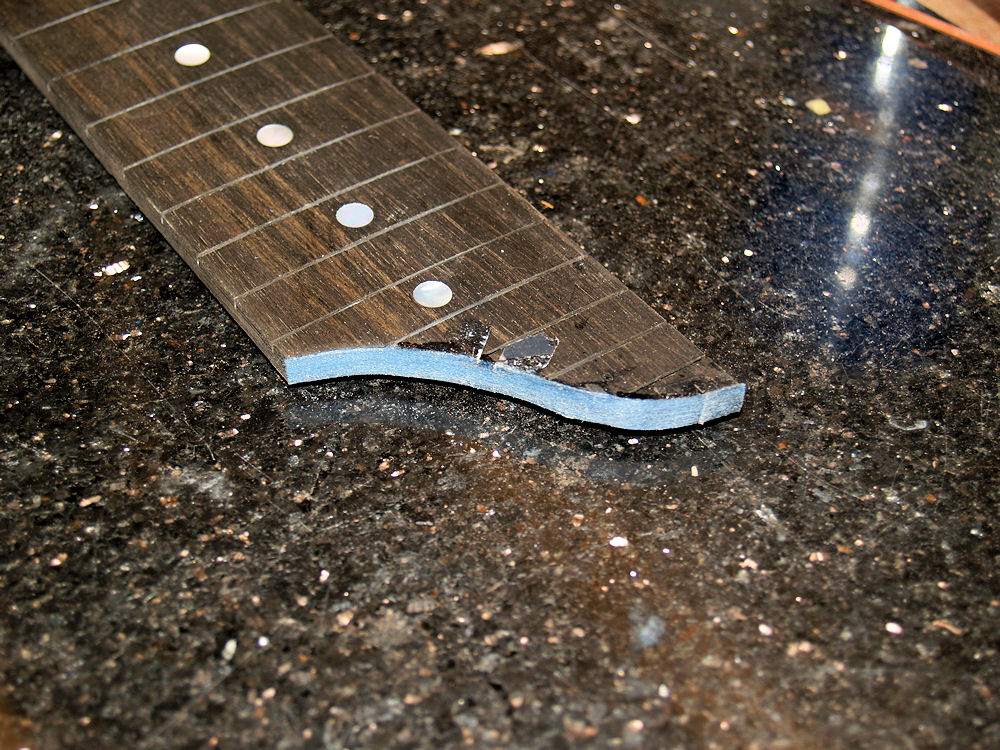
I have made a simple form to press the binding into the shape of the
extension end of the fretboard. |
 |
(149) 15-June-2010
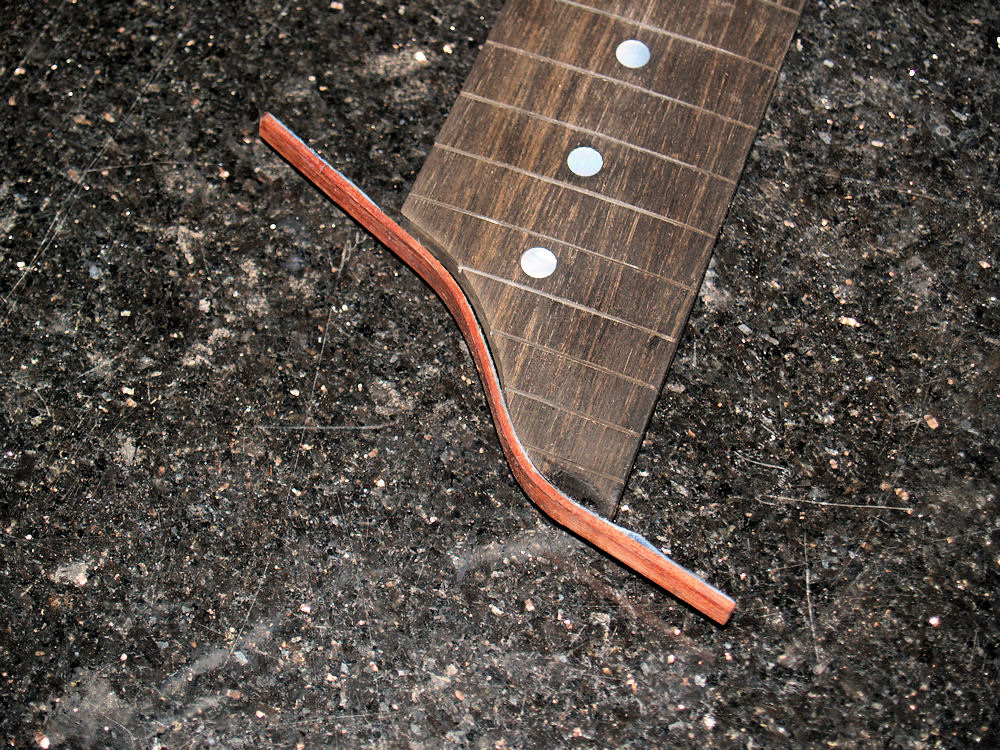
I have glued a strip of blue purfling onto the end. |
 |
(150) 15-June-2010
And then I glue the shaped binding into place. |
 |
(151) 15-June-2010
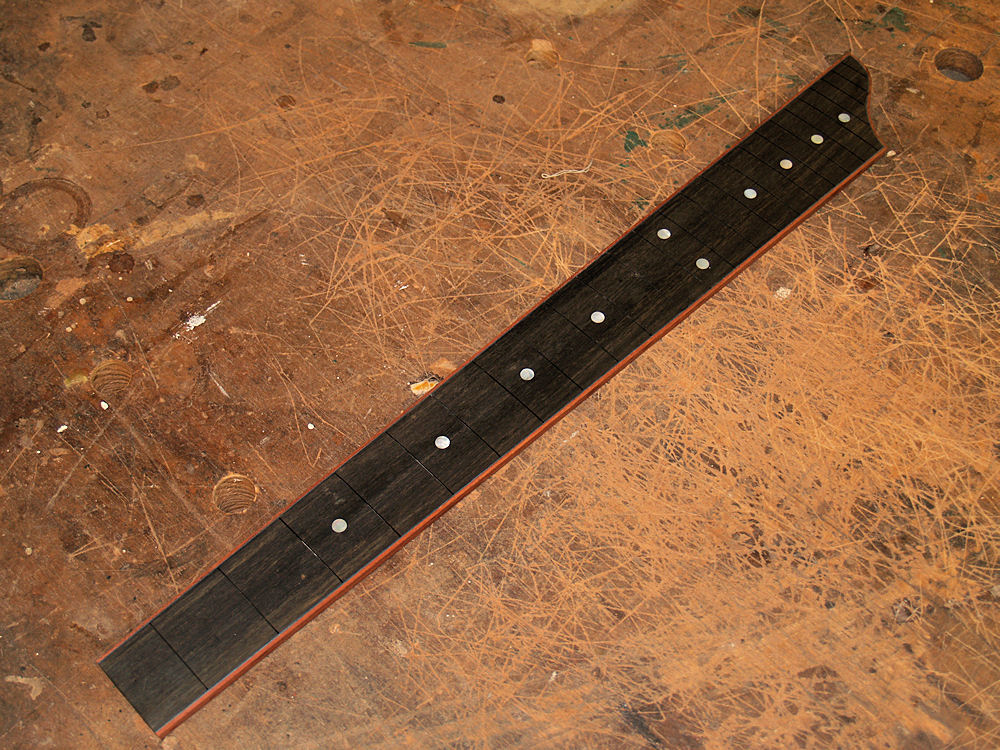
The straight edges of the fretboard get a strip of blue purfling and a
bloodwood binding glued into place. |
 |
(152) 15-June-2010
They are a little difficult to see, but I have laid out a set of
fretwire to match
slots in the fretboard. Since this fretboard has binding, the
slots do not extend through the binding. I mark each piece of
fretwire to match its slot length. |
 |
(153) 15-June-2010
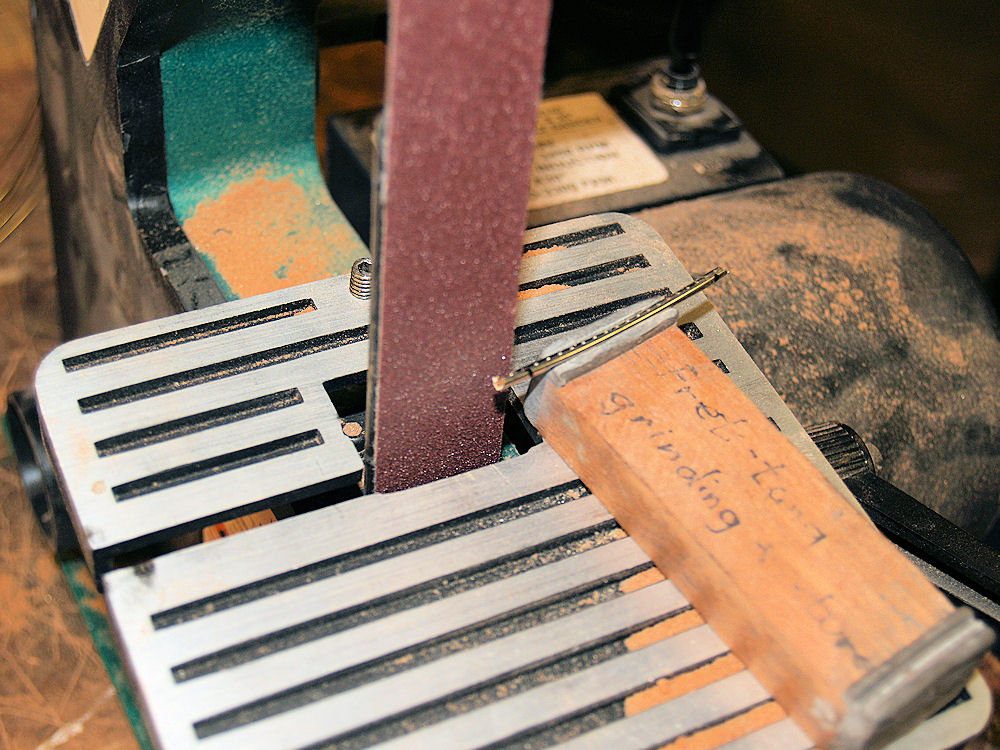
I
then use this small belt sander to carefully sand the tang off of the
fretwire where it will hang
over the binding. I have developed this mounting fixture to hold the
fretwire at the proper angle so that all of the tang is removed while
the bottom of the crown remains intact. This ensures the
bottom of the crown will sit flush to surface of the fretboard. |
 |
(154) 15-June-2010
I hammer the fretwire into place using a steel plate to cover the
fretwire which helps prevent nicking or damaging the crown. |
 |
(155) 15-June-2010
I
then carefully inspect each fret to ensure it is properly seated.
I then use cyanoacrylate to glue the fretwire into place. |
 |
(156) 15-June-2010
I use the edge sander to remove the excess fretwire from the edges. |
 |
(157) 15-June-2010
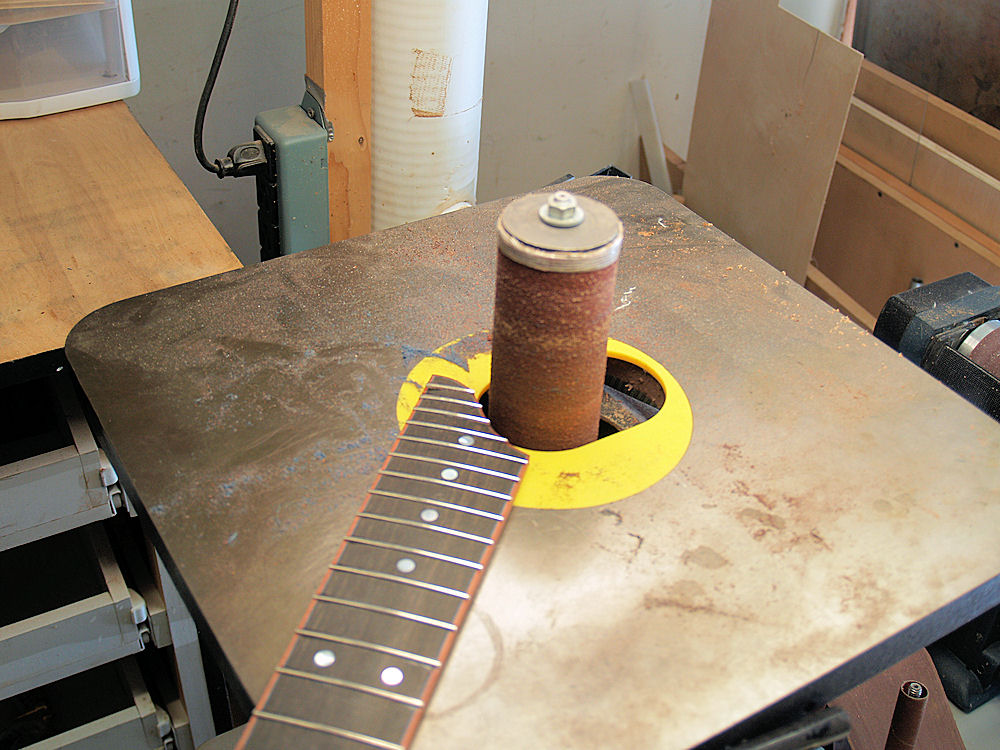
And I use the oscillating sander to remove the excess fretwire from the
fretboard extension. |
 |
(158) 15-June-2010
A look at the fretted fretboard. |
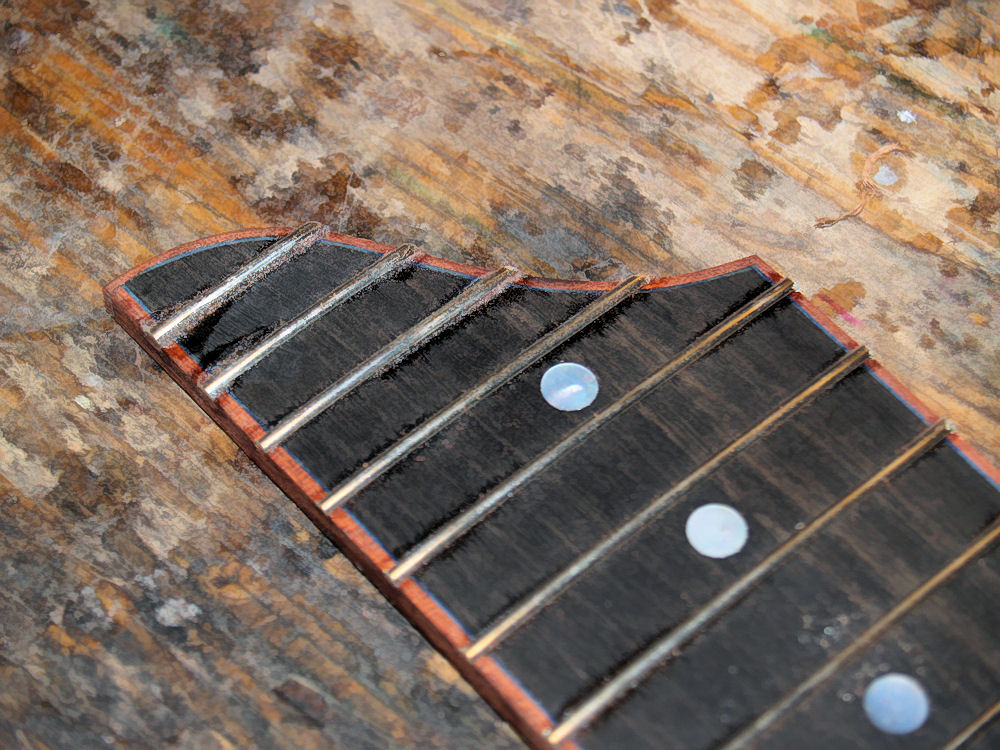 |
(159) 15-June-2010
A close up of the extension. |
 |
(160) 15-June-2010
And a close up of the mid section of the fretboard. |
 |
(161) 15-June-2010
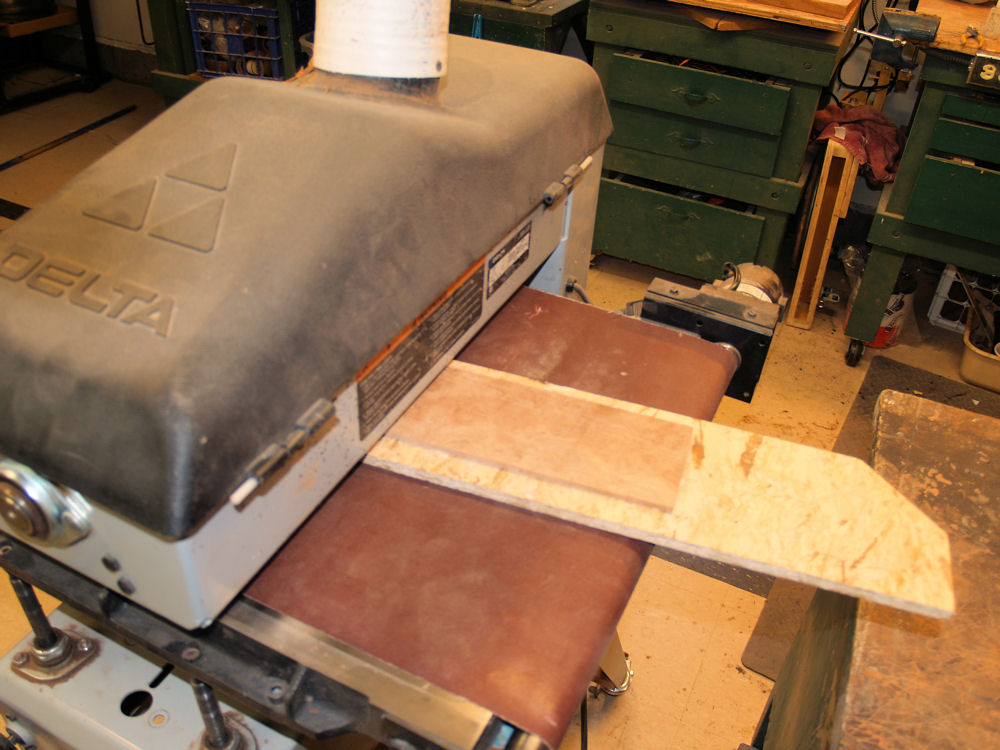
Here
I am sanding the headstock veneer to its proper dimension in the drum
sander. The headstock veneer is made from a piece of burled
maple
matching the end graft and the rosette. |
 |
(162) 15-June-2010
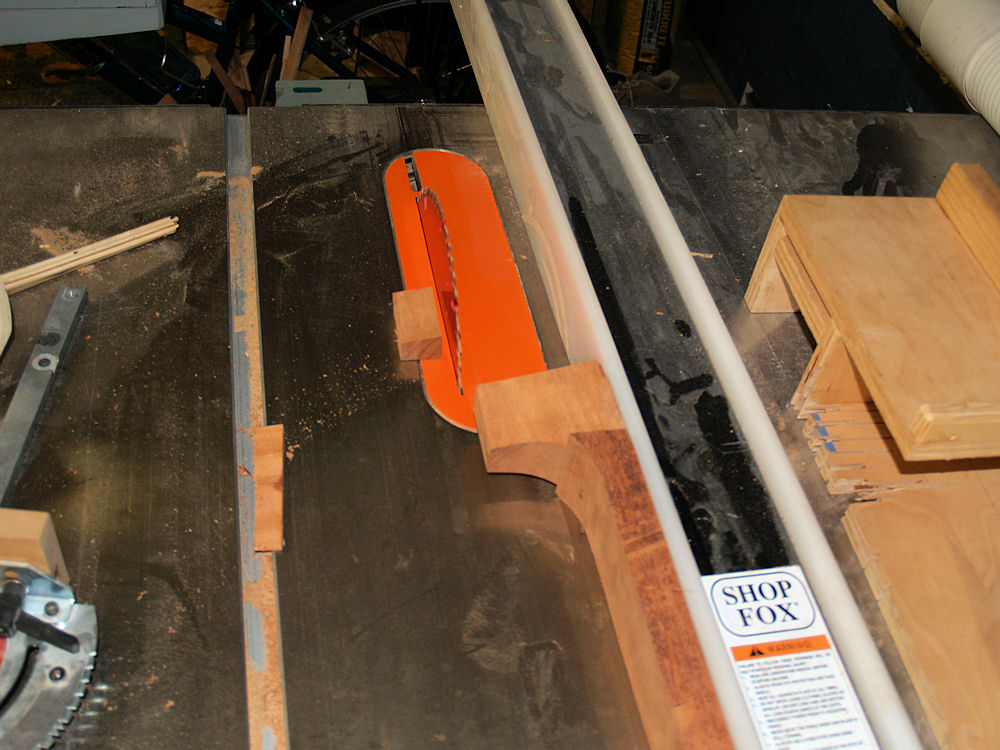
I
use the table saw to trim the heel to its proper length.
After
the neck is shaped, the heel will be trimmed giving it a slight angle
to compliment the transition to the body. |
 |
(163) 15-June-2010
Very exciting, the first time the neck is fit into the heel slot. |
 |
(164)
15-June-2010
I use the idler pulley on the belt sander to shape and dimension the
throat on the neck. |
 |
(165) 15-June-2010
And I use a safety planner to dimension the thickness of the neck and
the headstock. |
 |
(166)
15-June-2010
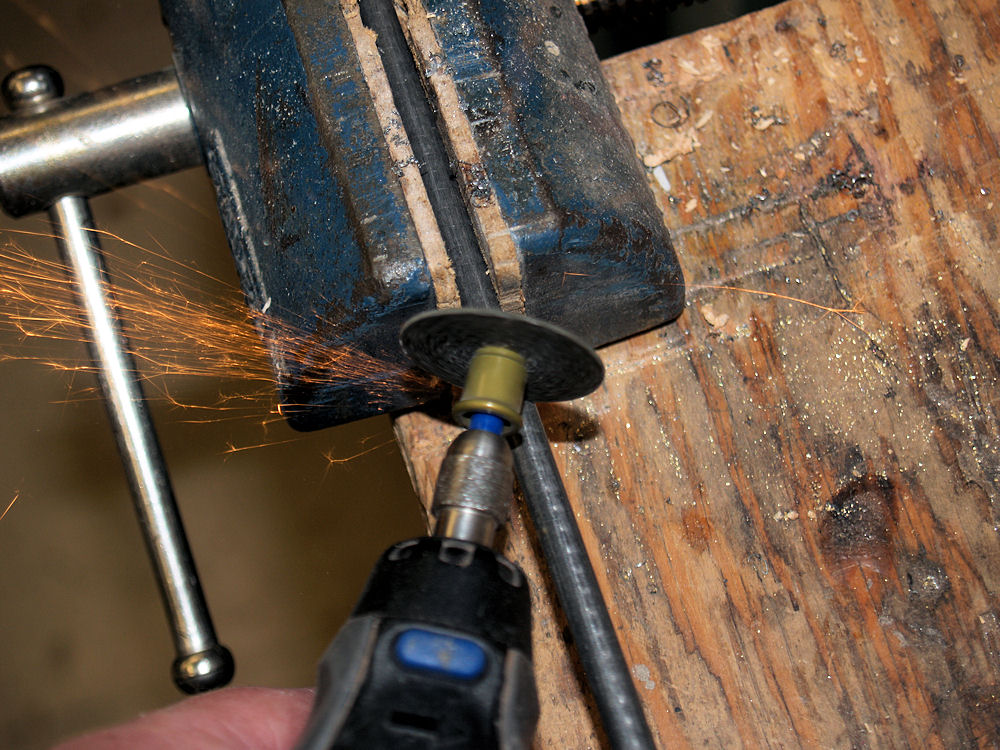
A quick side job to cut two pieces of 1/4 piano wire to be used as
supports for the cantilevered portion of the fretboard. |
 |
(167) 15-June-2010
And a quick trip to the bandsaw to cut a slot for the truss rod access. |
 |
(168) 15-June-2010
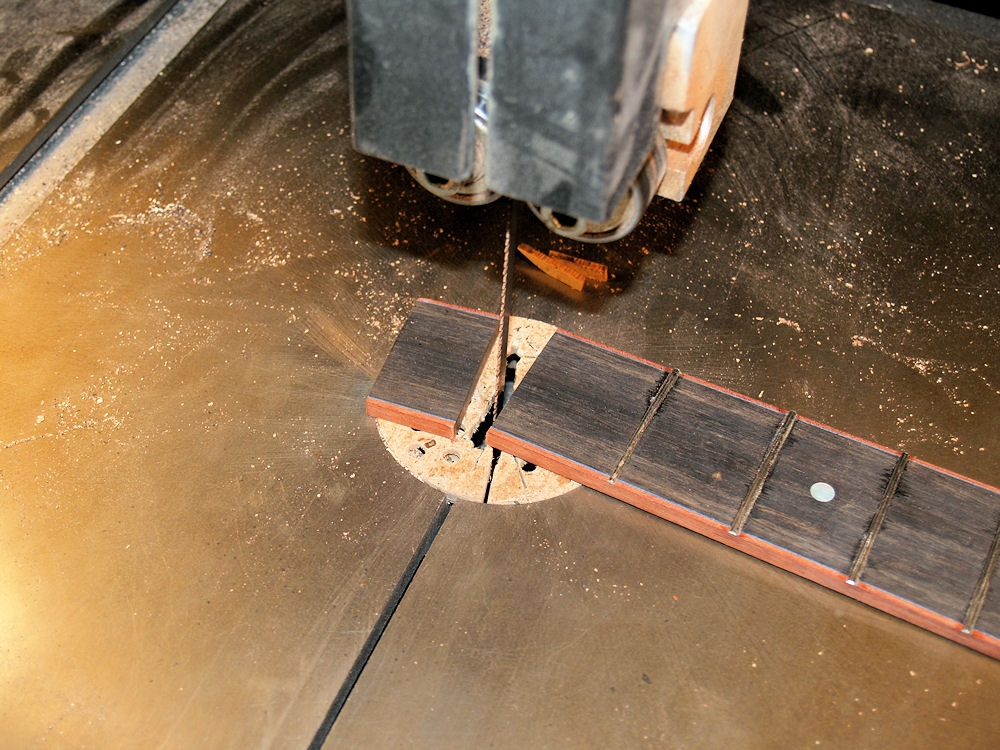
I use the bandsaw to finally trim
off the excess from of the end of the fretboard. I have
adopted a general
philosophy in the shop of waiting until the last possible moment to
remove excess material from a work piece. The excess material
provides a degree of
protection to the critical edges. Leaving the material in
place
helps maintain the critical edges from being damaged. |
 |
(169) 15-June-2010
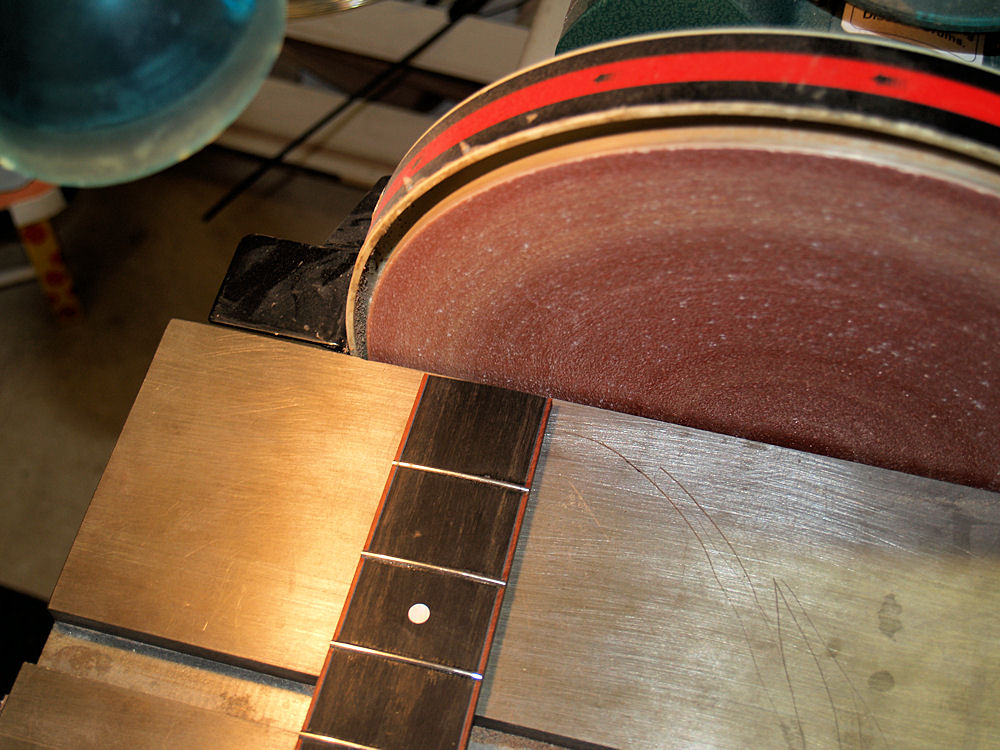
I use the disk sander to trim the zero fret position into shape. |
 |
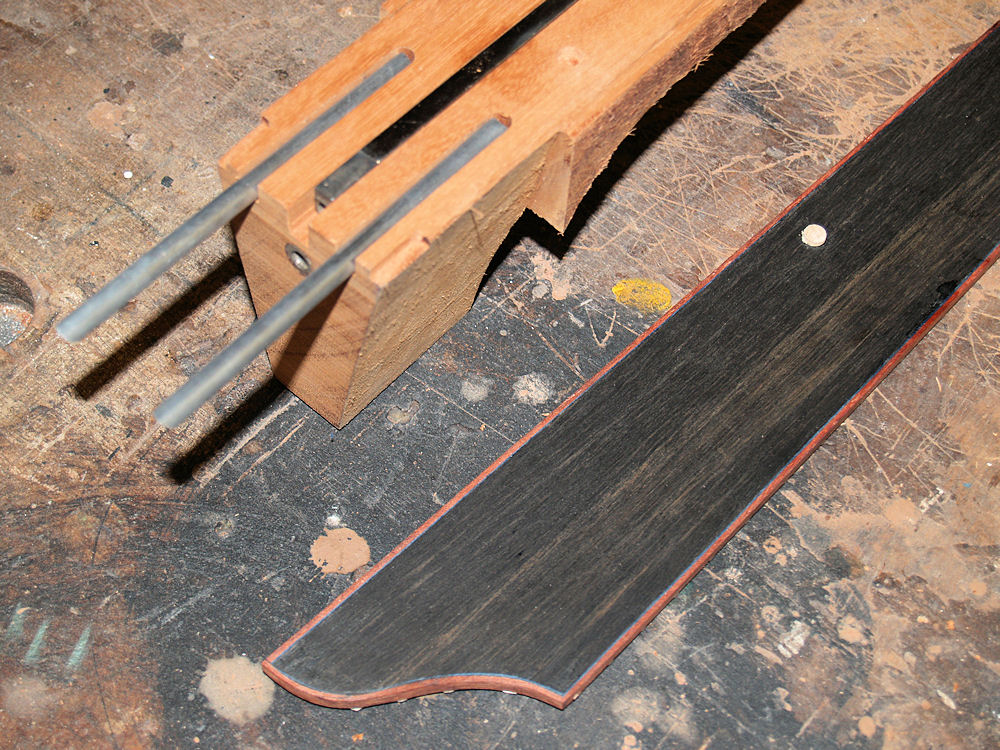
(170) 15-June-2010
It
turns out that glue is
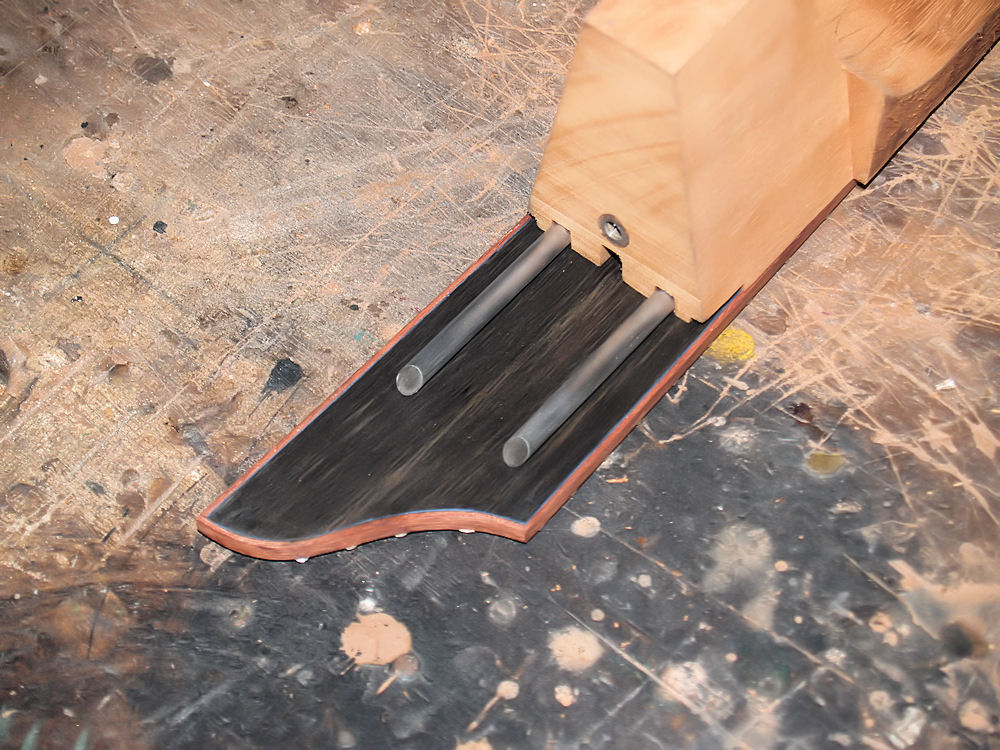
quite slippery before it sets up. So, when two pieces of
material
are glued together with
a clamp they tend to slide around a bit. If their relative
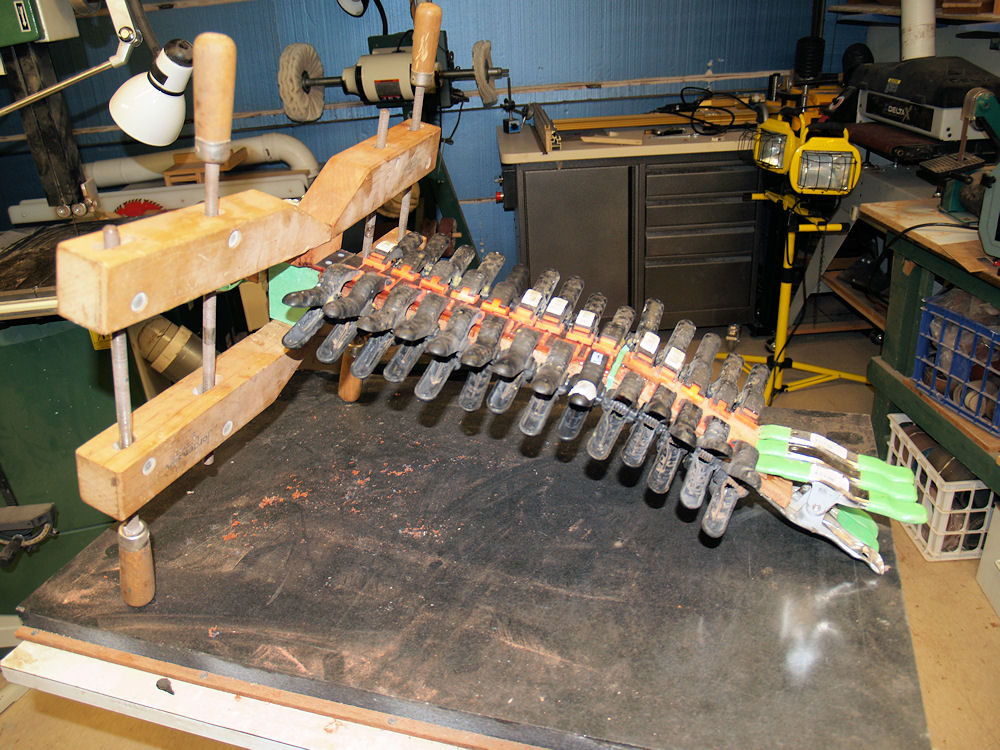
position are critical, this slippage can be a problem. To prevent this
from
happening with the fretboard and headstock I drill a set of holes into
the neck
and then glue a set of small pegs on the fretboard and headstock that
precisely match the holes. The peg and hole system help to
accurately position the fretboard and
headstock as they are glued into place. |
 |
(171) 15-June-2010
I
use a set of bone nuts to precisely position the fretboard and
headstock while the pegs are glued into place. I put the pegs
into the holes leaving them slightly proud and put a small drop of
cyanoacrylate on each peg. Then I press the fretboard and
headstock veneer down into place and the pegs will be glued to the
bottom of each
piece in its proper place. |
 |
(172) 15-June-2010
This
system allows me to check the critical position of the fretboard and
headstock while they are dry. If the position is not correct,
I
can remove the pegs and try again. I can repeatedly and
accurately place the pieces together with this system and when I
finally glue them
together they will not slide out of position under the clamping
pressure. |
 |
(173) 15-June-2010
Here you can see the cantilevers that will help support the fretboard. |
 |
(174) 15-June-2010
The
cantilever supports will fit into the channel that has been routed out
of the body of the
guitar (see pictures 116-118 Page
4). This allows freedom of movement of the the neck
as the
action is changed. |
 |
(175) 15-June-2010
To prevent glue from getting into the works of the trussrod I carefully
mask it off before gluing the fretboard into place. |
 |
(176) 15-June-2010
Gluing the fretboard and veneer in place is a messy process.
I try to mask off areas I don't want glue to get on to. |
 |
(177) 15-June-2010
And
finally using lots of clamps I glue everything together.
Since
the peg and hole system defines where the pieces will go, I don't have
to make measurements and try to position the pieces while they are a
gluey mess. Everything fits together just right. |
 |
(178) 15-June-2010
A look ate the cantilever section being glued to the supports. |
 |
(179) 15-June-2010
I use epoxy to glue the fretboard in place. After the glue is
fully set all of the clamps come off. |
 |
(180) 15-June-2010
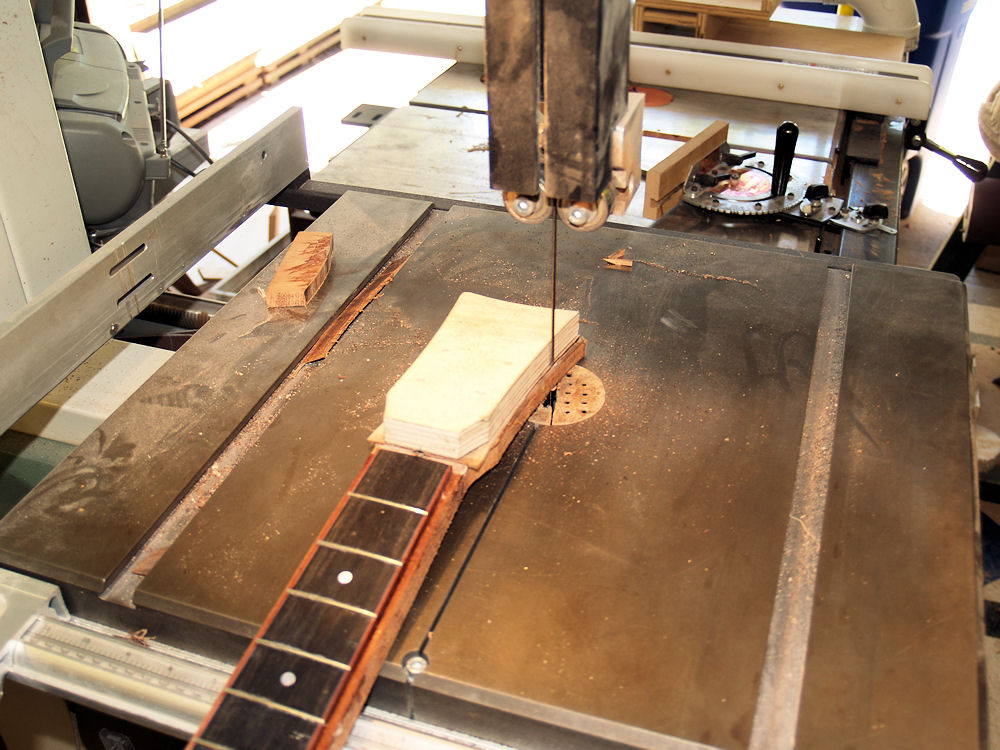
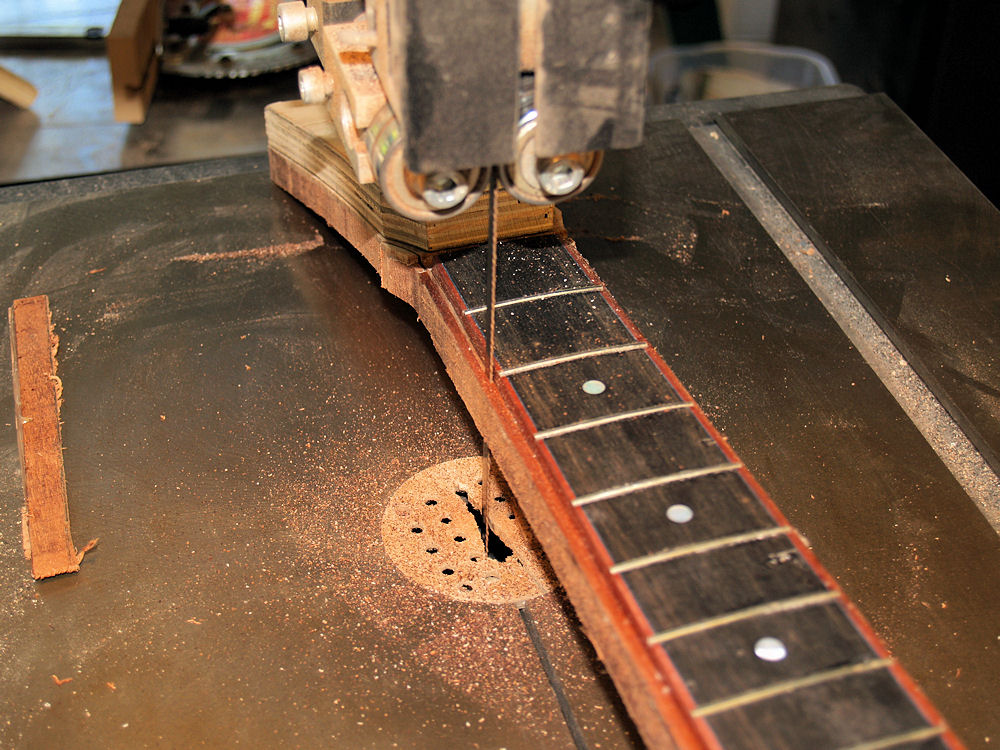
I have used double stick turners tape to attach a headstock template.
Using the bandsaw I trim off most of the excess. |
 |
(181) 15-June-2010
Trimming off most of the excess from the neck. |
 |
(182) 15-June-2010
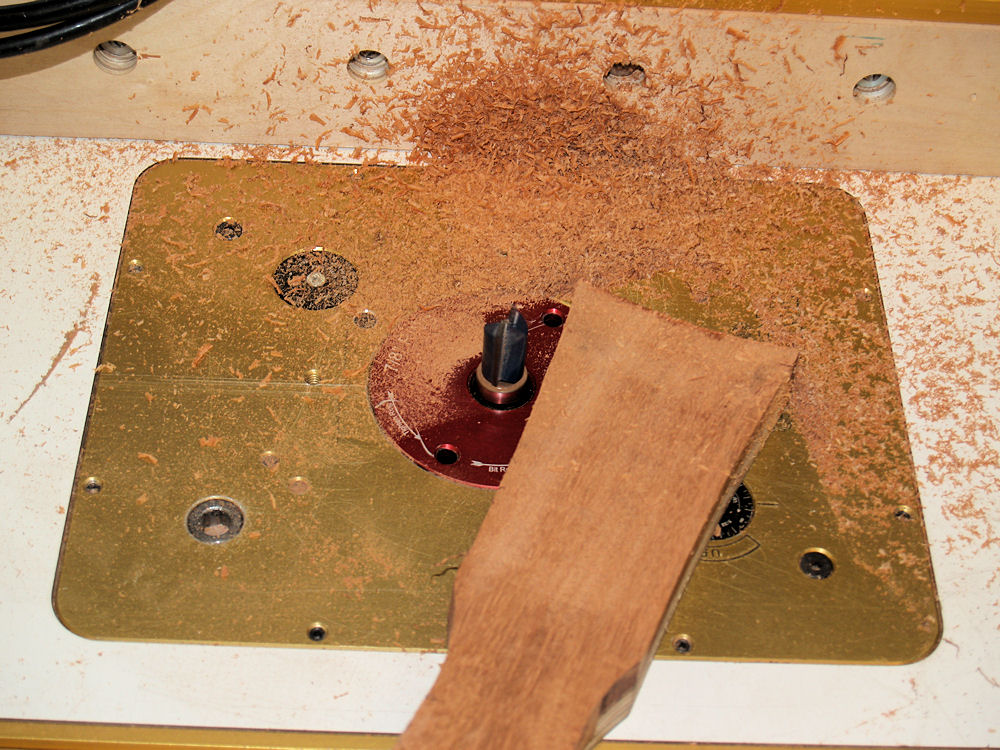
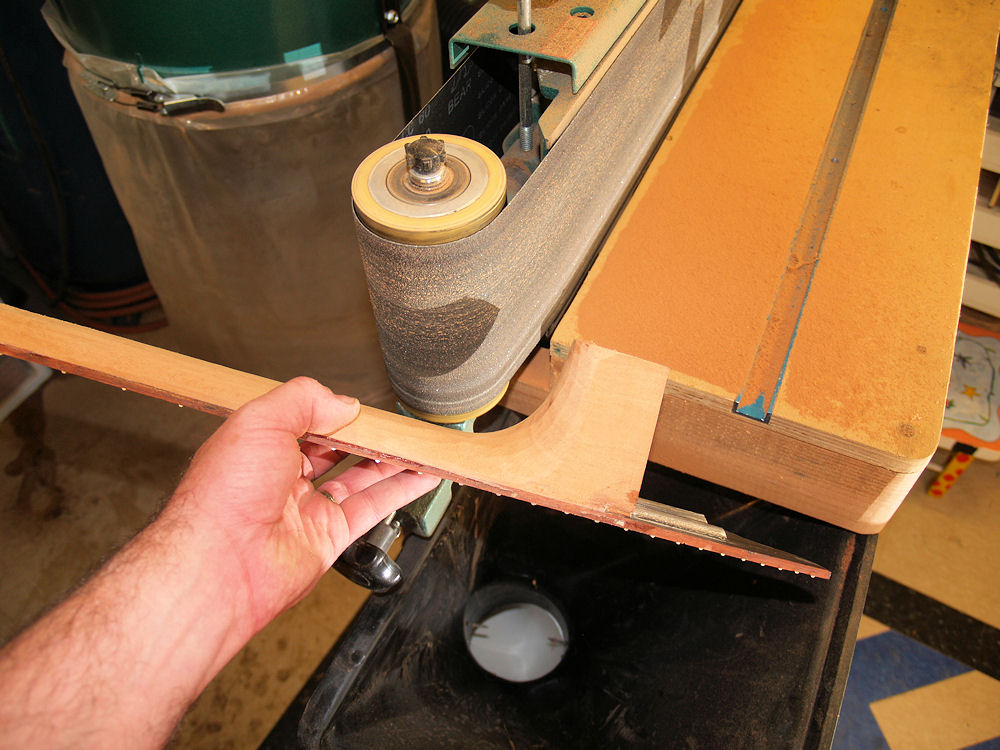
And then I use the router table to execute the final trim to the
headstock. |
 |
(183) 15-June-2010
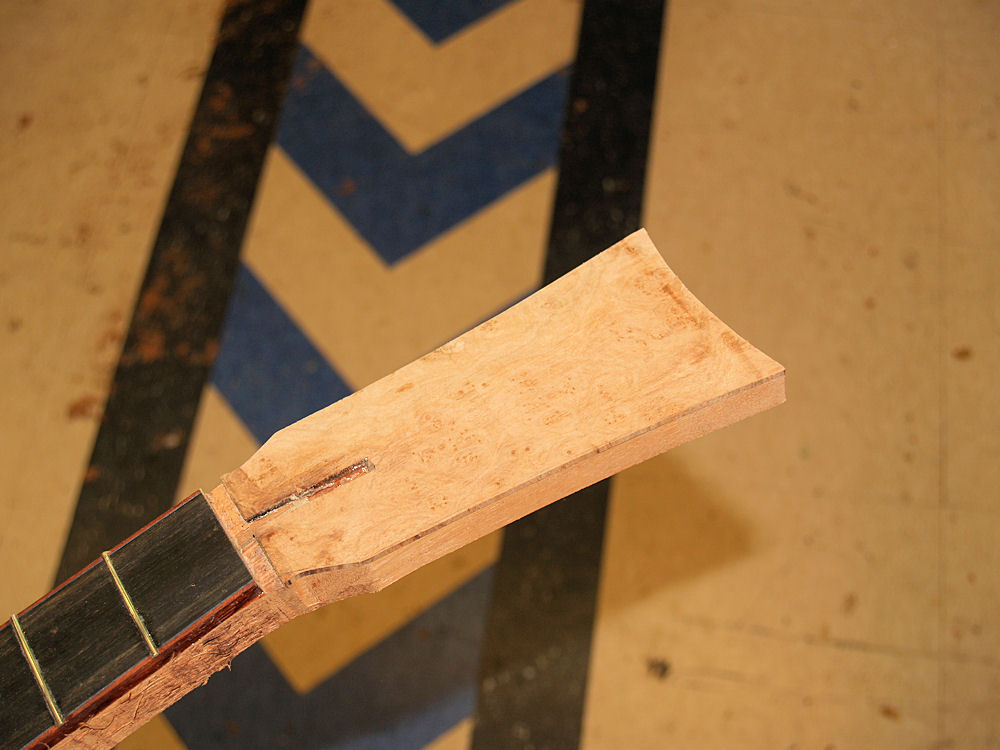
Perfect. |
 |
(184) 15-June-2010
The
neck and heel is like a little sculpture. I use a variety of
tools to shape the neck. Here I am using the idler pulley of
the
belt sander. |
 |
(185) 15-June-2010
I
remove material from the neck very slowly. It is far easier
to
remove material than to put it back. I am not in a hurry at
this
point. |
 |
(186) 15-June-2010
I
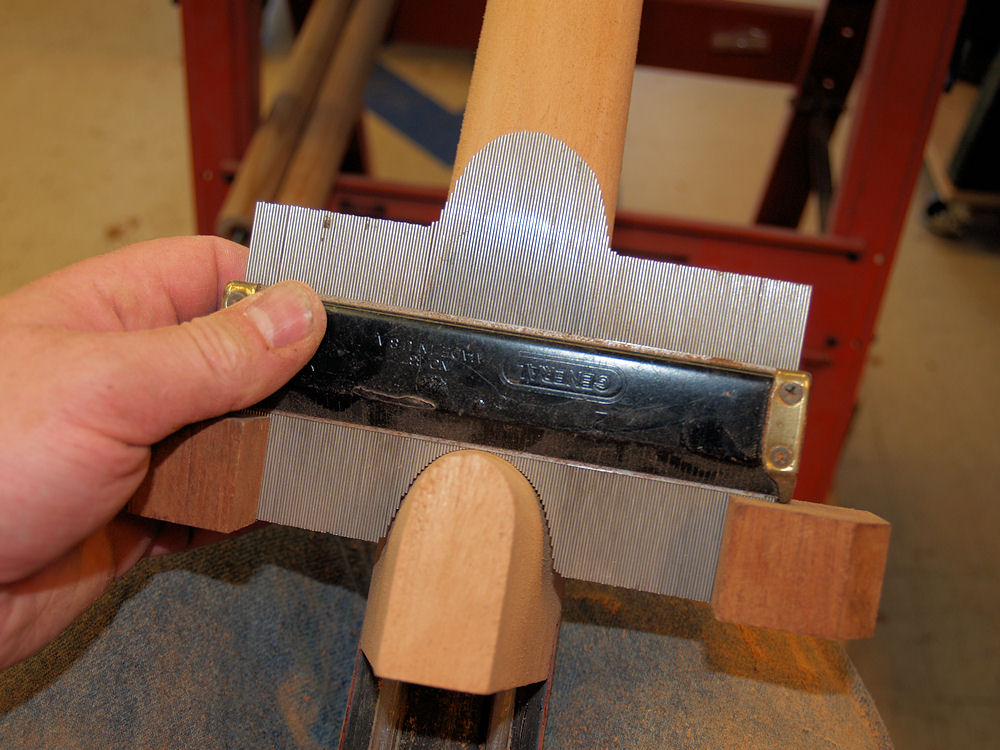
use this pin gage to check the profile of the neck as I slowly sand it
into shape. I also use touch and feel to gage my progress.
|
 |
(187) 15-June-2010
I
have a variety of sanding blocks and sand paper to aid this process.
Here I am checking the shape of the heel with the pin gage. |
 |
(188) 15-June-2010
It
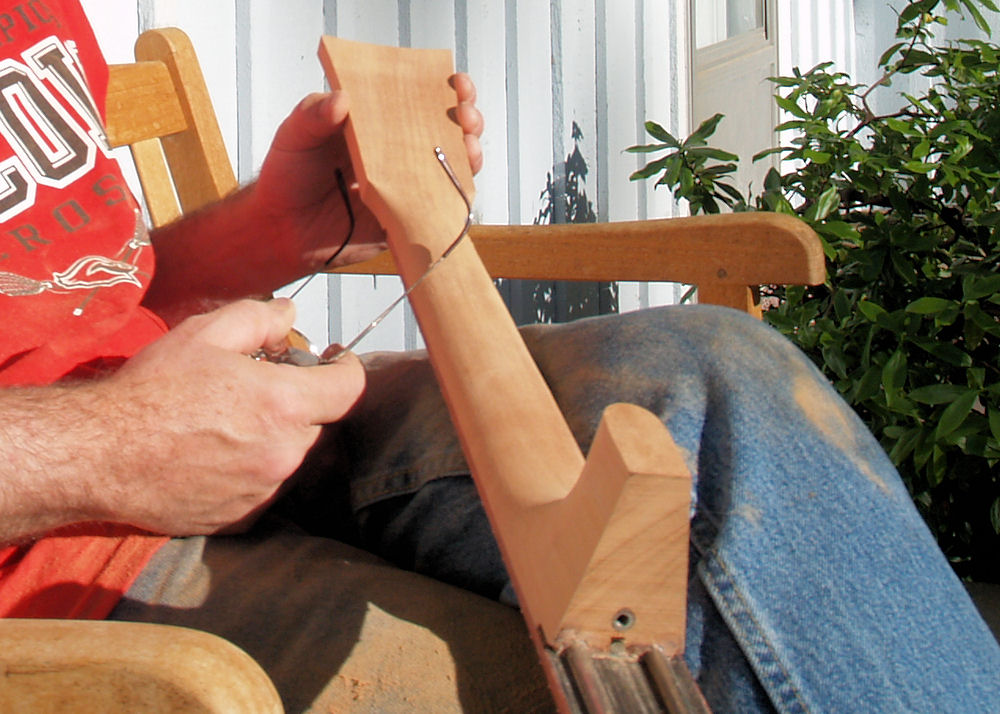
was such a nice day I took everything outside to my guitar shaped deck.
I use progressively finner grits of sandpaper to finalize the
shape and to remove all scratches and working marks. The
sunlight
makes it easy to see any scratches or marks that need attention.
|
 |
(189) 15-June-2010
A look at the neck. |
 |
(190) 15-June-2010
Another look at the neck. |
 |
(191) 15-June-2010
I
have built a special router table fixture to allow me to create a shelf
for the headstock binding. There are a variety of curves on
the
headstock that can be difficult to access without this triangled shaped
fence.
|
 |
(192) 15-June-2010
Here is a look at the shelf I have created on the headstock. |
 |
(193) 15-June-2010
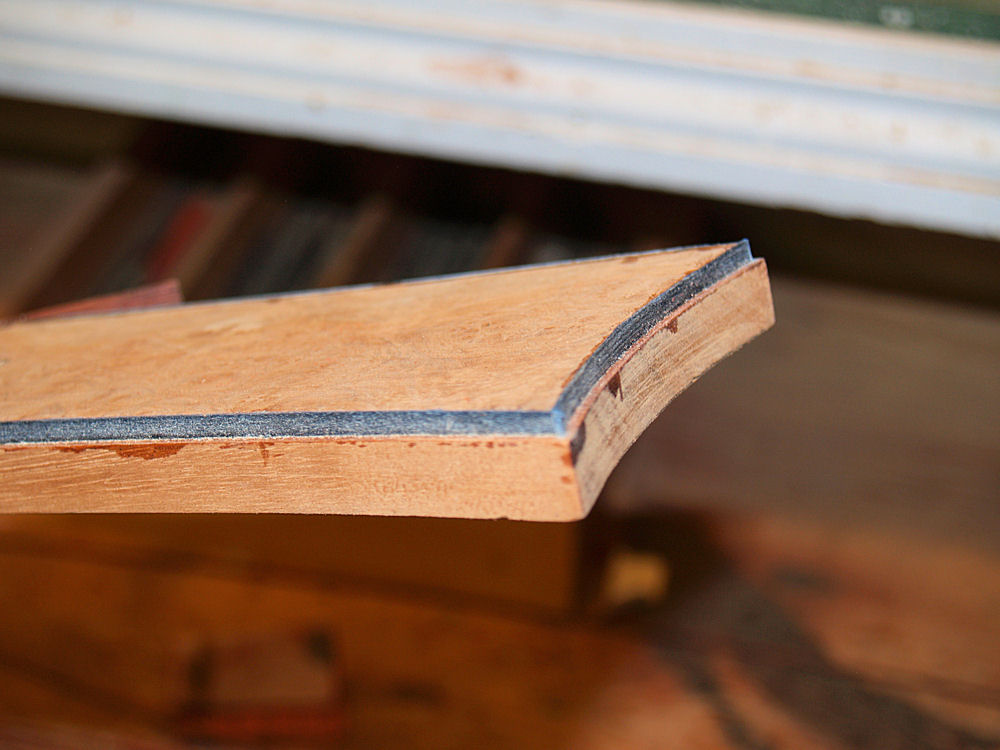
A
couple of simple forms help set the shape of the binding for the
headstock. I soak the binding strips before putting them into
these forms, and then I cook them for about a half an hour to set the
shapes. |
 |
(194) 15-June-2010
Here you can see the blue purfling being glued into place. |
 |
(195) 15-June-2010
And then the binding gets glued into place. All of the pieces
are oversized and stand proud of the surface. |
 |
(196) 15-June-2010
I trim the excess off and then sand everything flush. |
 |
(197) 15-June-2010
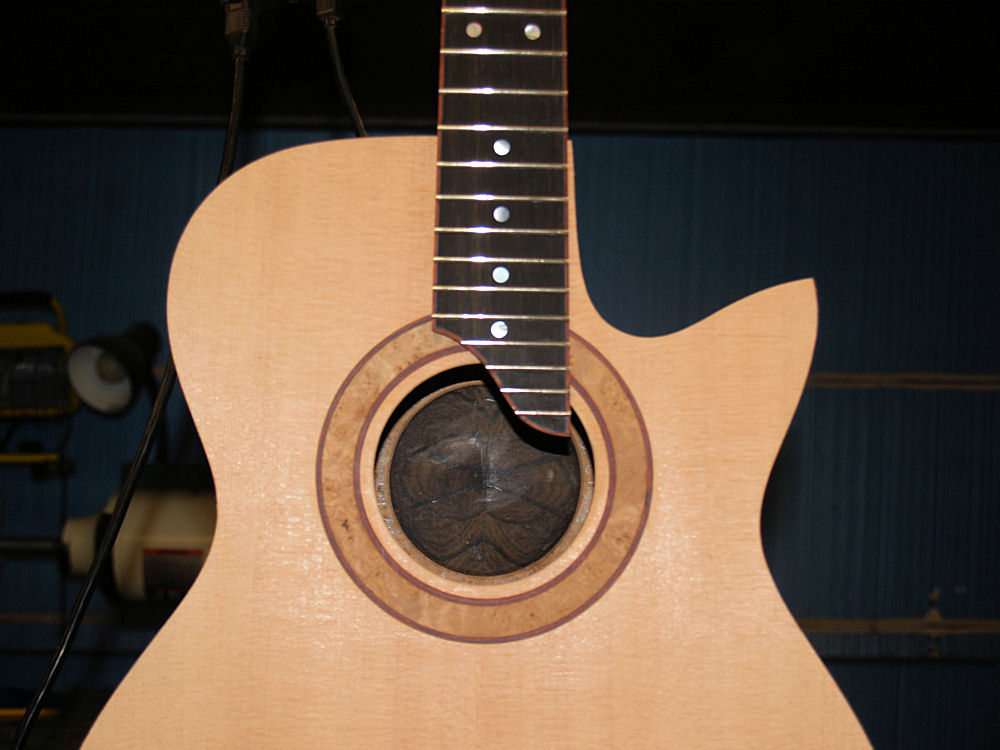
With the neck almost finished I can put the neck and body together. |
 |
(198) 15-June-2010
The next thing to do is to install the binding and purfling on the body
and to create the holes and purfling on the headstock. |
 |
(199) 15-June-2010
A guitar in the rough. |
 |
(200) 15-June-2010
A rear view. |
 |
(201) 15-June-2010
A top view. |
 |
(202) 15-June-2010
It is really starting to look like a guitar. |