 |
(100) 10-May-2010
In
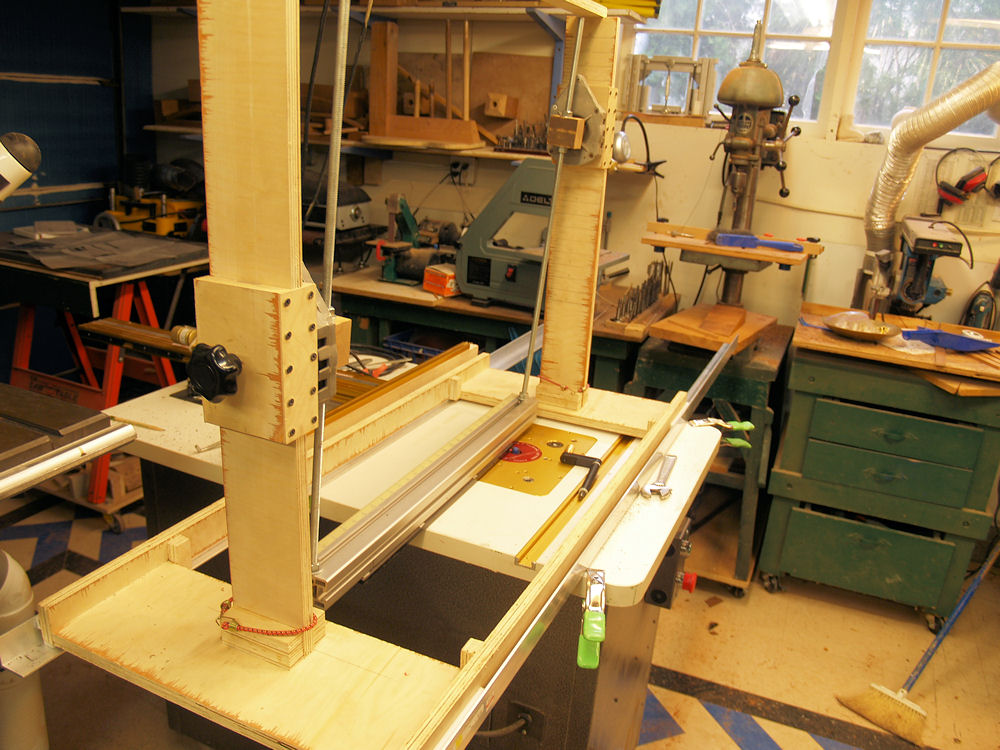
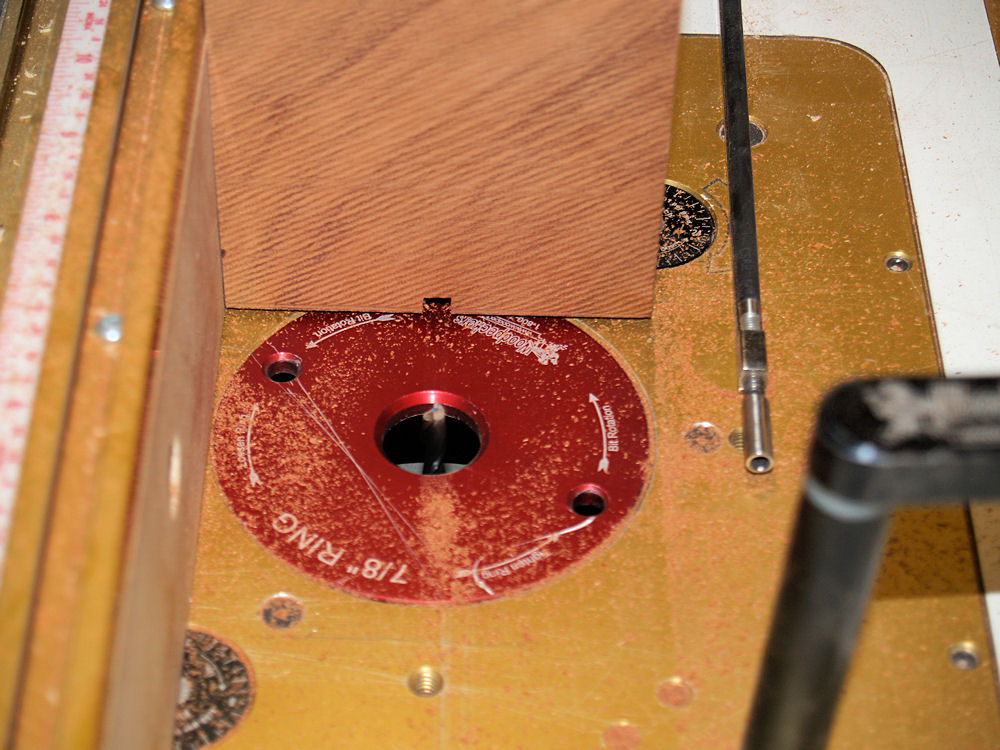
this picture I am setting up my "Universal Radilator". This
machine allows me to route a compound radius of any dimension onto the
fretboard blank. Dan has previously selected his preferred
radius
and neck thickness and I have set the machine's two variable length
arms to the required lengths. This machine is essentially
pendulm with two arms of different lengths mounted on a sled. |
 |
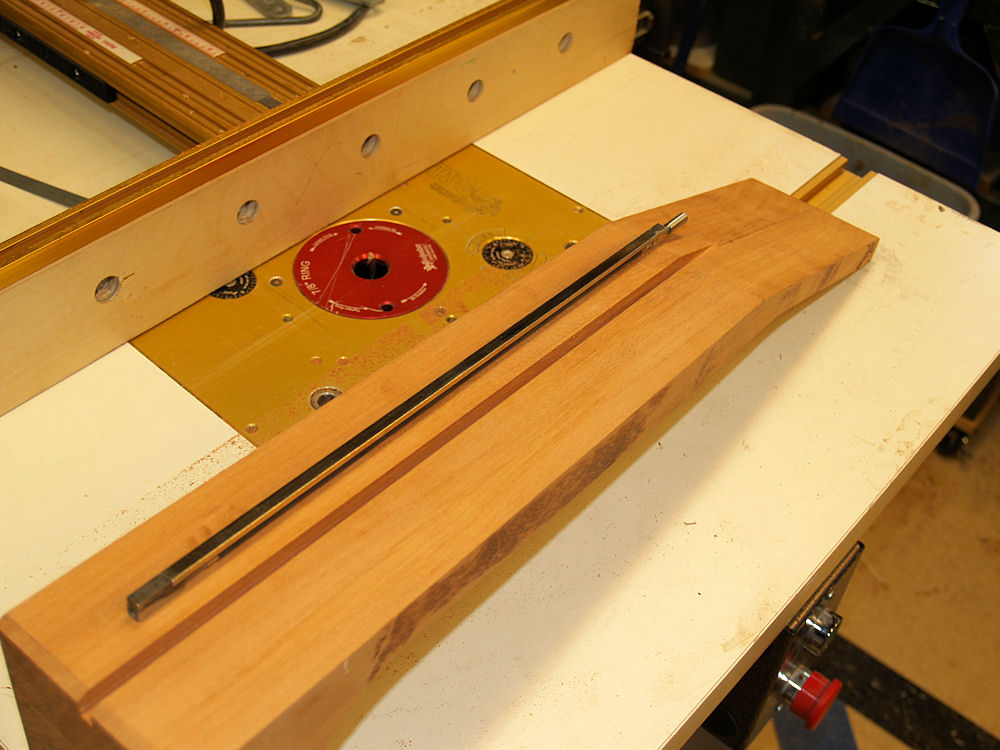
(101) 10-May-2010
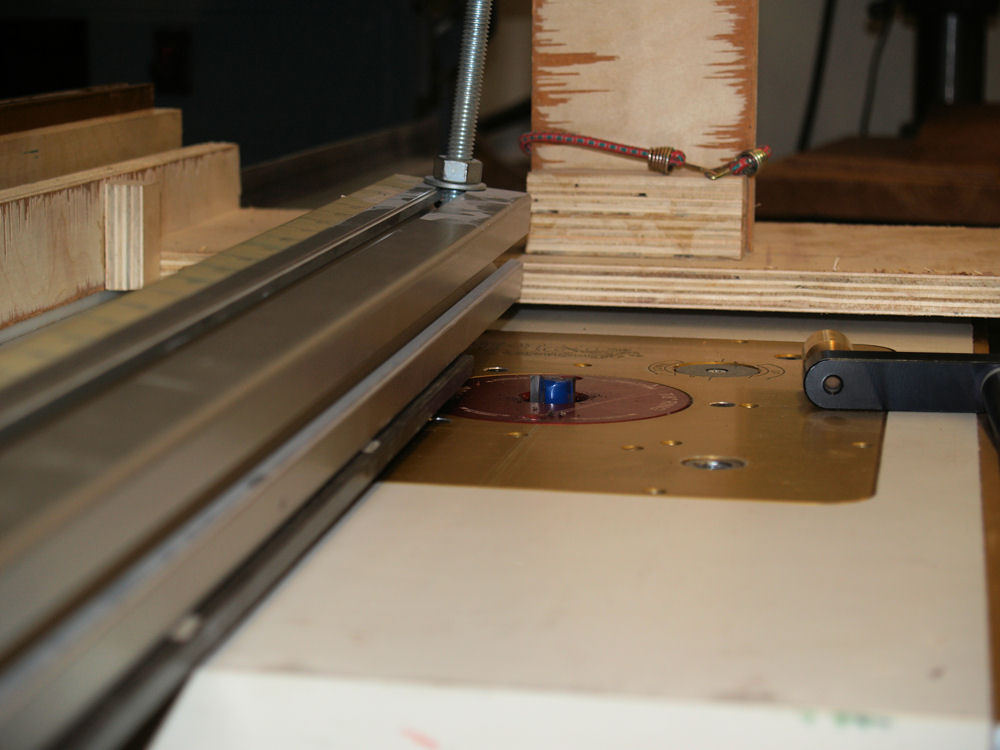
I
use turners tape to attach the fretboard blank to the bottom of the
platten and once the arms have been set, the router bit is raised to
engage the fretboard blank. While the platten is swung back and forth,
the sled is moved over the router bit. |
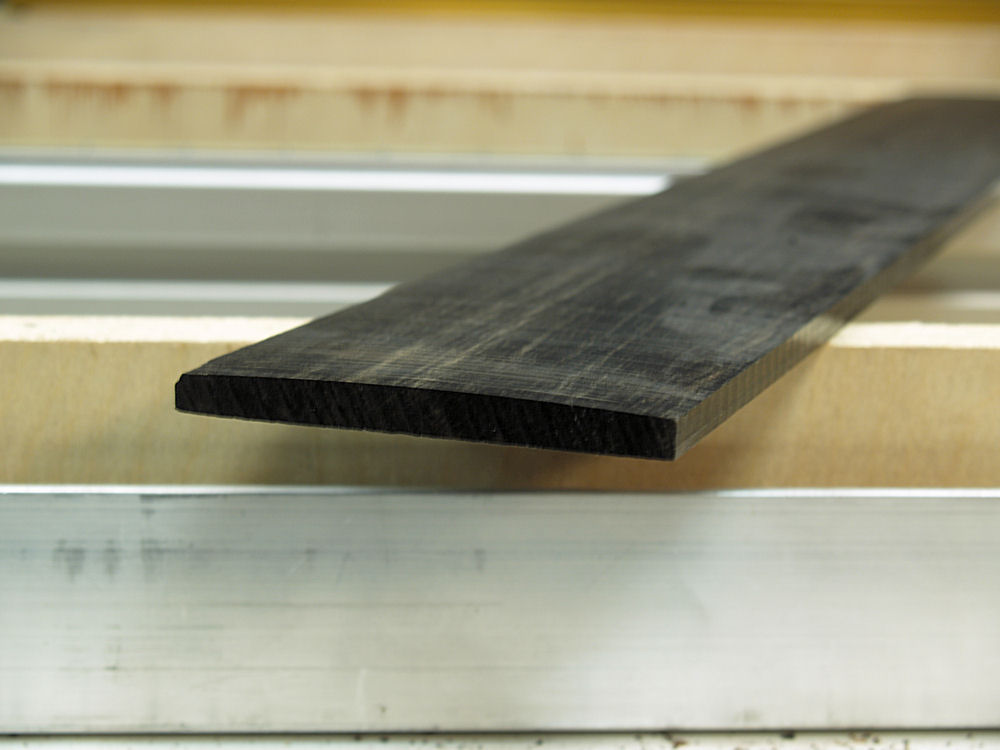 |
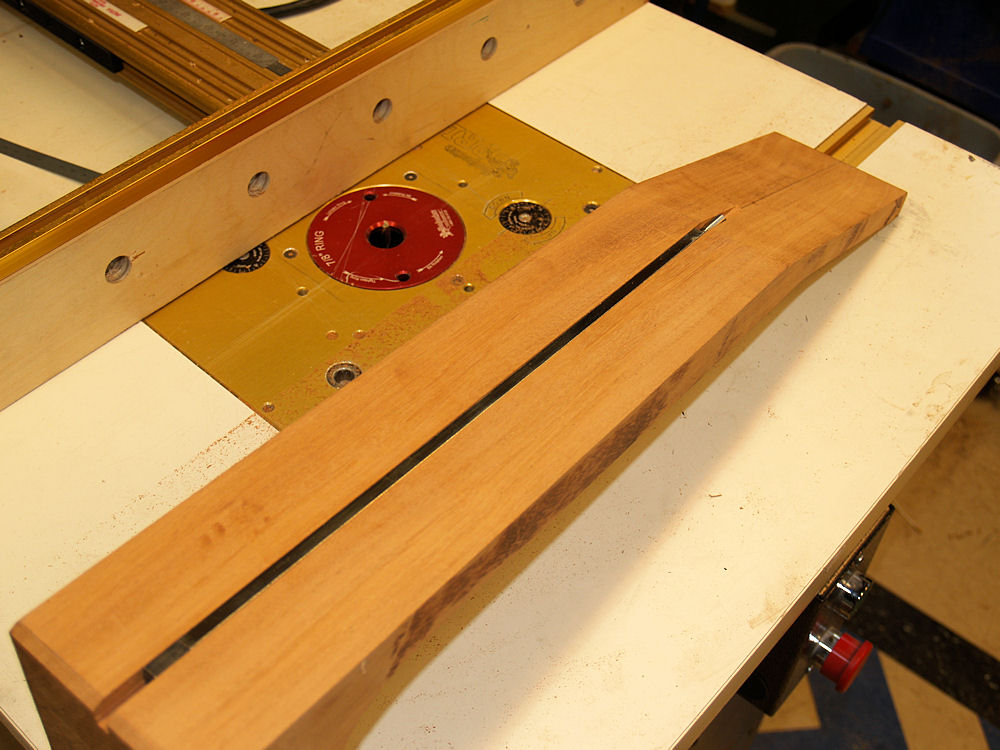
(102) 10-May-2010
When the cut is finished the fretboard blank has a precisely radiused
surface. |
 |
(103) 10-May-2010
In this image I am installing side braces on the rim. |
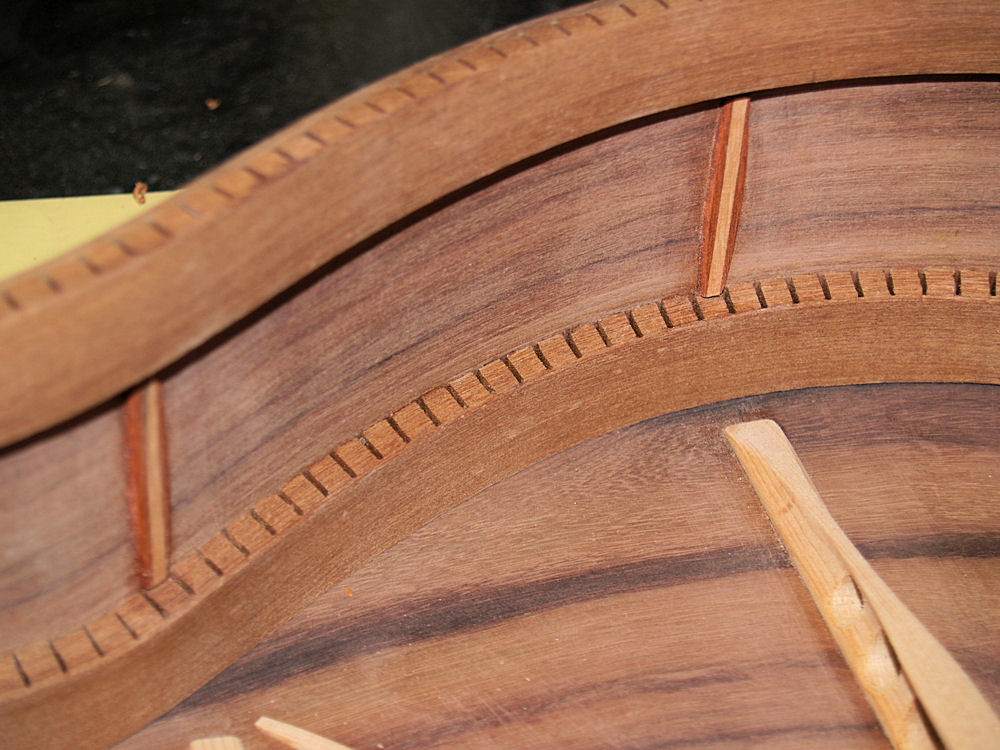 |
(104) 10-May-2010
These
braces help prevent the side from splitting should it be dropped or
shocked. These braces really work, but I hope they never get
tested. |
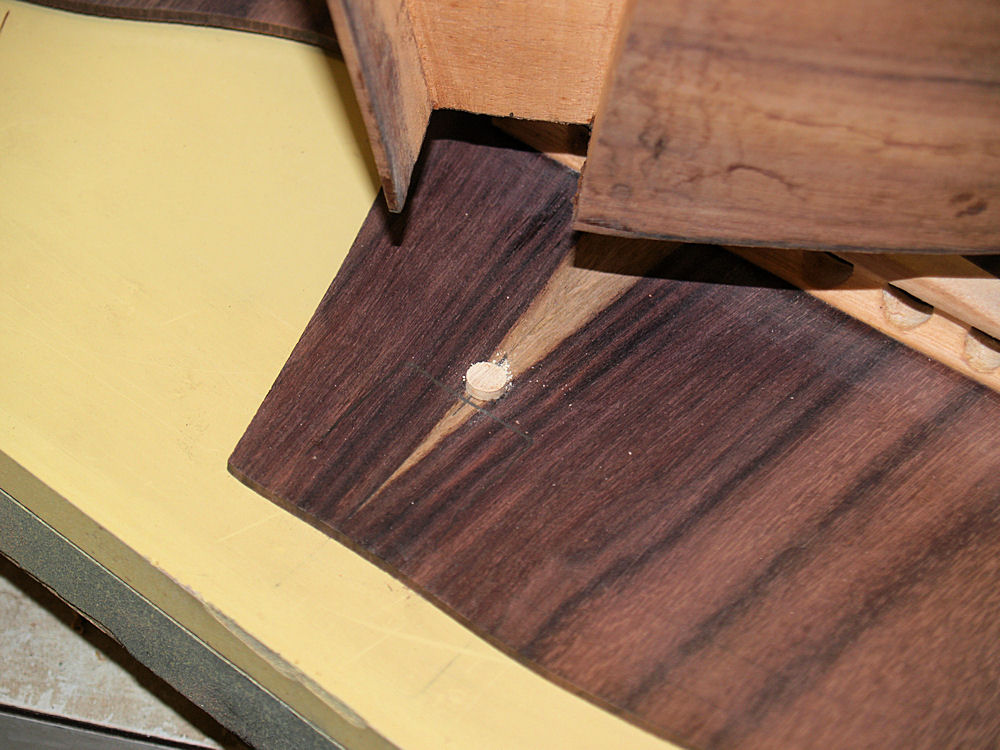 |
(105) 10-May-2010
In
this picture I have installed a centering pin on the bottom piece.
This pin makes sure the bottom gets properly positioned and
does
not slip around when it is glued in place. |
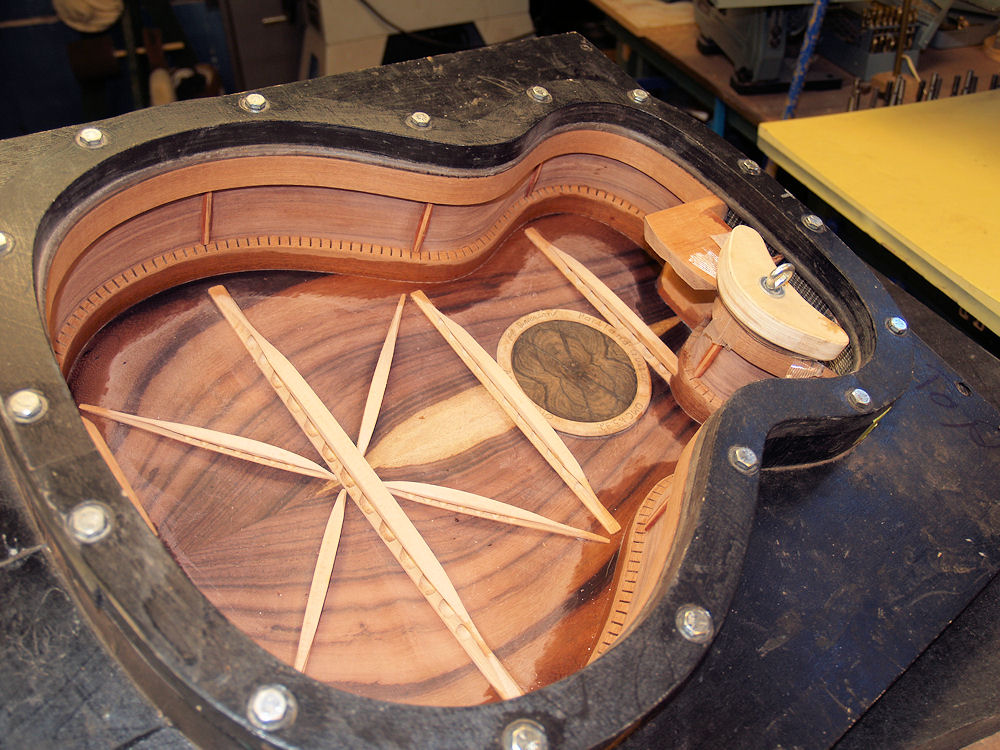 |
(106) 10-May-2010
I
use the side forms and flanges to glue the bottom to the rim.
The
flanges allow me to apply even controllable pressure to the bottom
while it is being glued in place. |
 |
(107) 10-May-2010
I use an additional flange to apply pressure to the cutaway section. |
 |
(108) 10-May-2010
After the glue is dry I use a router to trim off the overhang from the
bottom. |
 |
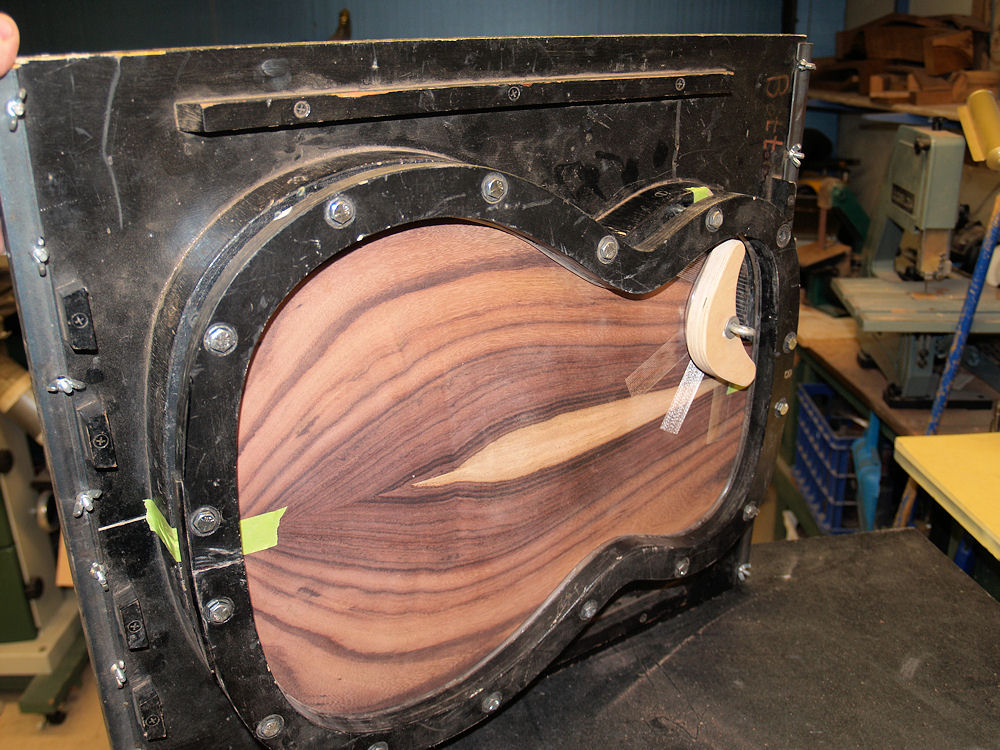
(109) 10-May-2010
Here I have applied glue to the top rim. |
 |
(110) 10-May-2010
The guitar goes back into the side forms and the top gets glued in
place. |
 |
(111) 10-May-2010
Here you can see the overhang of the top. |
 |
(112) 10-May-2010
I use a router to trim the overhang flush with the sides. |
 |
(113) 10-May-2010
While
trimming the overhang off the top I trim the top in the heel channel so
there is a small overhang left. These wings will slide into
two
channels cut into the heel of the neck and will help hide the heel
channel from view when the neck is installed. |
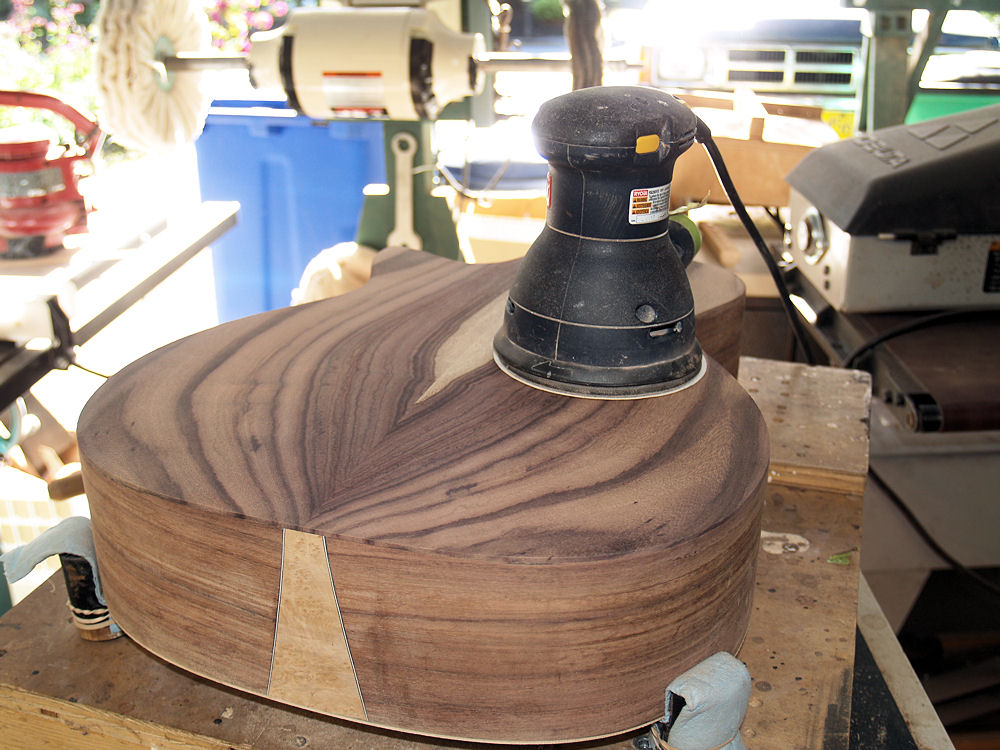 |
(114) 10-May-2010
Once the top and bottom are installed I sand them smooth. |
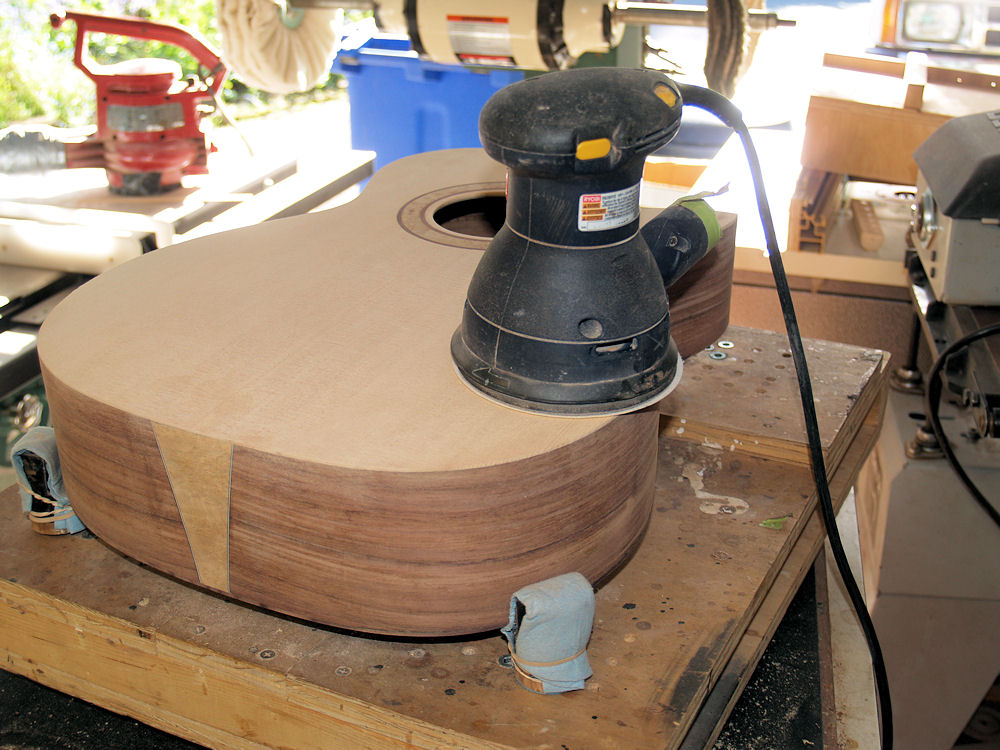 |
(115) 10-May-2010
It
is during this process that I reduce the thickness of the top around
the rim to about 70 mils. This will allow the top to vibrate
more
freely. |
 |
(116) 10-May-2010
Now I need to route out a channel in the top to accommodate the support
beam of the cantilevered portion of the fretboard. |
 |
(117) 10-May-2010
I use a dedicated router to create the channel. |
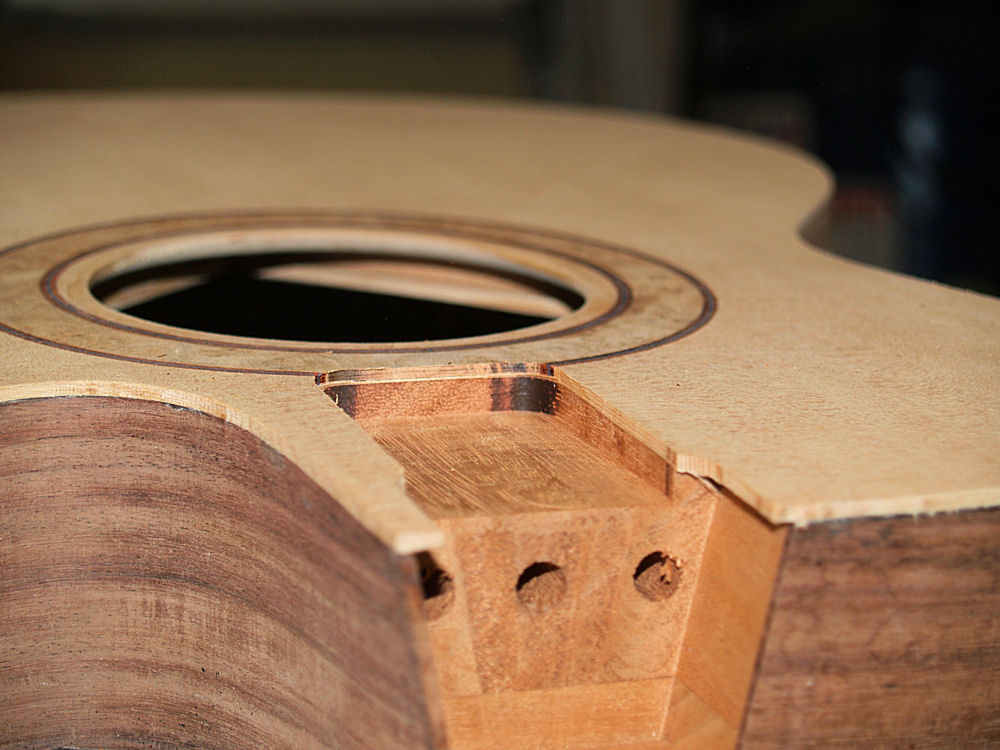 |
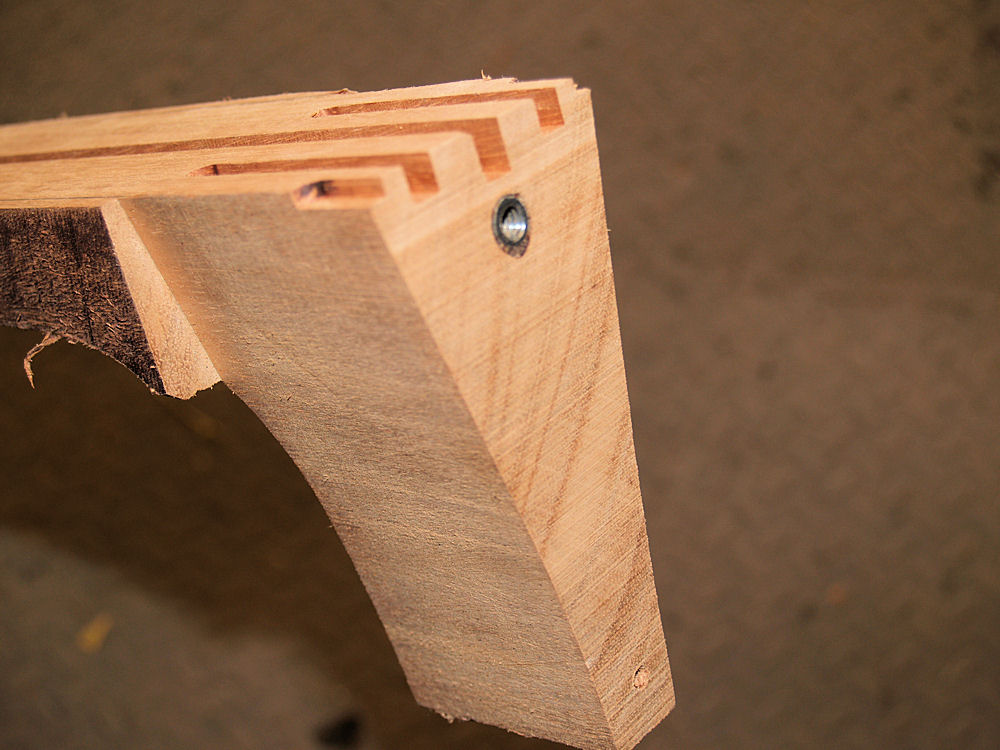
(118)
10-May-2010
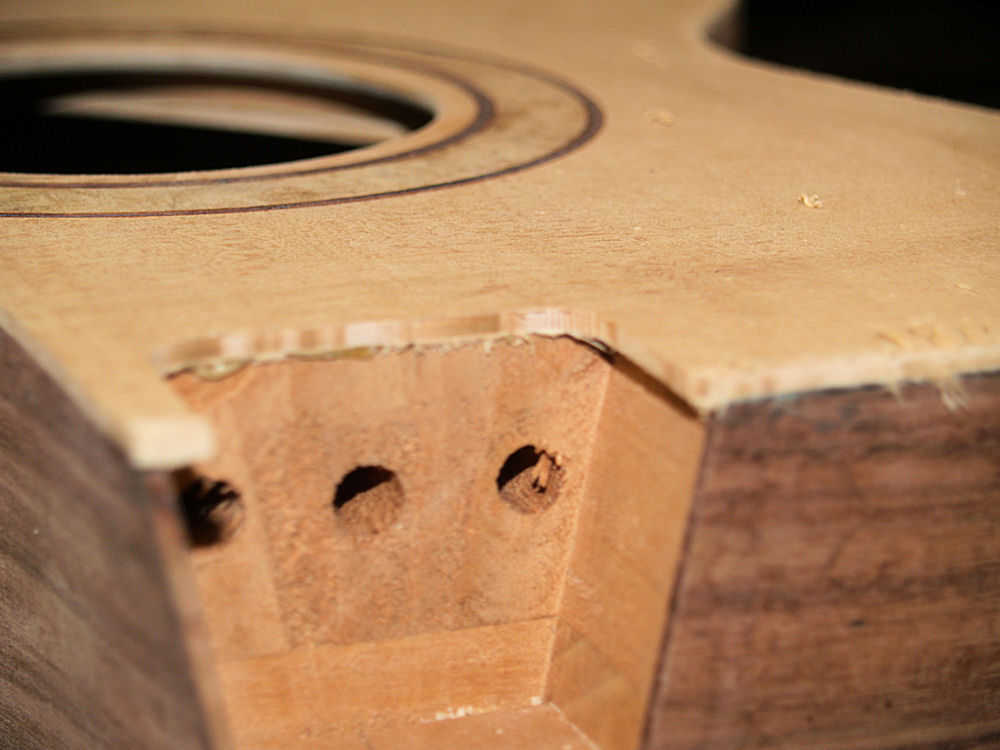
A
picture of the heel block channels. The two outer holes in
the
heal channel will hold the two set screws that the neck pivots around,
and the center hole is for the bolt that holds the neck on to the body. |
 |
(119) 10-May-2010
Now I am starting to work on the neck. The first task is to
set the datum and square up the neck blank. |
 |
(120)
10-May-2010
Here
I am using my belt sander to create a flat surface to glue the
fretboard to and to ensure the sides are parallel and square. |
 |
(121) 10-May-2010
I use the router table to create a channel for the truss rod. |
 |
(122) 10-May-2010
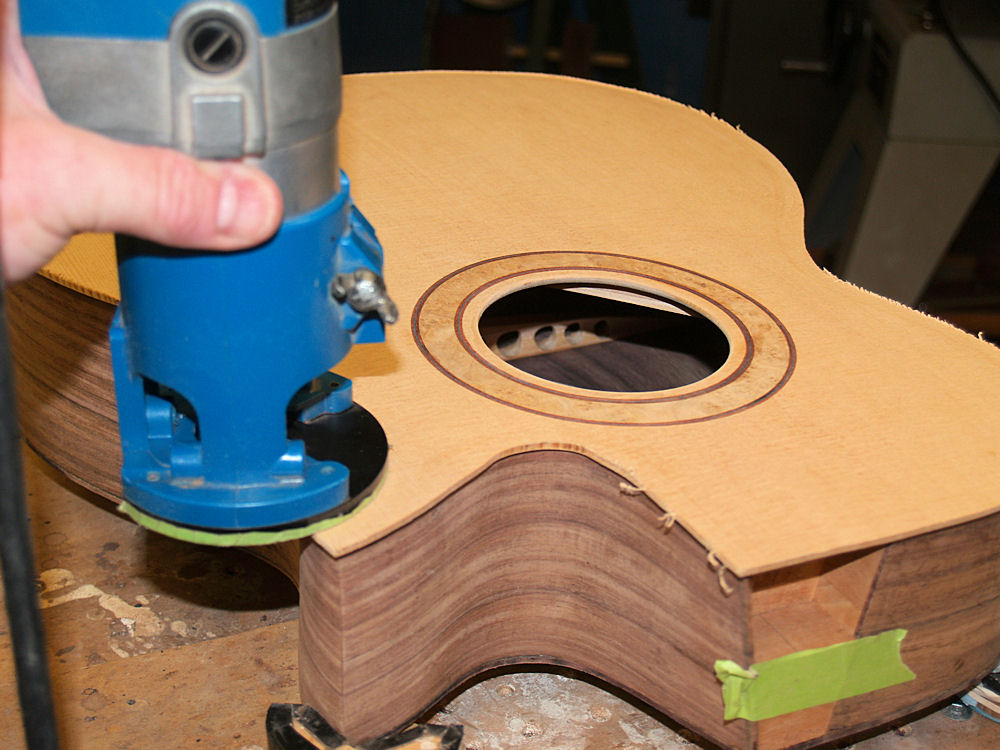
The truss rod channel goes right down the middle of the neck blank. |
 |
(123) 10-May-2010
And the dual action truss rod drop into the channel so that it is flush
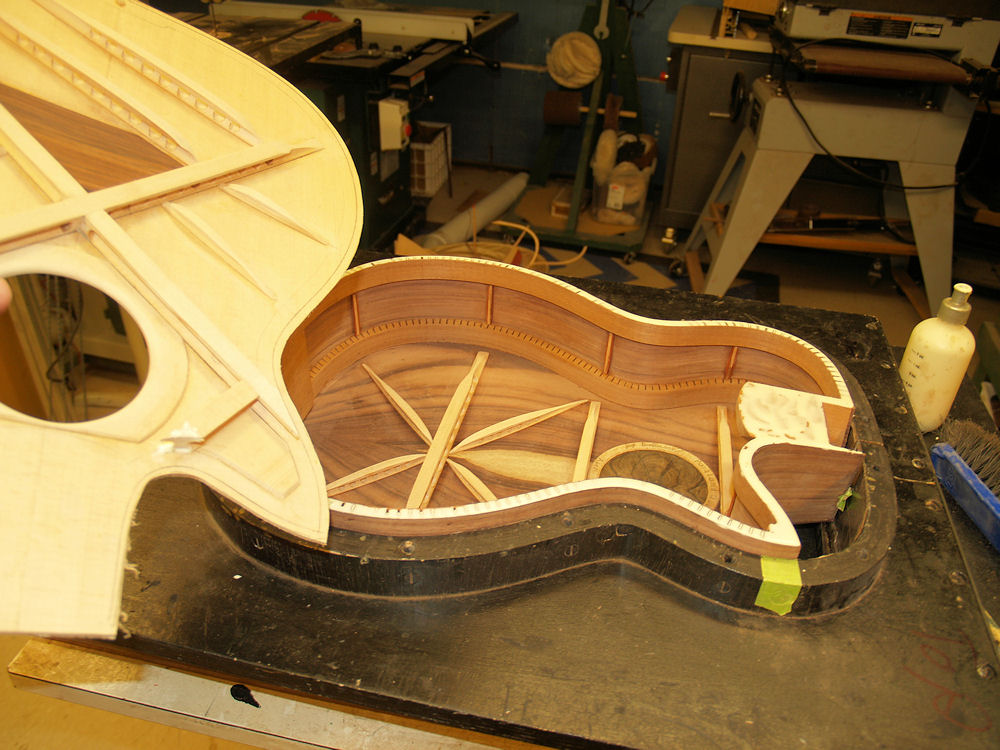
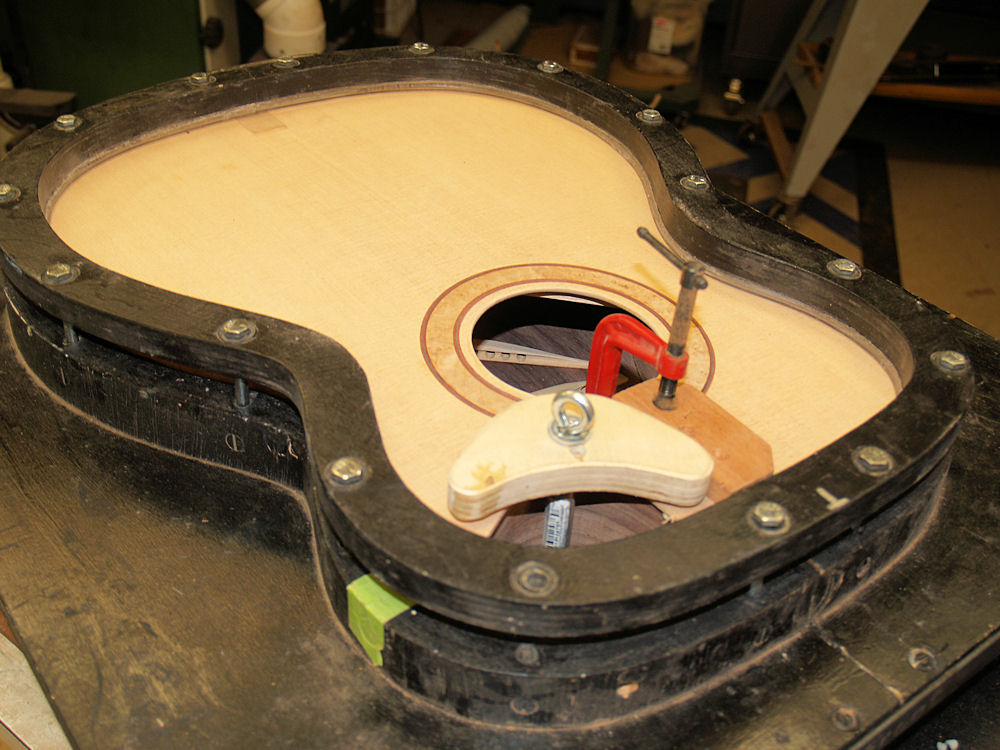
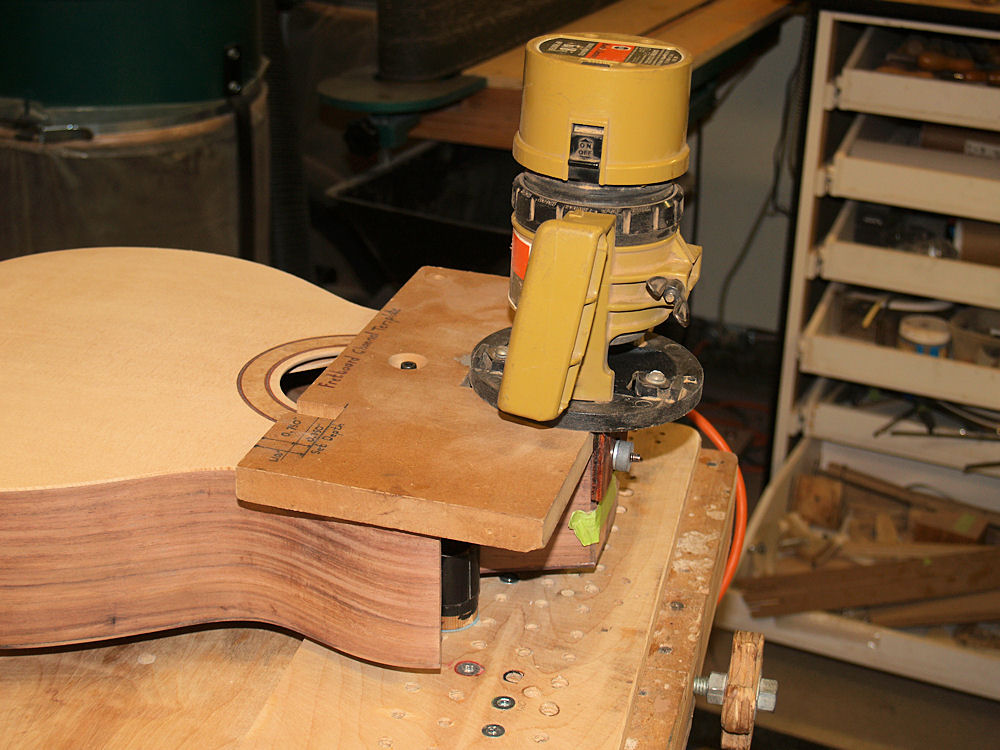
with the top of the blank. |
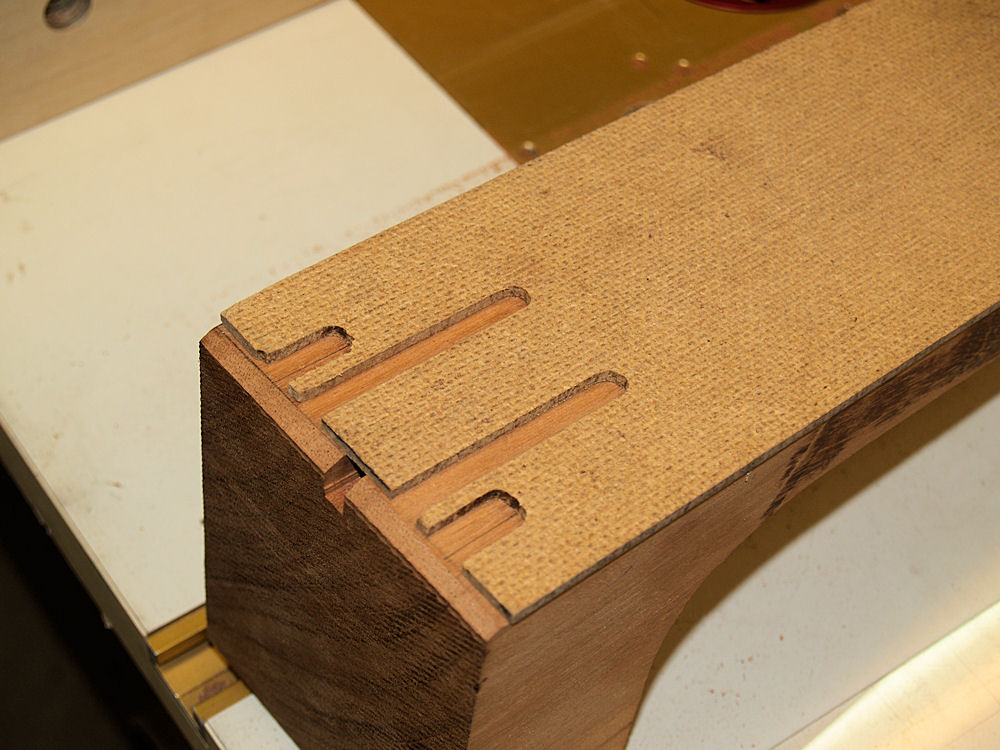 |
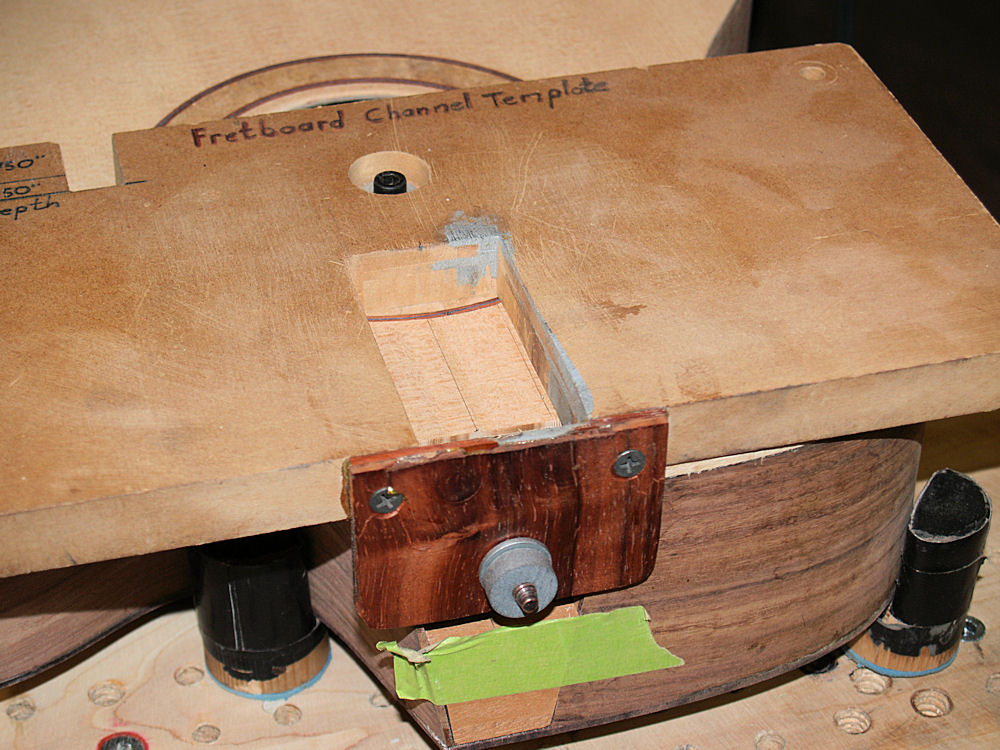
(124) 10-May-2010
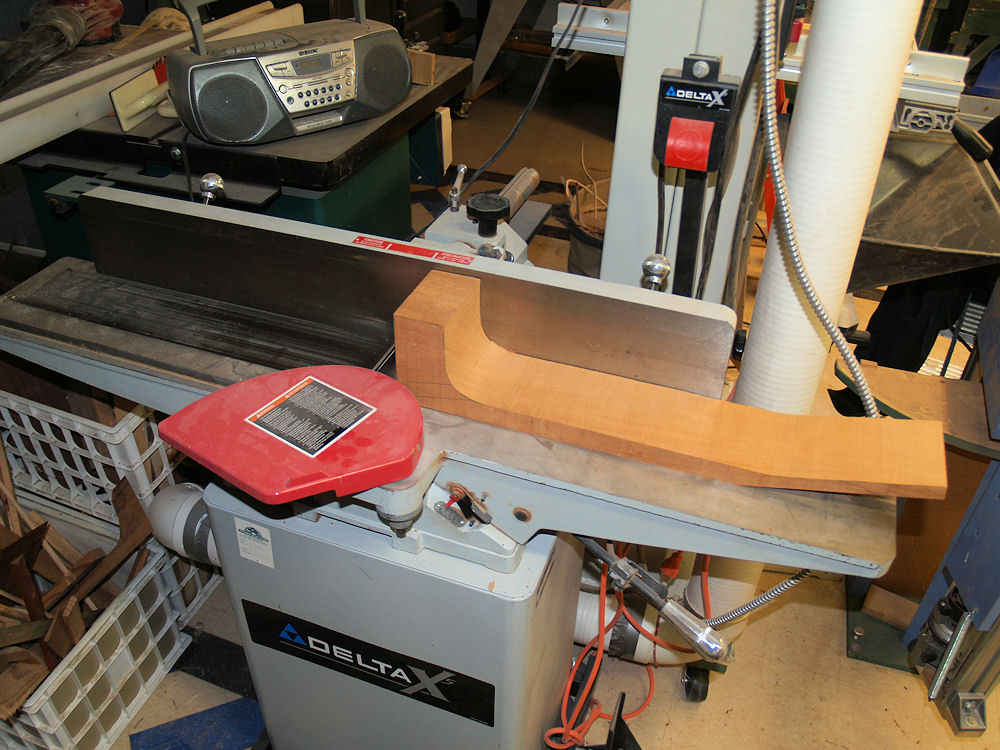
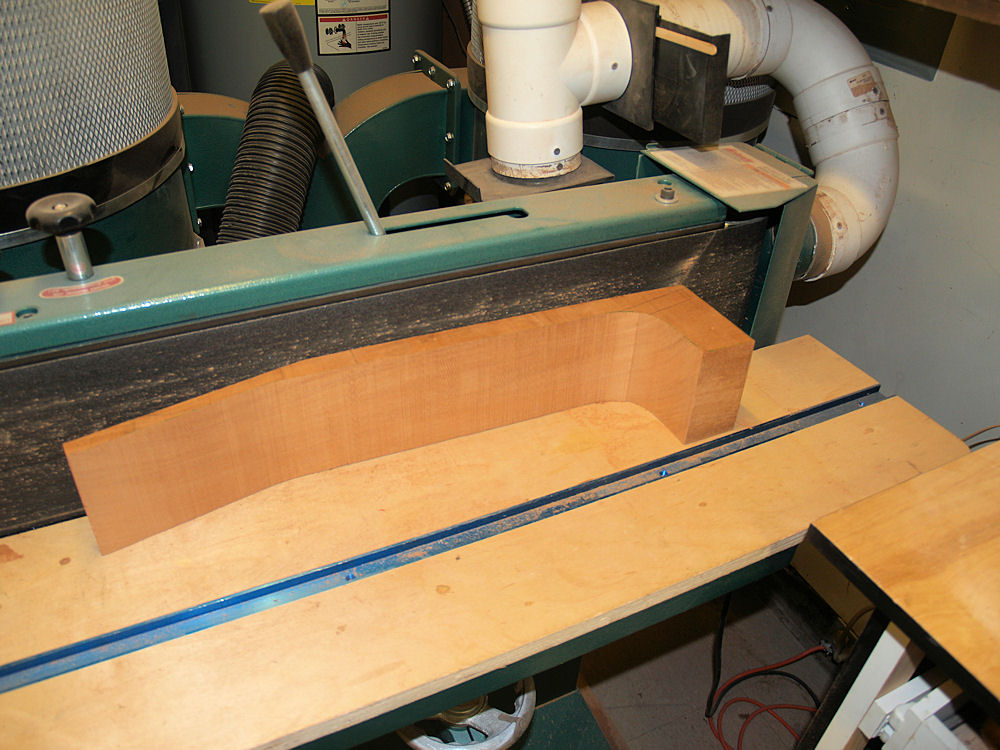
I use this template to help route the channels for the cantilever
braces and the heel channel wings. |
 |
(125) 10-May-2010
Here are all of the heel channels routed out. |
 |
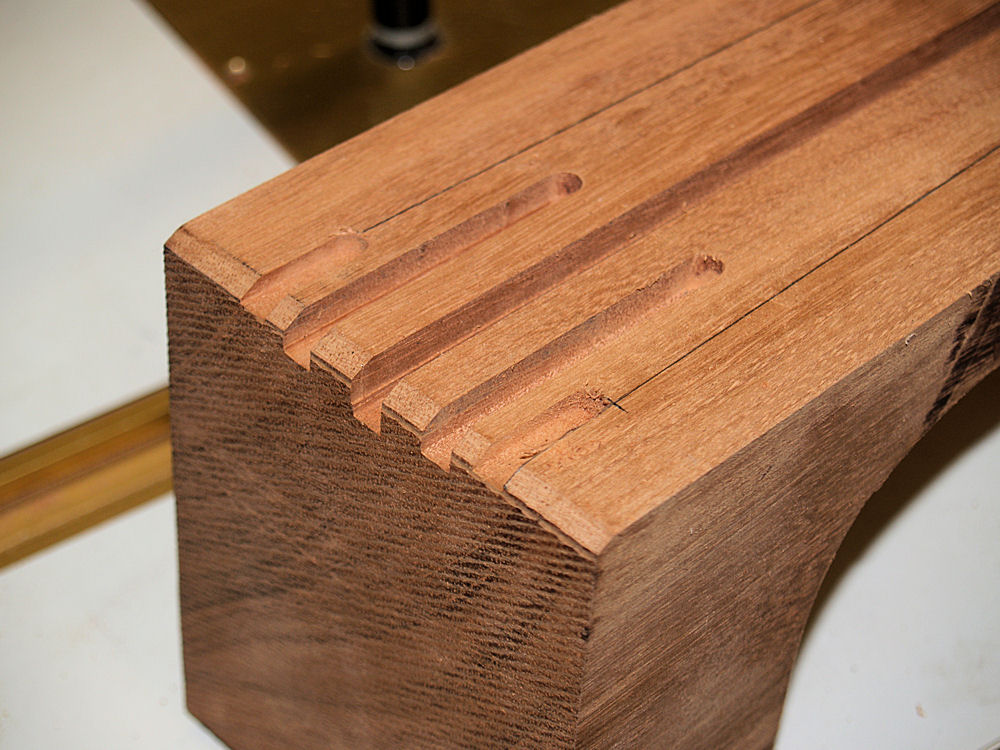
(126) 10-May-2010
Now that I have all of the channels routed out I carefully outline the
shape of the neck onto the blank. |
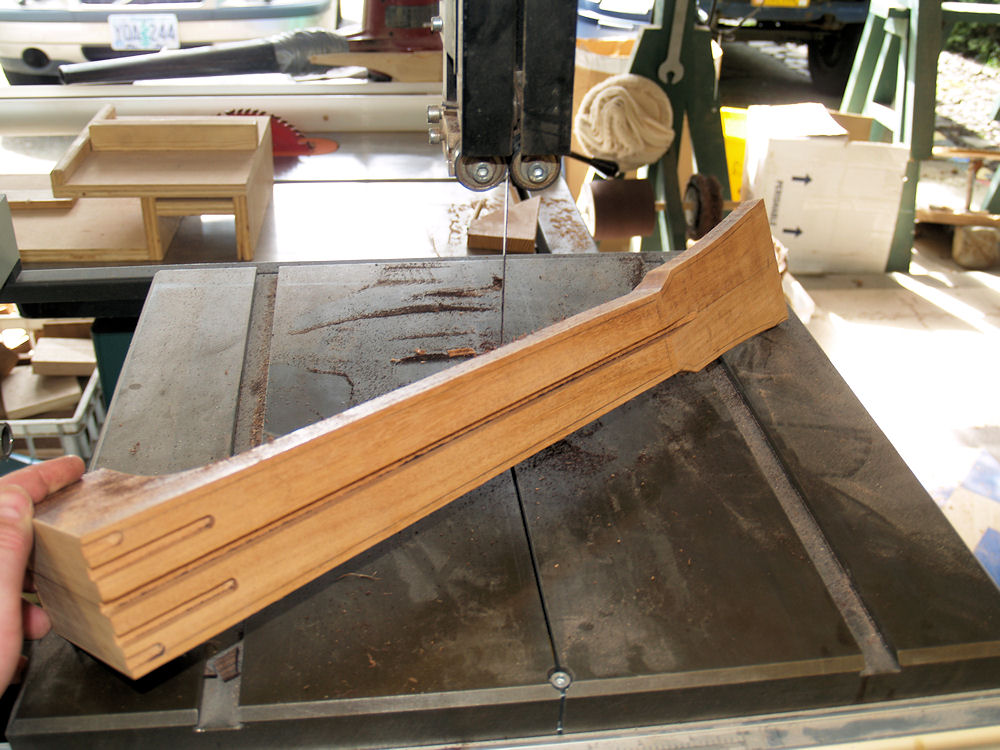 |
(127) 10-May-2010
Here I have use my bandsaw to trim the neck blank to shape. I
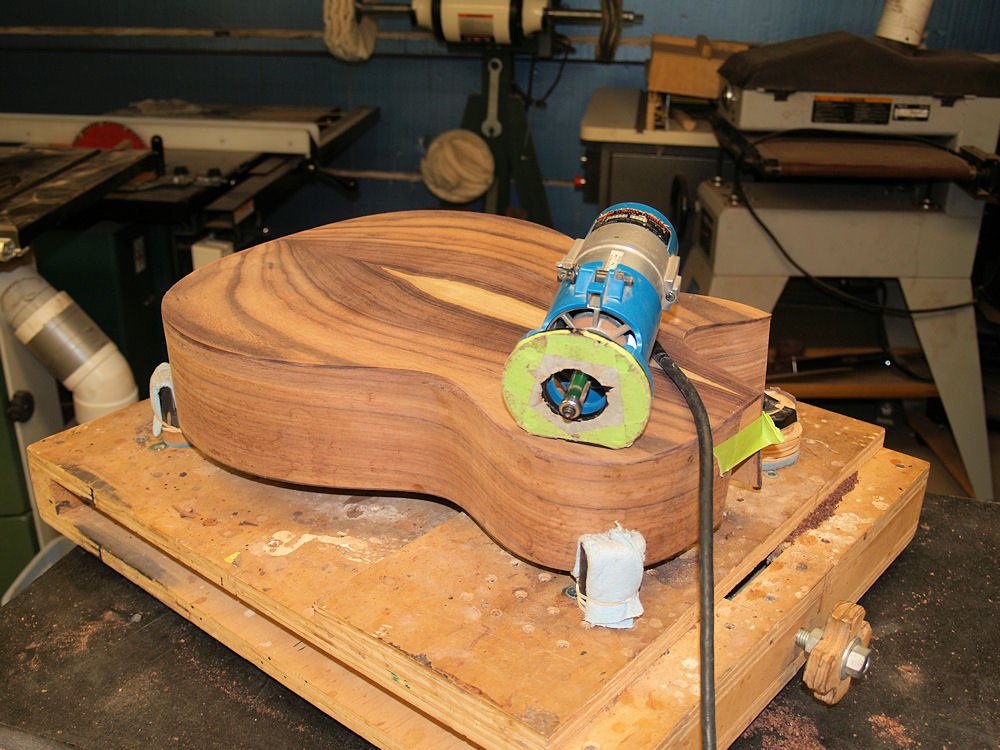
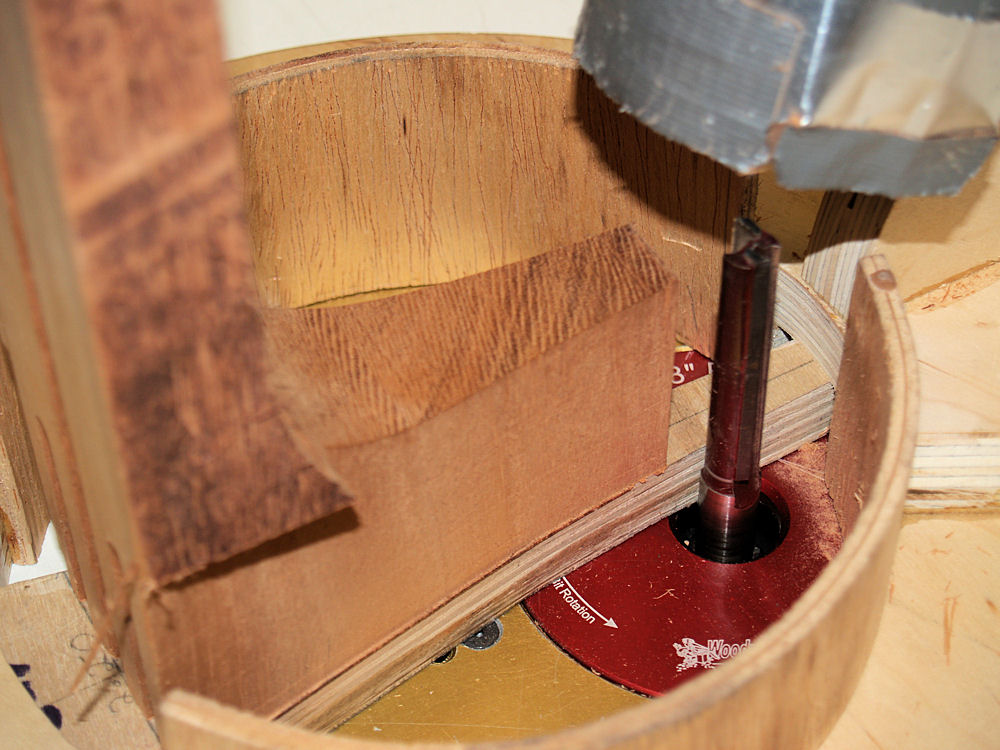
leave the blank about 200 mils large. |
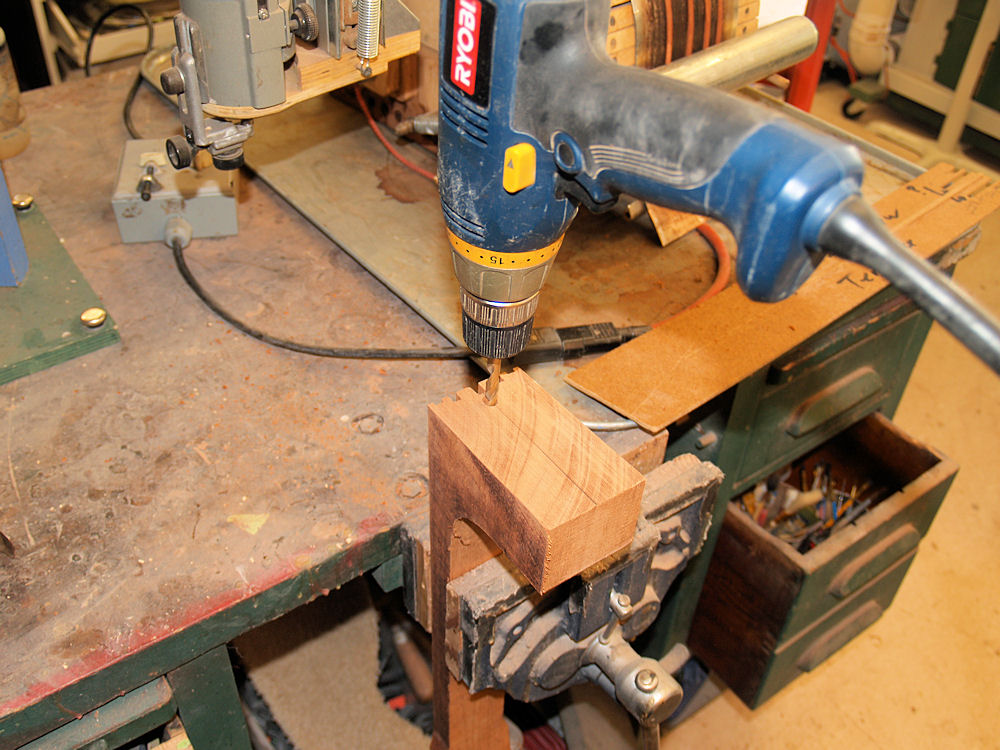 |
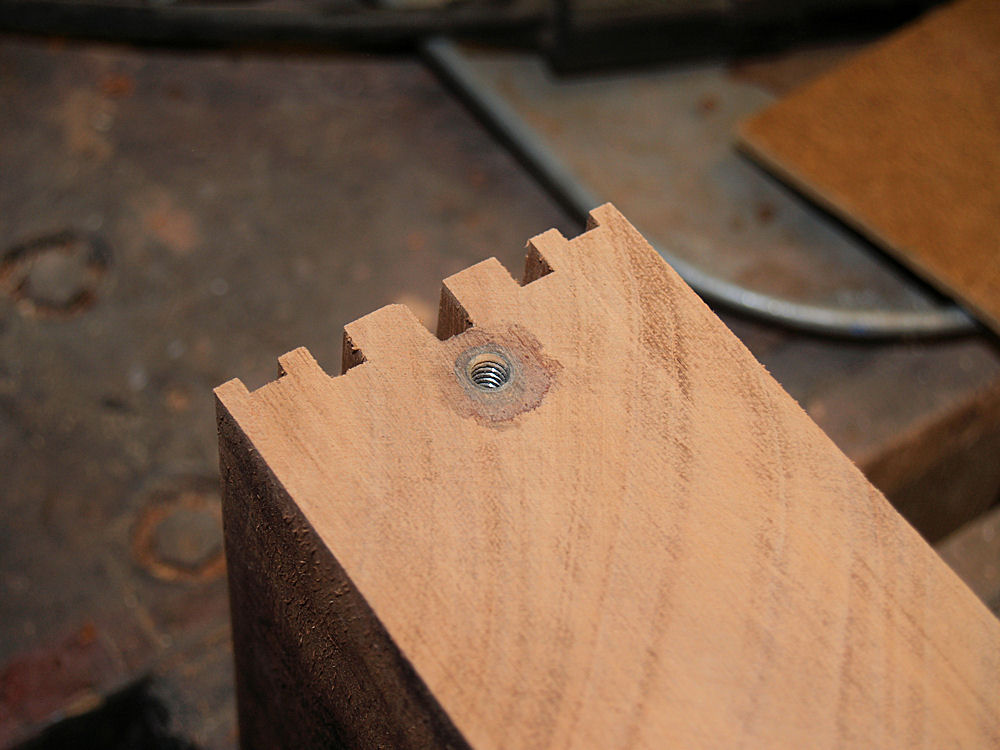
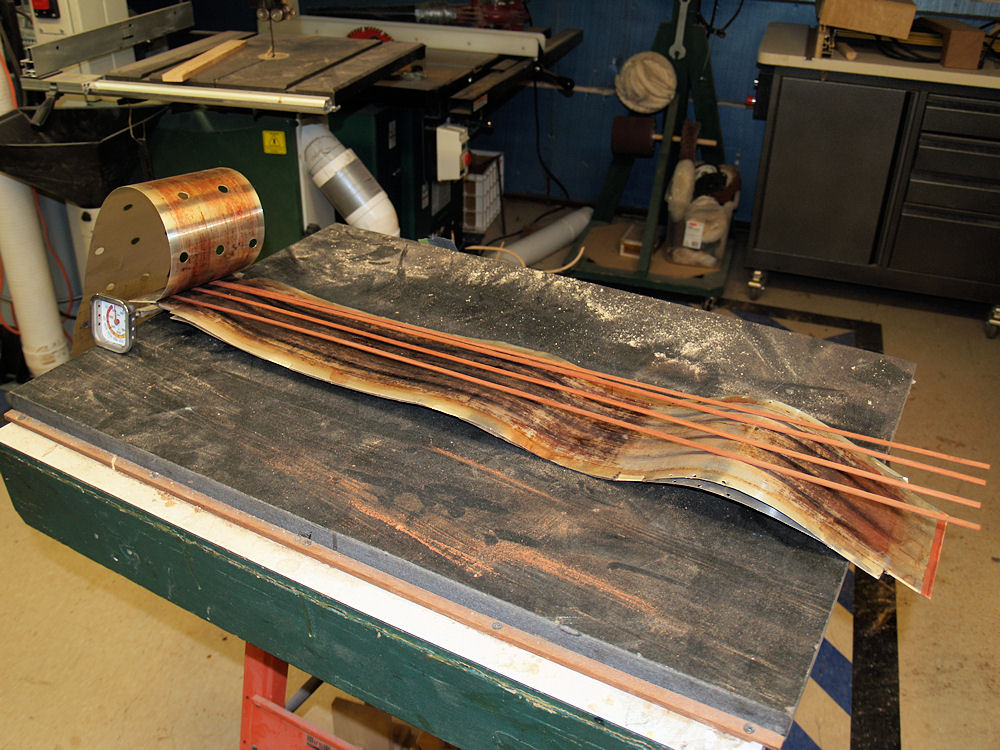
(128) 10-May-2010
Here I am drilling a hole in the heel for a bolt insert. |
 |
(129) 10-May-2010
This insert is used to bolt the neck to the body. |
 |
(130) 10-May-2010
I
have a special fixture I use to hold the neck blank while the heel is
routed to shape. This fixture provides a guiding template to shape the
heel, holds the
dust collector tube so the sawdust is effectively removed, and keeps my
fingers from getting routed off. |
 |
(131) 10-May-2010
I
install this large vertical router bit in the router table to shape the
heel. Considering that this bit is rotating at 20,000 rpm,
this
is really scary. |
 |
(132) 10-May-2010
Nonetheless
this process works quite well and the heel ends up with the same size
and profile as the heel channel in the heel block. |
 |
(133) 10-May-2010
In this picture I am setting up to bend the bloodwood binding. |
 |
(134) 10-May-2010
The binding goes into the bending machine. |
 |
(135) 10-May-2010
And the binding strips get cooked until the hold their shape. |