 |
(203) 28-June-2010
Now
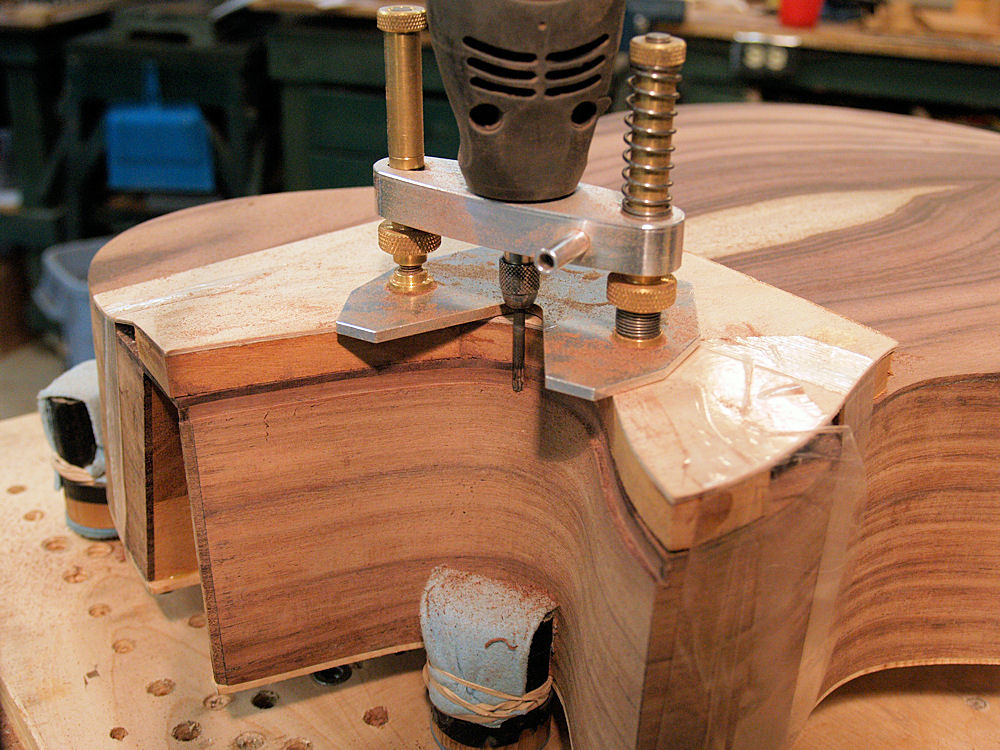
I am starting to work on the binding. In this picture I am
routing out the channel in the cutaway section. Because of
the
compound curves in the cutaway section I have set up a special form
that helps me maintain a vertical channel.
|
 |
(204) 28-June-2010
For the rest of the body I use my Universal Bindalator to route the
channels. |
 |
(205) 28-June-2010
Here is a picture of the channels on the bottom of the guitar. |
 |
(206) 28-June-2010
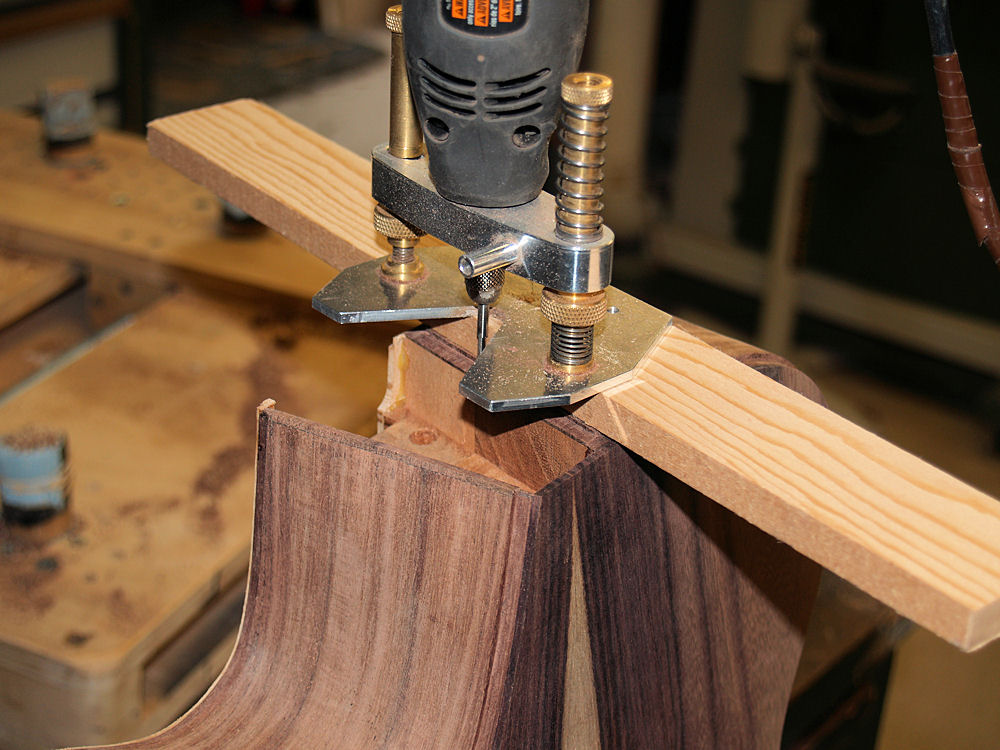
On the top I have set up a spacer to accommodate the compound curve in
the cutaway section. |
 |
(207) 28-June-2010
A look at the channels for in the top. |
 |
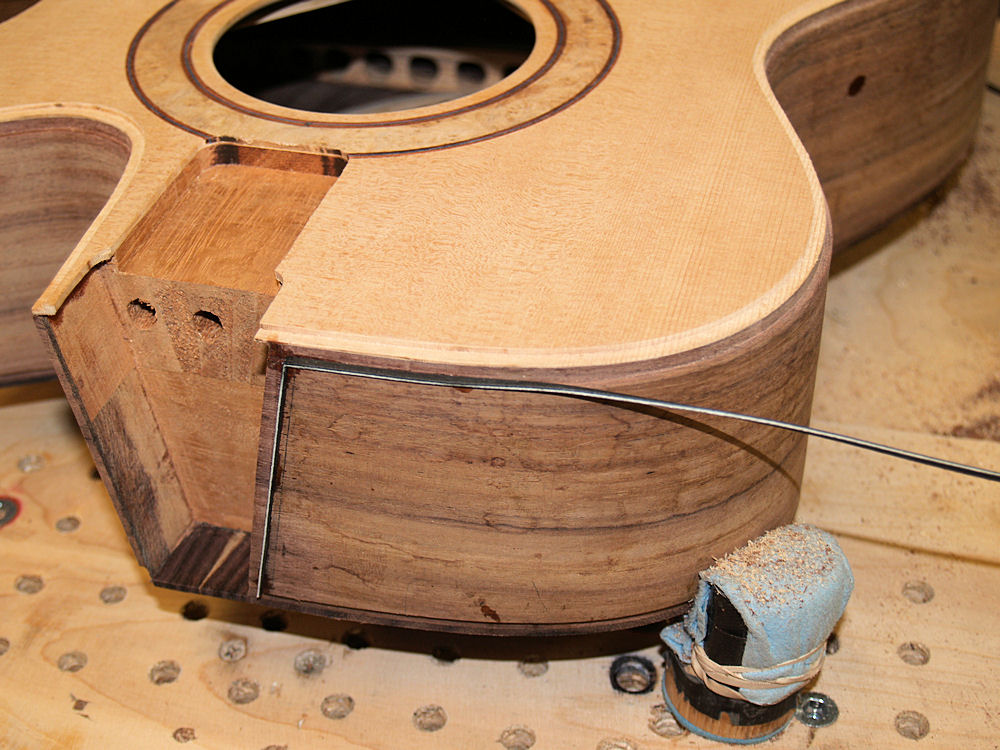
(208) 28-June-2010
Finally the channels for the binding around heel of the neck are routed. |
 |
(209)
28-June-2010
I start installing the binding with the pin striping on the sides. |
 |
(210) 28-June-2010
After
the pin stripping I install the herringbone purfling starting at the
back. I take special care to trim the purfling so that the
two
complimentary pieces will match when they are mated together. |
 |
(211)
28-June-2010
In this image I am measuring out the bloodwood binding that will be
used in the cutaway section. |
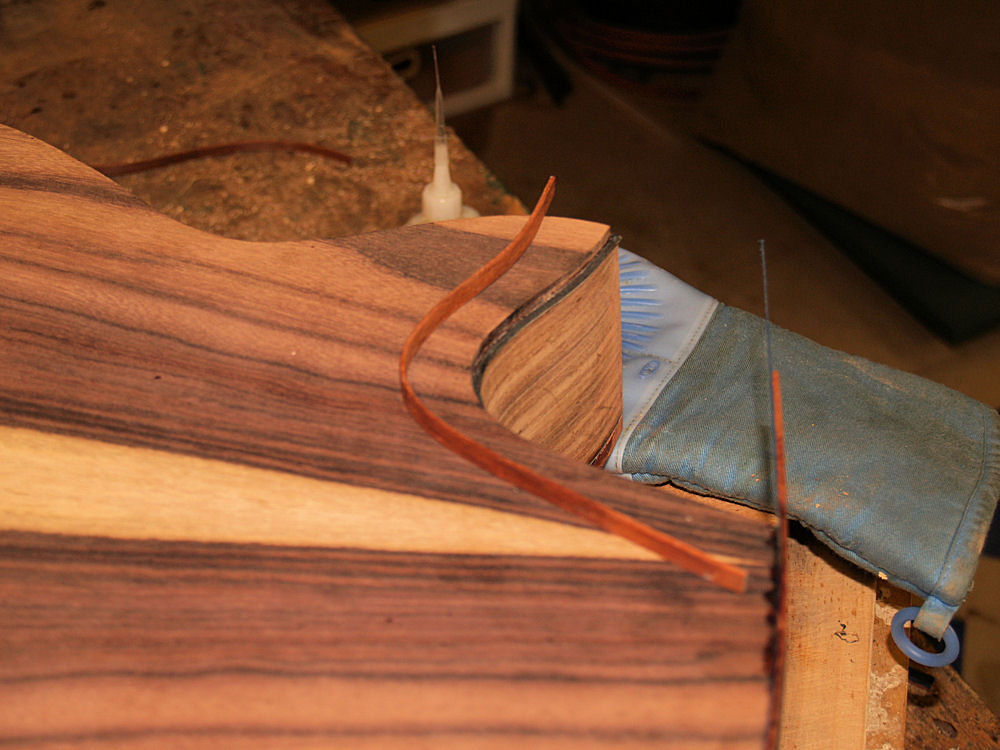 |
(212) 28-June-2010
The binding is then bent into shape. |
 |
(213) 28-June-2010
Then I install the bloodwood binding and the blue pin stripe at the
same time. |
 |
(214) 28-June-2010
Here I am installing the binding around the heel channel. |
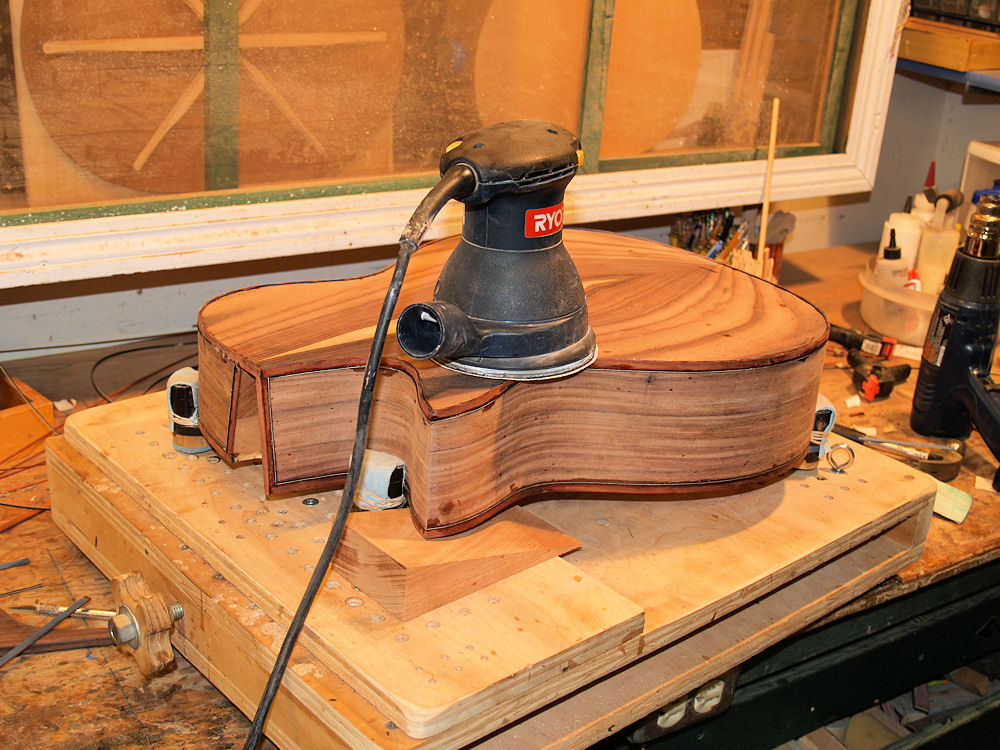 |
(215) 28-June-2010
When
I install the binding and purfling I leave the pieces slightly proud.
It looks a bit ugly at first, but then I sand everything
flush. |
 |
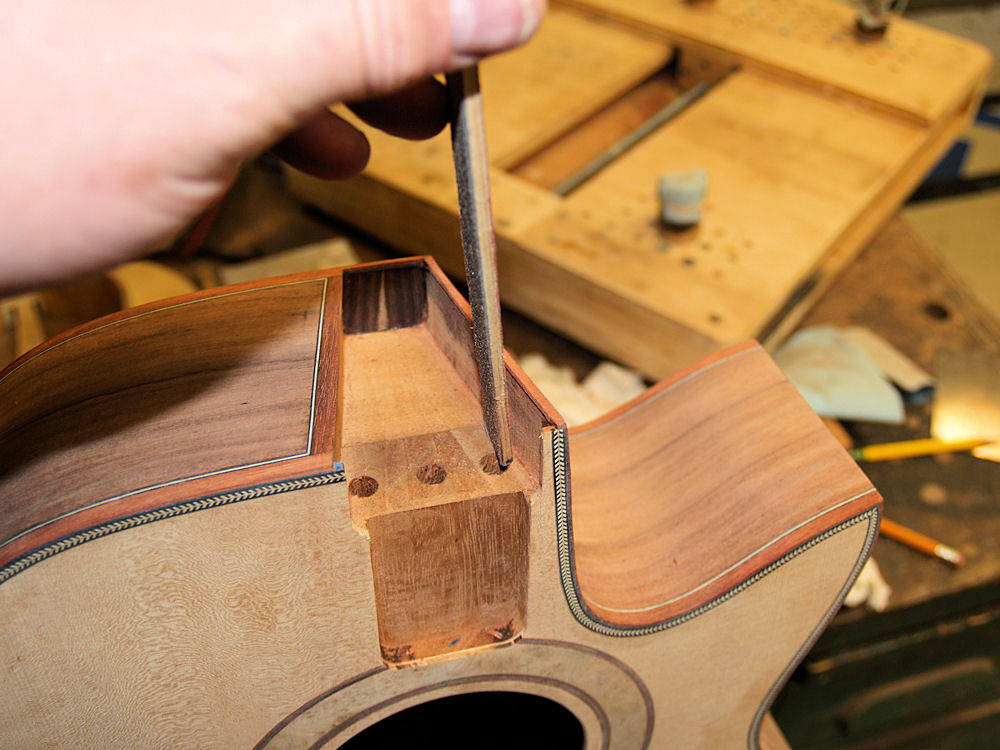
(216) 28-June-2010
When I am finished sanding the binding, the top and bottom get sanded
to make sure all the surfaces are smooth and continuous. |
 |
(217) 28-June-2010
In this picture I am trimming the binding around the heel channel. |
 |
(218) 28-June-2010
With a bit of care the neck heel will perfectly fit into the channel. |
 |
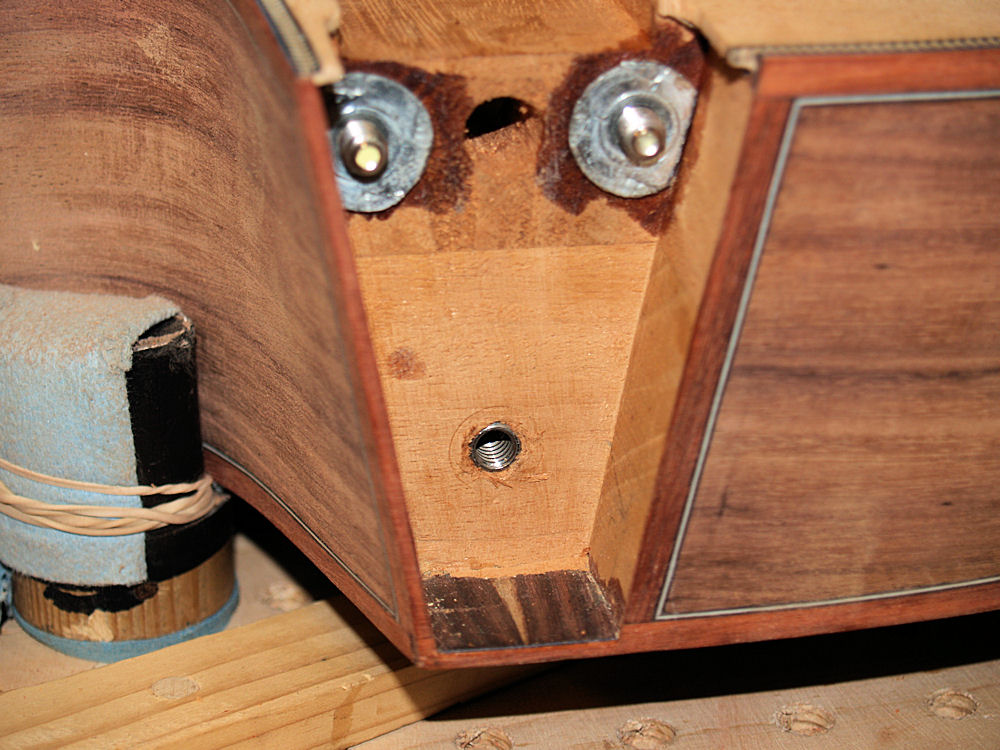
(219) 28-June-2010
Here
you can see the two set screws that the neck will rest on.
These
set screws allow me to adjust the yaw of the neck and the intonation if
it is necessary. |
 |
(220) 28-June-2010
The set screws will contact these two brass inserts. |
 |
(221) 28-June-2010
I next install the insert that will accommodate the adjustment screw
for the tilt action function. |
 |
(222) 28-June-2010
I am drilling a hole into the heel of the neck to hold the tilt action
adjustment bolt. |
 |
(223) 28-June-2010
A hole gets drilled through the heel to allow access to the adjustment
bolt. |
 |
(224) 28-June-2010
I install the adjustment bolt and hold it in place with a large oak
ferrule. |
 |
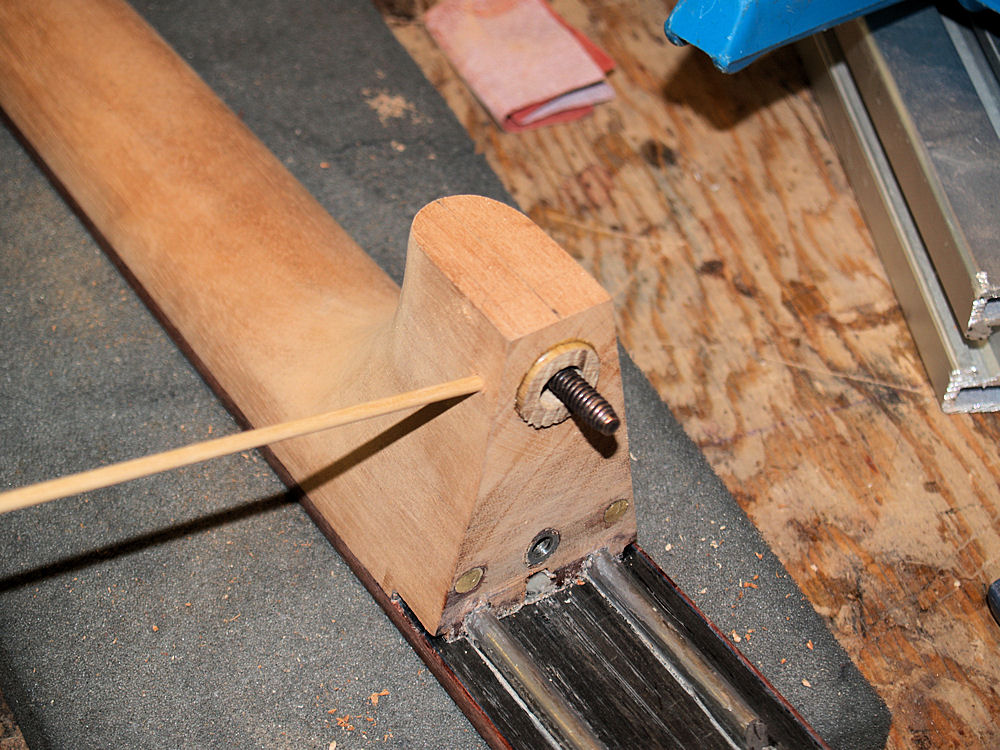
(225) 28-June-2010
Here I am drilling a hole in the side of the heel for a retaining pin. |
 |
(226) 28-June-2010
The
retaining pin will help hold the oak ferrule in place. This
ferrule will experience a significant force as it counteracts the
torque applied by the strings. |
 |
(227) 28-June-2010
The access hole in the front of the heel gets an insert to accommodate
the strap pin. |
 |
(228) 28-June-2010
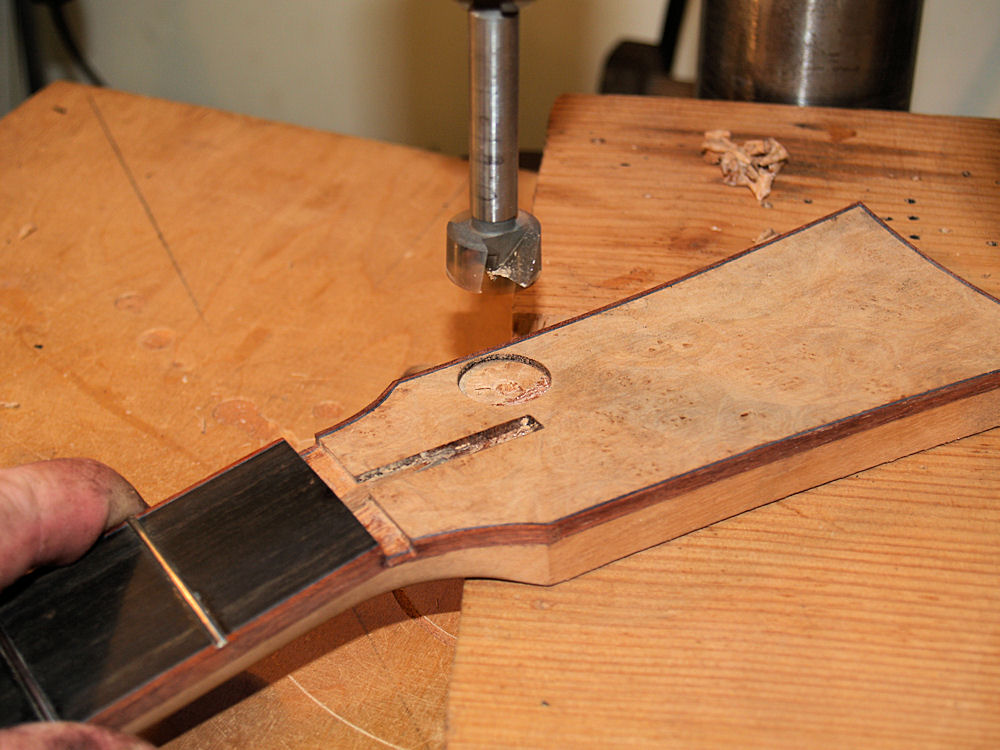
Now
I turn my attention to the holes for the tuning machines. I
am
going to install a set of trim around each machine, so here I am
drilling a hole for the first insert. |
 |
(229) 28-June-2010
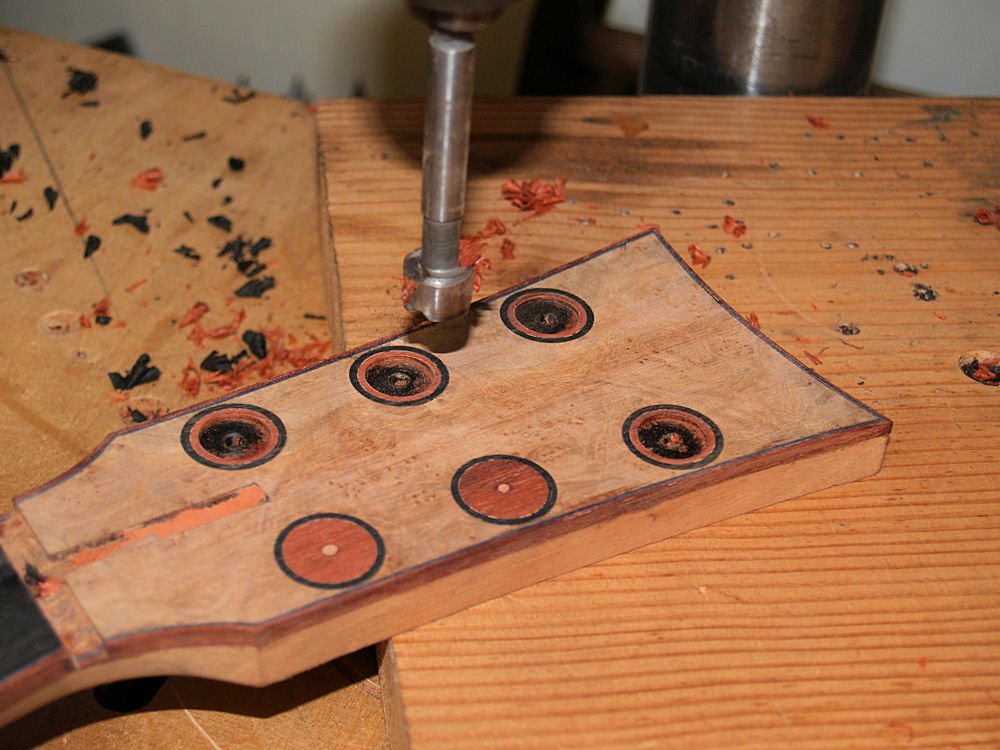
The first inserts are made of ebony. |
 |
(230) 28-June-2010
These
ebony inserts are then drilled out for the second insert that are made
of bloodwood. The bloodwood inserts are then countersunk to
accommodate the tuning machine washer. |
 |
(231) 28-June-2010
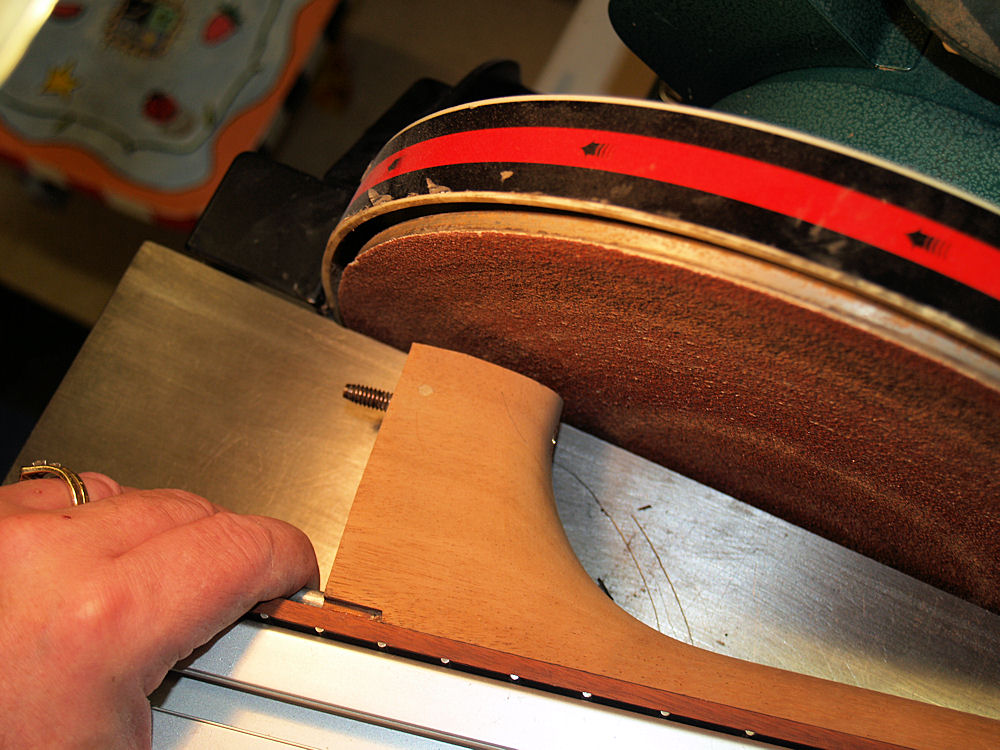
Here is a picture of the tuning machines in place. |
 |
(232) 28-June-2010
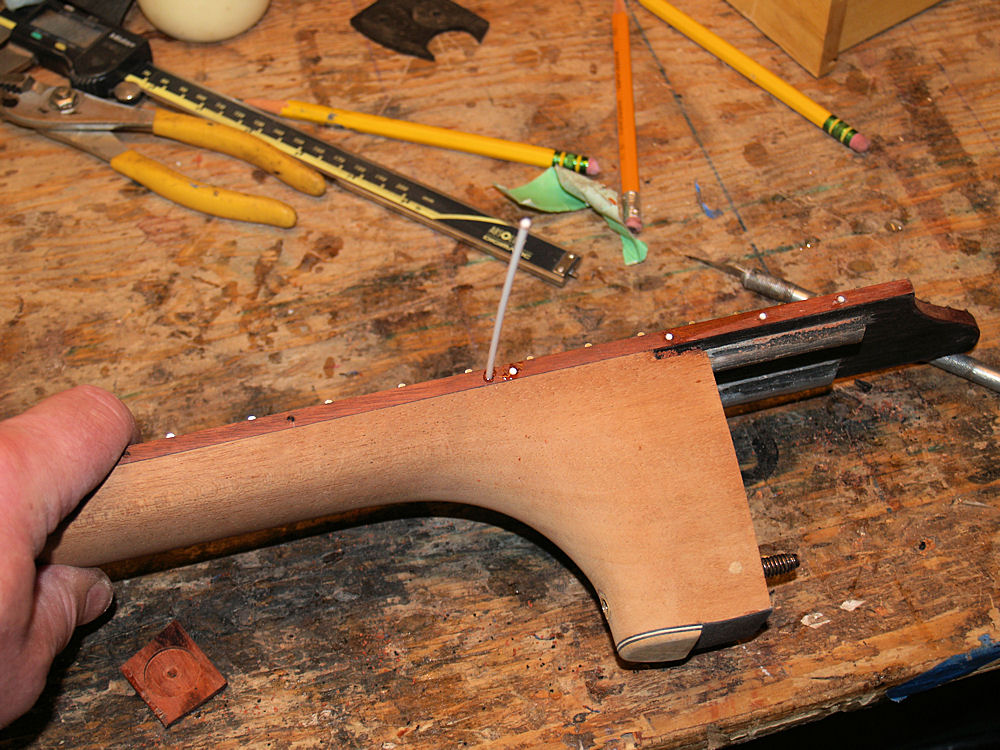
Before I install the heel cap I trim the heel to match the insertion
angle in the body of the guitar. |
 |
(233) 28-June-2010
The heel cap is made up of b/w//b pin stripping and burled maple to
match the headstock and rosette. |
 |
(234) 28-June-2010
The side dots then get installed. |
 |
(235) 28-June-2010
I
use a special, very straight, sanding tool to level out the fretwire.
After I am satisfied with this I then dress the crown and end
of
each fret. |
 |
(236) 28-June-2010
I use my Dremel router to create a channel for the silver wire that
will make the rose in the headstock. |
 |
(237) 28-June-2010
A look at the finished headstock rose. |
 |
(238) 28-June-2010
In
this picture I am marking the edges of the bridge blank. The
blank has to be sanded into shape to match the curvature of the top. |
 |
(239) 28-June-2010
I mark the bottom of the bridge blank with pencil. |
 |
(240) 28-June-2010
And
then I place a piece of sandpaper on the top and sand the bridge blank
until all of the marks on the bottom are gone. This insure a
good
match between the curvature of the top and the bridge. |
 |
(241) 28-June-2010
I use this special fixture to guide a router in cutting a channel for
the bone saddle. |
 |
(242) 28-June-2010
Test fitting the saddle in the bridge blank. |
 |
(243) 28-June-2010
I
decided this bridge would have a complimentary set of binding.
In
this picture I am gluing the raw binding to the bride blank. |
 |
(244) 28-June-2010
I use this special fixture on the oscillating sander to shape the
bridge.. |
 |
(245) 28-June-2010
Here I am drilling counter sink holes for the outlines that will go
around the bridge pins. |
 |
(246) 28-June-2010
A look at the shaped bridge sitting on the guitar. |
 |
(247) 28-June-2010
A close up of the finished bridge. |