 |
(1) 8-Feb-2010
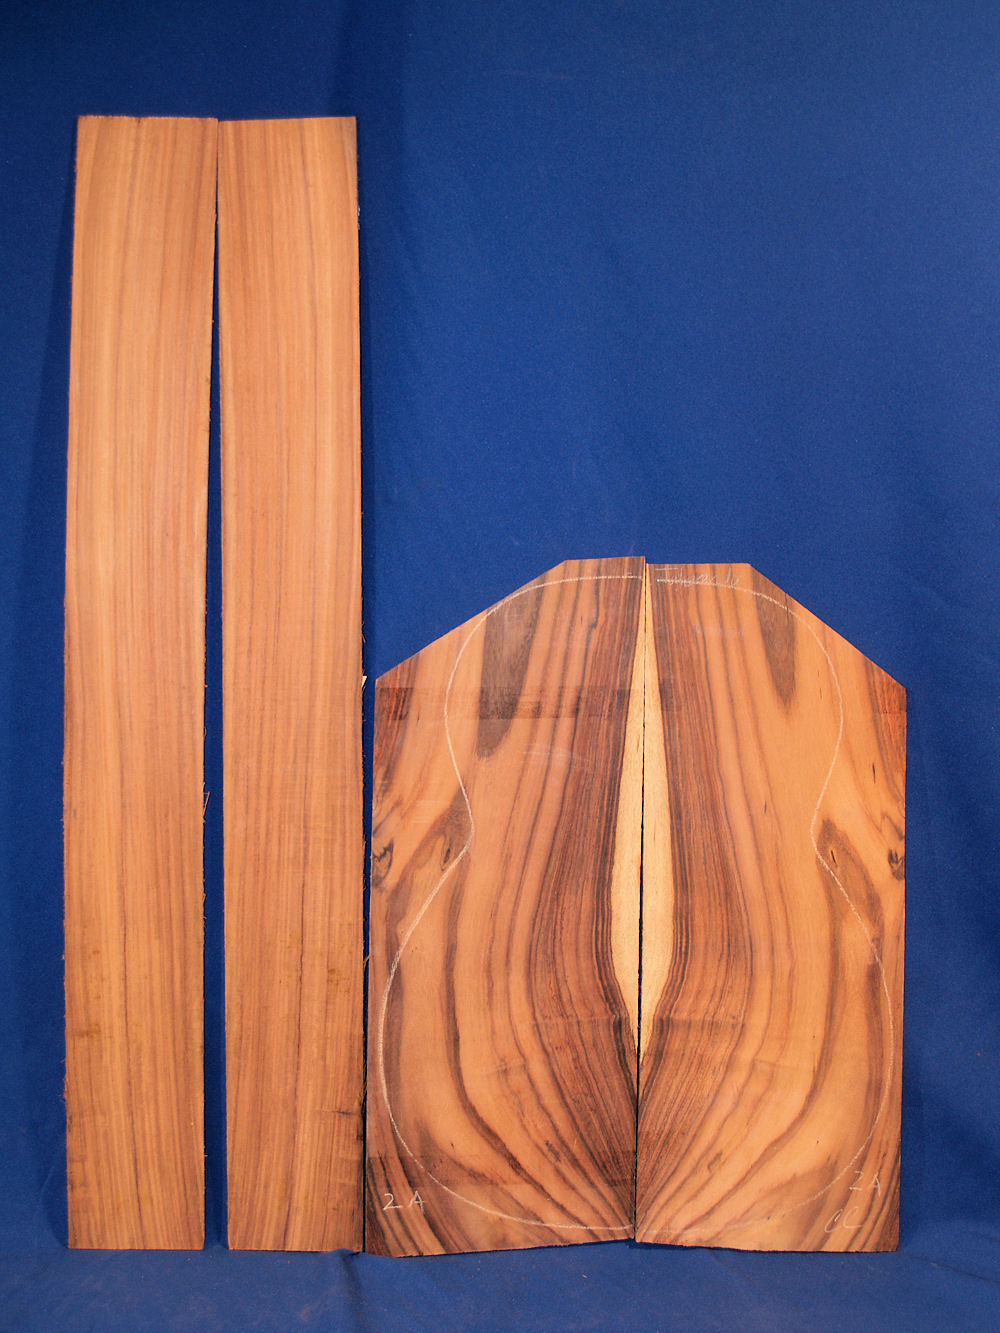
This is the set of Jacaranda (Brazilian Rosewood Grown in Indonesia) we are going to use to build this guitar. |
 |
(2) 8-Feb-2010
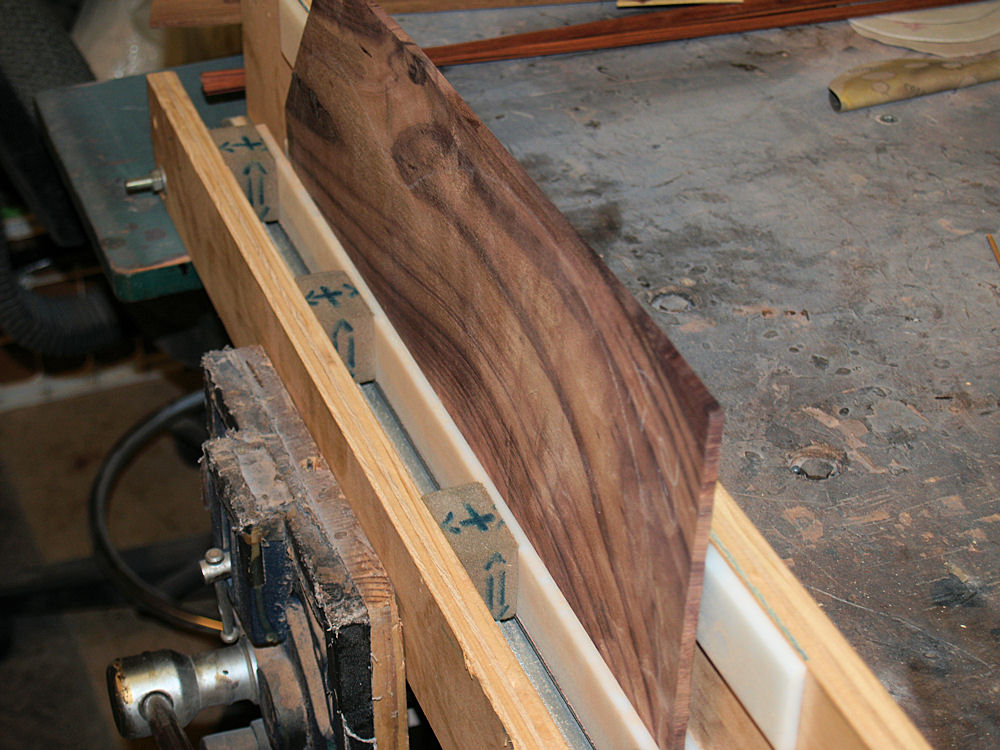
I
am going to book match join the back pieces. Here I am squaring
up the joining edges. This jig holds the piece of wood
perpendicular to a sanding surface and allows me to easily slide
the piece back and forth. |
 |
(3) 8-Feb-2010
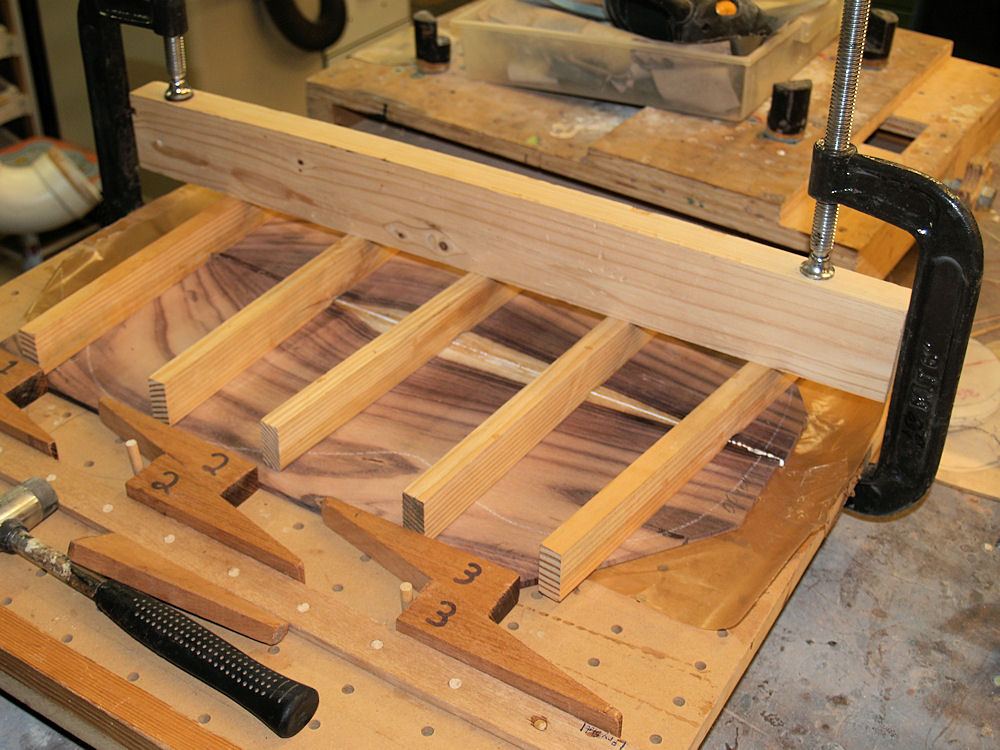
I use this machine to hold the pieces of wood flat while they are squeezed together with the wedges. |
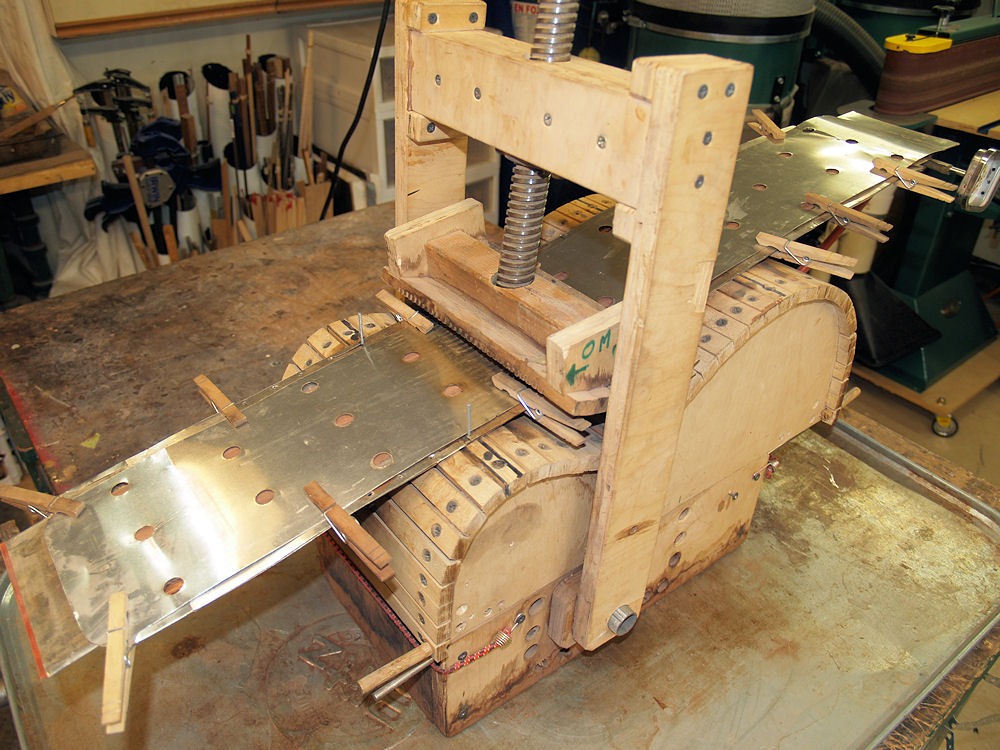
 |
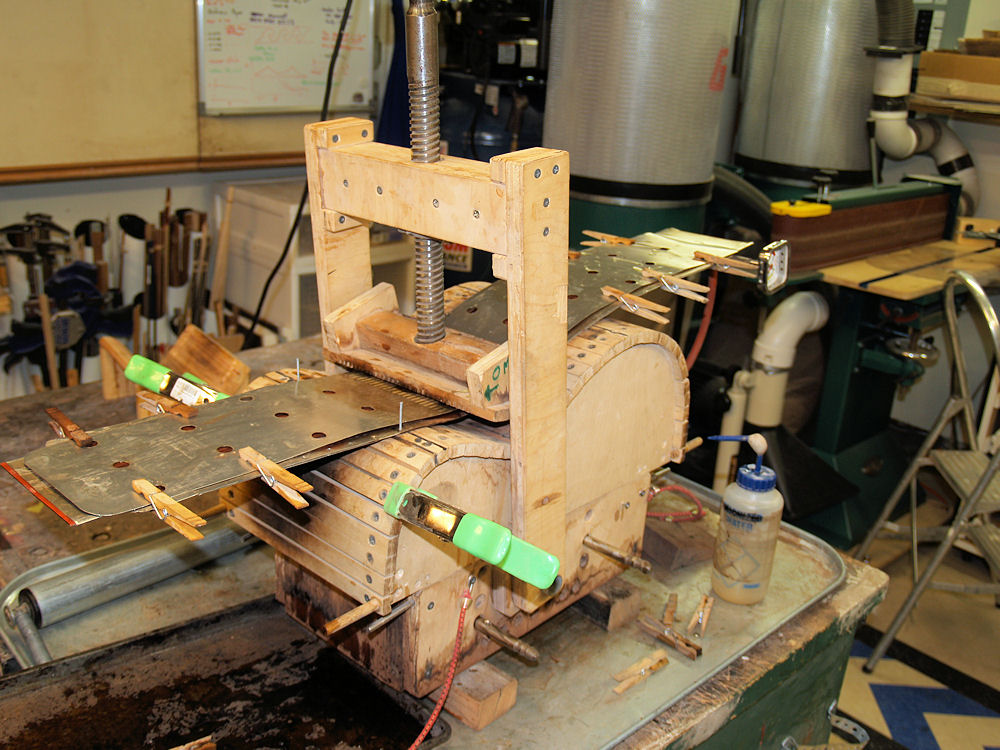
(4) 8-Feb-2010
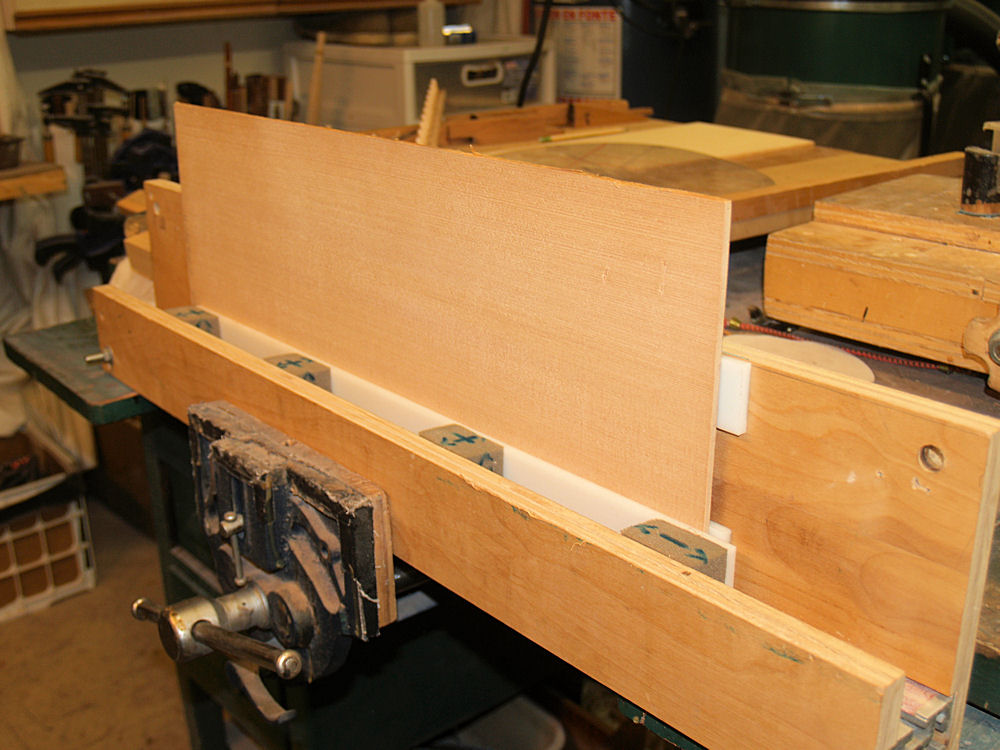
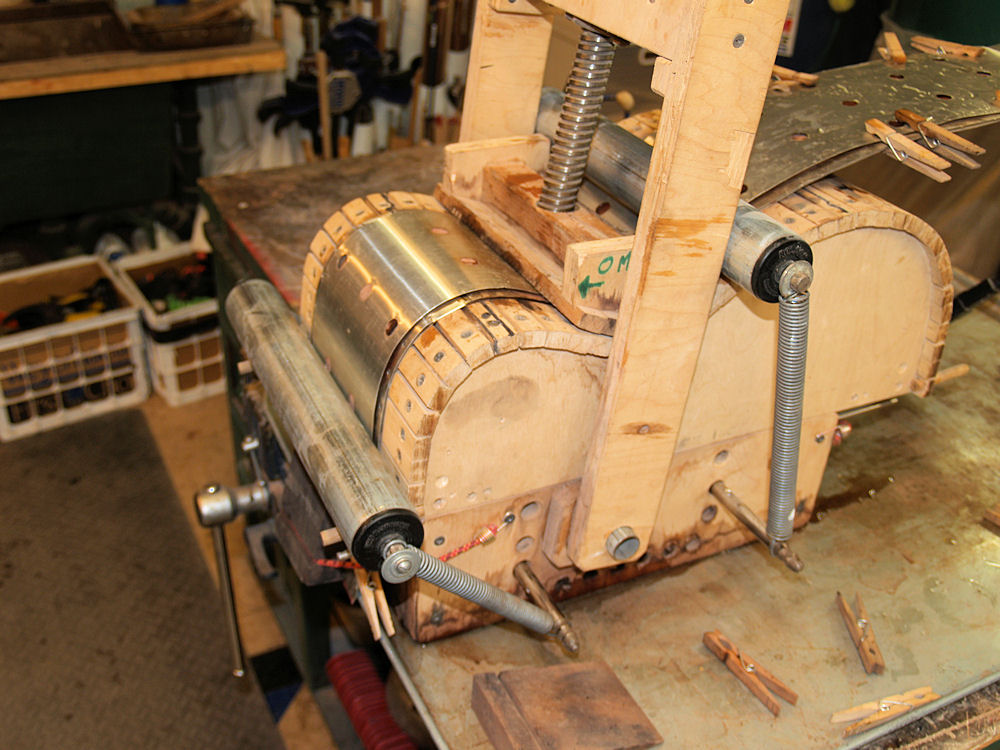
Squaring up the top pieces. |
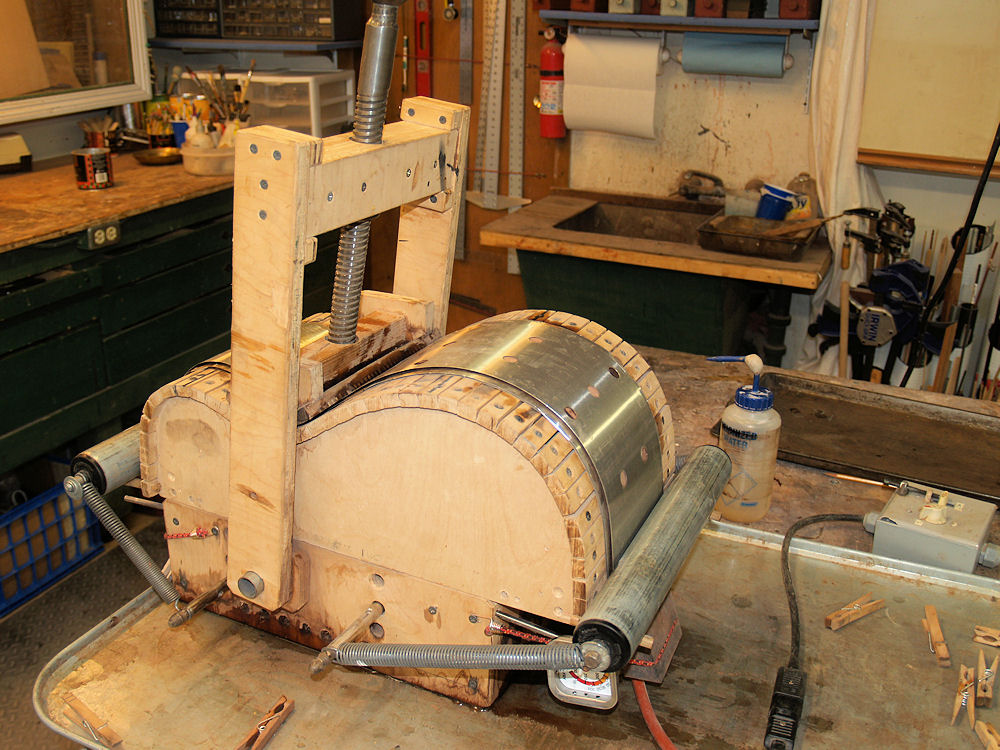
 |
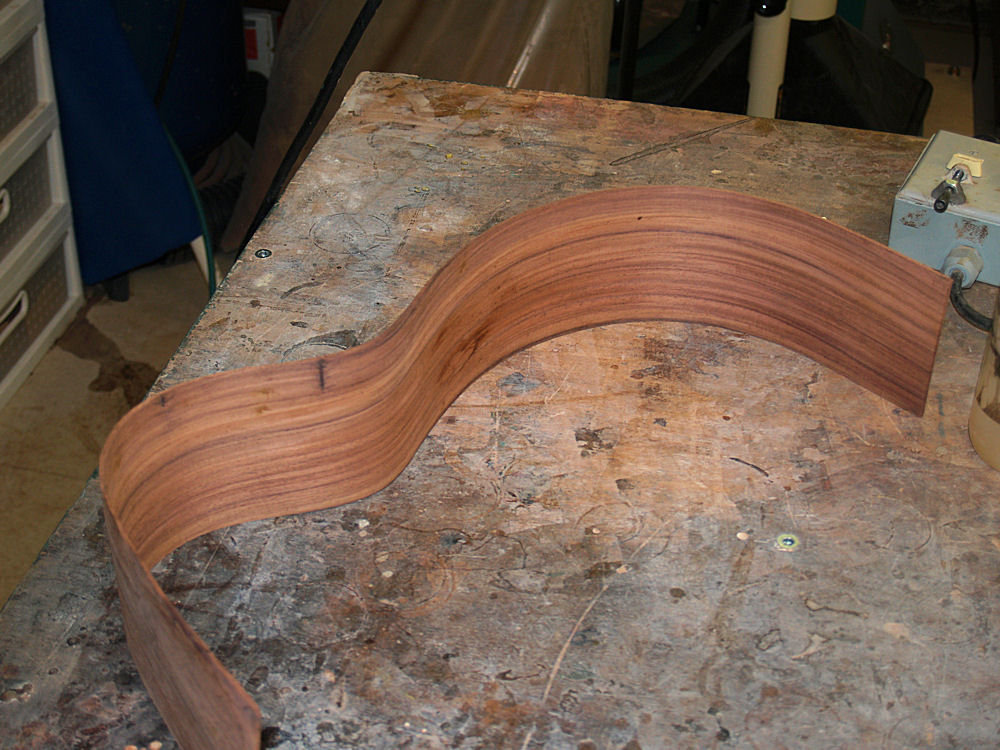
(5) 8-Feb-2010
And joining them. |
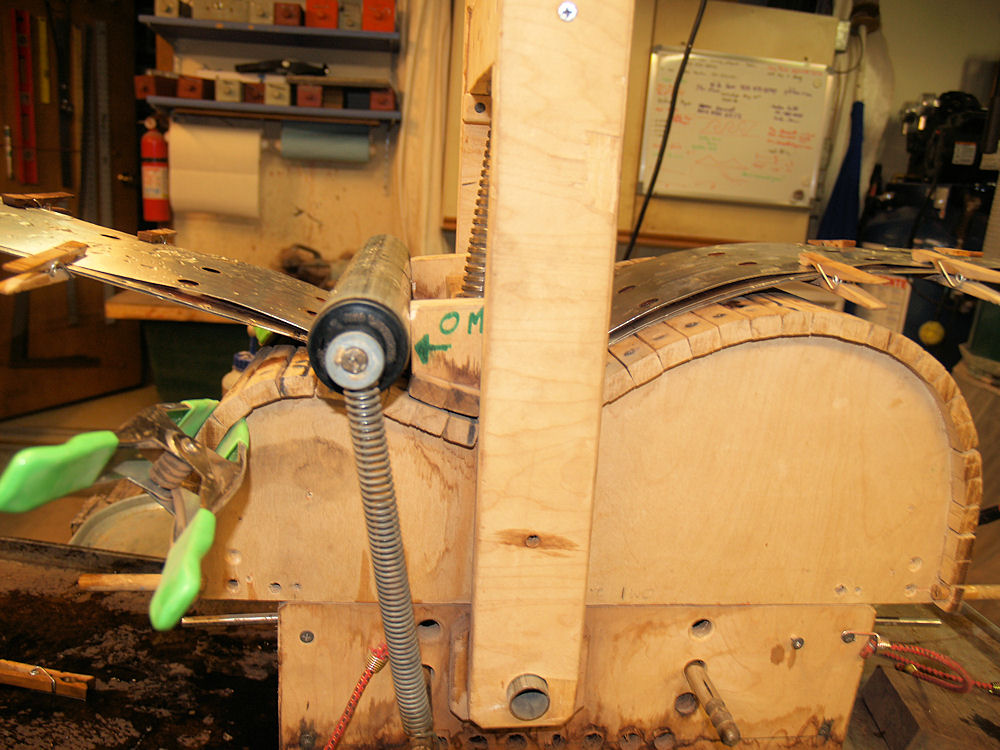
 |
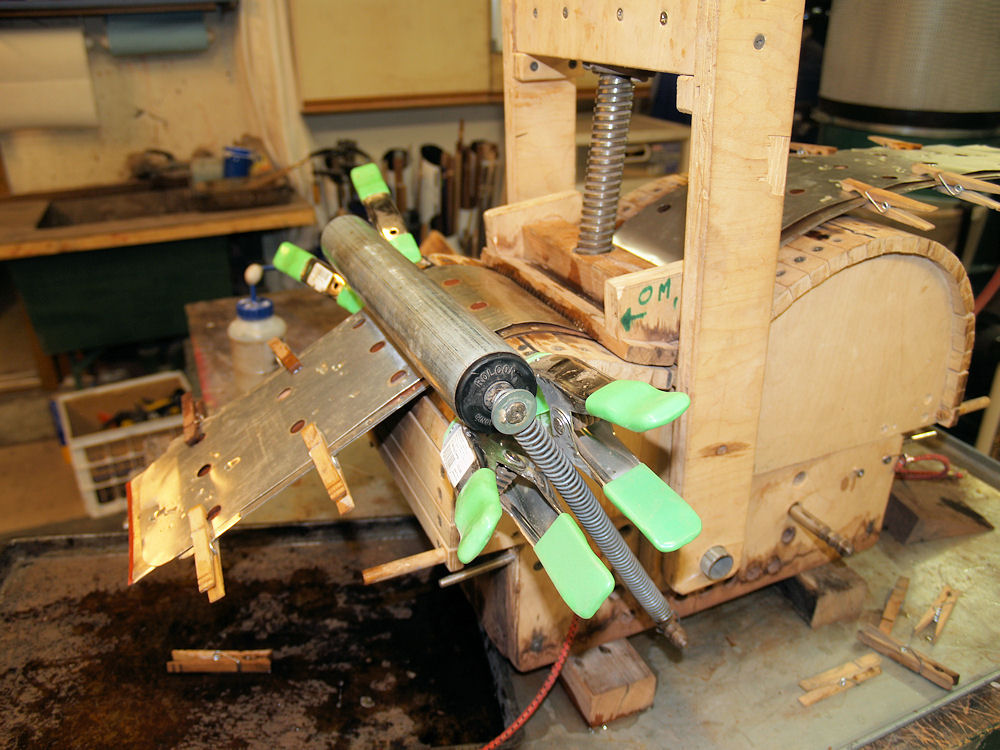
(6) 8-Feb-2010
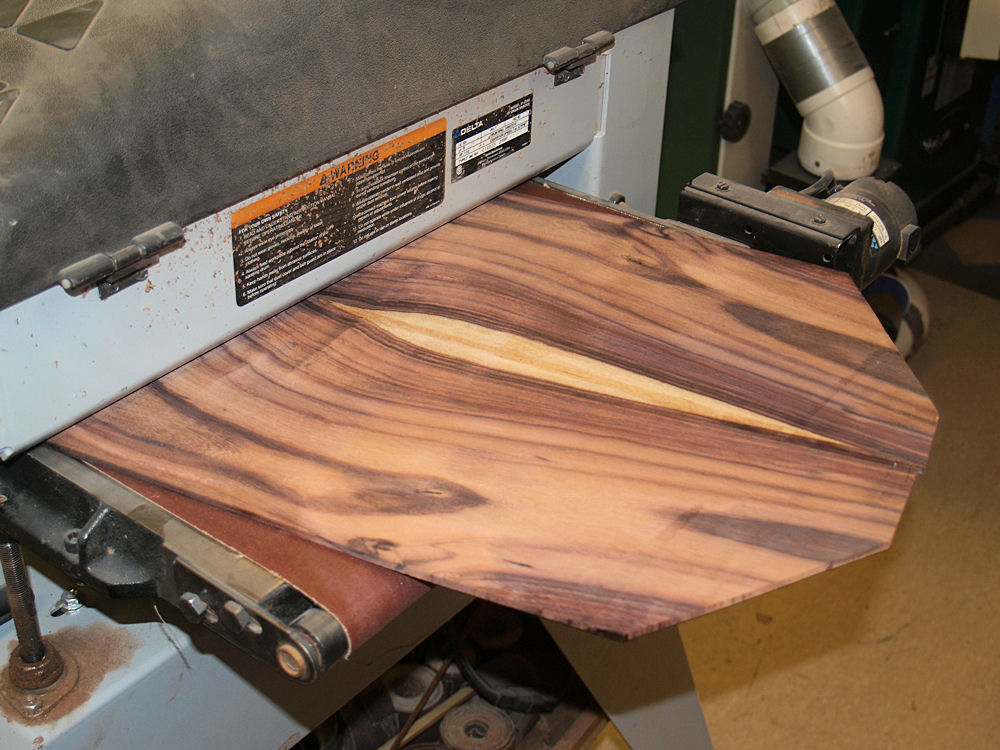
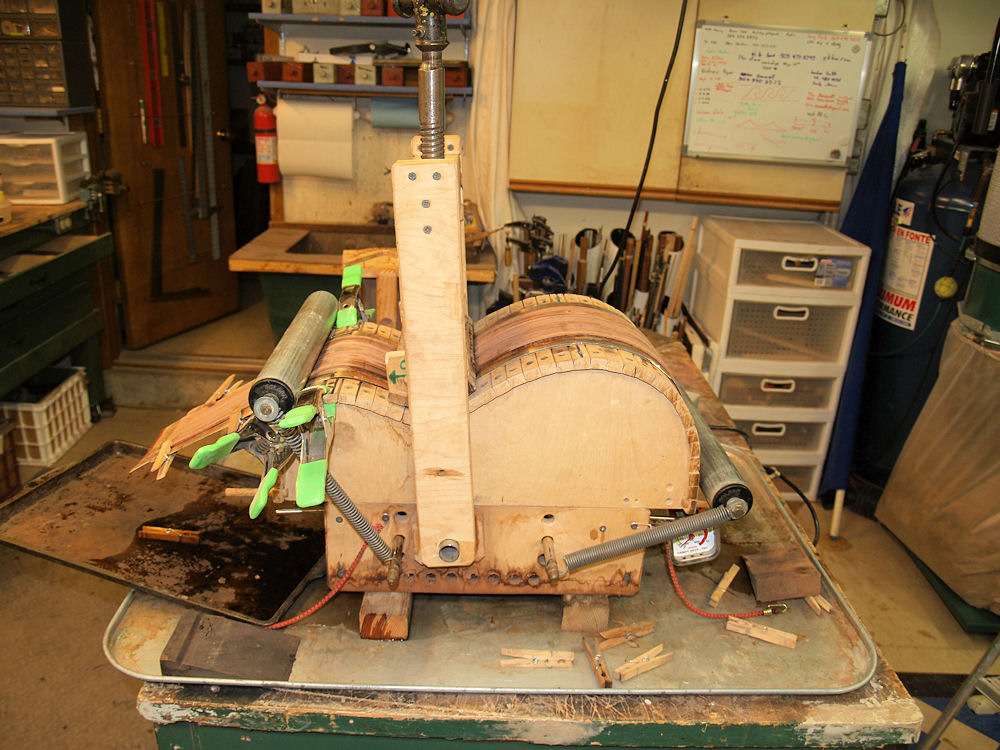
Once the pieces are dry I run then through my drum sander to level out the surface. |
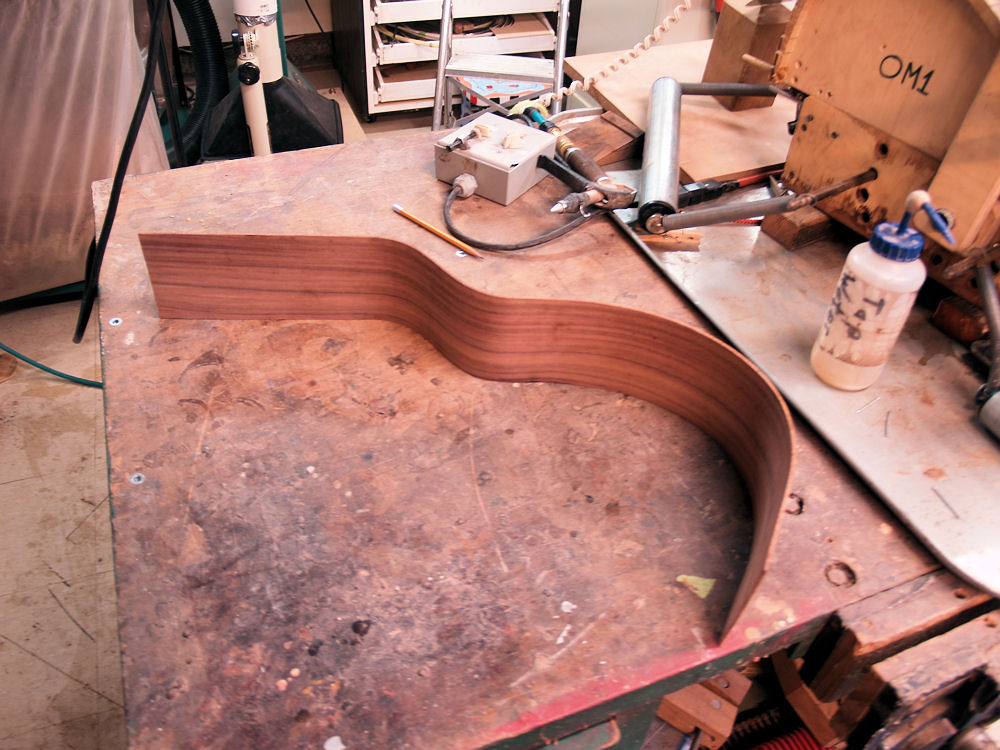
 |
(7) 8-Feb-2010
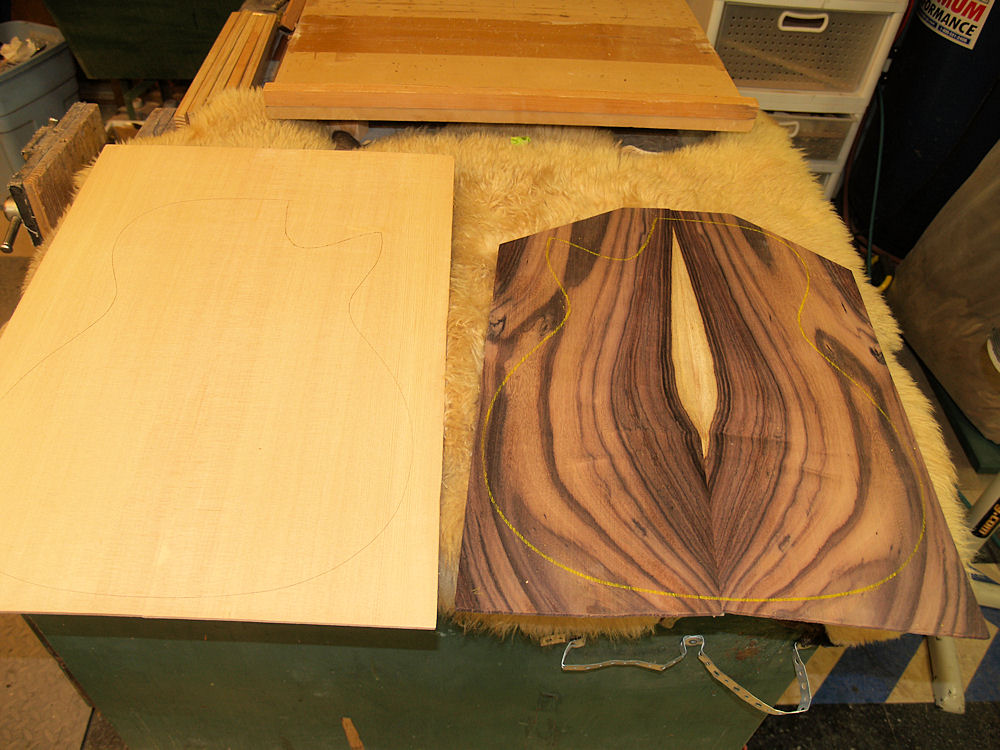
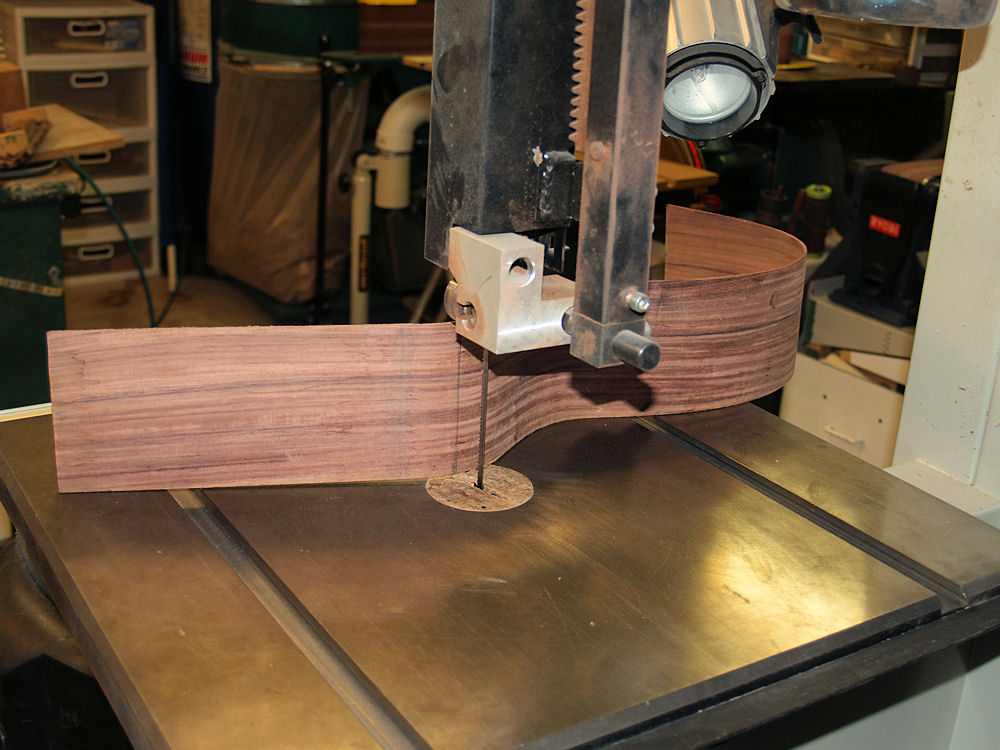
Here I have drawn the outlines of the top and back. |
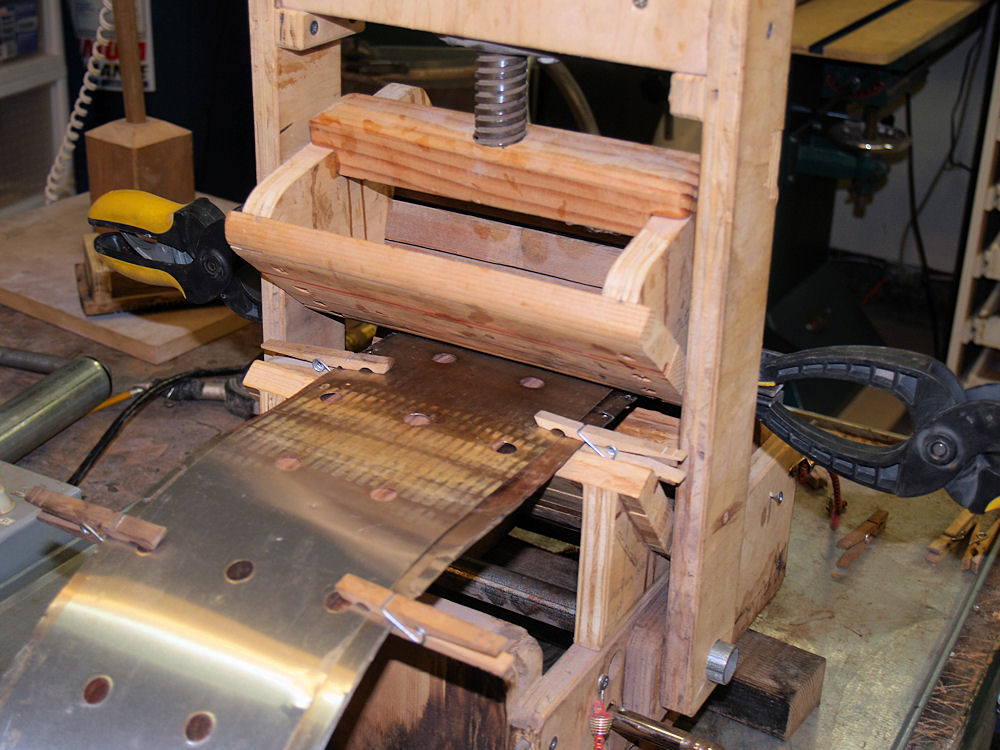
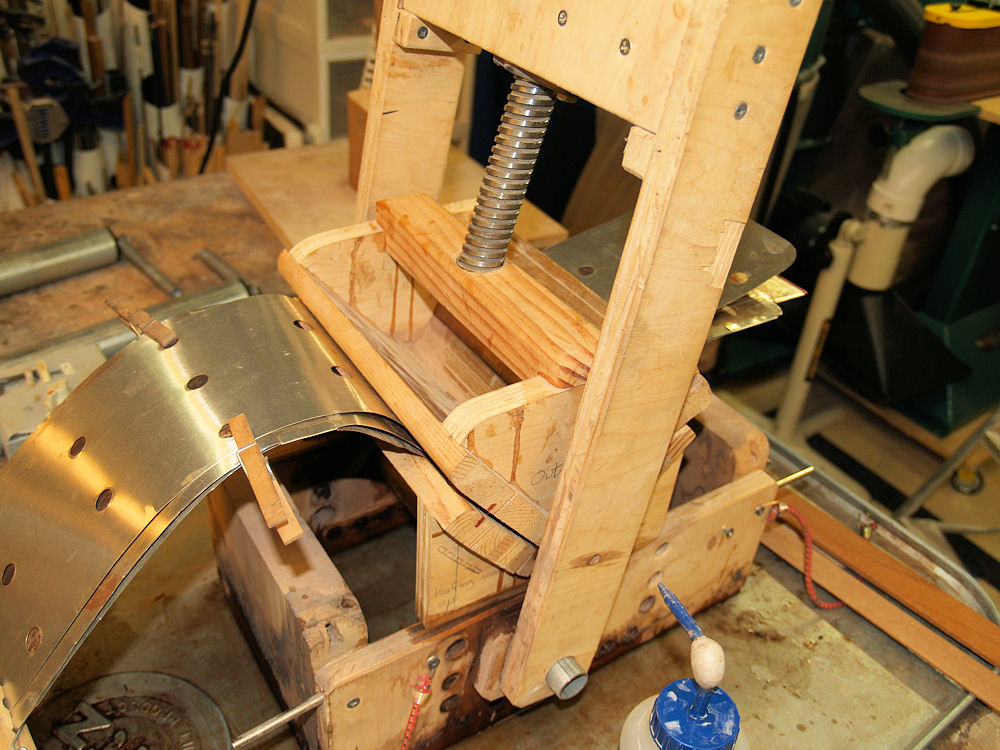
 |
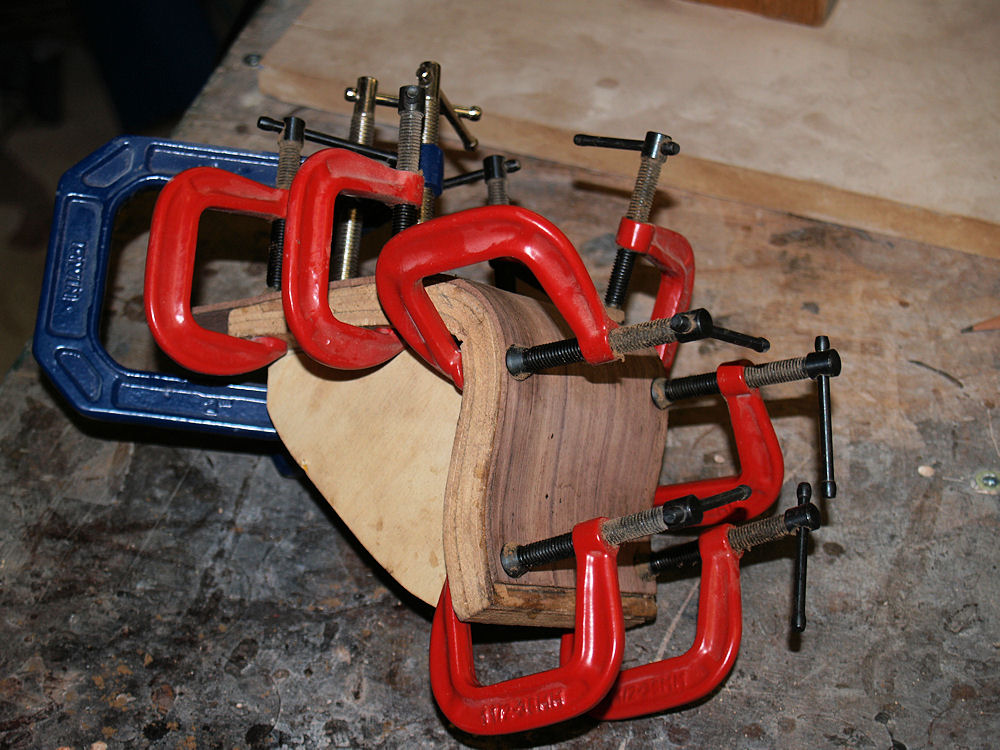
(8) 8-Feb-2010
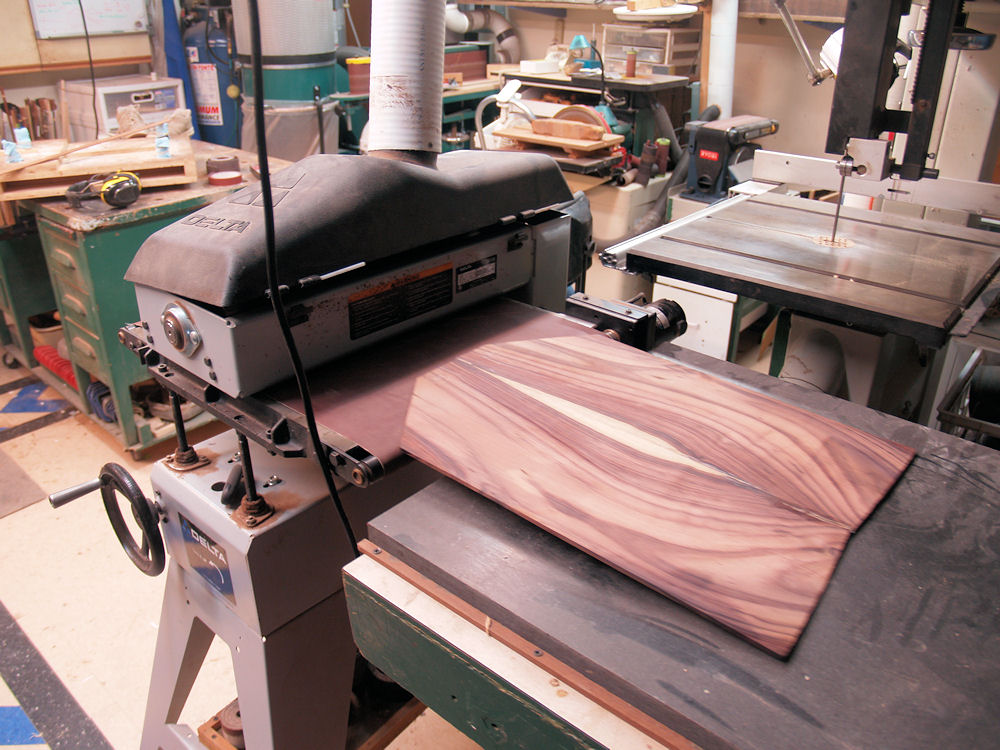
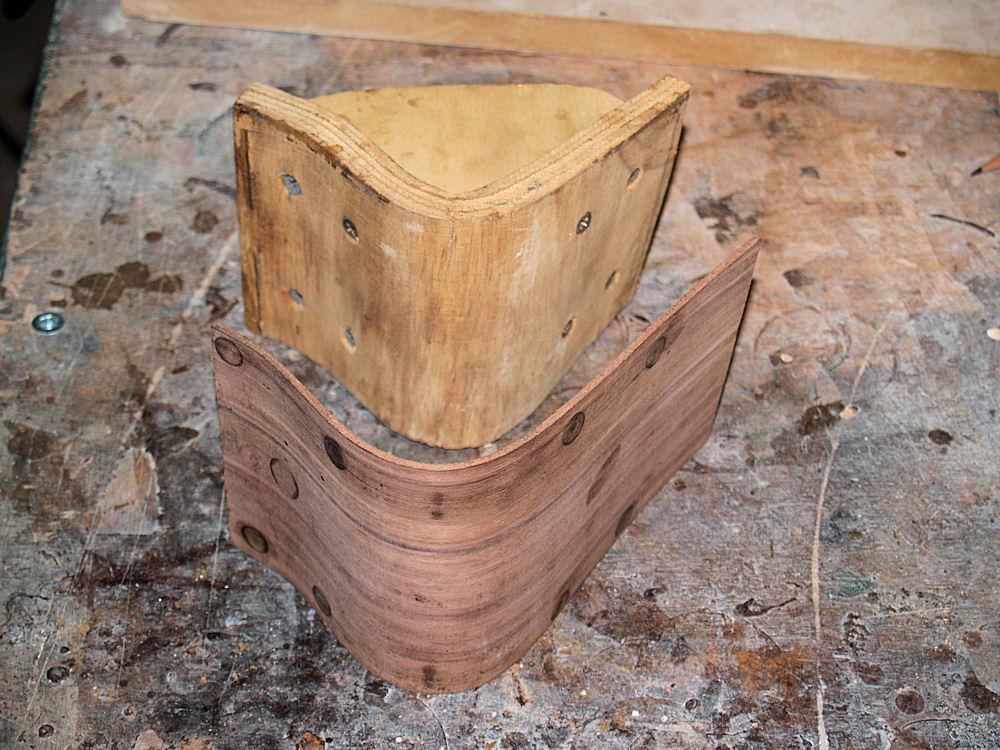
Once I am satisfied with the joint and outline I use the drum sander again to dimension the back to its working thickness. |
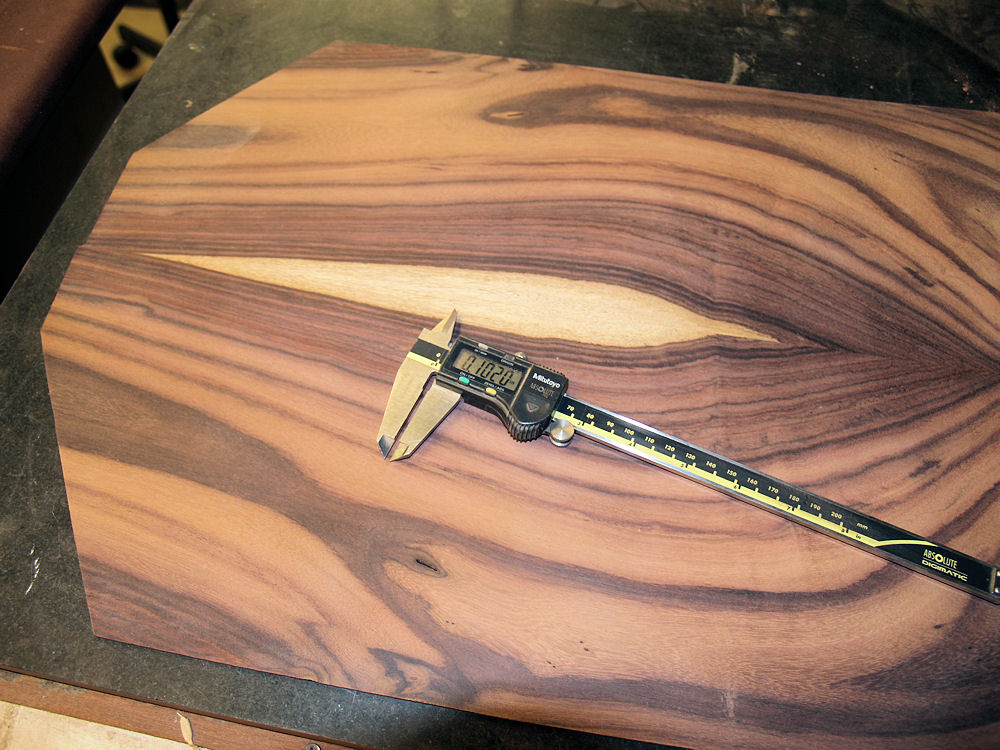 |
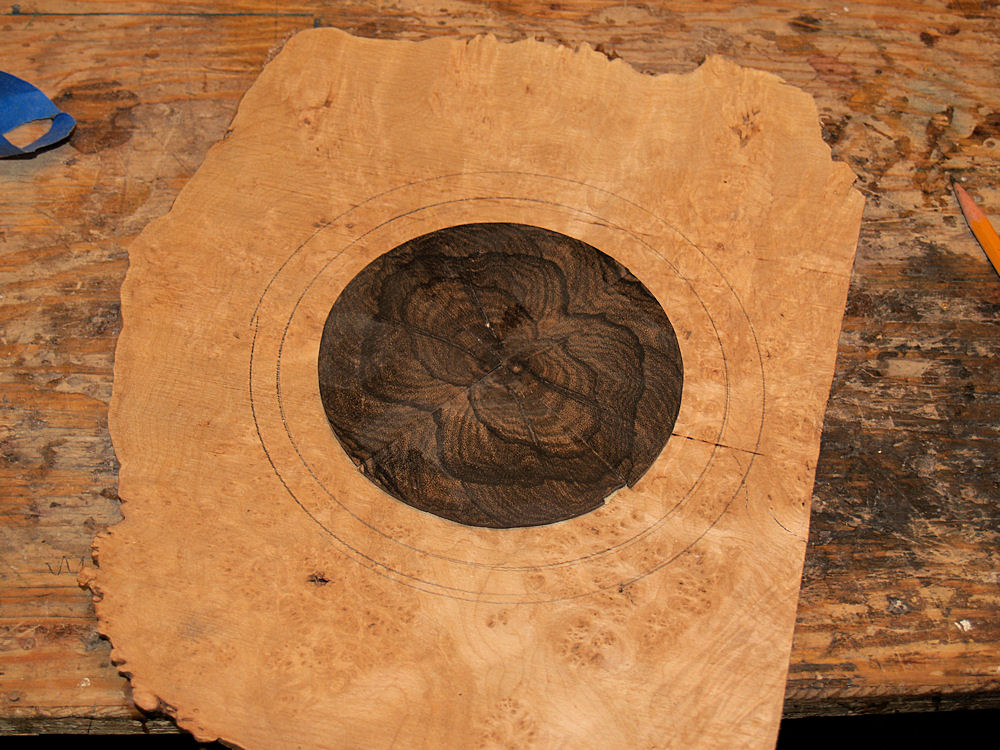
(9) 8-Feb-2010
A
bit more than 100 mil (1 mil = 1/1000th of an inch) This
thickness will be reduced by about 10% as the back gets worked
throughout the building process. |
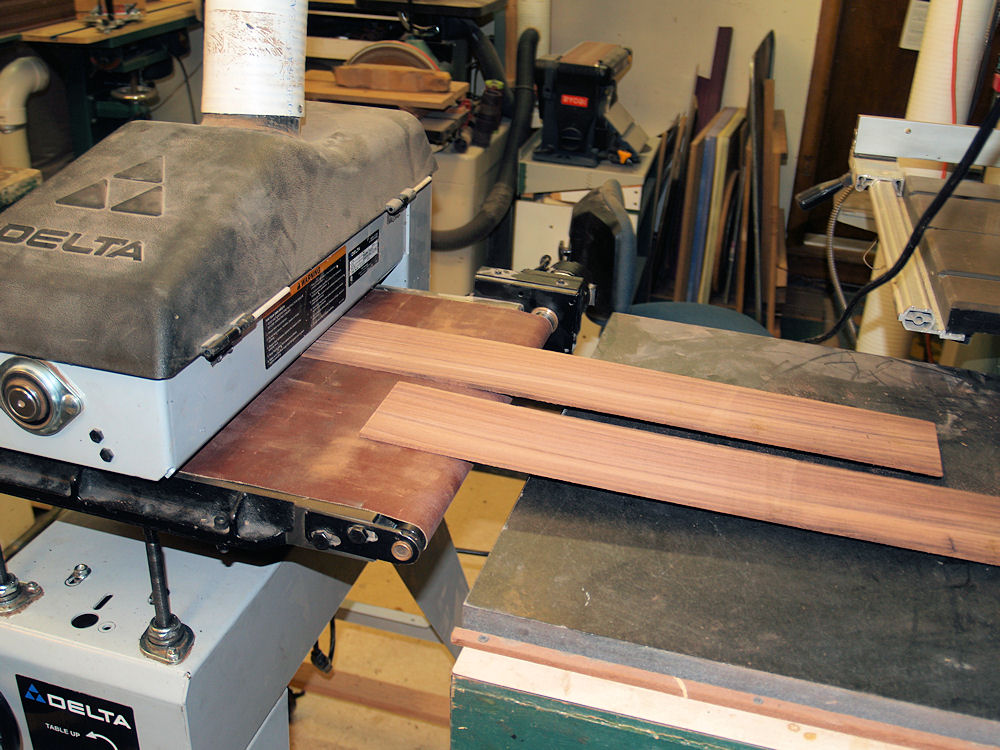 |
(10) 8-Feb-2010
Here I am dimensioning the side pieces in the drum sander. |
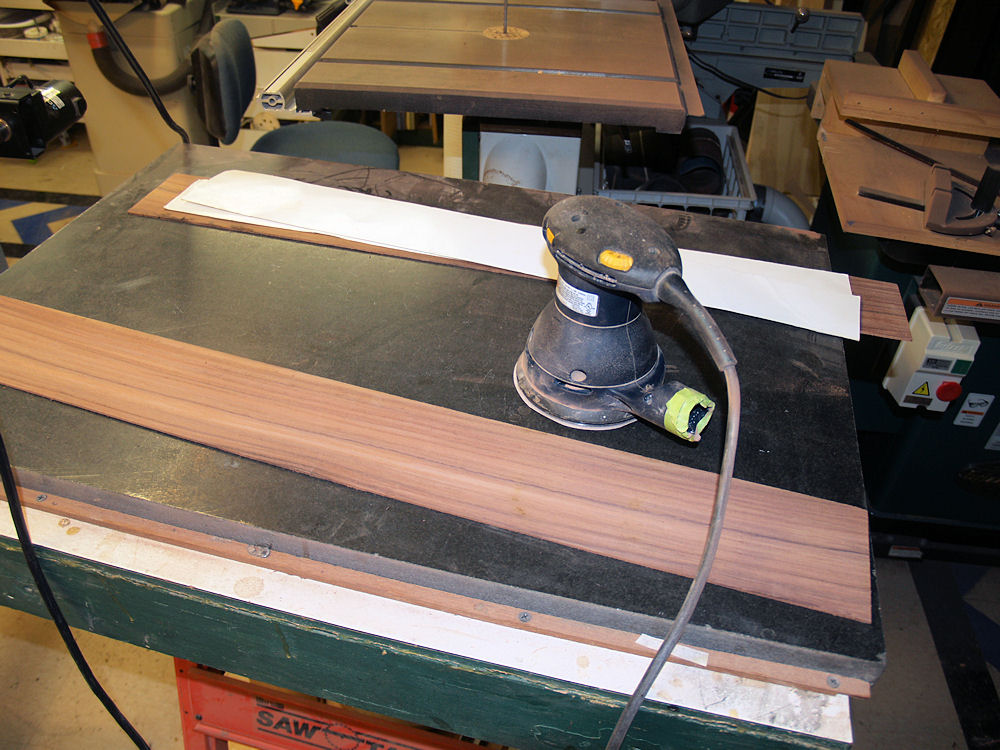 |
(11) 8-Feb-2010
I use an orbital sander to remove the drum sander marks. |
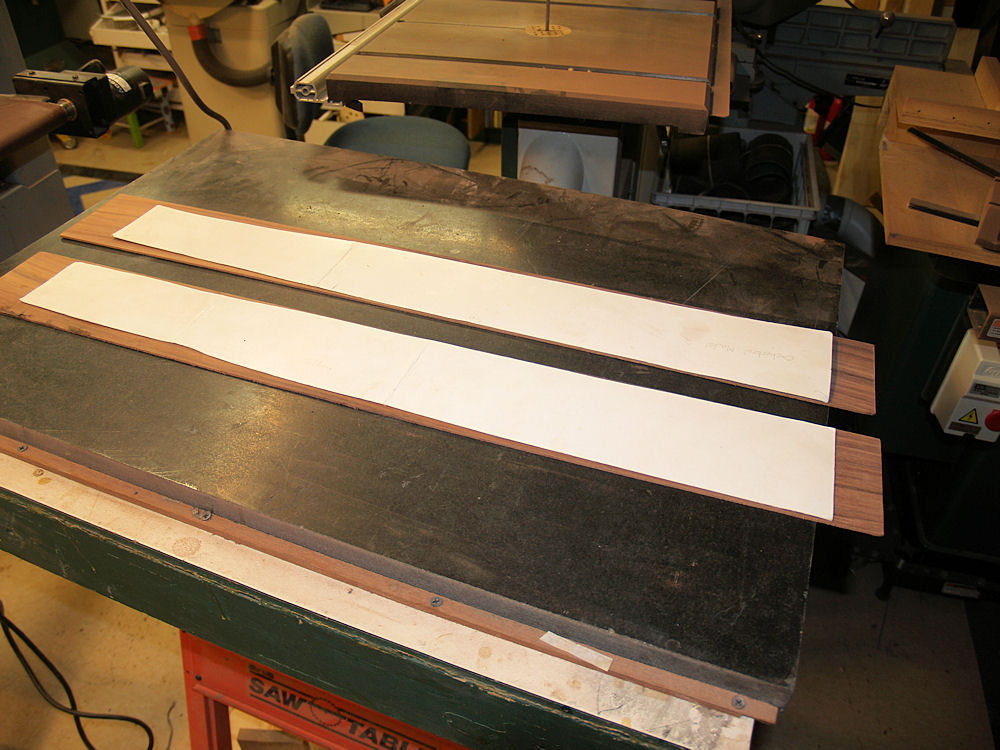 |
(12) 8-Feb-2010
I have a set of patterns to mark the setup for the sides. |
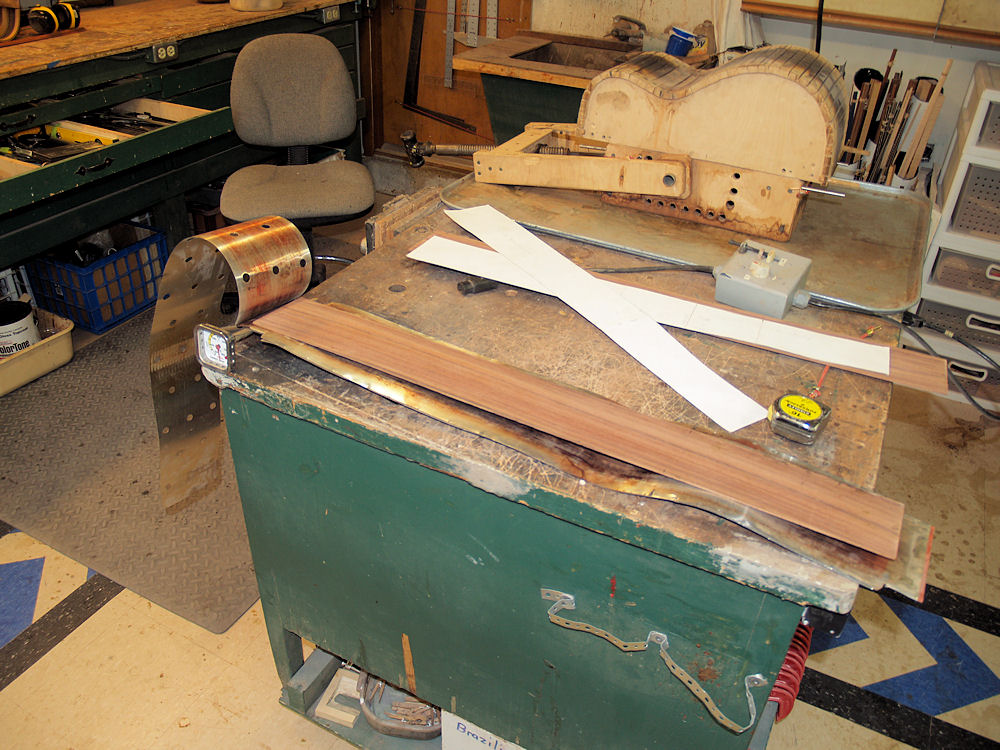 |
(13) 8-Feb-2010
I
will use a heating blanket to make the wood pliable. The back
piece is sandwiched between a set of aluminum flashing that helps
spread the heat evenly and has holes in it so I can wet the wood during
the bending process. |
 |
(14) 8-Feb-2010
I
use a form and press to bend the sides. After putting the heating
sandwich into the press I heat the wood up to the boiling point. |
 |
(15) 8-Feb-2010
After the wood has become pliable I press the waist into place. |
 |
(16) 8-Feb-2010
And then using the compression roller I form the upper bout. |
 |
(17) 8-Feb-2010
And then the lower bout. |
 |
(18) 8-Feb-2010
After the wood has thoroughly dried out and the wood has taken its set the left side piece comes out of the press. |
 |
(19) 8-Feb-2010
Since
this is a cutaway the right side piece requires a somewhat different
process. The waist and the lower bout are the same as the left side
piece, but the right side piece has to accommodate the cutaway. |
 |
(20) 8-Feb-2010
The waist is formed. |
 |
(21) 8-Feb-2010
I stop the upper bout shape at the point where the break will go. |
 |
(22) 8-Feb-2010
I then form the lower bout. |
 |
(23) 8-Feb-2010
After the piece has taken its set it comes out of the form. |
 |
(24) 8-Feb-2010
Here's
a scary step. After carefully measuring the break line for the
cutaway point I use my bandsaw ( I love my bandsaw) to cut the piece in
two. |
 |
(25) 8-Feb-2010
I have a special form to shape the cutaway section. |
 |
(26) 8-Feb-2010
I heat it up and press it into place. |
 |
(27) 8-Feb-2010
I
use a compound shape for my cutaway so the previously formed piece for
the cutaway goes into a second form to create the compound curve.
The compound curve brings the heal of the cutaway side to be
flush with the heal of the neck. This means that when you play up
the neck past the 14th fret you don't run into a shelf at the
body neck interface. You get a relatively smooth transition
between the neck and body. |
 |
(28) 8-Feb-2010
When it comes out of the form the cutaway piece has a very funny shape. |
 |
(29) 8-Feb-2010
During
the whole side forming process I have been considering how I will
design the rosette, contra-rosette, headstock and appointments.
Here I have selected a quadmatched set of Zircote for the
contra-rosette and a piece of burled Maple for the rosette. |