 |
(30) 15-Feb-2010
In
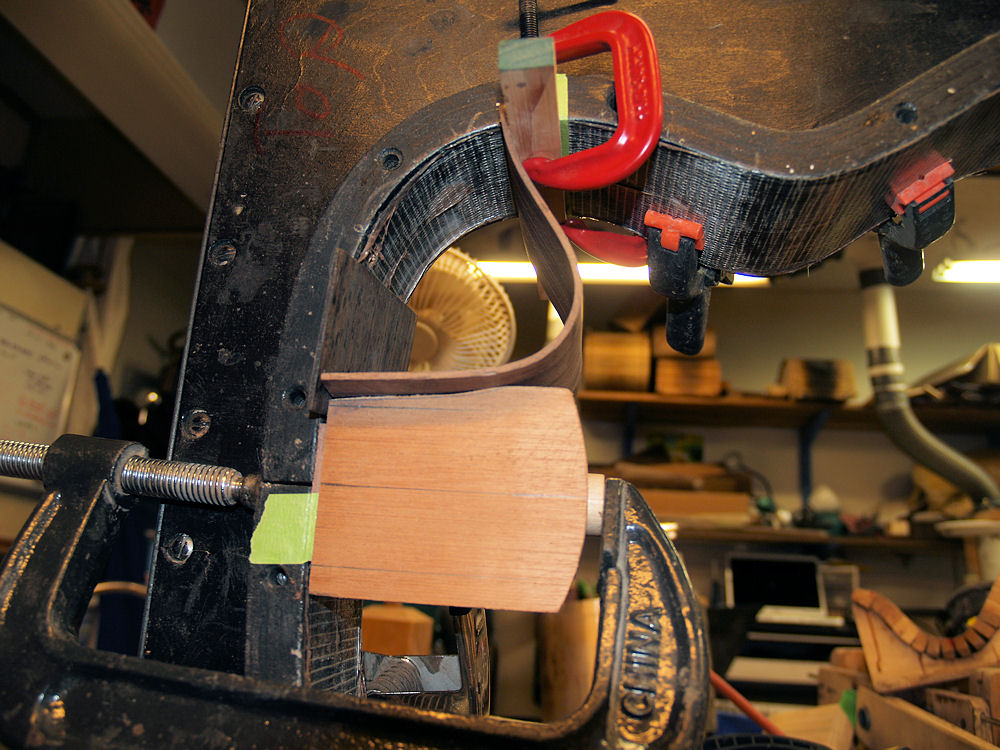
this picture I am shaping the heal block to accommodate the cutaway
section of the sides. This is a wickedly complex set of curves
since the cutaway conforms to the shape of the heal. |
 |
(31) 15-Feb-2010
I
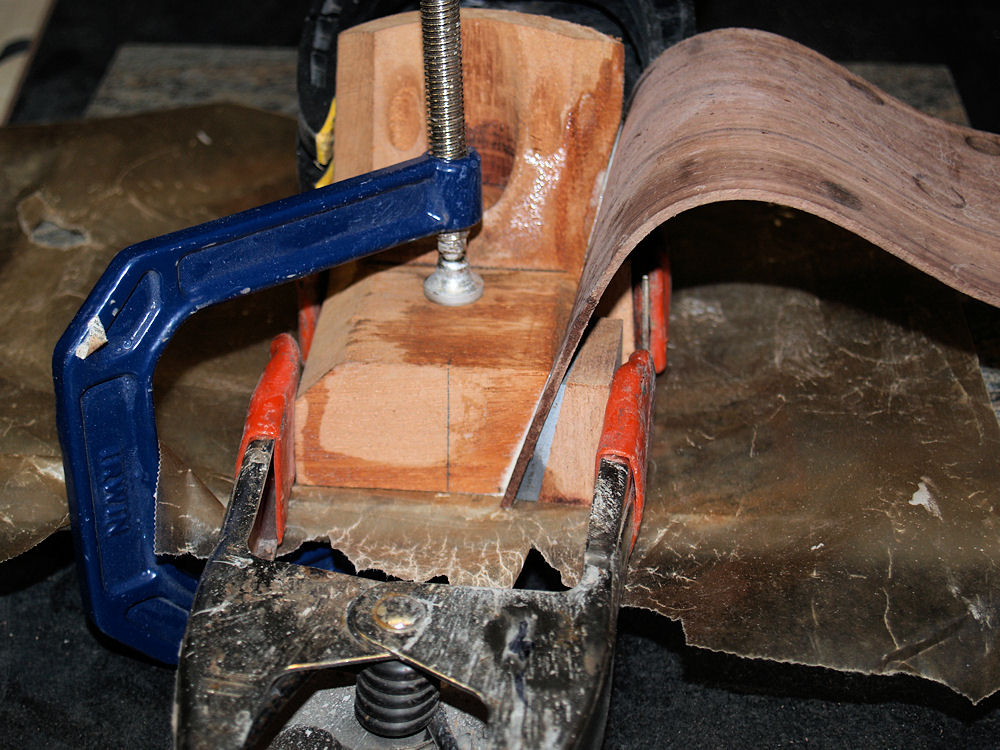
carefully approach the final shape of the healblock checking the fit
and then removing a little bit more until I am satisfied that the
various surfaces match. |
 |
(32) 15-Feb-2010
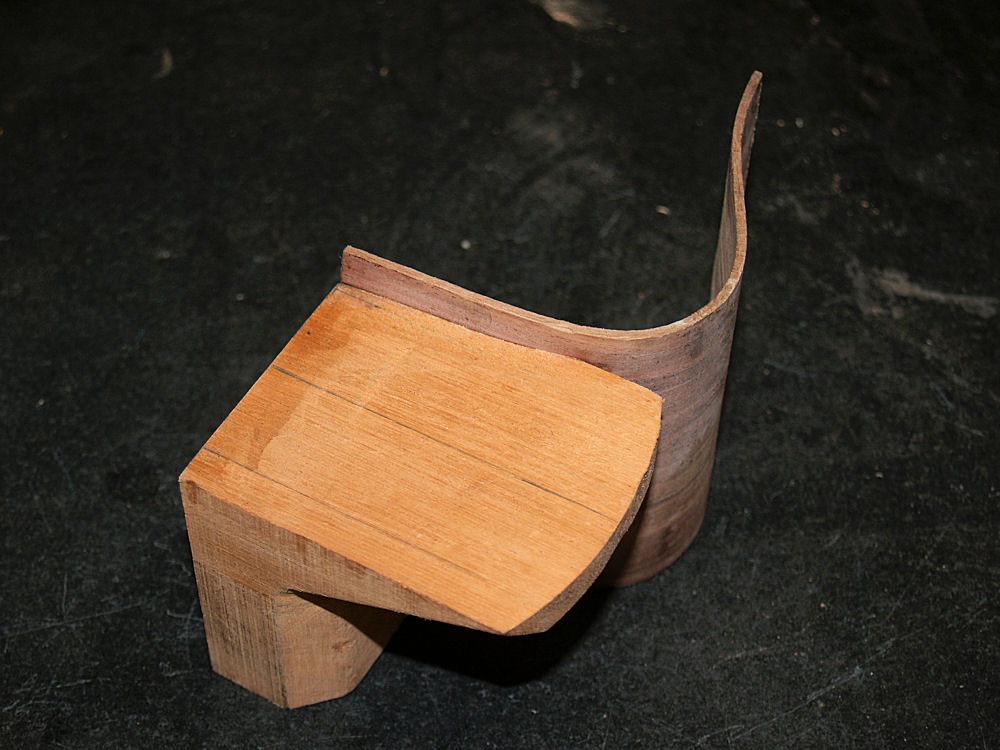
Once I am satisfied with the fit I glue the cutaway section to the
healblock |
 |
(33) 15-Feb-2010
The healblock cutaway assembly. |
 |
(34) 15-Feb-2010
Now
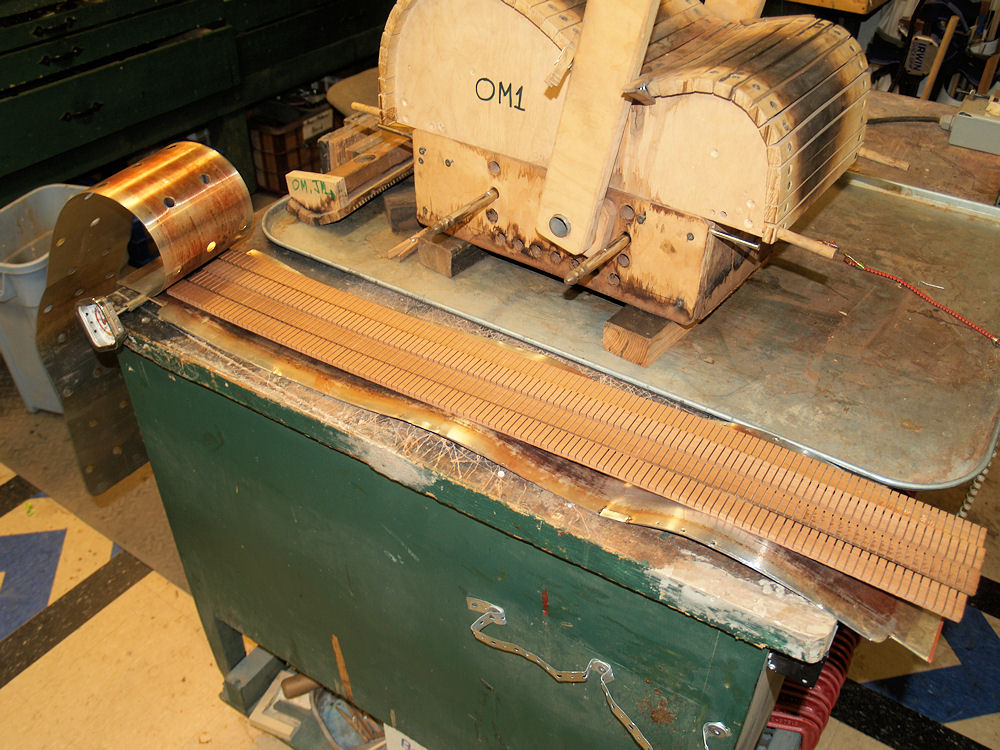
I am preparing the kerfing that I will use to line the sides. In
this picture I am cutting a bevel into the kerfing. I do this
purely for aesthetic reasons. |
 |
(35) 15-Feb-2010
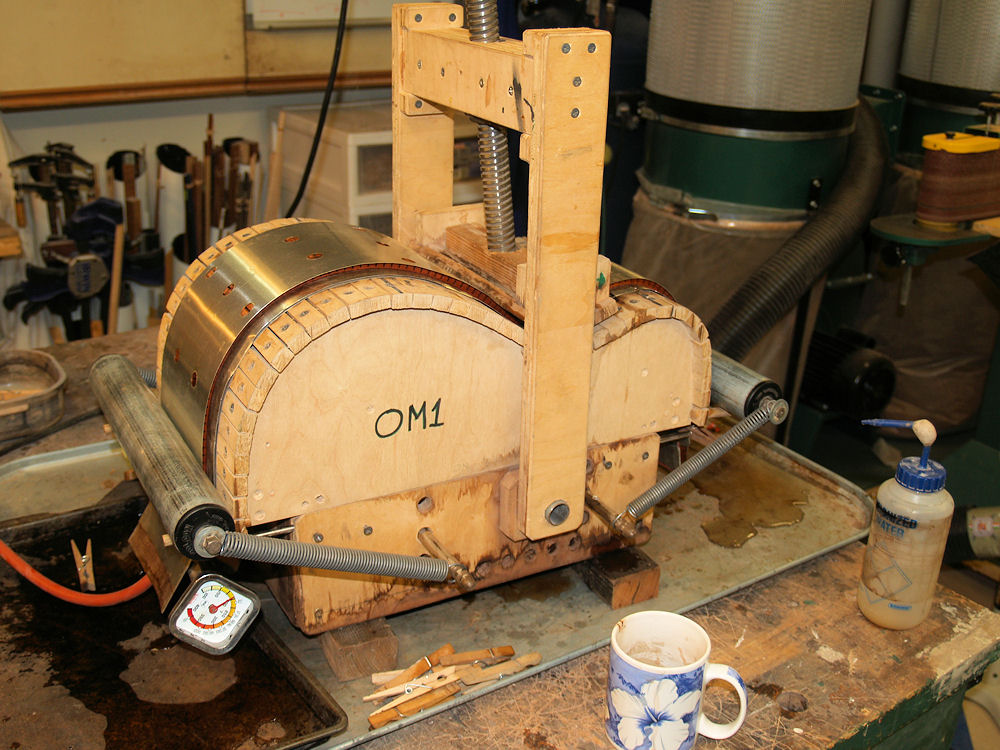
The kerfing pieces go into the heating blanket.
|
 |
(36) 15-Feb-2010
I use the universal bendalator to shape the kerfing pieces. |
 |
(37) 15-Feb-2010
In this picture I am laying out the side pieces in the forms to mark
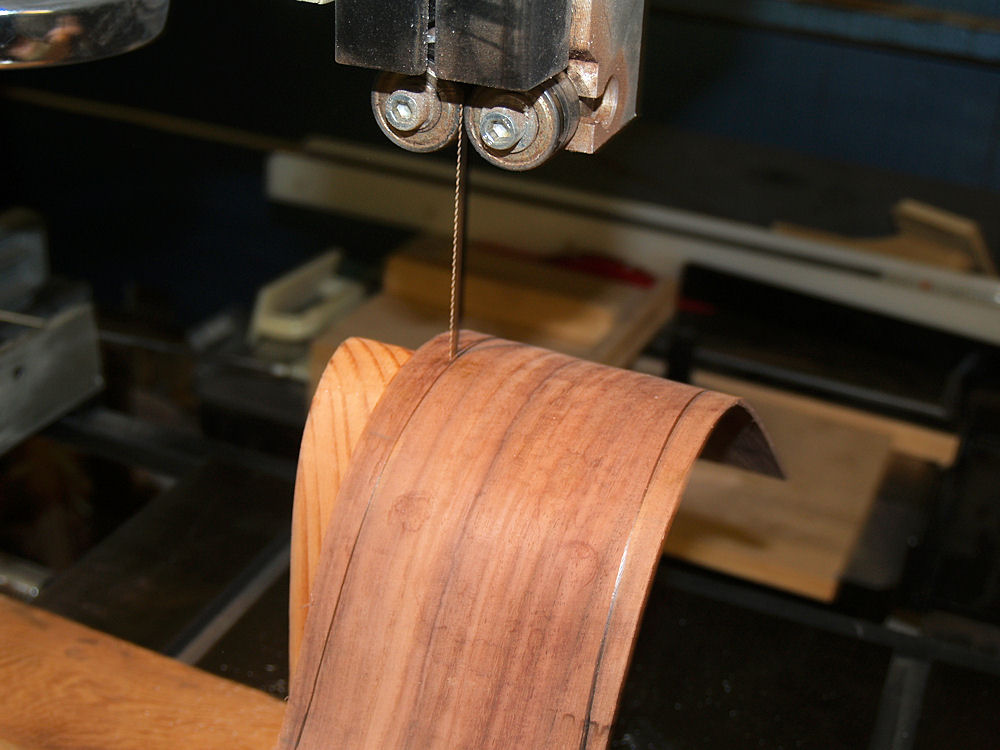
the portion of the sides to be trimmed off. |
 |
(38) 15-Feb-2010
I use my bandsaw with a raised contoured platen to trim the sides. |
 |
(39) 15-Feb-2010
And I trim the excess off of the cutaway assembly. |
 |
(40) 15-Feb-2010
In
this picture I am creating a bezel at the break point of the cutaway
side. My objective is to create a joint with no visible joint
line. |
 |
(41) 15-Feb-2010
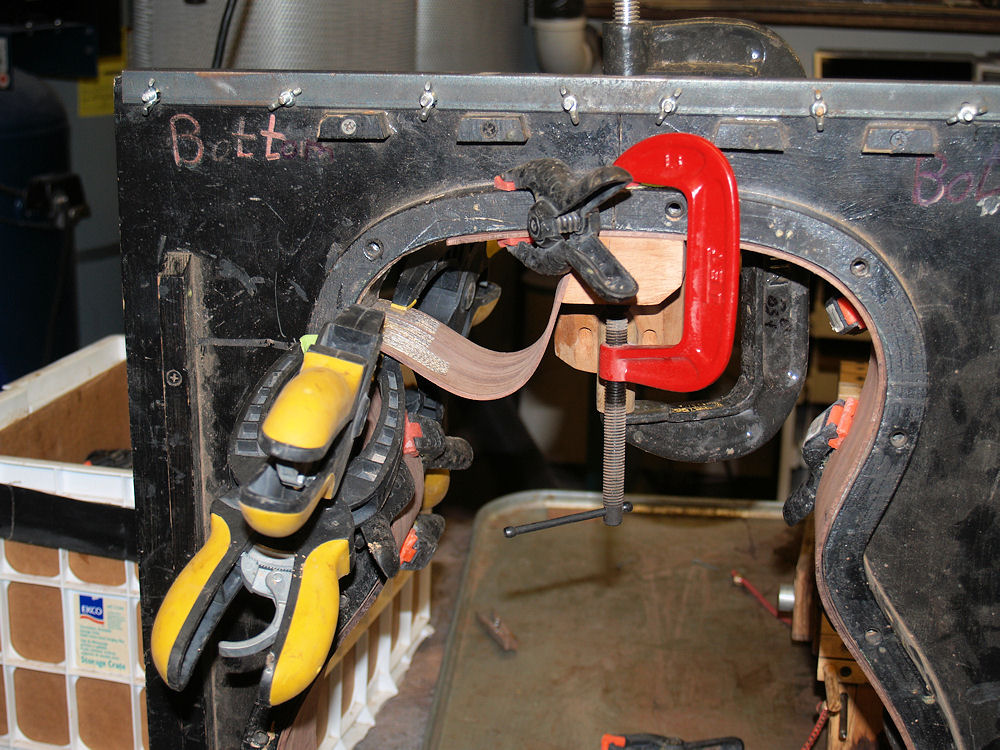
I carefully tape the two pieces of the cutaway side together matching
up the figure lines in the wood. |
 |
(42) 15-Feb-2010
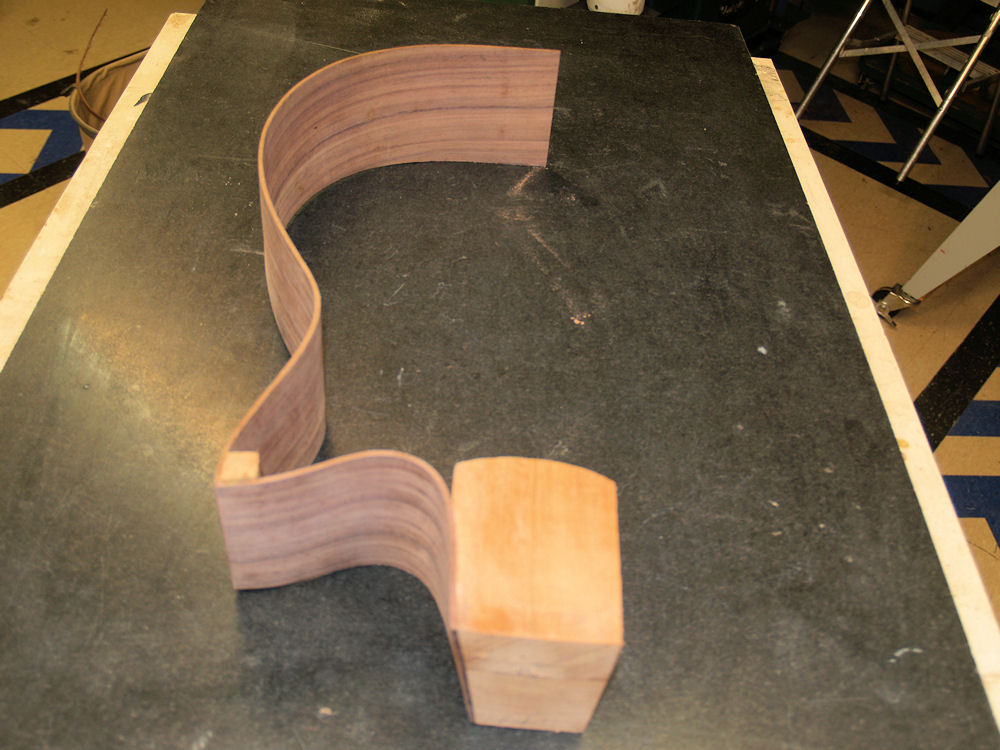
I put the assembly into the form and with a reinforcing block I glue
everything together. |
 |
(43) 15-Feb-2010
The
cutaway side of the guitar. If everything worked properly, (it
did) the centerline of the healblock points to the edge at the tail. |
 |
(44) 15-Feb-2010
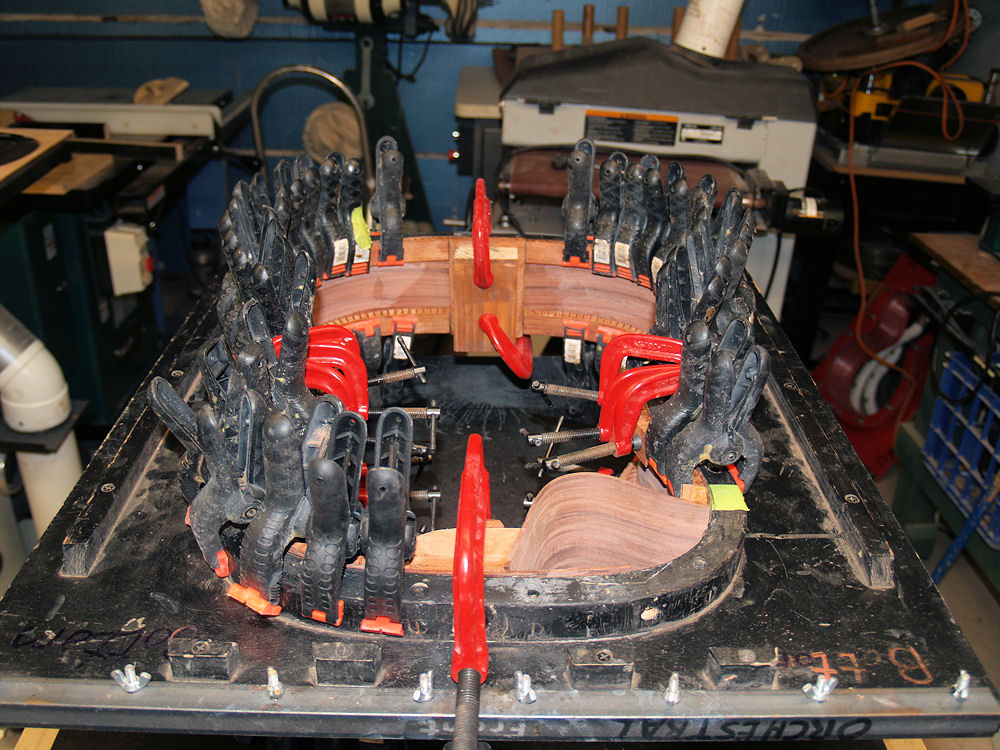
When
the sides are initially bent they are close to the final shape, but
there are always some minor variations from the ideal. Here
is
where the guy with the most clamps wins. With the sides in the
form I glue down the kerfing. The vast number (~50 per side) of
clamps forces the side to take the shape of the form while insuring a
good joint between the sides and the kerfing. |
 |
(45) 15-Feb-2010
I
use a reversed kerfing scheme that creates a gunnel. This means
that there is a solid strip of mahogany separated from the sides by the
kerfing blocks. This produces a very strong and rigid side that
conforms very closely to the shape of the form.. |
 |
(46) 15-Feb-2010
With the kerfing being glued down I join the two sides together with
the tailblock and the healblock. |
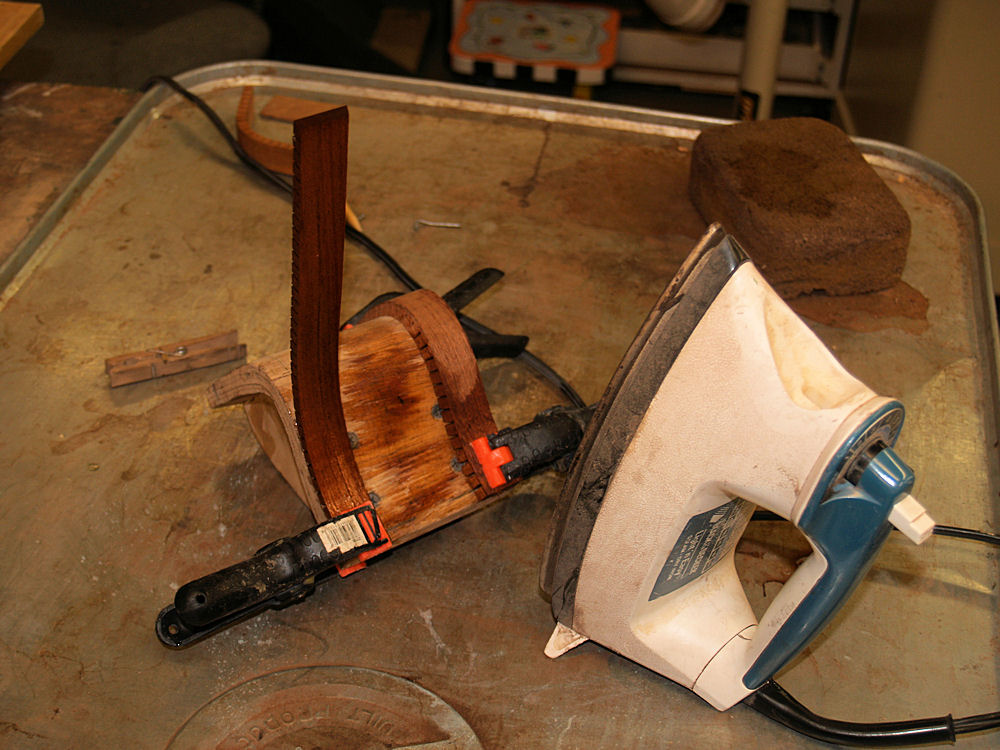 |
(47) 15-Feb-2010
The kerfing for the cutaway section needs to be shaped with the form
and a hot iron. |
 |
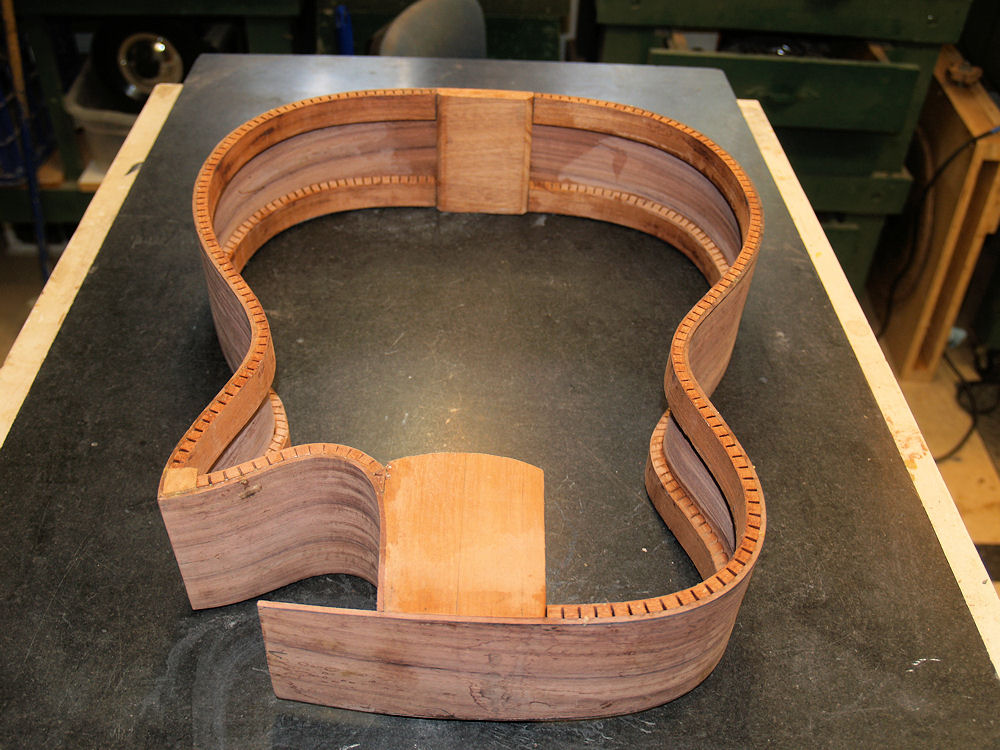
(48) 15-Feb-2010
And then the cutaway kerfing gets glued in place. |
 |
(49) 15-Feb-2010
And
when the glue is dry it comes out of the form. The extra bit of
side that extends beyond the heal block will be trimmed off after the
heal channel is routed out. |
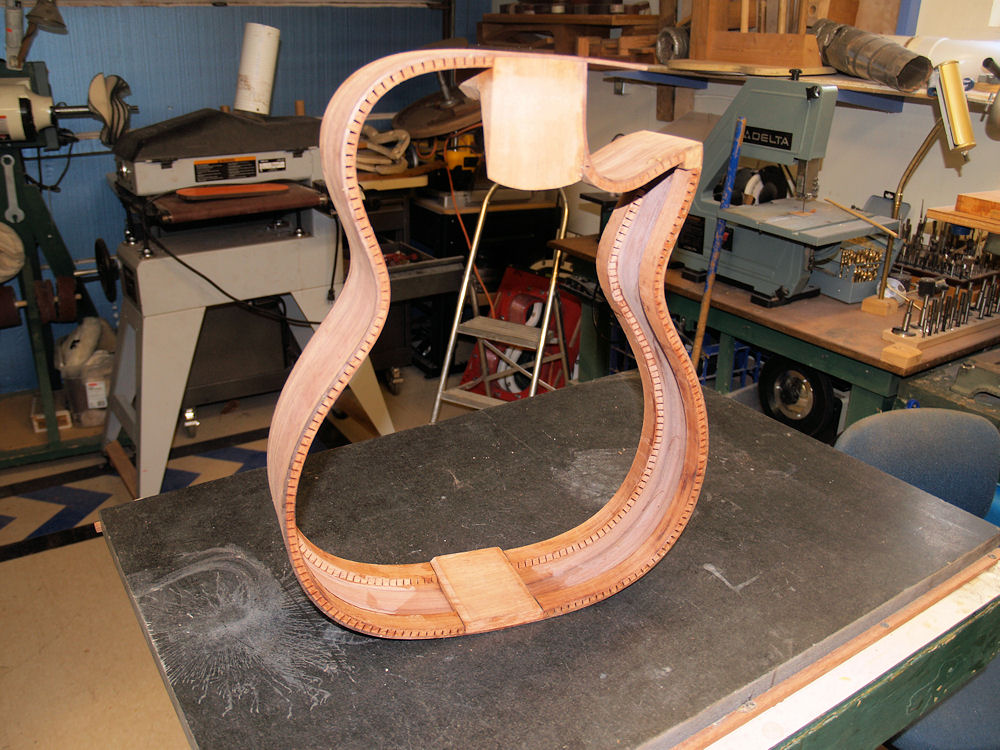 |
(50) 15-Feb-2010
It is starting to look like a guitar. |