 |
(174)
29 Aug,
2009
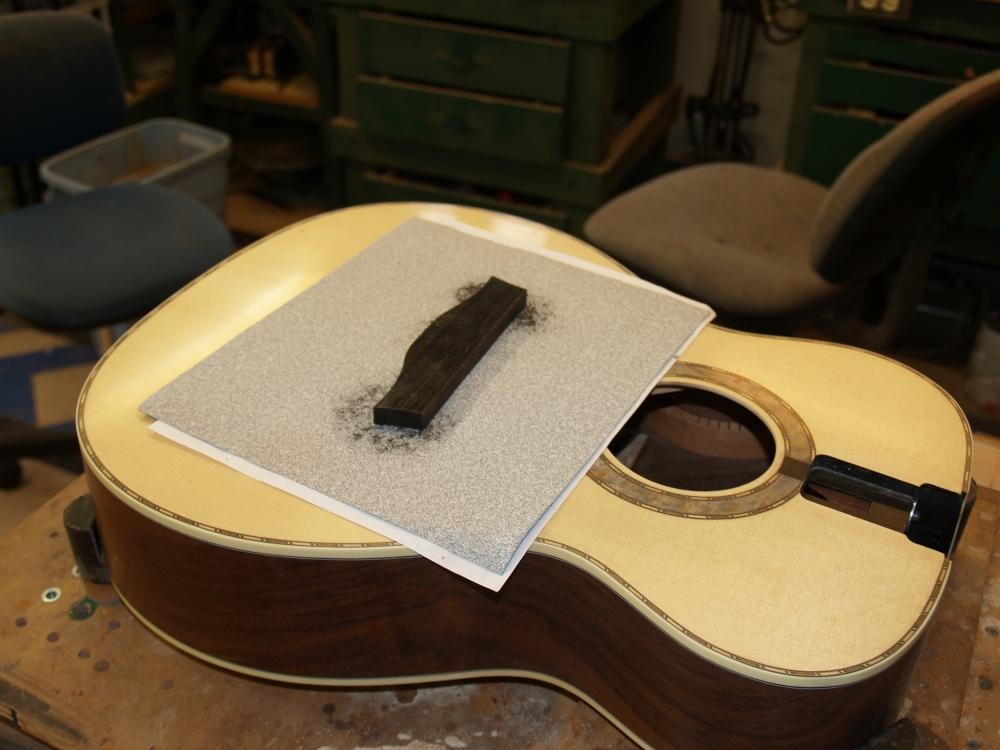
The lacquer has been applied and has had a bit of time to cure.
Now I turn my attention to making the bridge. In this image
I am using a piece of sandpaper to shape the bottom of the bridge blank
to fit the top of the guitar. |
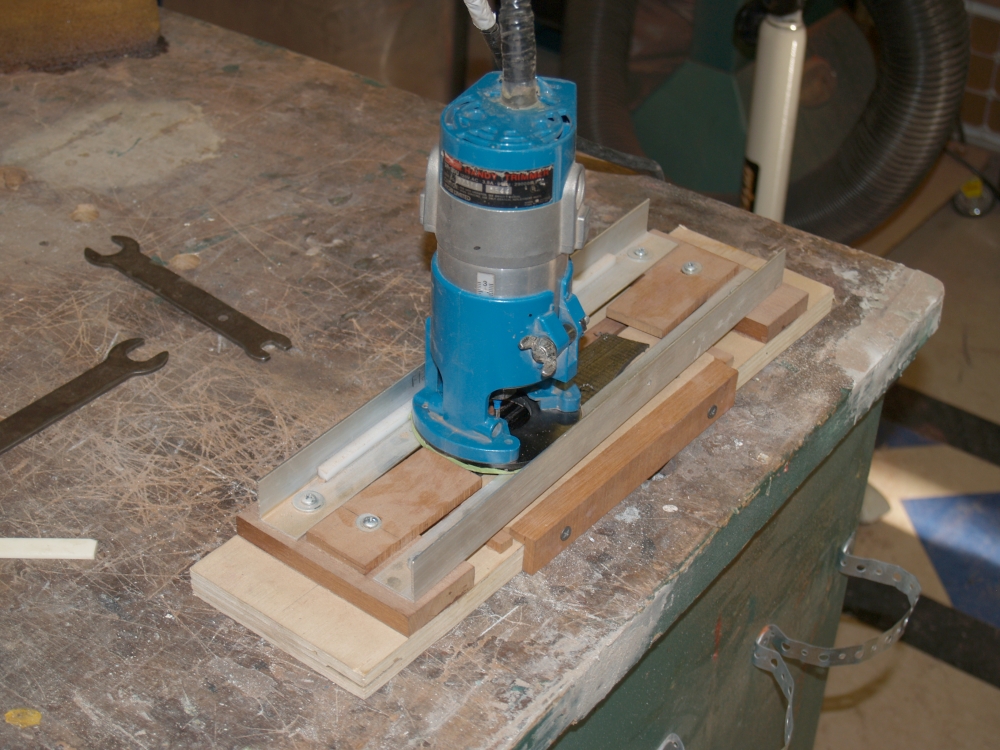 |
(175)
29 Aug,
2009
I use a special jig and my router to route out the channel for the
saddle. |
 |
(176)
29 Aug,
2009
I spend a bit of time at the sanding station and I end up with a well
formed bridge. |
 |
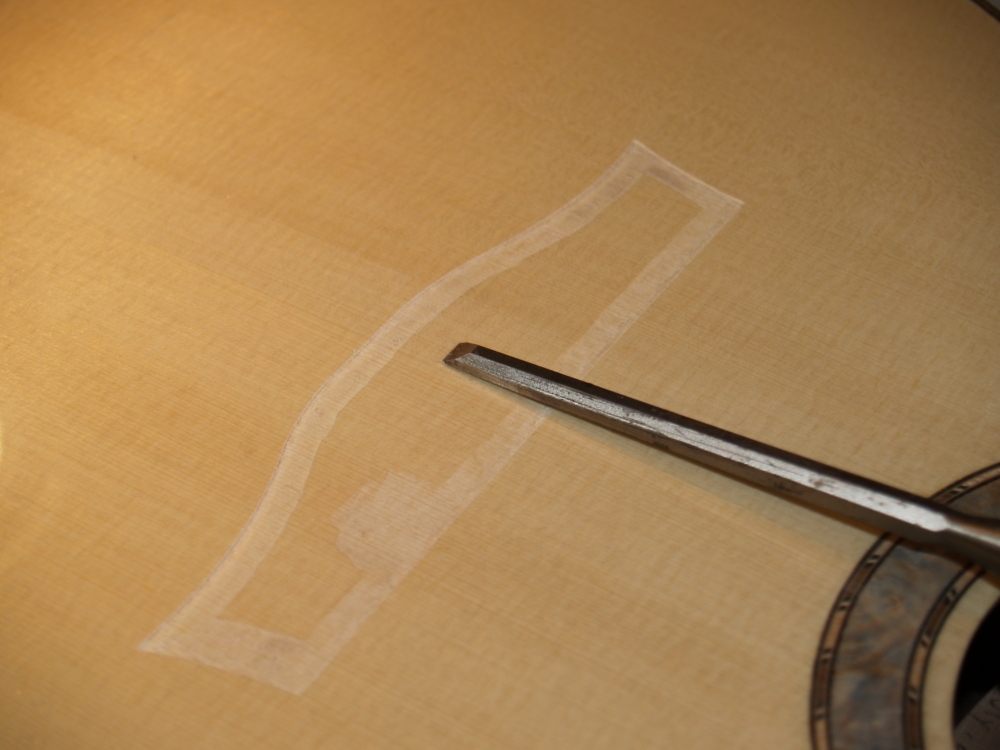
(177) 29 Aug,
2009
In this image I have carefully placed the bridge on the top of the
guitar and I use a new exacto blade to score the top of the guitar with
the outline of the bridge. |
 |
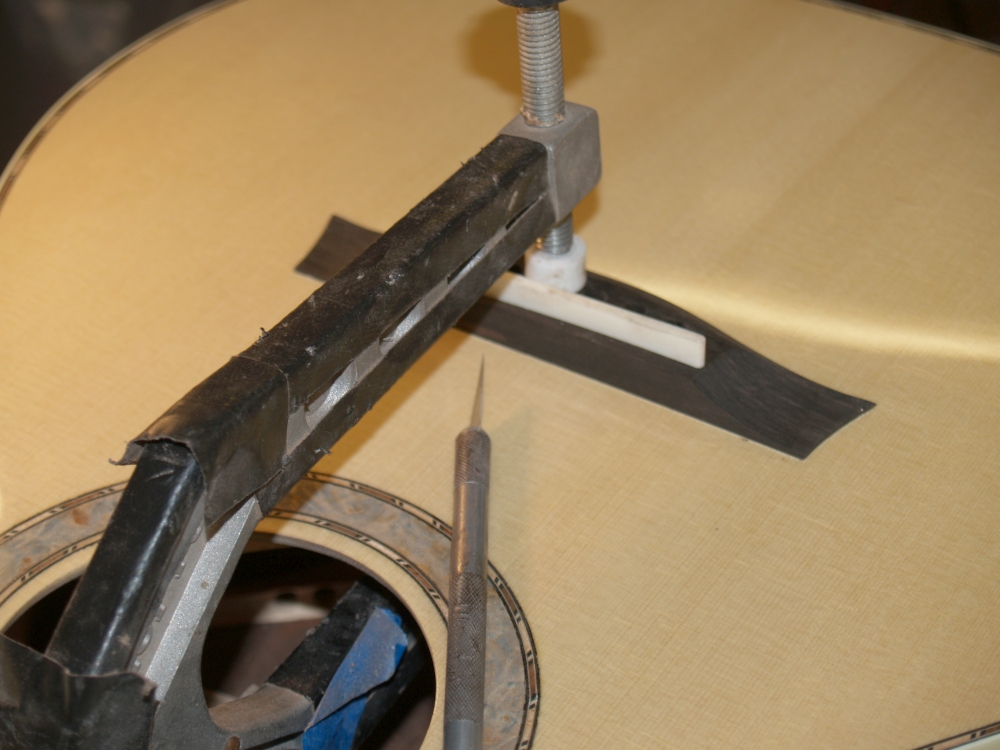
(178)
29 Aug,
2009
I use a very sharp chisel and a small router to remove the finish in
the spot where the bridge will go. The finish has to be removed
so the bridge will adhere to to top. There are lots of
opportunity in this stage to mess things up. I go very slowly and
work very carefully to remove just the finish and none of the wood. |
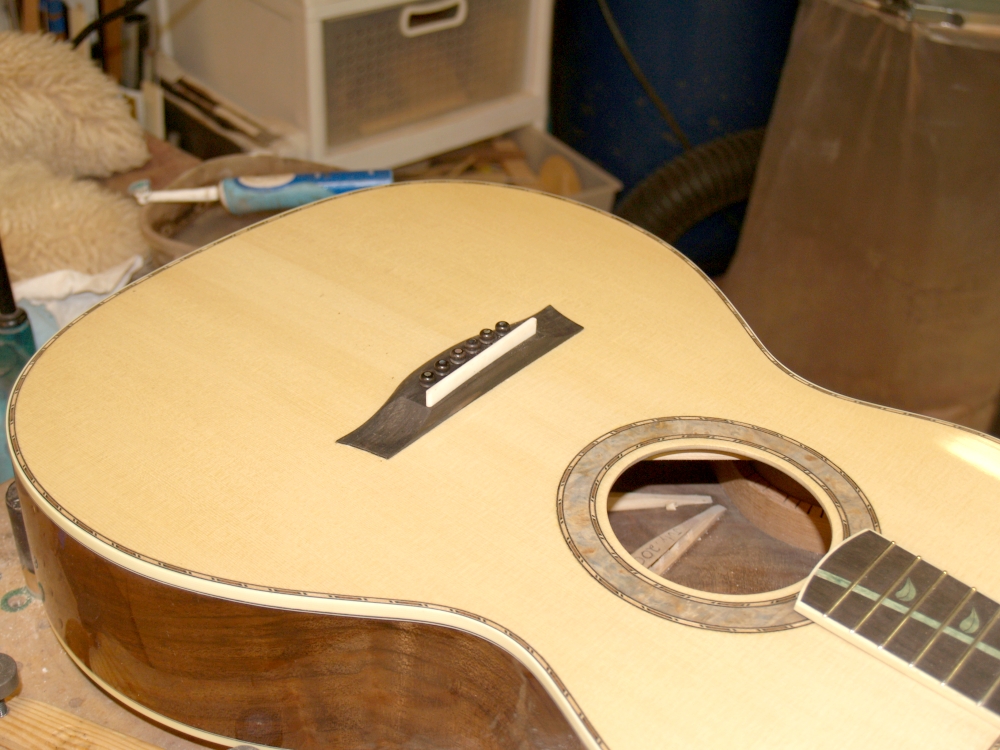 |
(179)
29 Aug,
2009
Just about the last thing to do is to glue the bridge on to the top and
then make the nut, saddle and bridge. |
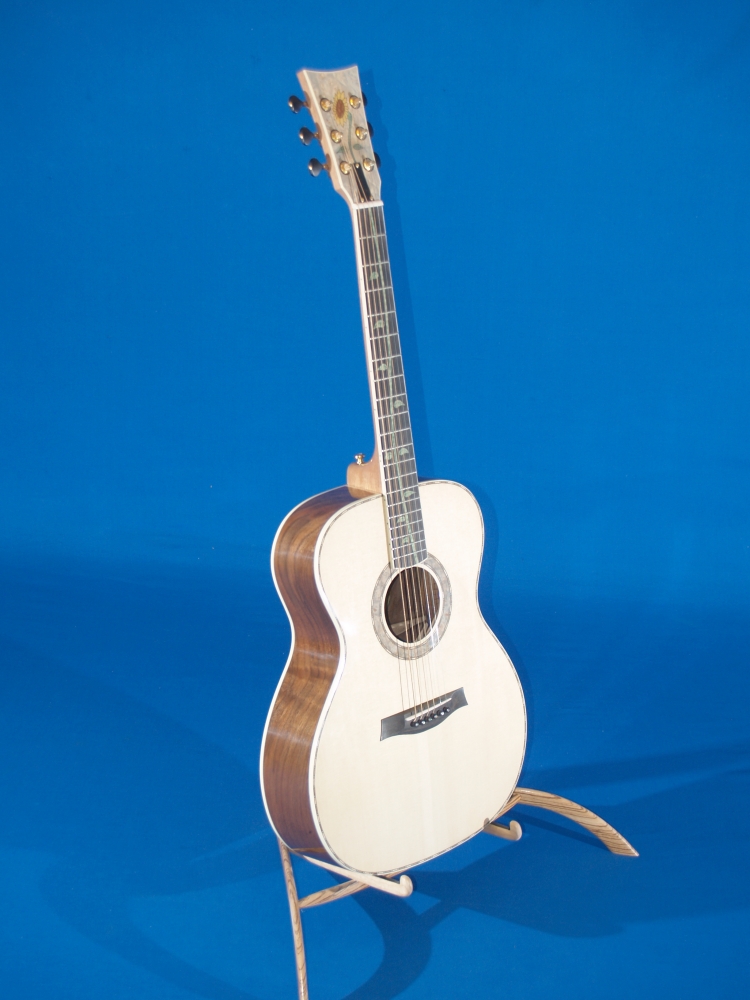 |
(180) 29 Aug,
2009
And the guitar is finished. |
 |
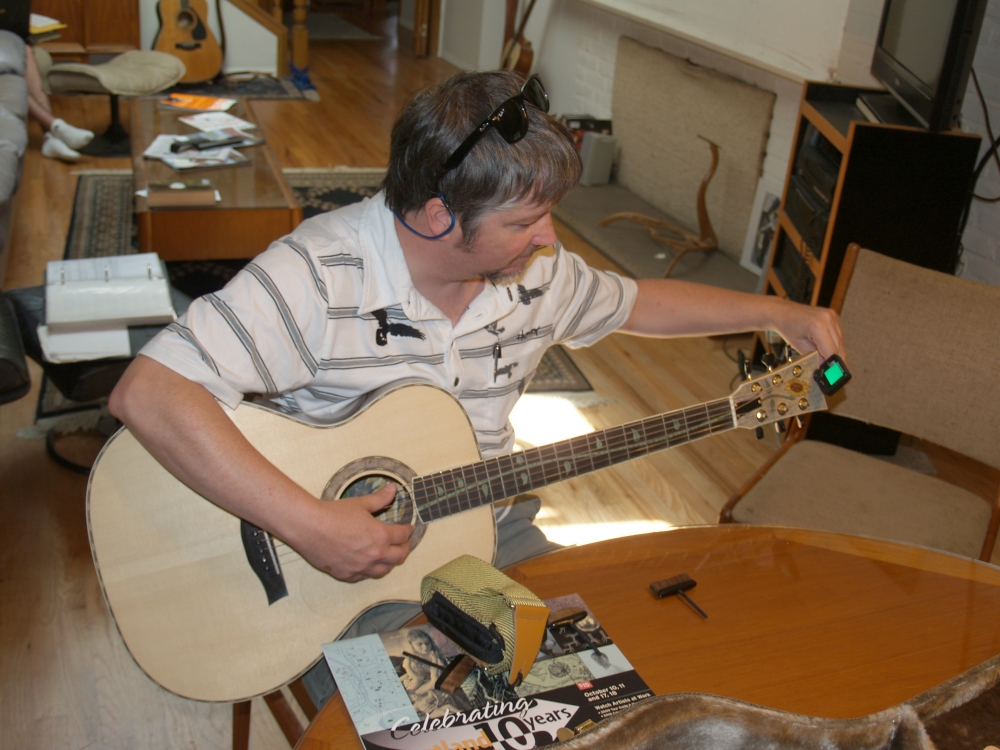
(181)
29 Aug,
2009
Steve gets his first look at the finished guitar. |
 |
(182) 29 Aug,
2009
Tuning up. |
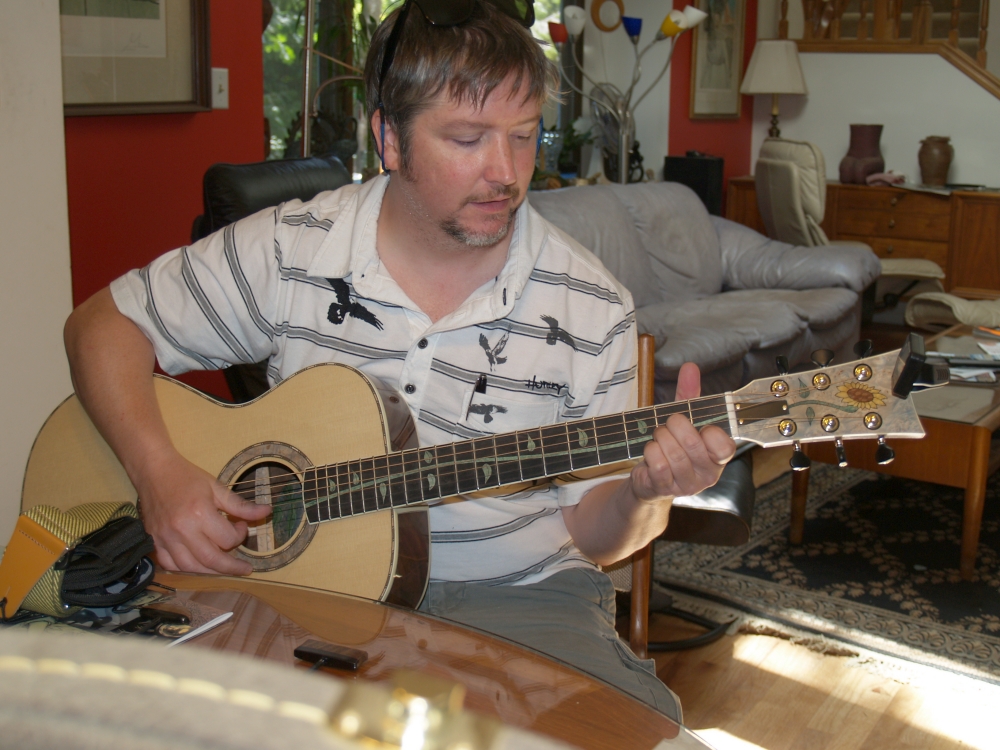 |
(183)
29 Aug,
2009
Jamming!
|