 |
(50) June 9, 2009
I use these templates to draw the shapes of the braces on the
quarters awn spruce.
|
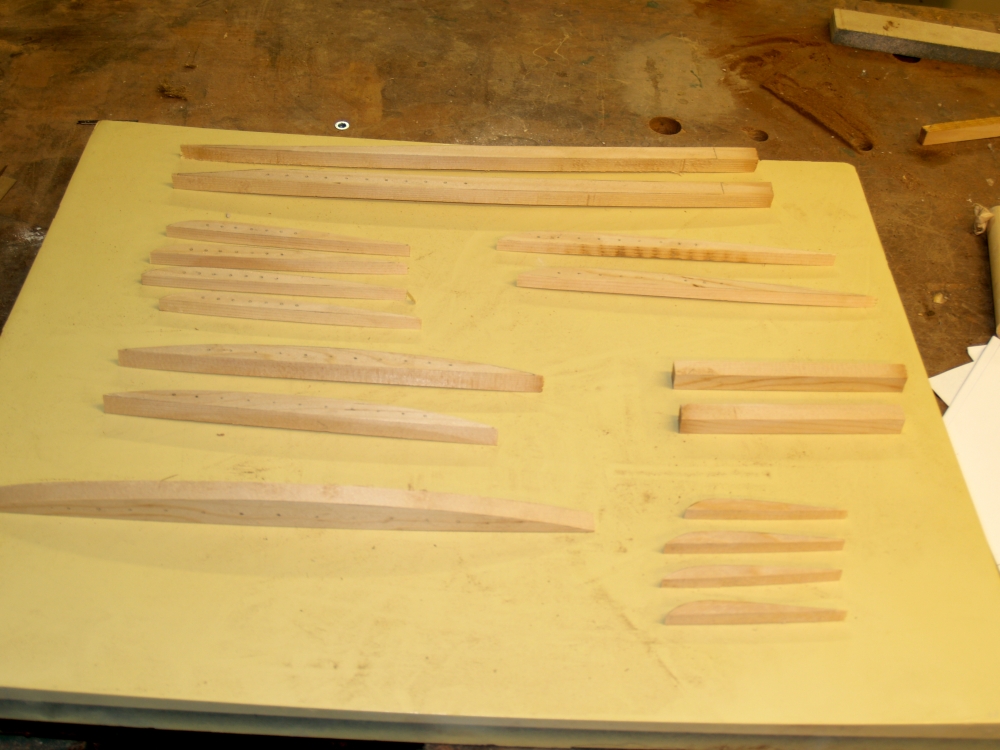 |
(51) June 9, 2009
The brace blanks are laid out for inspection.
|
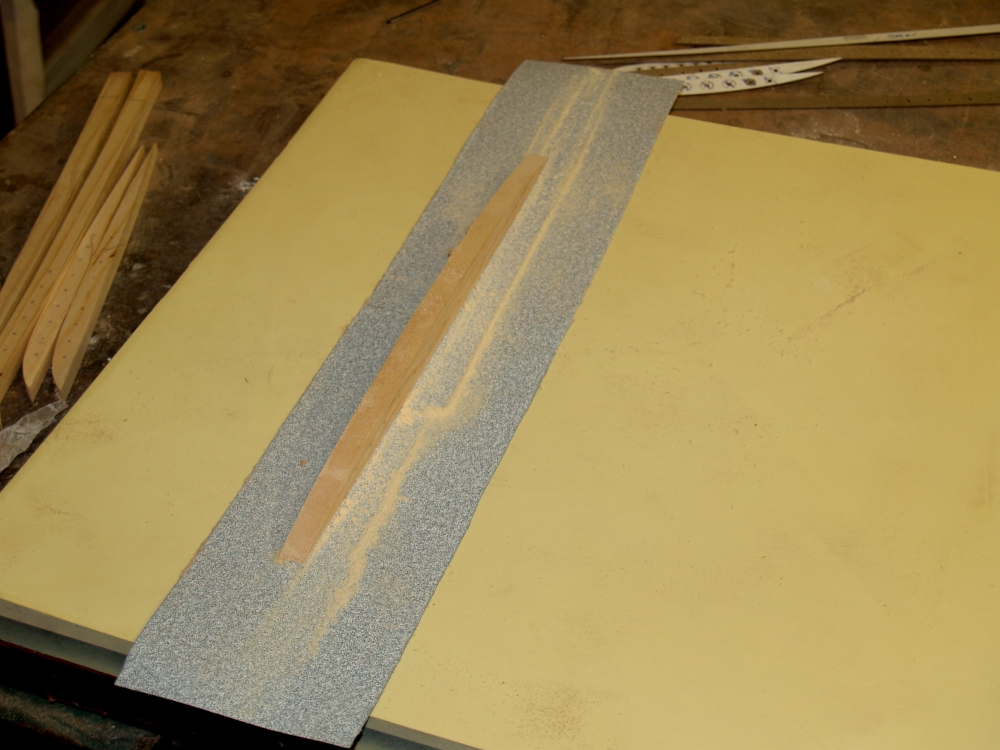 |
(52) June 9, 2009
Each brace blank has the bottom edge sanded so it fits the form
perfectly.
|
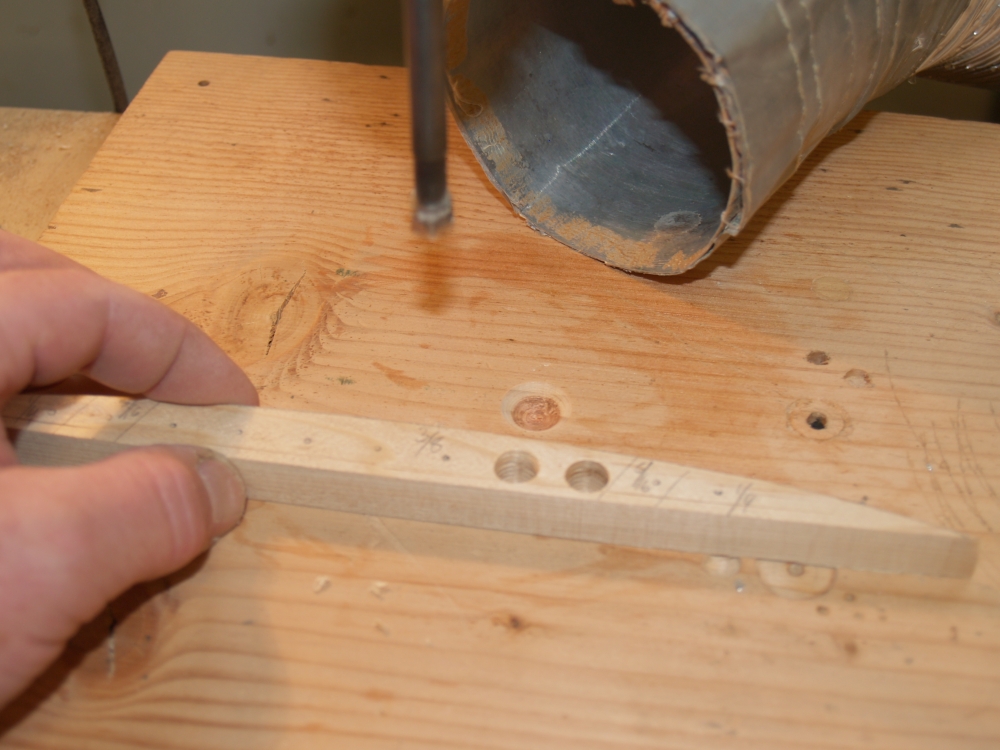 |
(53) June 9, 2009
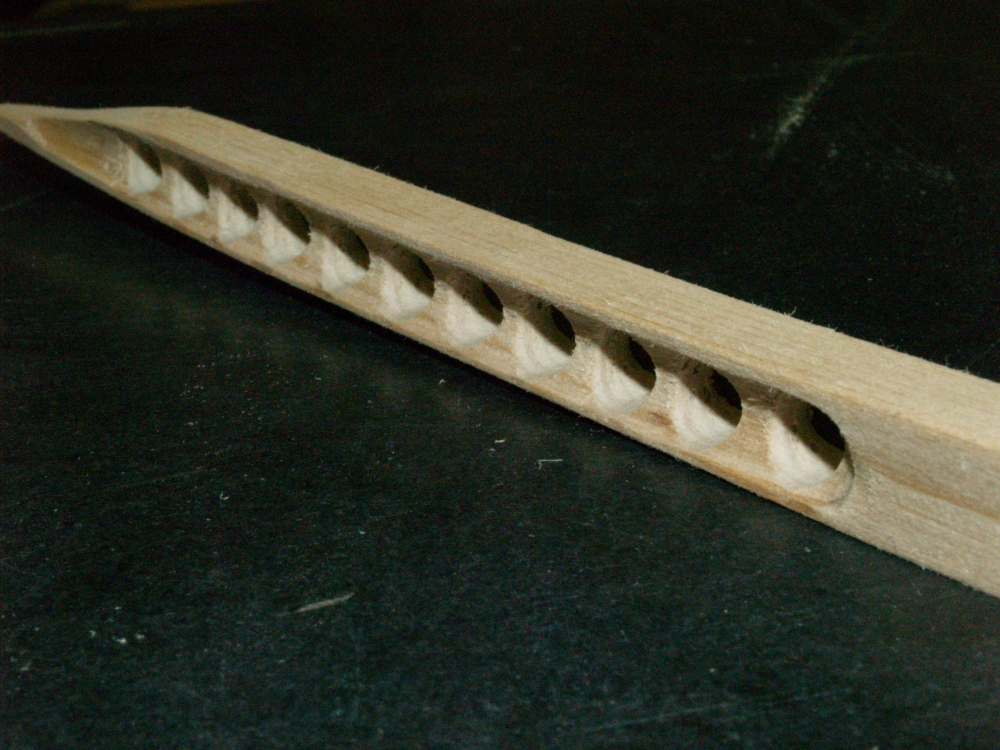
The holes are then drilled into the brace blanks.
|
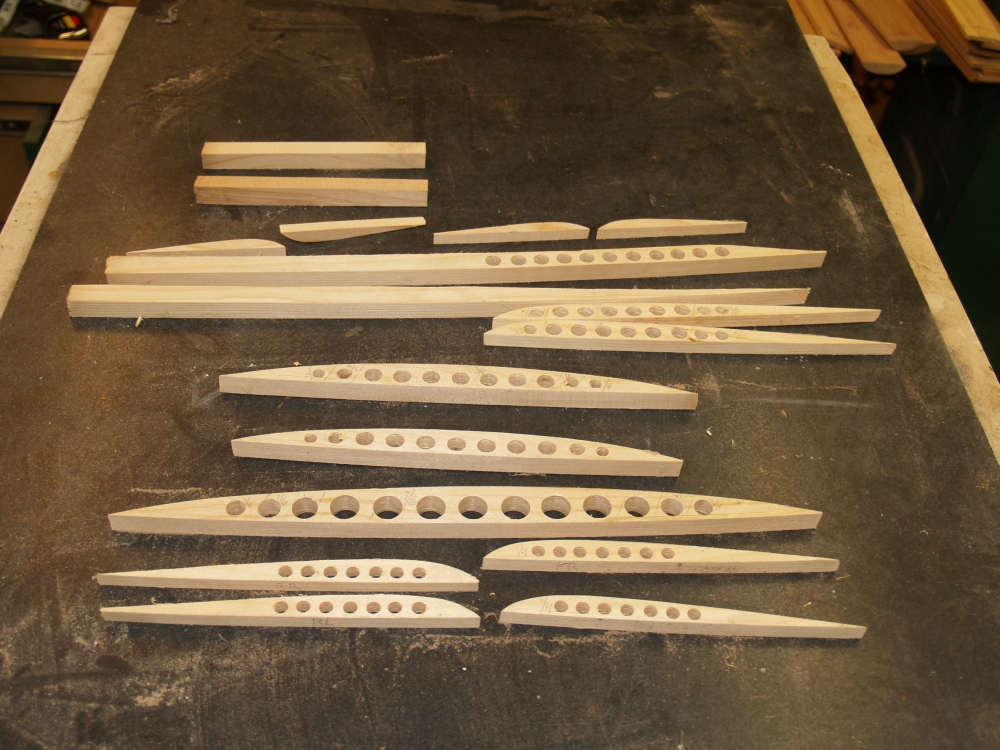 |
(54) June 9, 2009
Lots of holes.
|
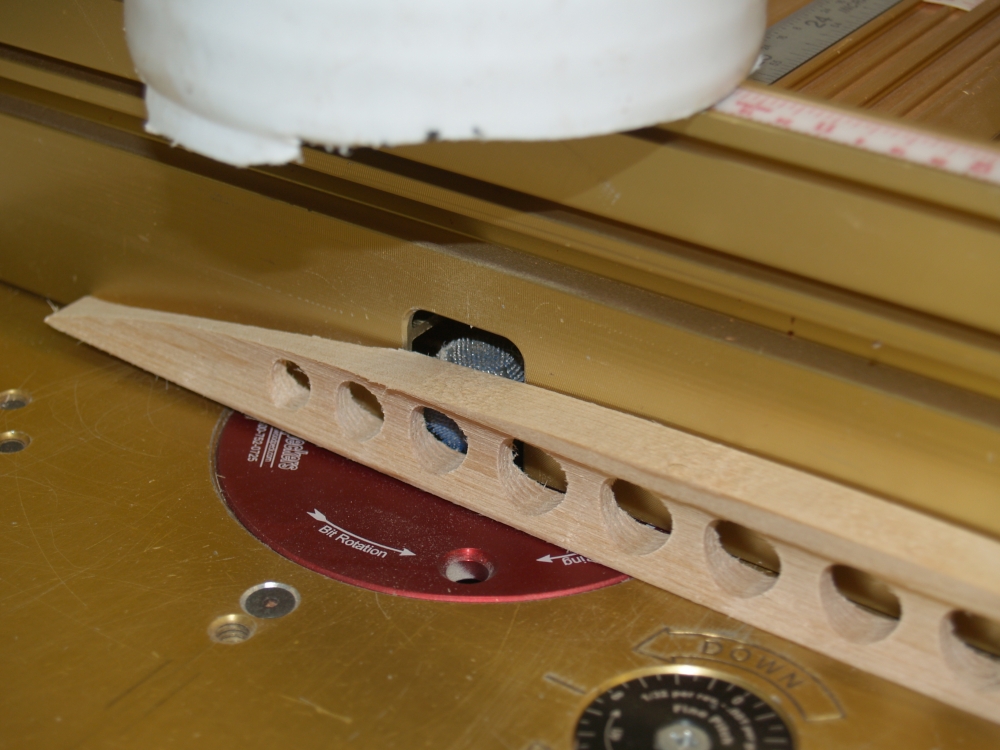 |
(55) June 9, 2009
I use the router table with a rasp bit to shape the brace blank into
the shape of an I-beam.
|
 |
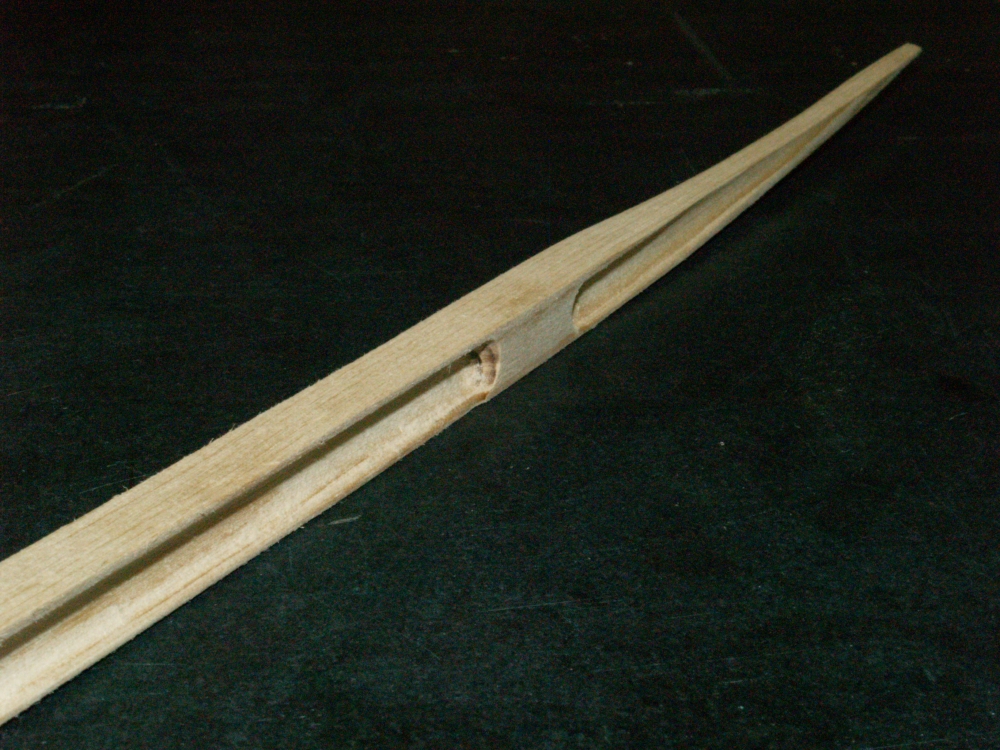
(56) June 9, 2009
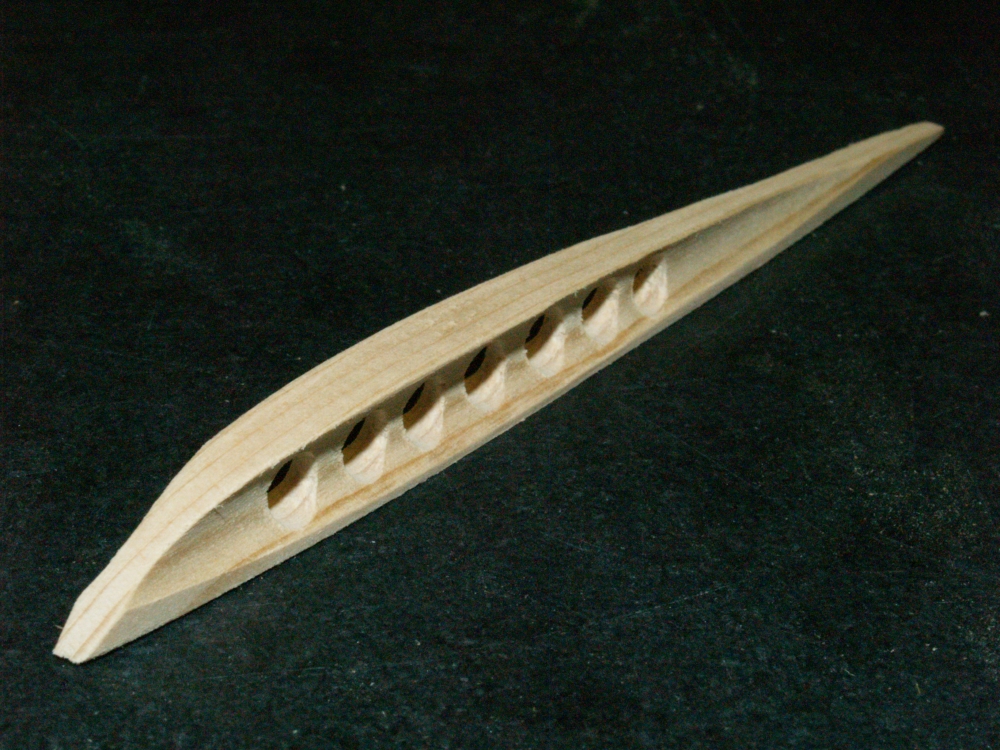
Cool art picture of a finished brace.
|
 |
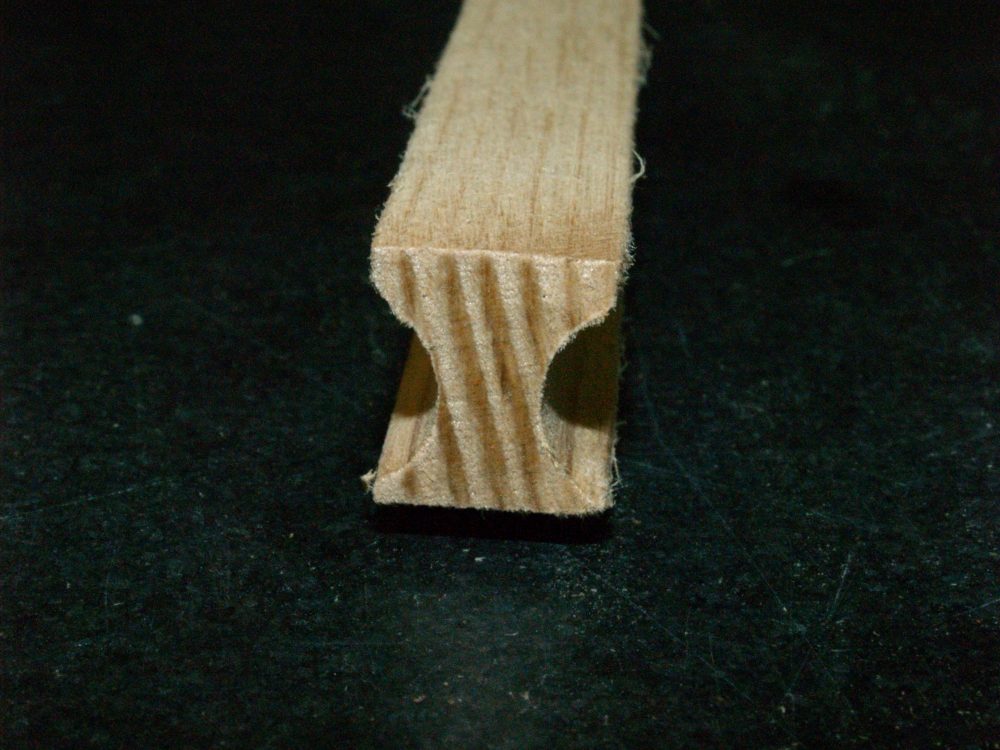
(57) June 9, 2009
Cool art picture of a finished brace.
|
 |
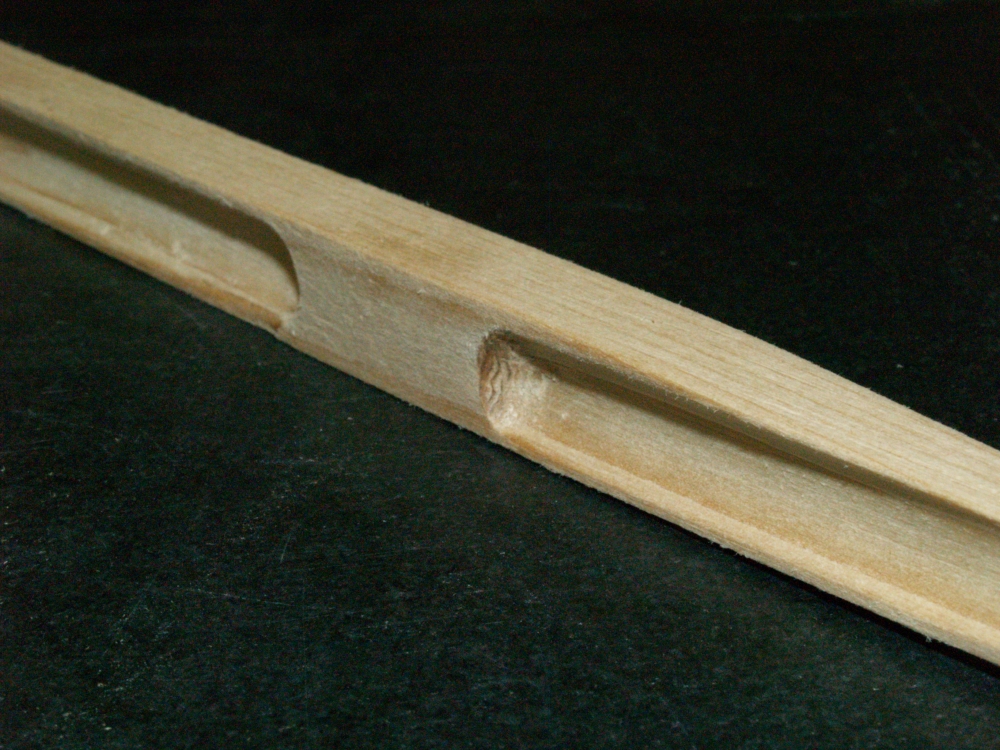
(58) June 9, 2009
Cool art picture of a finished brace.
|
 |
(59) June 9, 2009
Cool art picture of a finished brace.
|
 |
(60) June 9, 2009
Cool art picture of a finished brace.
|
 |
(61) June 9, 2009
Cool art picture of a finished brace.
|
 |
(62) June 9, 2009
Cool art picture of a finished brace.
|
 |
(63) June 9, 2009
Now I dimension the back plate to 100 mills thickness using the drum
sander.
|
 |
(64) June 9, 2009
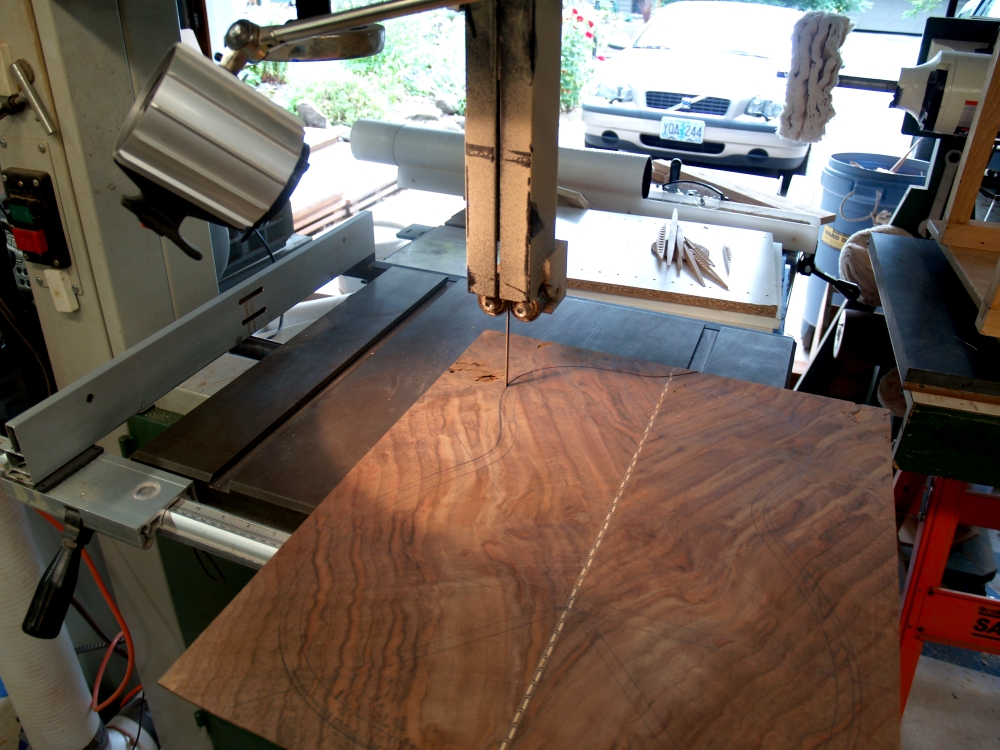
I use the band saw to cut out the back plate. I over size the
back plate by about 1/4 inch so I have a little margin when the back
gets glued on to the sides.
|
 |
(65) June 9, 2009
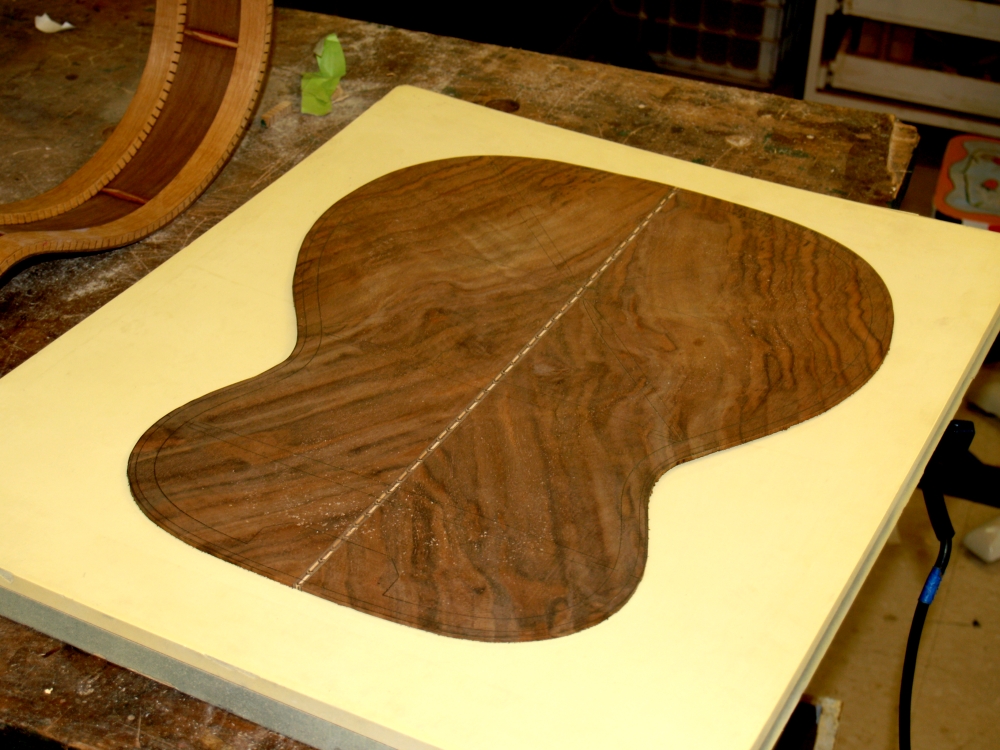
The back plate cut out.
|
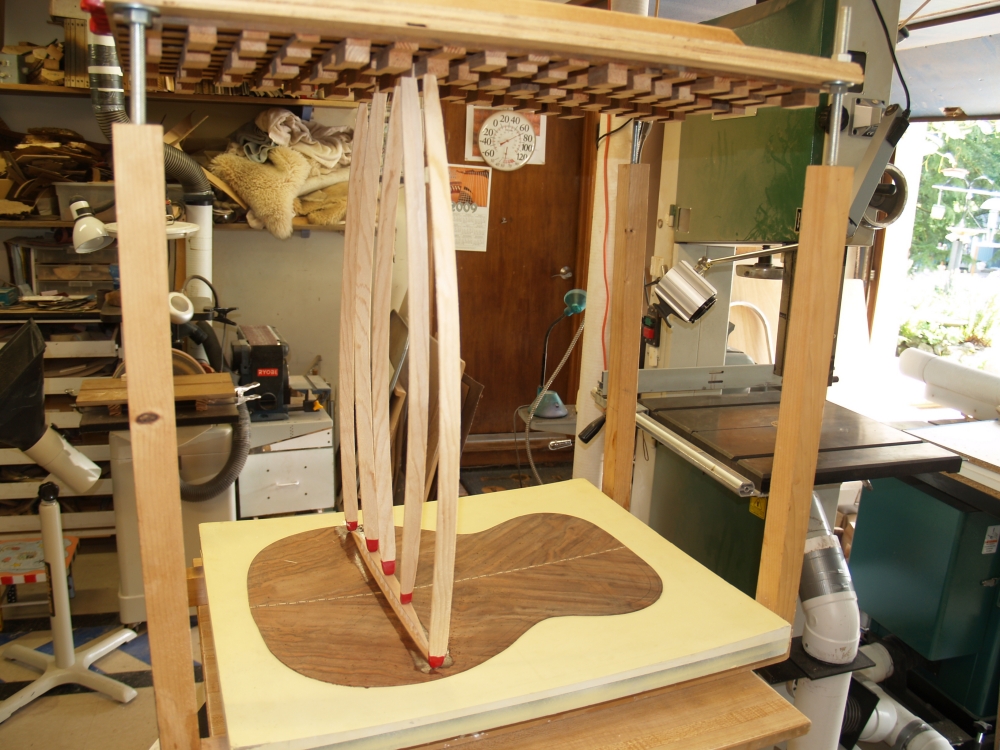 |
(66) June 9, 2009
I use a go box and sticks to force the brace and the back plate into
the back form.
|
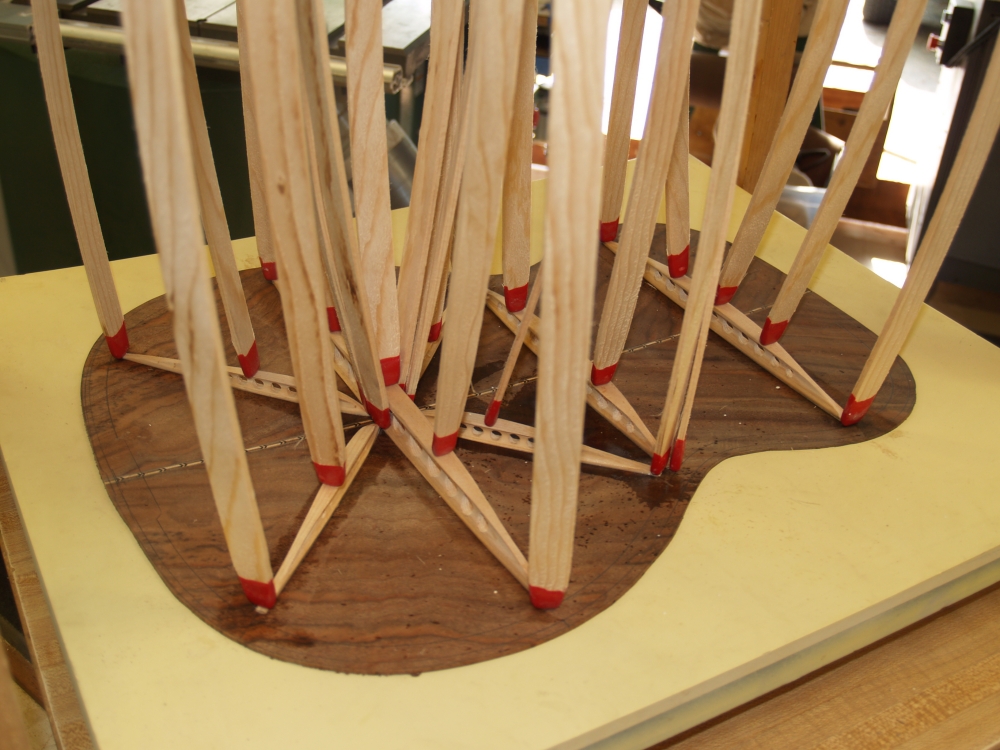 |
(67) June 9, 2009
I use lots of go sticks to make sure that the braces are firmly glued
into place.
|
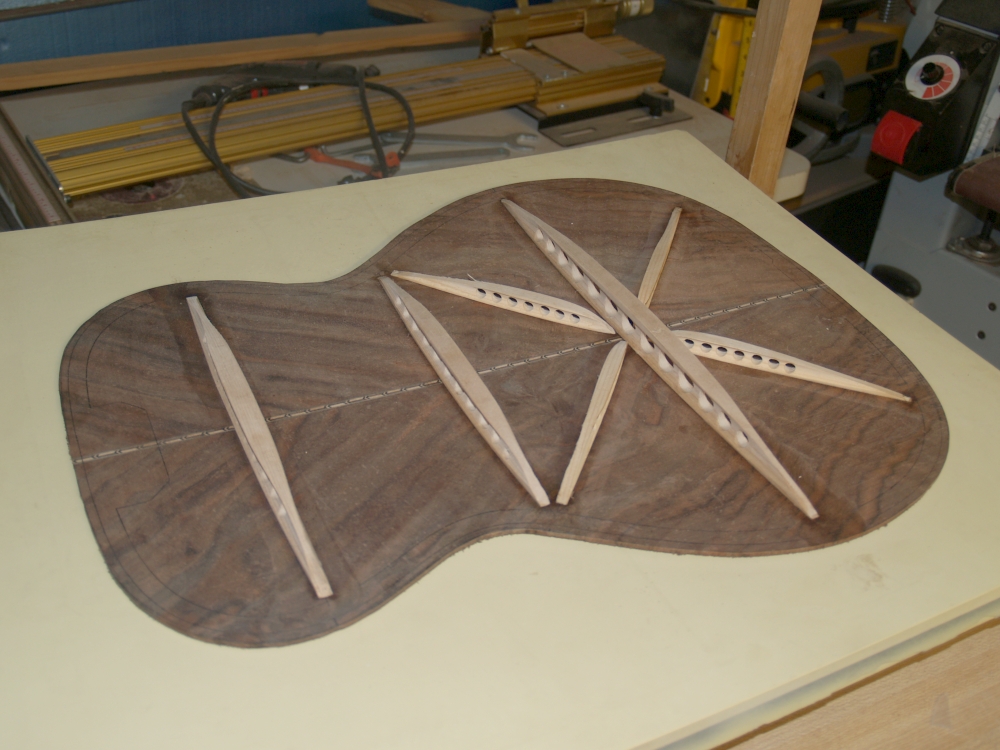 |
(68) June 9, 2009
A look at the back with the braces glued in place. The
contra-rosette and the center brace will be glued in later.
|
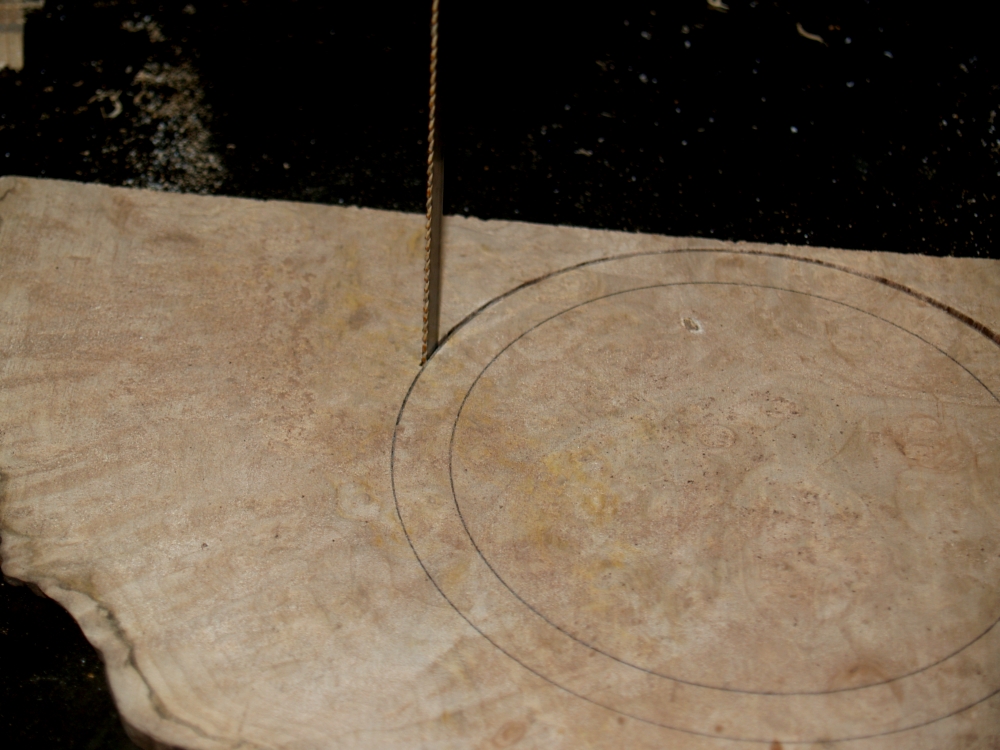 |
(69) June 9, 2009
The rosette will have a center circle made from this burled maple.
|
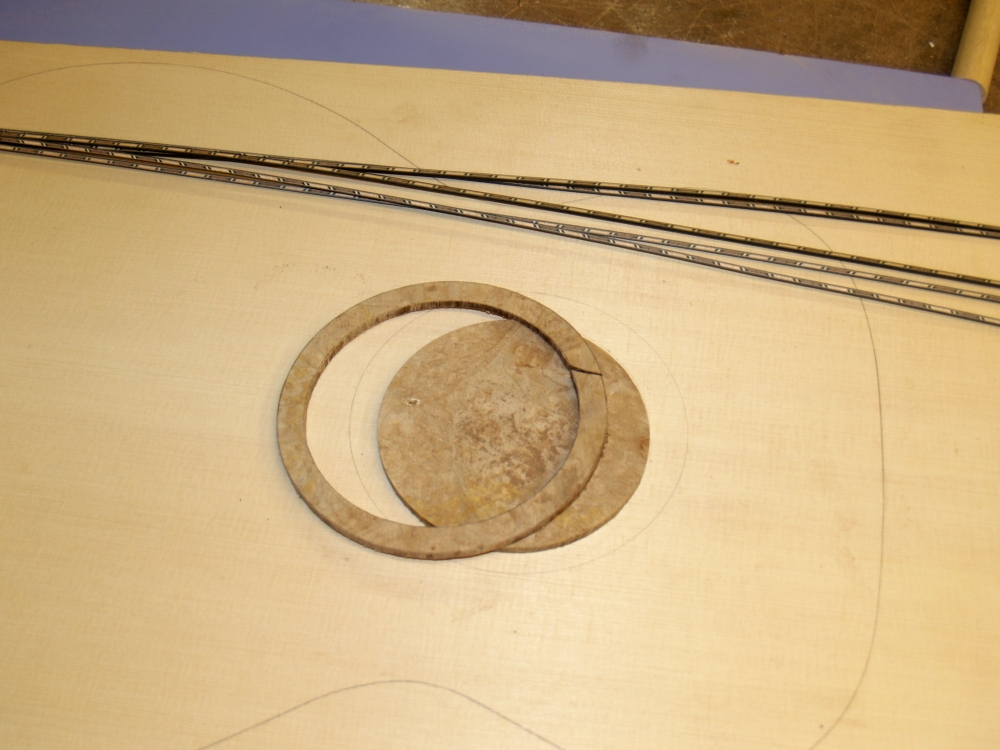 |
(70) June 9, 2009
The pieces I will use for the rosette and contra-rosette.
|
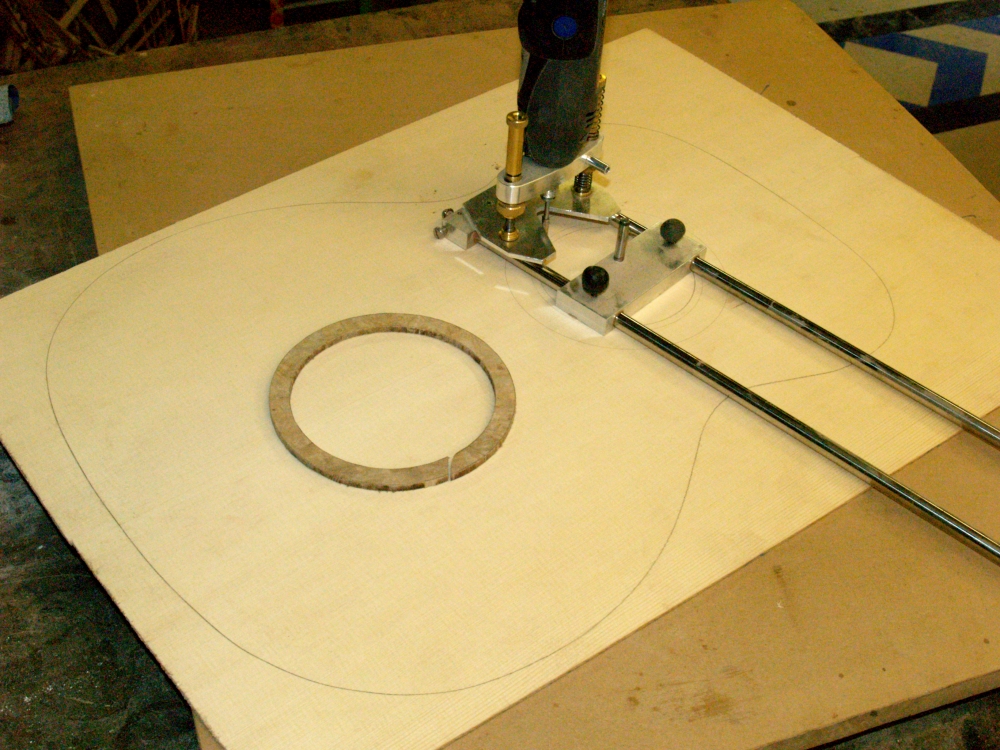 |
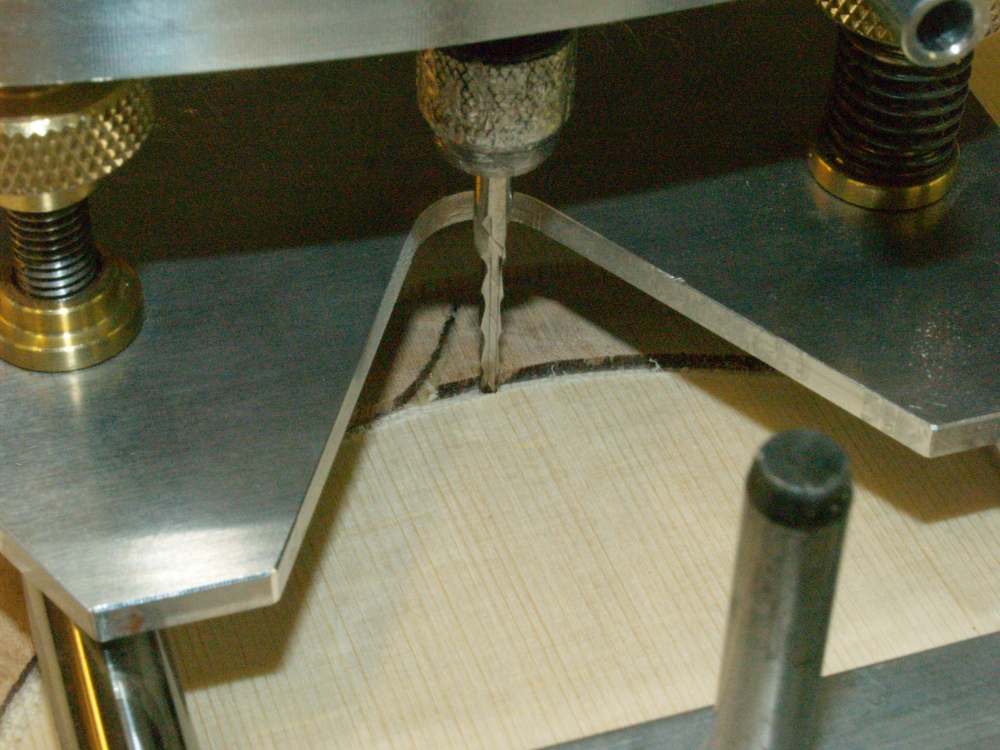
(71) June 9, 2009
I use this circle cutting tool and the Dremel tool to cut a channel for
the rosette ring.
|
 |
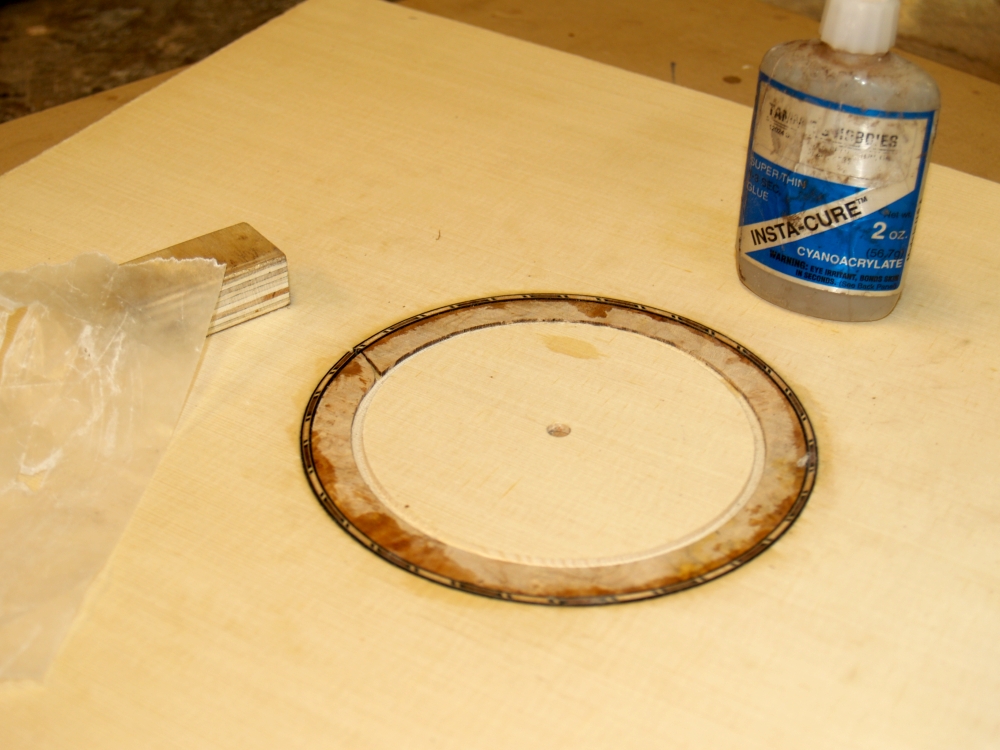
(72) June 9, 2009
After the rosette ring is glued in place I sand it flush to the top.
|
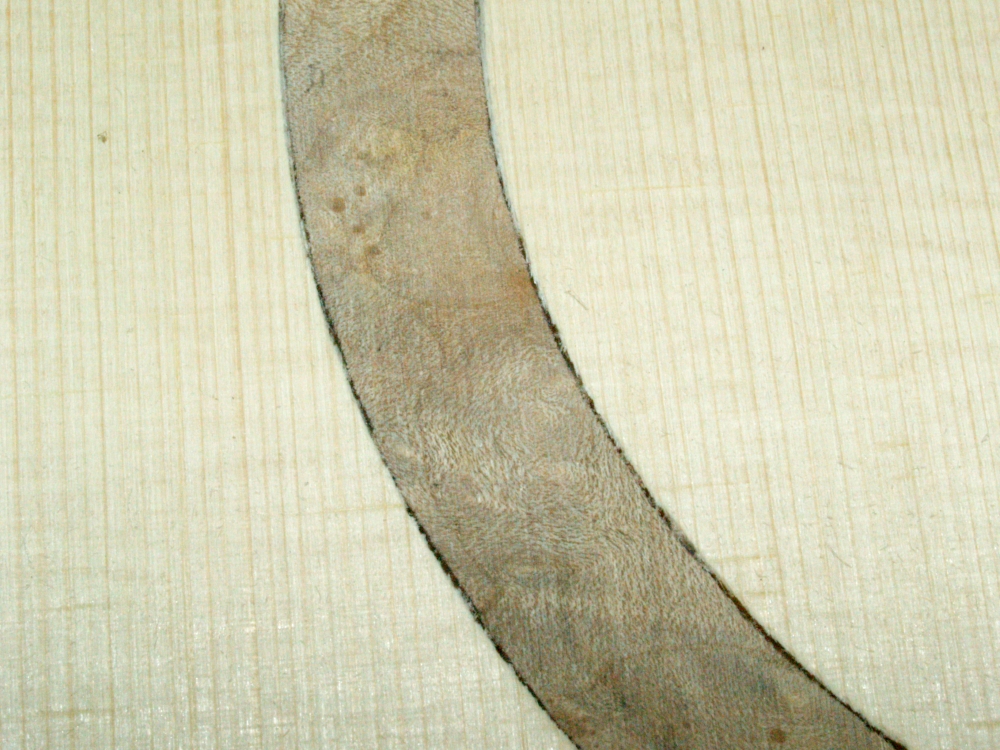 |
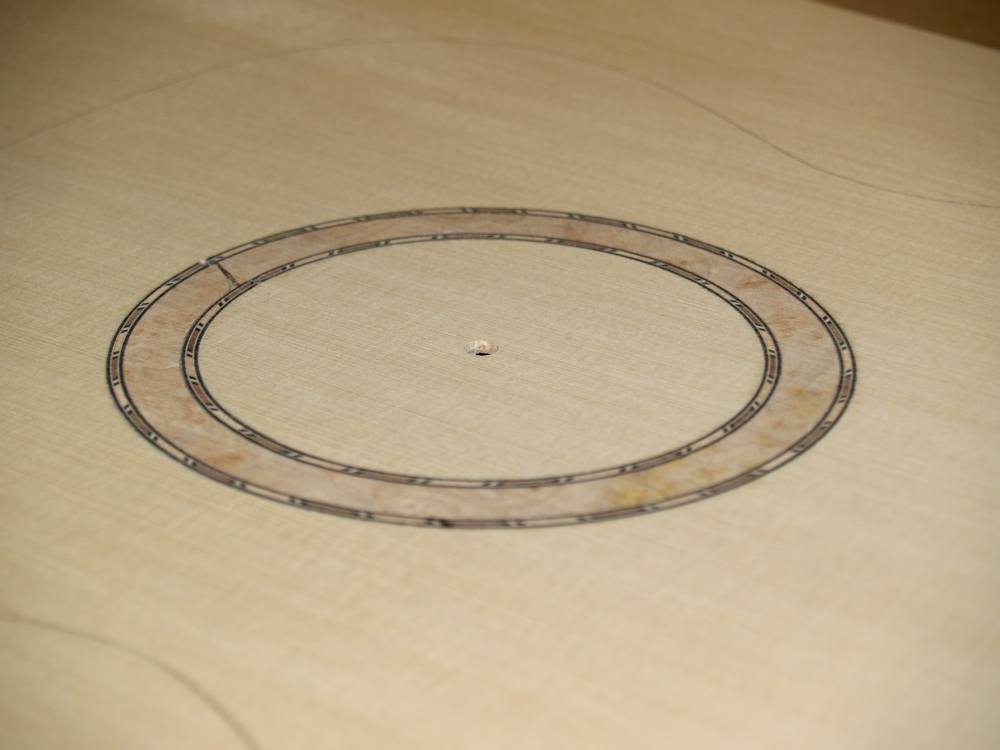
(73) June 9, 2009
A close up of the rosette ring.
|
 |
(74) June 9, 2009
Now I use the circle cutter to route a channel for the purfling strip.
|
 |
(75) June 9, 2009
Here I am gluing in the purfling.
|
 |
(76) June 9, 2009
After the purfling is glued in I sand everything flush with the top.
|
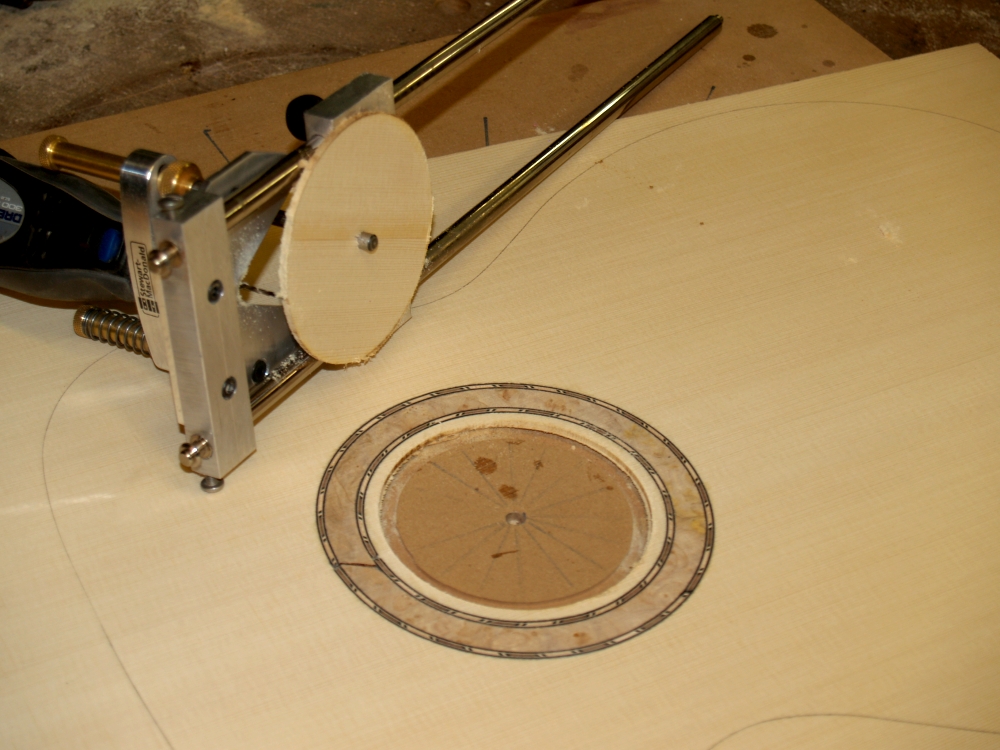 |
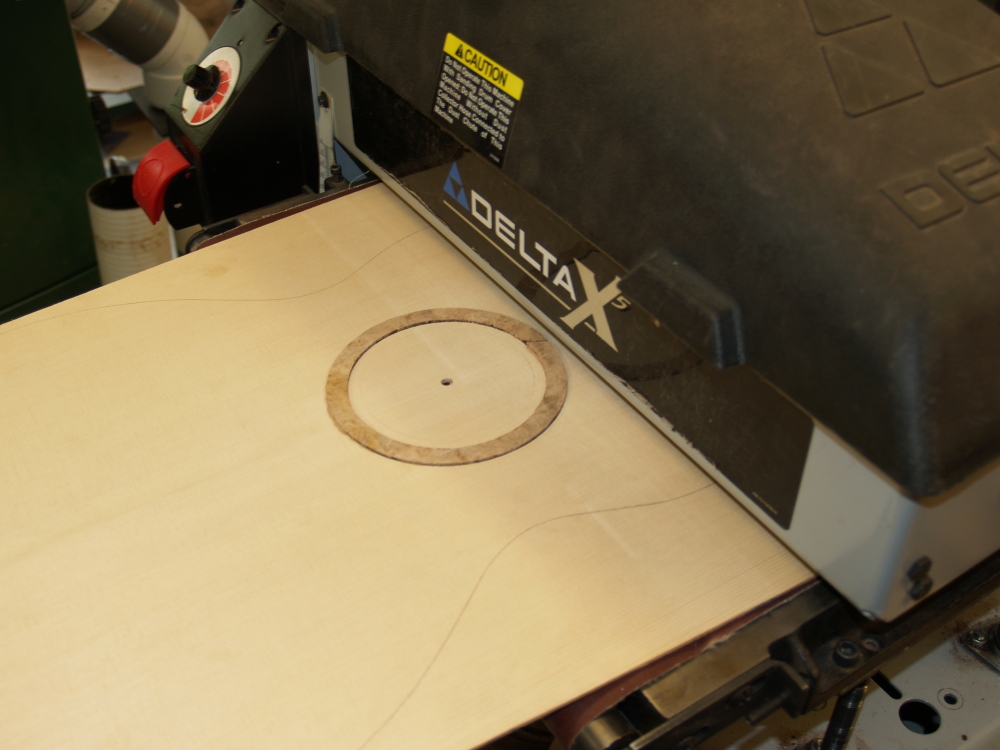
(77) June 9, 2009
And once again I use the circle cutter to cut out the sound hole.
|
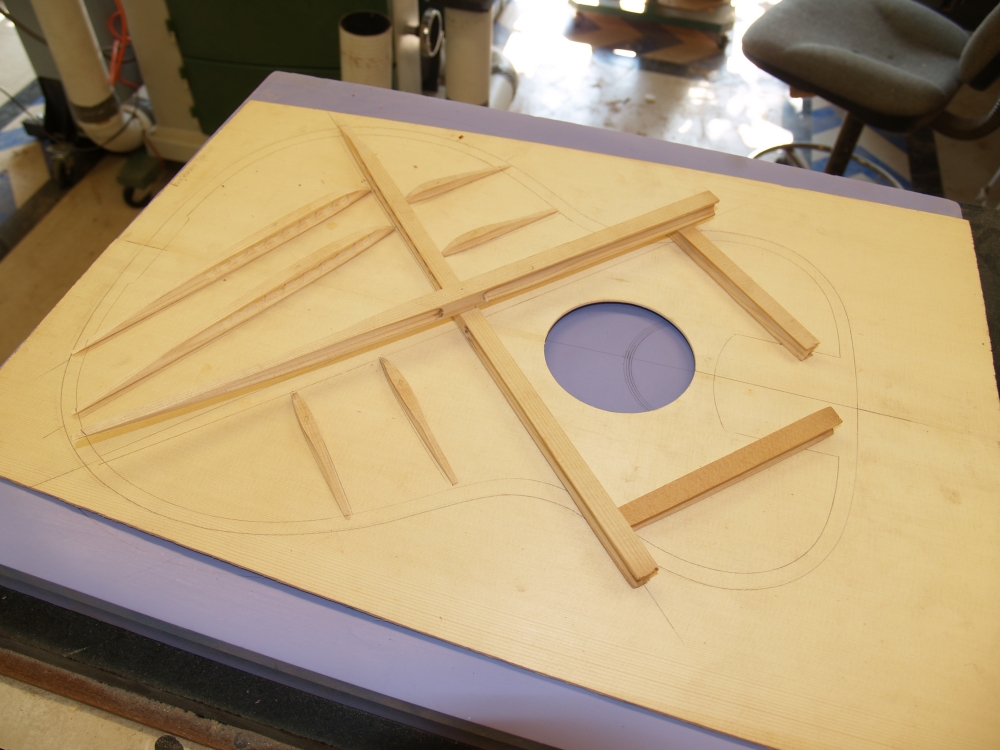 |
(78) June 9, 2009
Here I am laying out the top braces for inspection.
|
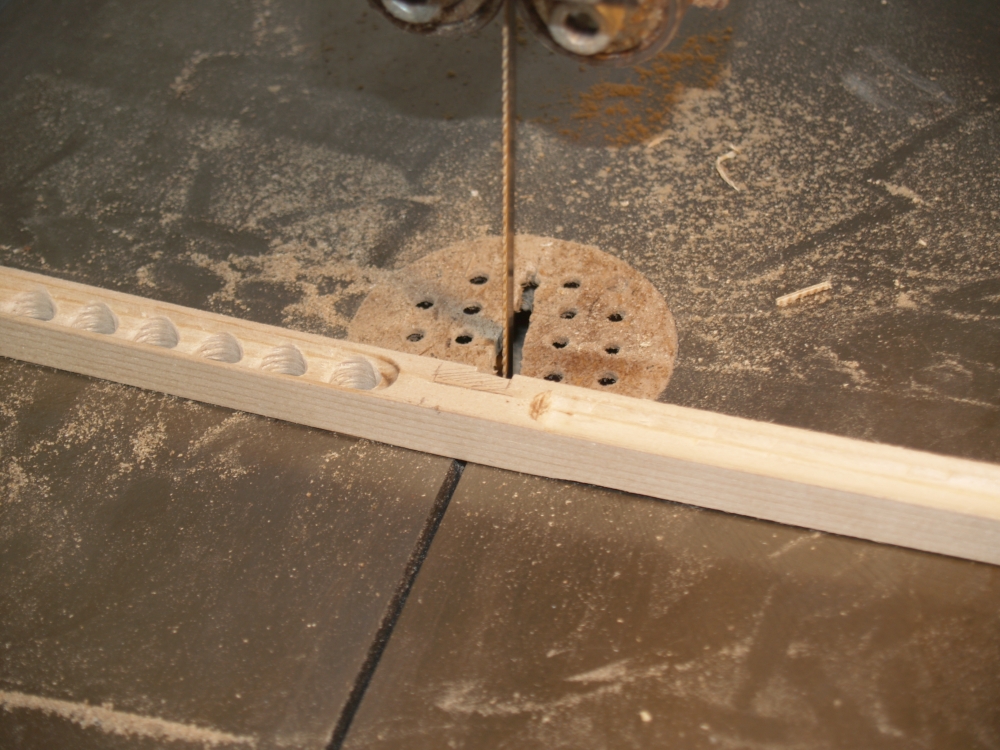 |
(79) June 9, 2009
The cross braces have a slot cut into them on the band saw.
|
 |
(80) June 9, 2009
A look at the cross brace intersection.
|
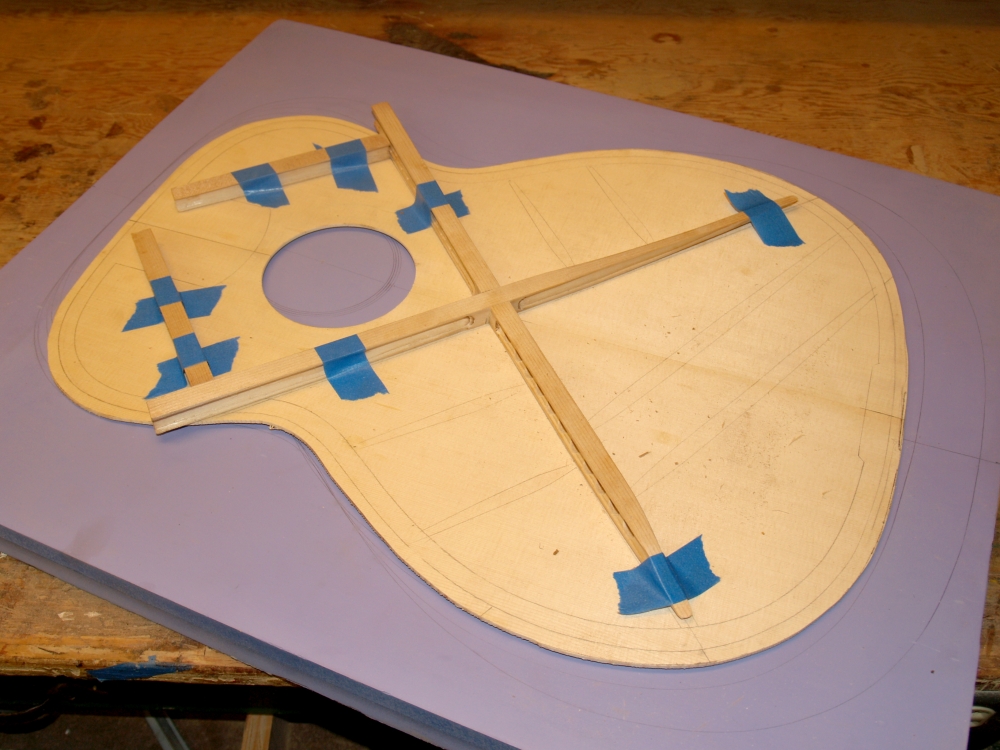 |
(81) June 9, 2009
And here I am laying out the top braces getting ready to trim them to
match the sides.
|
|