 |
(94) July 23, 2009
Now comes the time to start working on the neck. I have
made a supply of neck blanks that have had time to equilibrate.
The first thing I do is square up all of the sides and sand
the top surface to the proper dimension to mount the fretboard. |
 |
(95) July 23, 2009
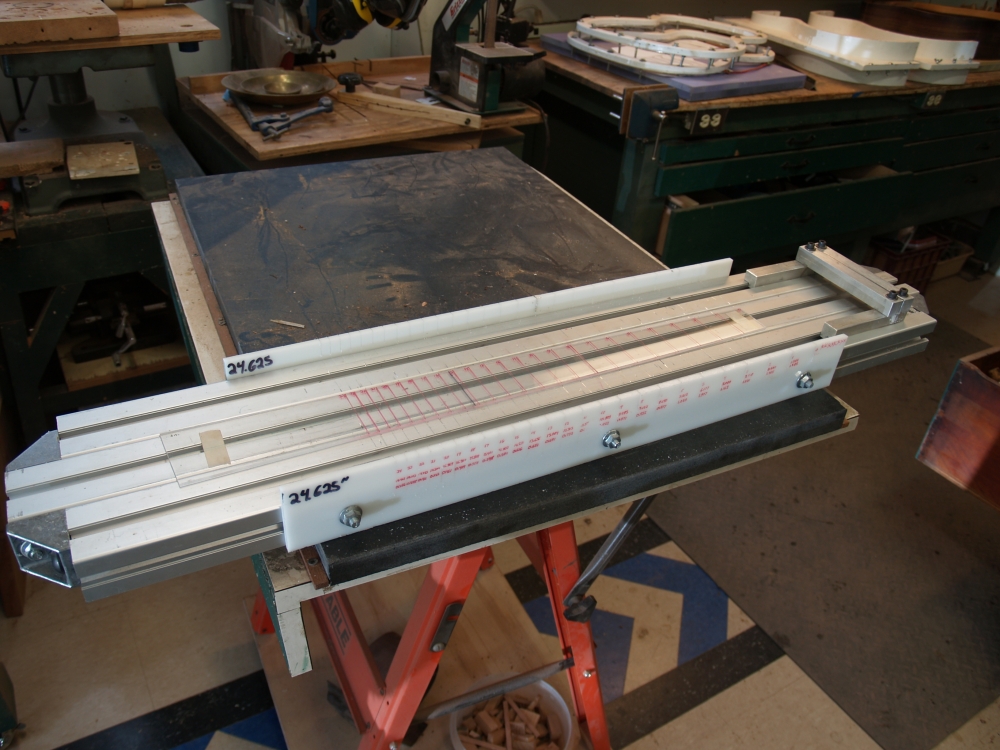
I need to have a fretboard template with the frets marked out on it.
I use this special fretting machine I built with a set of
24.625" scale length templates to mark the fretboard template. |
 |
(96) July 23,
2009
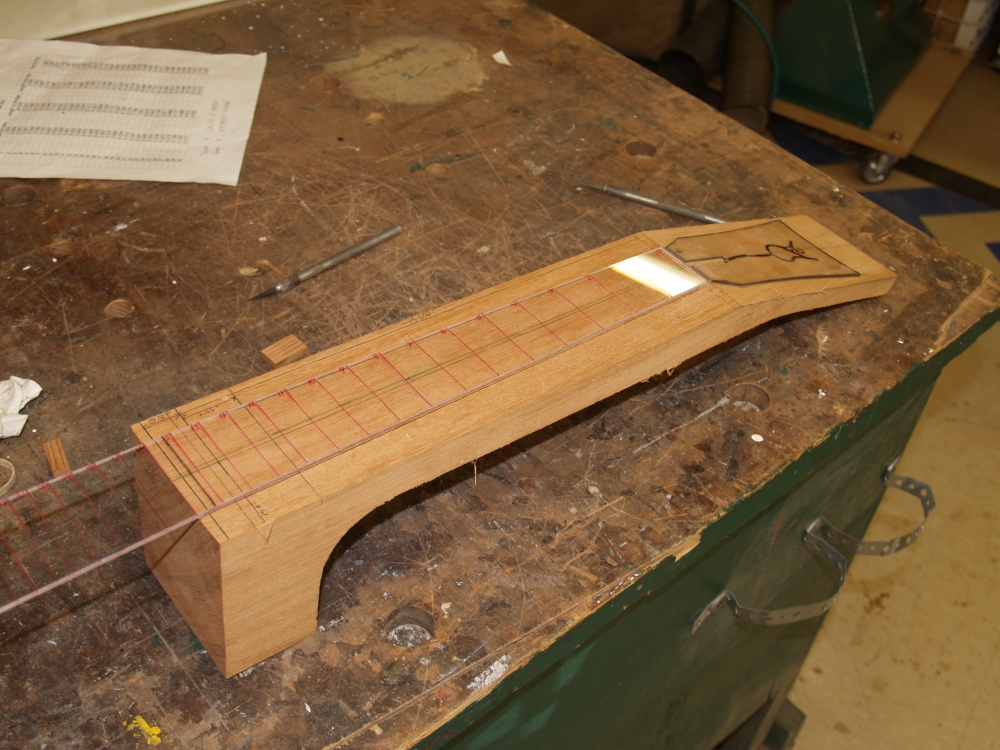
I lay out the neck blank with the templates I have made. |
 |
(97) July 23,
2009
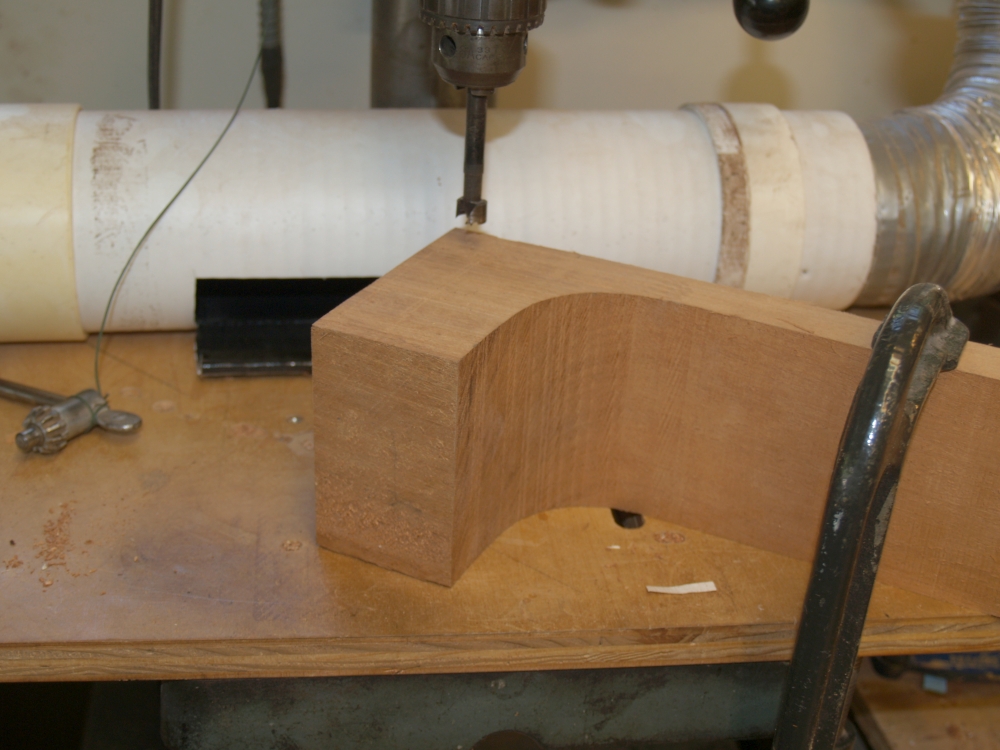
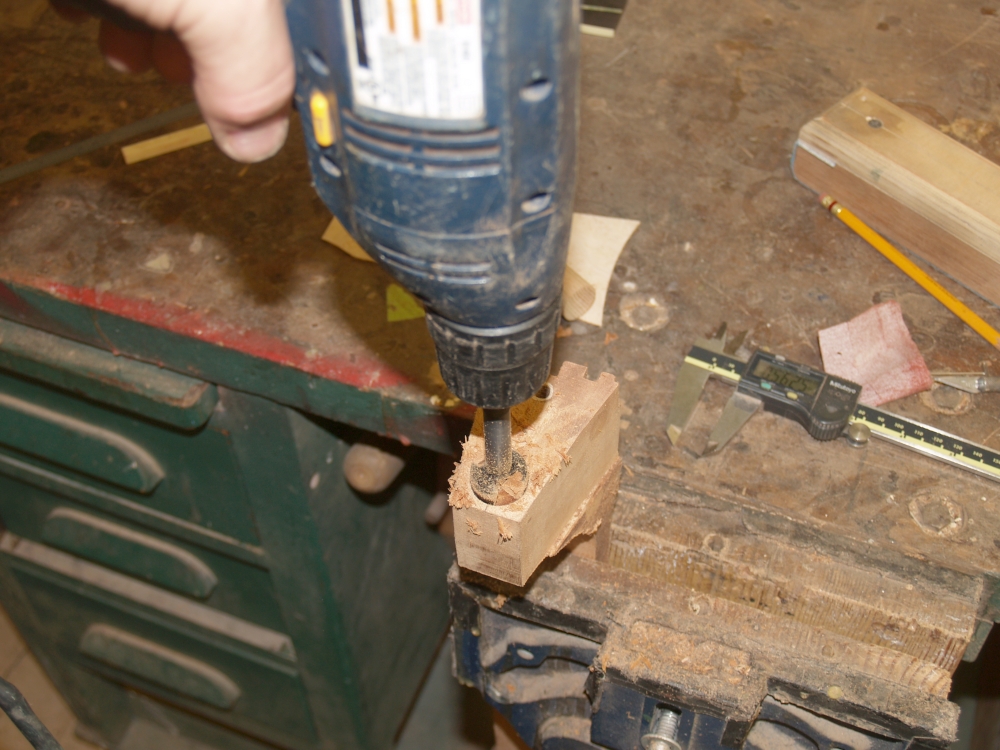
I drill a hole into the side of the neck blank where I will
insert a barrel nut that will be used to bolt the neck to the
body. |
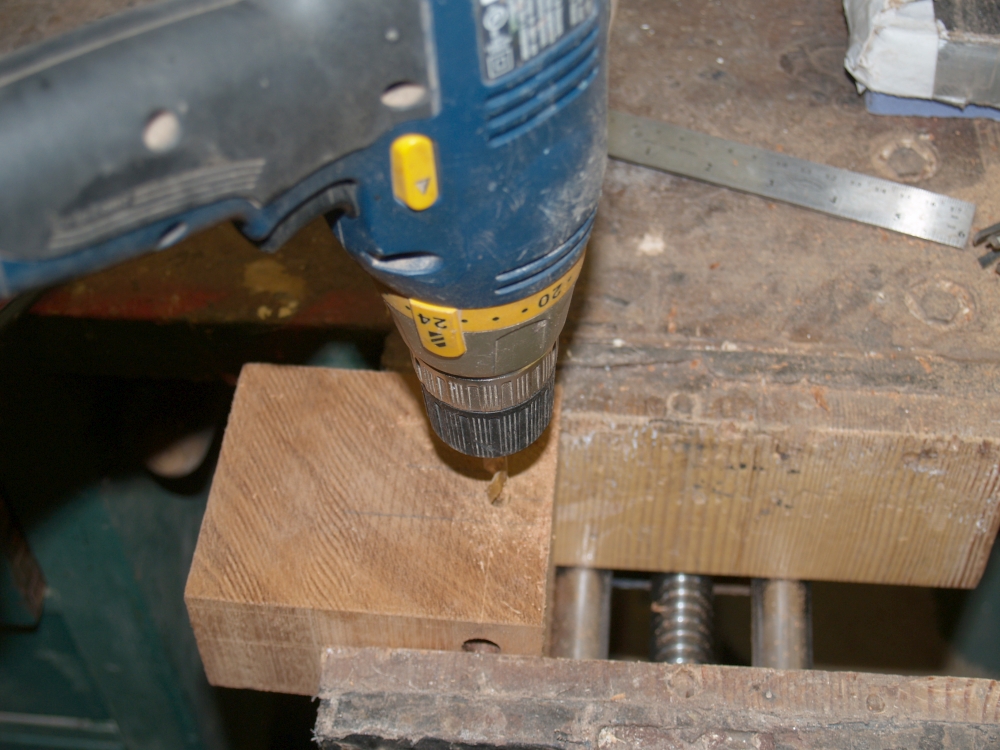 |
(98) July 23,
2009
Drilling the hole into the end of the neck where the bolt will go. |
 |
(99) July 23,
2009
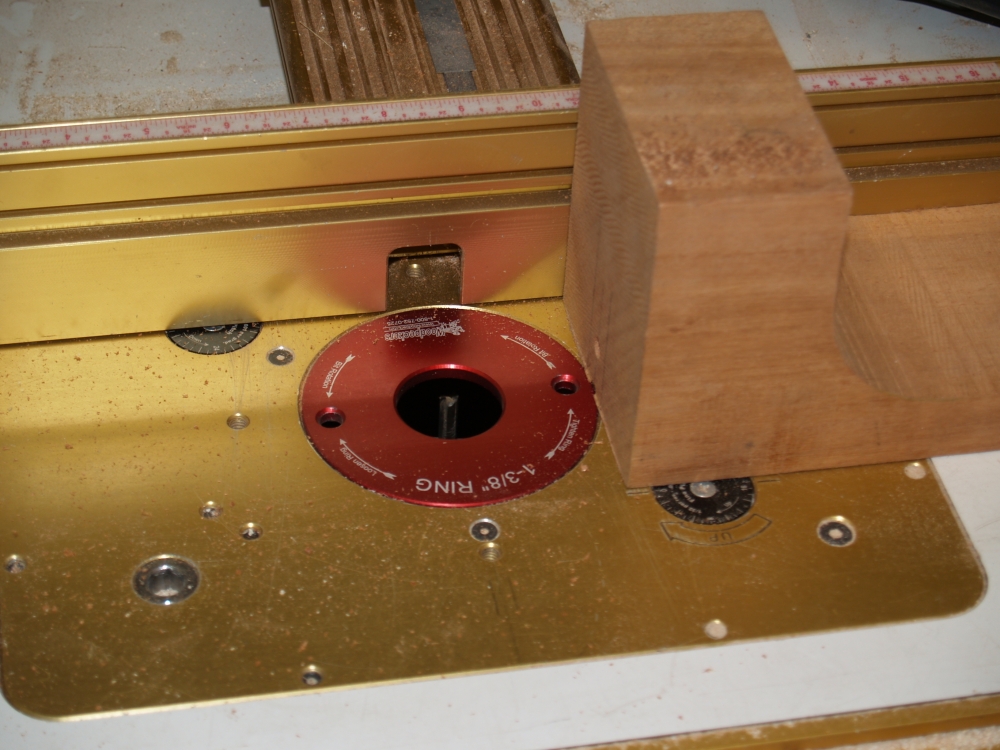
I use the router table with a 1/4 inch bit to create a channel for the
truss rod. |
 |
(100) July 23,
2009
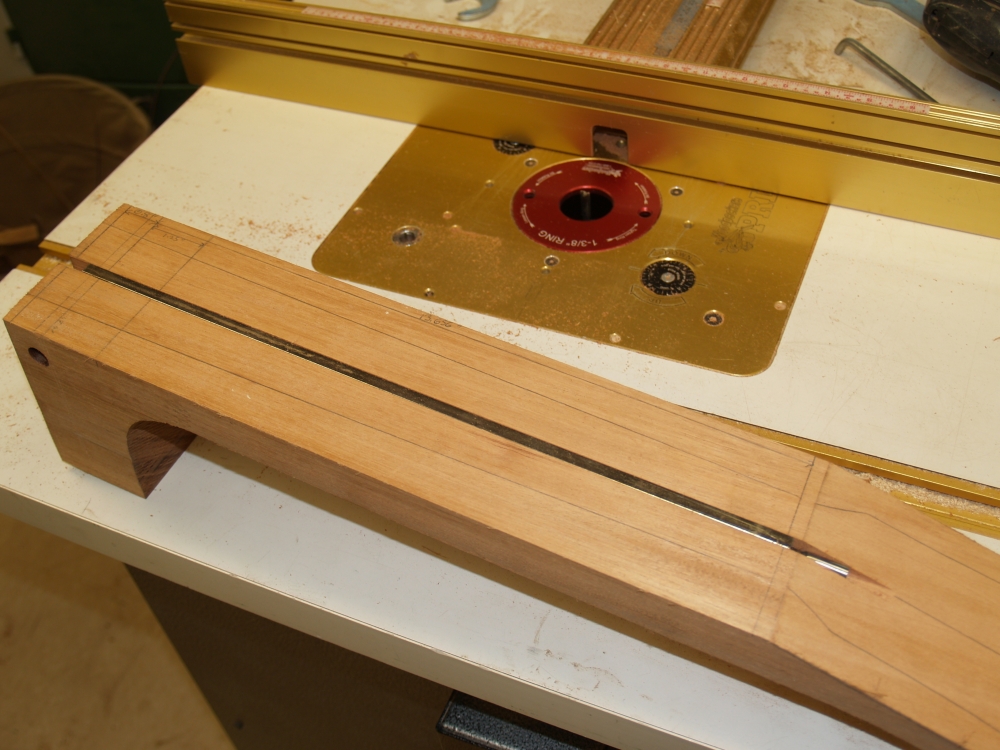
The truss rod inserted into the channel I just routed out. |
 |
(101) July 23,
2009
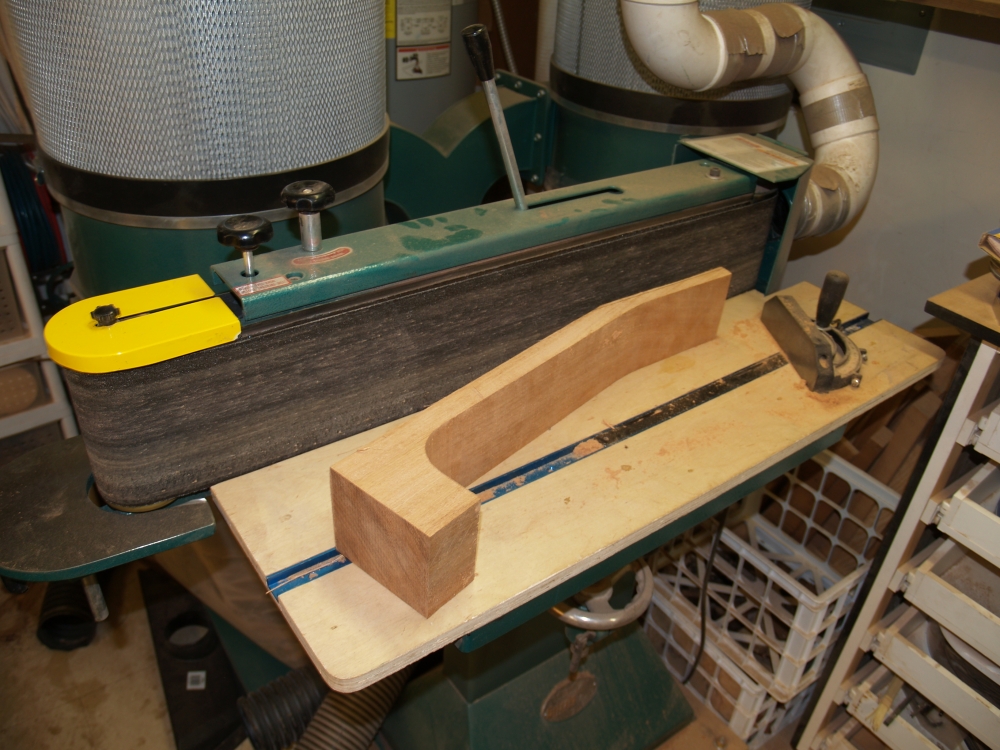
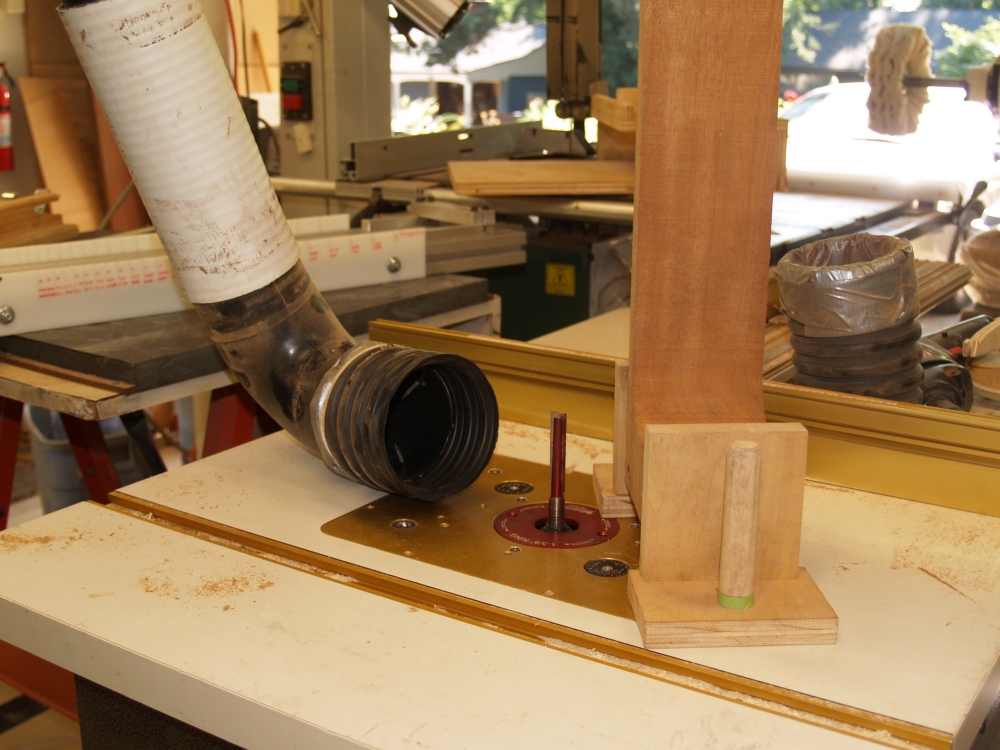
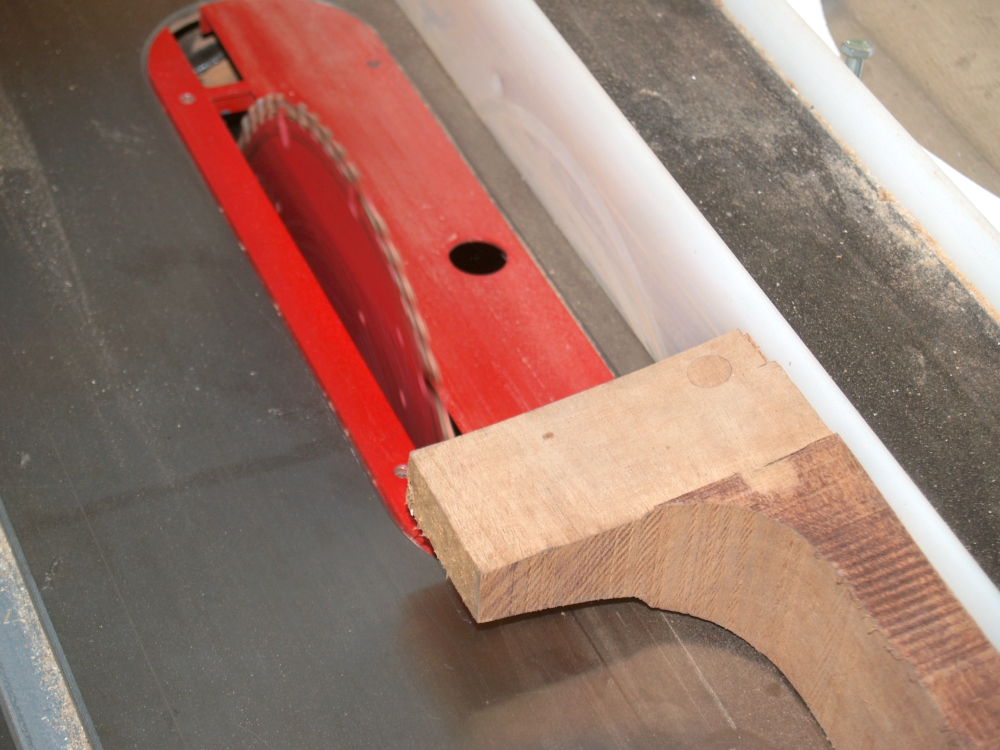
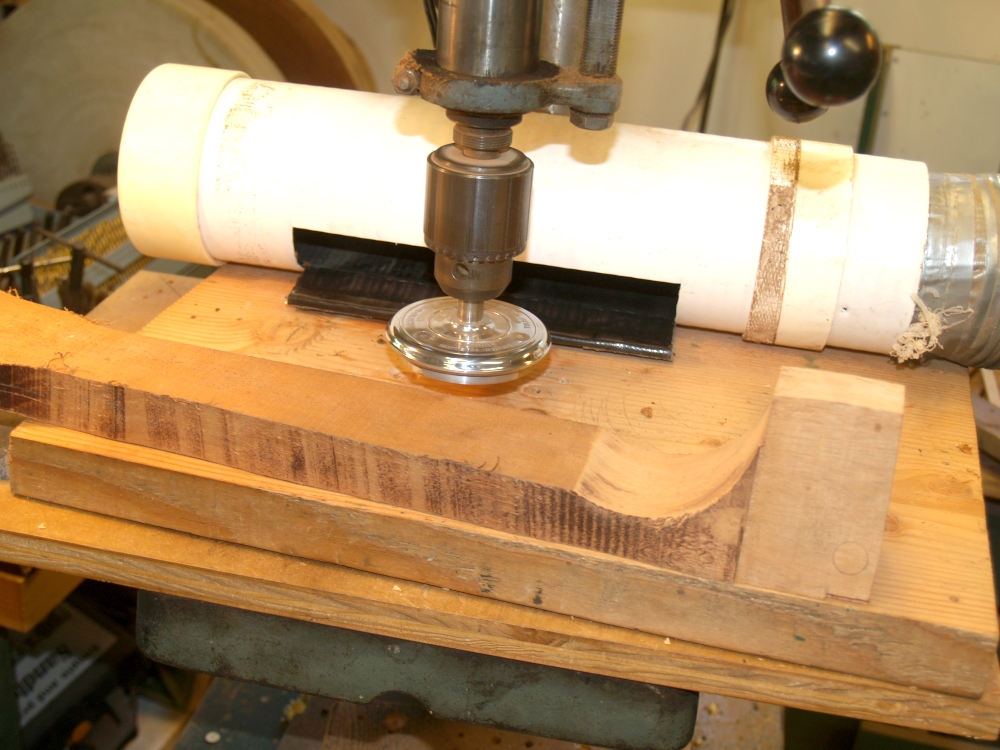
I use the router table with this huge 1/2 inch bit and a template
attached to the neck blank to shape the heal of the neck. The
black L tube is attached to my dust collector. This process
generated a lot of saw dust. |
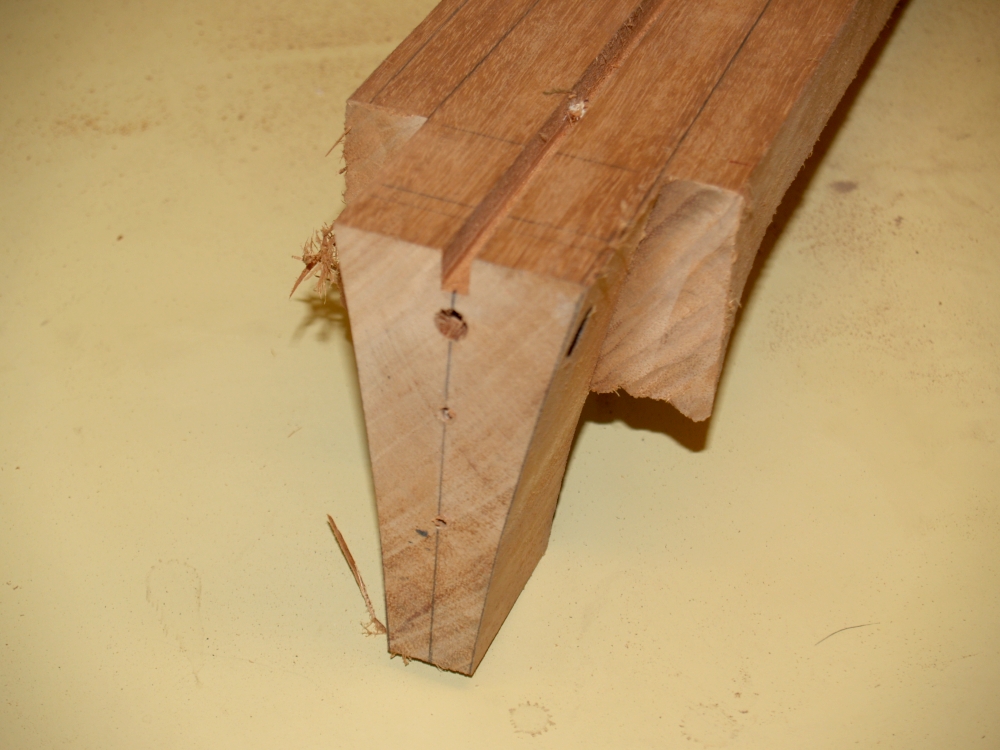 |
(102) July 23,
2009
This heal has the same shape and size as the channel I routed out of
the body in picture 43 on Page 2. The heal will penetrate the
body channel 0.800 inches. This insures that all of the hardware
is not visible when the guitar is assembled. |
 |
(103) July 23,
2009
Now I trim off most of the excess wood from the neck blank. |
 |
(104) July 23,
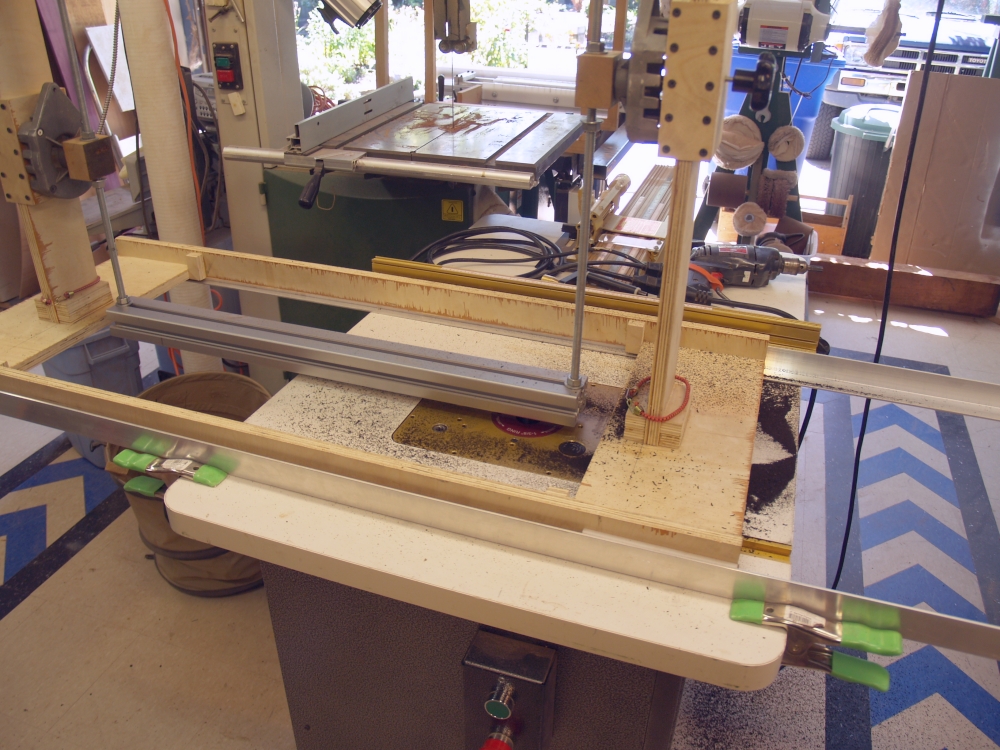
2009
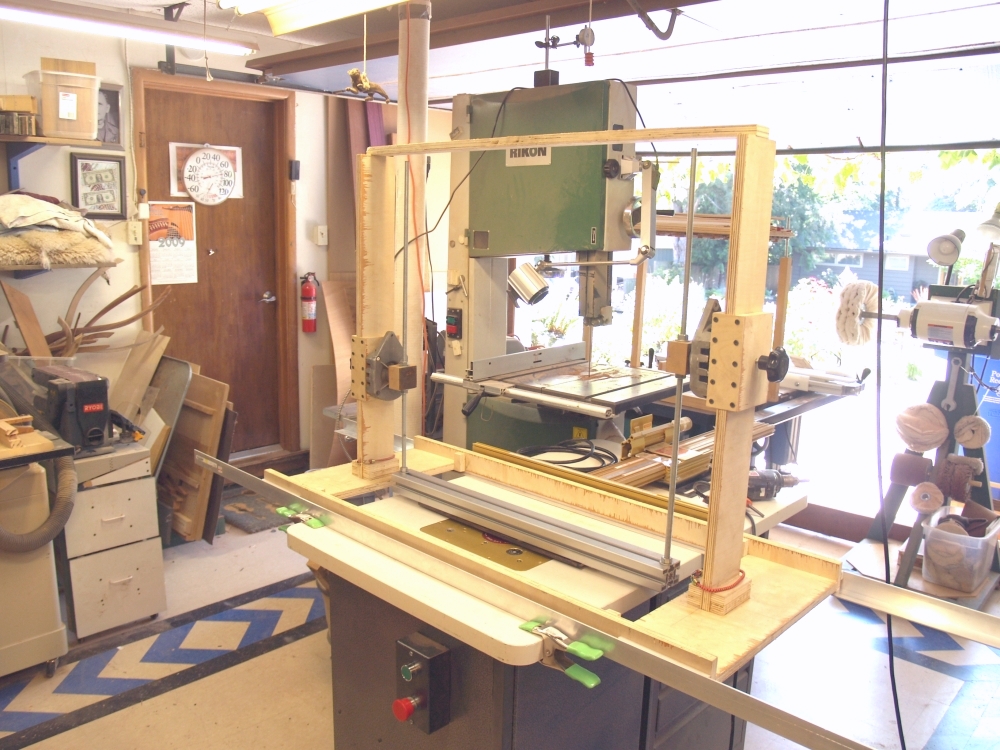
In this picture we see the machine I have built to create a compound
radius on the fret board. The machine is essentially a pendulum
with two arms of different lengths with a straight bar spanning
the two arms. The fretboard blank is attached to the bottom
of the spanning bar. The whole contraption slides along a set of
aluminum rails. The spanning bar swings back and forth above the
router bit. Since one arm of the pendulum is longer than the
other, the portion of the fretboard towards the shorter arm will have a
smaller radius of curvature than the portion towards the longer arm.
The radius of curvature on the fretboard transitions smoothly
from one end to the other. By carefully adjusting the lengths of
the pendulum arms according to the formulas that describe the compound
radius, a fretboard of any radius can be accurately created. |
 |
(105) July 23,
2009
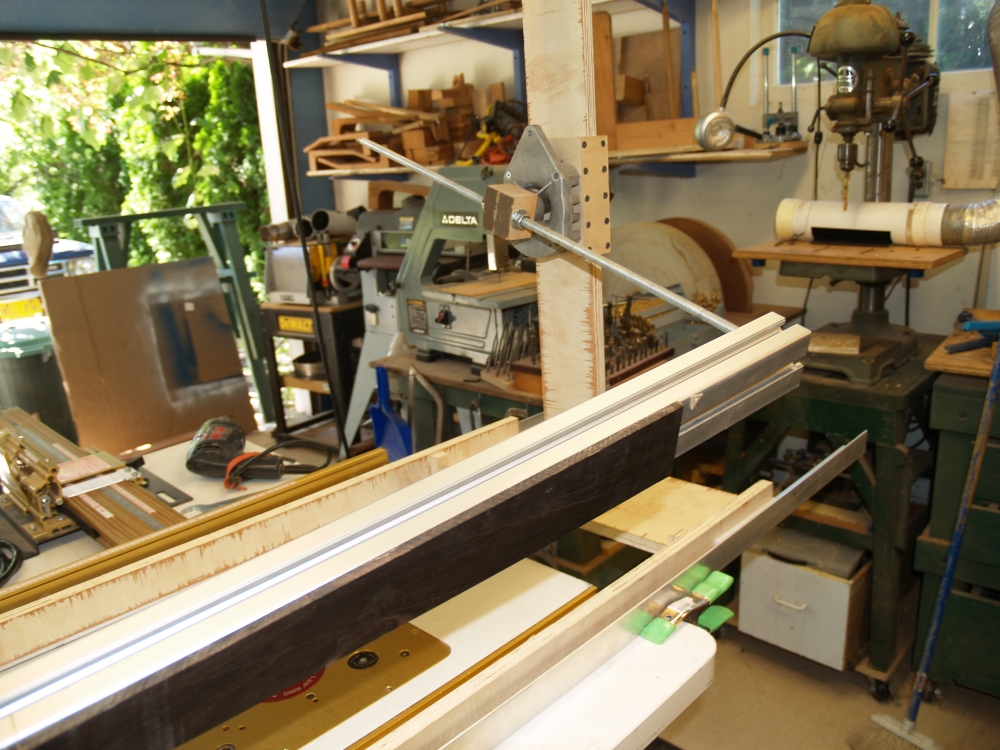
This picture shows the fretboard blank attached to the bottom of the
pendulum spanning bar. I use very strong double stick turners
tape to attach the fretboard blank to the spanning bar. |
 |
(106) July 23,
2009
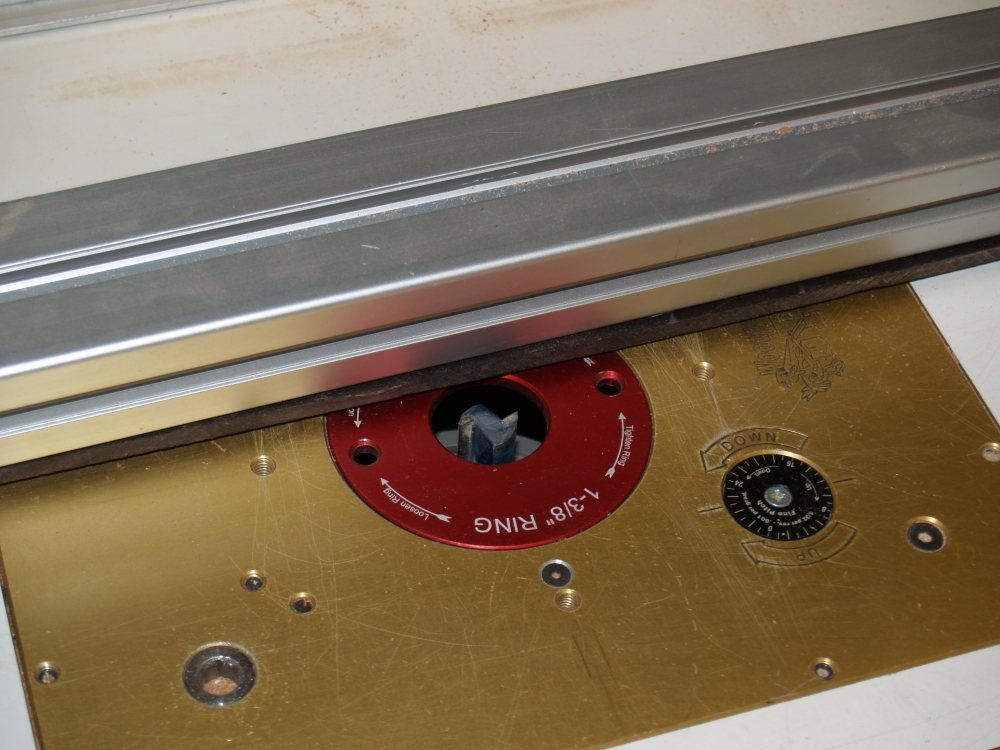
The router bit can be precisely raised to the proper height. |
 |
(107) July 23,
2009
And here I am making lots of saw dust. |
 |
(108) July 23,
2009
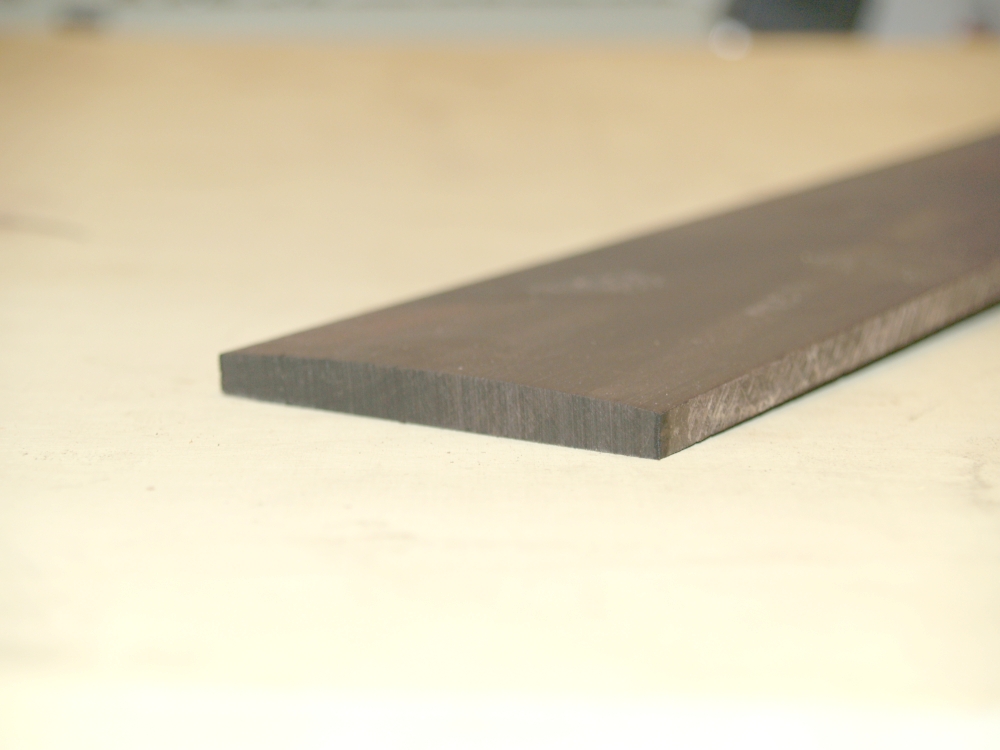
In this picture we can see the radius of the fretboard. |
 |
(109) July 23,
2009
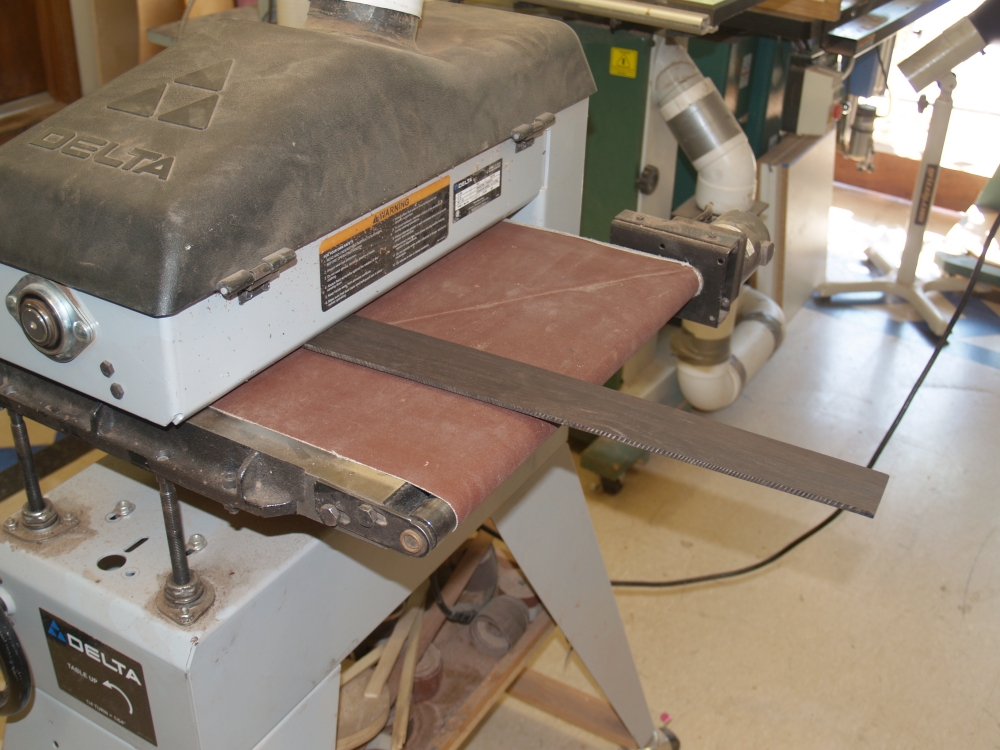
I use the drum sander to dimension the thickness of the fretboard to
~0.250 inches. |
 |
(110) July 23,
2009
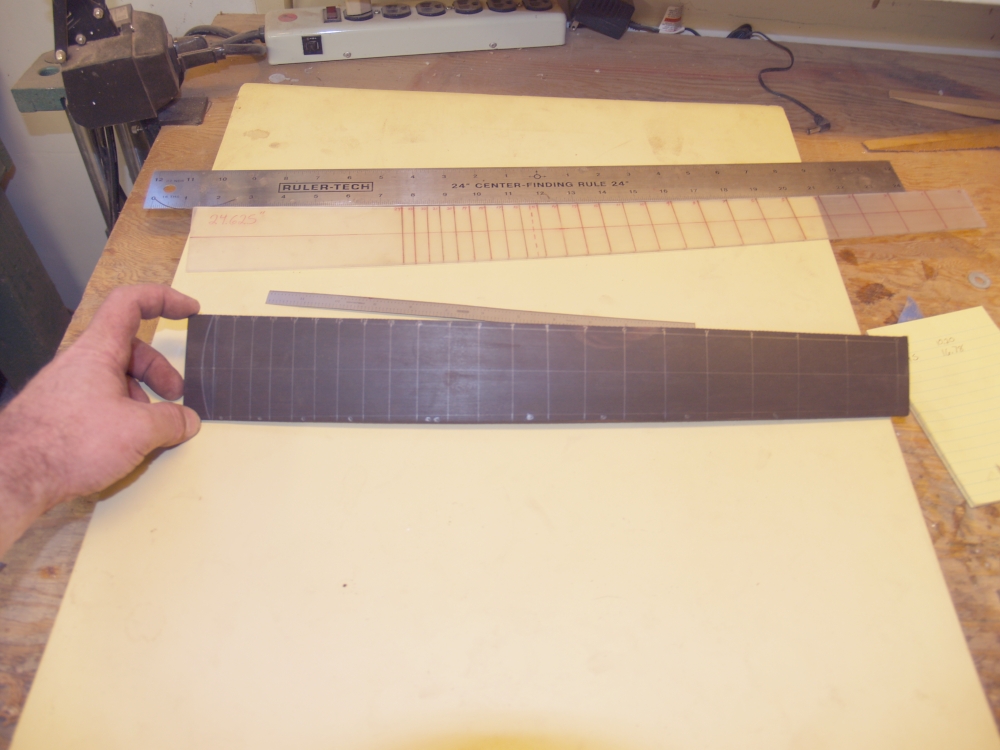
Here I have drawn the outline of the finished fretboard and the fret
marks. |
 |
(111) July 23,
2009
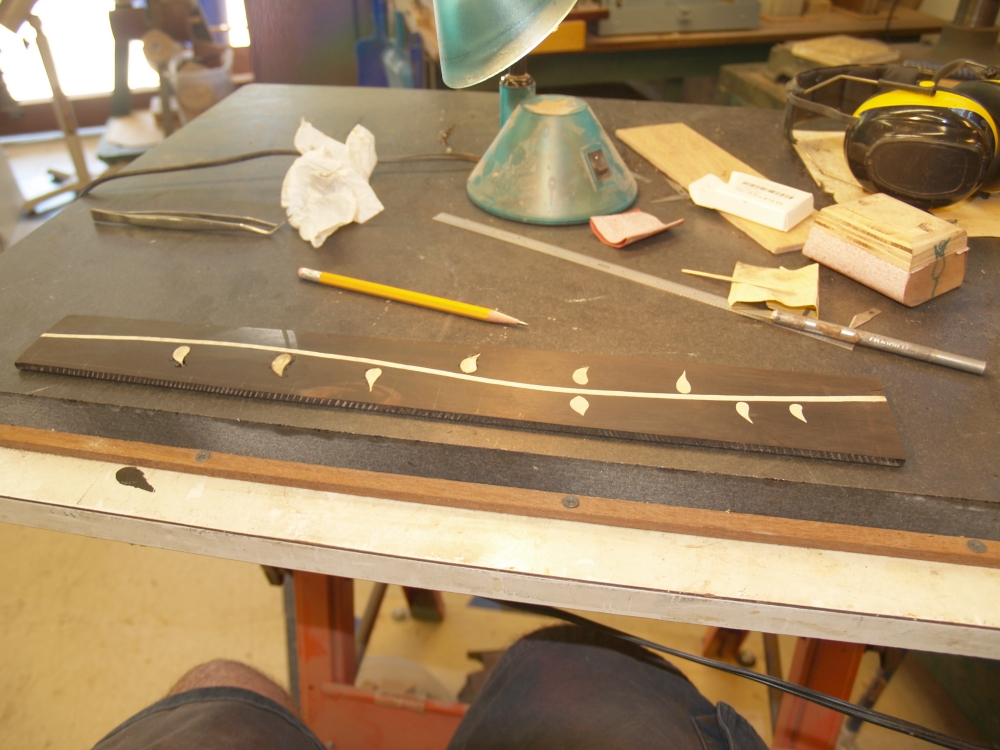
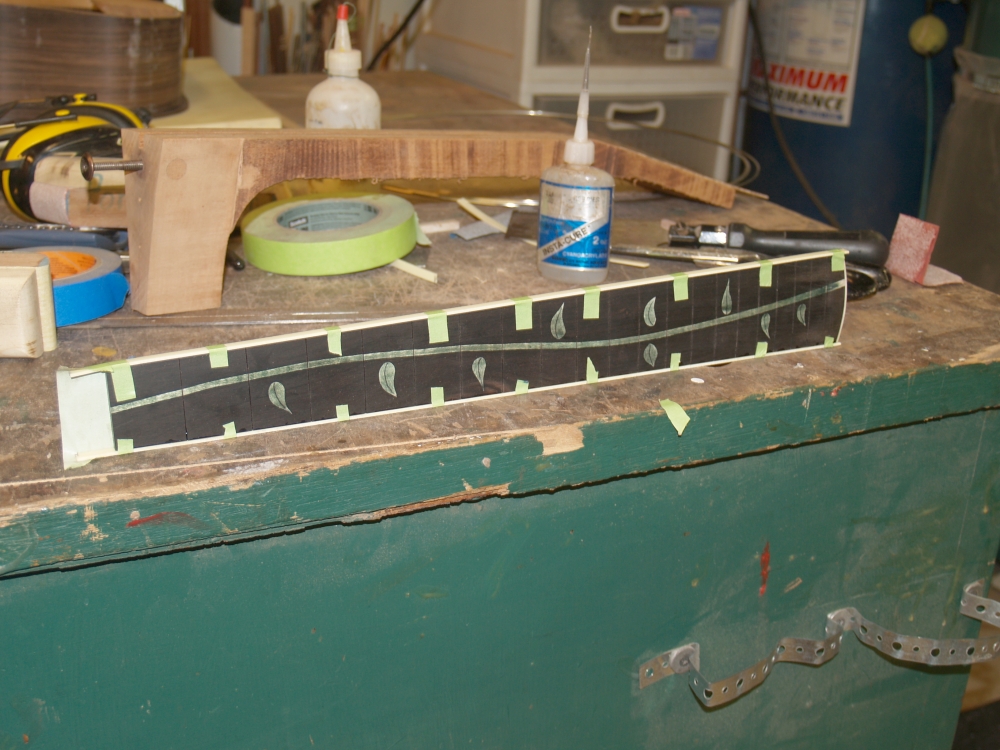
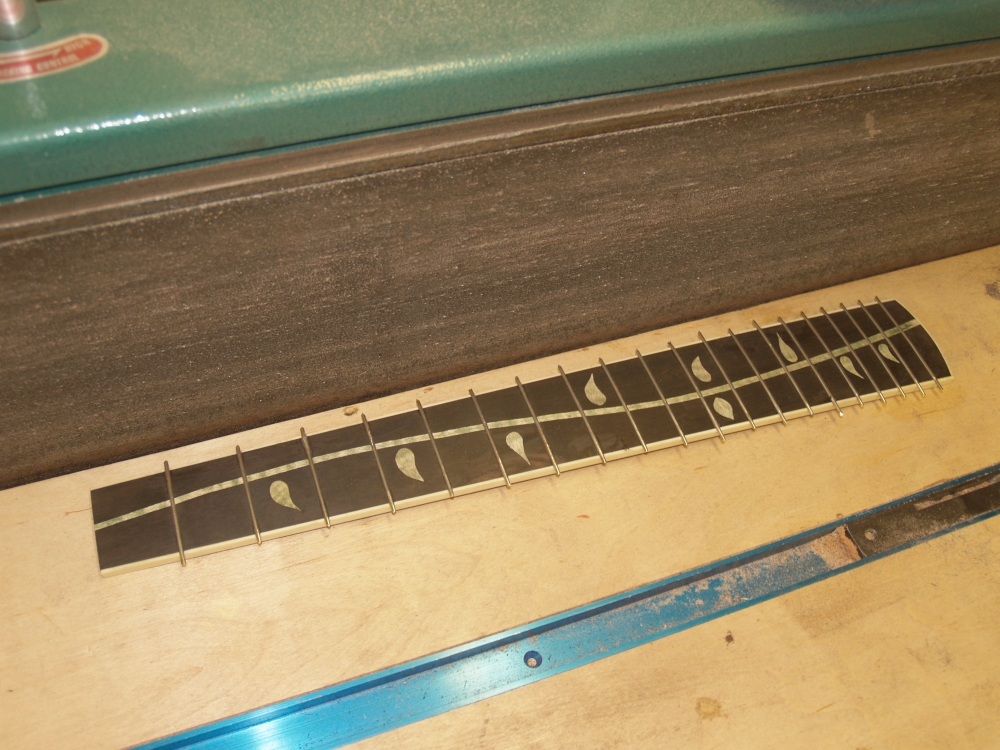
Steve's guitar has a sunflower theme. A sunflower stalk will climb up
the fretboard where the leaves coming off of the stalk are used
as fret markers.. Here I have laid out the stalk and leaves
making sure the leaves fit in between the frets. |
 |
(112) July 23,
2009
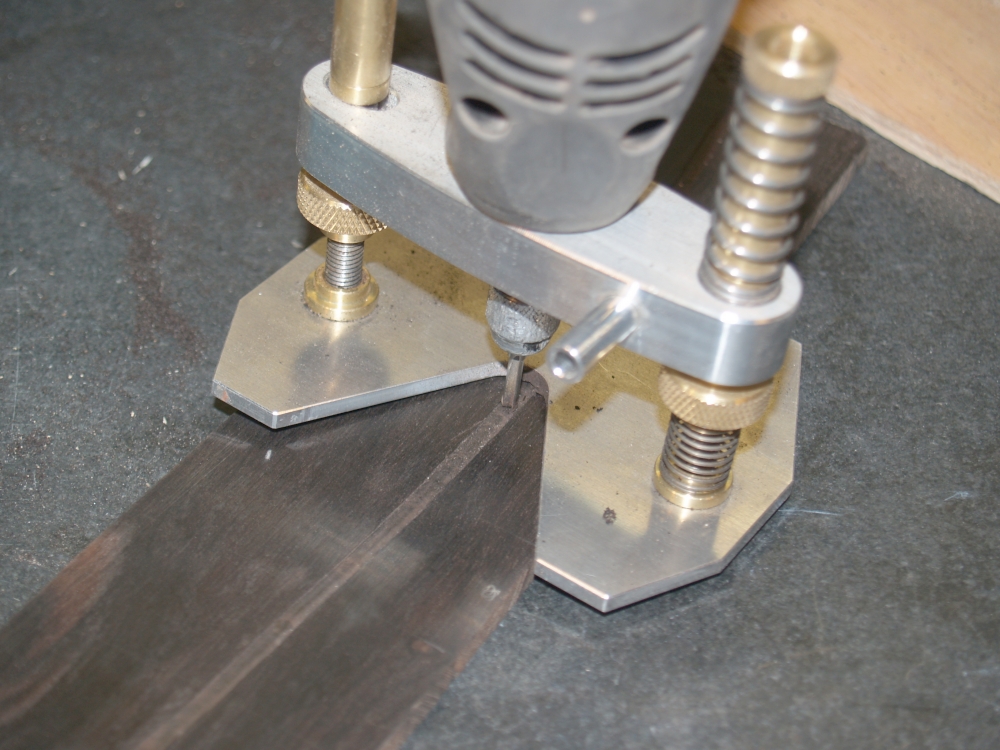
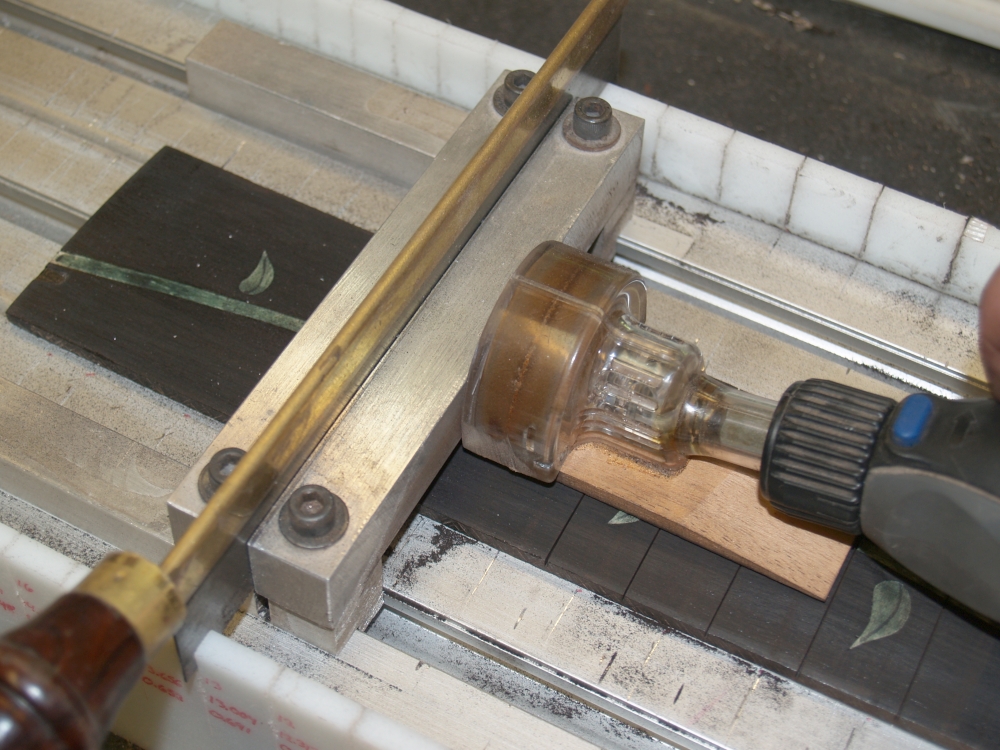
I use this Dremel tool router fixture to create the channel that will
accept the wood for the stalk and leaves. The depth of the
channel can be neither too deep nor too shallow. This fixture
allows me to control the depth with a high degree of precision.
Nonetheless this is still a process that requires a steady hand
and a patient outlook. |
 |
(113) July 23,
2009
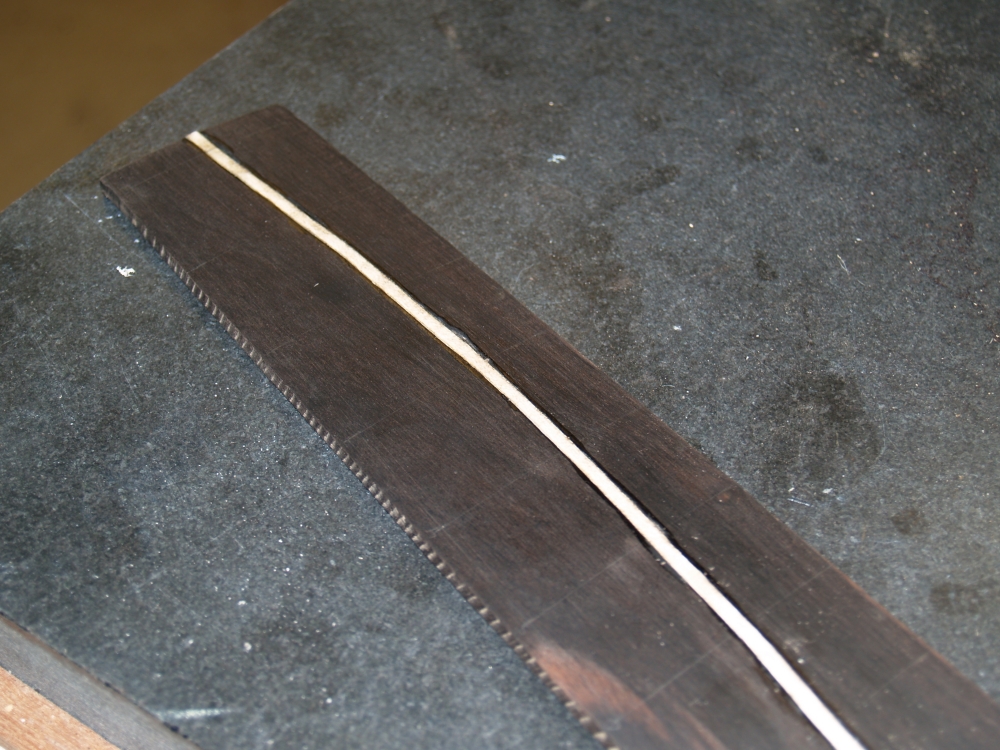
The stalk fits in pretty well. Any gaps that exist are filled in
with cyanoacrylate glue. |
 |
(114) July 23,
2009
And here the leaves have been installed. |
 |
(115) July 23,
2009
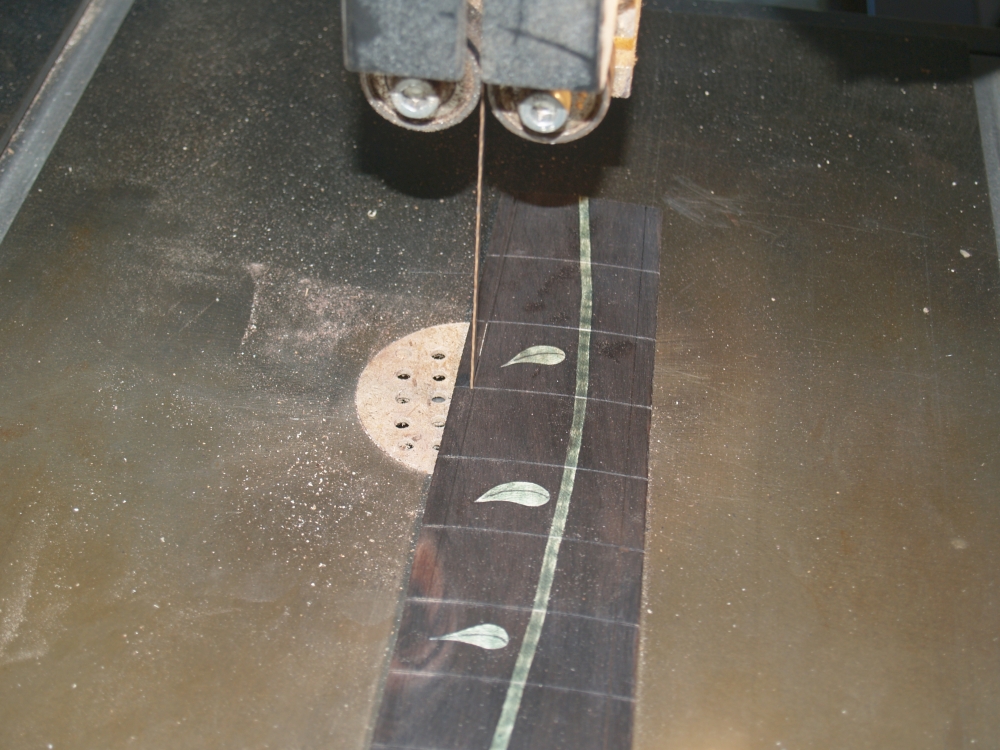
Now I use the fretting machine to cut the slots for the fret wire. |
 |
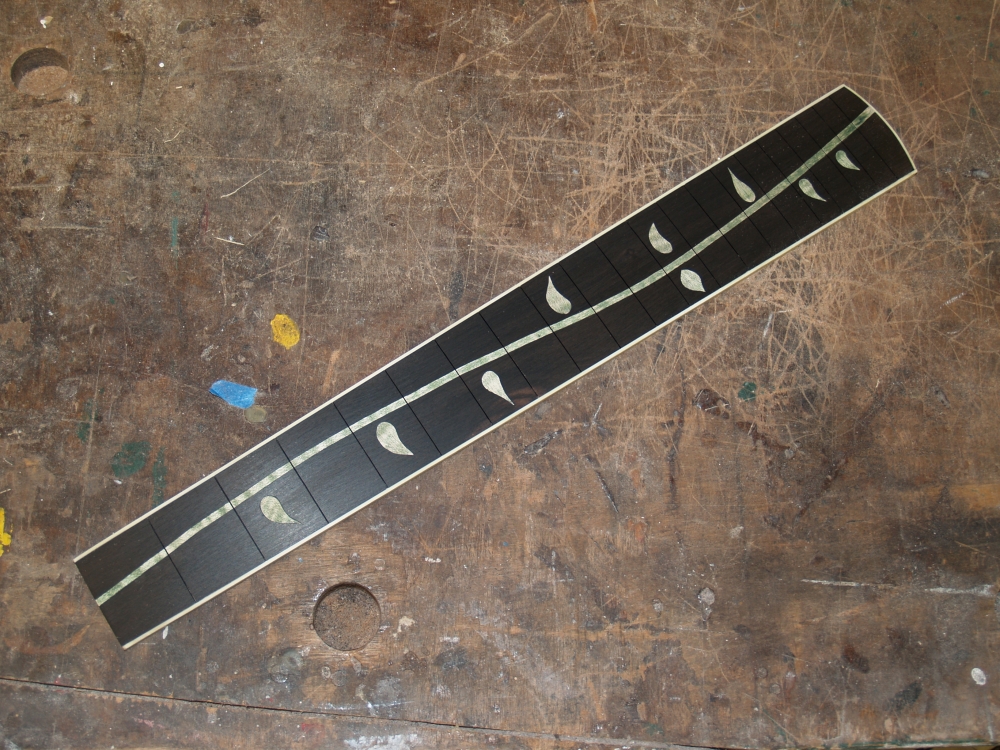
(116) July 23, 2009
You can see in this picture the slots for the fretwire. I have
stained the flamed maple inlay green at this point, but the stain will
get sanded away in subsequent steps. I will re-stain the maple
and seal it after I have finished working the neck. |
 |
(117) July 23, 2009
Now I trim the fretboard to its proper width. |
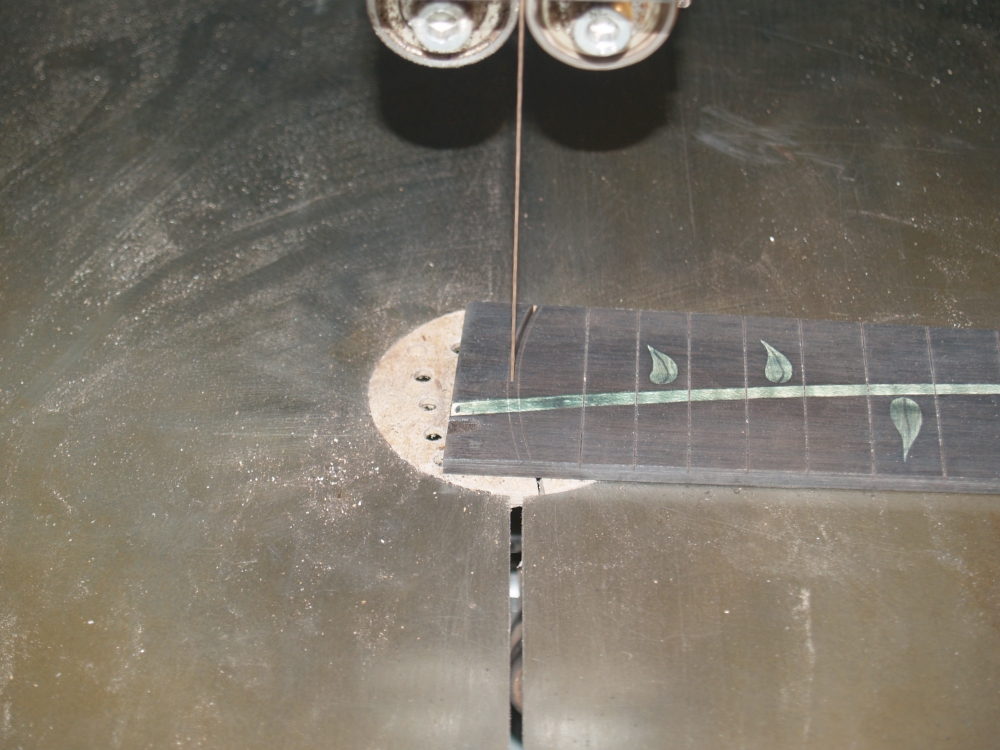 |
(118) July 23, 2009
And the end gets trimmed. |
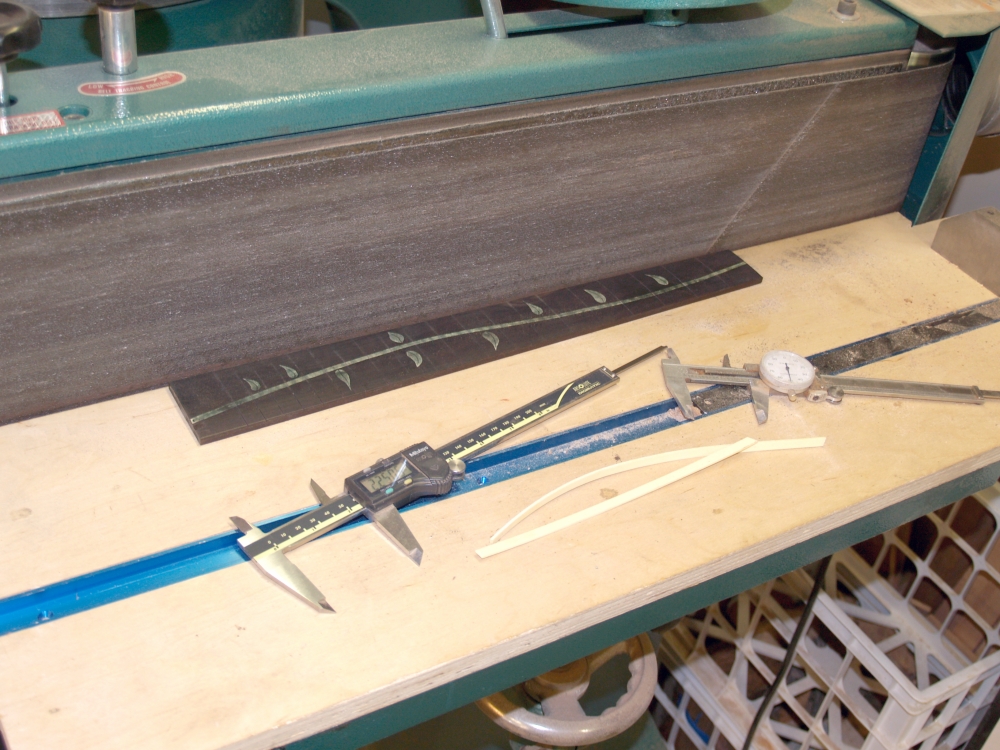 |
(119) July 23, 2009
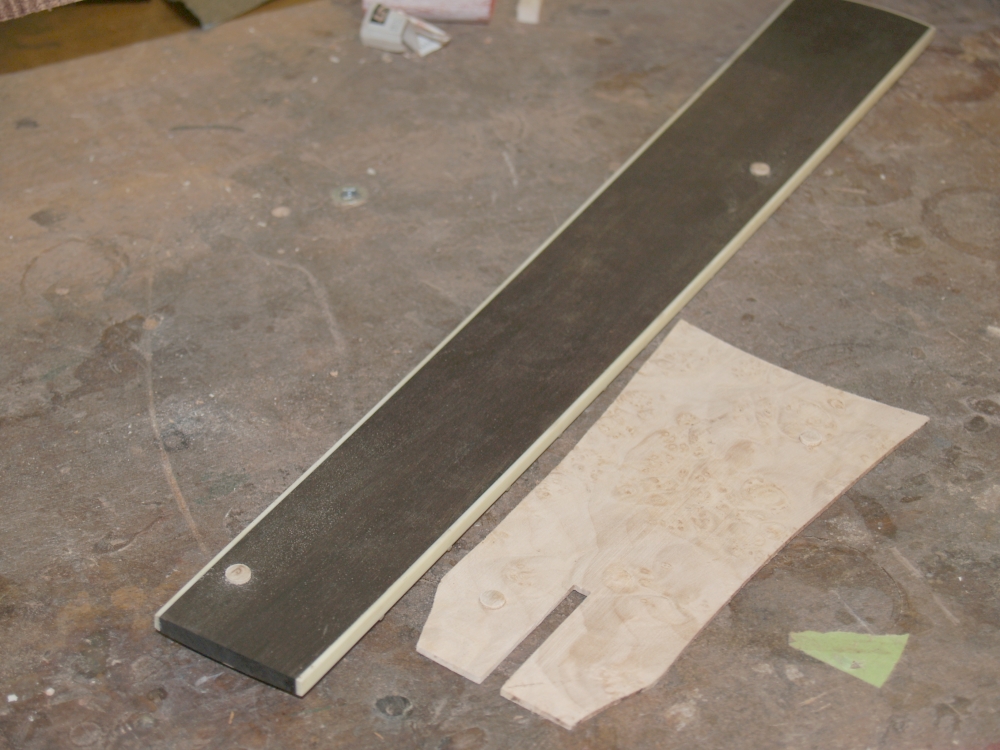
The guitar body and neck will be bound with ivoroid, so the width of
the fretboard must accommodate the width of the binding. I use my
edge sander to carefully sand the fretboard. I work very slowly
during this process because it is very difficult to put the wood back
once it removed. I try to dimension the fretboard to within 0.005
inches of the desired width. |
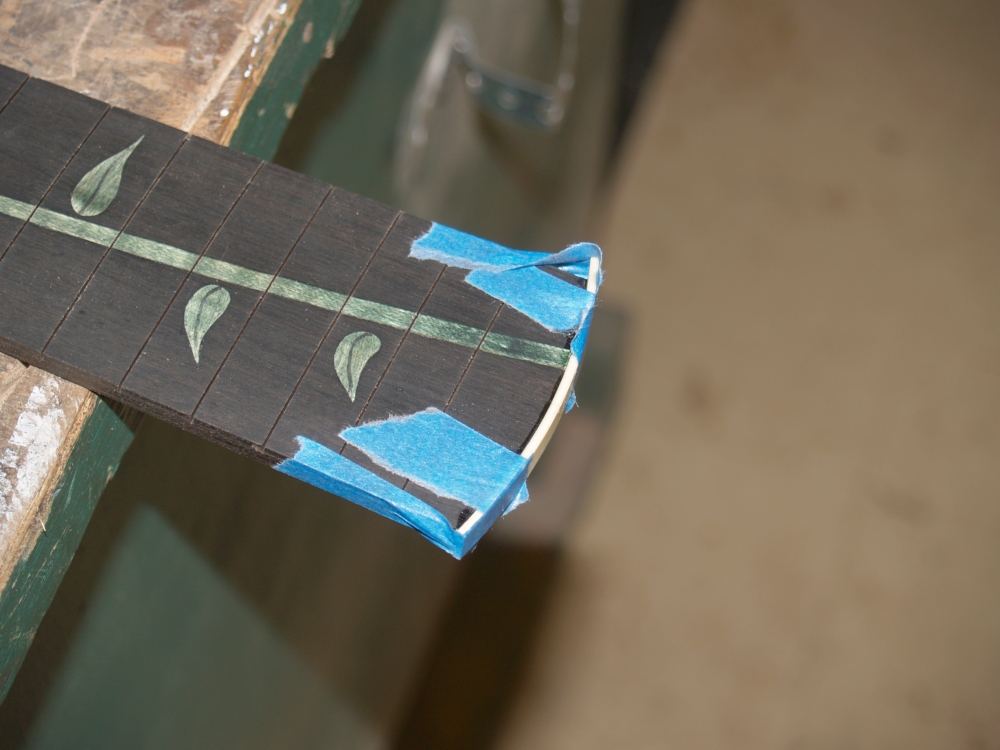 |
(120) July 23, 2009
Here I am gluing the binding to the end of the fretboard. |
 |
(121) July
23, 2009
And binding the edges of the fretboard. |
 |
(122) July
23, 2009
The binding gets sanded flush to the fretboard. |
 |
(123) July
23, 2009
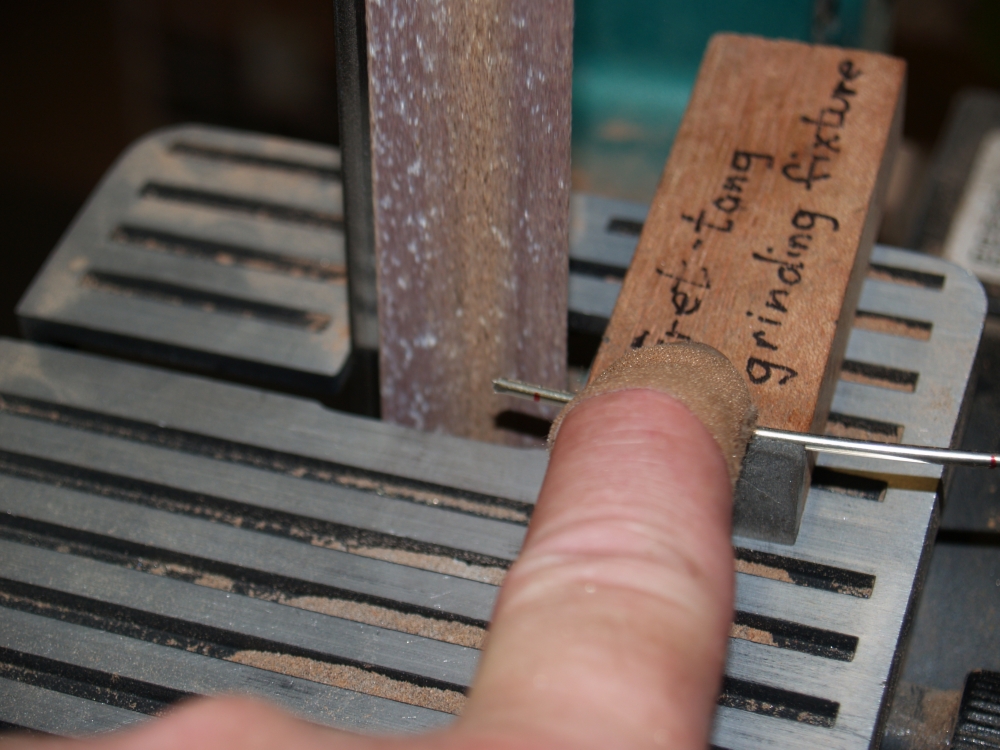
When installing the fretwire the tine does not extend to the edge of
the fretboard. This means the tine must be removed where the
fretwire hangs over the binding. This is a very precise process
as the bottom surface of the fretwire where the tine has been removed
bust be co-planner with the bottom of the fretwire where the time has
not been removed. If this is done properly the fretwire will lay
flush against the fretboard across its full length, with no gaps at the
end. I have built a special jig to help me precisely and
accurately sand away the tine. It is still an art though and requires a
bit of practice. |
 |
(124) July
23, 2009
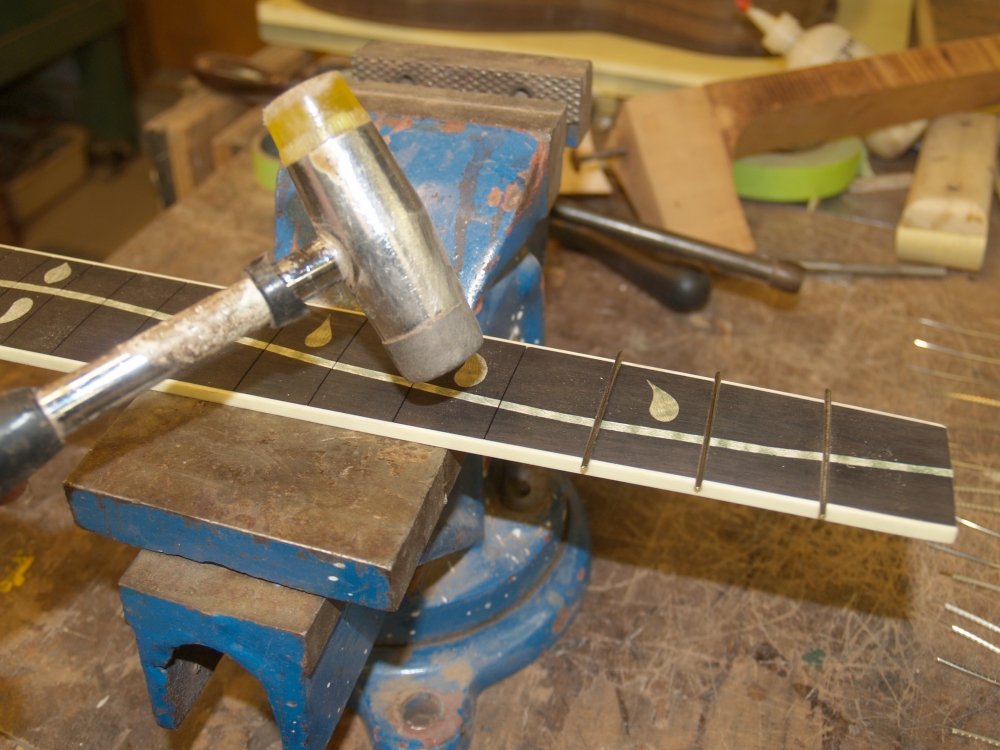
I carefully hammer the fretwire into the slots paying special attention
to make sure the fretwire lays flush to the surface. Once I am
happy with the lay of the wire I use a little cyanoacrylate glue to fix
the fretwire in place and to make sure the ends of the fretwire do not
come loose. |
 |
(125) July
23, 2009
I use the edge sander to sand off the excess fretwire. I won't
shape the ends of the fretwire until later. |
 |
(126) July
23, 2009
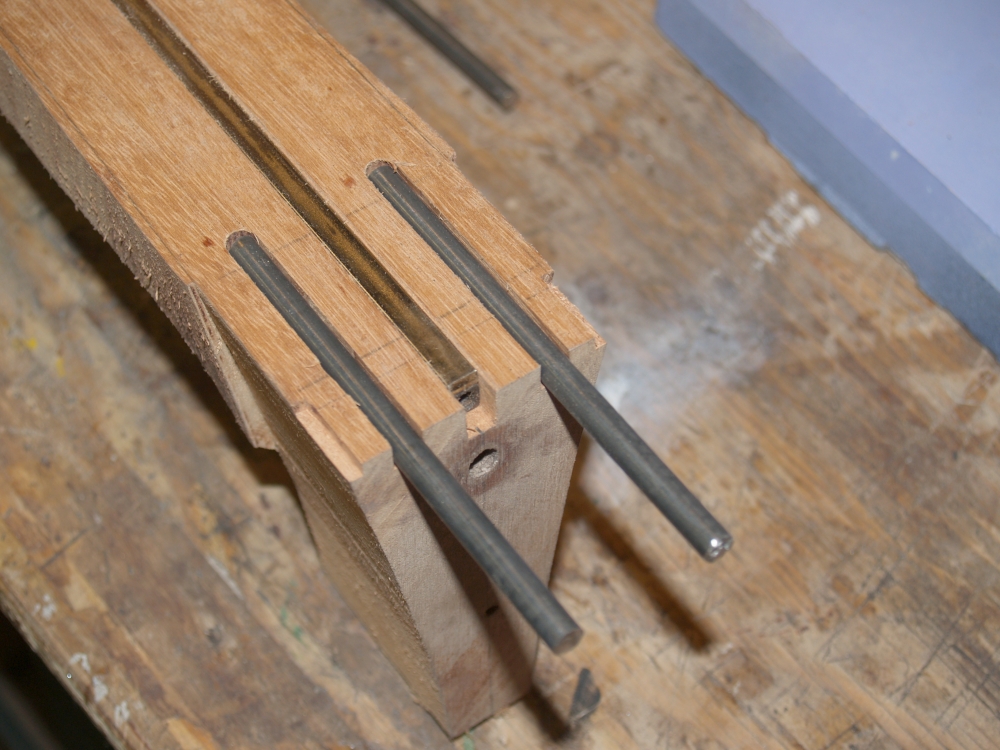
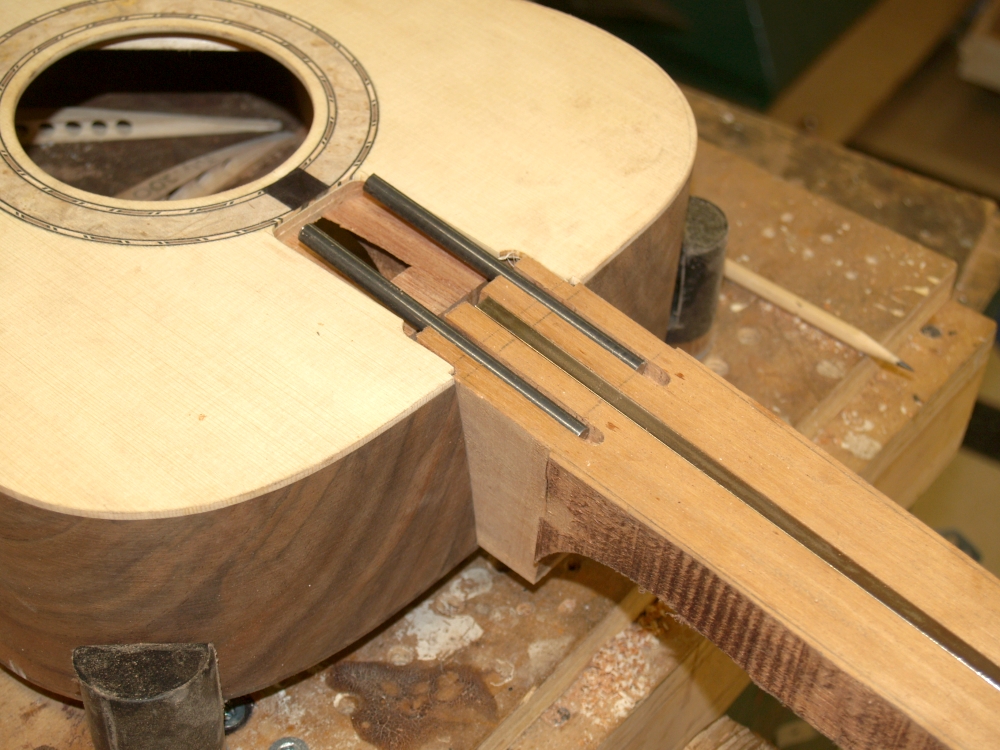
In this picture we see the channels I have routed out for the fretboard
cantilever supports and the 1/4 inch piano wire that support the
floating end of the fretboard. These cantilevers insure that the
end of the fretboard that floats over the body of the guitar remain
flat and straight. We can also see in this picture two small
channels cut out of the heal of the neck. These channels will
allow the cantilever lips in the neck pocket to slide in.
This detail hides the gap that is created whete the neck and body
come together at the top. |
 |
(127) July
23, 2009
Before the neck can be slid into the neck pocket, the heal must be
trimmed to size. |
 |
(128) July
23, 2009
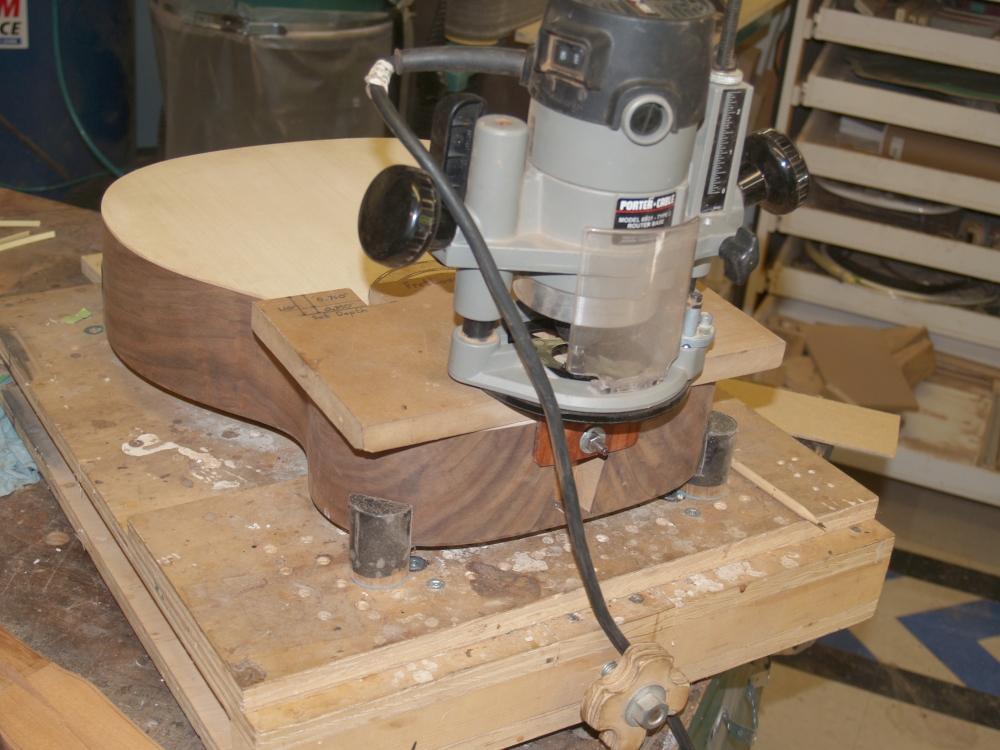
In this picture I am routing out the fretboard cantilever pocket. |
 |
(129) July
23, 2009
This pocket allows the 1/4 inch piano wire supports to freely move
inside the body as the neck is adjusted. |
 |
(130) July
23, 2009
And here we can see the pieces come together where the neck and body
meet. |
 |
(131) July 23,
2009
I use this safety planner to dimension the thickness of the neck before
I start to shape it. |
 |
(132) July 23,
2009
The position of the fretboard and headstock plate on the neck blank is
very important. I try to hold a 5 mil tolerance in this
placement. A problem occurs when glue is applied and
pressure is exerted to make the joint. It turns out that before
glue becomes sticky, it is quite slippery. So, when we try to
press the fretboard into place with glue on it, it tends to slide all
over the place, ruining the placement tolerance. To get around
this problem I use 1/4 inch buttons glued to the bottom of the
fretboard that fit into holes drilled into the fretboard blank.
These prevent the fretboard from sliding around when pressure is
applied. This is same technique I use when gluing the top and
bottom to the body rim. |
 |
(133) July 23,
2009
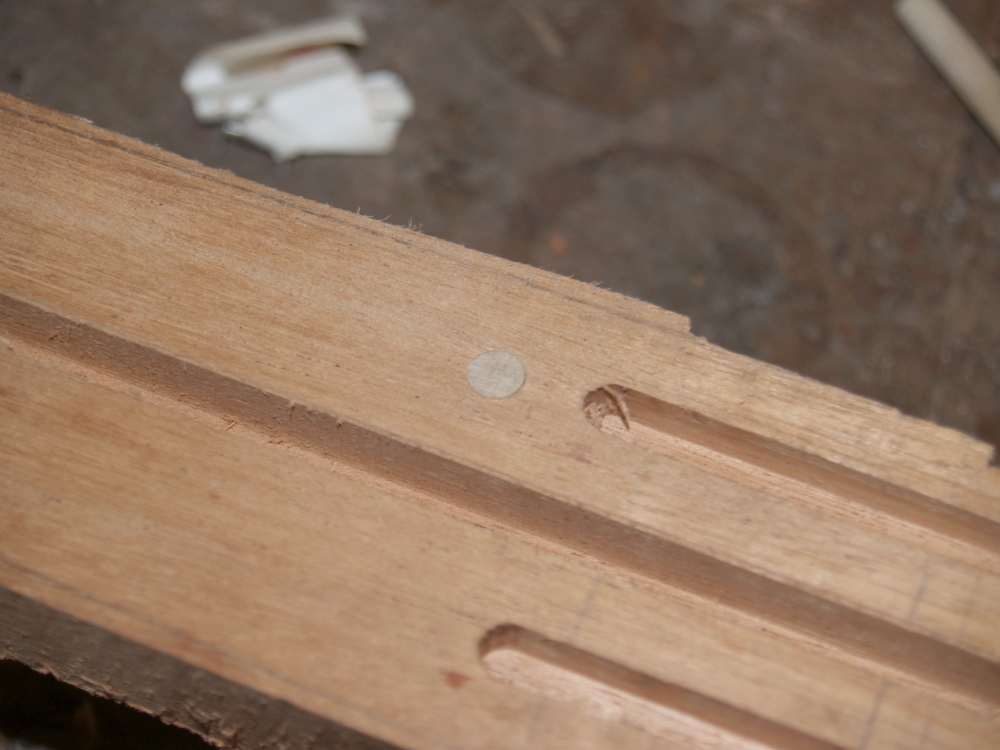
Here you can see the buttons glued to the bottom of the fretboard and
the head stock veneer. |
 |
(134) July 23,
2009
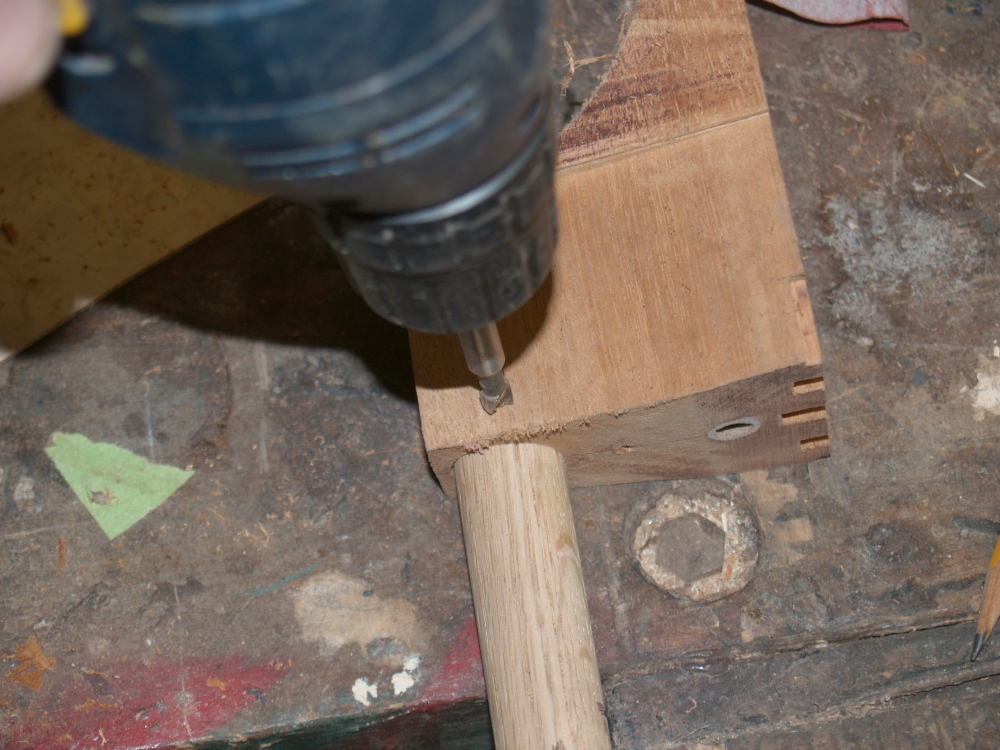
Before I glue the fretboard on I drill out a hole in the heal tha will
house the neck adjustment bolt. |
 |
(135) July 23,
2009
The neck adjustment bolt will be held in place with a 7/8 inch ferrule.
There will be a significant amount of force, on the order of
80 lbf, pushing on this ferrule. To ensure that it does not creep under
this force I insert a retaining tennon to fix the ferrule in place. |
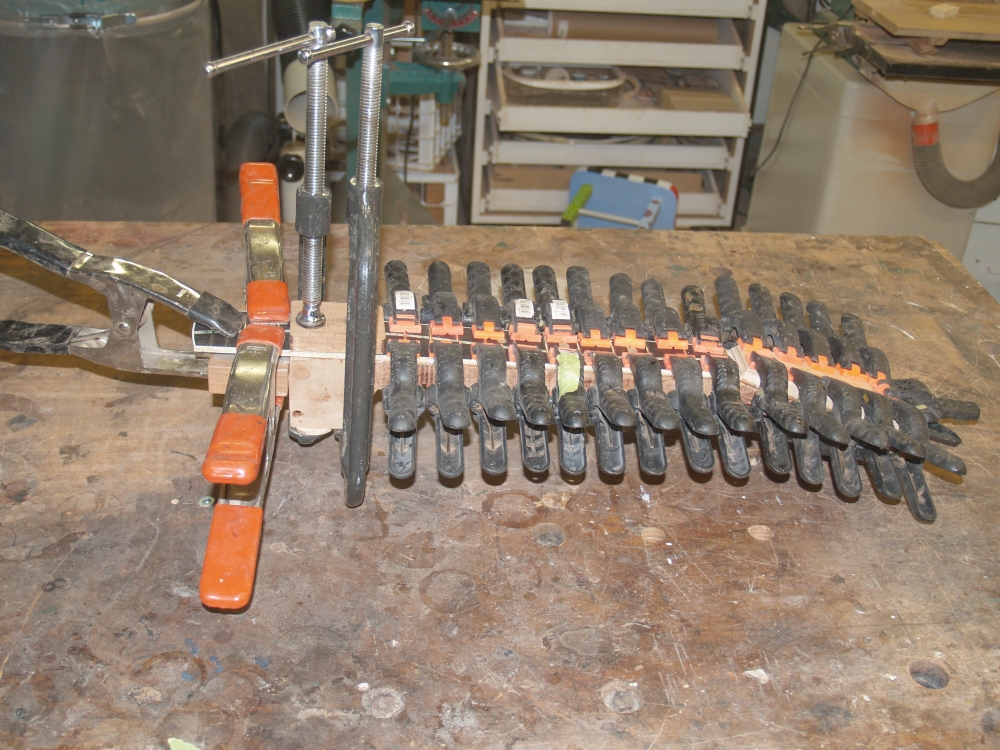 |
(136) July 23,
2009
Finally I use a mess of clamps and cauls and epoxy to glue the
fretboard and the headstock veneer to the neck blank. |
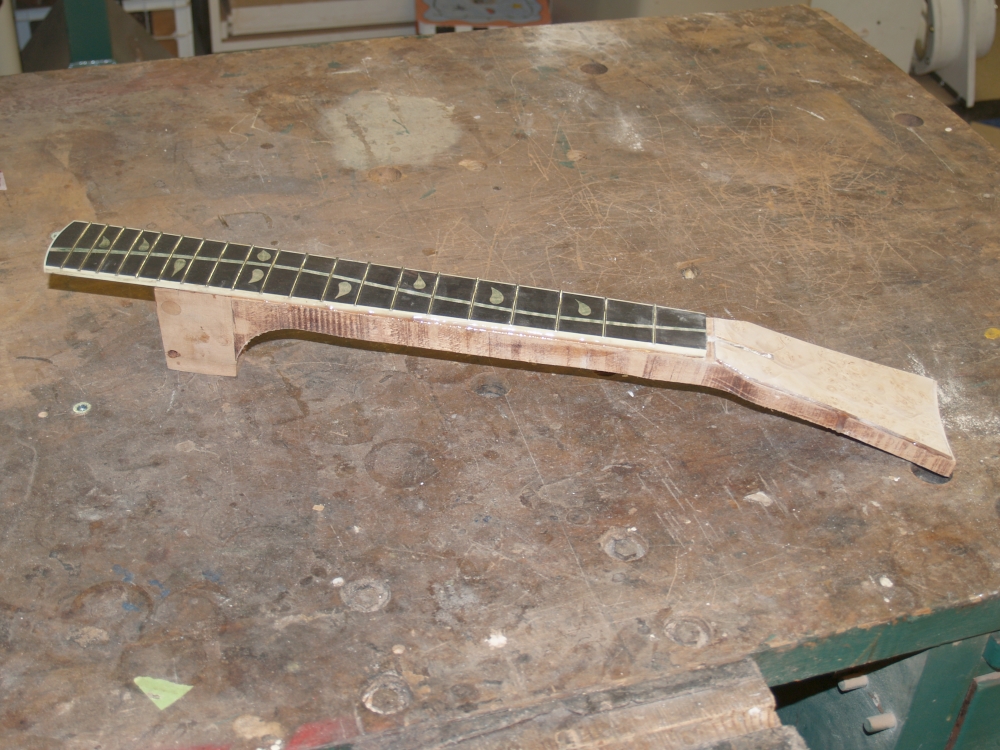 |
(137) July 23,
2009
The neck is now ready to be shaped. |
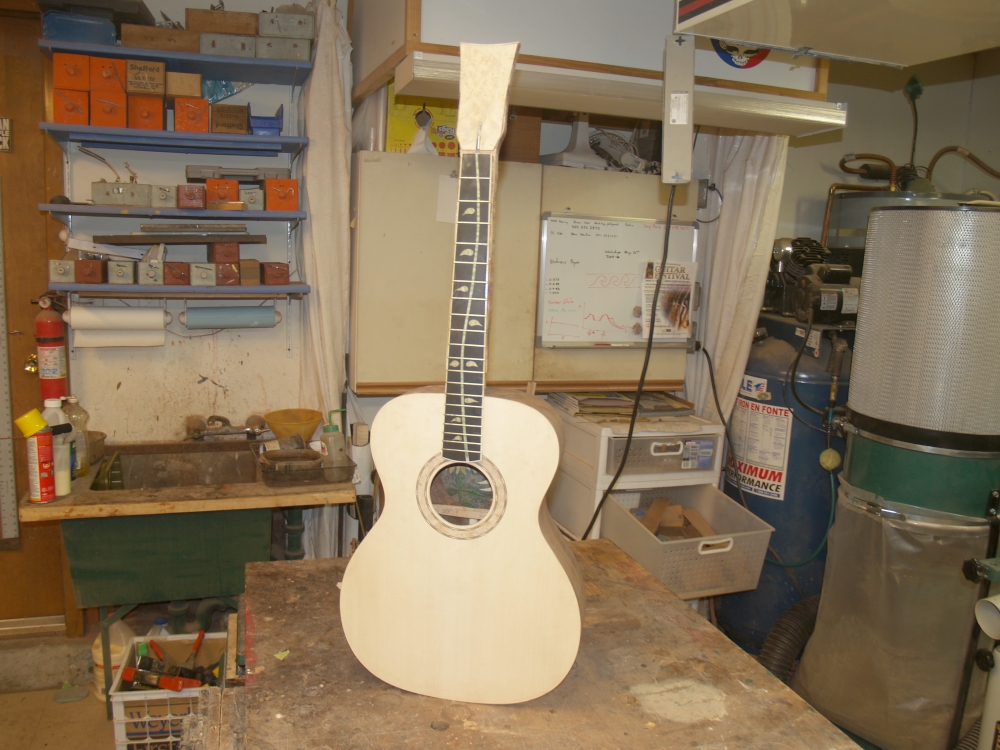 |
(138) July 23,
2009
The neck fits into the body and it is really starting to look like a
guitar at this point. |